Free original resources
Storyboard Template Planning: Frame Count, Aspect Ratio and Handwriting Space
Plan a printable storyboard sheet by choosing frame count, aspect ratio and note space, then check row height, column width and page fit before drawing.
Free resources
Letter & A4
PDF & SVG
Letter & A4
PDF & SVG
Make it yours.
Free · no signup · calculated in your browser
Your free printable kit.
Original reference, student practice and separate worked answers. No account or payment.
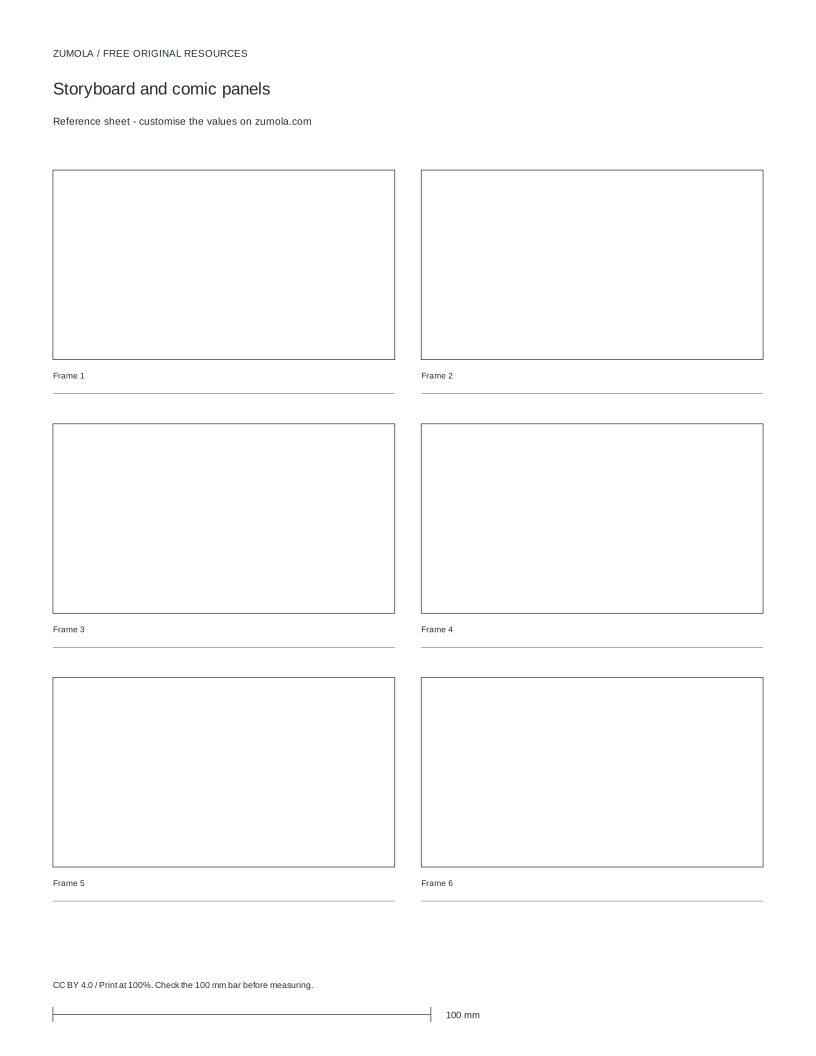
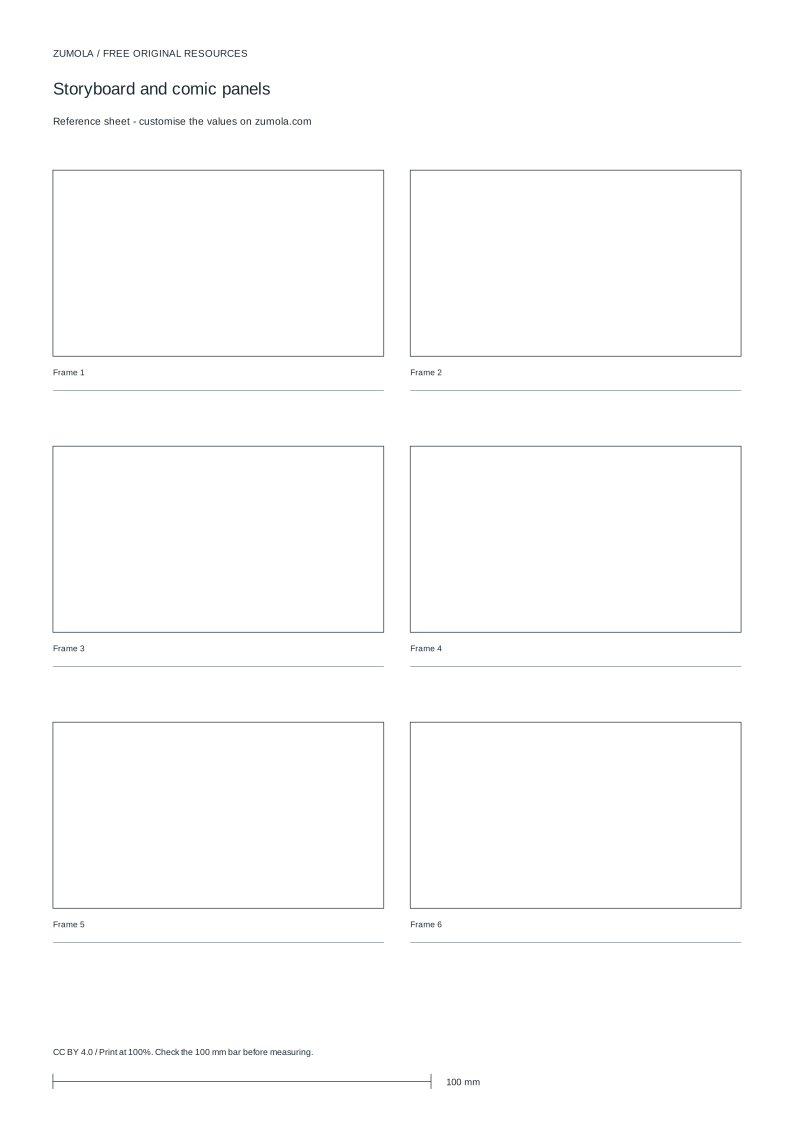
Practice worksheet
Worked answers / rubric
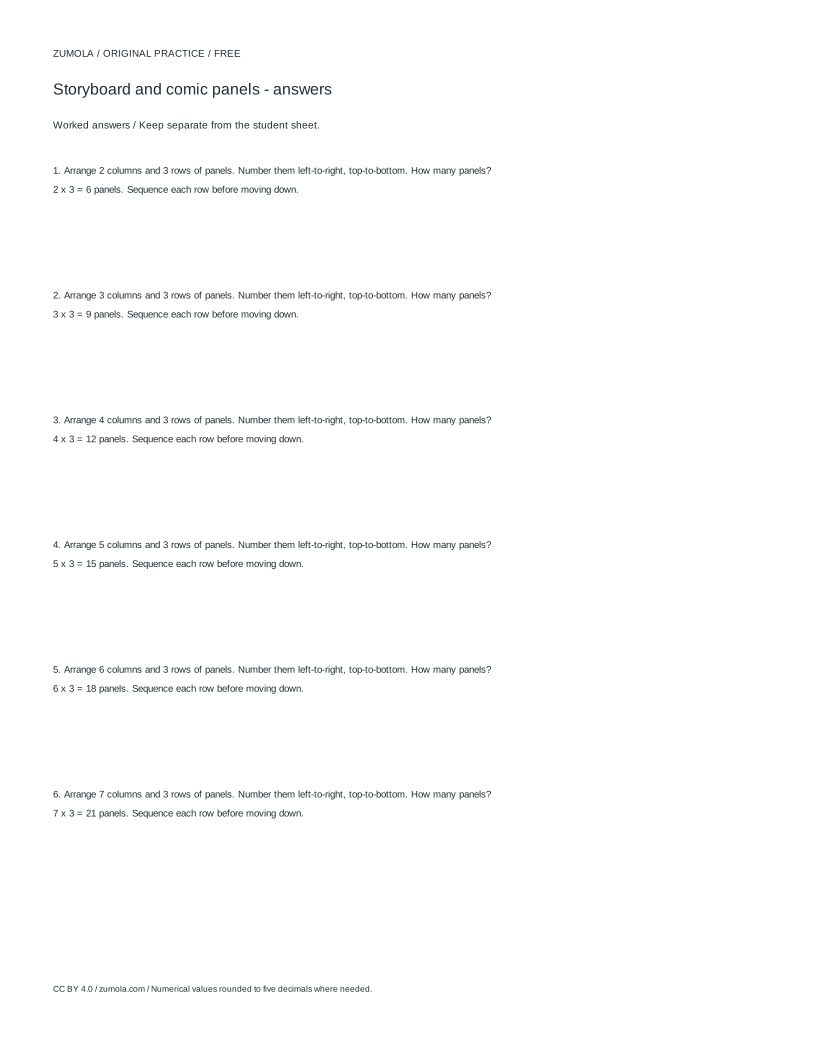
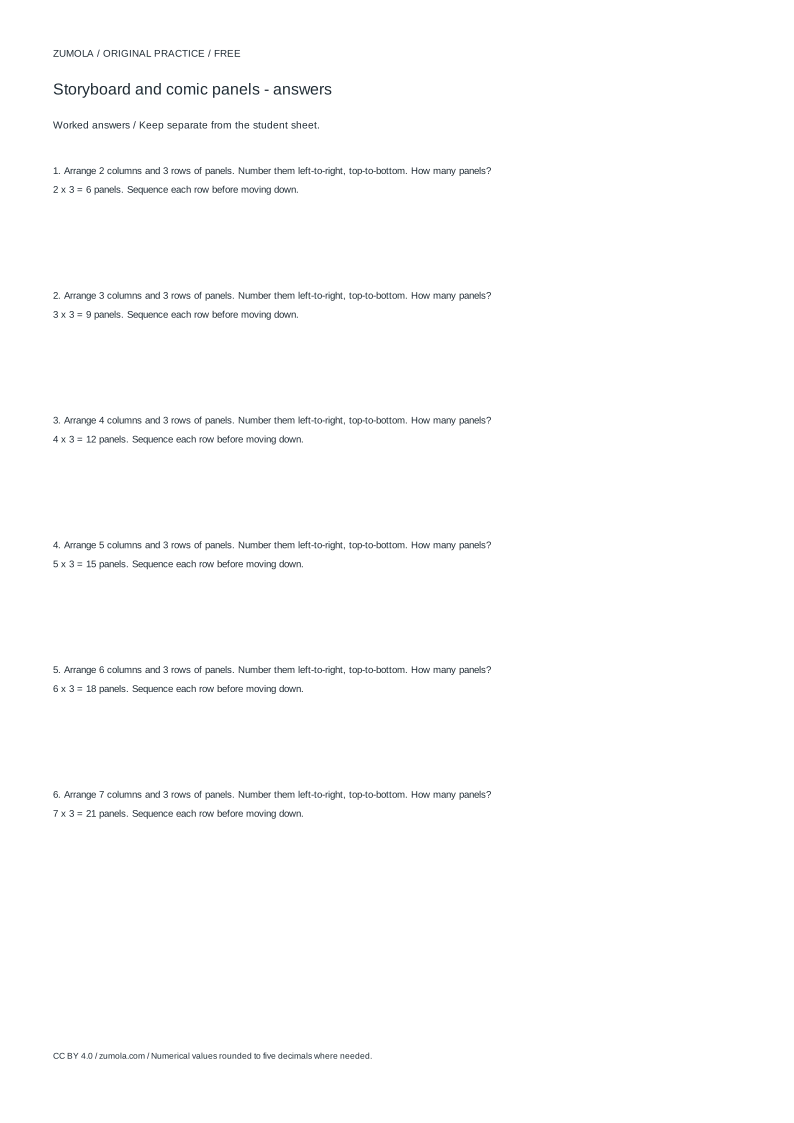
Print at Actual size / 100%. Check the calibration bar before using physical dimensions.
A storyboard sheet works best when its frames match the shape of the final image and its note areas leave enough room to write. This page explains how to plan a hand-written storyboard layout from three decisions: how many frames you need, what aspect ratio each frame should have, and how much note space belongs beside or below each frame. The method is arithmetic, so you can check every measurement before committing to a layout.
Start with the shot list, not the grid
Count the shots you actually need to plan before choosing columns and rows. A six-frame sheet suits a short sequence; a longer scene needs either more frames per page or several pages. Decide whether frames should read left to right across a row, then down, because that order controls how a reader follows the sequence.
Frame count is columns multiplied by rows. With 2 columns and 3 rows you get 6 frames. Keep the reading order consistent on every page so a reader never has to guess whether the next frame is to the right or below.
- Write the shot list in sequence and number each shot.
- Choose a reading order: left to right, then top to bottom.
- Pick columns and rows so their product covers the shots per page.
- Confirm the last page can hold the remaining frames without crowding.
Fix the aspect ratio before sizing frames
Aspect ratio is frame width divided by frame height. A ratio of 1.778 means the frame is wider than it is tall, close to a widescreen image. If a frame is 90.45 mm wide, its height at that ratio is 90.45 divided by 1.778, which is about 50.13 mm.
Choose the ratio from the intended final image, not from the paper shape. Mixing ratios on one sheet makes comparison harder, so keep one ratio per sequence unless a deliberate change is part of the plan. State the ratio on the sheet so anyone drawing into it knows the frame shape.
- Decide the target ratio as width divided by height.
- Set a frame width that fits the column.
- Divide the width by the ratio to get the frame height.
- Check that the height plus note space fits the row.
Reserve note space and check the page fit
Notes need a defined area, not leftover margins. Decide whether notes sit beside each frame or in a band below it, and give that area a fixed height. If each frame has a 10 mm note band, a row of frames needs the frame height plus 10 mm plus any gap between rows.
Add the row heights and gaps, then compare the total with the usable page height after margins. Do the same across the columns. If the total exceeds the page, reduce frame size, note height or frame count rather than squeezing handwriting space.
- Set a note height in millimetres for every frame.
- Add frame height, note height and row gap to get one row's height.
- Multiply by the number of rows and add remaining gaps.
- Compare the total with usable page height and adjust one variable at a time.
Print at 100% and check a calibration bar
Printing can scale a layout without warning. Print at 100% and measure a calibration bar on the sheet before trusting frame dimensions. If the bar measures short or long, the print scale is wrong and frame ratios will be distorted.
A calibration bar is a printed length with a stated value. Measure it with a ruler and compare. Only after the bar matches should you judge whether frames and note lines are comfortable to write in.
- Print one copy at 100% scale.
- Measure the calibration bar with a ruler.
- Compare the measured length with the stated length.
- Adjust print settings and reprint if the bar does not match.
Try this example
Plan a six-frame sheet with 2 columns, 3 rows, ratio 1.778, frame width 90.45 mm and a 10 mm note band per frame. Find frame height and the total height of three rows with 5 mm gaps between rows.
Show the worked explanation
Frame height is 90.45 divided by 1.778, about 50.13 mm. One row is 50.13 plus 10 mm of notes, about 60.13 mm. Three rows total about 180.4 mm. Two gaps of 5 mm add 10 mm, giving about 190.4 mm before margins. Compare that with usable page height; if it is too tall, reduce frame width, note height or rows.
Common mistakes
- Choosing frame count before listing the shots. Write the numbered shot list first, then set columns and rows so the product covers it.
- Sizing frames by eye and assuming the ratio is correct. Compute height as width divided by the chosen ratio and record both measurements.
- Treating margins as note space. Assign a fixed note height per frame and add it to the row height before checking page fit.
Check your work
- Frame count equals columns multiplied by rows and matches the shot list.
- Aspect ratio is stated and frame height is computed as width divided by ratio.
- Each frame has a defined note area with a stated height.
- Row heights, gaps and margins are summed and compared with usable page height.
- Reading order is consistent across frames and pages.
- A calibration bar is checked after printing at 100% before judging frame proportions.
Questions before you start
How do I find the frame height for a chosen ratio?
Divide the frame width by the ratio. At width 90.45 mm and ratio 1.778, height is about 50.13 mm.
How many frames fit on a sheet?
Frames equal columns times rows. Fit also depends on frame height, note height and gaps, so check the summed row heights against usable page height.
Why check a calibration bar before drawing?
It shows whether the sheet printed at true scale. If the bar measures wrong, frame proportions are wrong too.