Free original resources
Comic Panel Template Generator: Plan Original Panels and Speech Bubbles
Learn how to arrange original comic panels with clear gutters, speech-bubble space, and narrative pacing. Includes a worked layout example and a practical rubric.
Free resources
Letter & A4
PDF & SVG
Letter & A4
PDF & SVG
Make it yours.
Free · no signup · calculated in your browser
Your free printable kit.
Original reference, student practice and separate worked answers. No account or payment.
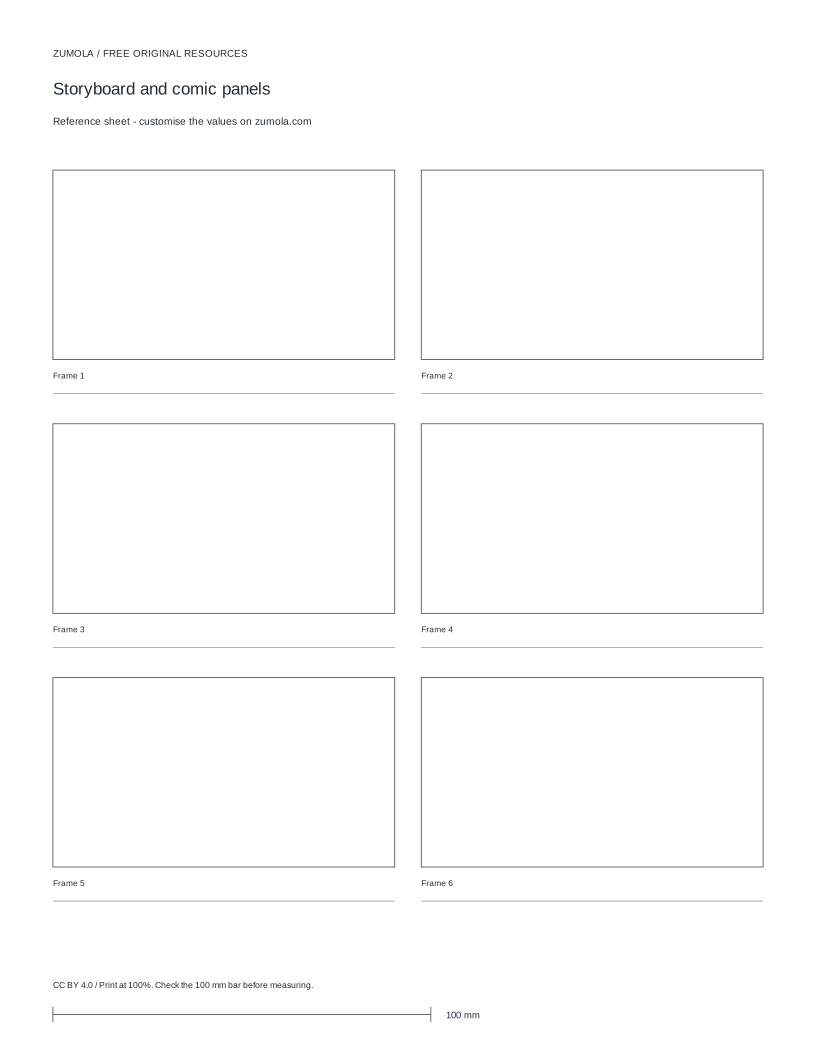
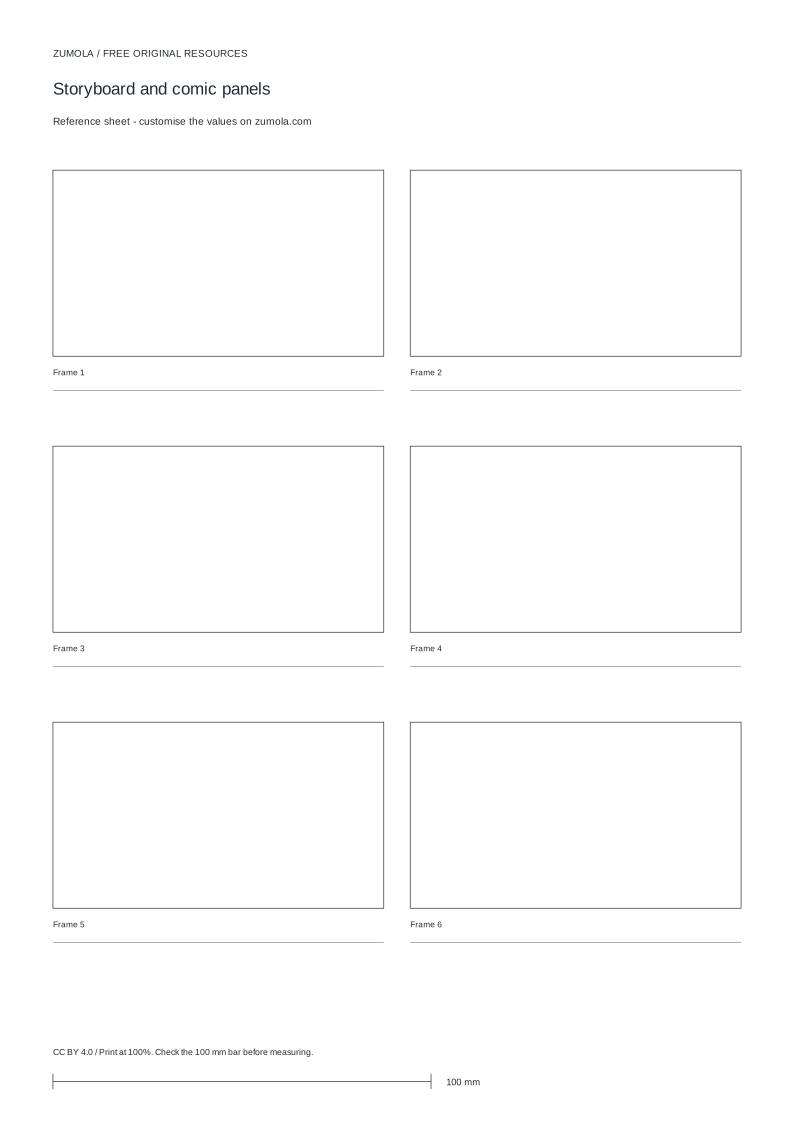
Practice worksheet
Worked answers / rubric
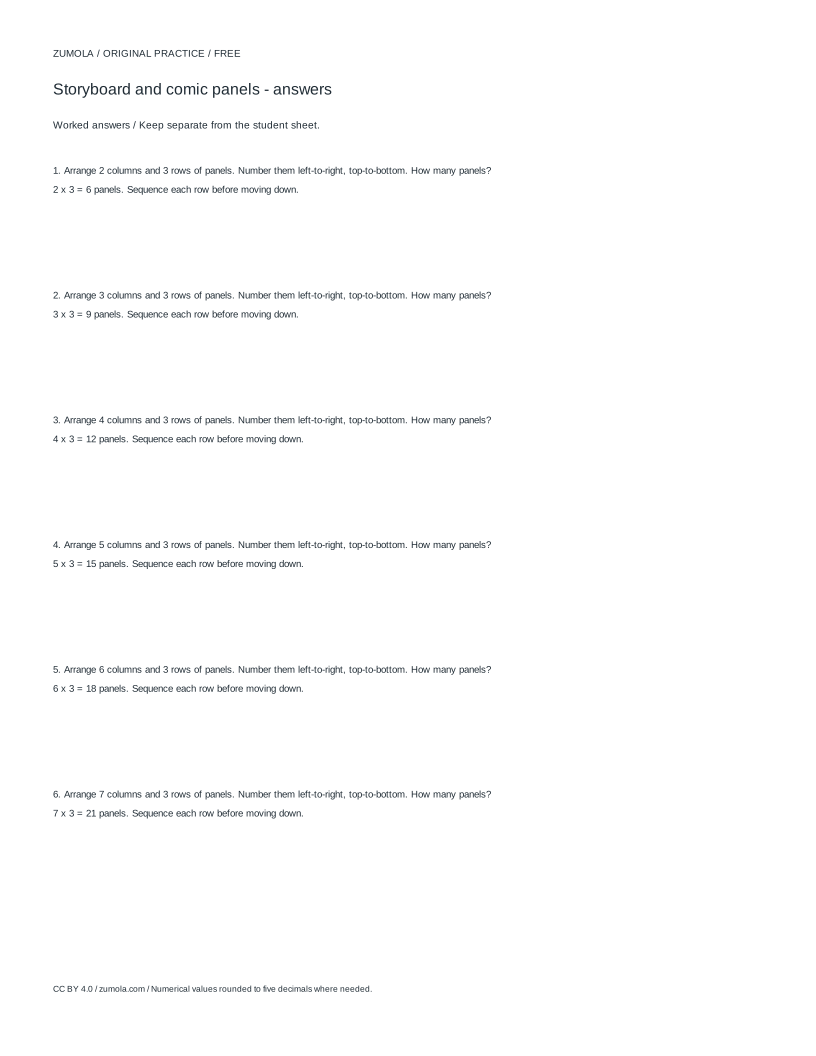
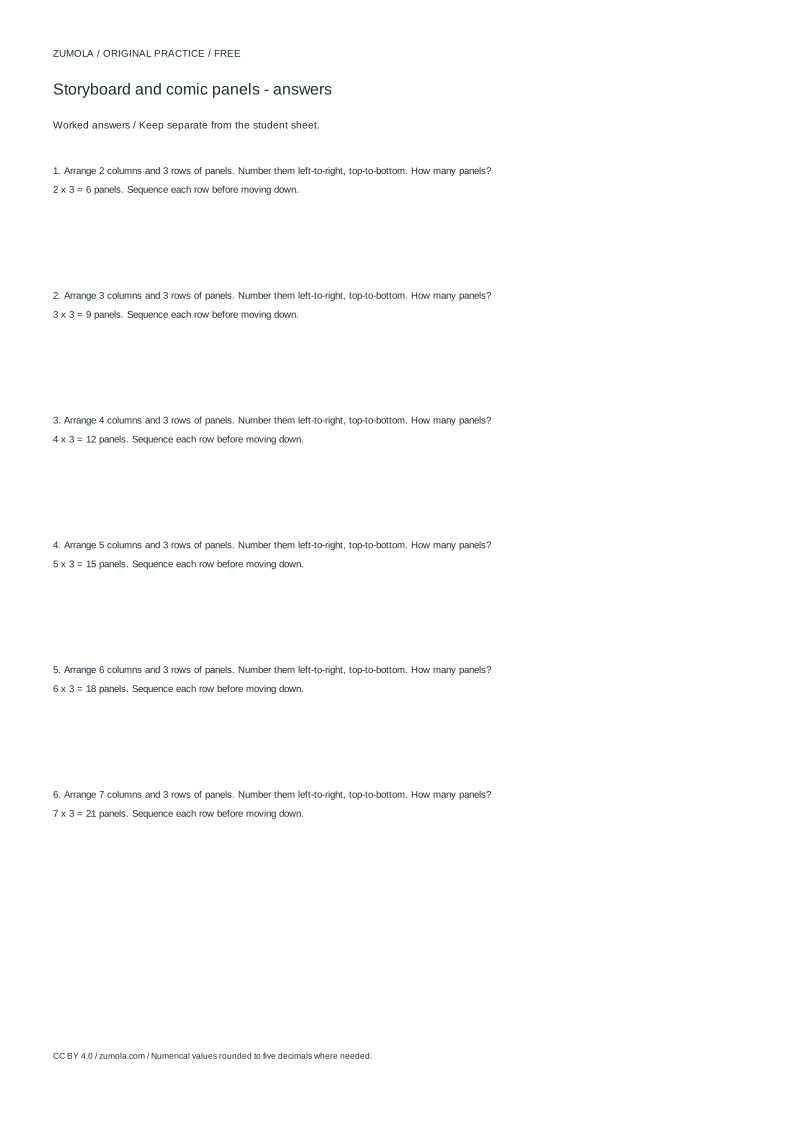
Print at Actual size / 100%. Check the calibration bar before using physical dimensions.
A comic strip template is a planning tool, not a finished page. The useful work happens before drawing: deciding how many panels a page holds, how wide each panel is, where speech bubbles will sit, and how the eye moves from one panel to the next. This page explains the layout method behind a comic panel template generator, using millimetre measurements and simple arithmetic you can check yourself. It covers panel sizing, gutter spacing, bubble placement, and narrative pacing so you can build original blank layouts and your own practice exercises.
How Panel Grids Are Calculated
A panel grid starts from the page area you intend to use, not the paper edge. Subtract margins first, then divide the remaining width and height by the number of columns and rows. Gutters between panels take space too, so a two-column layout has one vertical gutter and a three-row layout has two horizontal gutters. If you ignore gutters, panels will overlap or run past the margin.
The generator settings described here use 2 columns, 3 rows, and a panel ratio of 1.778, which is close to 16:9. With those settings the schematic reports 6 frames, each 90.45 mm wide and 50.133 mm tall. Check the ratio: 90.45 divided by 50.133 is approximately 1.804, close to but not exactly 1.778, because rounding in the reported figures affects the last digits. Treat reported dimensions as planning values and confirm them against your own page area.
- Decide the usable page area after margins, in millimetres.
- Subtract the total gutter width from usable width, then divide by the column count.
- Subtract the total gutter height from usable height, then divide by the row count.
- Compare the resulting panel width-to-height ratio with your target ratio.
- Adjust gutters or margins until panels fit without overlap.
Reserving Space for Speech Bubbles
Speech bubbles are part of the layout, not an afterthought. A bubble needs clear space inside the panel, usually in the upper area, so it does not cover faces or key action. Plan bubble zones before drawing: mark a rough rectangle in each panel where dialogue will go, and keep important art out of that rectangle.
Bubble size should follow text length. Short lines need small bubbles; longer lines need wider ones, which may force a taller panel or fewer words. A practical habit is to sketch the bubble outline first, then write the line inside it, then draw the art around both. This keeps the reading order clear and prevents bubbles from spilling into gutters, where they can be mistaken for part of the neighbouring panel.
- Mark a bubble zone in each panel, typically the upper third.
- Sketch the bubble outline before writing the dialogue.
- Keep faces and key action outside the bubble zone.
- Check that no bubble crosses a gutter into another panel.
- Reduce word count or enlarge the panel if the bubble does not fit.
Pacing a Story Across Panels
Panel count controls pacing. Six panels on one page suit a short sequence: setup, action, reaction, and a closing beat. Fewer, larger panels slow the reader down and suit mood or detail. More, smaller panels speed up action but leave less room for bubbles and faces.
Reading order matters. In left-to-right layouts, readers move across a row, then down to the next row. Keep important reveals at the end of a row or the final panel so the eye lands there naturally. Vary panel size only when it serves the story; an oversized panel signals importance, while a narrow panel can show a quick beat. Write a one-line beat for each panel before drawing, so the layout follows the narrative rather than the grid.
- Write one short beat per panel before drawing.
- Assign the setup, action, and reaction to specific panels.
- Place the key reveal at a row end or the final panel.
- Use larger panels for emphasis and smaller ones for quick beats.
- Read the sequence aloud to check that the order is clear.
Building Original Practice Exercises
A blank template is most useful when paired with a self-written exercise. Choose a simple prompt, such as a character finding an object, and plan six panels: discovery, reaction, decision, action, complication, resolution. Leave bubble zones empty so you can practise writing dialogue that fits.
Because art has many valid outcomes, judge practice work with a rubric rather than a single correct answer. Check whether panels fit the page, whether bubbles stay inside their panels, whether reading order is clear, and whether each panel advances the story. Repeat the same prompt with a different panel count to compare pacing.
- Write a one-sentence story prompt.
- List six beats that fit the panel count.
- Sketch bubble zones and panel borders on a blank layout.
- Draw the sequence, keeping bubbles inside panels.
- Score the result against the rubric and revise one weak panel.
Try this example
Plan a 2-column, 3-row page with 6 panels. Usable width is 200 mm with one vertical gutter of 8 mm. What is each panel width?
Show the worked explanation
Subtract the gutter: 200 minus 8 equals 192 mm of panel width total. Divide by 2 columns: 192 divided by 2 equals 96 mm per panel. Compare with the reported 90.45 mm, which reflects a different usable width or gutter total; the method is the same, and you should substitute your own measured page area.
Common mistakes
- Dividing the full page width by the column count without subtracting gutters. Subtract total gutter width from usable width before dividing, so panels do not overlap.
- Placing speech bubbles over faces or across gutters. Mark a bubble zone in the upper third of each panel and keep key art outside it.
- Choosing panel count before writing the story beats. Write one beat per panel first, then set the row and column count to match.
Check your work
- Panels fit inside the usable page area without overlapping gutters.
- Each panel has a marked bubble zone that does not cover faces or key action.
- No speech bubble crosses a gutter into a neighbouring panel.
- Reading order is clear from panel placement and size.
- Each panel advances the story beat written before drawing.
- Panel count and size match the intended pacing.
Questions before you start
How many panels fit on one page?
It depends on usable page area, gutter width, and panel ratio. With 2 columns and 3 rows, the layout holds 6 frames. Larger gutters or margins reduce panel size, not panel count, unless you change the grid.
Should speech bubbles be drawn before or after the art?
Sketch bubble zones and outlines first, then draw art around them. This prevents bubbles from covering faces and keeps dialogue inside the panel.
Is there one correct comic layout?
No. Many layouts can tell the same story well. Judge results with a rubric covering fit, bubble placement, reading order, and story clarity.