Reference diagrams
LETTER · Download PDF
A4 · Download PDF
Free original resources
Learn to draw a coiled snake by tracing its outline, copying it on a grid, and completing a partial reference. Includes a worked example and a drawing rubric.
Four original cases, with reference diagrams, practice sheets and worked answers. Everything is free; no signup required.
LETTER · Download PDF
A4 · Download PDF
LETTER · Download PDF
A4 · Download PDF
LETTER · Download PDF
A4 · Download PDF
Use A4 or US Letter to match your printer. Use the stated values and conditions to solve each exercise; diagrams are not physical measuring rulers.
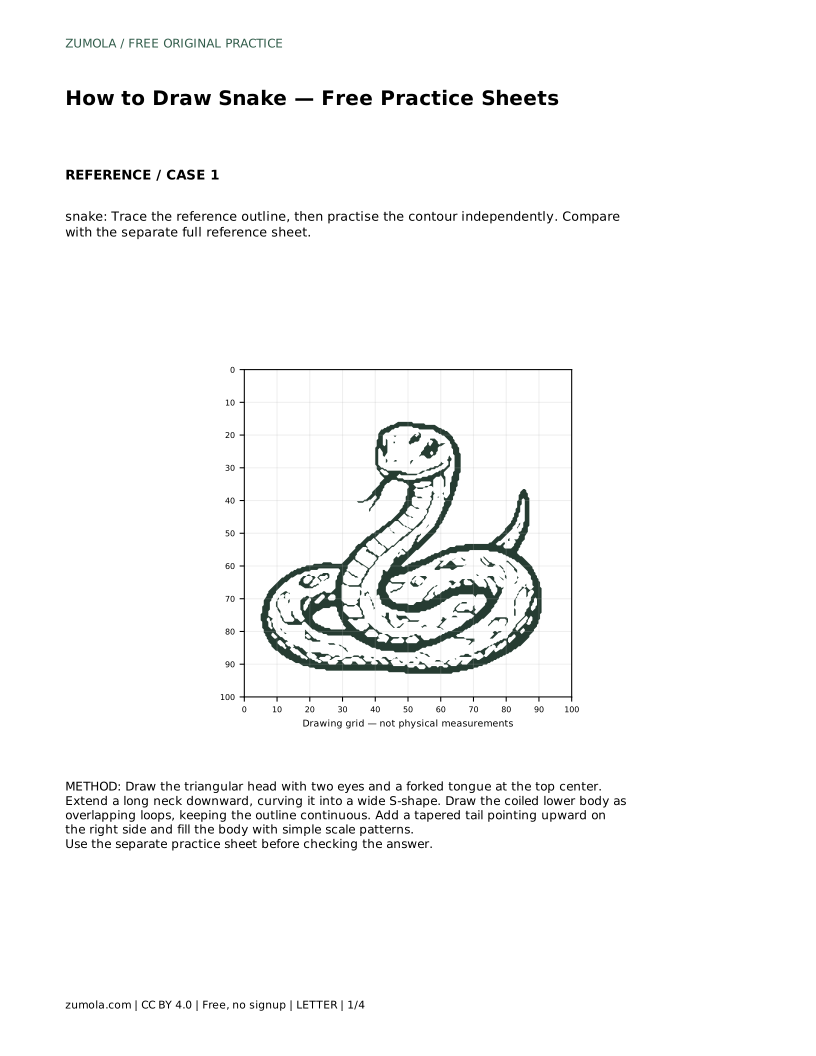
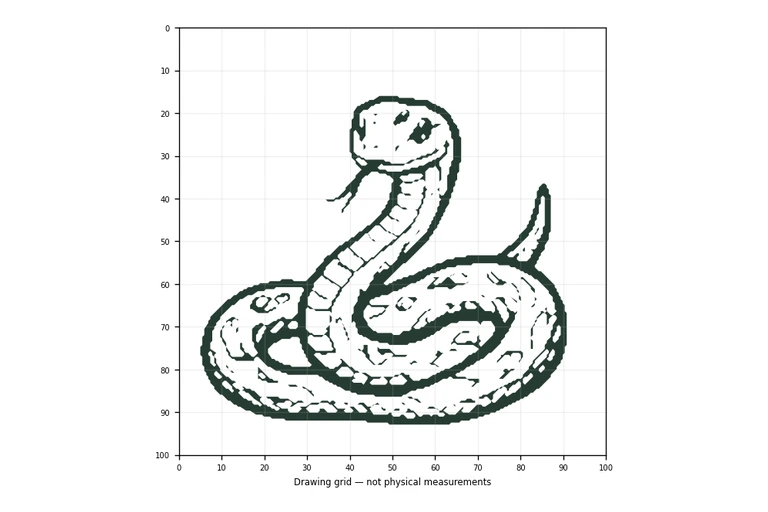
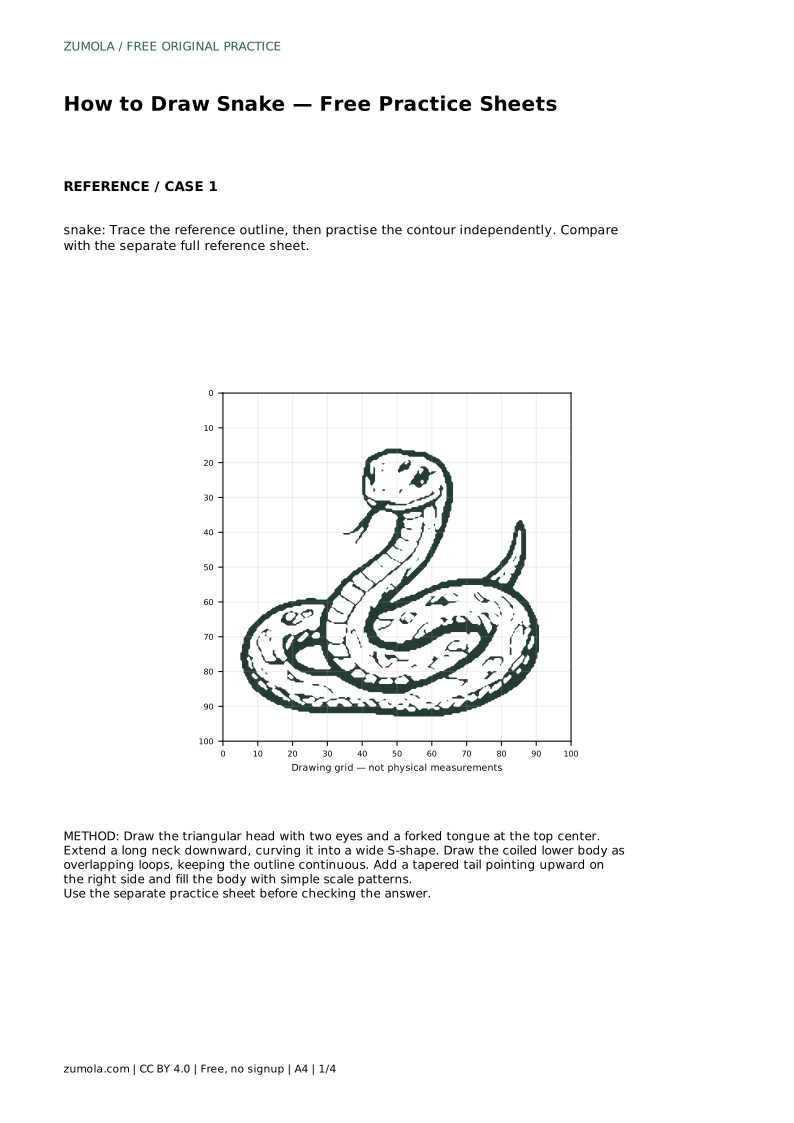
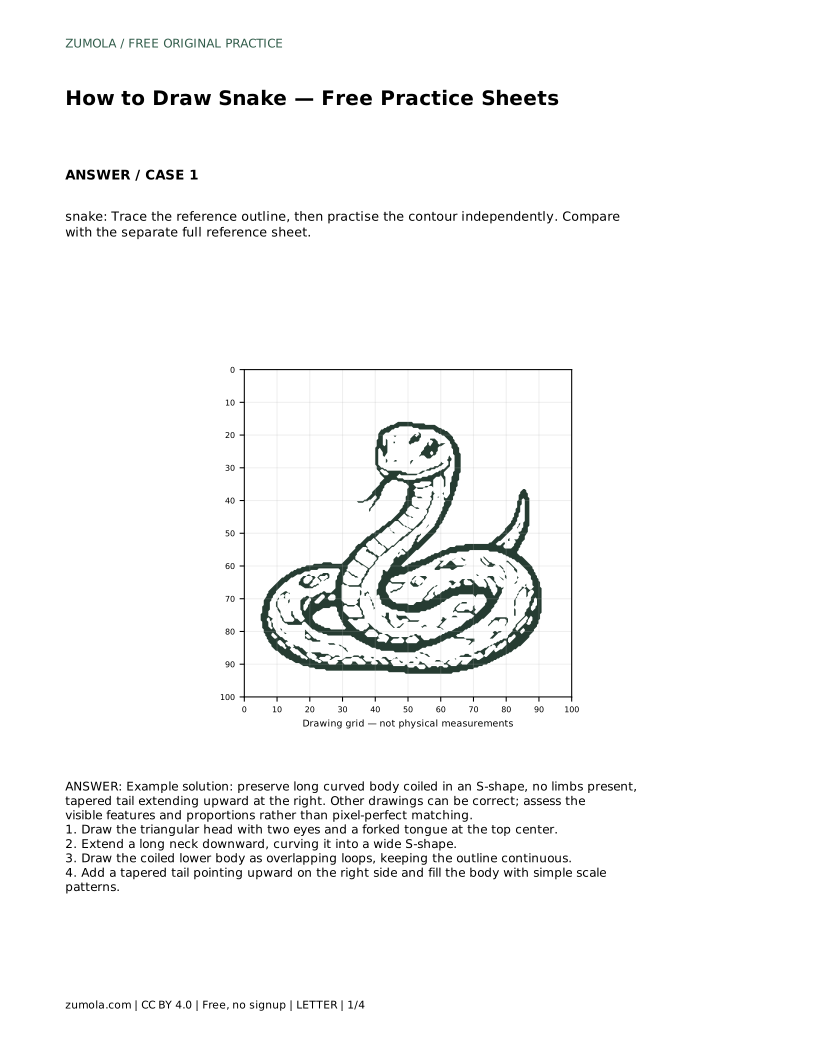
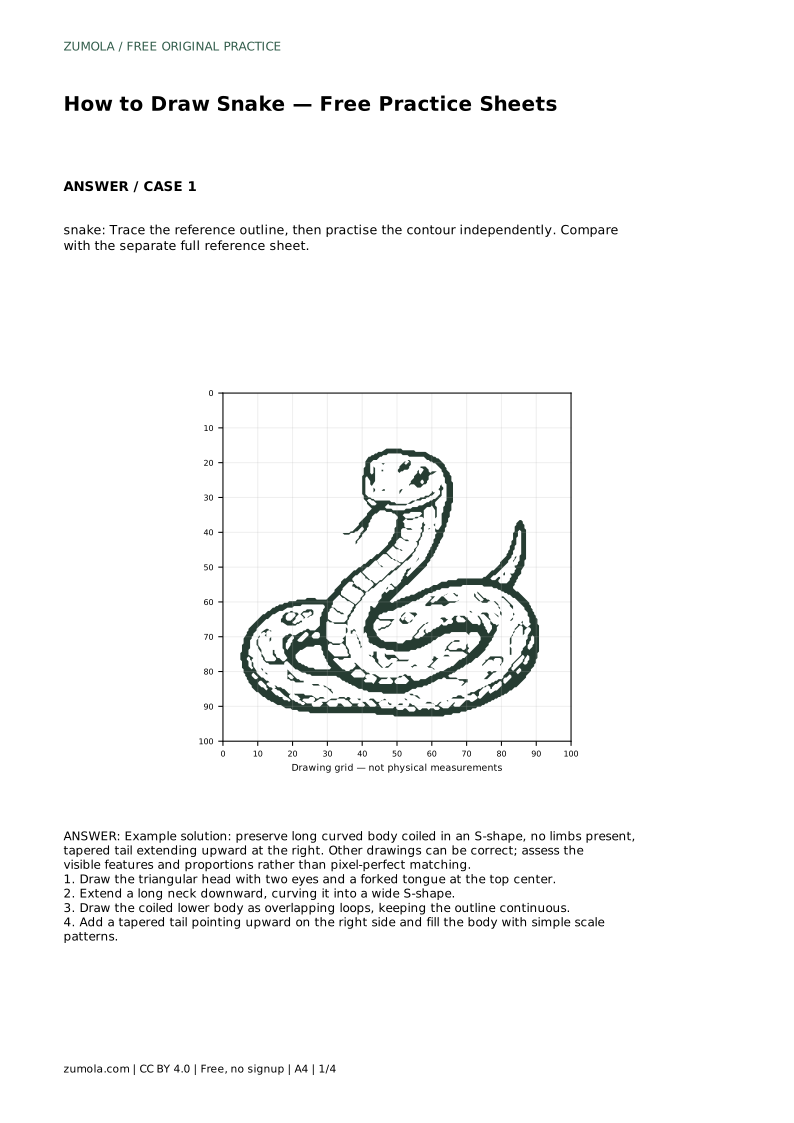
Drawing a snake is mostly a problem of one continuous line. The body has no limbs to break it up, so every curve and overlap has to connect smoothly from the triangular head to the tapered tail. This page walks through a tracing exercise, then shows how to practise the same contour independently. Because drawings can differ and still be correct, you will judge your work by visible features and proportions rather than an exact match.
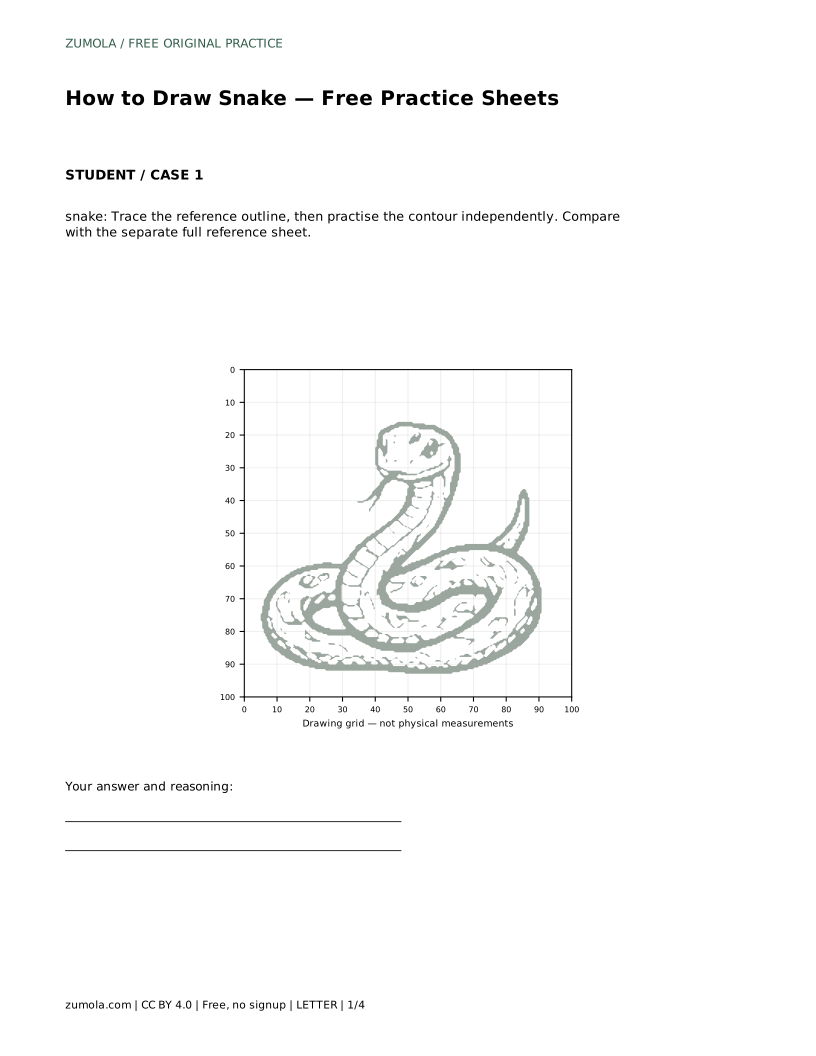
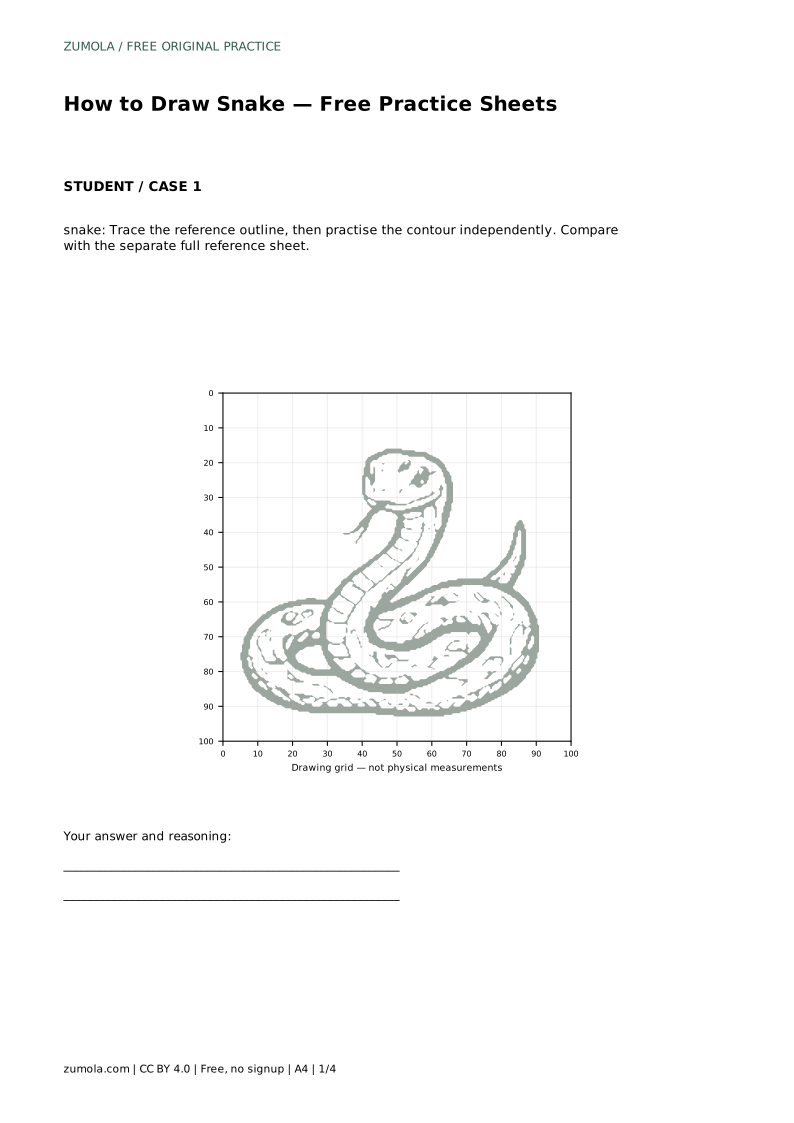
Tracing is a warm-up for your hand and eye, not the finished skill. Place your paper over the reference outline and follow the edge of the snake slowly. The goal is to feel how the line changes direction: tight curves near the head, a wide sweep through the middle, and overlapping loops where the body coils.
Keep the outline continuous. A snake drawn as separate segments looks like a stack of shapes rather than one animal. Where the body crosses itself, decide which loop sits in front and let that line stay unbroken while the loop behind stops at the edge.
Once the traced version feels steady, set the reference beside a blank sheet and draw the same snake from observation. Begin with the head, then work down the neck into the S-curve before adding the coils. Working in this order keeps the proportions from drifting.
Compare your independent drawing with the separate full reference sheet afterward. Check the length of the body relative to the head, the width of the S-curve, and whether the tail tapers gradually or stops abruptly. Small differences are fine; the features should still read as a snake.
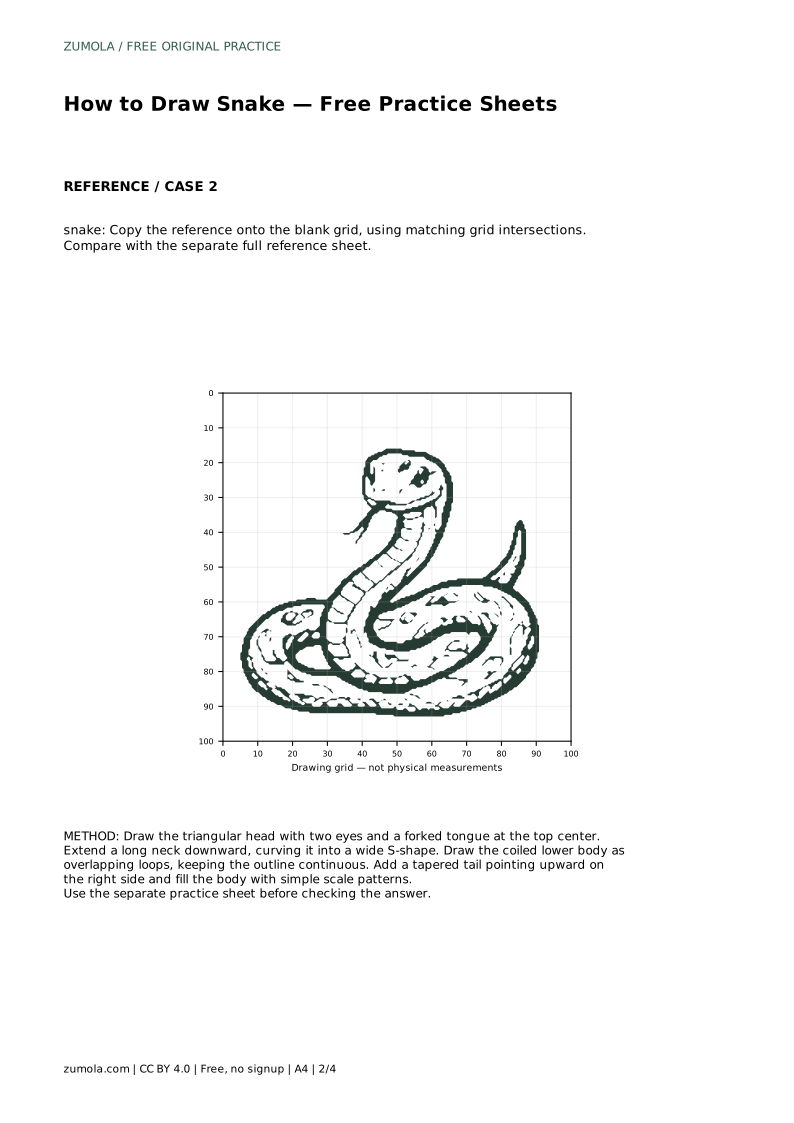
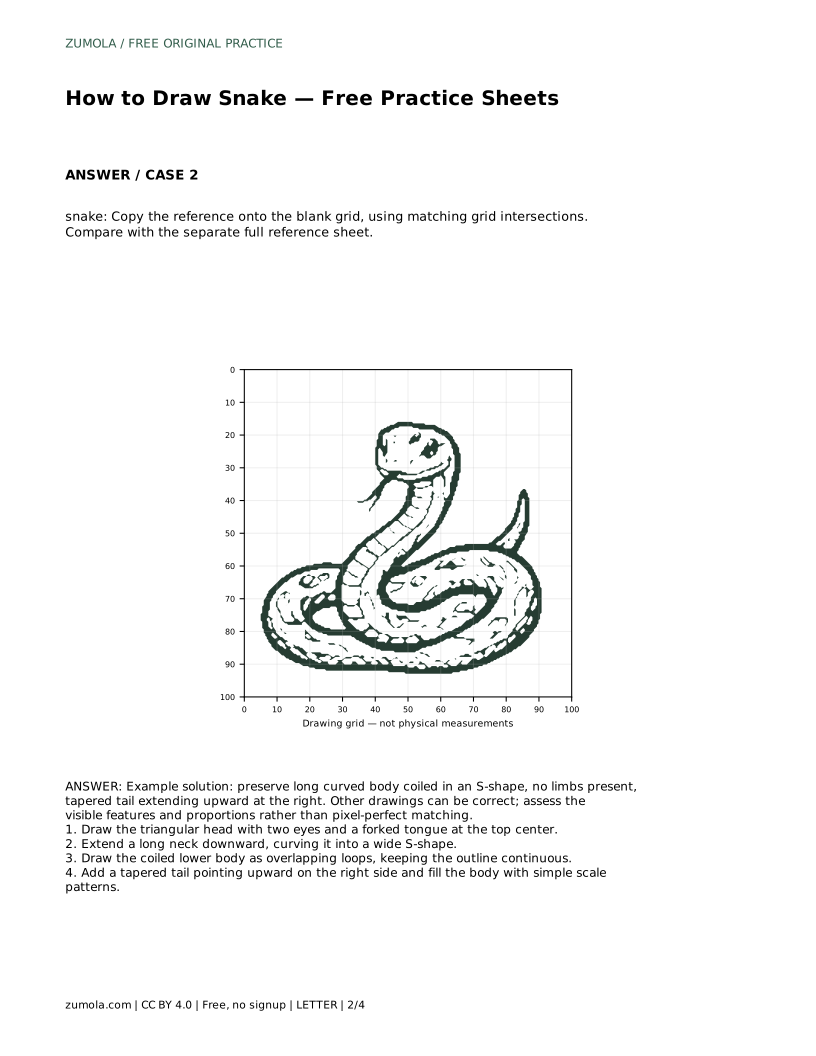
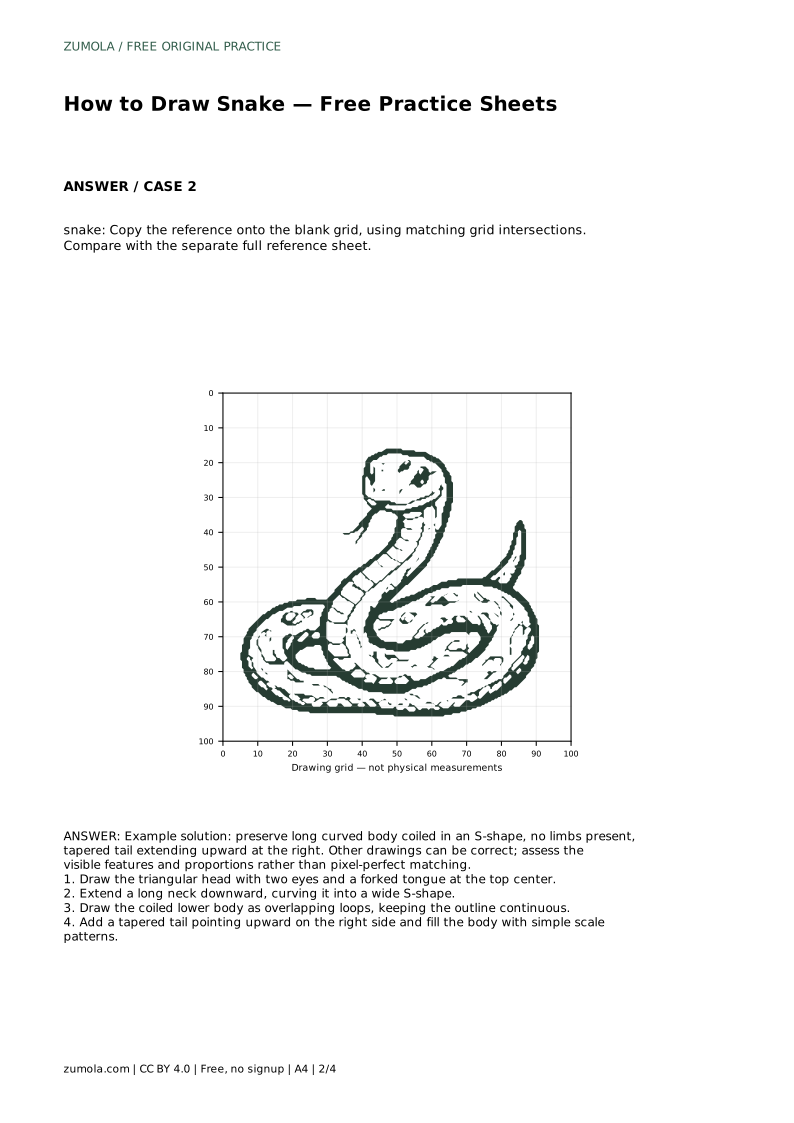
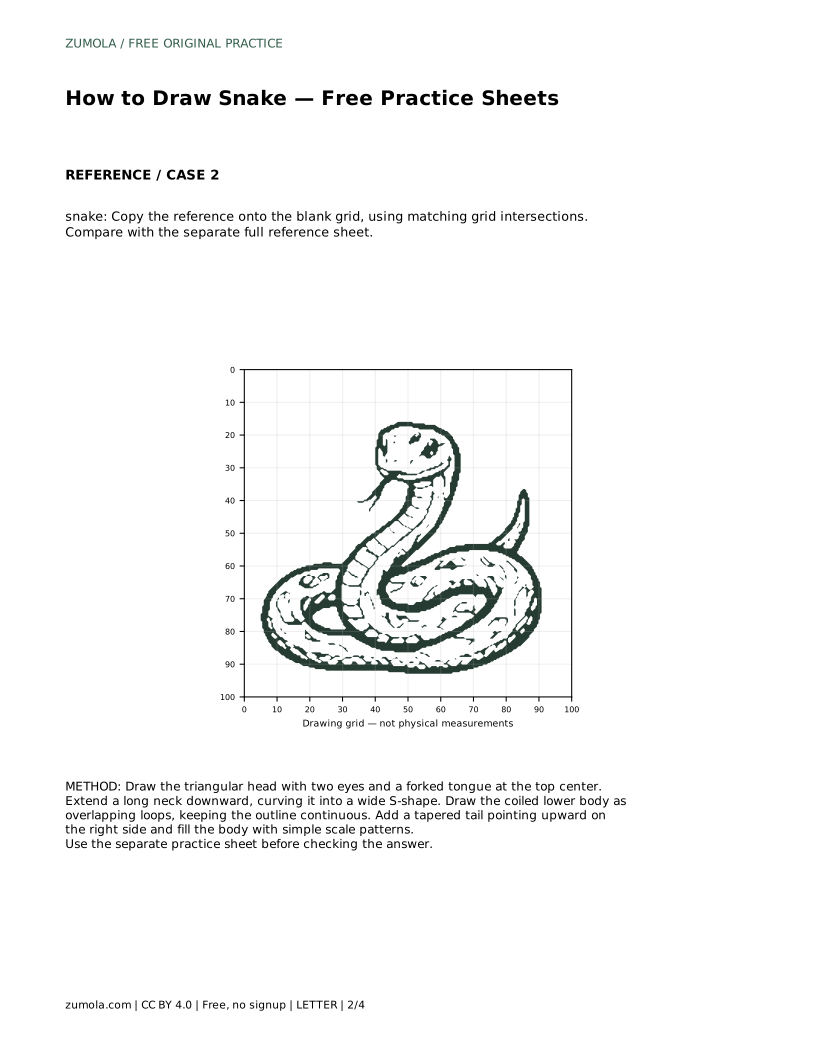
The grid sheet asks you to copy the reference onto a blank grid by matching grid intersections. Find where the head sits relative to the nearest intersection, then where the widest part of the coil falls. Copying square by square turns a complex outline into a series of short, manageable decisions.
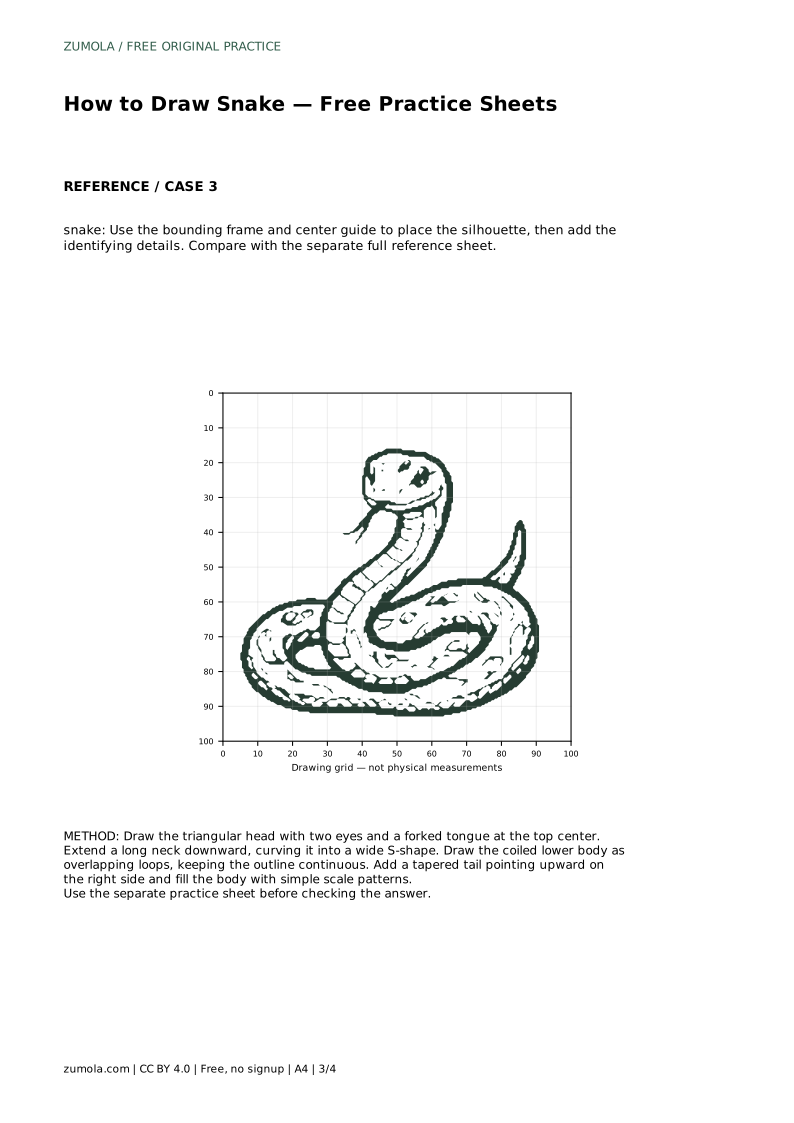
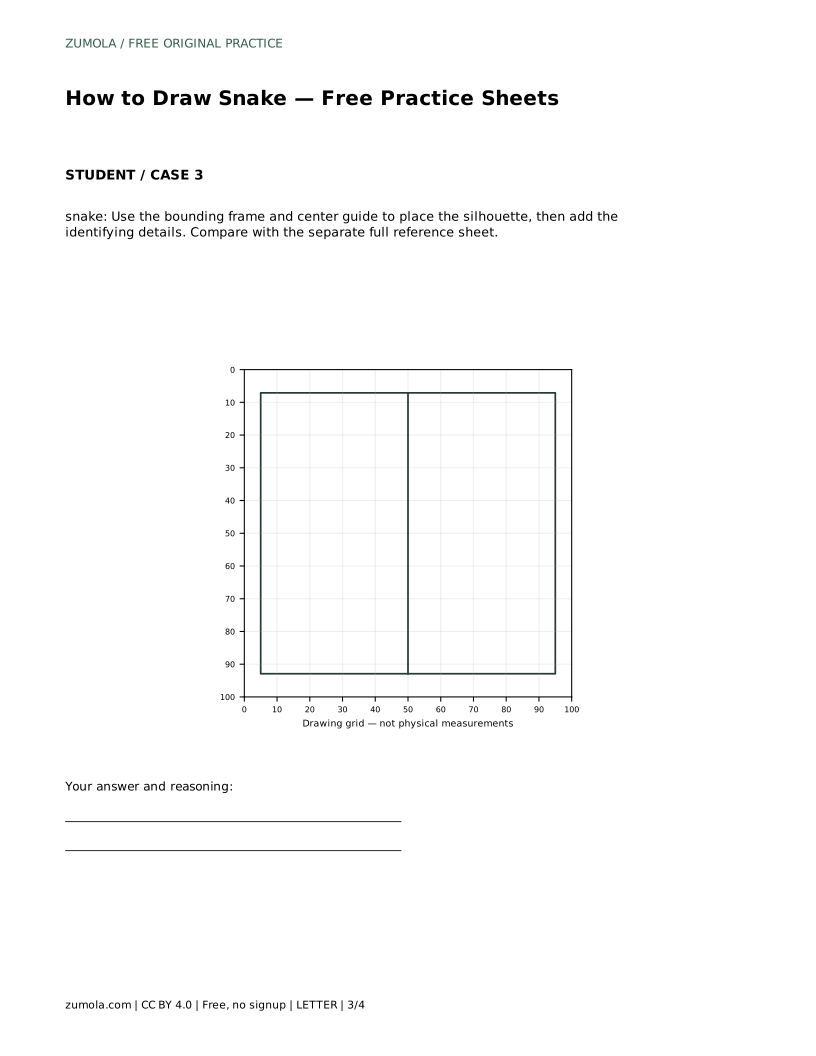
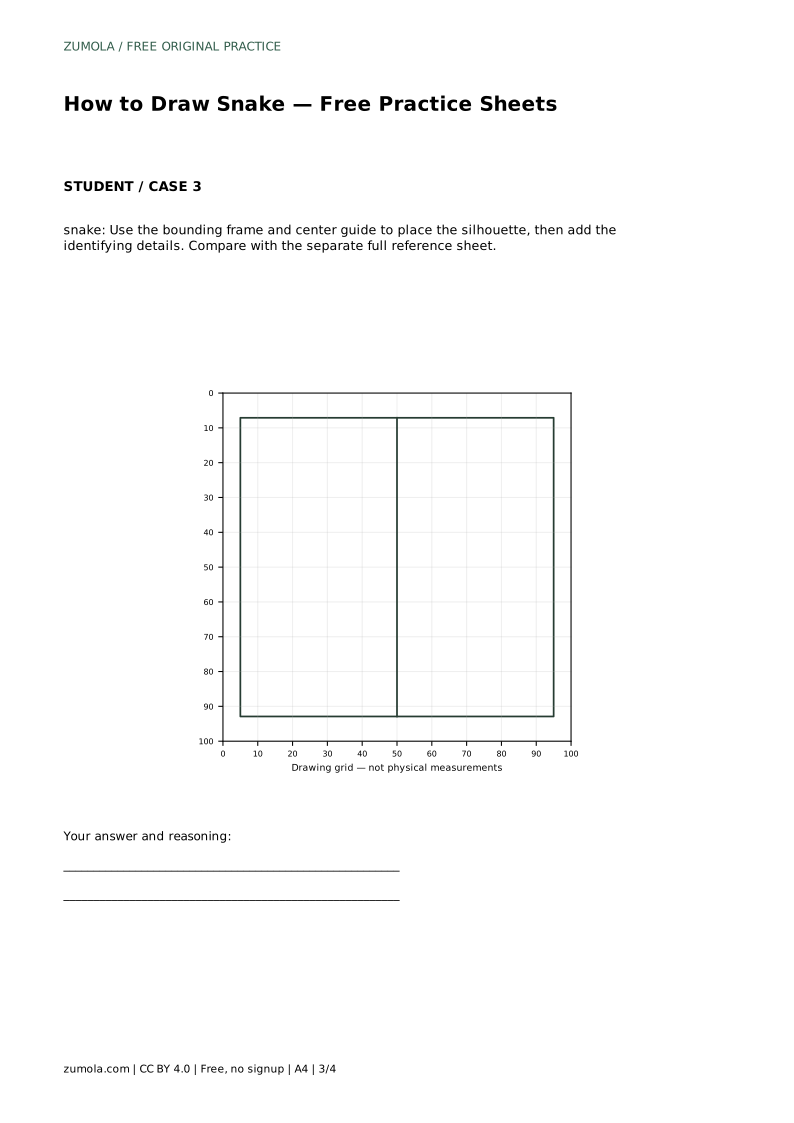
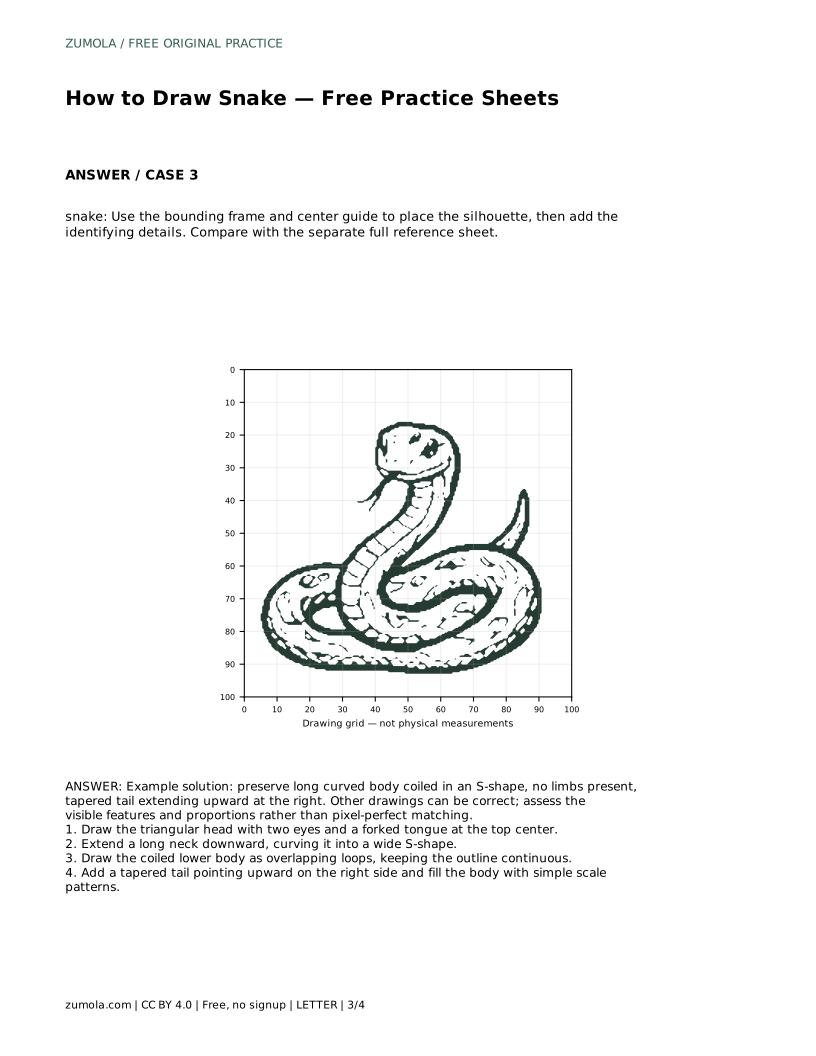
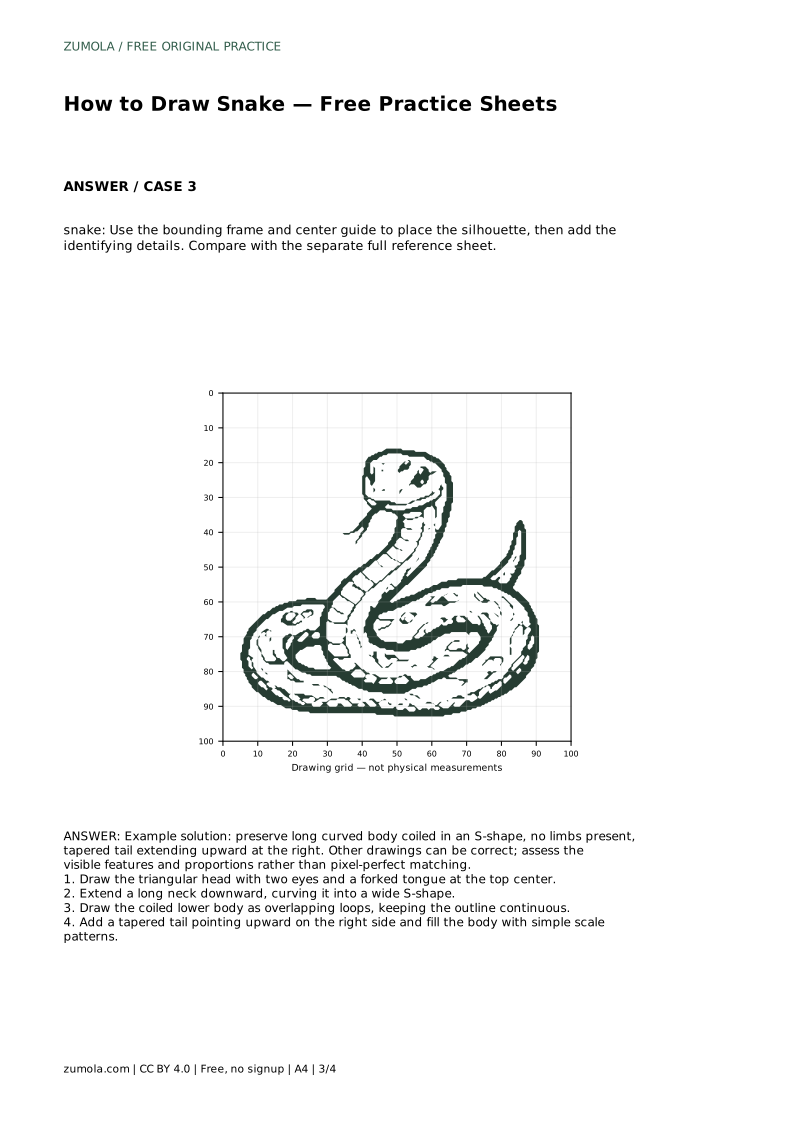
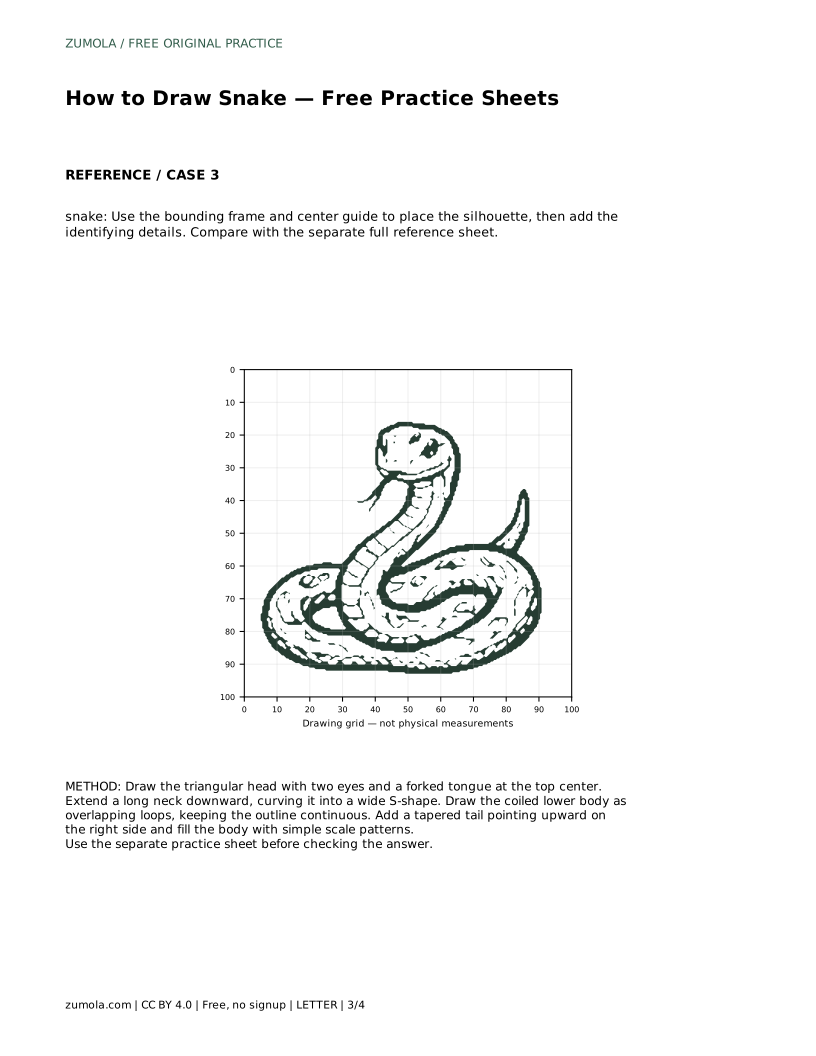
The bounding frame and center guide sheet works differently. Use the frame to place the overall silhouette inside the page, and the center guide to judge whether the head and tail sit on opposite sides of the middle. Add the identifying details only after the silhouette is positioned.
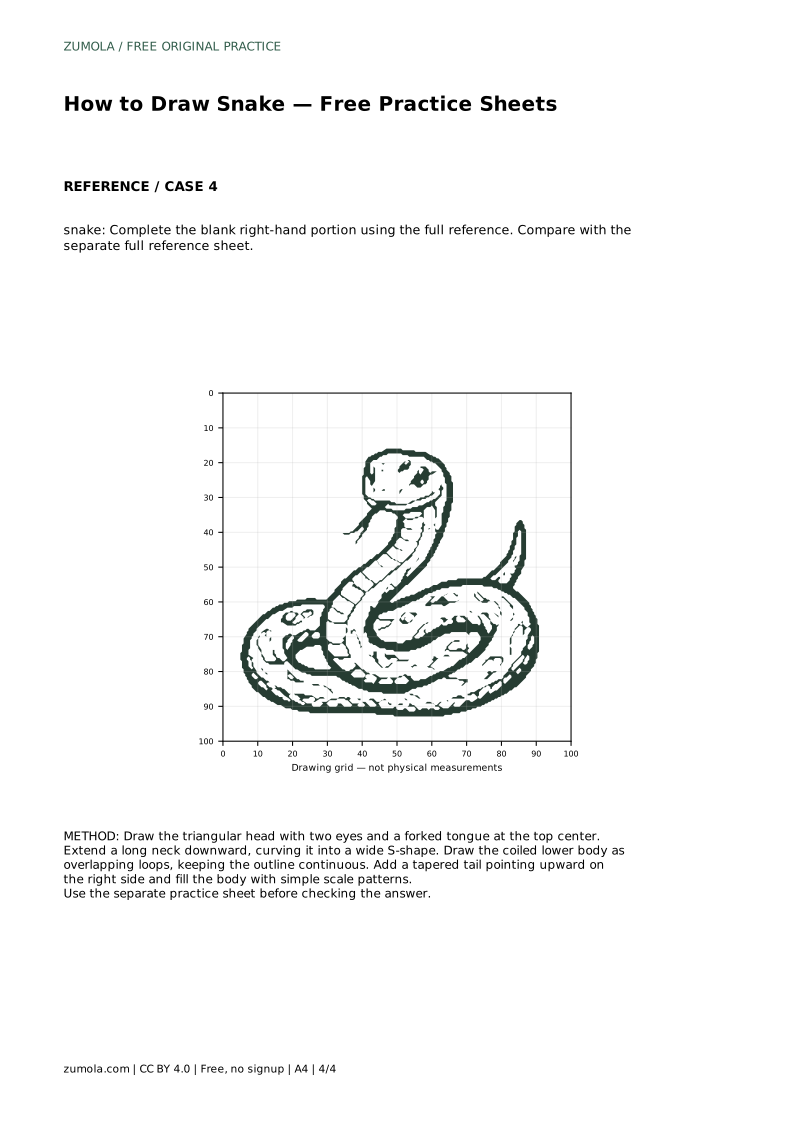
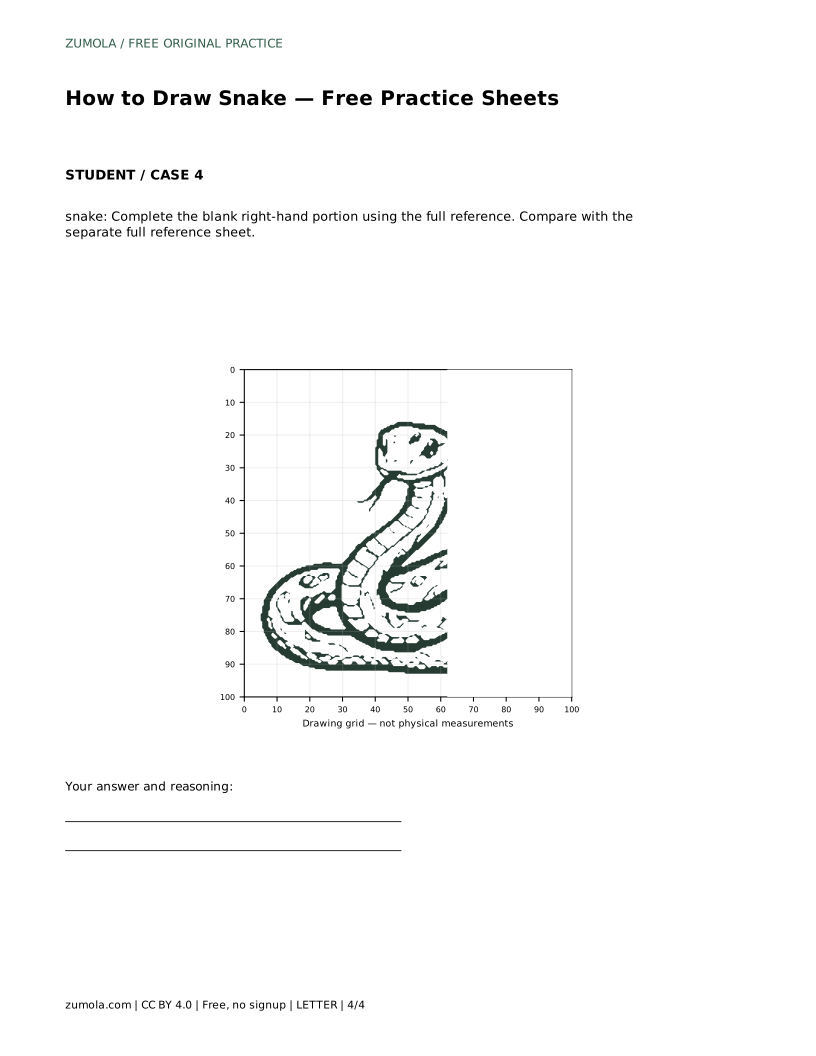
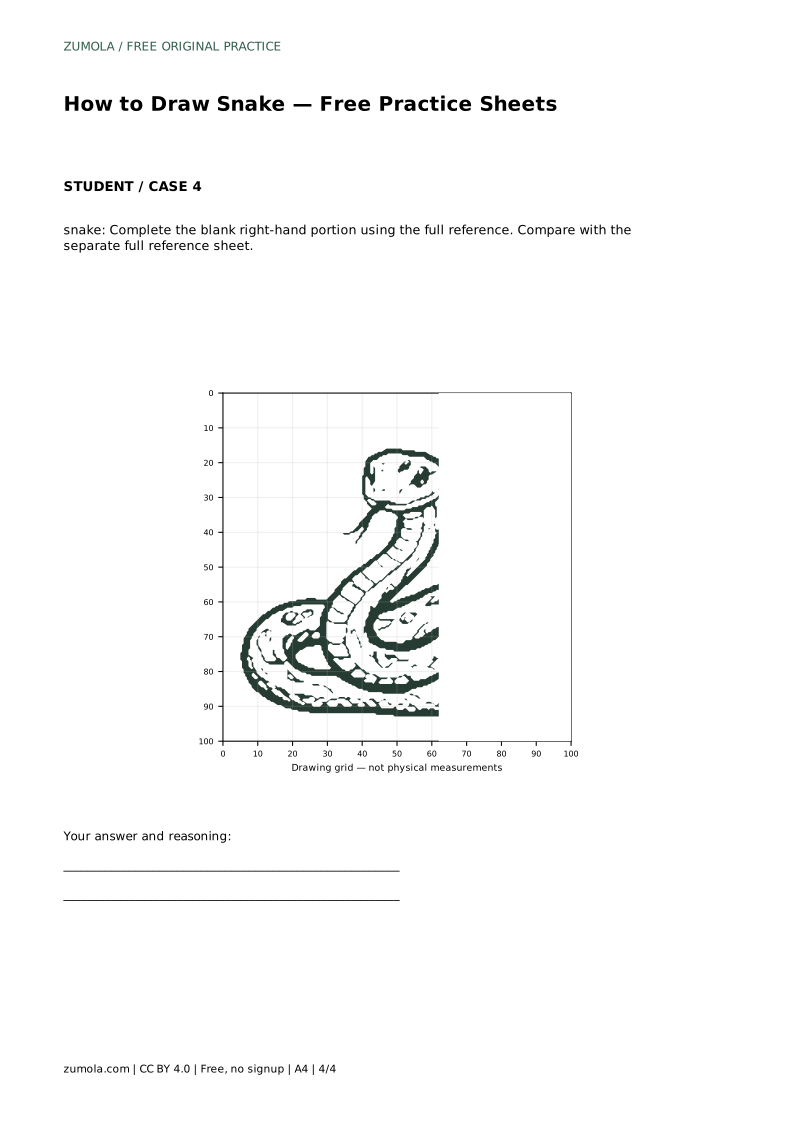
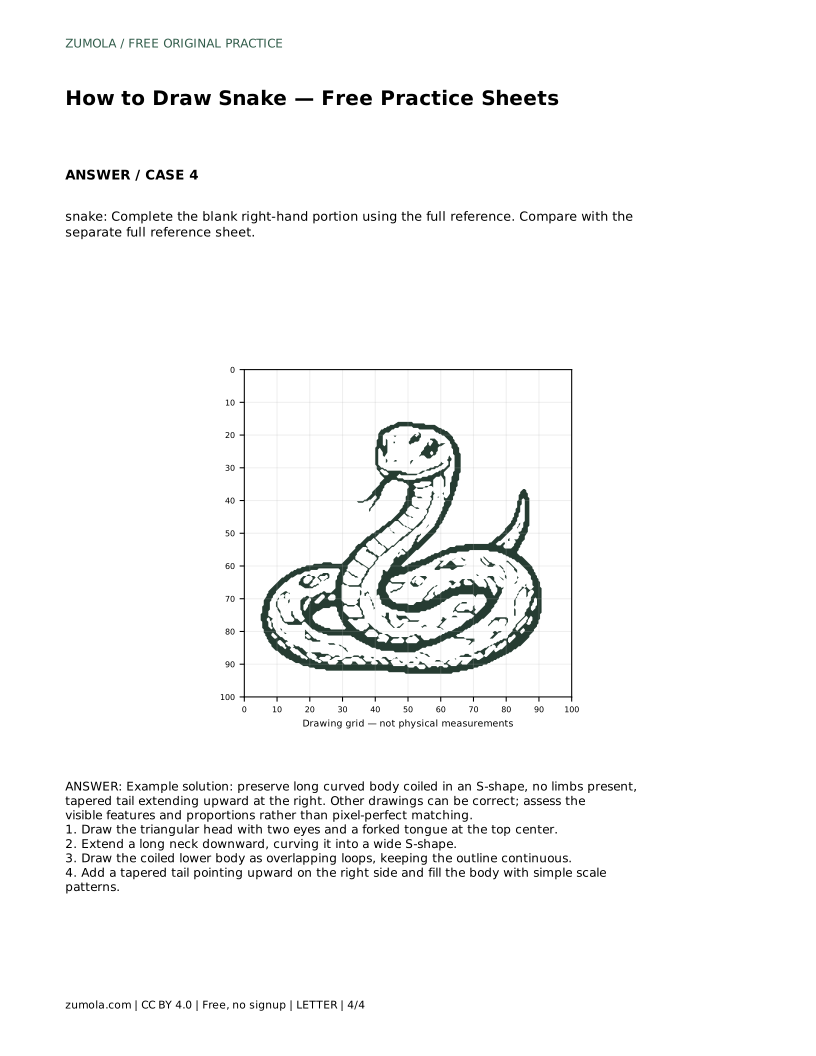
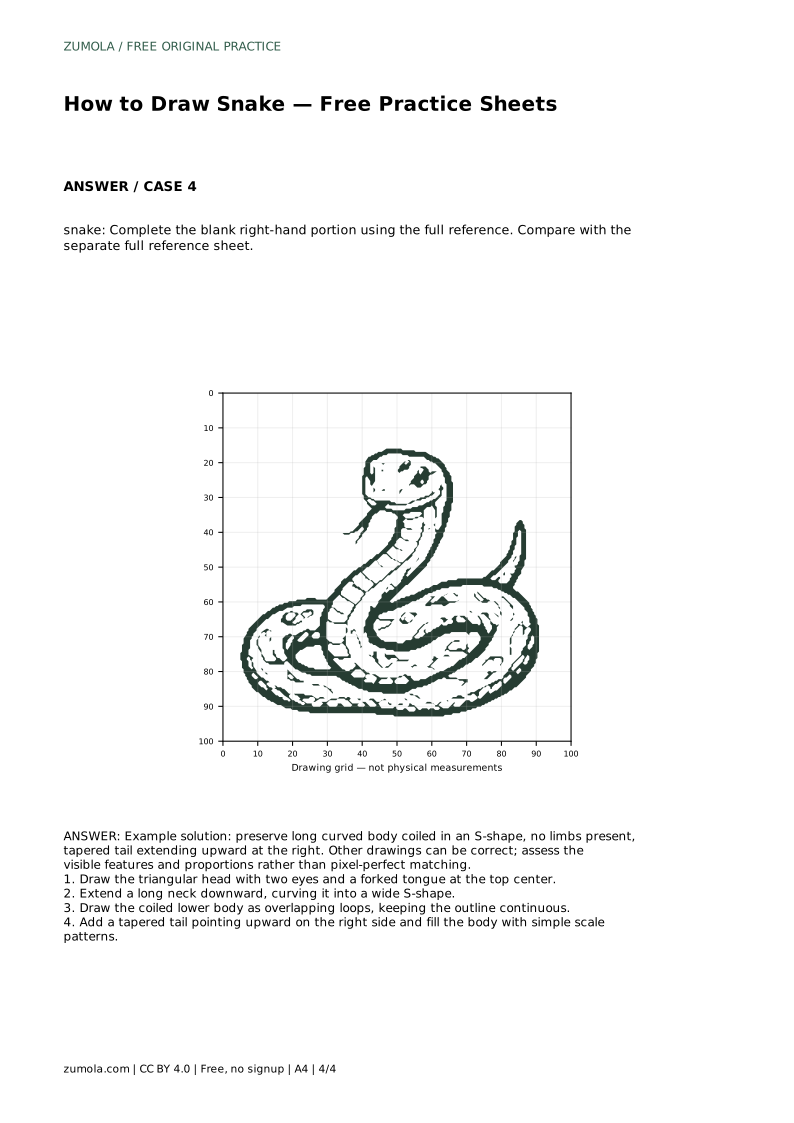
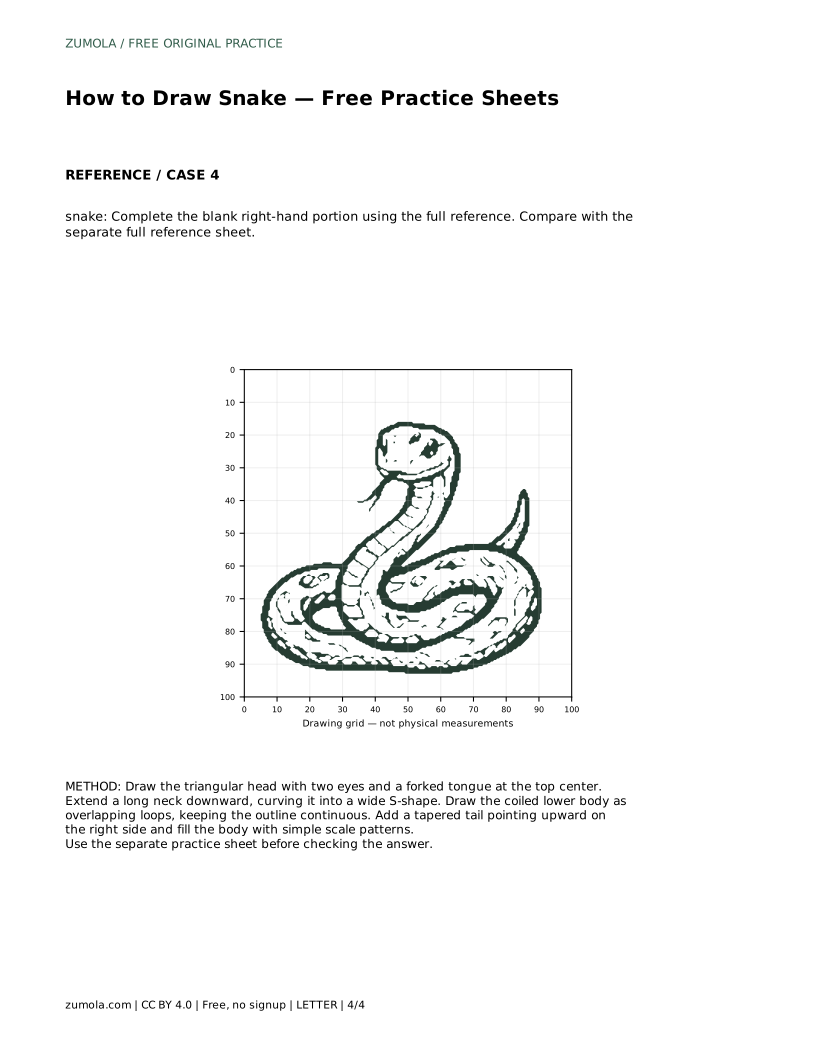
The completion sheet gives you part of the snake and leaves the right-hand portion blank. Use the full reference to work out what belongs in the missing area. Pay attention to where the existing lines would continue: a coil that disappears at the edge of the printed portion should reappear at a matching height.
This exercise tests whether you understand the structure rather than copying shapes. If your completed side connects cleanly to the given side and the tail tapers upward on the right, the drawing is working.
snake: Trace the reference outline, then practise the contour independently. Compare with the separate full reference sheet.
Example solution: preserve long curved body coiled in an S-shape, no limbs present, tapered tail extending upward at the right. Other drawings can be correct; assess the visible features and proportions rather than pixel-perfect matching. Draw the triangular head with two eyes and a forked tongue at the top center. Extend a long neck downward, curving it into a wide S-shape. Draw the coiled lower body as overlapping loops, keeping the outline continuous. Add a tapered tail pointing upward on the right side and fill the body with simple scale patterns.
No. Other drawings can be correct. Assess the visible features and proportions, such as the triangular head, continuous coiled body, and tapered tail, rather than pixel-perfect matching.
Start with the triangular head, extend the neck into a wide S-shape, add the overlapping coils, then finish the tapered tail and scale patterns.
Overlapping loops create depth. Decide which loop sits in front and keep that outline unbroken so the body appears to cross over itself.
All drawing practice · Free coordinate paper
Original resources · CC BY 4.0 · Free for personal and classroom use with attribution.