Reference diagrams
LETTER · Download PDF
A4 · Download PDF
Free original resources
Learn to draw a rattlesnake by building a triangular head, overlapping body coils, patterned scales and a tapered tail, then check your work against a reference sheet.
Four original cases, with reference diagrams, practice sheets and worked answers. Everything is free; no signup required.
LETTER · Download PDF
A4 · Download PDF
LETTER · Download PDF
A4 · Download PDF
LETTER · Download PDF
A4 · Download PDF
Use A4 or US Letter to match your printer. Use the stated values and conditions to solve each exercise; diagrams are not physical measuring rulers.
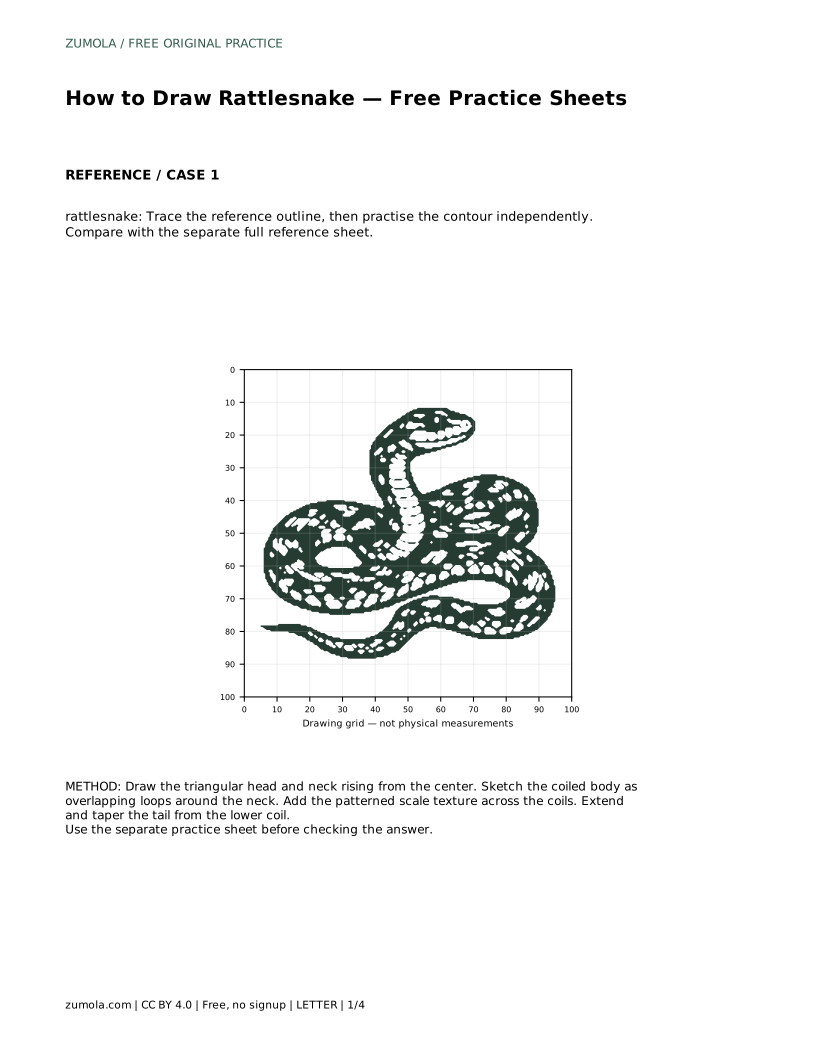
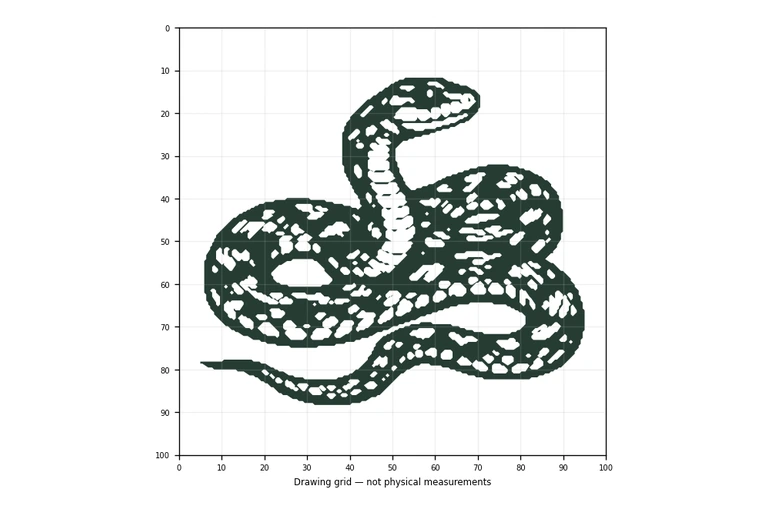
A rattlesnake drawing reads clearly when three things line up: a triangular head raised above the body, a coiled body built from overlapping loops, and a patterned scale texture that follows the curves. This page walks through that construction step by step, then explains how to compare your drawing with a separate full reference sheet. Because drawings can be correct in more than one way, you will judge visible features and proportions rather than pixel-perfect matching.
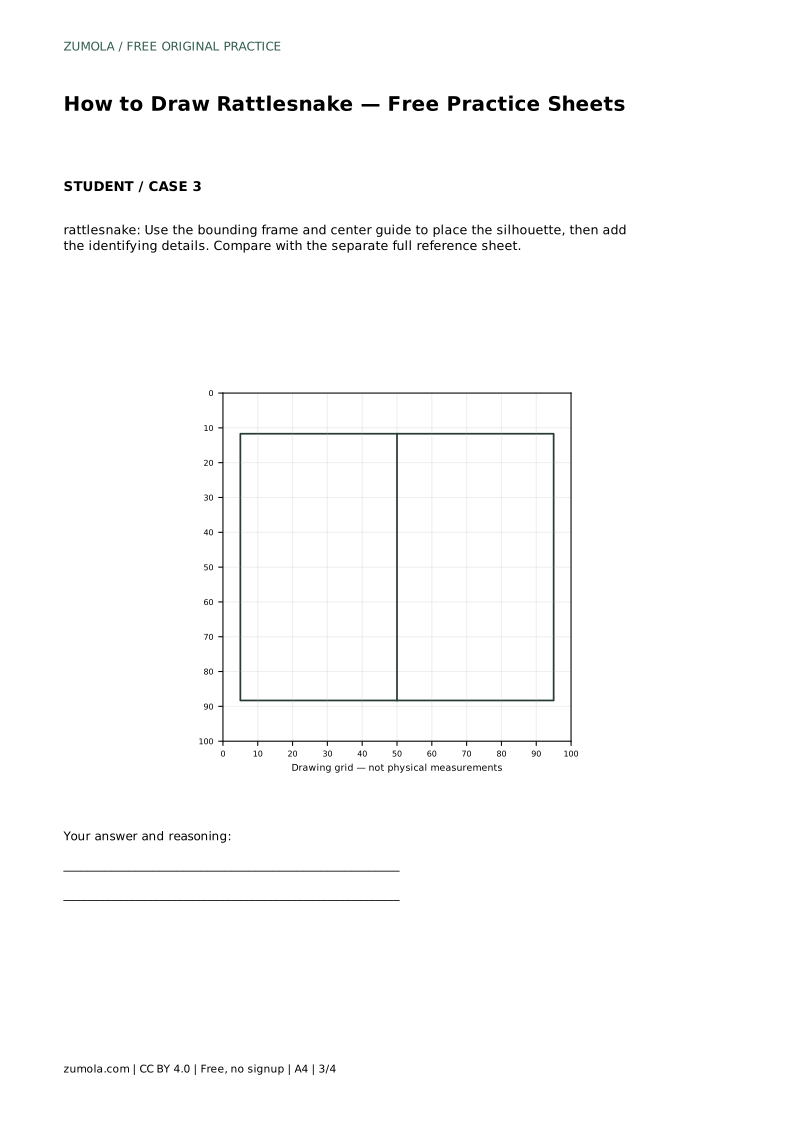
Place the triangular head near the upper middle of the page, with the neck rising from the center of the composition. A rattlesnake head is broader at the back and narrows toward the snout, so sketch a triangle or arrow shape rather than an oval. Keep the head small relative to the coiled body; a head that is too large makes the snake look like a different species.
Draw a short neck connecting the head to the body. The neck should curve slightly, not stand perfectly straight, so the head appears raised and alert. Leave room around the head for the coils that will wrap below it.
The body is the hardest part to keep readable. Think of it as a series of loops that overlap around the neck and lower body, like a rope wound on the ground. Draw each loop as a curved band with two edges, and let the nearer loop cross over the farther one so the depth is visible.
Keep the bands roughly even in width. If one loop becomes much thicker than the others, the coil looks lumpy rather than smooth. Work from the top coil downward, adding each loop so it tucks behind the previous one.
Scale texture should follow the direction of the body, not sit as a flat grid. Draw small repeated marks or diamond shapes along each band, curving them with the coil. Spacing them evenly keeps the pattern from looking random, and leaving some areas lighter helps the coils stay distinct.
Finish by extending the tail from the lower coil and tapering it to a point. The tail should continue the curve of the body rather than jutting out at a sharp angle. Add the rattle as a short series of segments at the tip if your reference shows one.
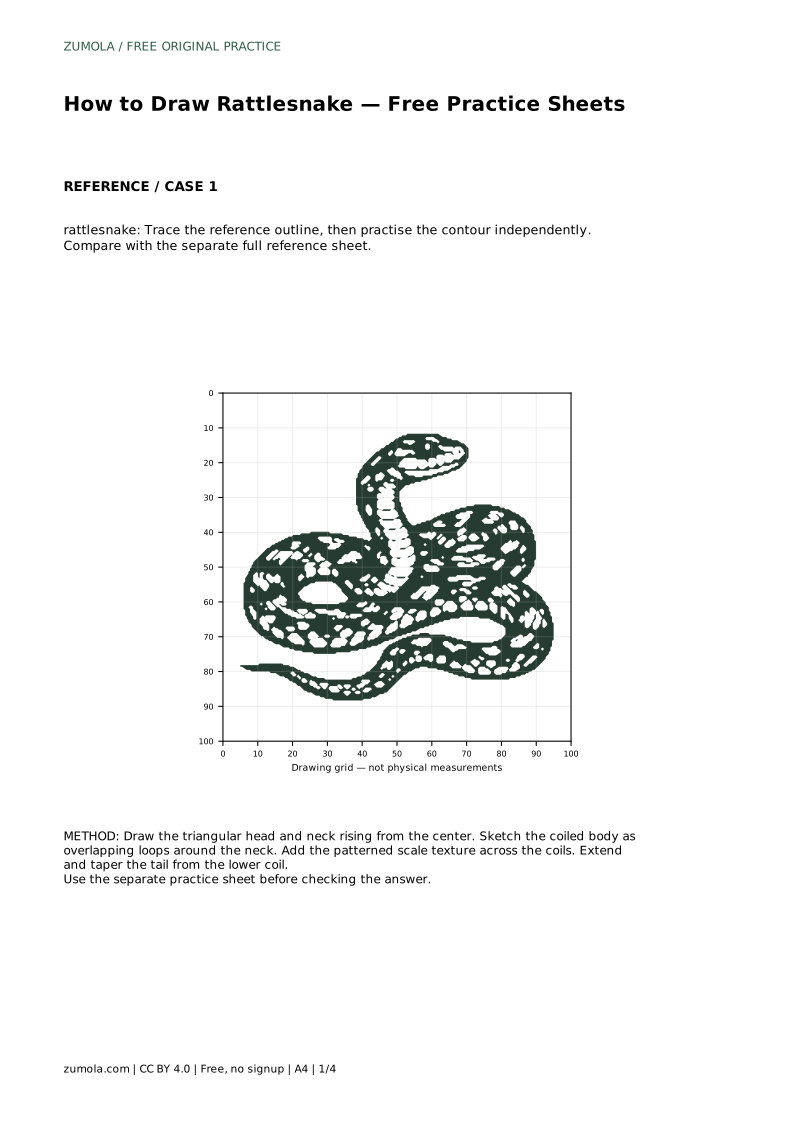
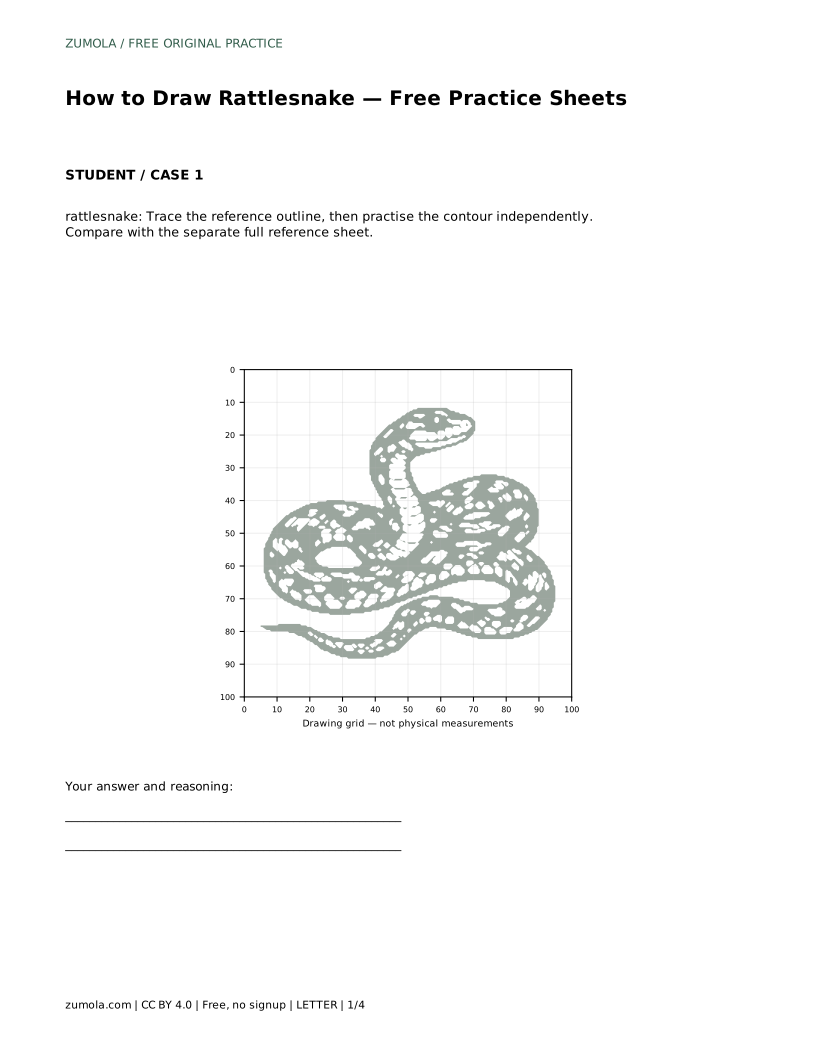
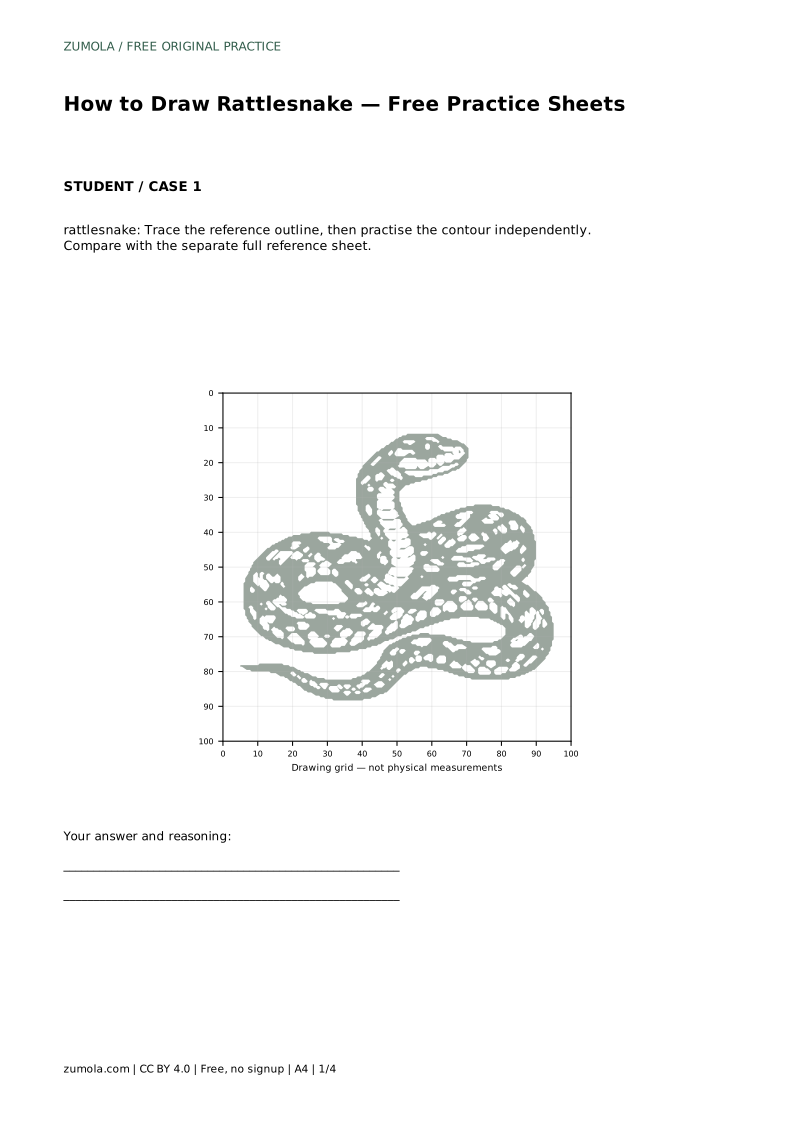
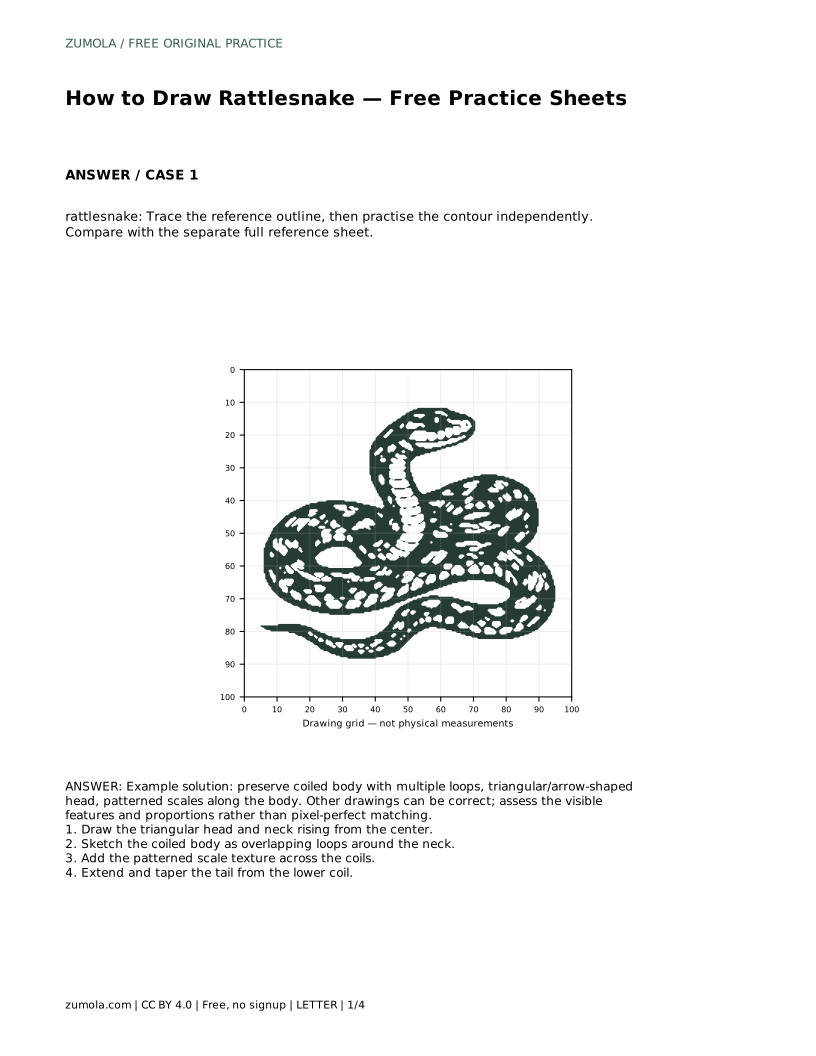
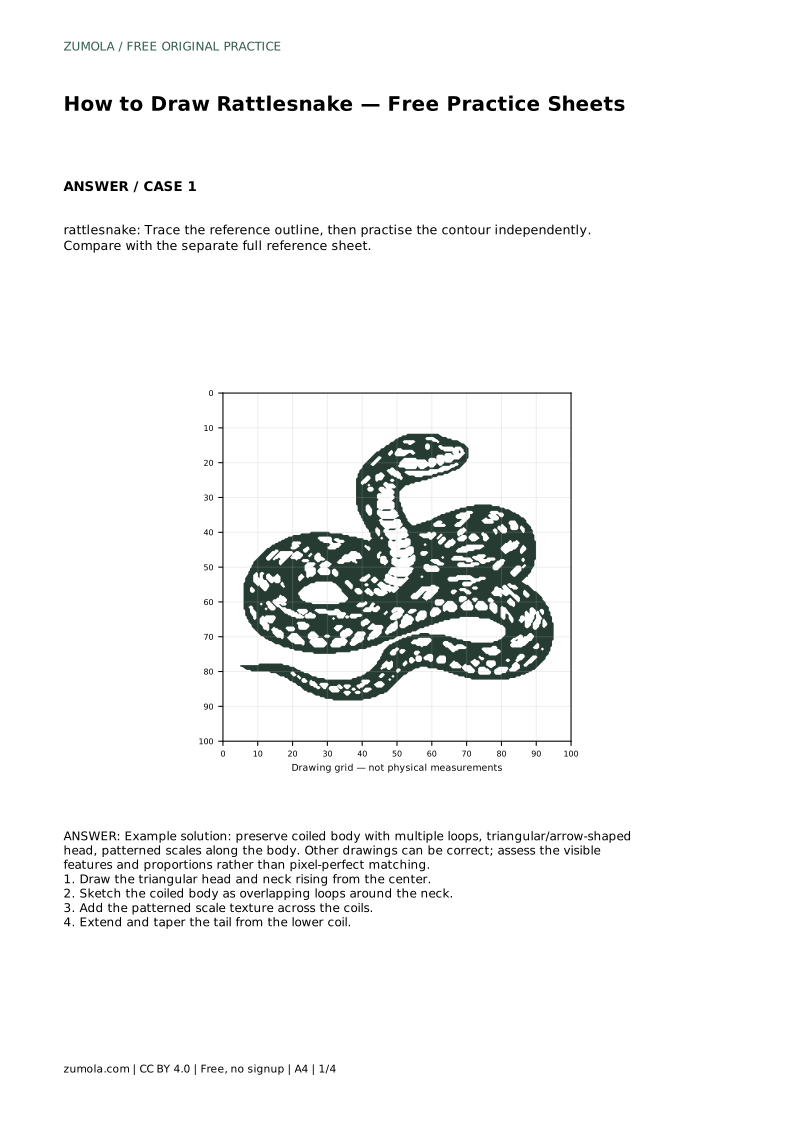
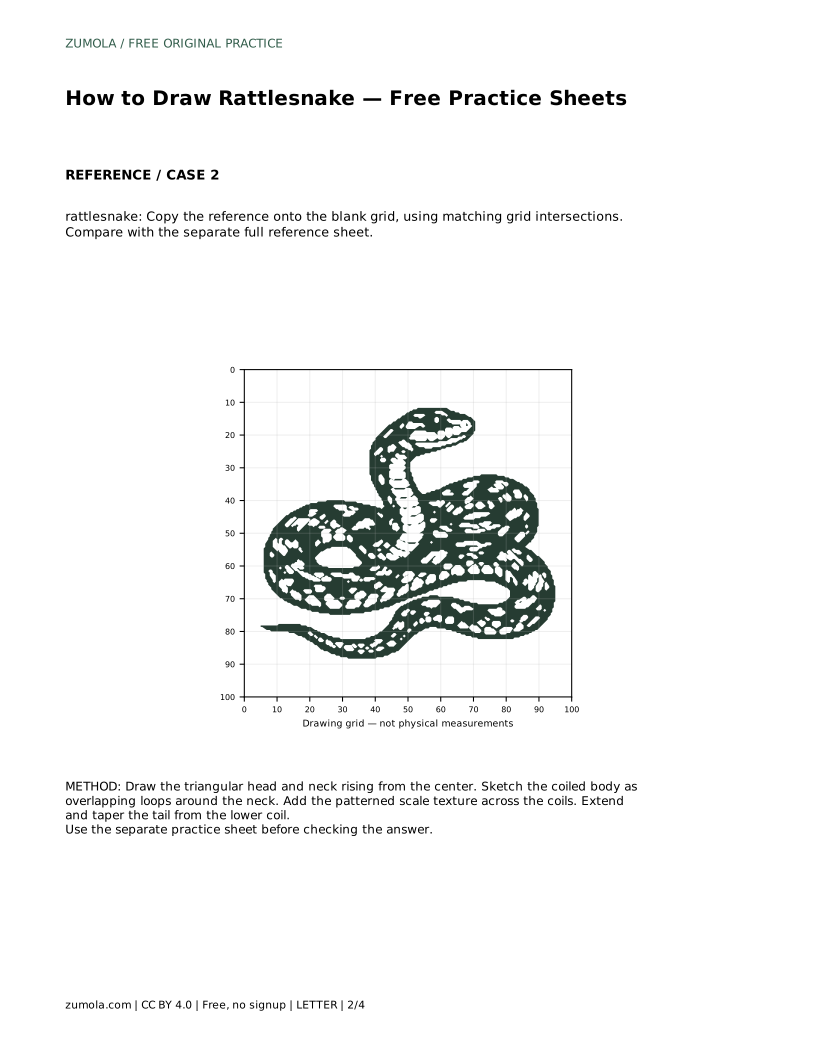
rattlesnake: Trace the reference outline, then practise the contour independently. Compare with the separate full reference sheet.
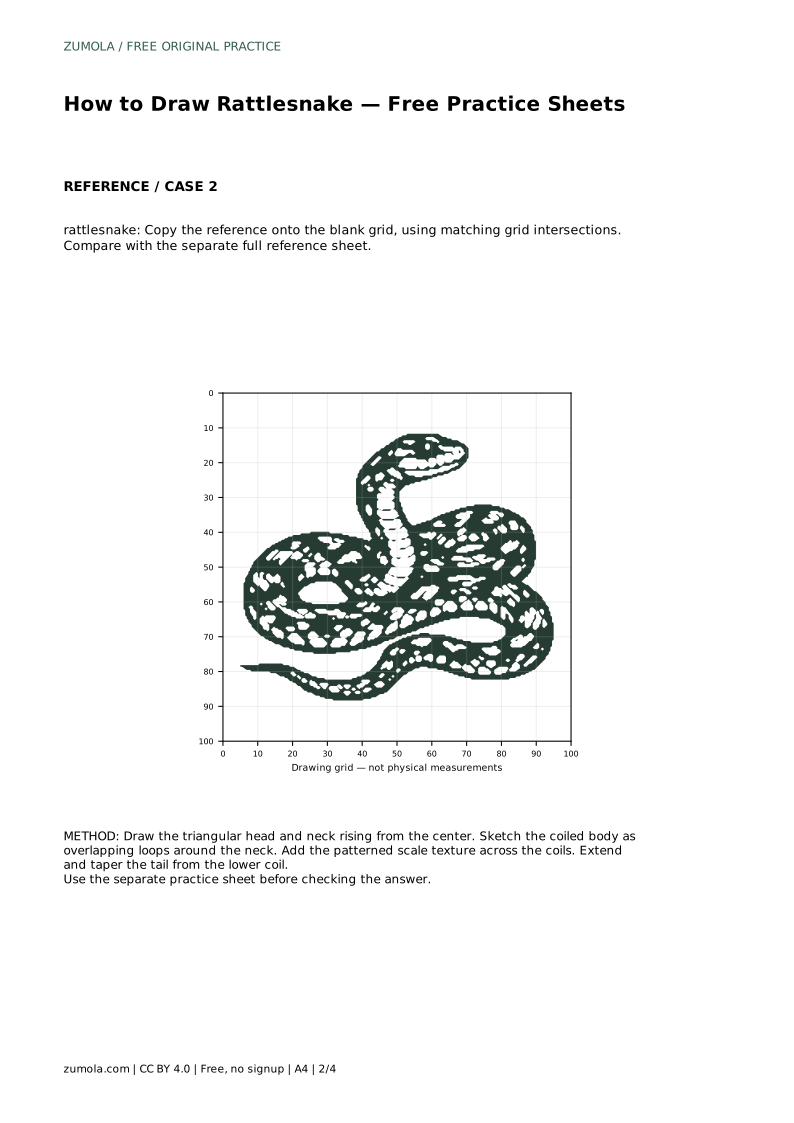
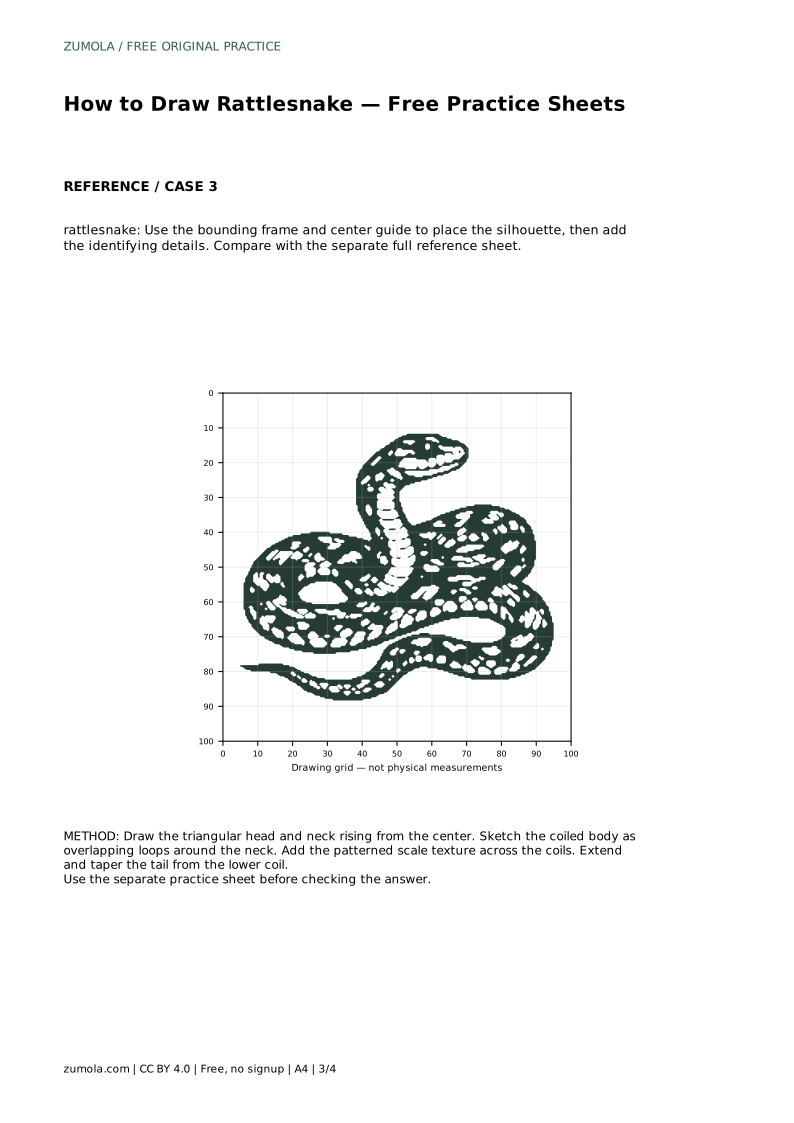
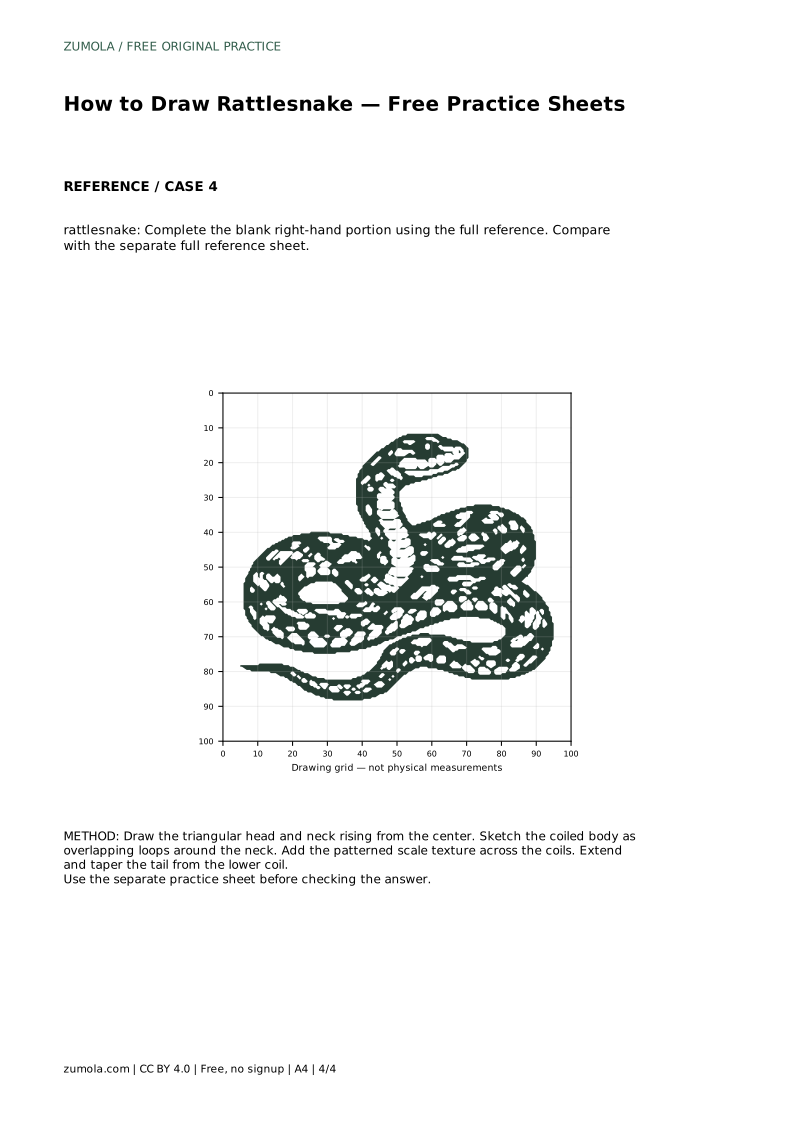
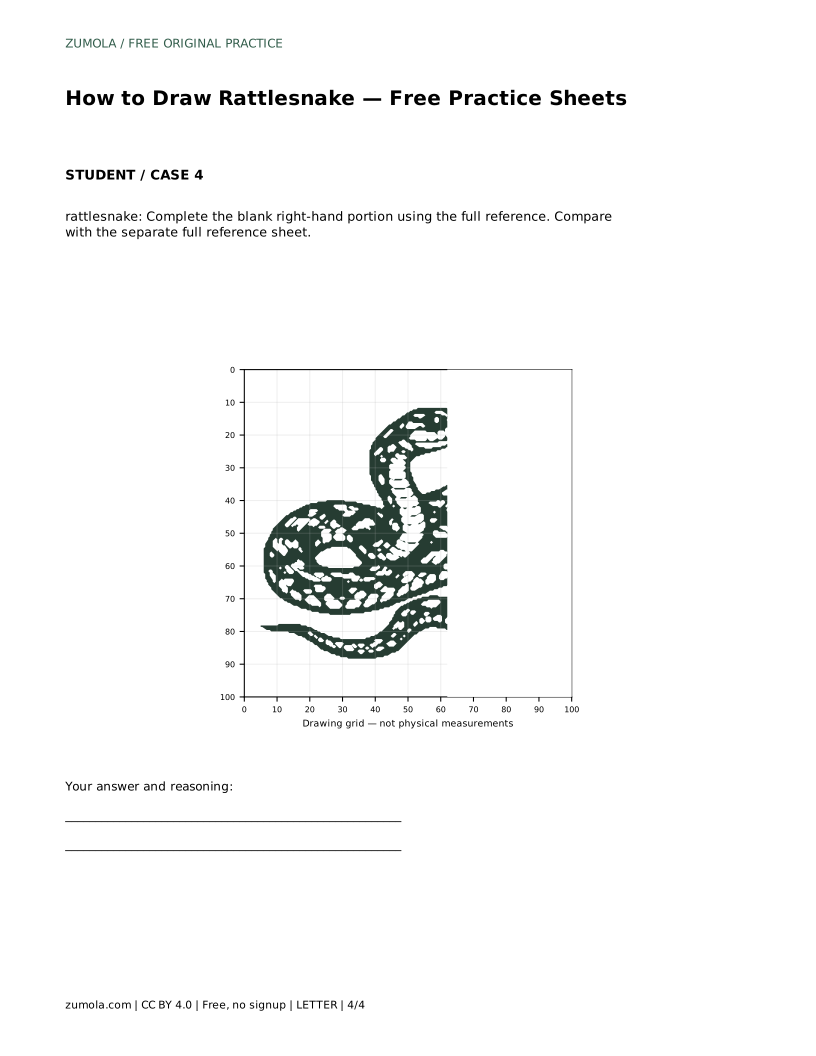
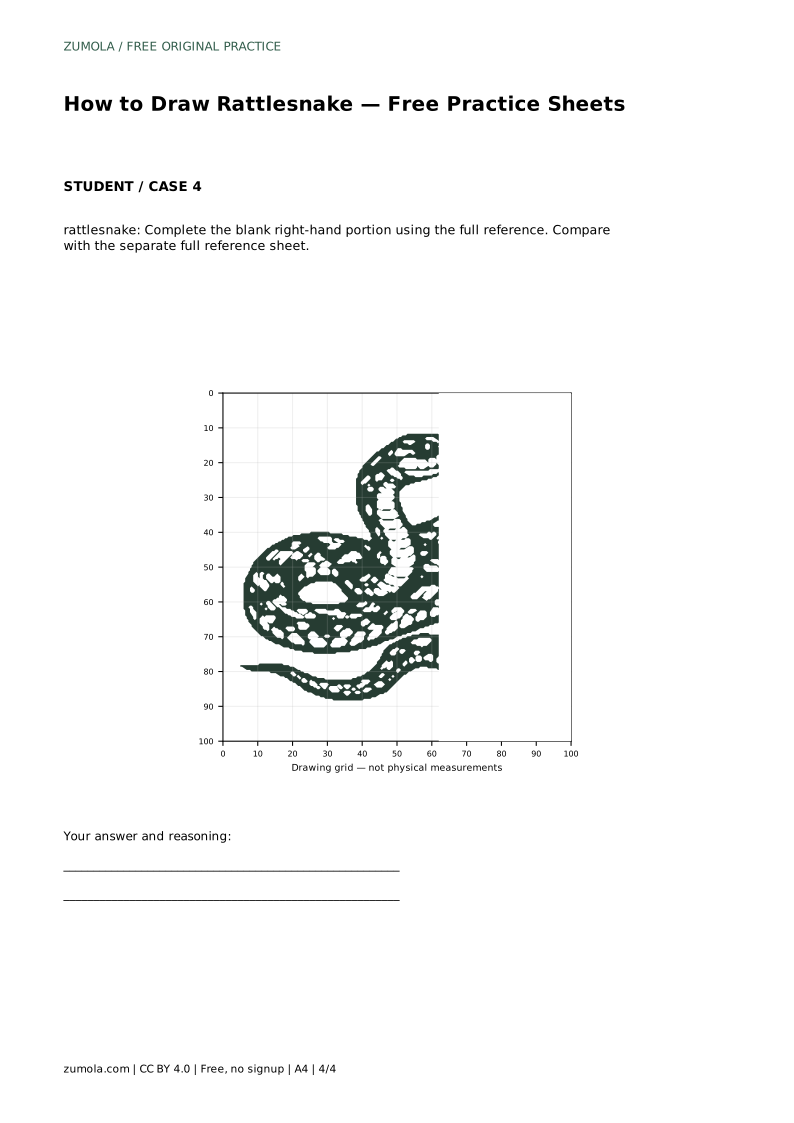
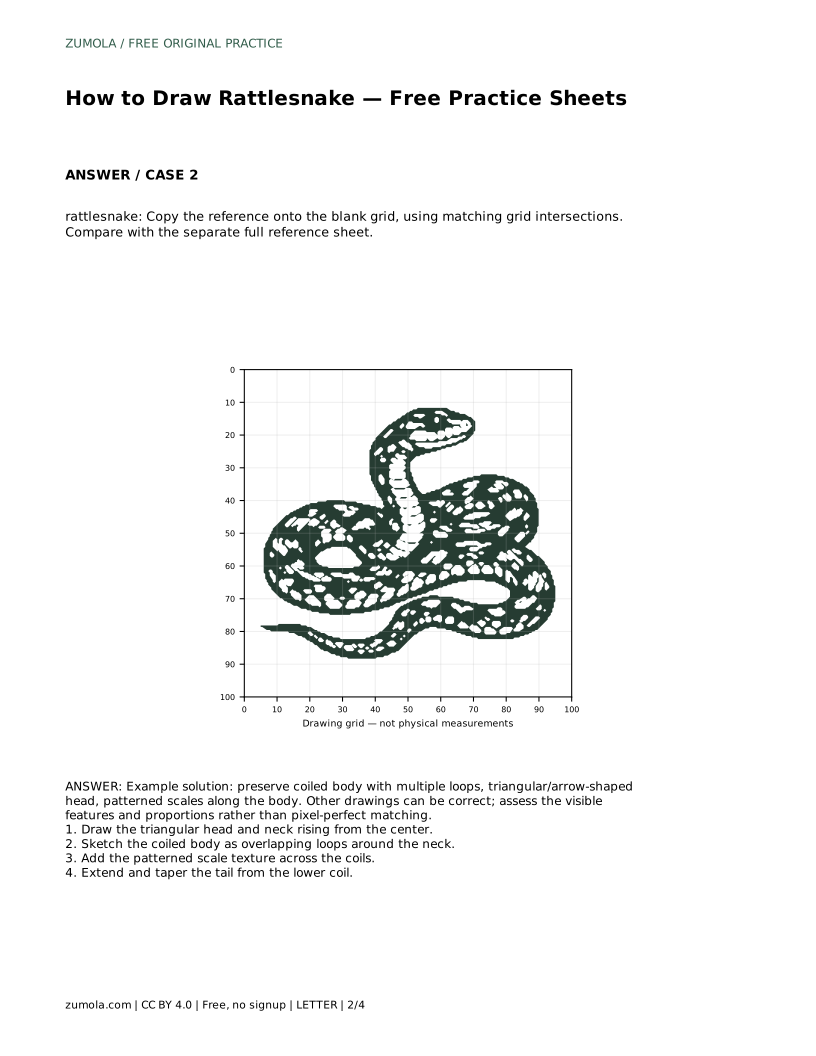
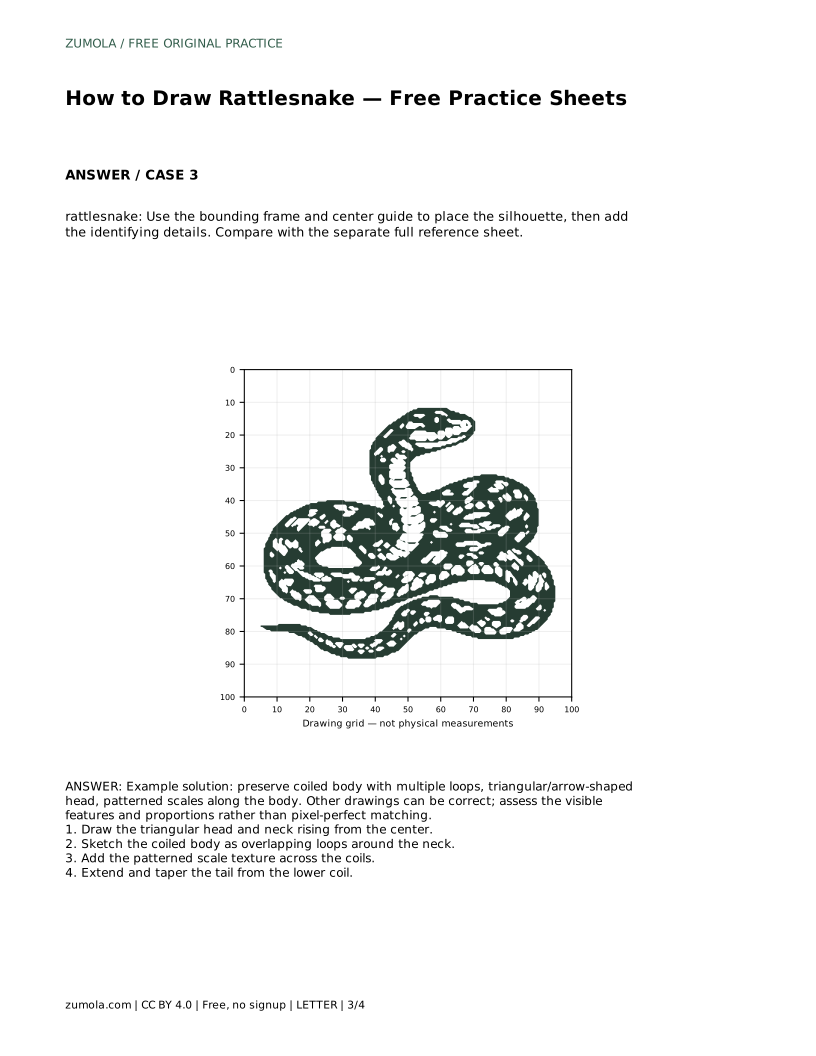
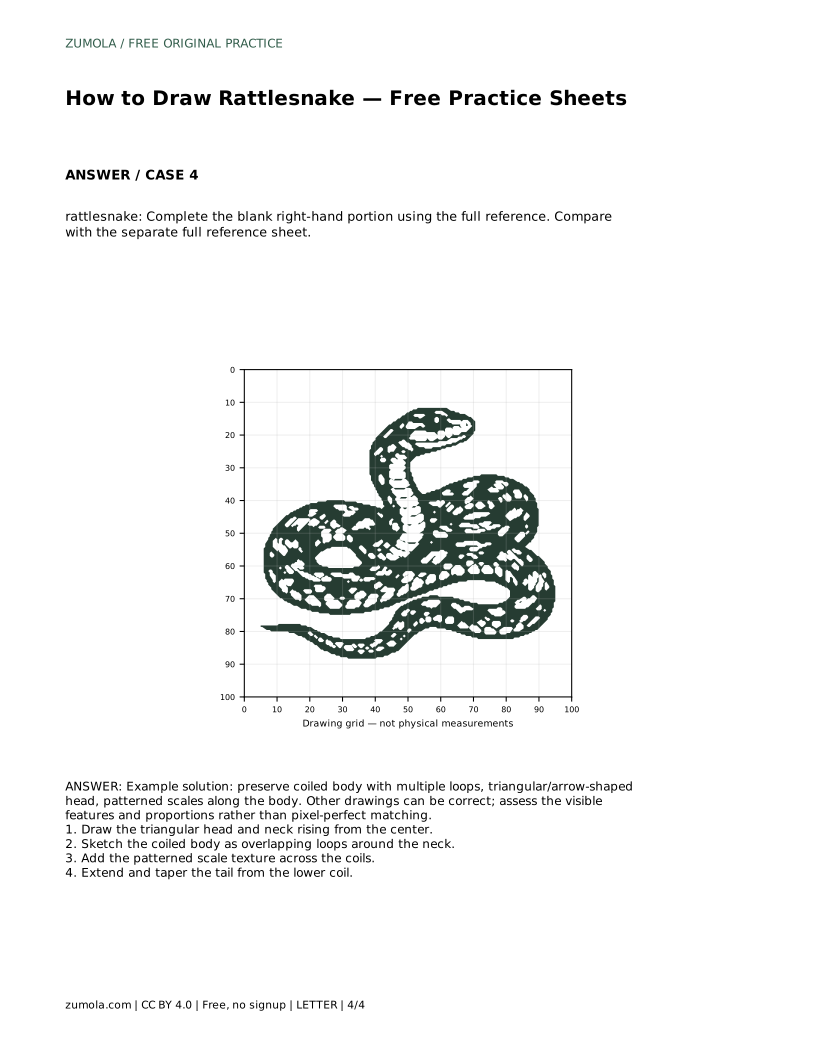
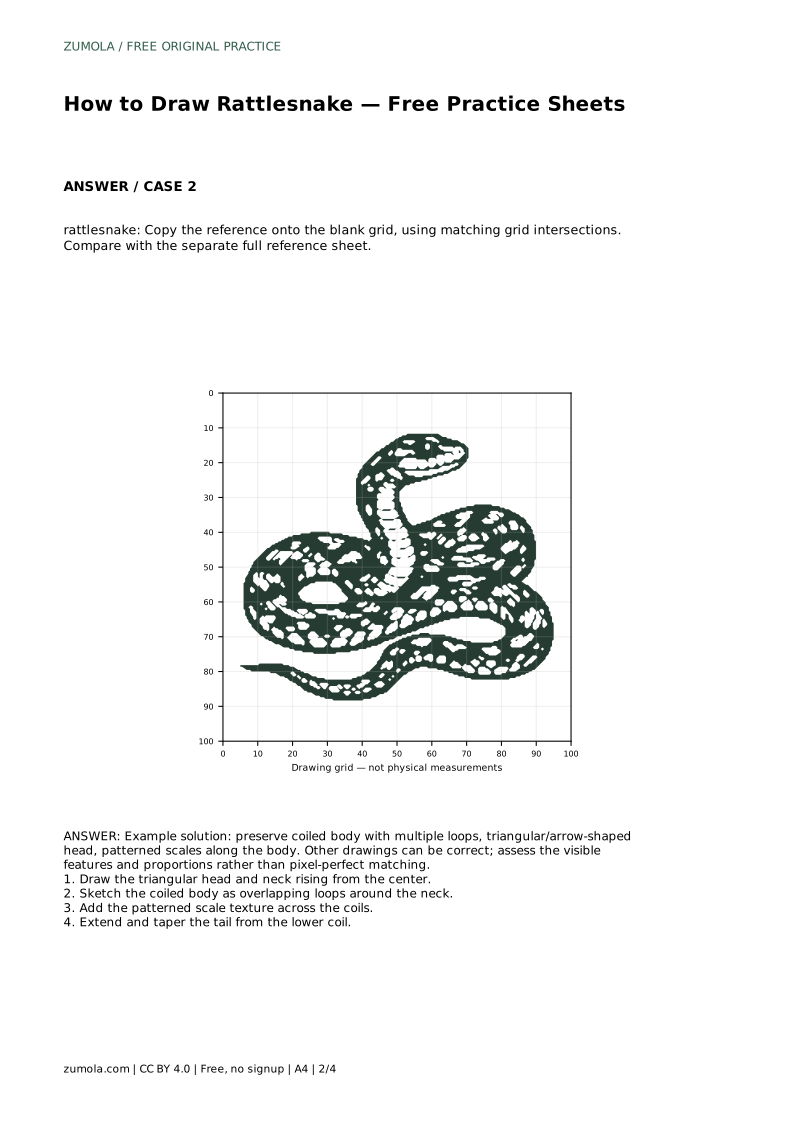
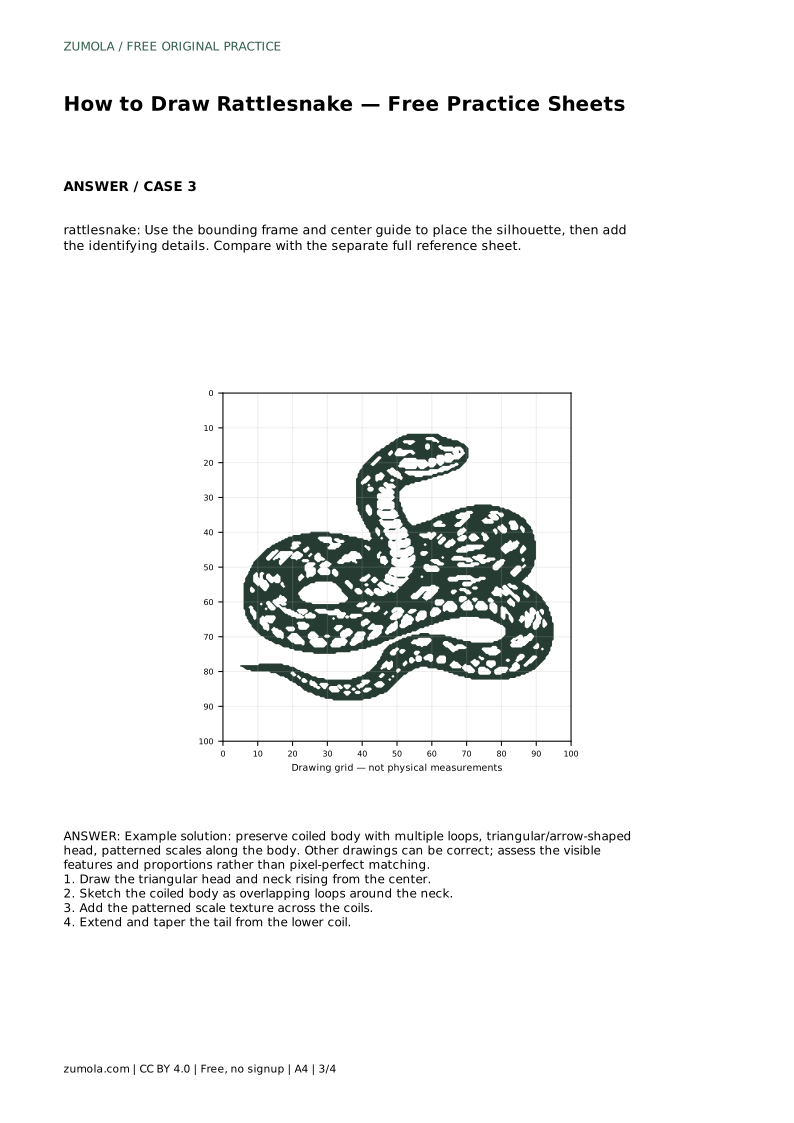
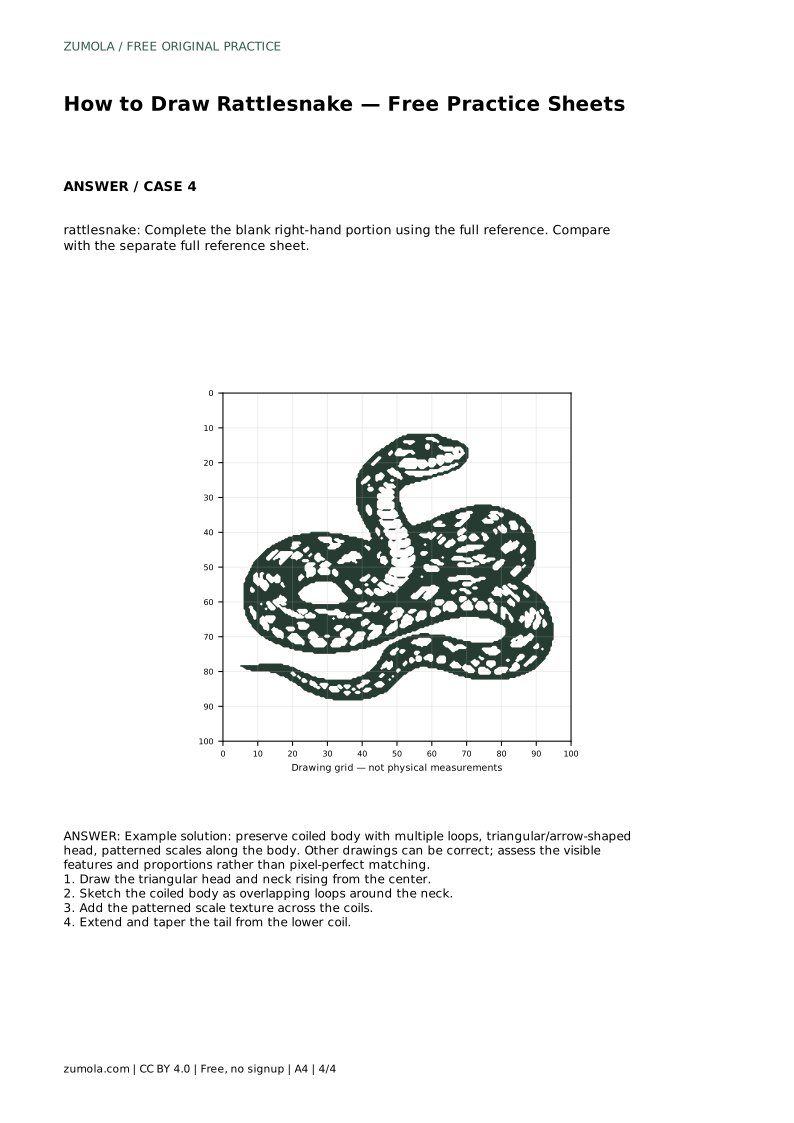
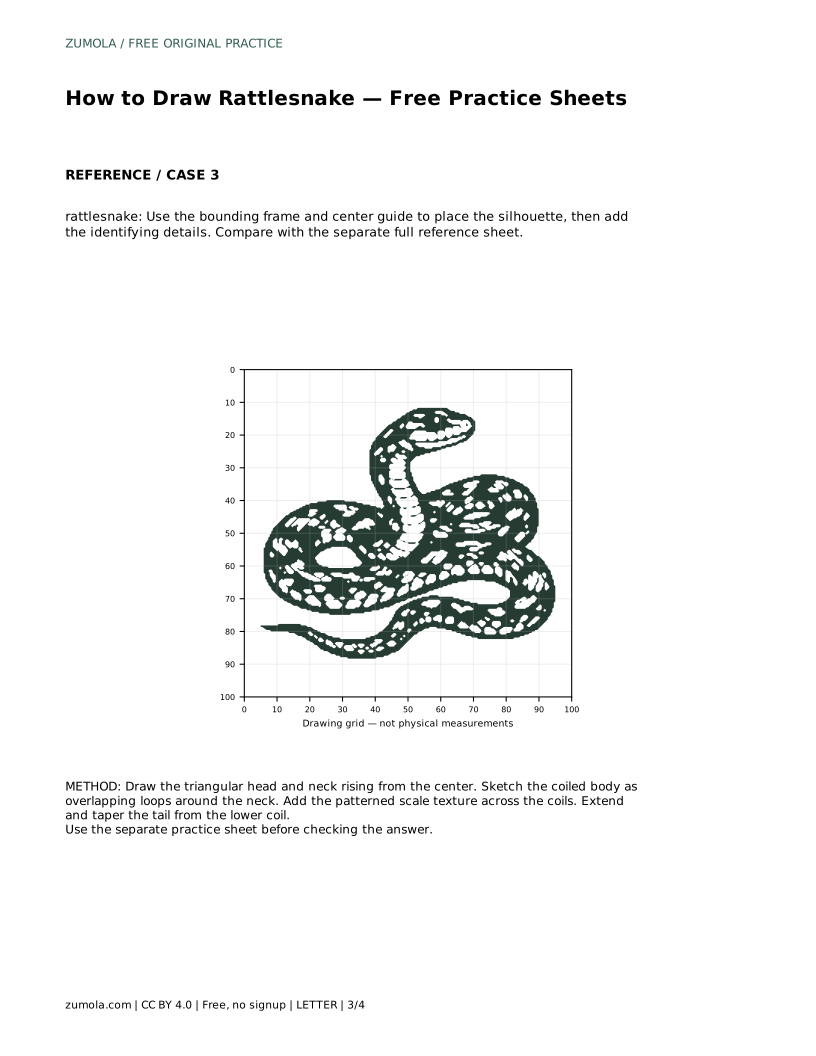
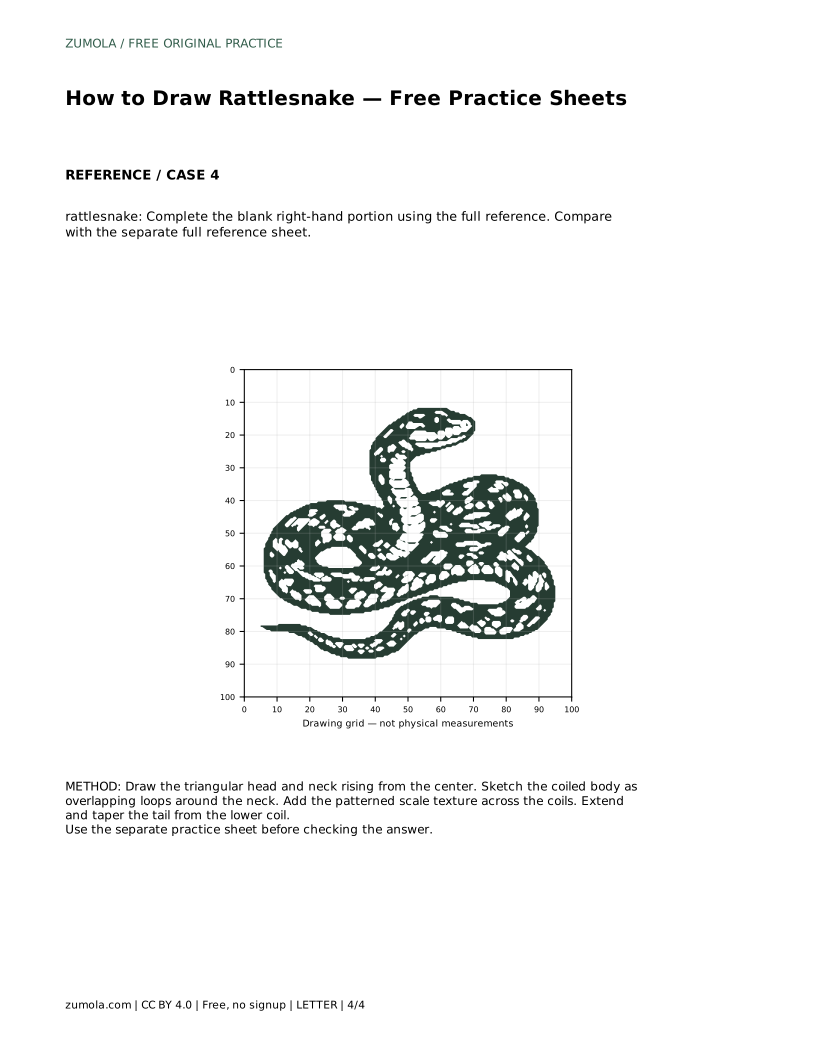
Example solution: preserve coiled body with multiple loops, triangular/arrow-shaped head, patterned scales along the body. Other drawings can be correct; assess the visible features and proportions rather than pixel-perfect matching. Draw the triangular head and neck rising from the center. Sketch the coiled body as overlapping loops around the neck. Add the patterned scale texture across the coils. Extend and taper the tail from the lower coil.
No. Several drawings can be correct. Check that the coiled body has multiple loops, the head is triangular or arrow-shaped, and the scale pattern runs along the body.
Near the upper middle, with the neck rising from the center of the composition and the coils wrapping below it.
When the head, overlapping coils, scale pattern and tapered tail are all present and the proportions look consistent with the reference sheet.
All drawing practice · Free coordinate paper
Original resources · CC BY 4.0 · Free for personal and classroom use with attribution.