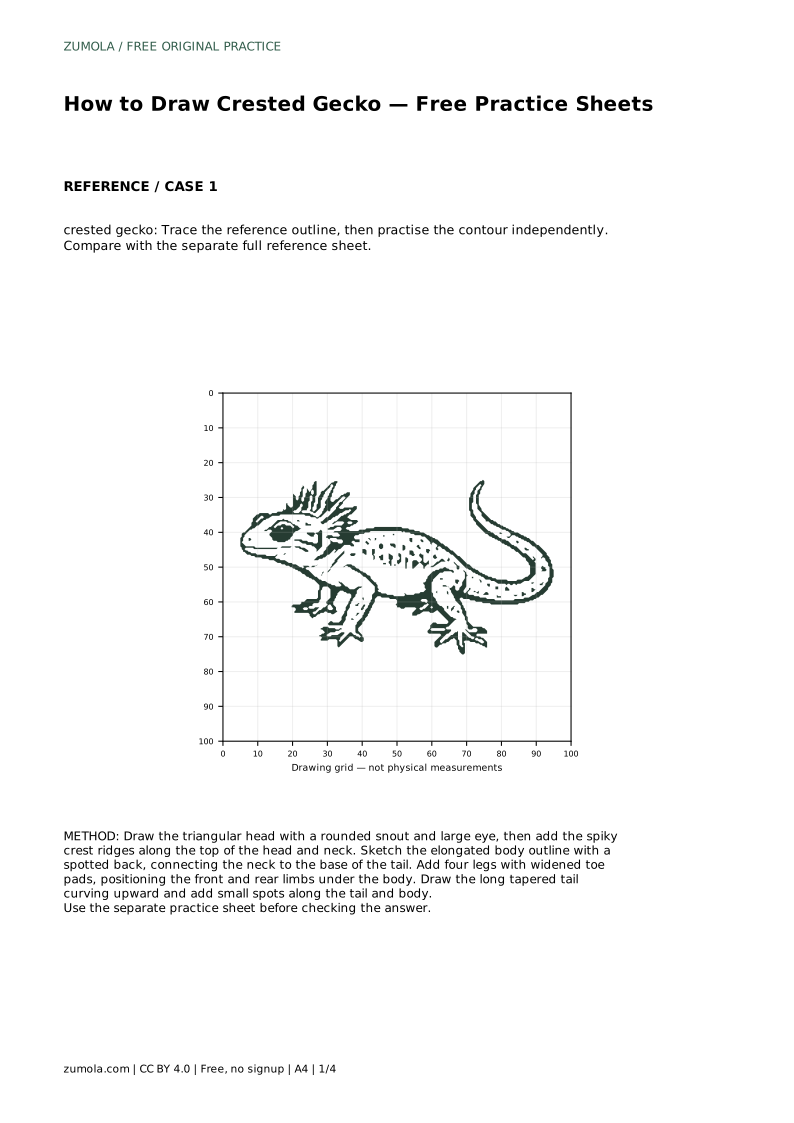
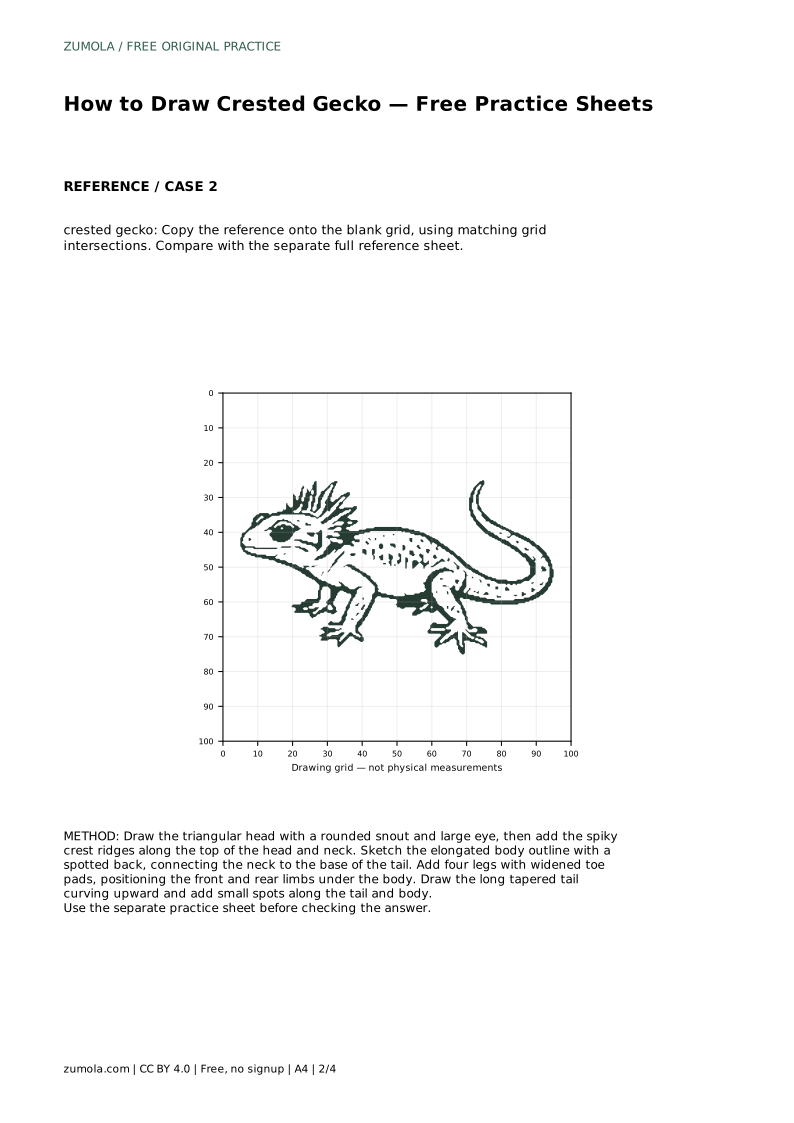
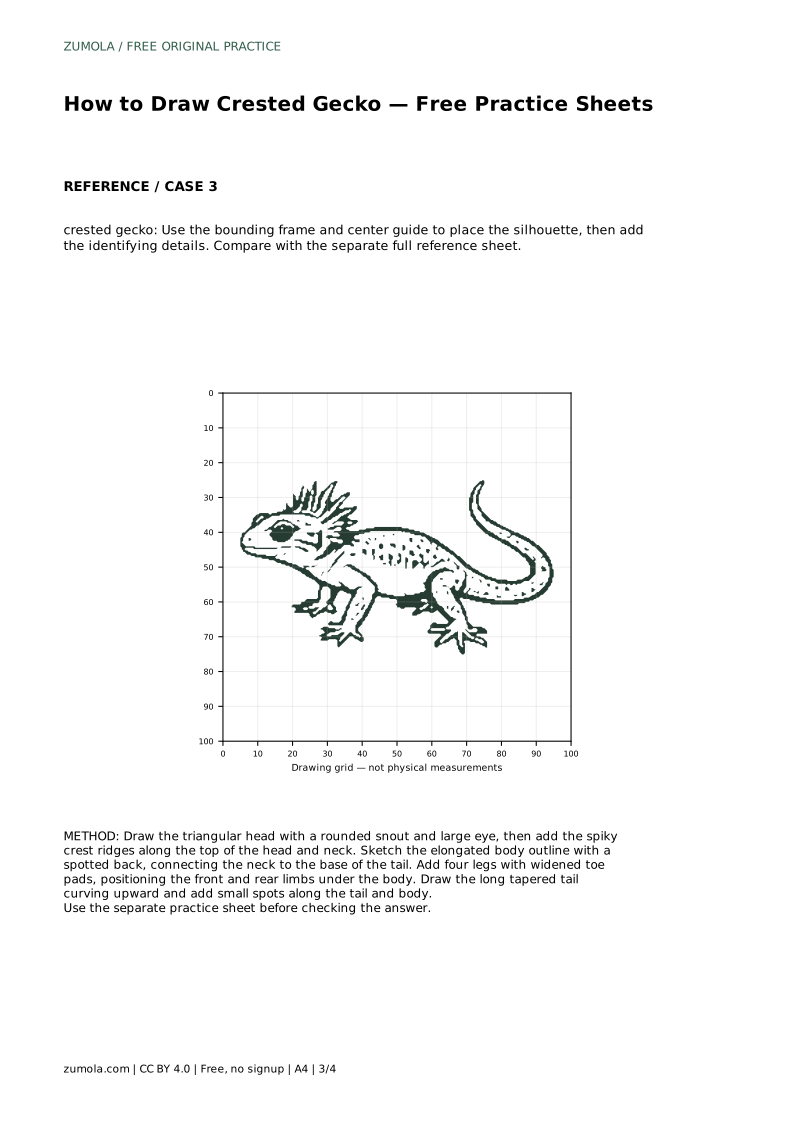
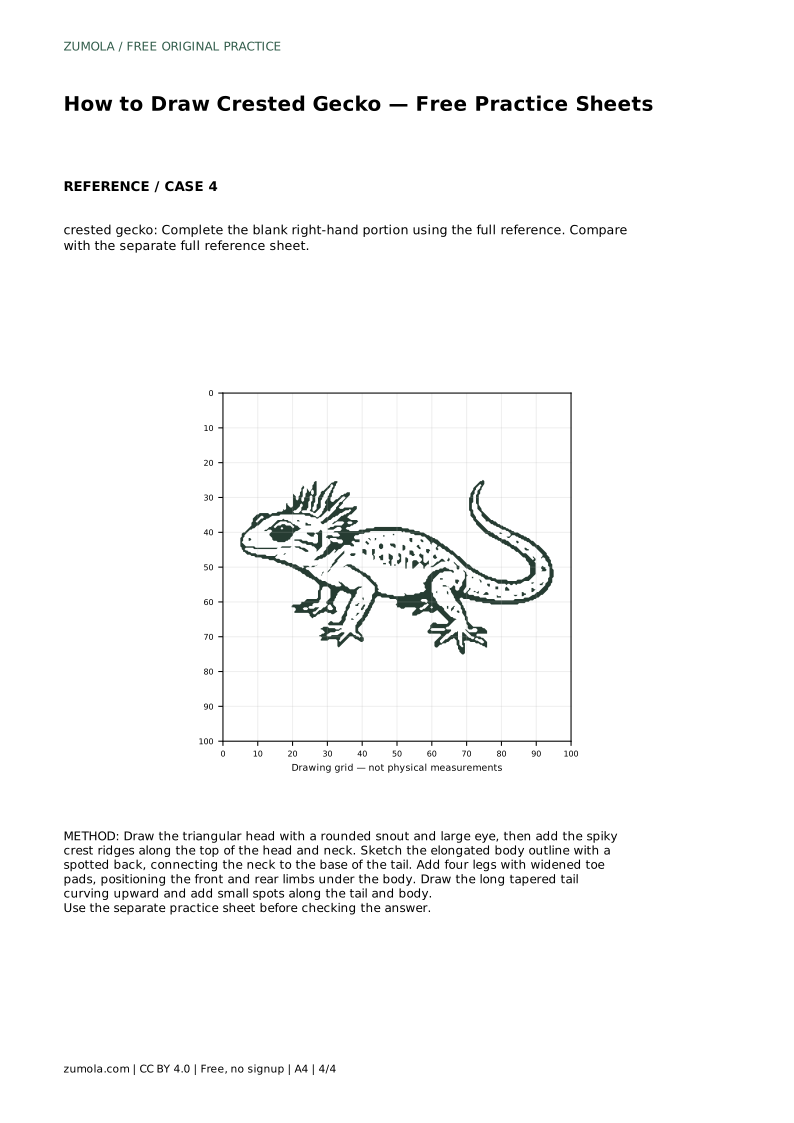
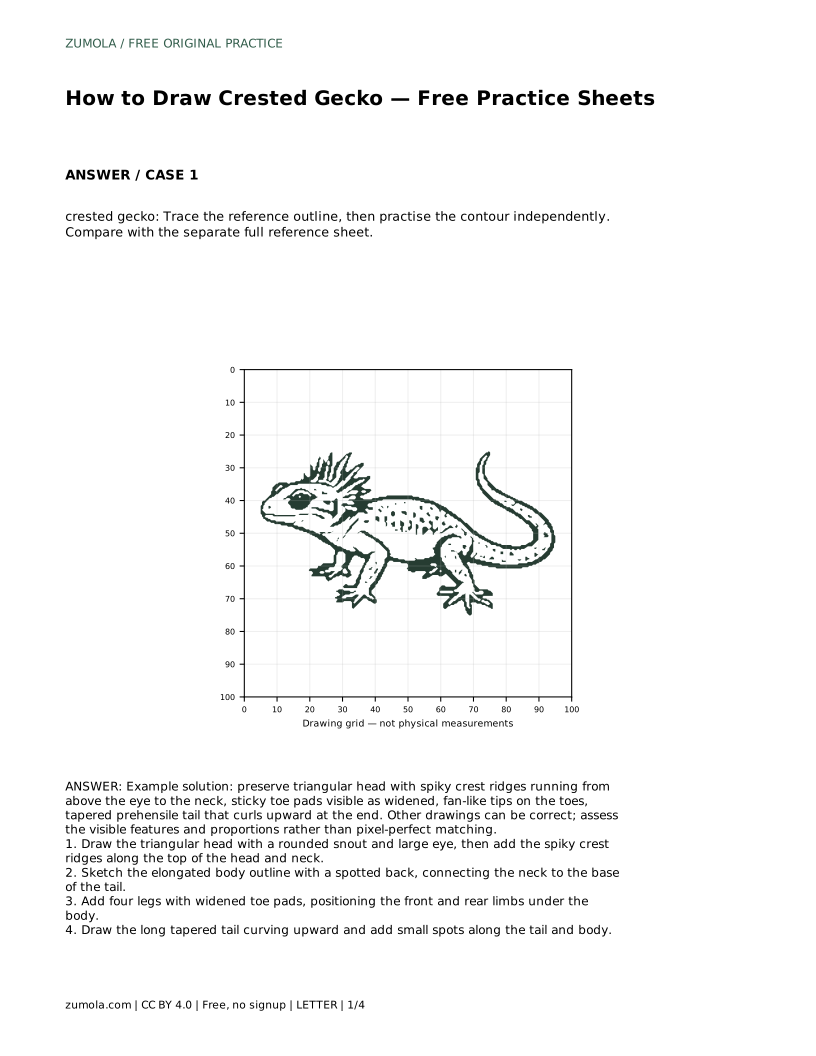
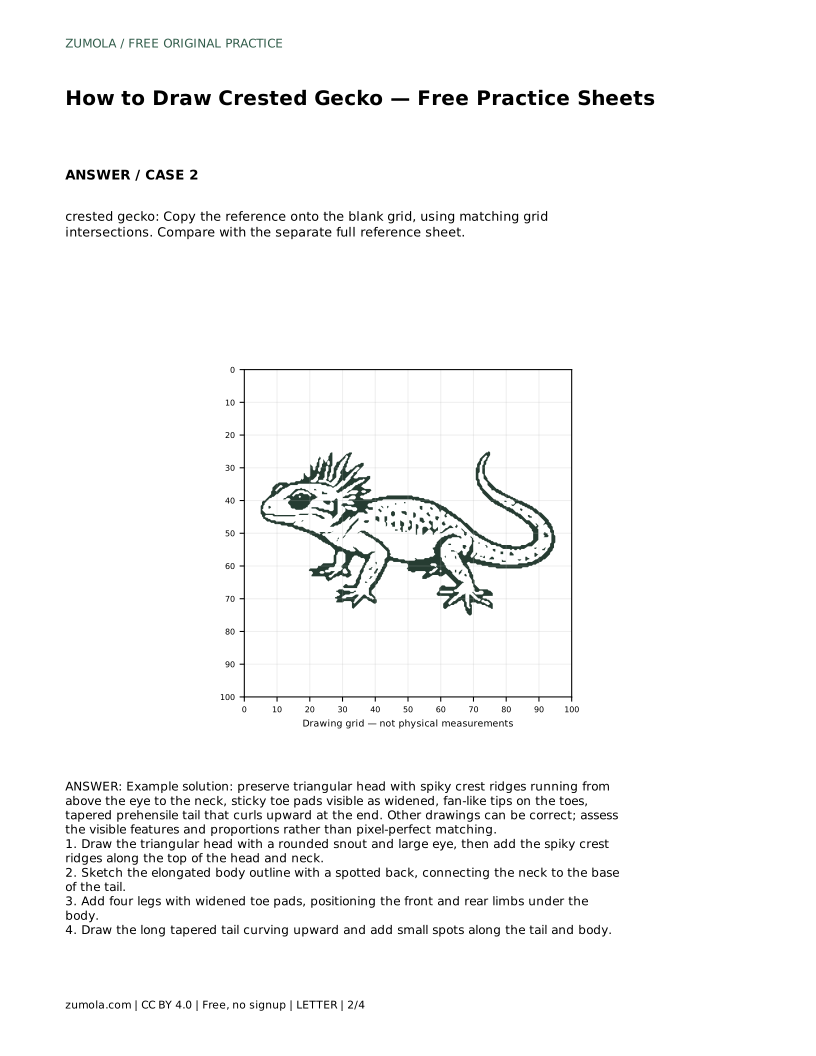
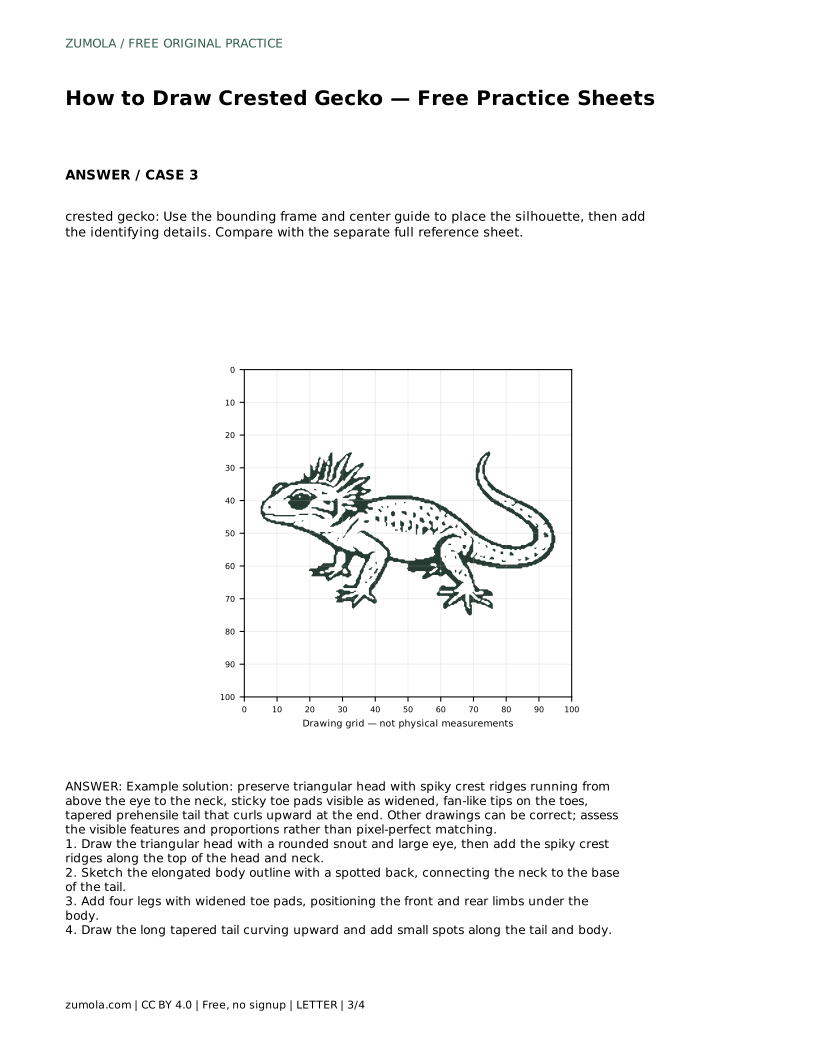
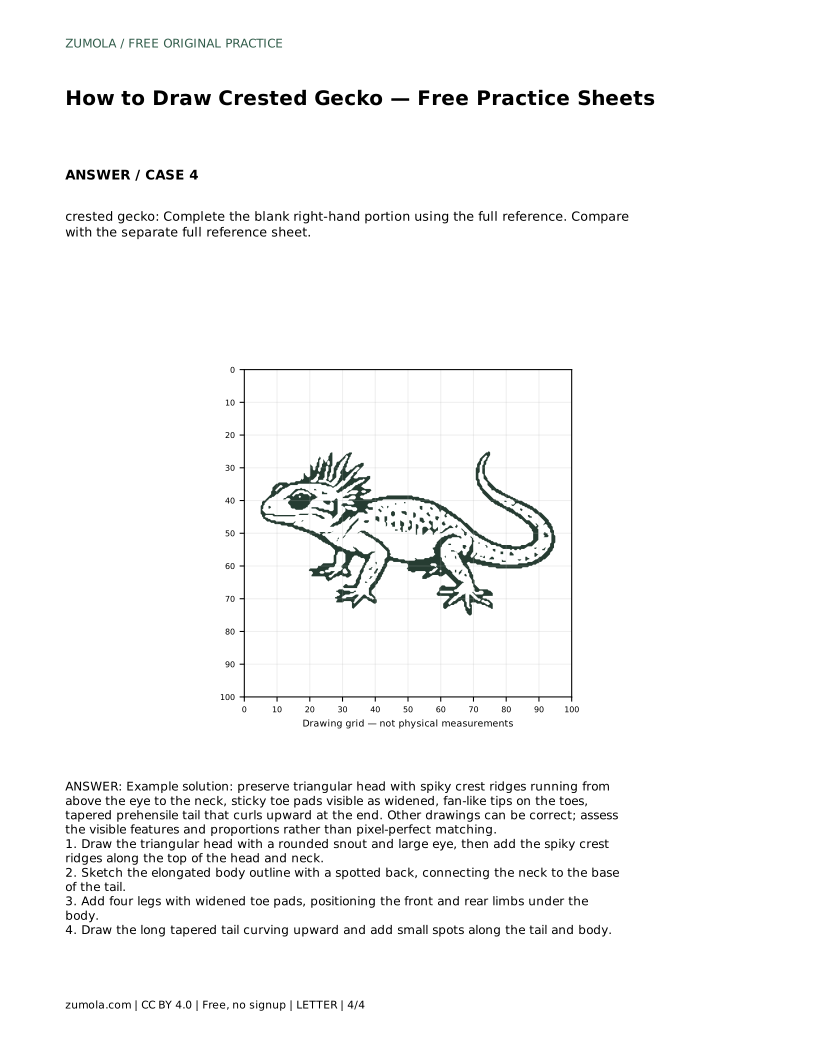
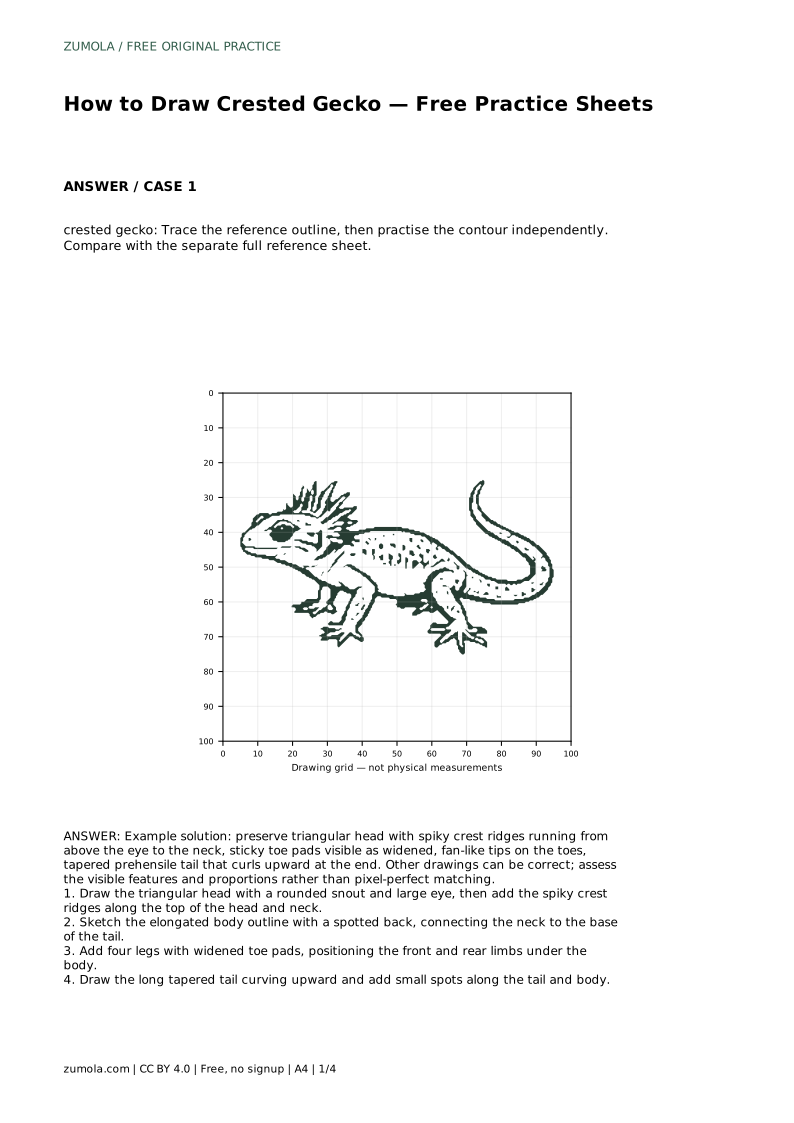
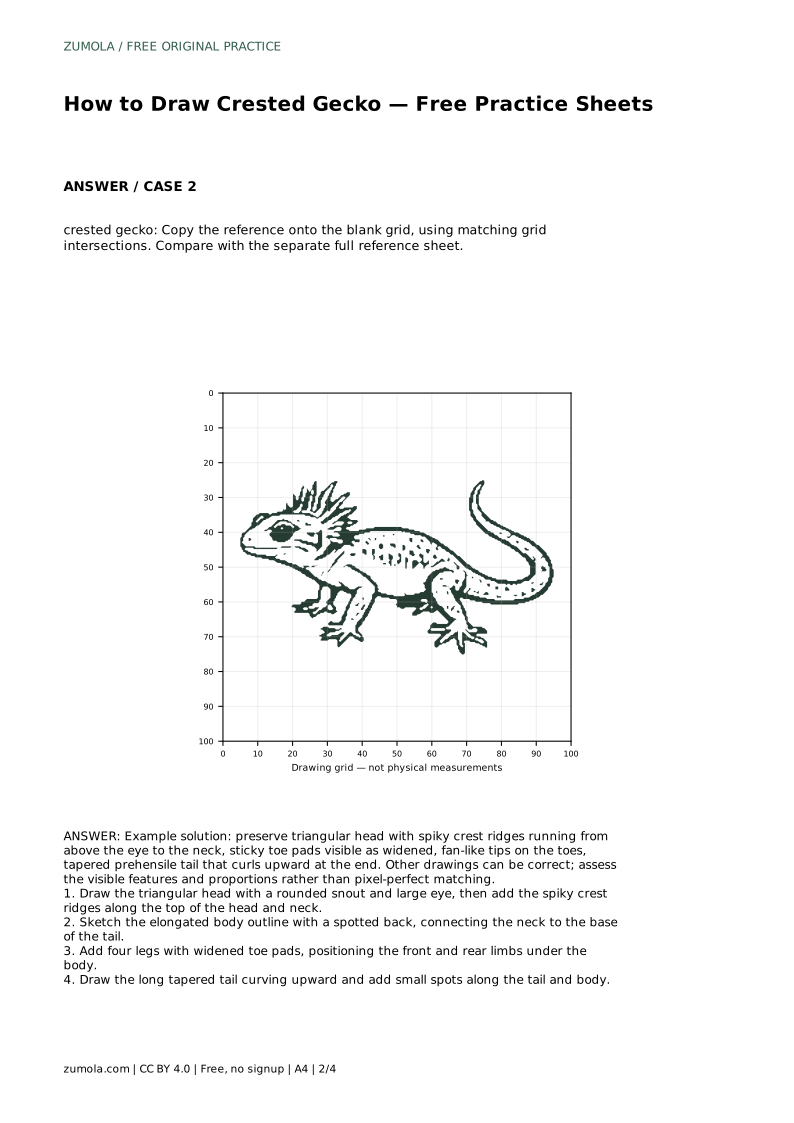
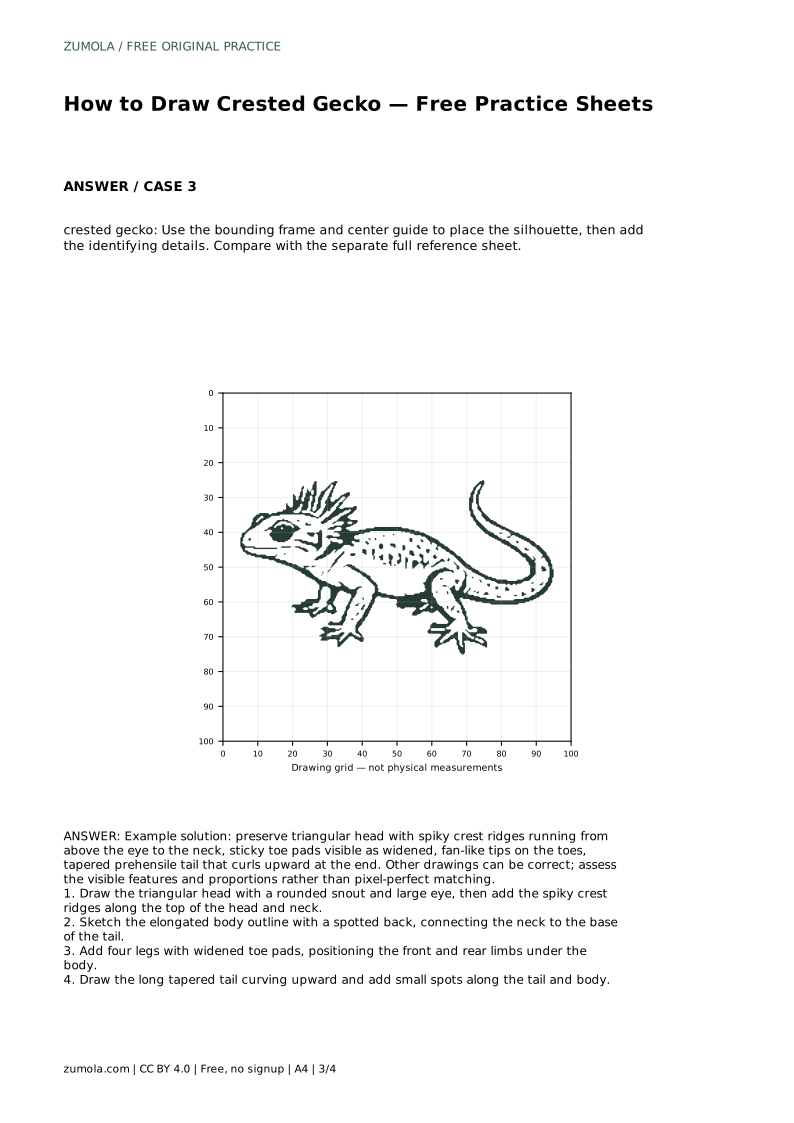
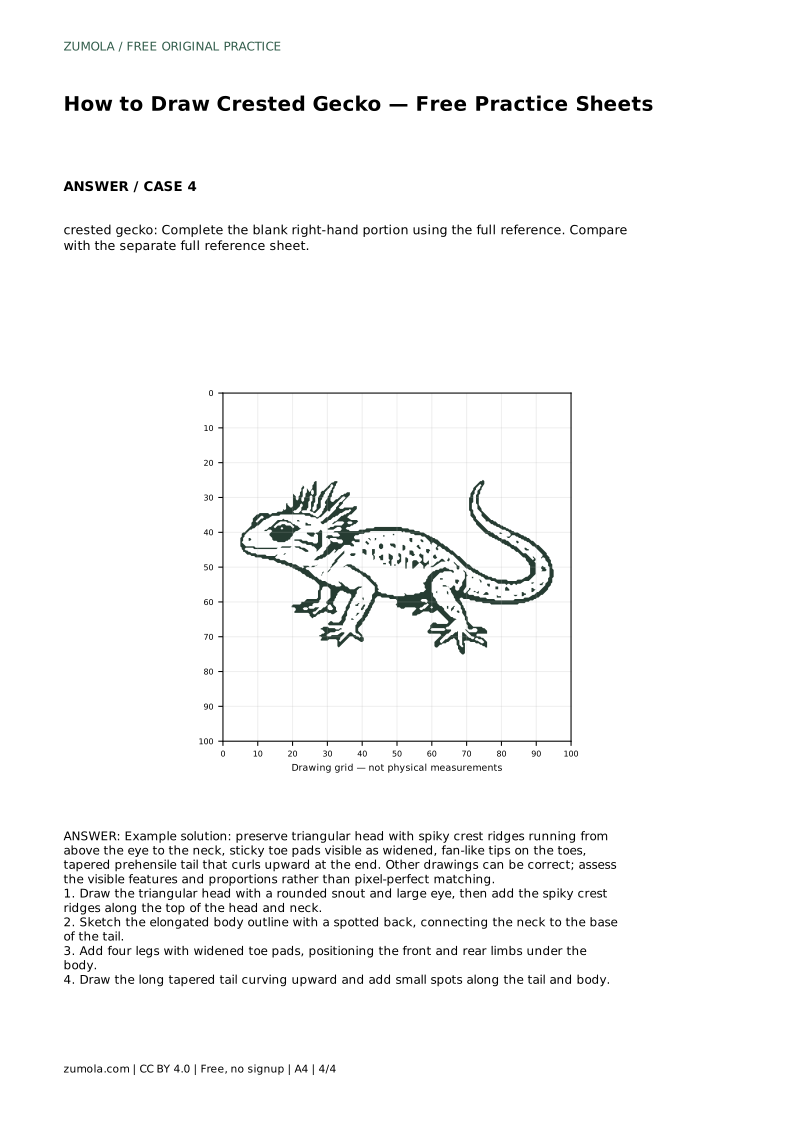
Reference diagrams
LETTER · Download PDF
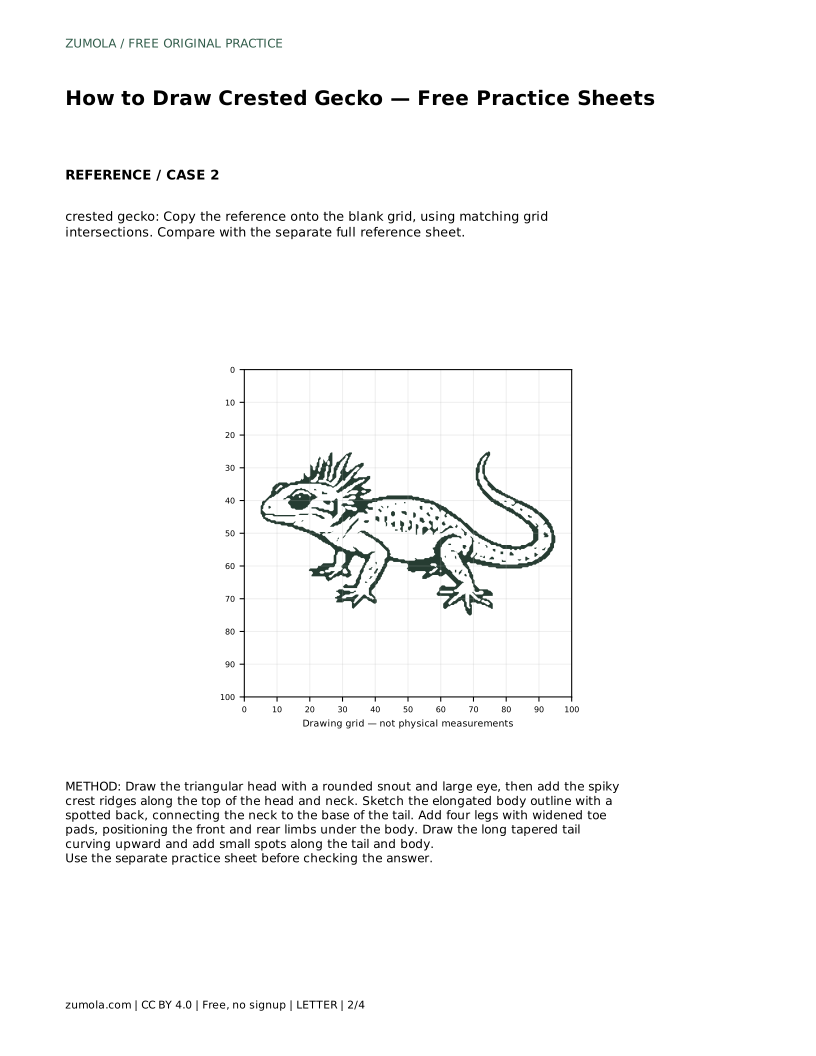
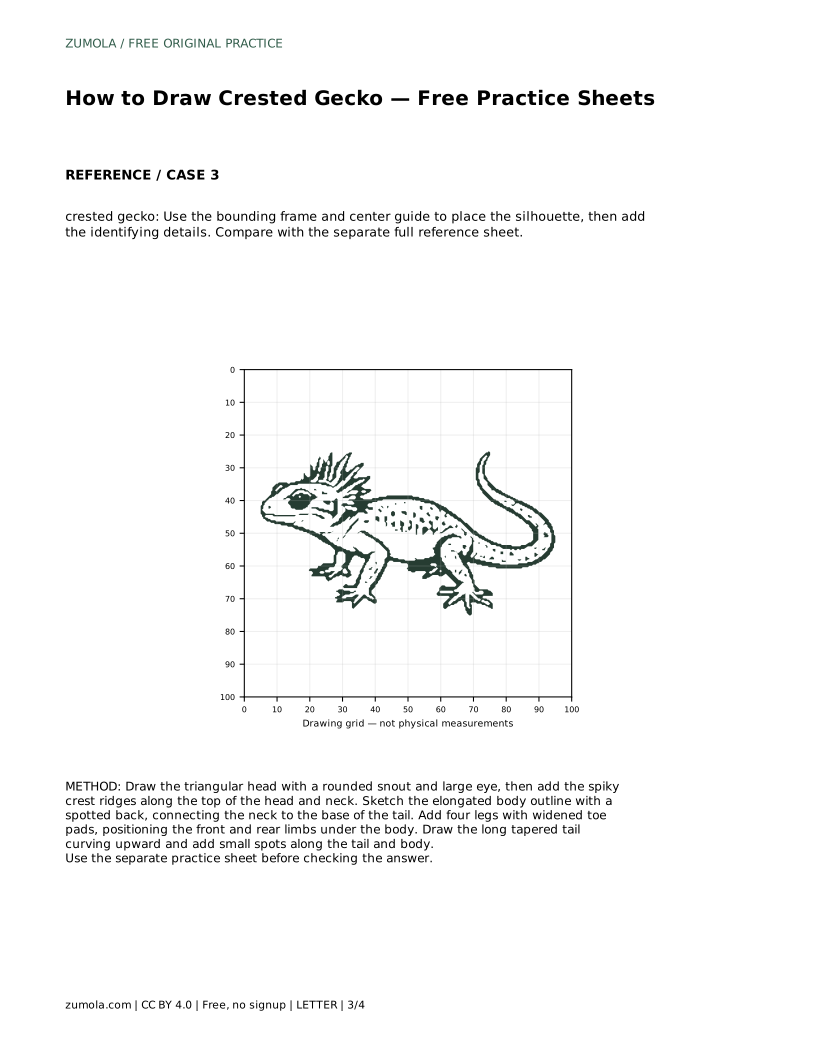
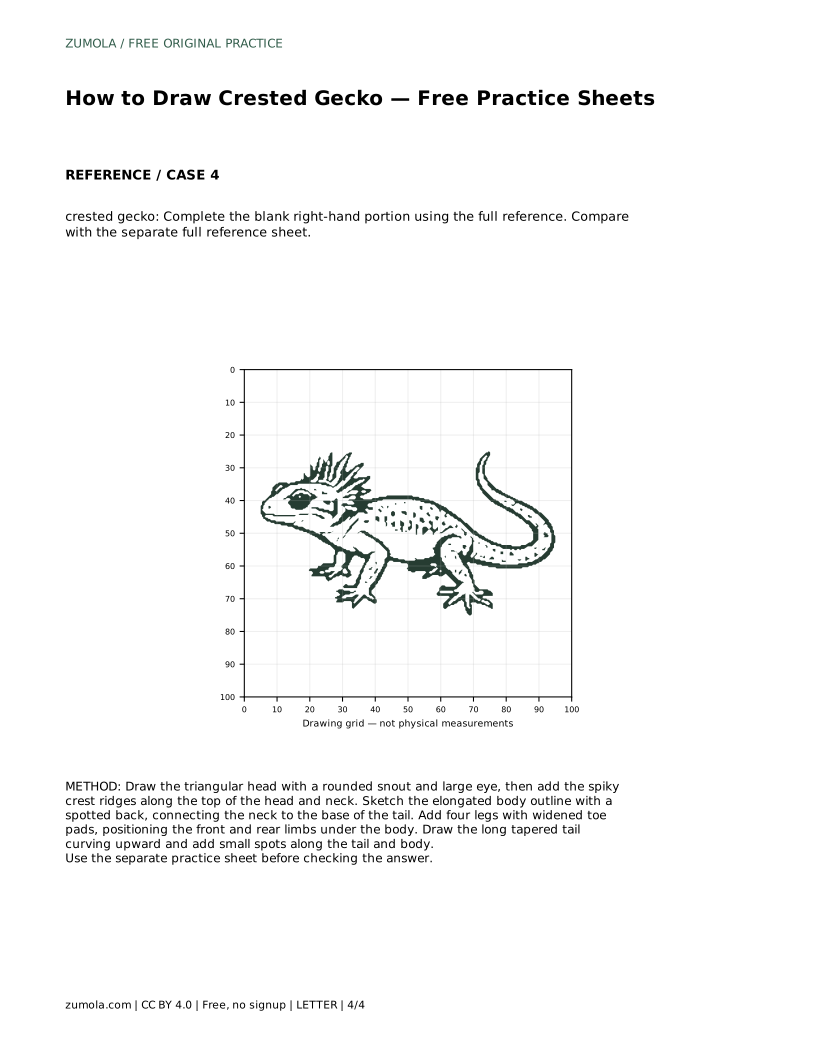
A4 · Download PDF
Free original resources
Learn to draw a cute crested gecko by building its triangular head, spiky crest, toe pads, and curling tail. Includes tracing, grid, and frame practice methods.
Four original cases, with reference diagrams, practice sheets and worked answers. Everything is free; no signup required.
LETTER · Download PDF
A4 · Download PDF
LETTER · Download PDF
A4 · Download PDF
LETTER · Download PDF
A4 · Download PDF
Use A4 or US Letter to match your printer. Use the stated values and conditions to solve each exercise; diagrams are not physical measuring rulers.
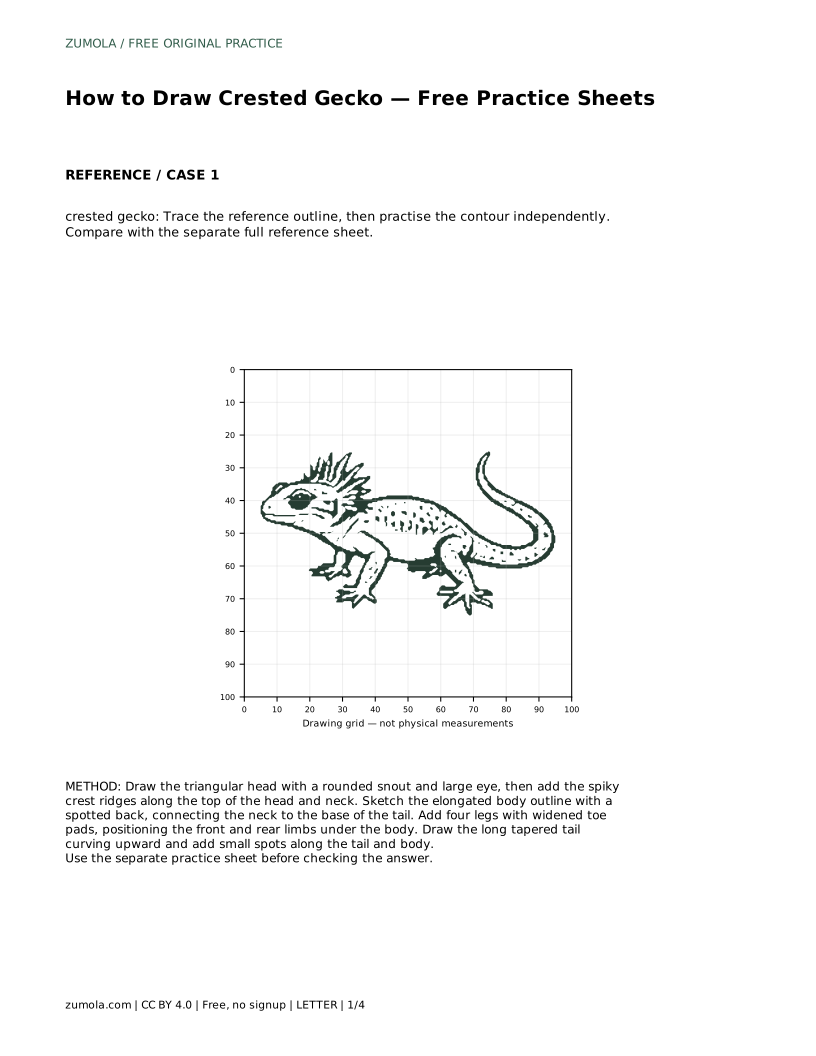
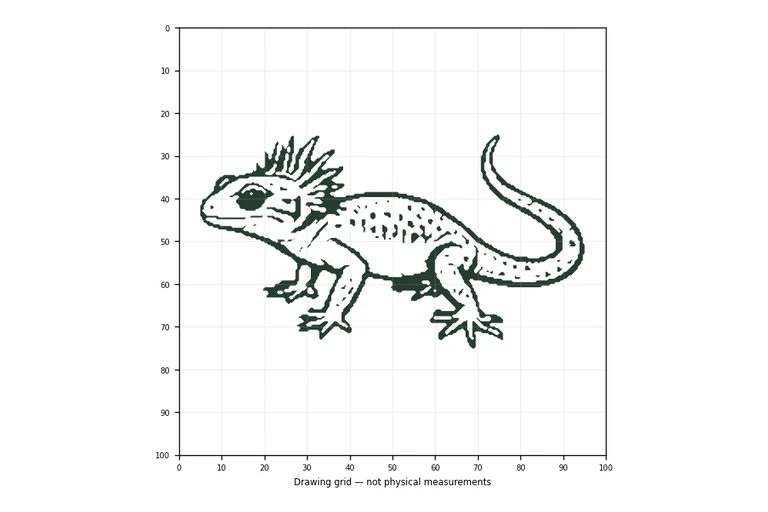
A crested gecko is a rewarding subject because its most recognizable features are simple shapes: a triangular head, a row of soft spikes along the neck, wide toe pads, and a long tail that curls at the tip. This guide walks you through drawing one from a reference, then checking your work against the separate full reference sheet. The goal is not a pixel-perfect copy but a drawing that clearly shows the gecko's identifying features and believable proportions.
Begin with the head, because it sets the character of the whole drawing. Sketch a triangle with a rounded snout and place one large eye toward the front. The crest is the row of spiky ridges running from just above the eye along the top of the head and down the neck. Draw these as small, slightly curved points rather than sharp triangles; they should read as soft bumps, not horns. Keep the crest close to the head outline so it looks attached rather than floating.
Check the head before moving on. The snout should be blunt, the eye large and round, and the crest should follow the curve of the skull and neck. If the head looks too wide or too pointed, adjust the outline now, while changes are easy.
From the neck, sketch an elongated body that tapers toward the base of the tail. A crested gecko's body is longer than it is tall, so keep the outline low and stretched rather than round. Add small spots along the back; these can be simple dots or short dashes, spaced unevenly for a natural look.
Place four legs under the body, with the front pair slightly forward and the rear pair set back. At the end of each toe, draw a widened, fan-like tip to show the sticky toe pads. These pads are a key identifying feature, so make them visible rather than tiny. Keep the legs short and angled outward, as if the gecko is resting on a surface.
The tail is long and tapered, and it curls upward at the end. Start at the body and draw a smooth line that narrows gradually, then curve the tip upward in a gentle hook. Add a few small spots along the tail to match the body. Avoid making the tail thick at the tip; the taper should be steady from base to end.
When the outline is complete, compare your drawing with the separate full reference sheet. Look for the triangular head, the crest ridges, the visible toe pads, and the upward-curling tail. If one feature is missing or unclear, redraw just that part rather than starting over. Multiple drawings can be correct, so judge the visible features and proportions instead of exact matching.
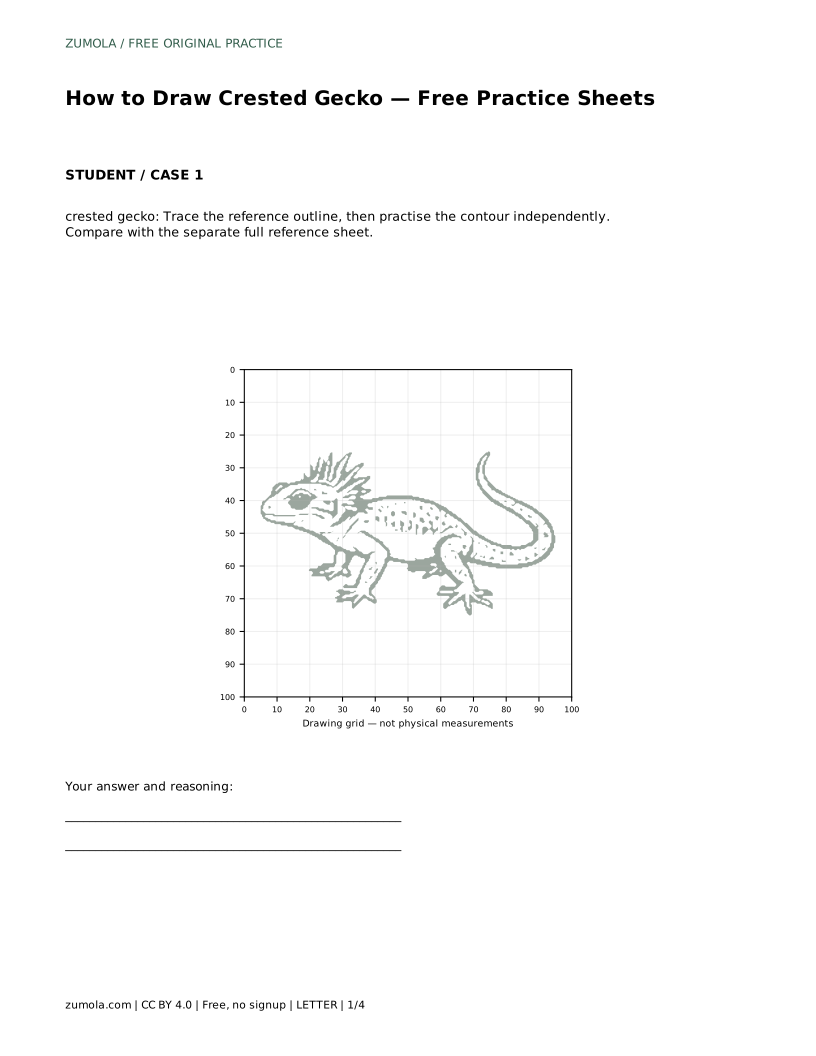
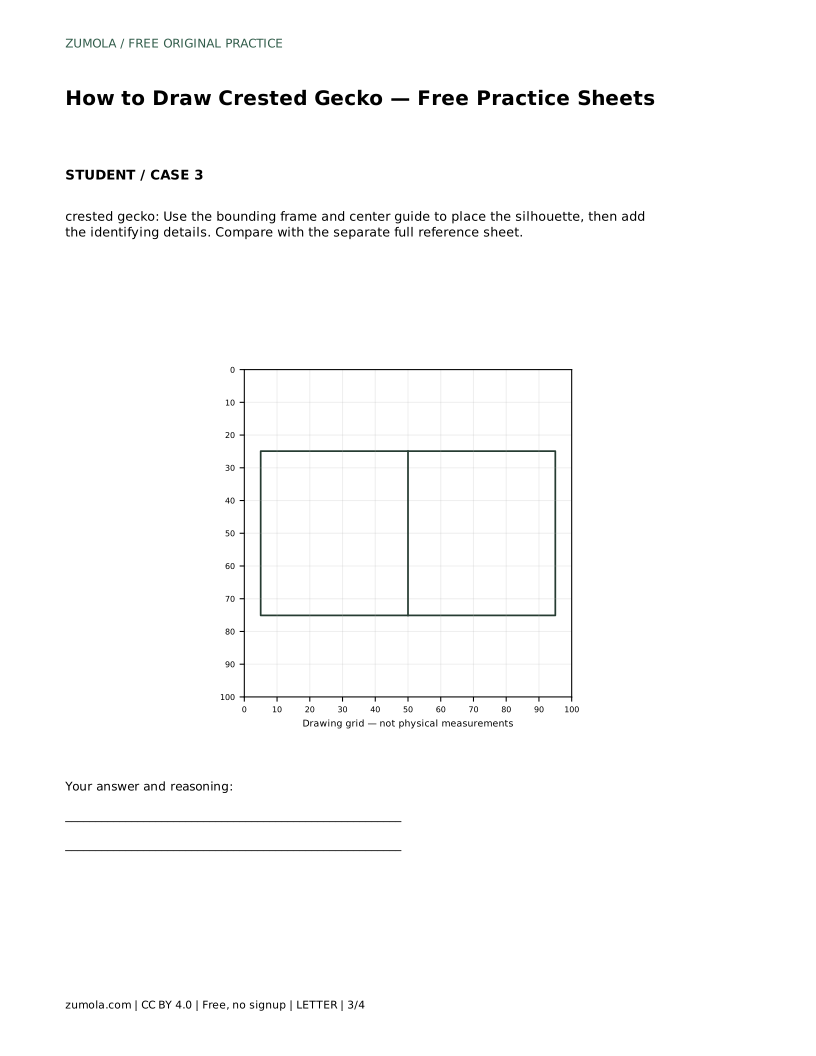
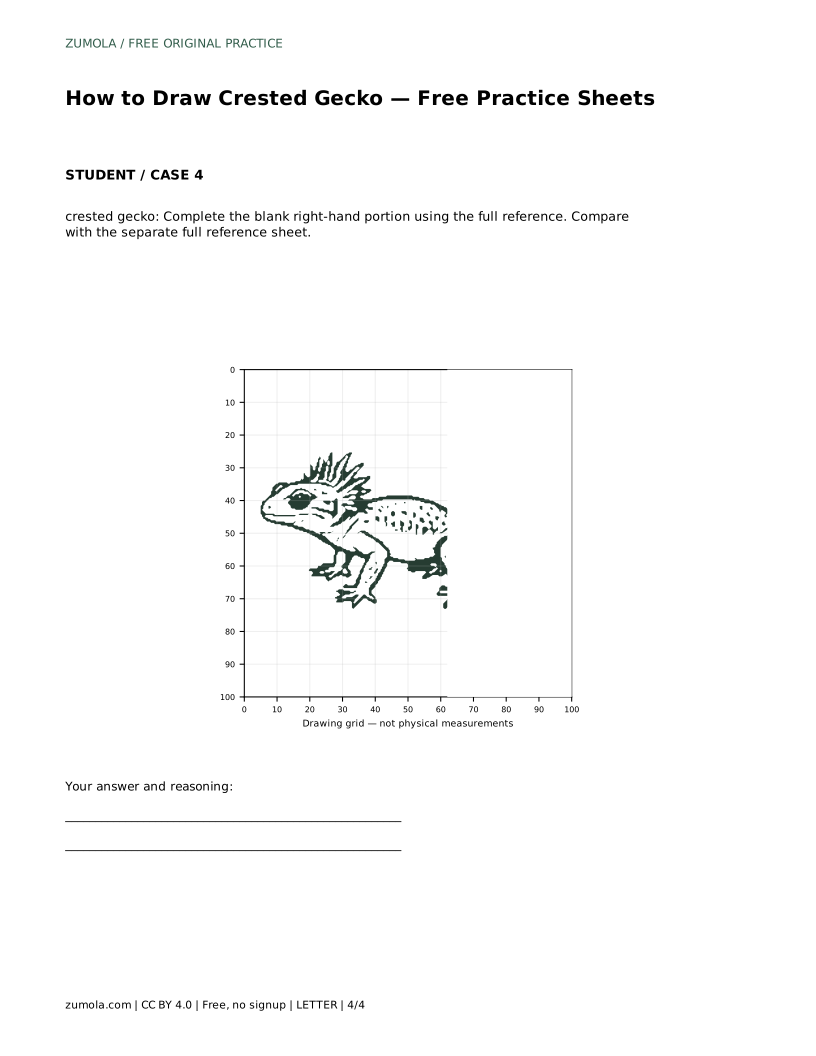
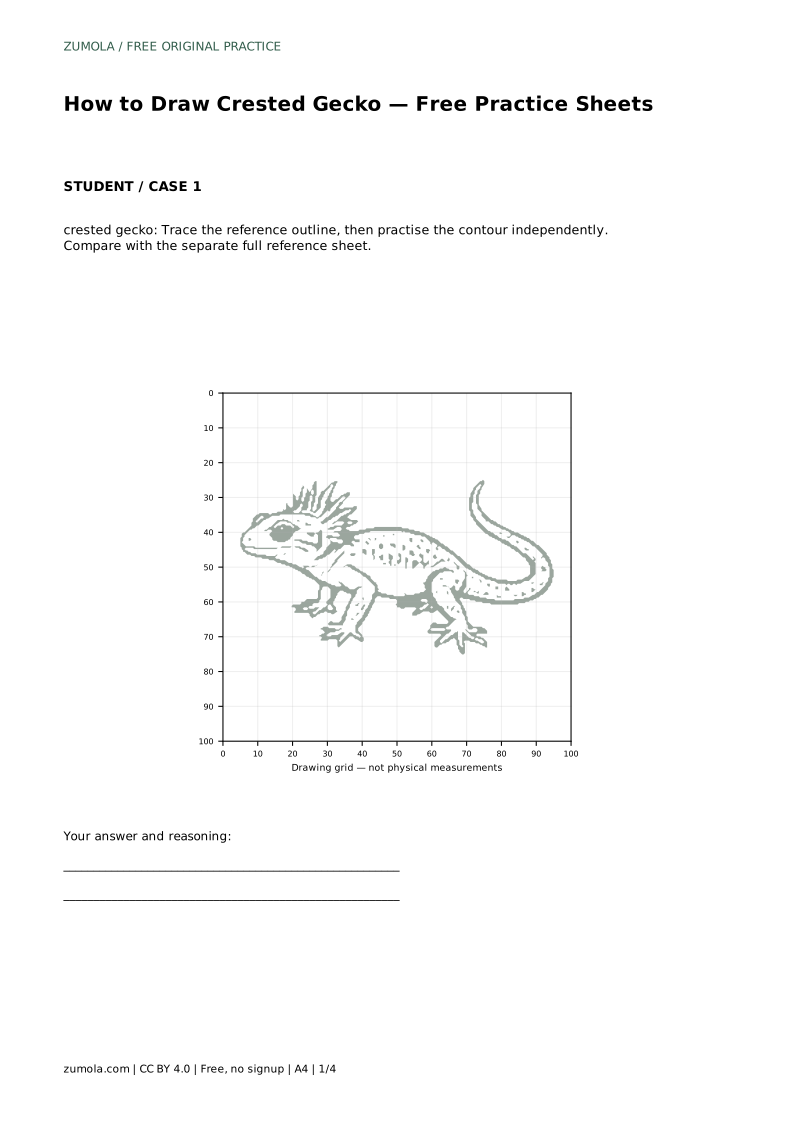
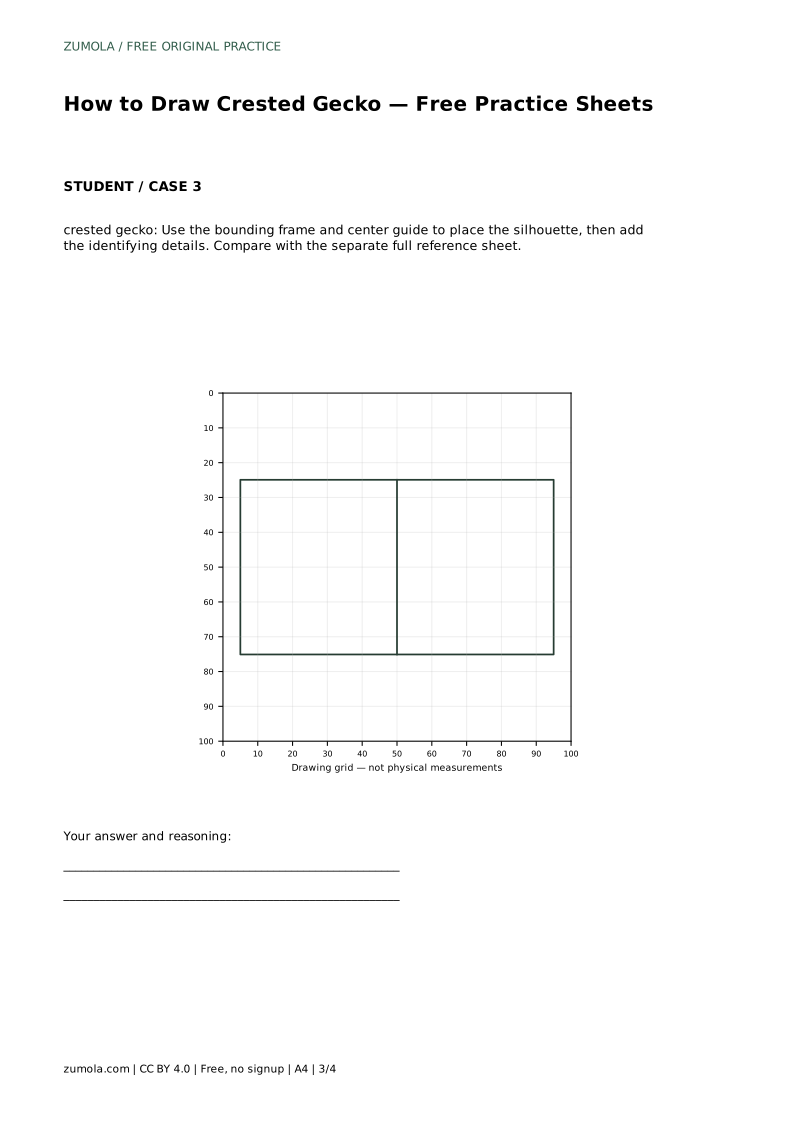
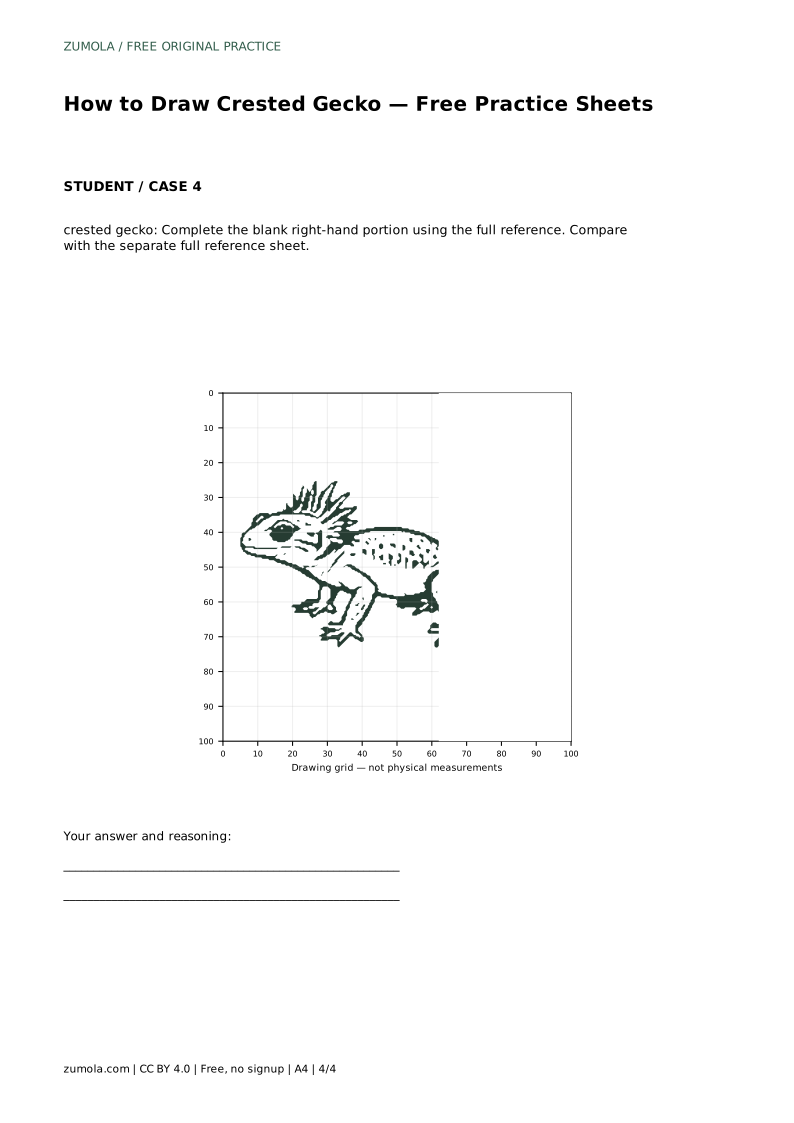
The tracing method asks you to follow the reference outline first, then practise the contour independently on blank space. The grid method asks you to copy the reference onto a blank grid, matching where lines cross grid intersections. The frame method uses a bounding frame and center guide to place the silhouette before adding details. The partial-sheet method gives you the full reference and asks you to complete the blank right-hand portion.
Each method trains a different skill: tracing builds familiarity, grids build proportion sense, frames build placement, and partial completion builds recall. Use the method that matches what you want to improve, and compare your result with the separate full reference sheet afterward.
Most problems come from skipping the head shape or hiding the toe pads. Fix these early, and the rest of the drawing will read clearly as a crested gecko.
crested gecko: Trace the reference outline, then practise the contour independently. Compare with the separate full reference sheet.
Example solution: preserve triangular head with spiky crest ridges running from above the eye to the neck, sticky toe pads visible as widened, fan-like tips on the toes, tapered prehensile tail that curls upward at the end. Other drawings can be correct; assess the visible features and proportions rather than pixel-perfect matching. Draw the triangular head with a rounded snout and large eye, then add the spiky crest ridges along the top of the head and neck. Sketch the elongated body outline with a spotted back, connecting the neck to the base of the tail. Add four legs with widened toe pads, positioning the front and rear limbs under the body. Draw the long tapered tail curving upward and add small spots along the tail and body.
No. Other drawings can be correct. Assess whether the triangular head, crest ridges, toe pads, and curling tail are visible and proportionate.
The reference curls upward at the end. If yours curls downward, redraw the tip as a gentle upward hook while keeping the taper steady.
Start with tracing to learn the outline, then move to the grid or frame method to build proportion and placement skills.
All drawing practice · Free coordinate paper
Original resources · CC BY 4.0 · Free for personal and classroom use with attribution.