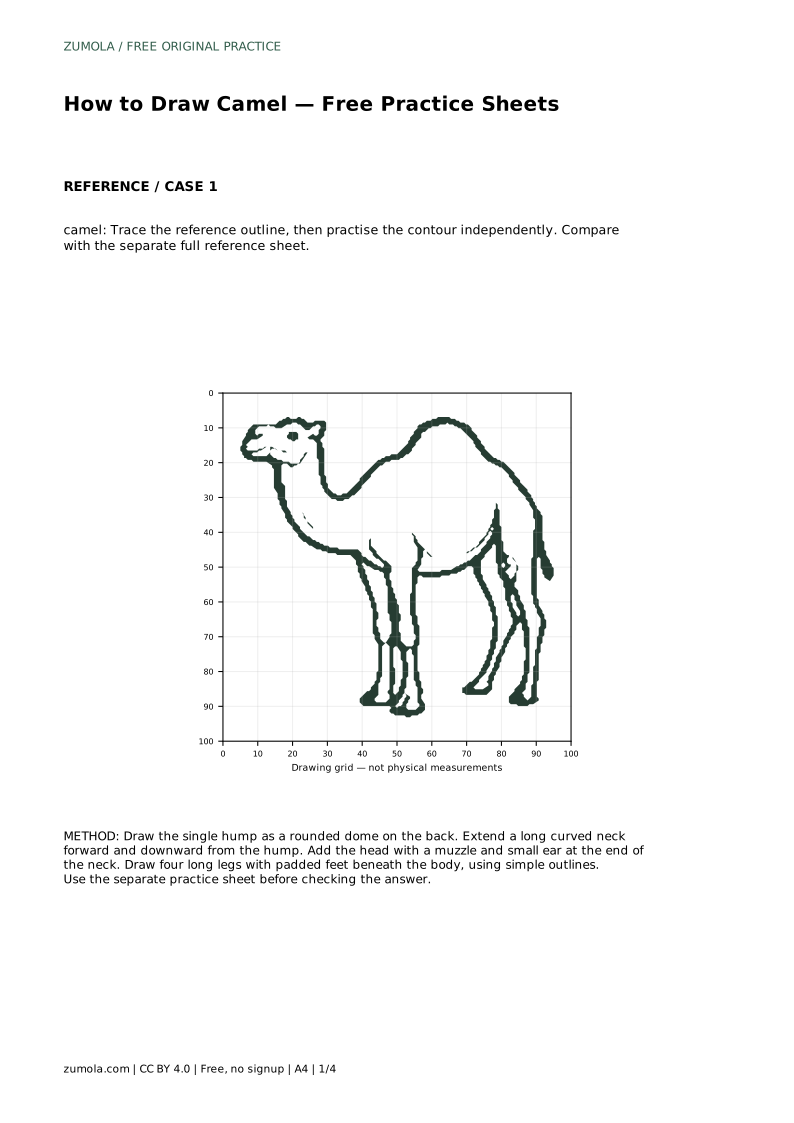
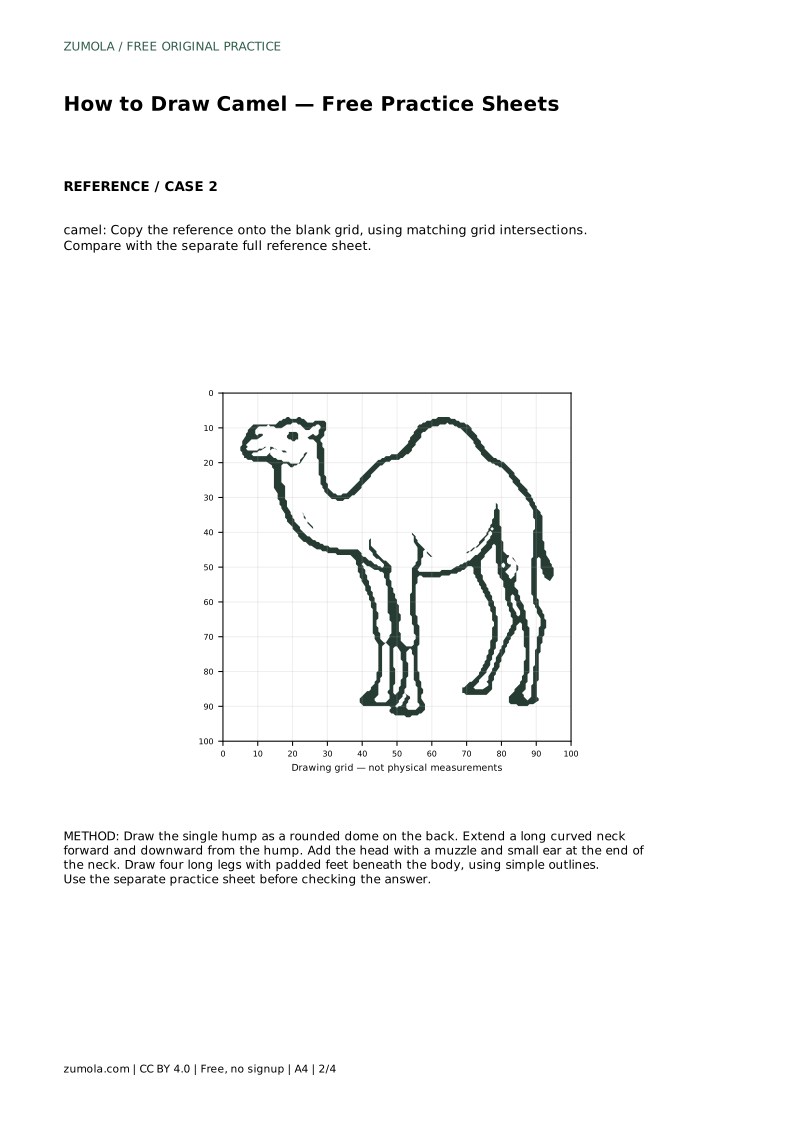
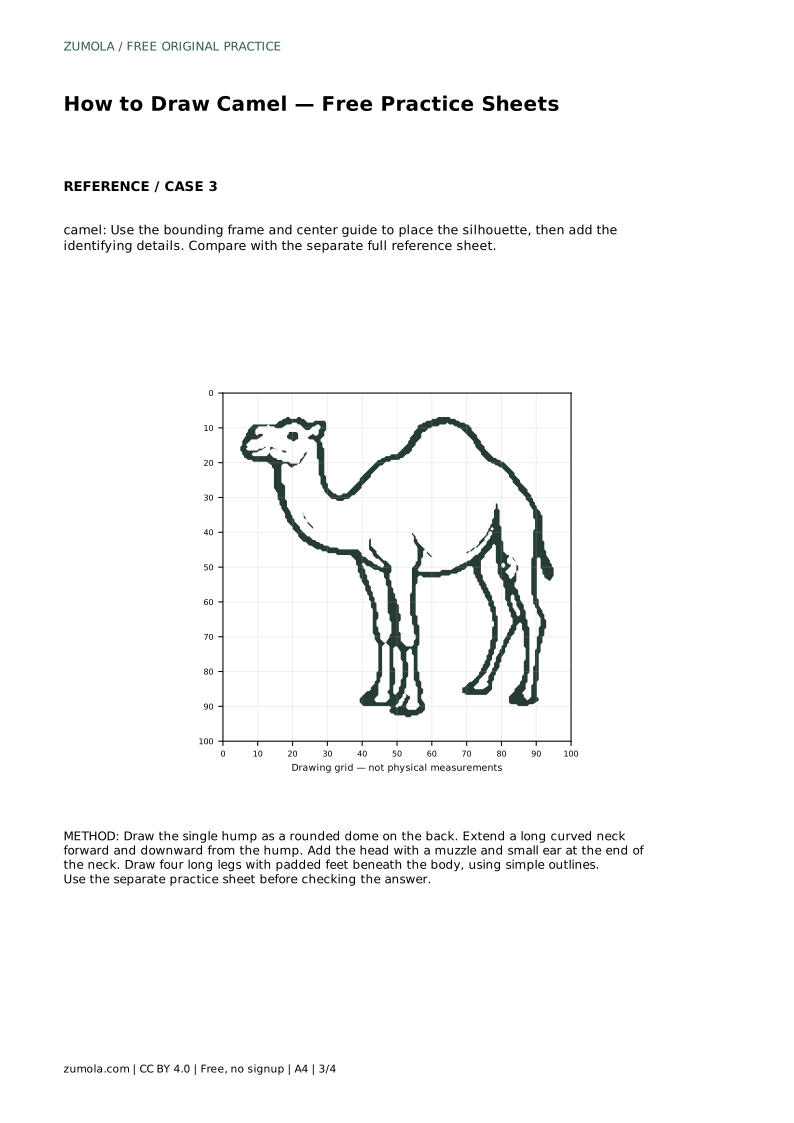
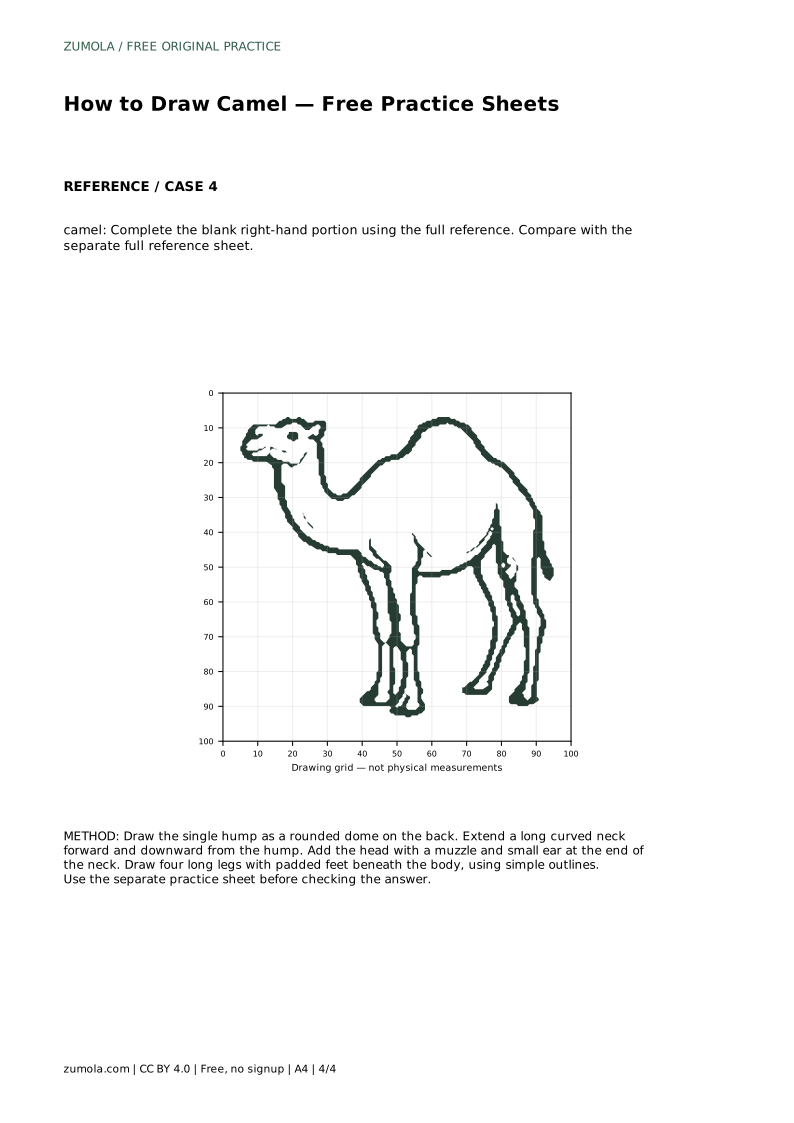
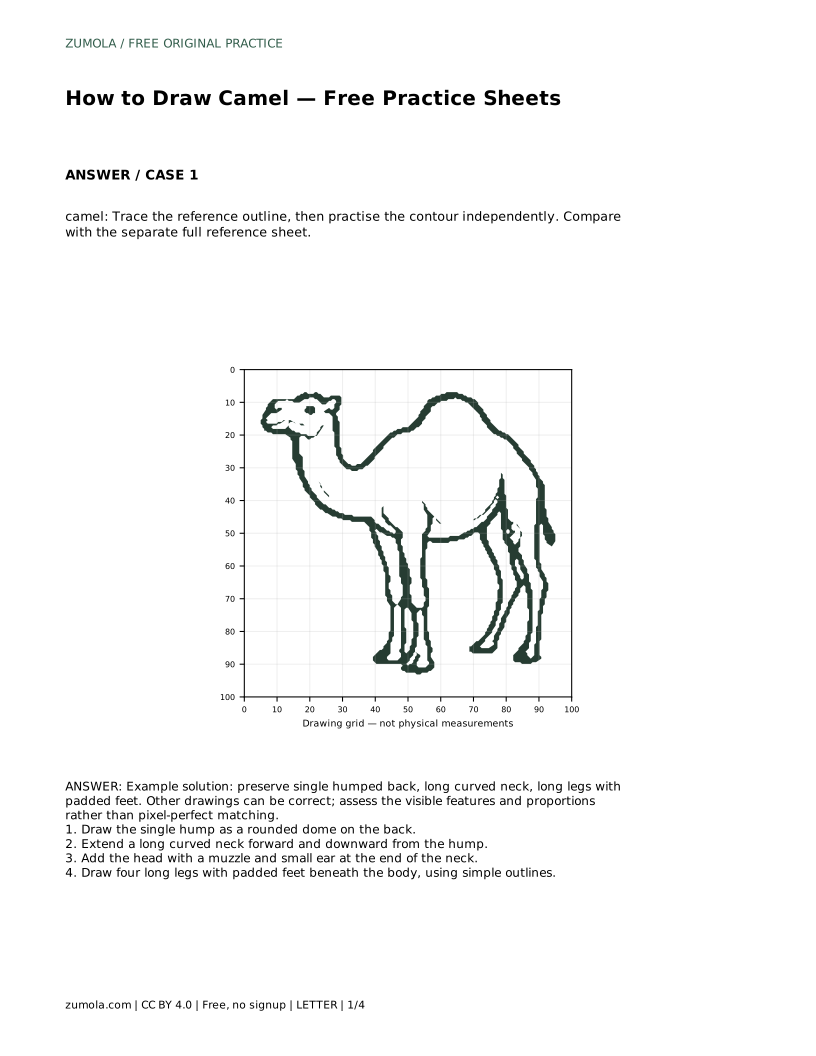
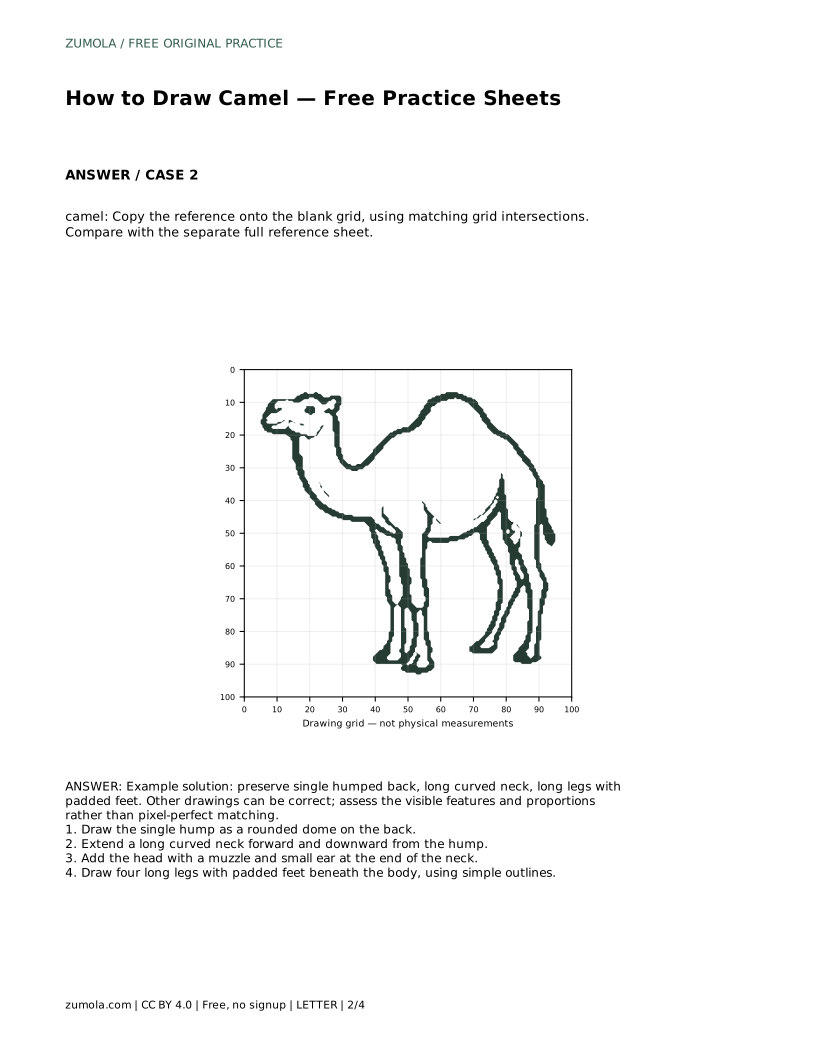
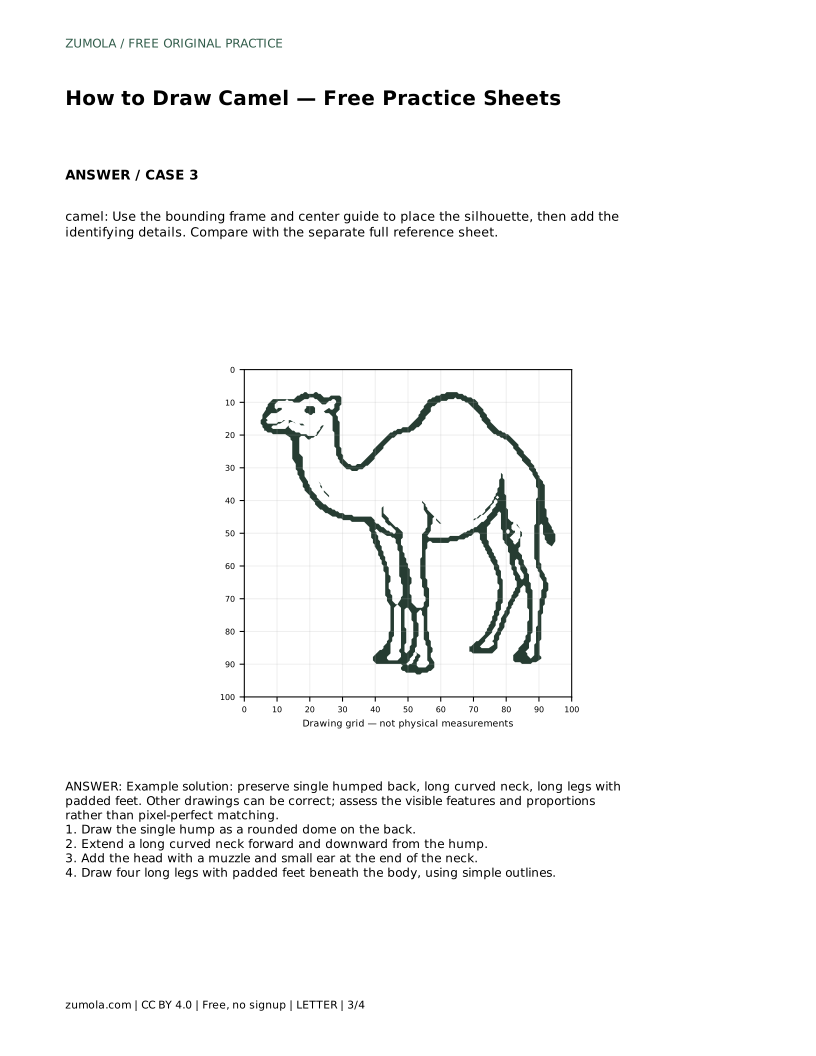
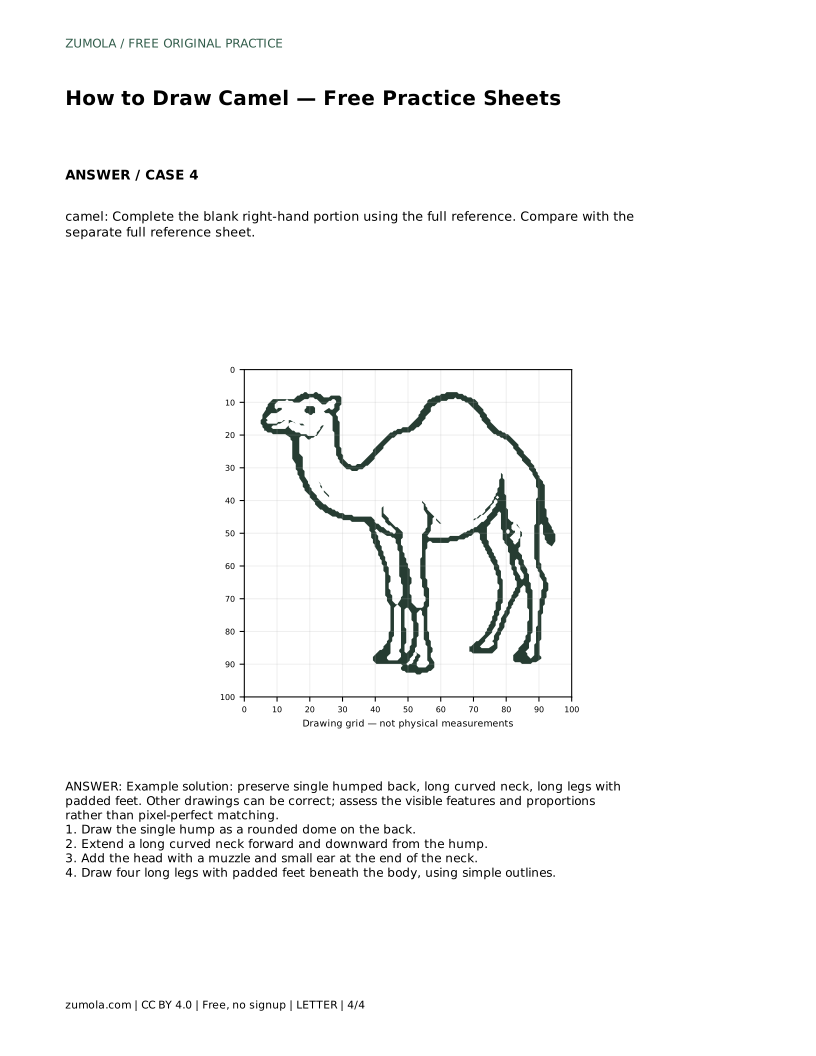
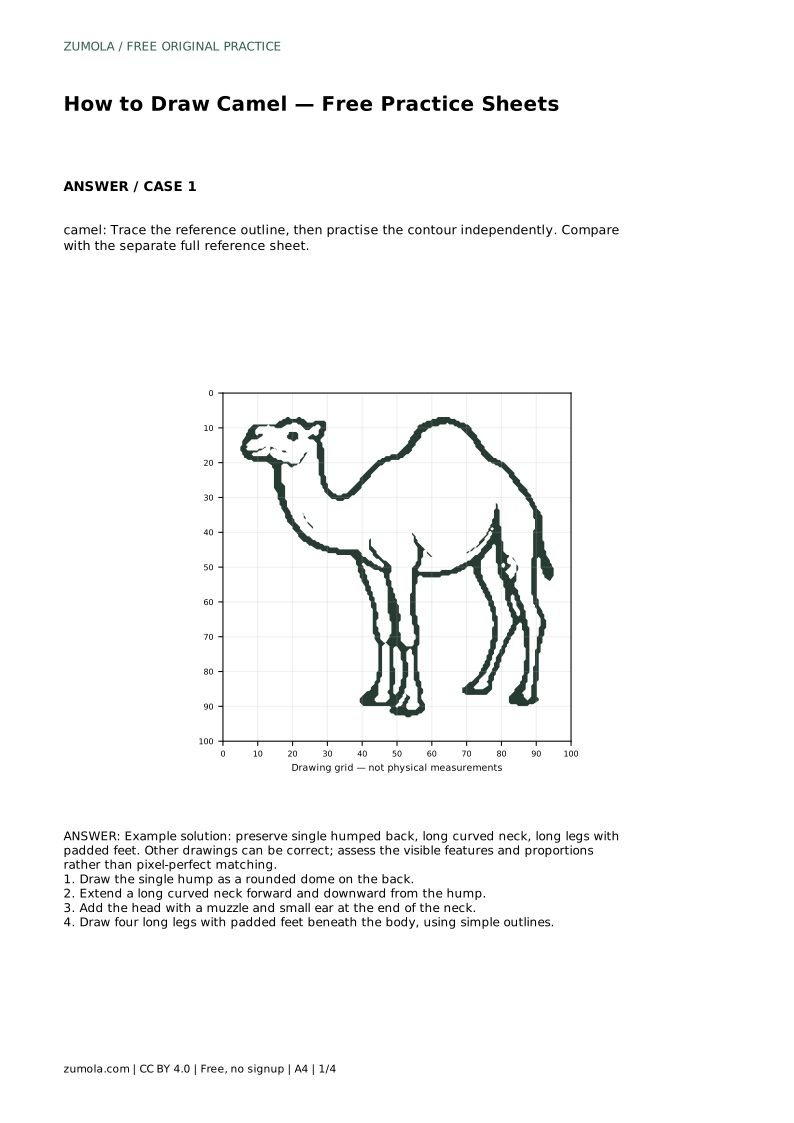
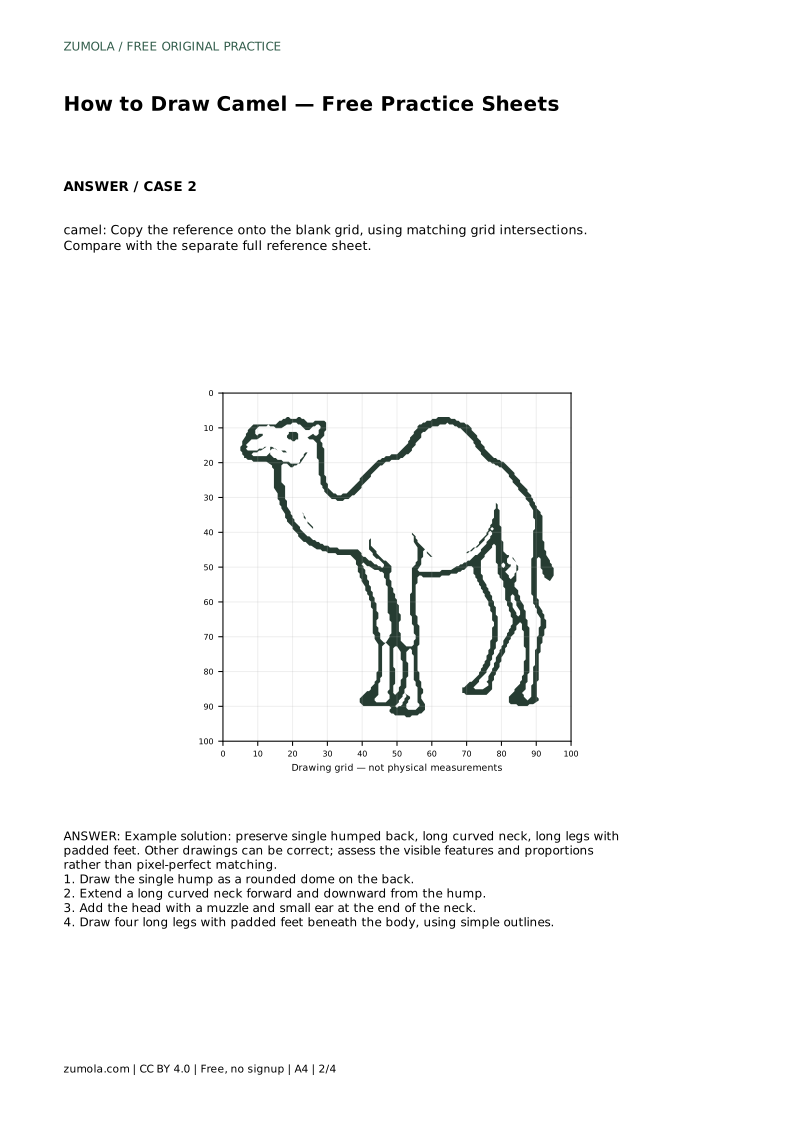
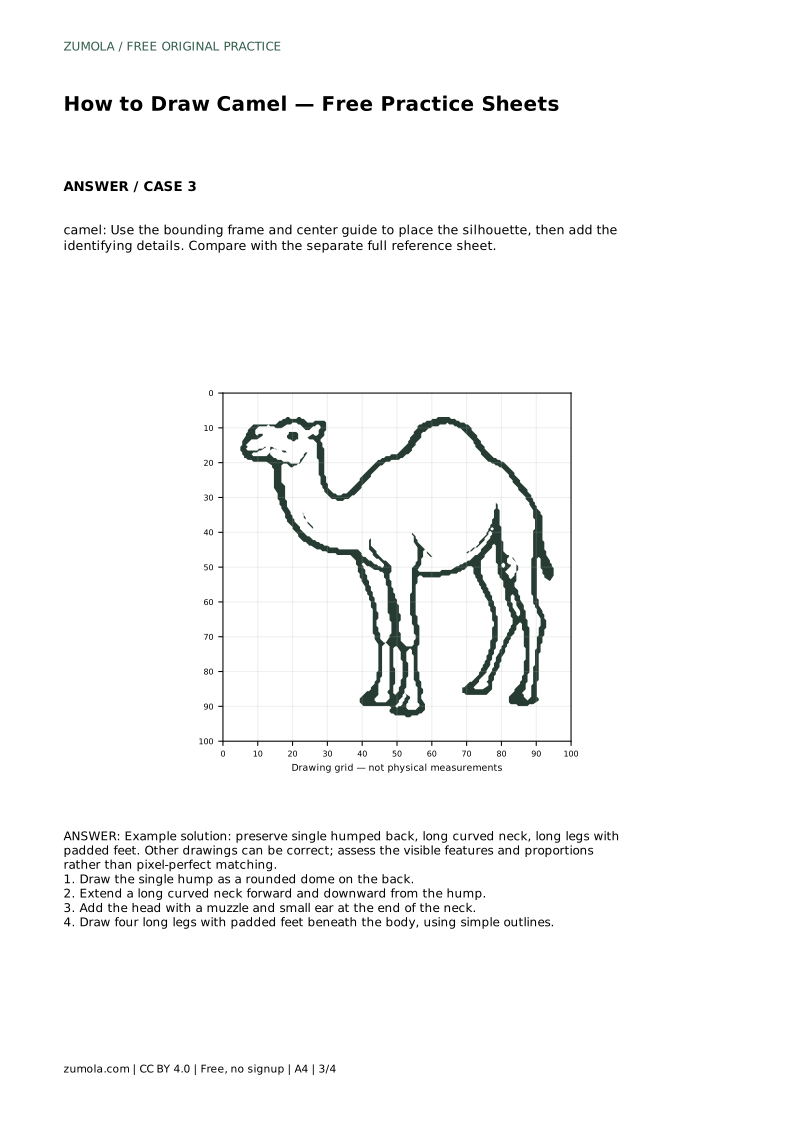
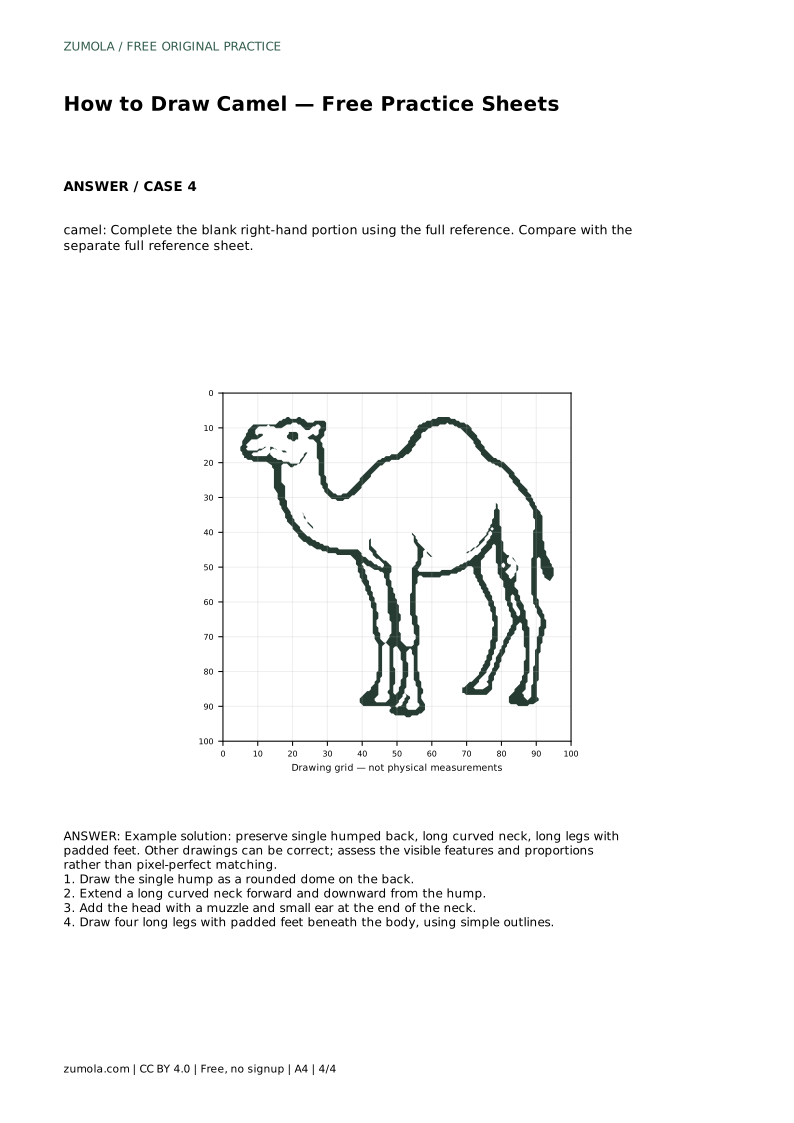
Reference diagrams
LETTER · Download PDF
A4 · Download PDF
Free original resources
Learn to draw a camel by building a single hump, curved neck, muzzle, and padded feet. Trace, copy, and complete practice sheets with a clear rubric.
Four original cases, with reference diagrams, practice sheets and worked answers. Everything is free; no signup required.
LETTER · Download PDF
A4 · Download PDF
LETTER · Download PDF
A4 · Download PDF
LETTER · Download PDF
A4 · Download PDF
Use A4 or US Letter to match your printer. Use the stated values and conditions to solve each exercise; diagrams are not physical measuring rulers.
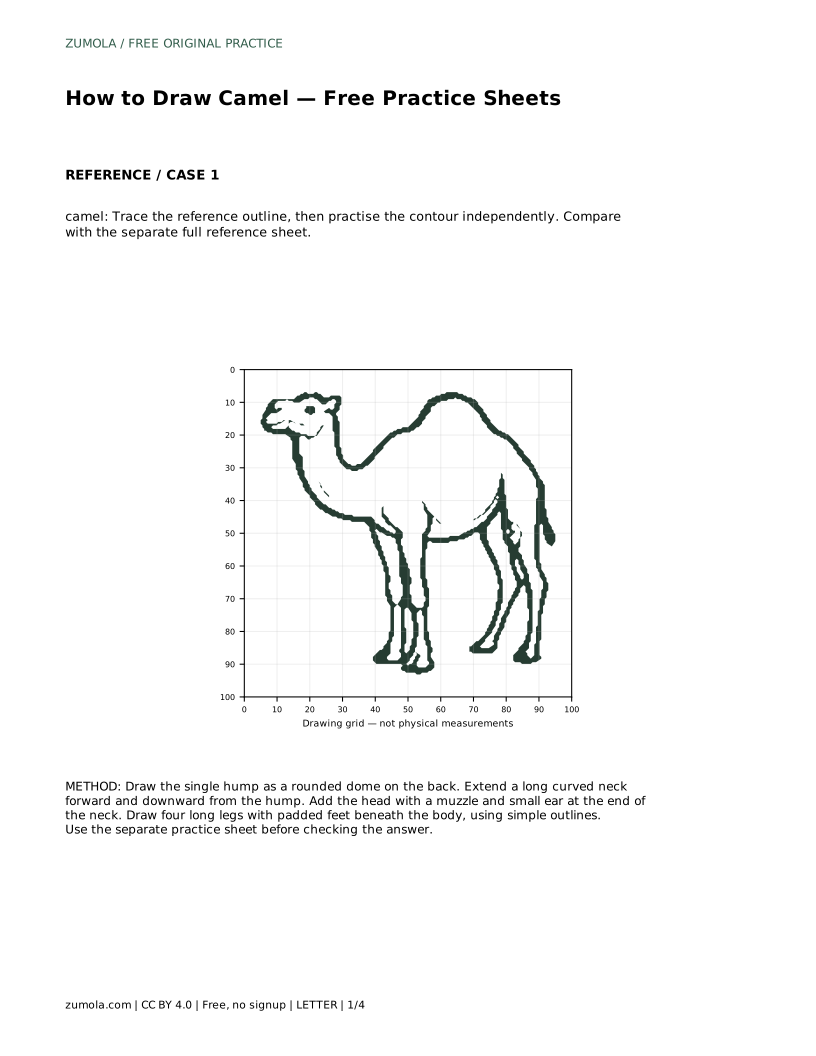
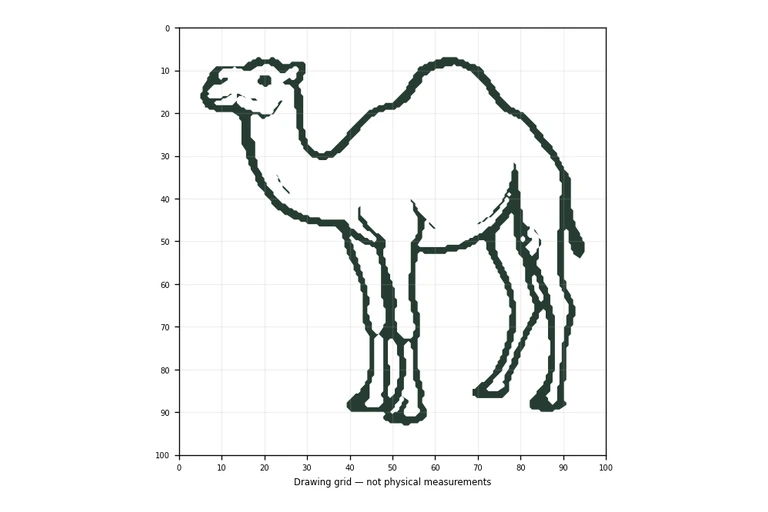
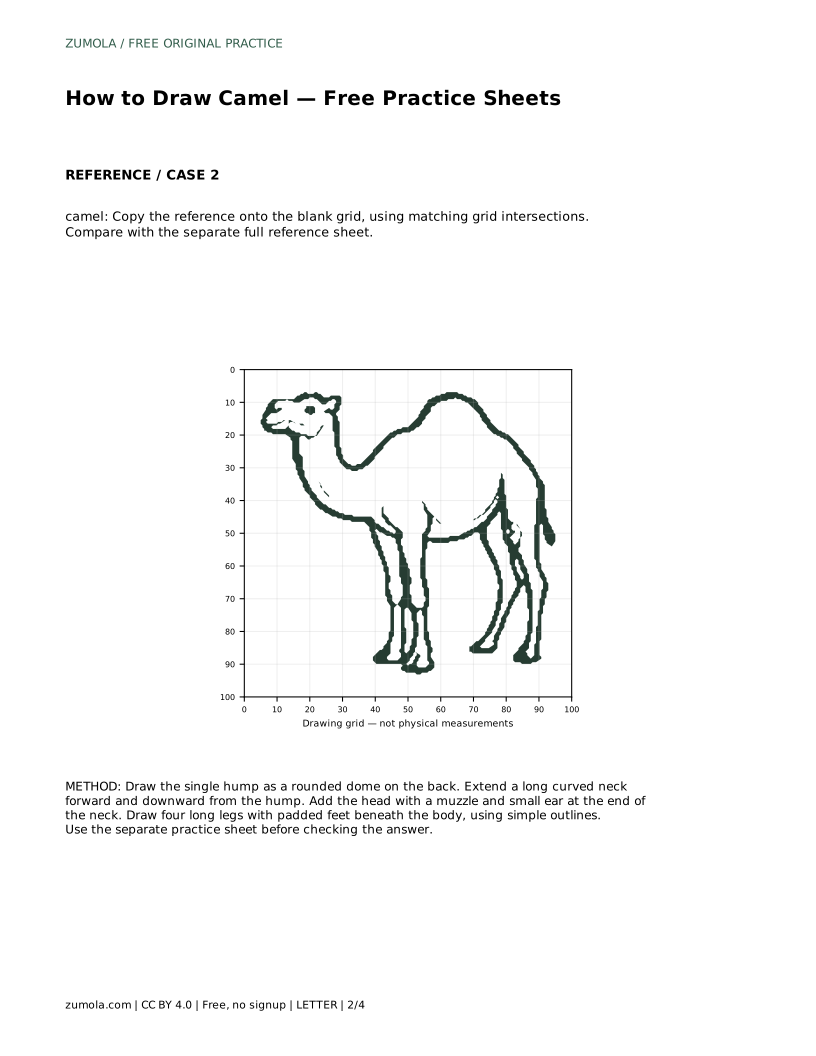
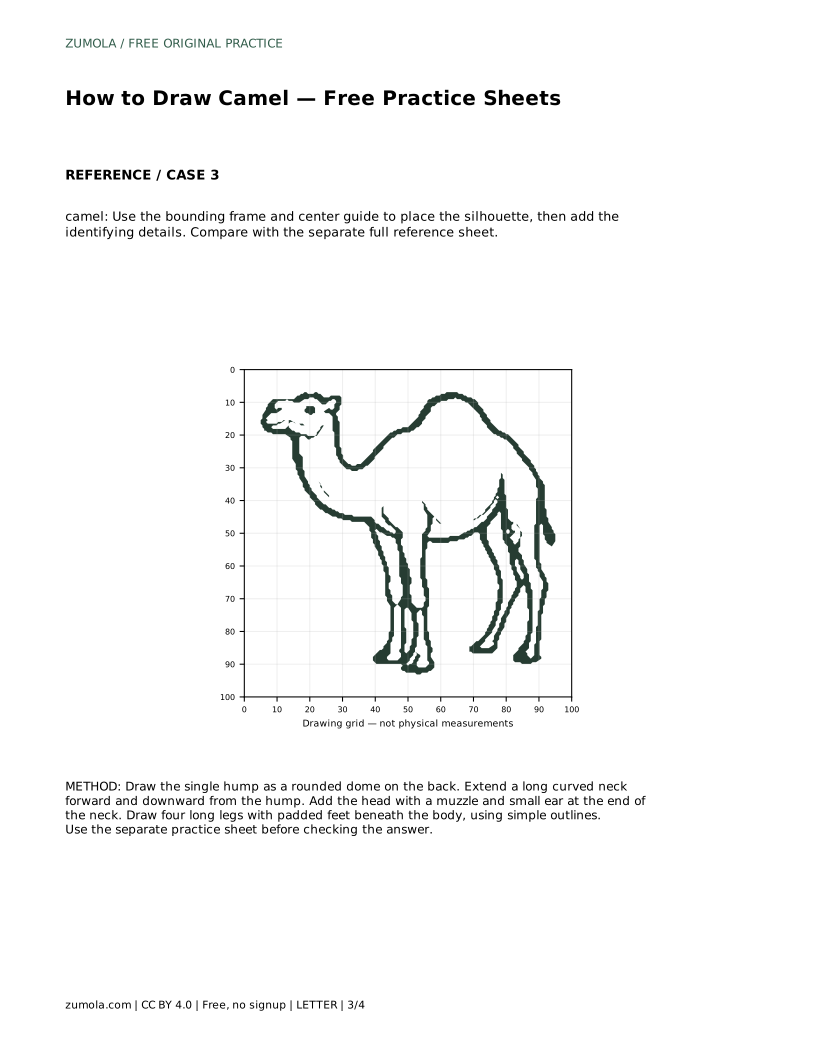
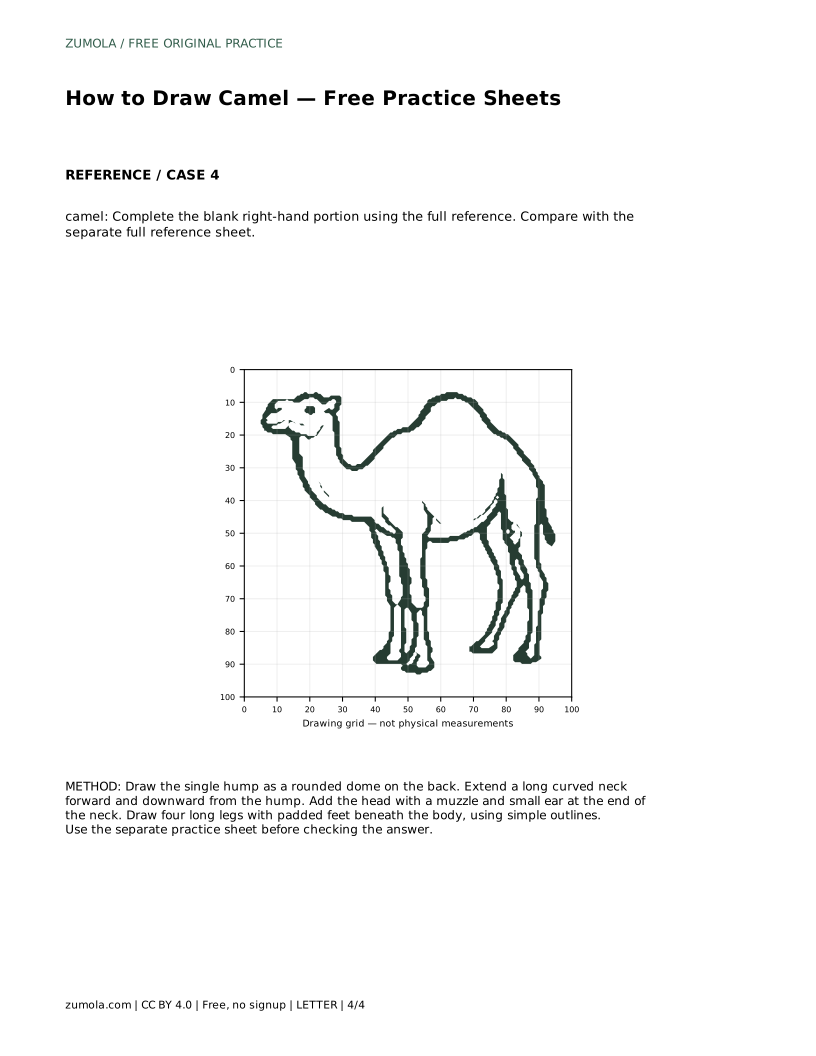
Drawing a camel becomes manageable when you treat it as a set of connected shapes rather than one complicated outline. The body is a rounded form with one hump on top, the neck is long and curved, and the legs are long with padded feet. This guide explains how to place those parts in order, how to use tracing, grid, and frame practice sheets, and how to judge your drawing by visible features and proportions rather than exact matching.
Begin with the body, because every other part attaches to it. Draw a soft oval for the torso, then add a rounded dome on the upper back for the single hump. Keep the dome broad and low rather than pointed; it should read as part of the back, not as a separate balloon. Next, extend a long neck forward and downward from the front of the body. The neck should curve smoothly, with a gentle bend rather than a sharp angle. At the end of the neck, add the head: a small rounded skull, a muzzle projecting forward, and a small ear near the top. Finally, draw four long legs beneath the body, ending in padded feet. Keep the leg outlines simple and check that all four legs reach a believable ground line.
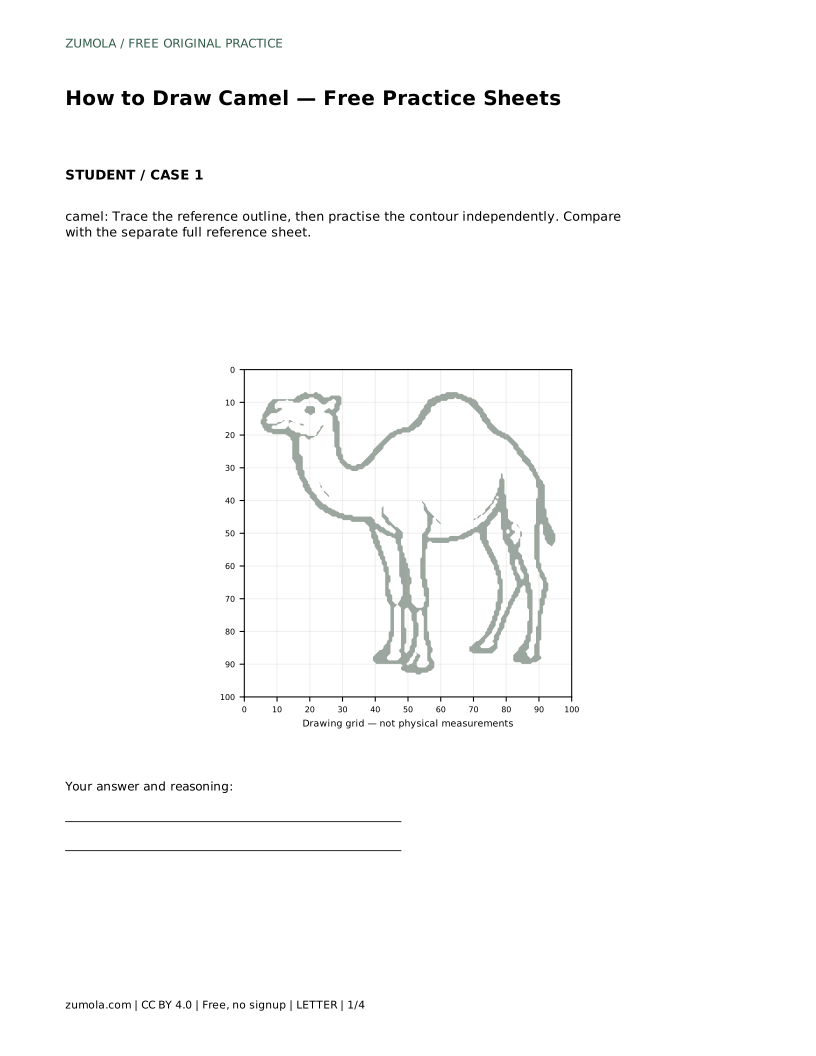
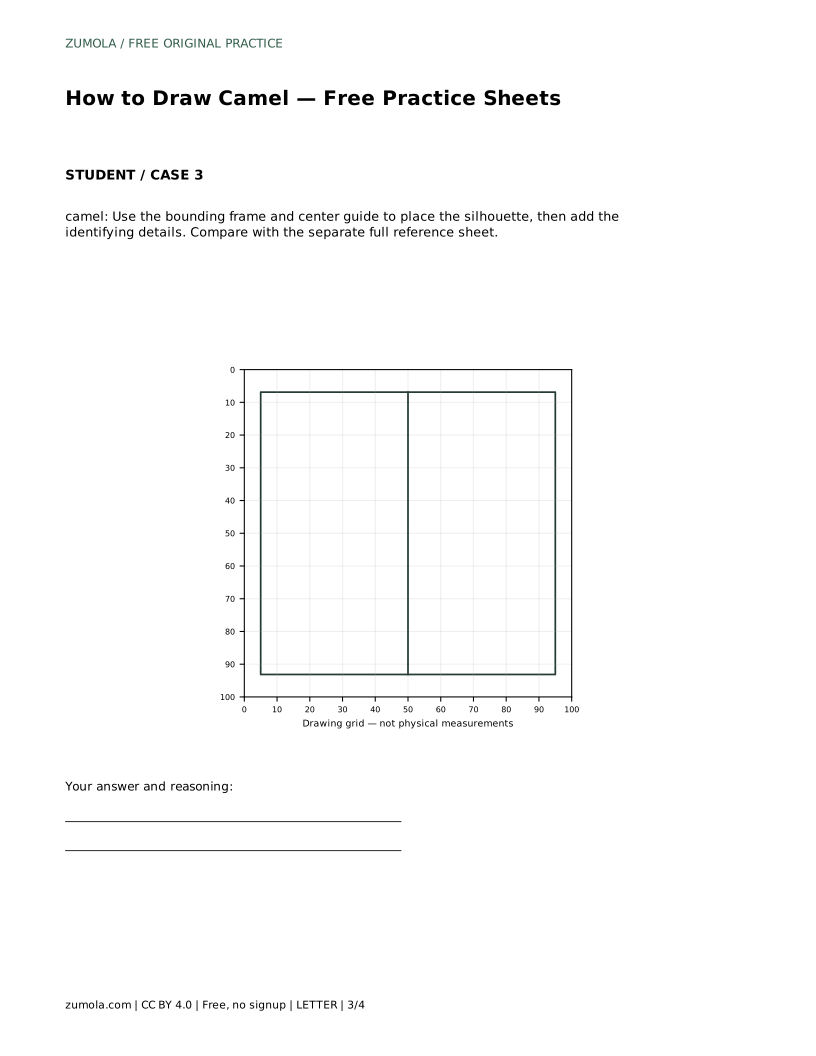
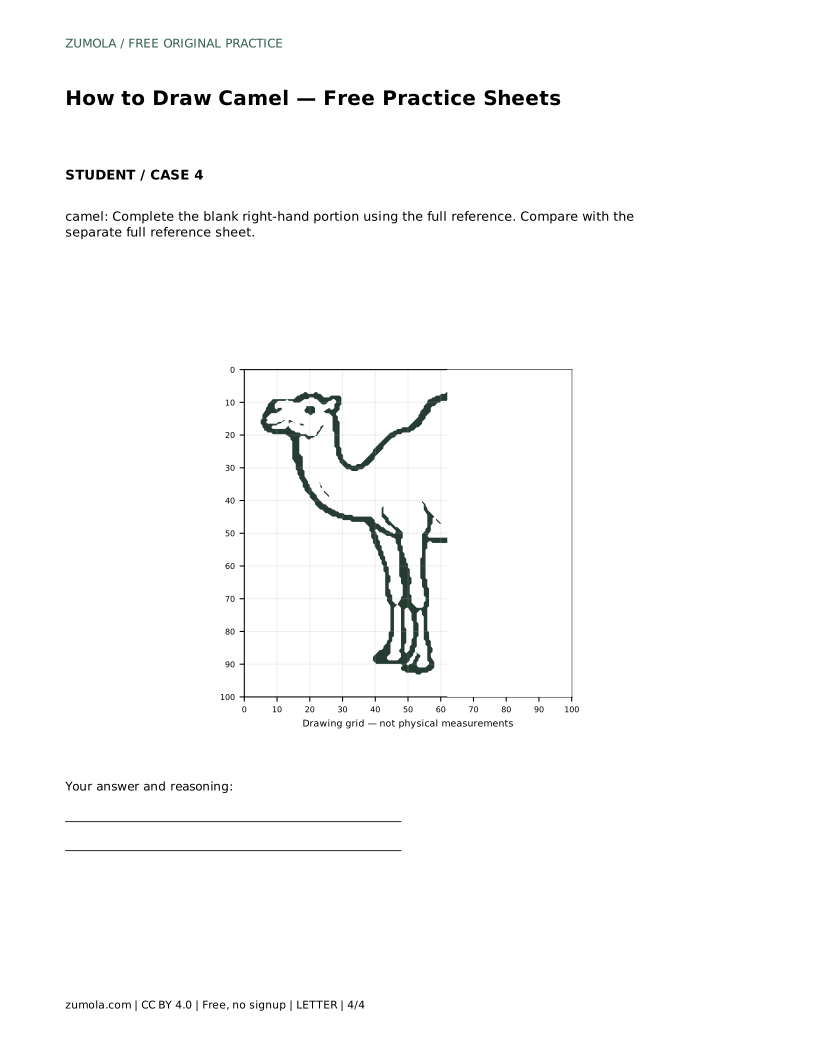
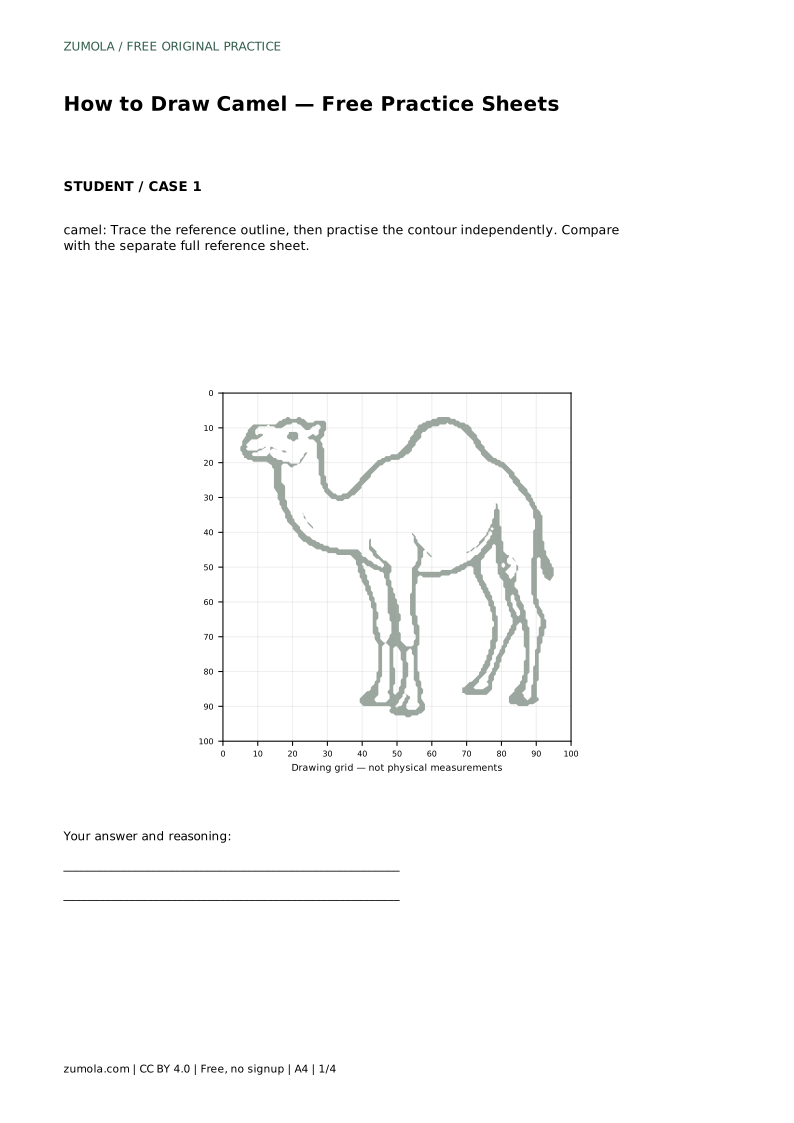
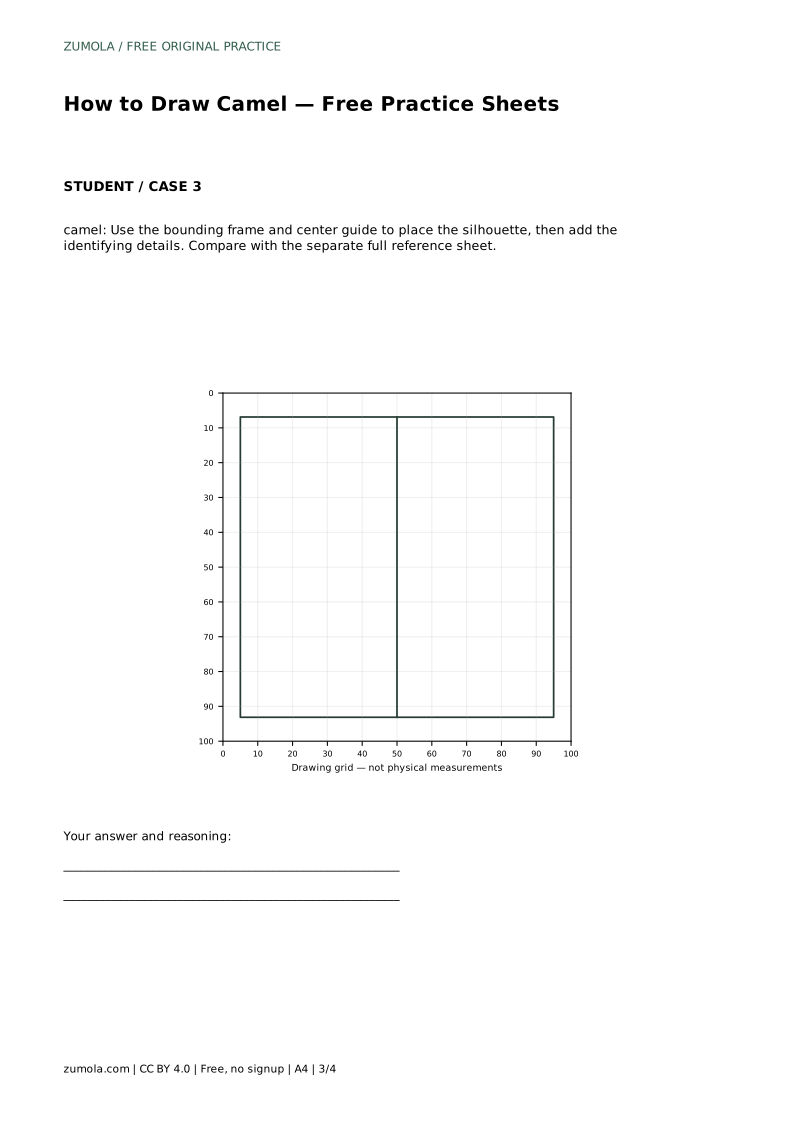
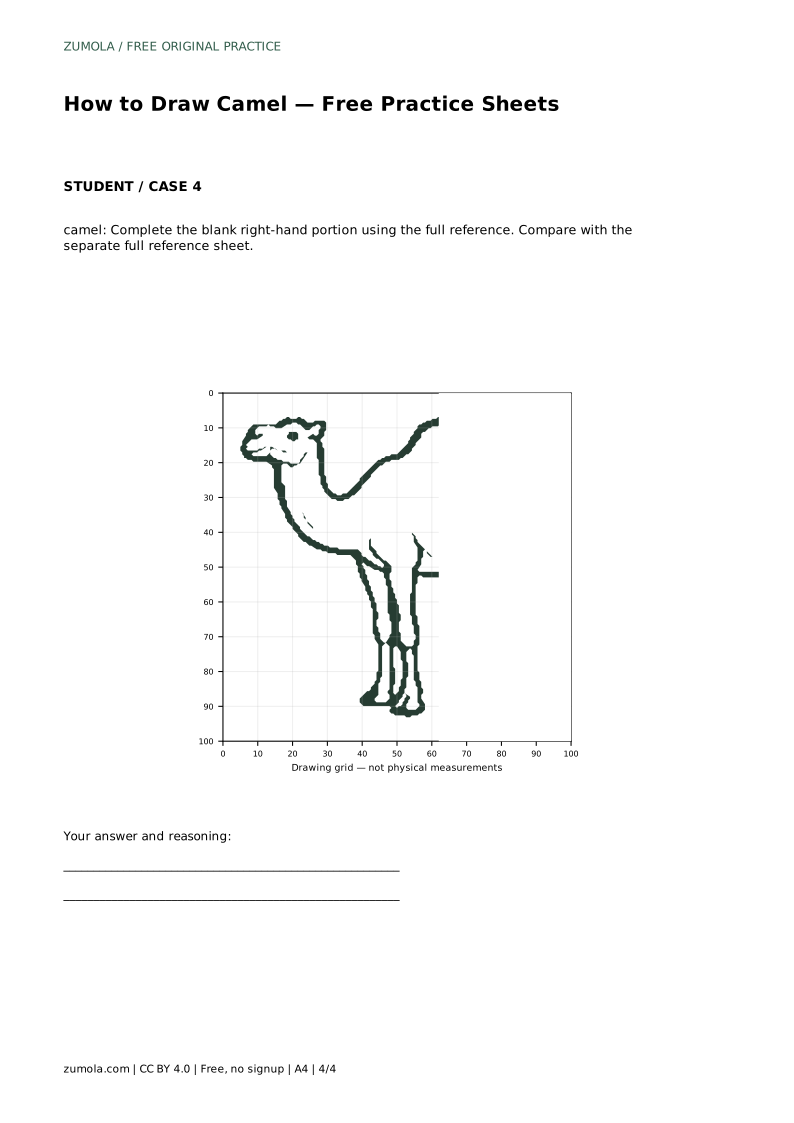
Each practice sheet asks for a slightly different kind of attention. On the tracing sheet, follow the reference outline first, then try the contour independently on the open space. Compare your free drawing with the separate full reference sheet, not with your traced line. On the grid sheet, copy the reference onto the blank grid by matching where the outline crosses grid intersections. Work one square at a time and keep the neck and legs aligned across neighboring squares. On the frame sheet, use the bounding frame and center guide to place the silhouette before adding details. On the partial sheet, complete the blank right-hand portion using the full reference, matching the height of the hump and the angle of the neck at the join.
A useful check is to compare the neck length with the body length. In a simple side view, the neck often looks roughly as long as the torso, and the legs are long enough to lift the body well above the feet. The hump should sit over the middle of the back, not at the tail end. The muzzle should be shorter than the neck and clearly separated from the skull. Padded feet can be drawn as slightly widened, rounded bases rather than hooves. Because drawings can be correct in different ways, judge the visible features and proportions instead of demanding a pixel-perfect match.
Prompt: camel: Trace the reference outline, then practise the contour independently. Compare with the separate full reference sheet. Example solution: preserve single humped back, long curved neck, long legs with padded feet. Other drawings can be correct; assess the visible features and proportions rather than pixel-perfect matching.
To apply this, trace the outline once to learn the sequence, then cover the reference and redraw from memory. Afterward, place your drawing beside the full reference sheet and check the four key features: one hump, a long curved neck, a muzzle with a small ear, and four long legs with padded feet. Adjust the part that differs most, then redraw once more.
camel: Trace the reference outline, then practise the contour independently. Compare with the separate full reference sheet.
Example solution: preserve single humped back, long curved neck, long legs with padded feet. Other drawings can be correct; assess the visible features and proportions rather than pixel-perfect matching. Draw the single hump as a rounded dome on the back. Extend a long curved neck forward and downward from the hump. Add the head with a muzzle and small ear at the end of the neck. Draw four long legs with padded feet beneath the body, using simple outlines.
No. Preserve the identifying features and proportions, but accept other valid drawing outcomes.
Start with the body oval, then add the hump, neck, head, and legs in that order.
Compare visible relationships, such as neck length against body length and hump position over the middle of the back.
All drawing practice · Free coordinate paper
Original resources · CC BY 4.0 · Free for personal and classroom use with attribution.