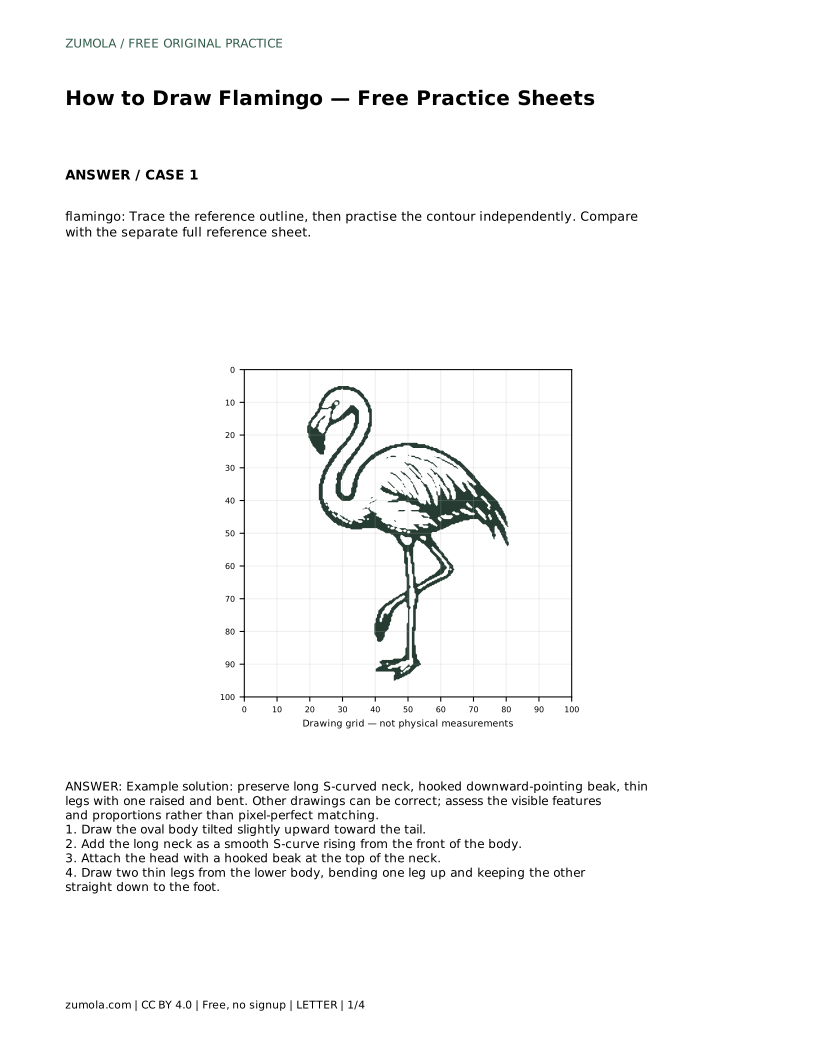
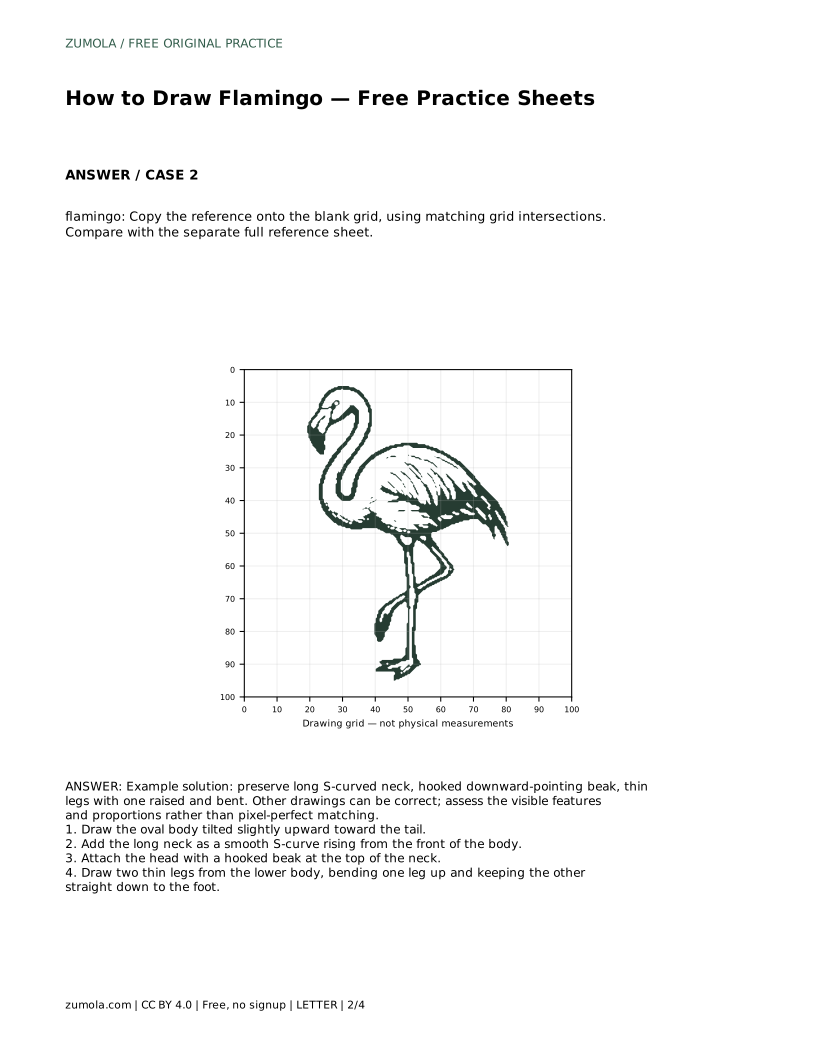
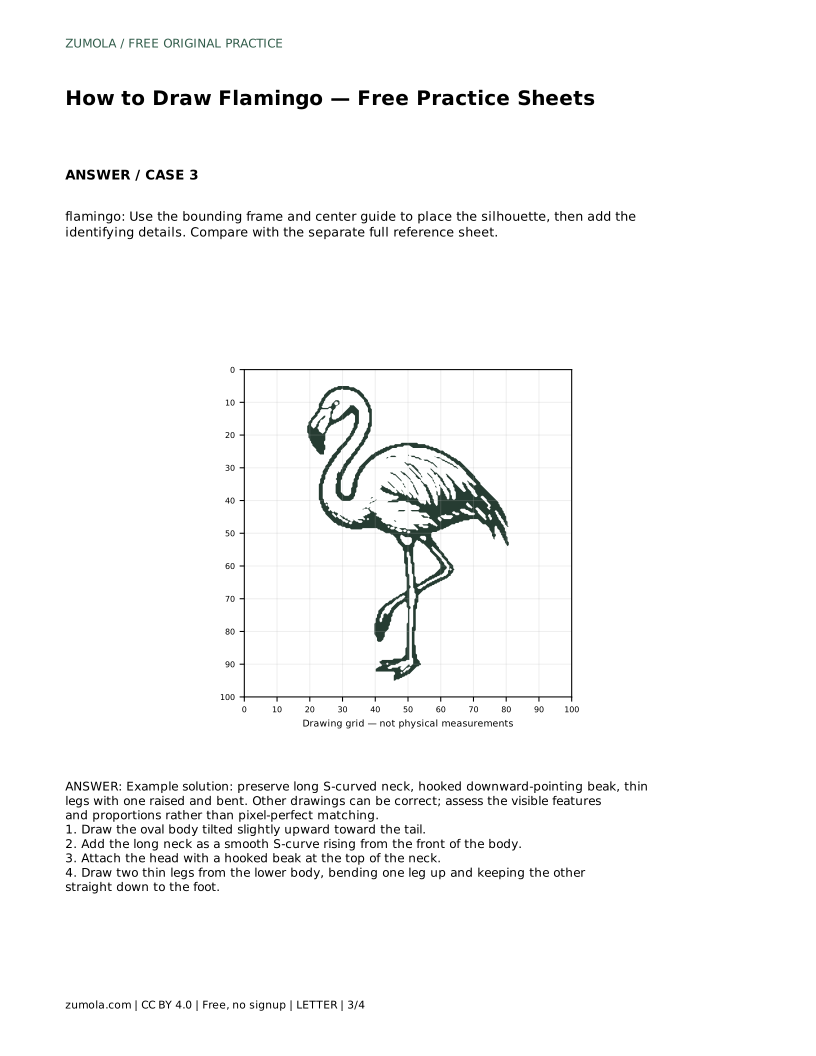
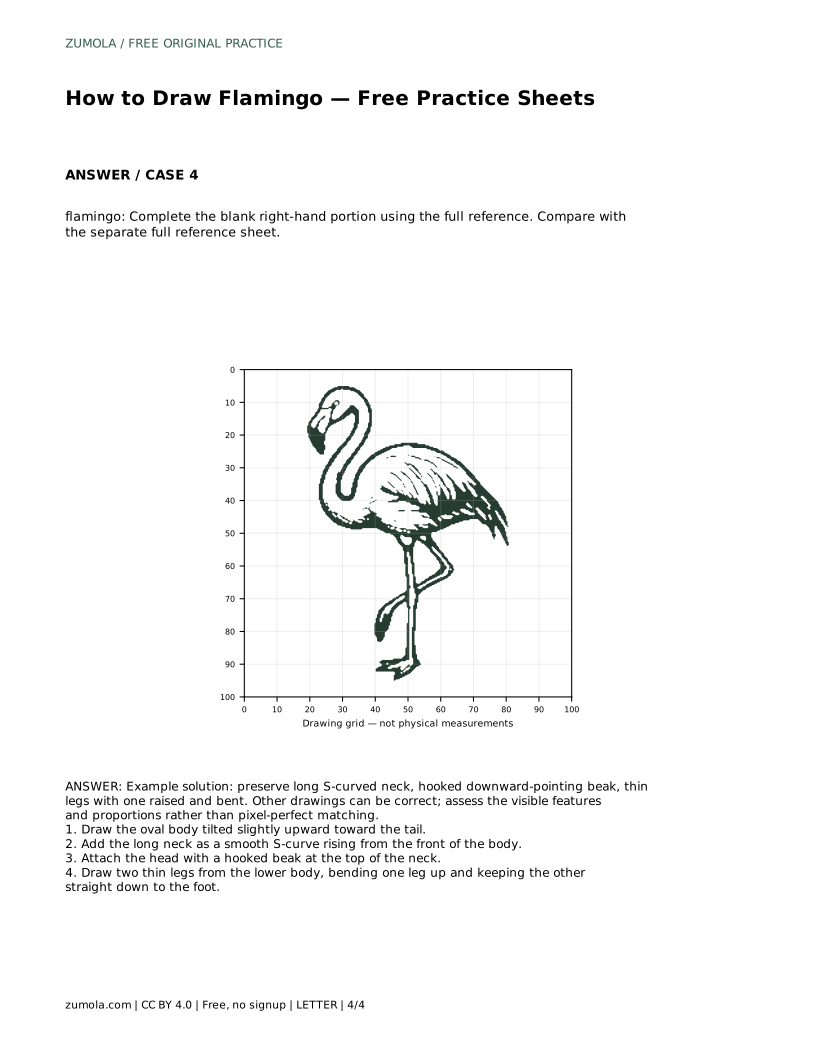
Reference diagrams
LETTER · Download PDF
A4 · Download PDF
Free original resources
Learn to draw a flamingo by tracing its outline, copying it on a grid, and completing a partial reference. Focus on the S-curved neck, hooked beak, and thin legs.
Four original cases, with reference diagrams, practice sheets and worked answers. Everything is free; no signup required.
LETTER · Download PDF
A4 · Download PDF
LETTER · Download PDF
A4 · Download PDF
LETTER · Download PDF
A4 · Download PDF
Use A4 or US Letter to match your printer. Use the stated values and conditions to solve each exercise; diagrams are not physical measuring rulers.
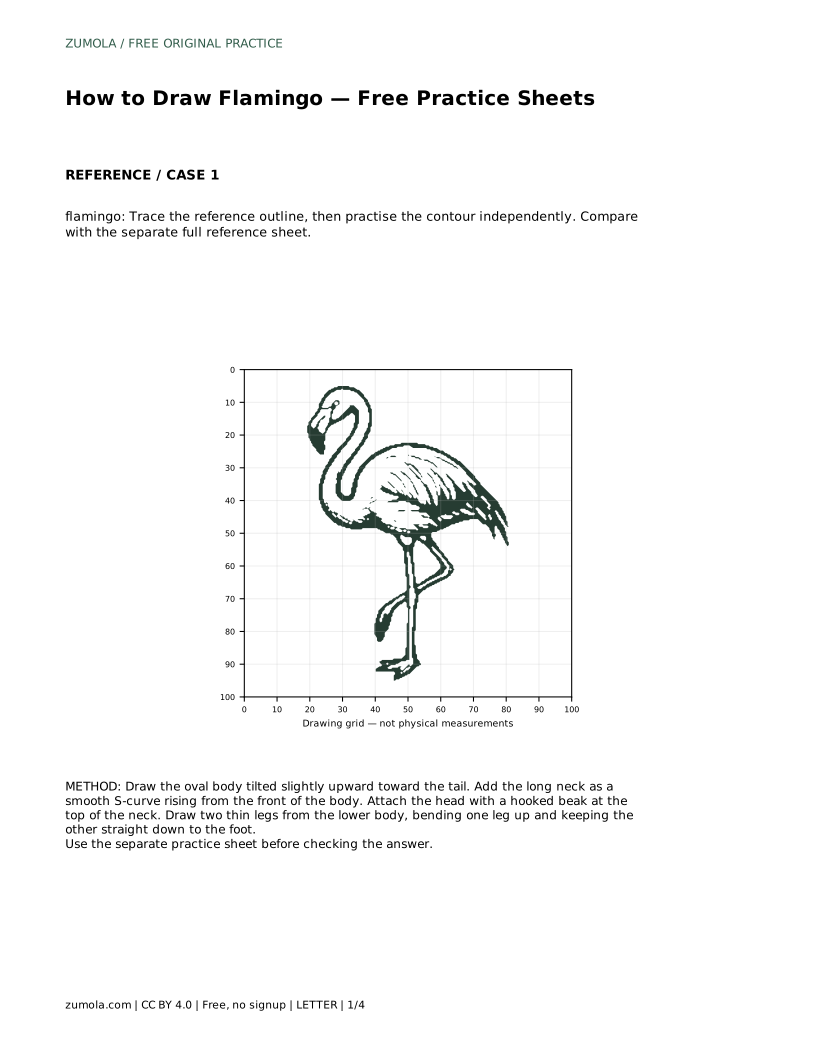
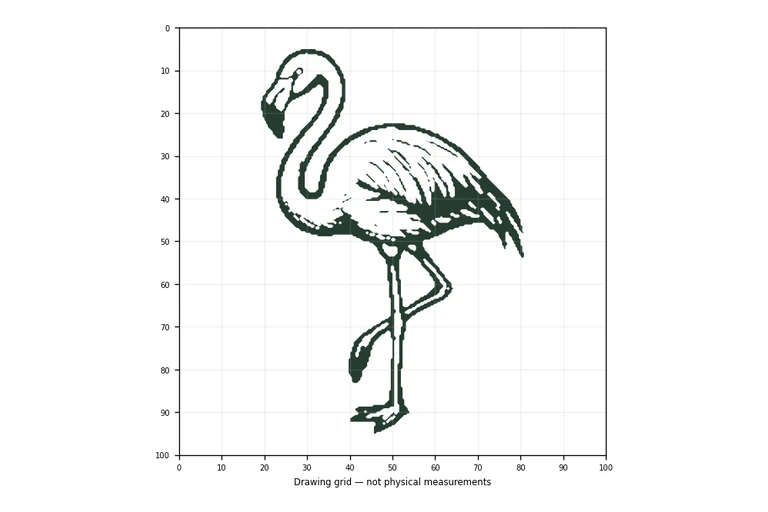
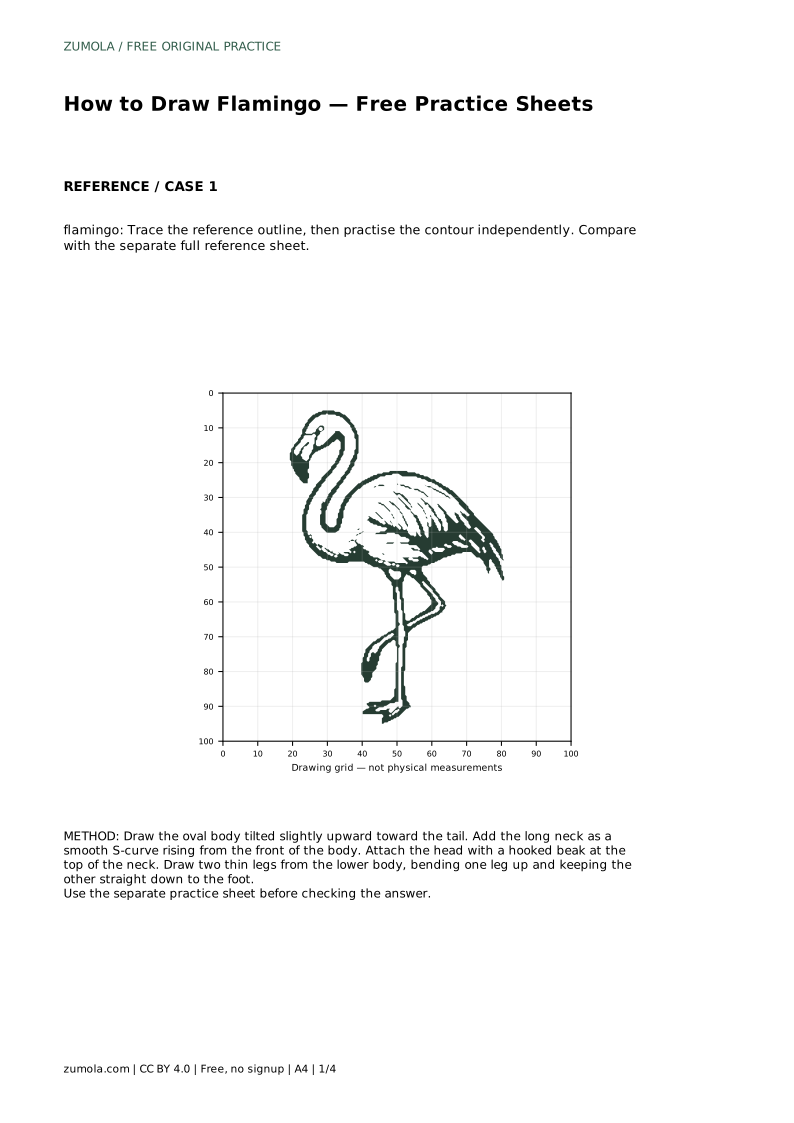
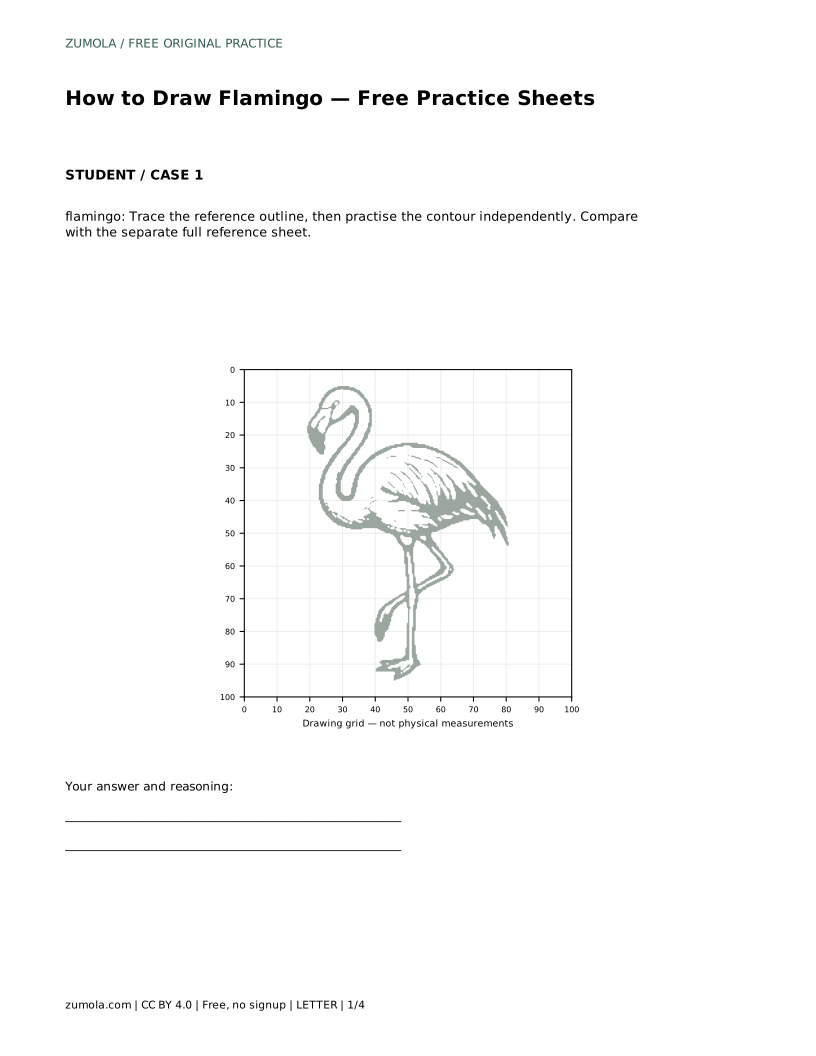
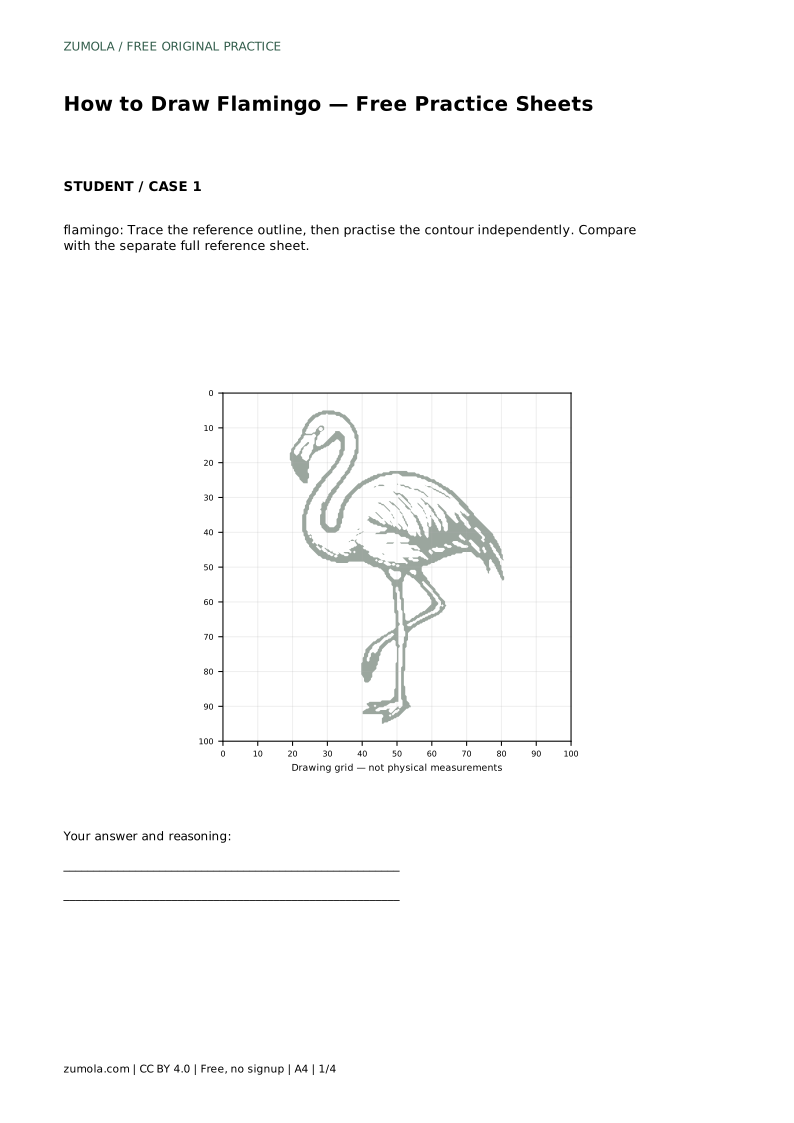
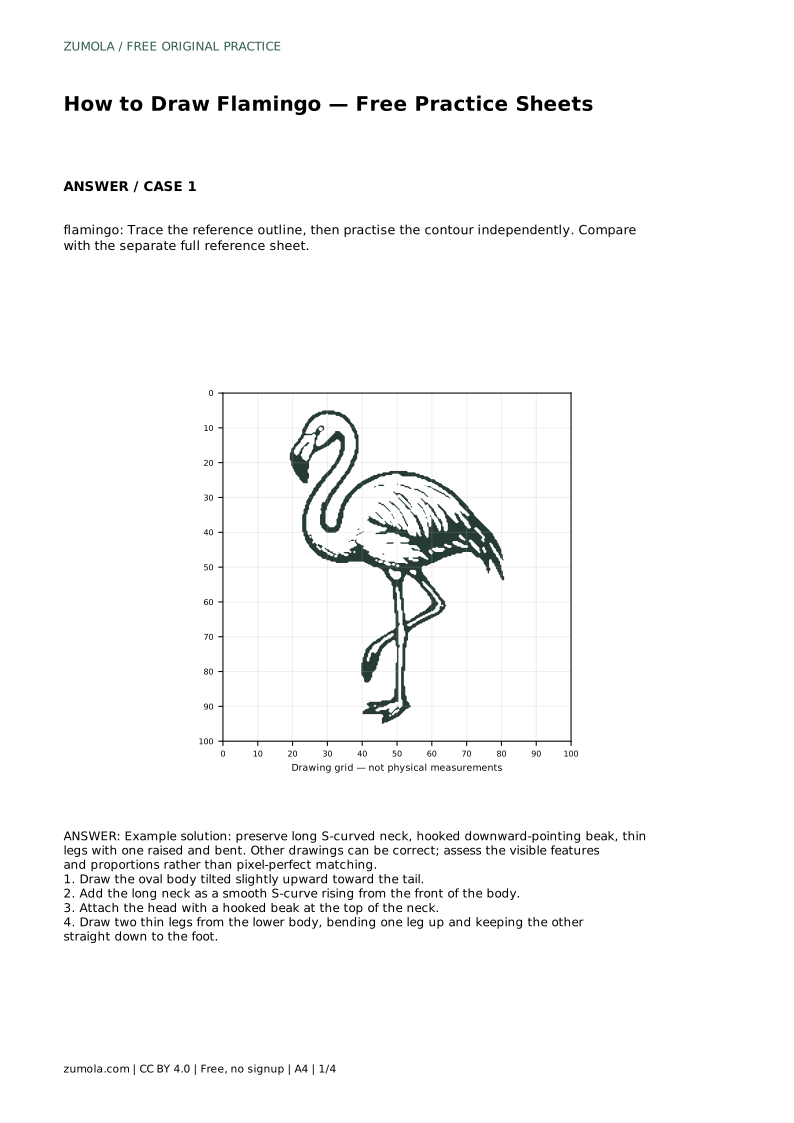
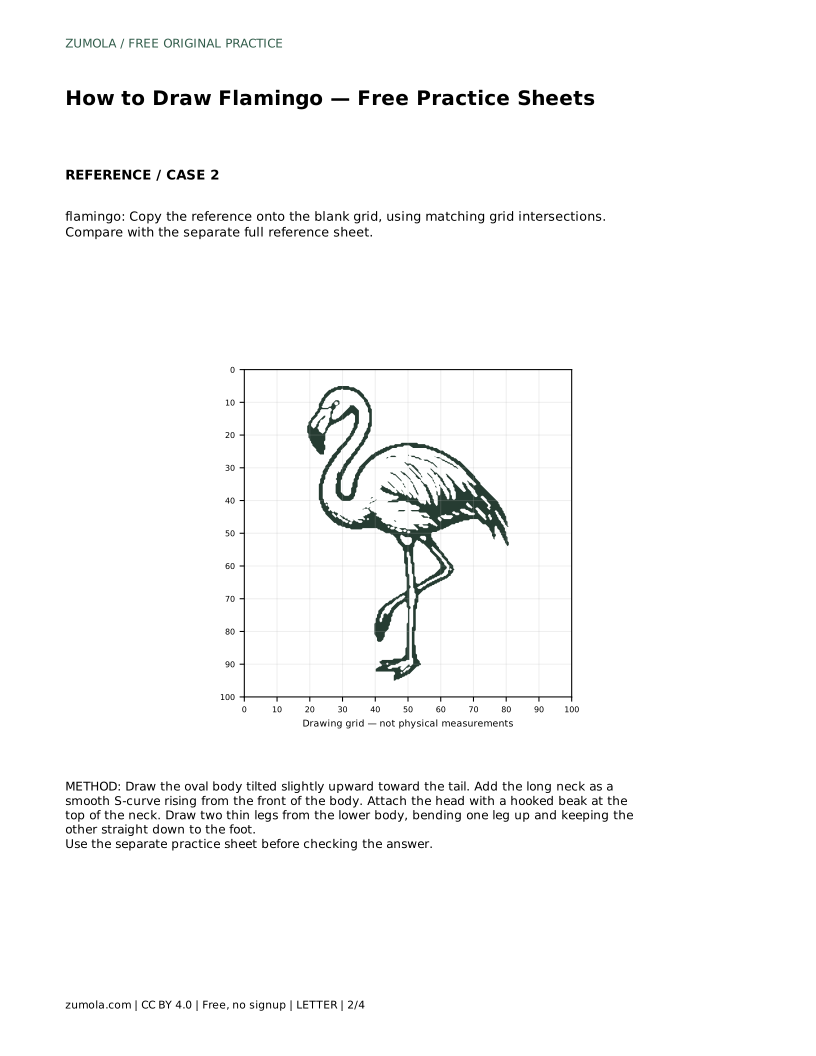
A flamingo is easy to recognize but surprisingly easy to draw out of proportion. Its body is compact, yet the neck is long and curved, and the legs are thin and uneven in pose. This page guides you through tracing a reference outline, then practising the contour independently. You will compare your drawing with a separate full reference sheet, so you can check the visible features and proportions rather than aim for a pixel-perfect match.
Begin by placing the body as an oval tilted slightly upward toward the tail. This tilt gives the flamingo its characteristic posture. From the front of the body, draw the neck as a smooth S-curve rising upward. Keep the curve continuous rather than making it a series of straight segments. The neck should look long but not stiff.
At the top of the neck, attach the head. The beak is hooked and points downward. Draw the hook clearly so the head does not look like a simple circle. Check that the neck meets the body at the front, not the middle or back.
Draw two thin legs from the lower body. One leg should bend upward, while the other stays straight down to the foot. The raised leg is a key identifying feature, so make the bend visible rather than a small kink. Keep both legs thin and separate from the body outline.
After the legs are in place, compare your drawing with the separate full reference sheet. Look for the long S-curved neck, the hooked downward-pointing beak, and the thin legs with one raised and bent. Other drawings can be correct; assess the visible features and proportions rather than pixel-perfect matching.
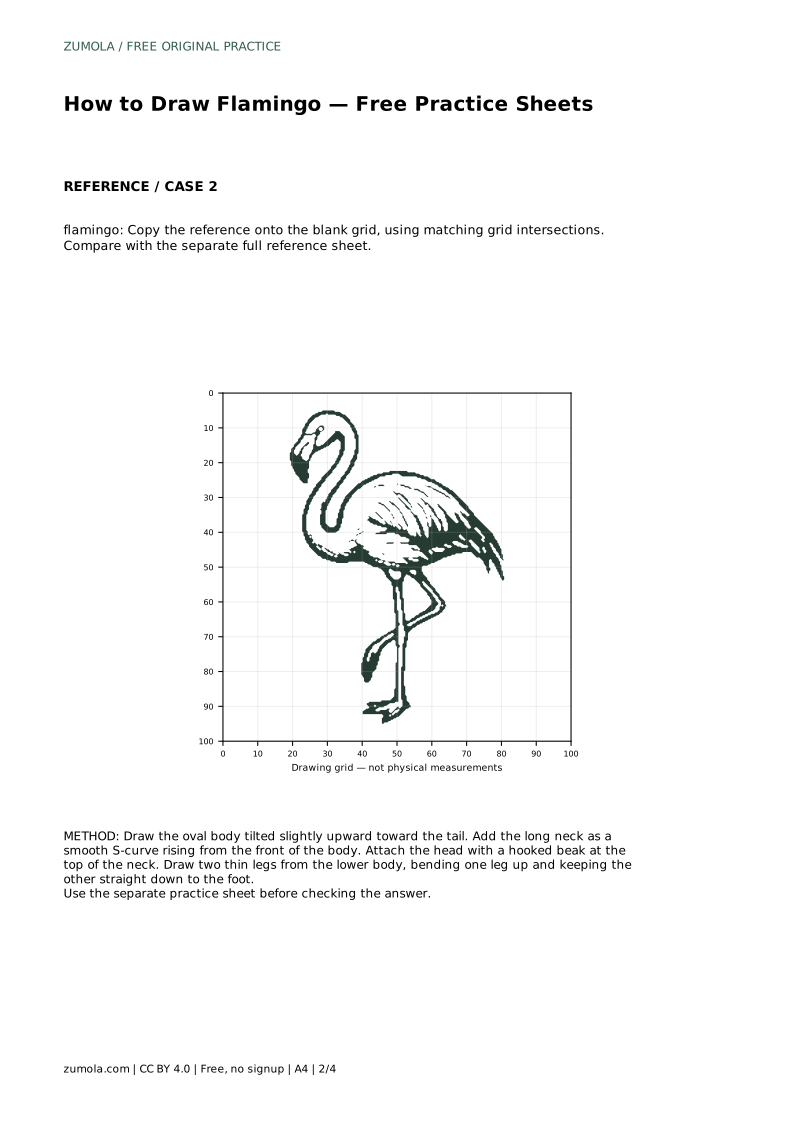
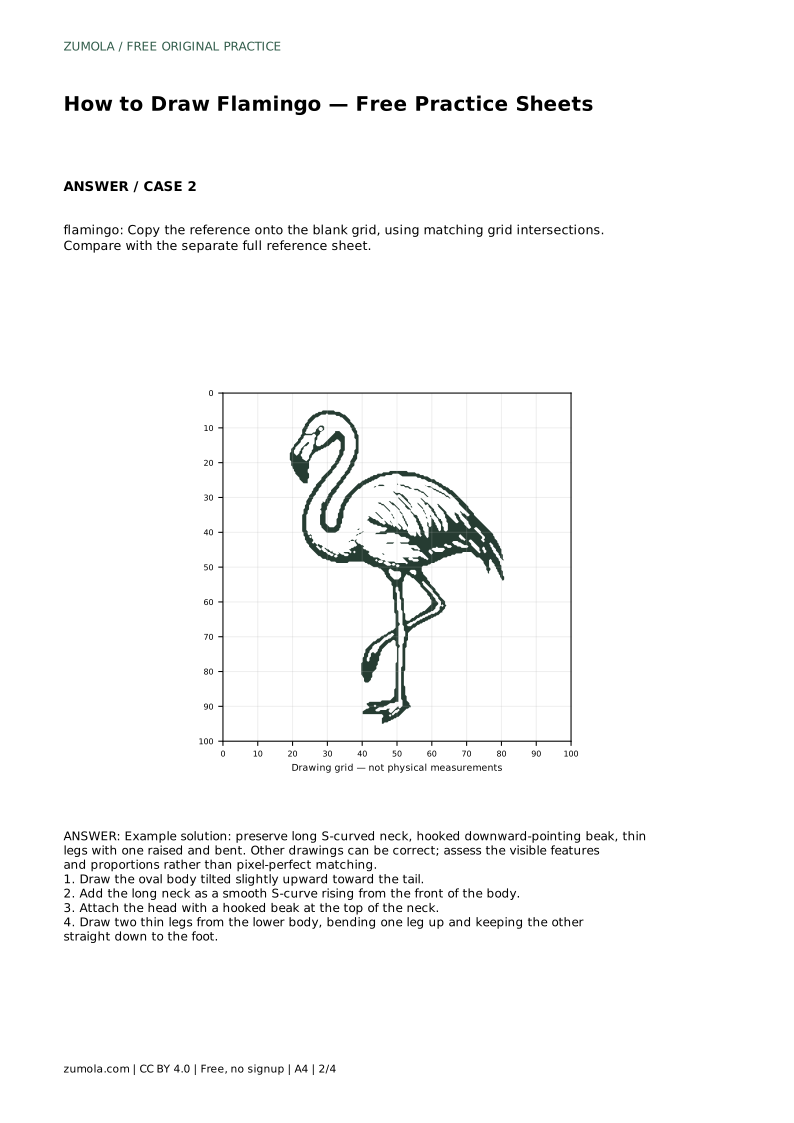
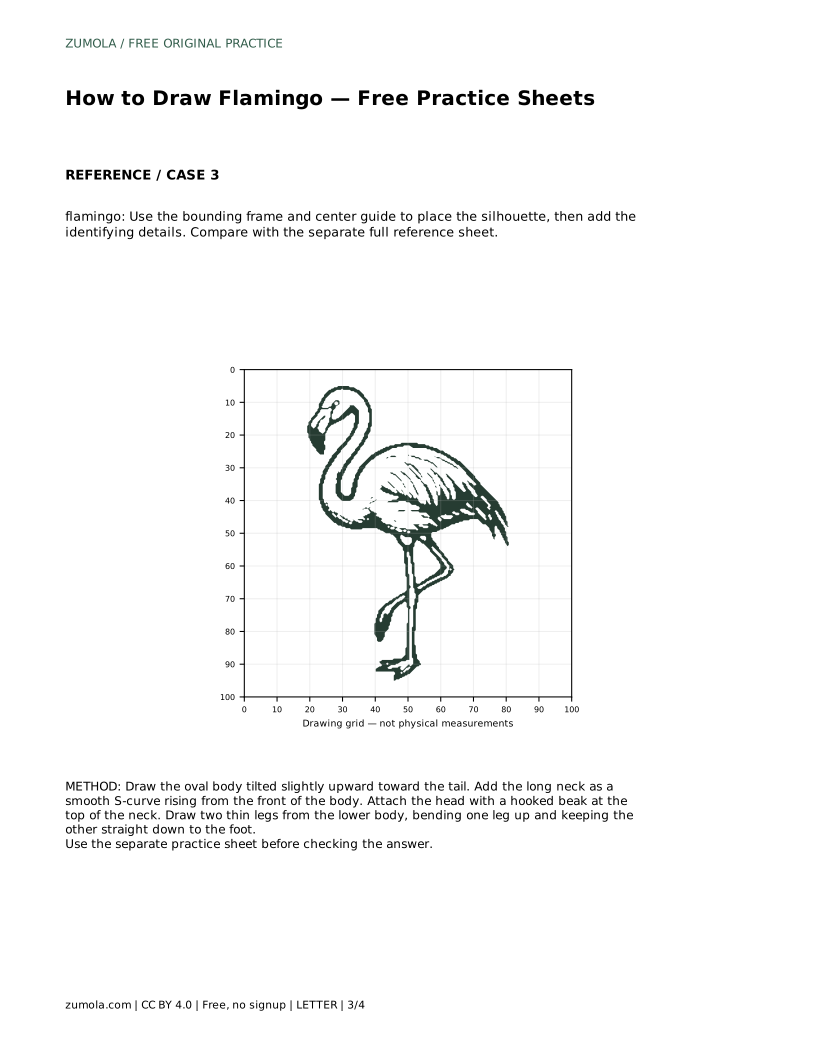
When copying onto a blank grid, use matching grid intersections to place the body, neck, head, and legs. The grid helps you judge where each feature sits relative to the others. Do not trace every square; use the intersections as landmarks.
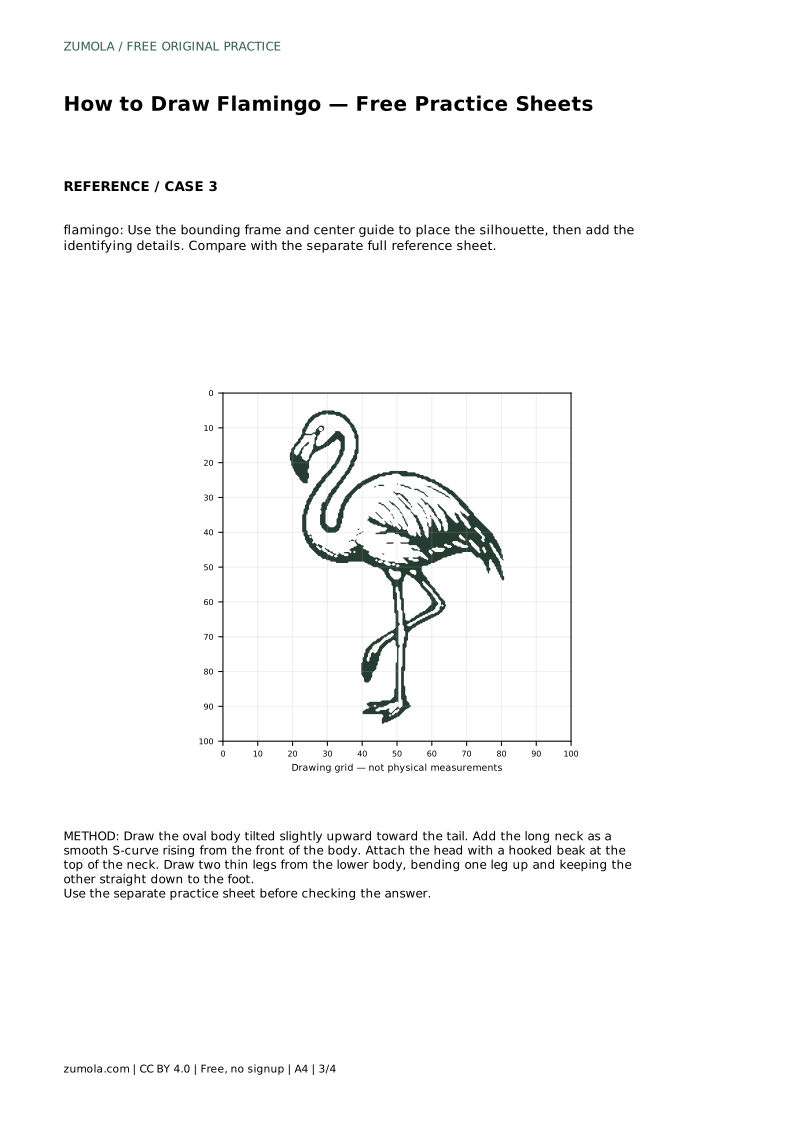
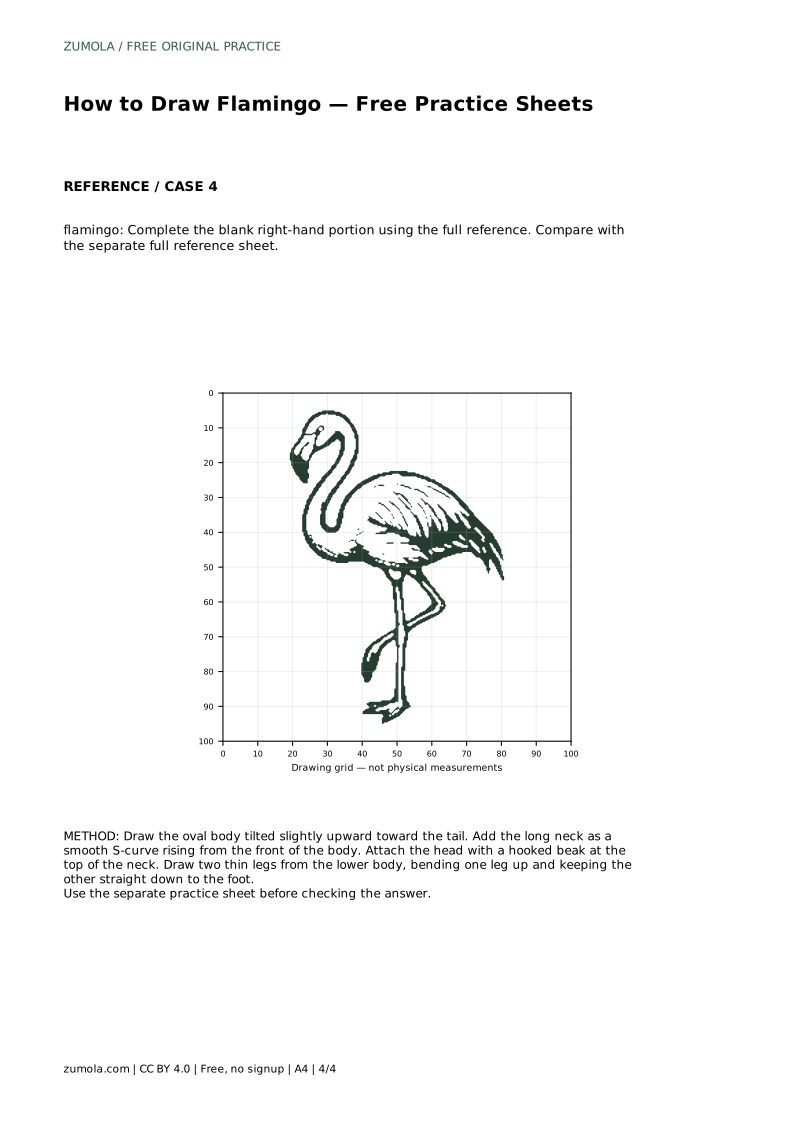
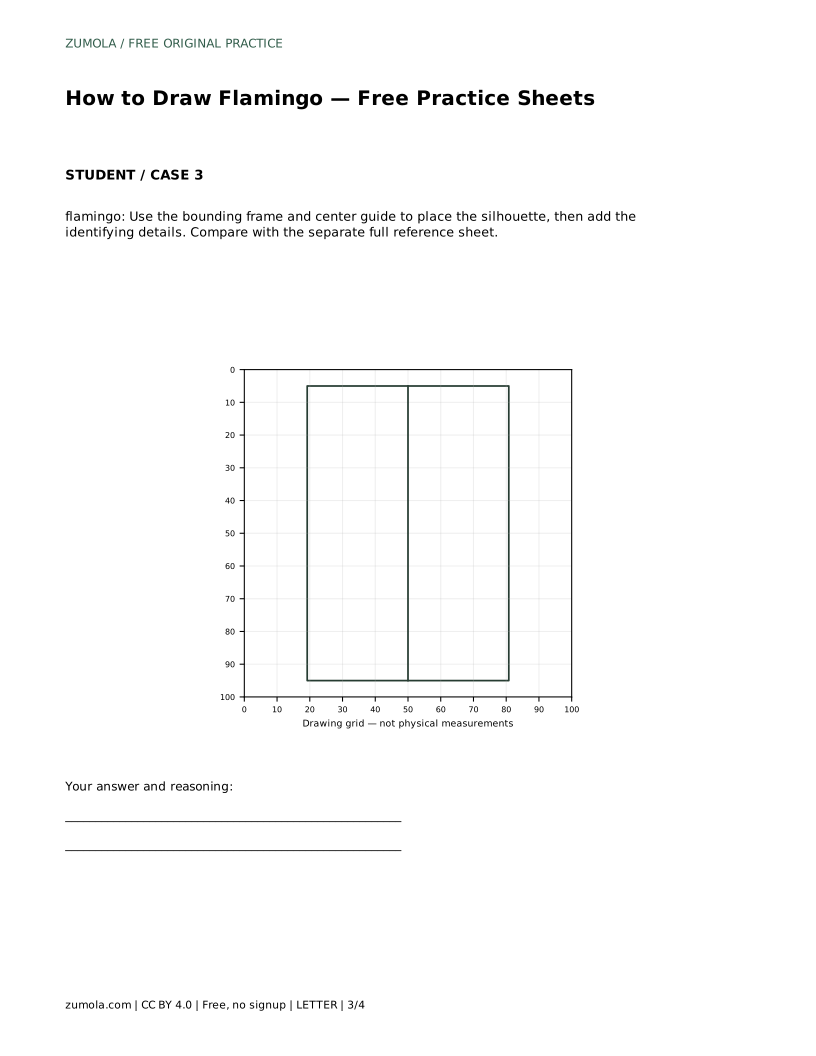
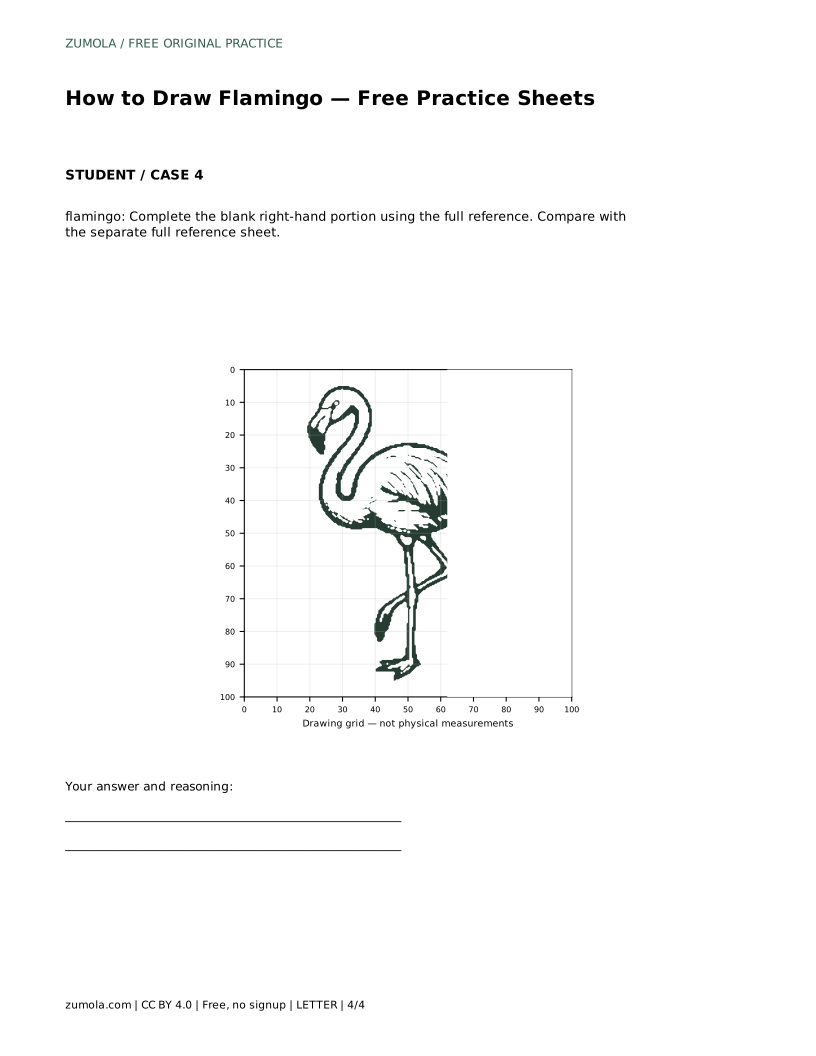
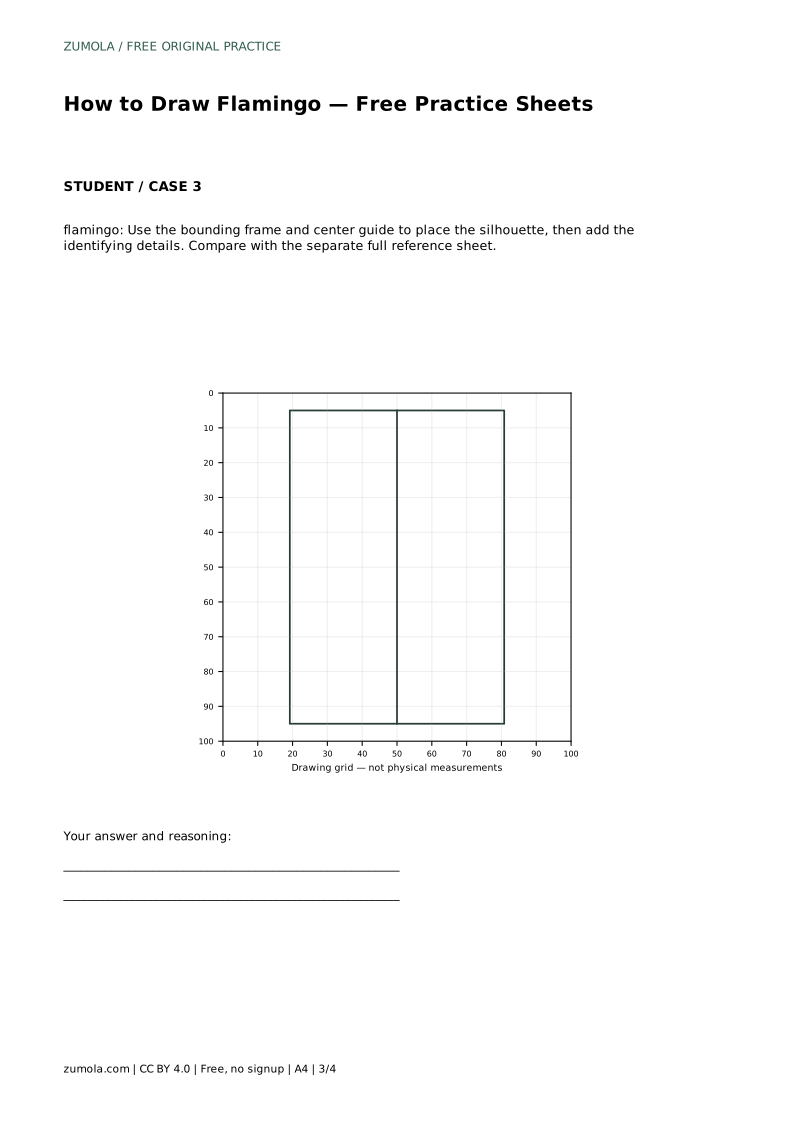
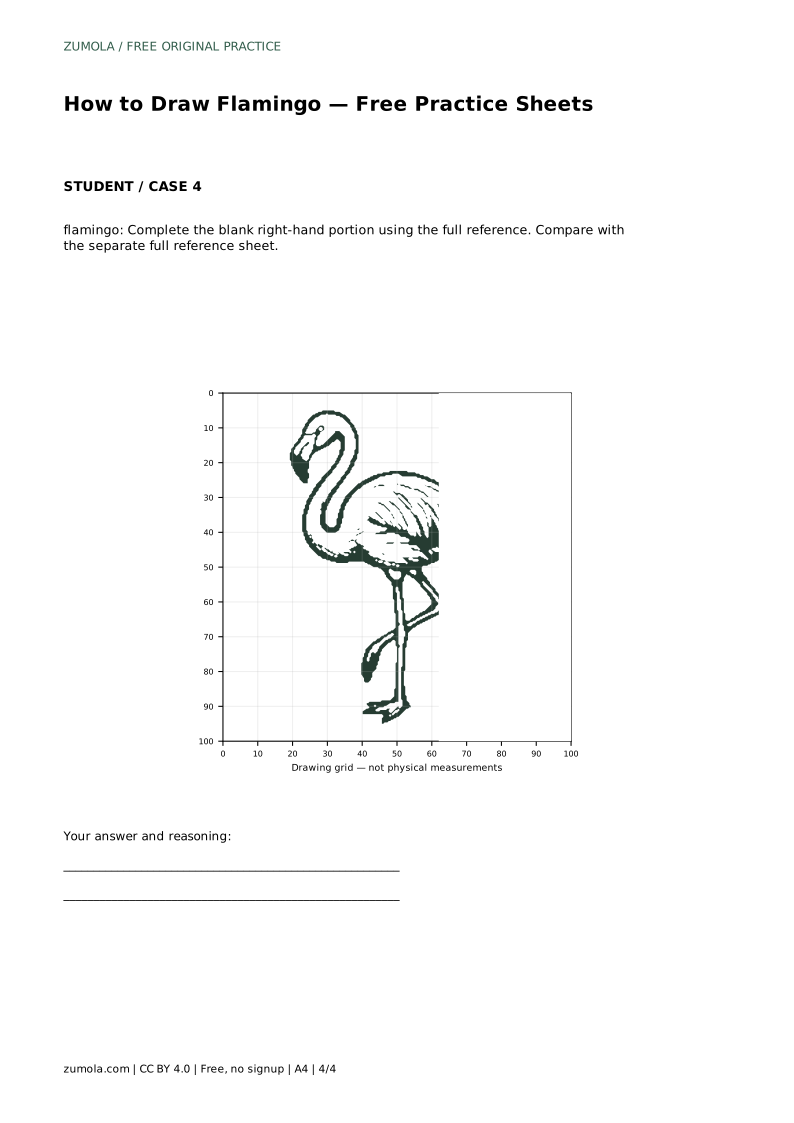
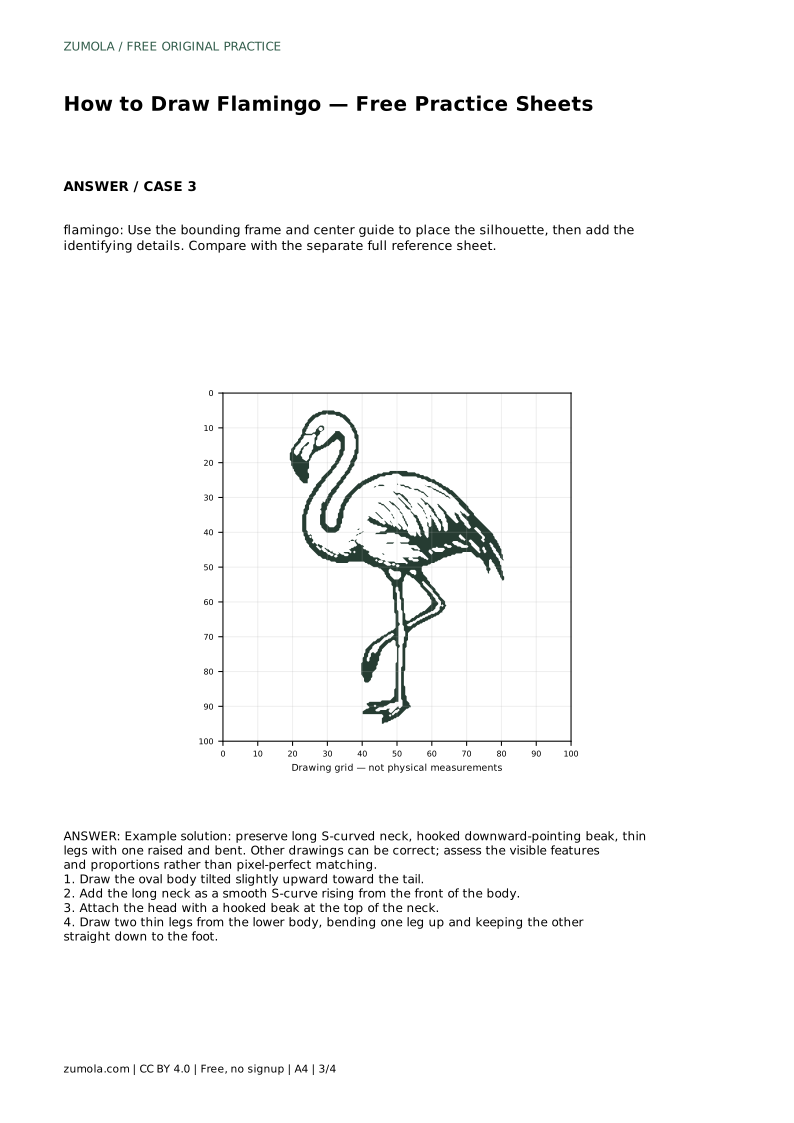
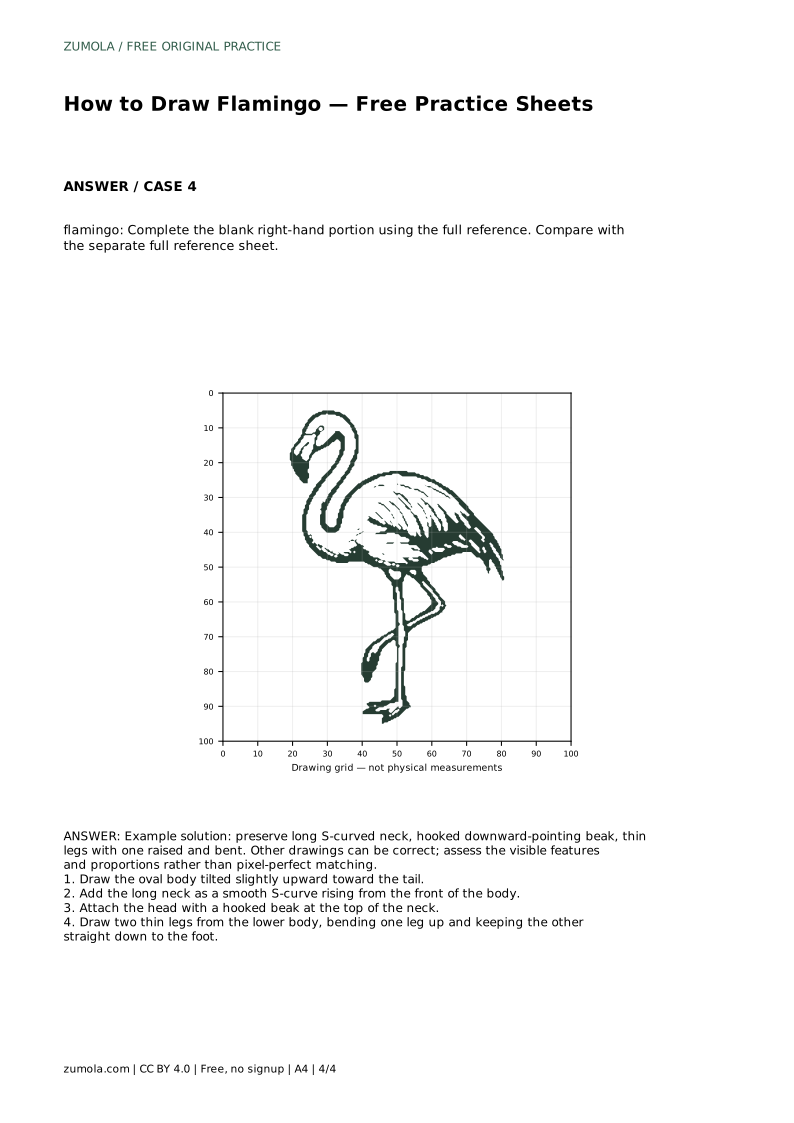
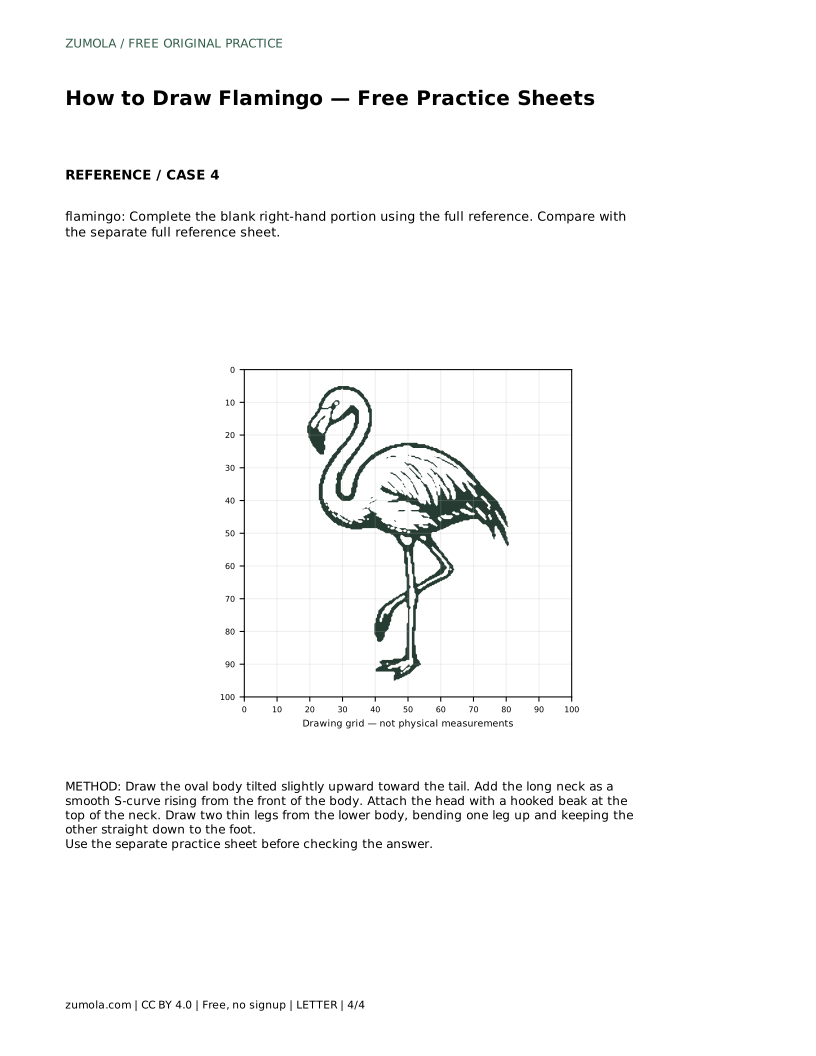
For the bounding-frame method, use the frame and center guide to place the silhouette first. Then add the identifying details: the S-curved neck, the hooked beak, and the uneven legs. For the partial-reference method, complete the blank right-hand portion using the full reference. Keep the same proportions across the missing section.
Because art has multiple valid outcomes, use a rubric rather than expecting one exact answer. A strong drawing preserves the long S-curved neck, the hooked downward-pointing beak, and the thin legs with one raised and bent. Proportions should feel balanced: the neck is long, the body is compact, and the legs are thin.
If a feature is missing or distorted, redraw that part rather than starting over. Compare with the full reference sheet and adjust one feature at a time.
flamingo: Trace the reference outline, then practise the contour independently. Compare with the separate full reference sheet.
Example solution: preserve long S-curved neck, hooked downward-pointing beak, thin legs with one raised and bent. Other drawings can be correct; assess the visible features and proportions rather than pixel-perfect matching. Draw the oval body tilted slightly upward toward the tail. Add the long neck as a smooth S-curve rising from the front of the body. Attach the head with a hooked beak at the top of the neck. Draw two thin legs from the lower body, bending one leg up and keeping the other straight down to the foot.
No. Other drawings can be correct. Assess the visible features and proportions rather than pixel-perfect matching.
Check the long S-curved neck, the hooked downward-pointing beak, and the thin legs with one raised and bent.
Yes. Use matching grid intersections as landmarks to place the body, neck, head, and legs, then compare with the full reference sheet.
All drawing practice · Free coordinate paper
Original resources · CC BY 4.0 · Free for personal and classroom use with attribution.