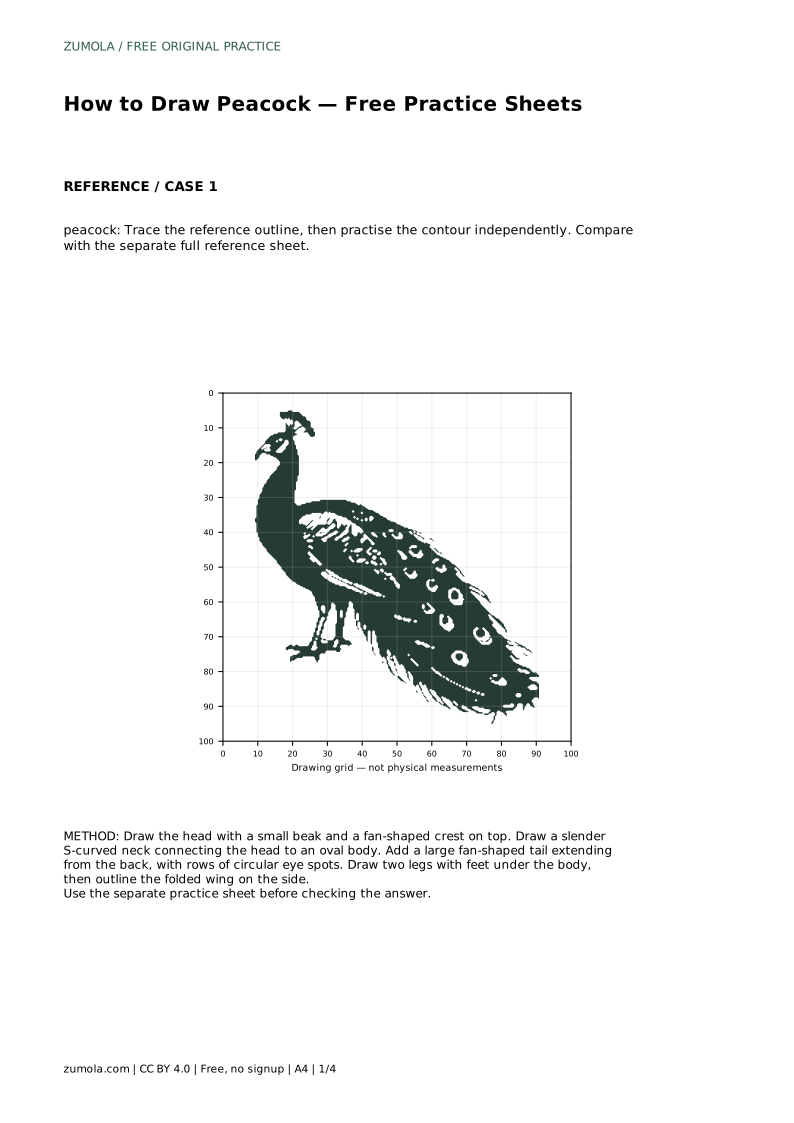
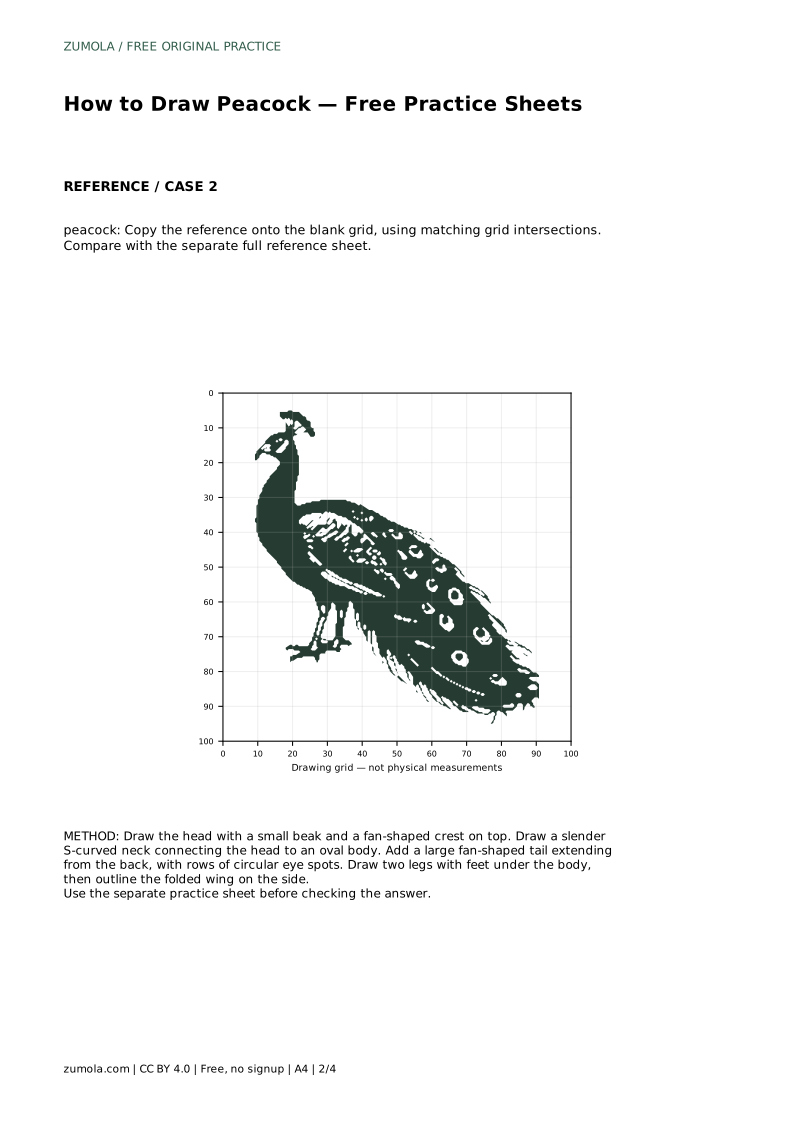
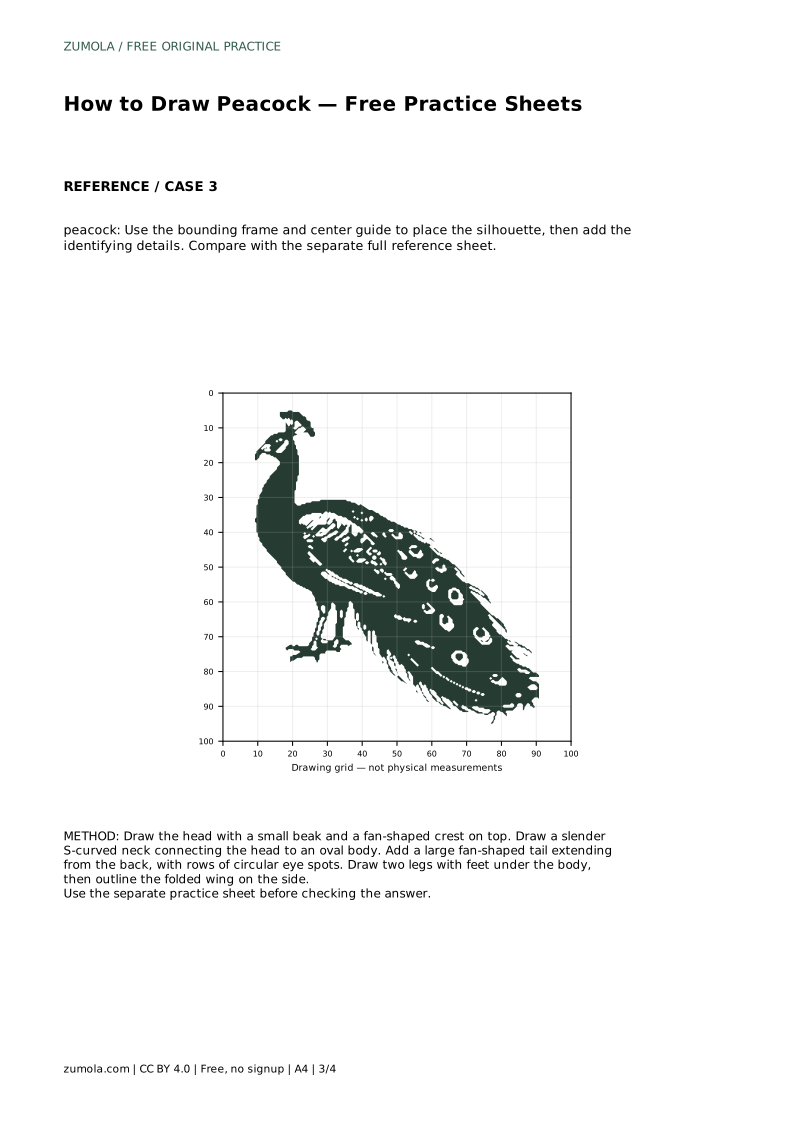
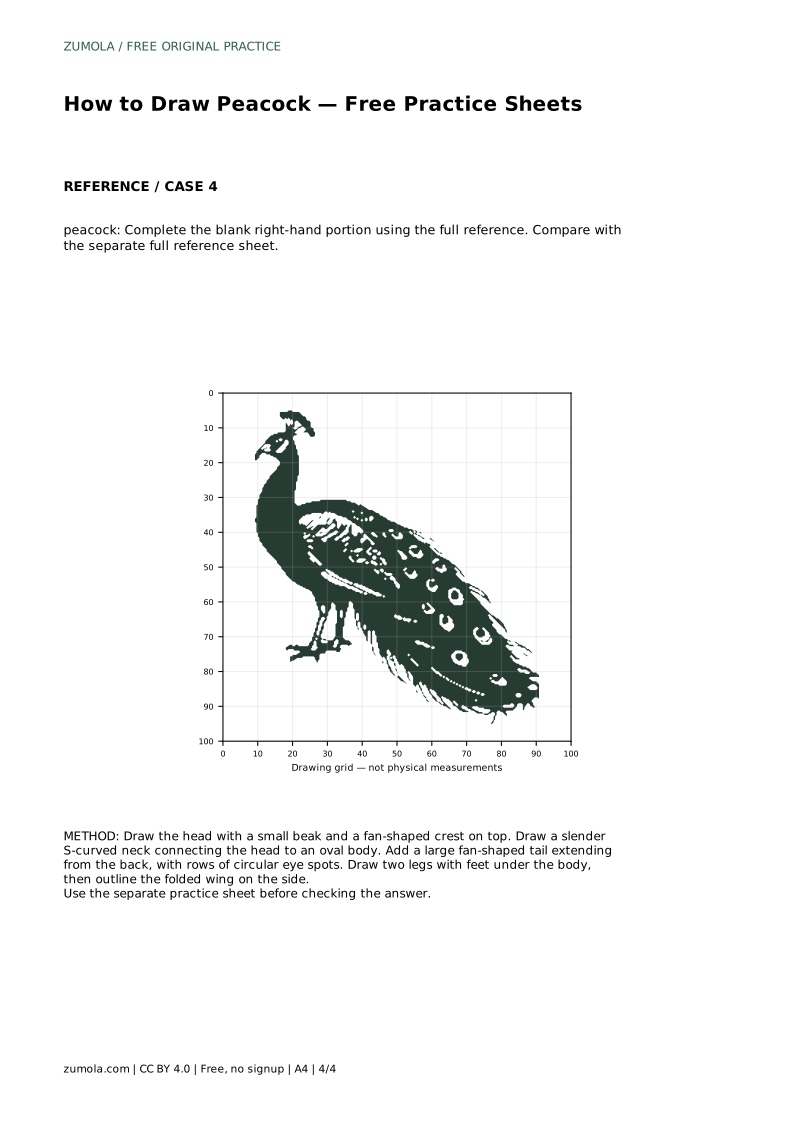
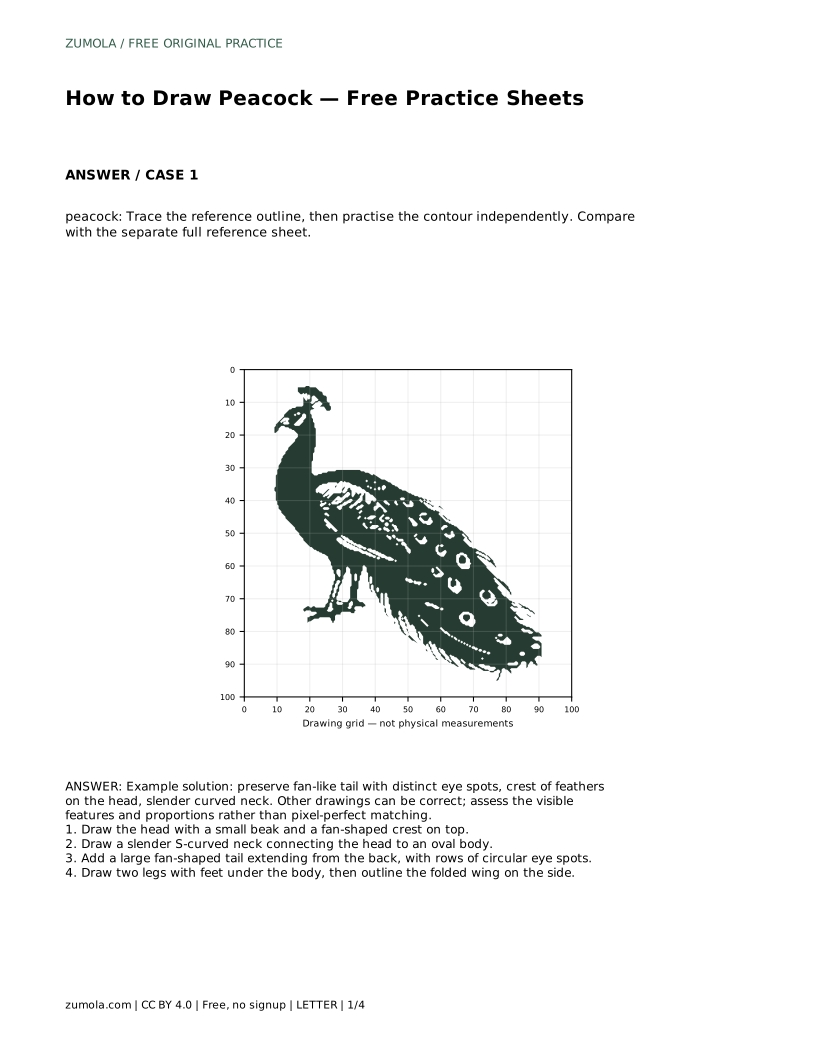
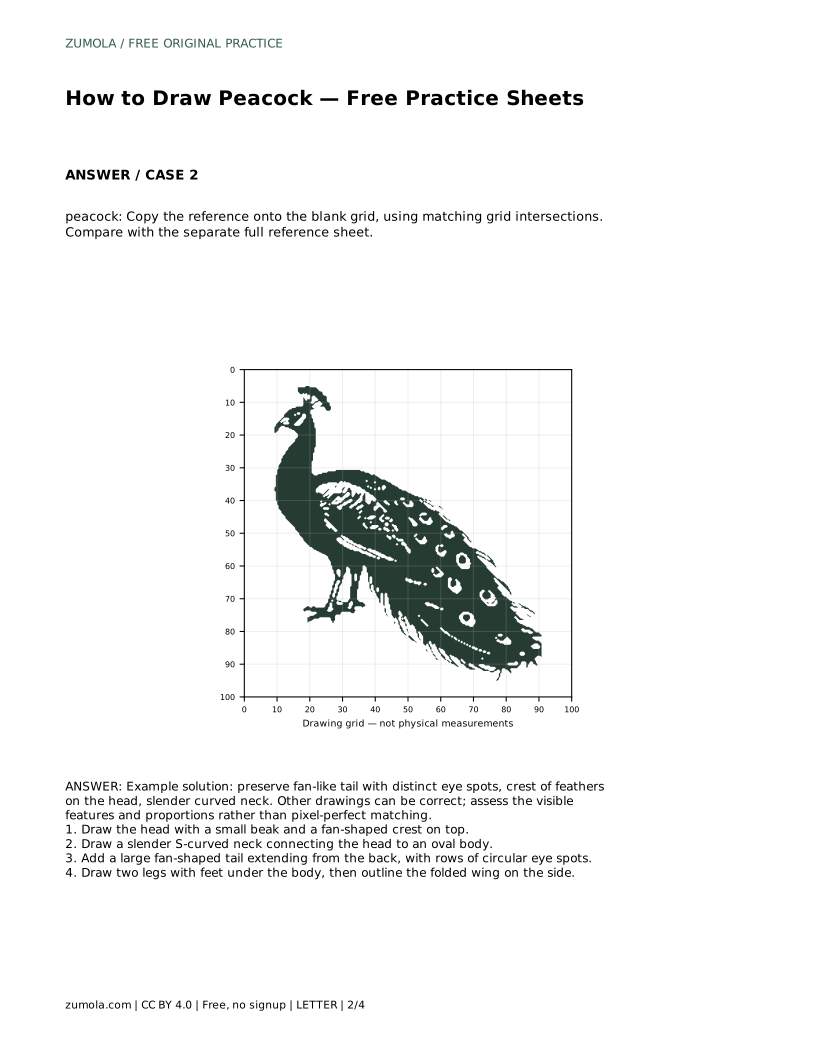
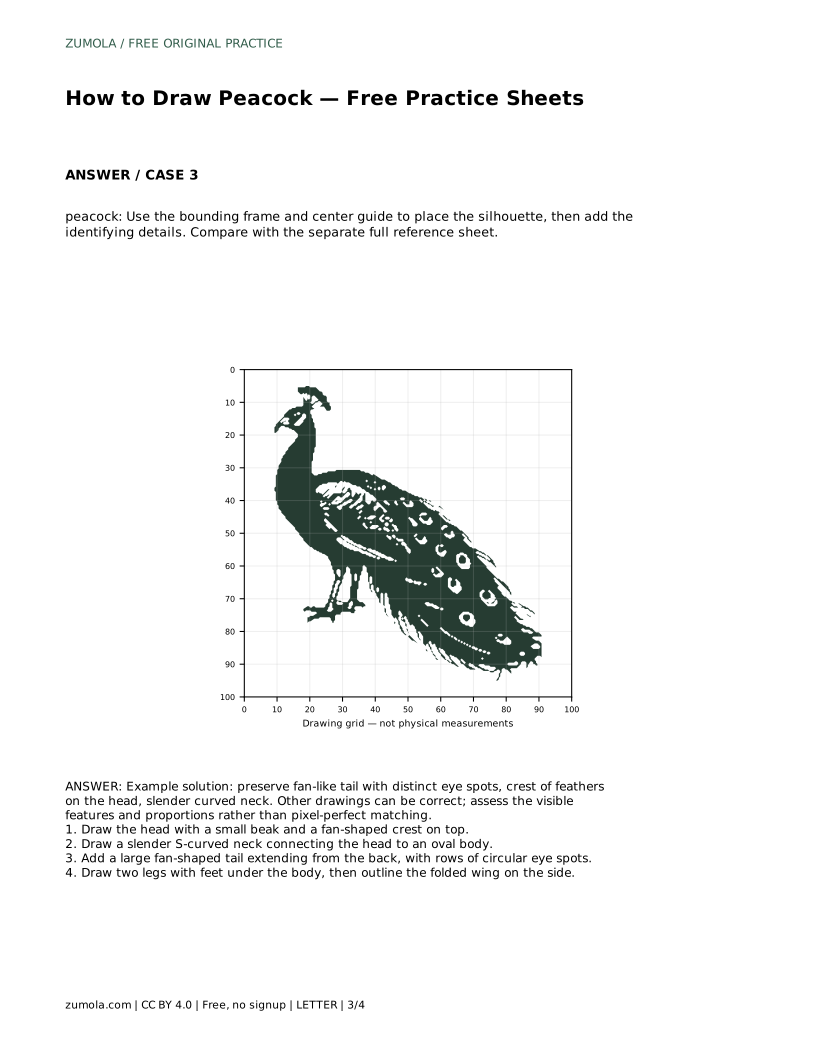
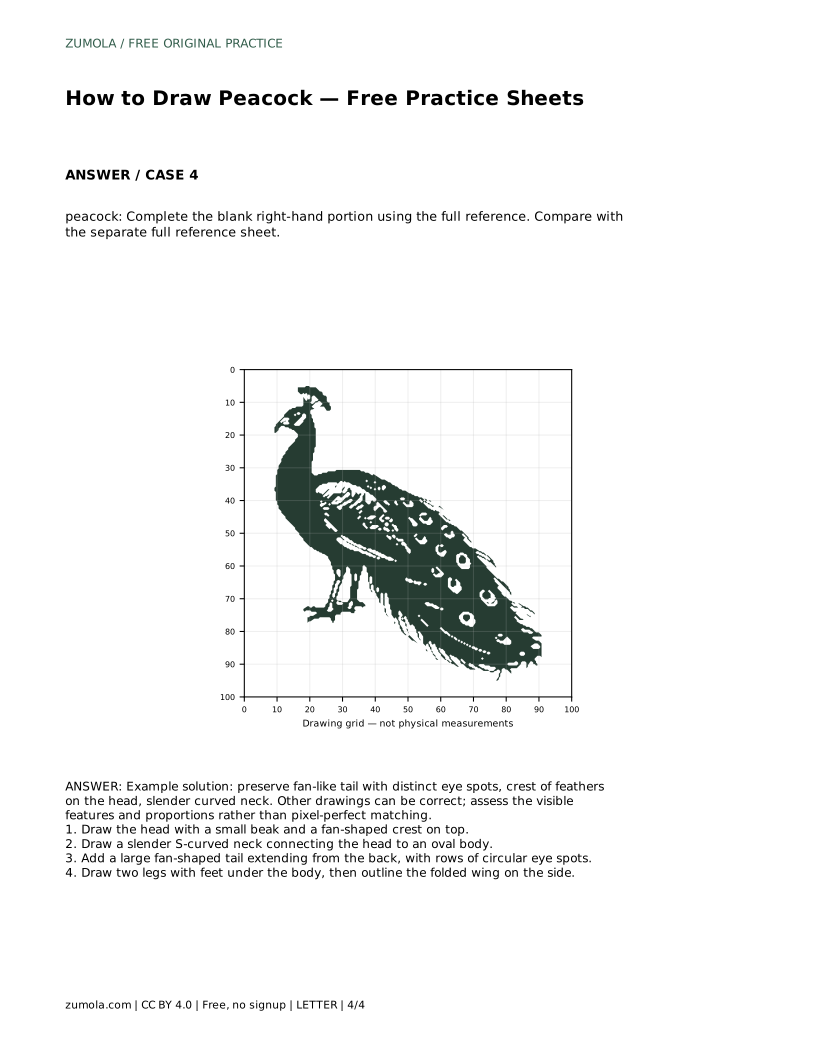
Reference diagrams
LETTER · Download PDF
A4 · Download PDF
Free original resources
Learn to draw a peacock by building the crest, S-curved neck, oval body, fan tail, and eye spots. Use the practice sheets to compare proportions and detail.
Four original cases, with reference diagrams, practice sheets and worked answers. Everything is free; no signup required.
LETTER · Download PDF
A4 · Download PDF
LETTER · Download PDF
A4 · Download PDF
LETTER · Download PDF
A4 · Download PDF
Use A4 or US Letter to match your printer. Use the stated values and conditions to solve each exercise; diagrams are not physical measuring rulers.
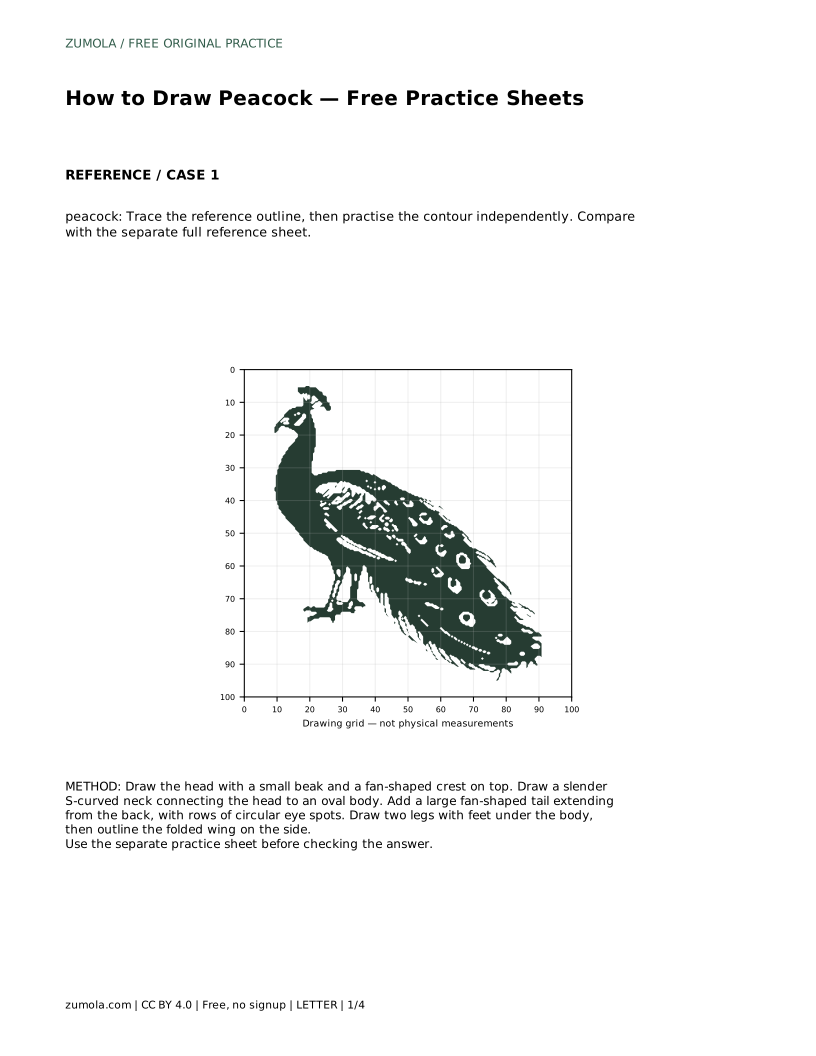
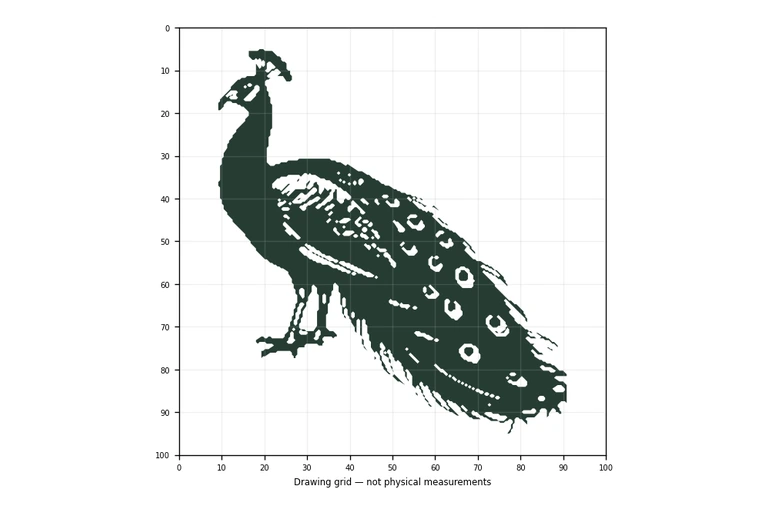
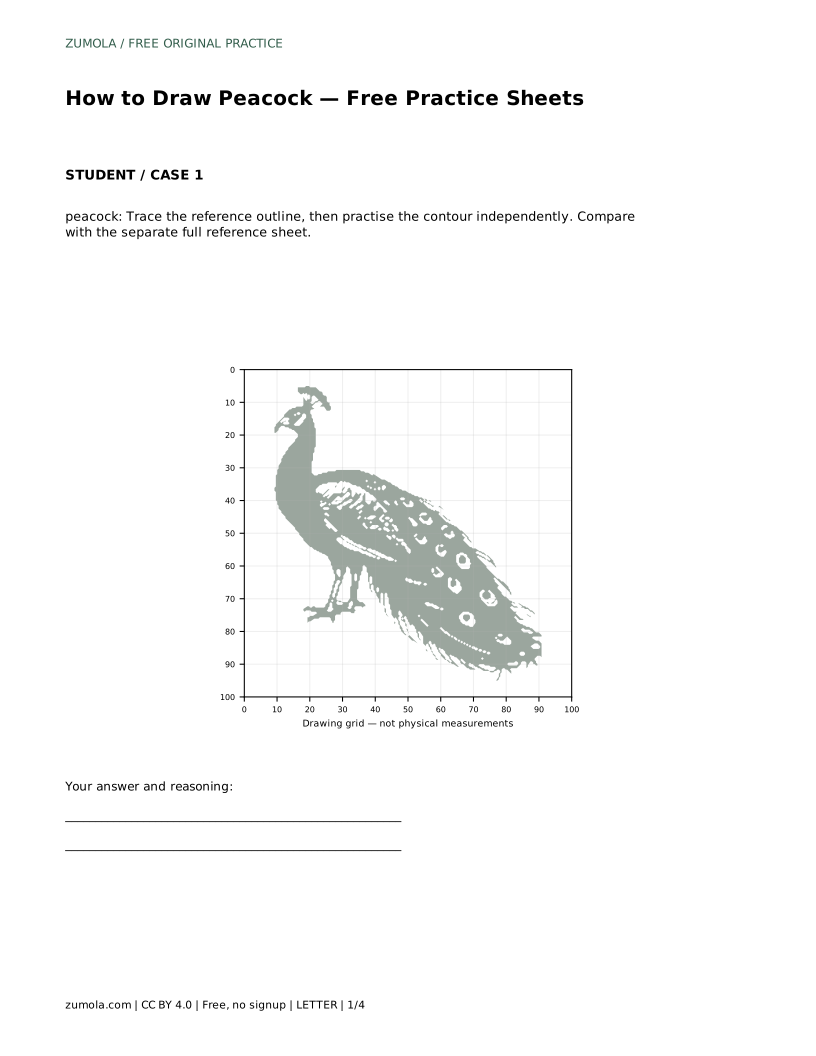
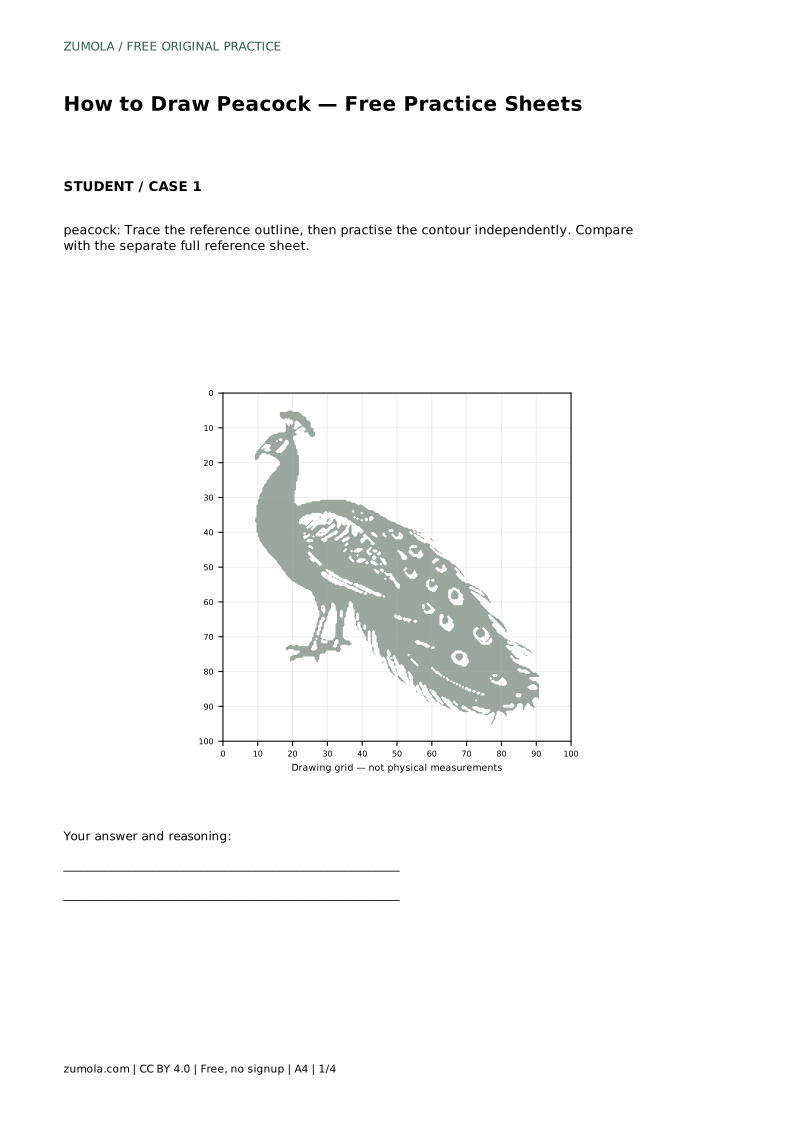
A peacock drawing is easiest to control when you build it in a clear order: head and crest first, then the slender neck, the oval body, the wide fan-shaped tail, and finally the legs, folded wing, and eye spots. The practice sheets let you trace a reference outline, copy onto a grid, use a bounding frame and center guide, or complete a partly blank drawing. Each method trains a different skill, but all of them ask you to preserve the same visible features rather than chase a pixel-perfect match.
Begin with the head as a small rounded shape. Add a short, triangular beak pointing forward, then place a fan-shaped crest of thin feathers on top. The crest is one of the clearest peacock signals, so keep it visible and centered above the head rather than off to one side.
From the head, draw a slender neck that curves in a gentle S shape down to the body. The neck should stay narrow along its length and widen slightly where it meets the body. Check that the head sits at the top of the curve and that the neck does not become a straight tube; the S curve gives the bird its characteristic posture.
Place an oval body at the base of the neck. The body is compact compared with the tail, so avoid making it as wide as the fan. From the back of the body, extend a large fan-shaped tail. The fan should open outward and upward, with a broad outer edge rather than a narrow spike.
Inside the fan, add rows of circular eye spots. Keep the circles distinct and spaced so each one reads as a separate spot. Rows can follow the curve of the fan, but they do not need to be perfectly even; the goal is a clear pattern that matches the reference's overall arrangement. Finish the body area by outlining a folded wing along the side.
Draw two legs under the body, each ending in simple feet. Keep the legs short and placed beneath the body's center of weight so the bird looks balanced. Then compare your drawing with the separate full reference sheet. Check the crest, the S curve of the neck, the fan's width, the eye-spot pattern, and the folded wing.
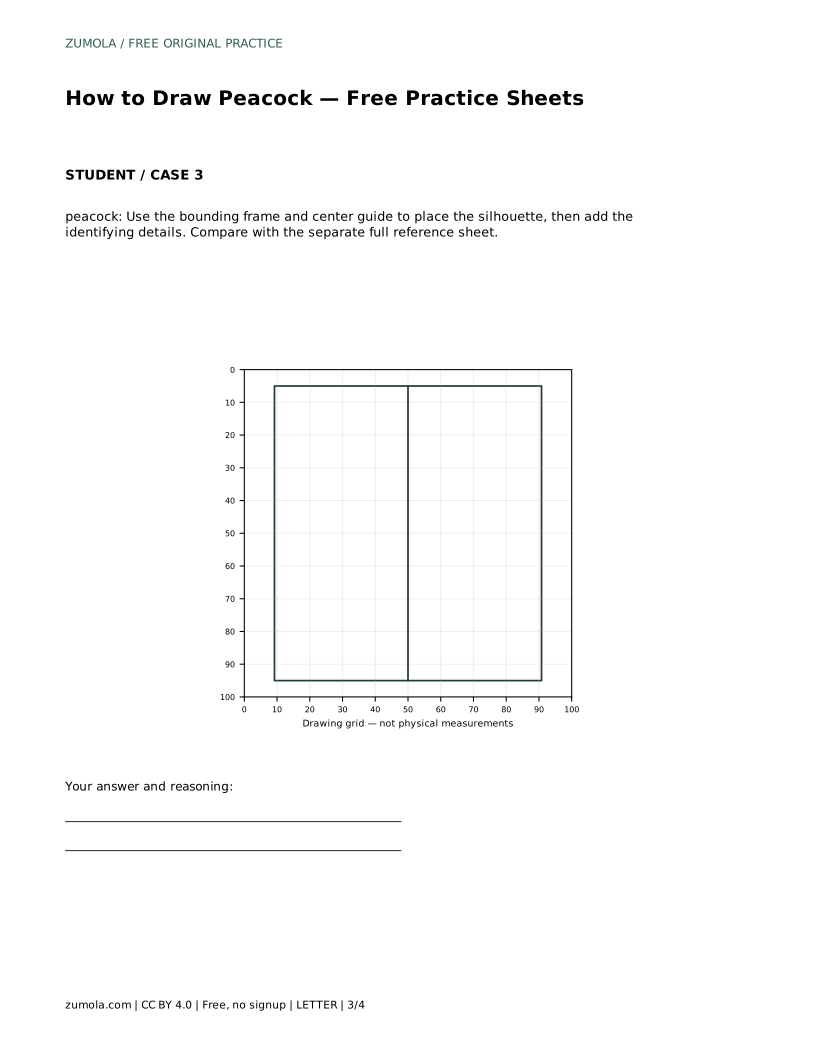
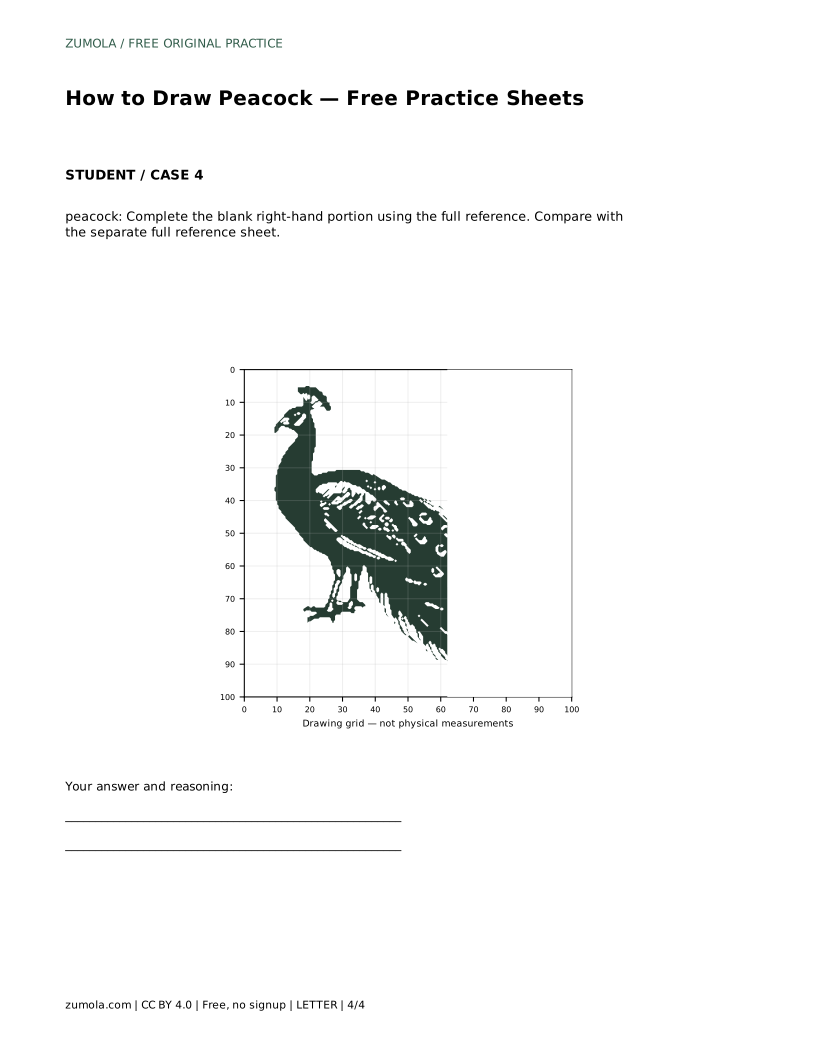
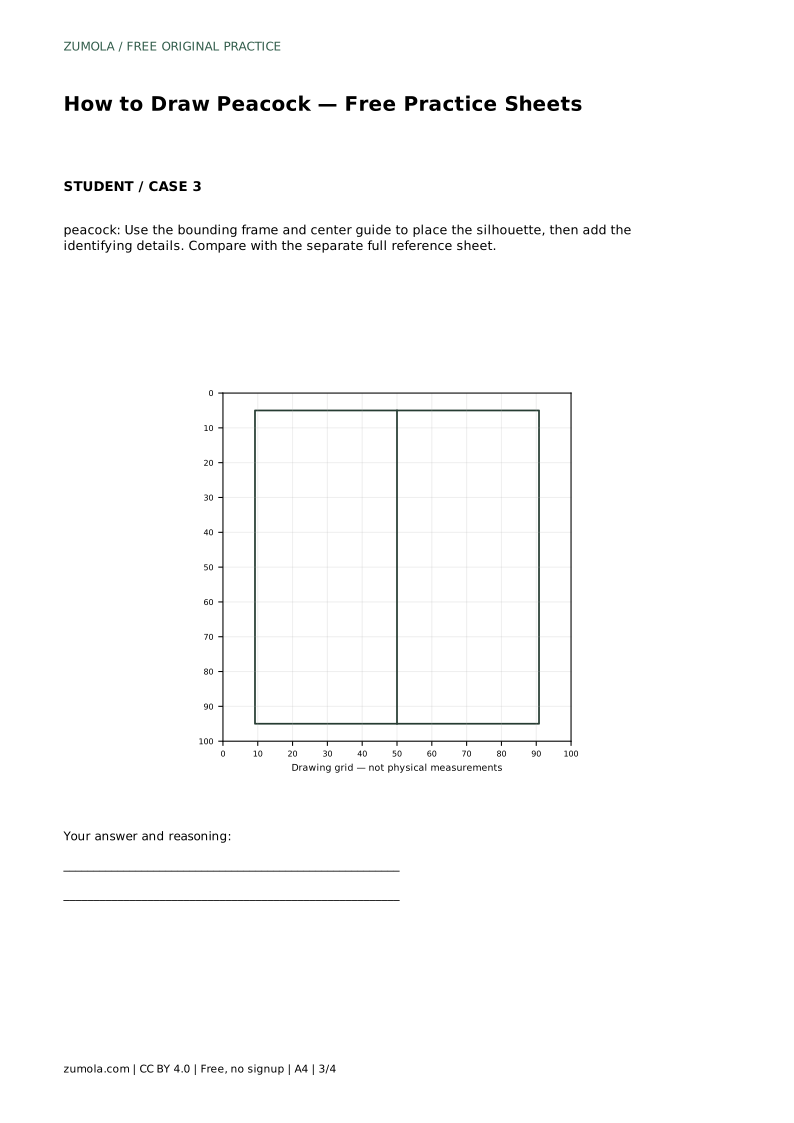
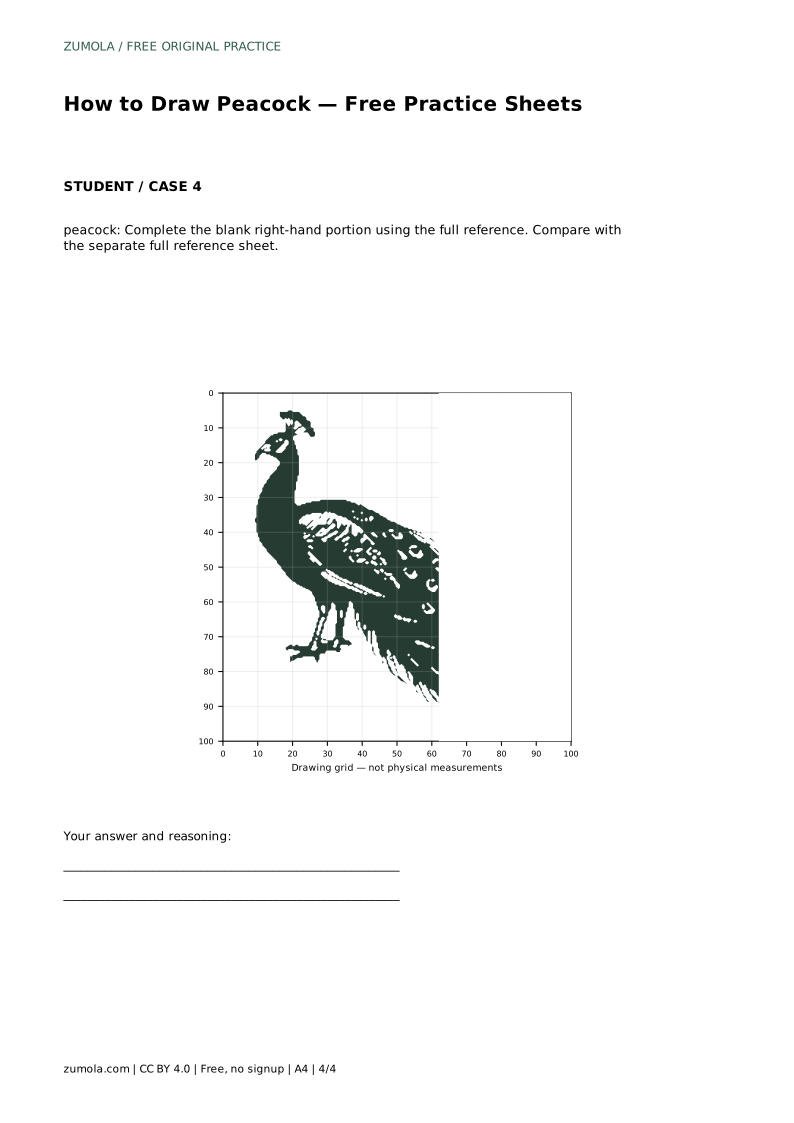
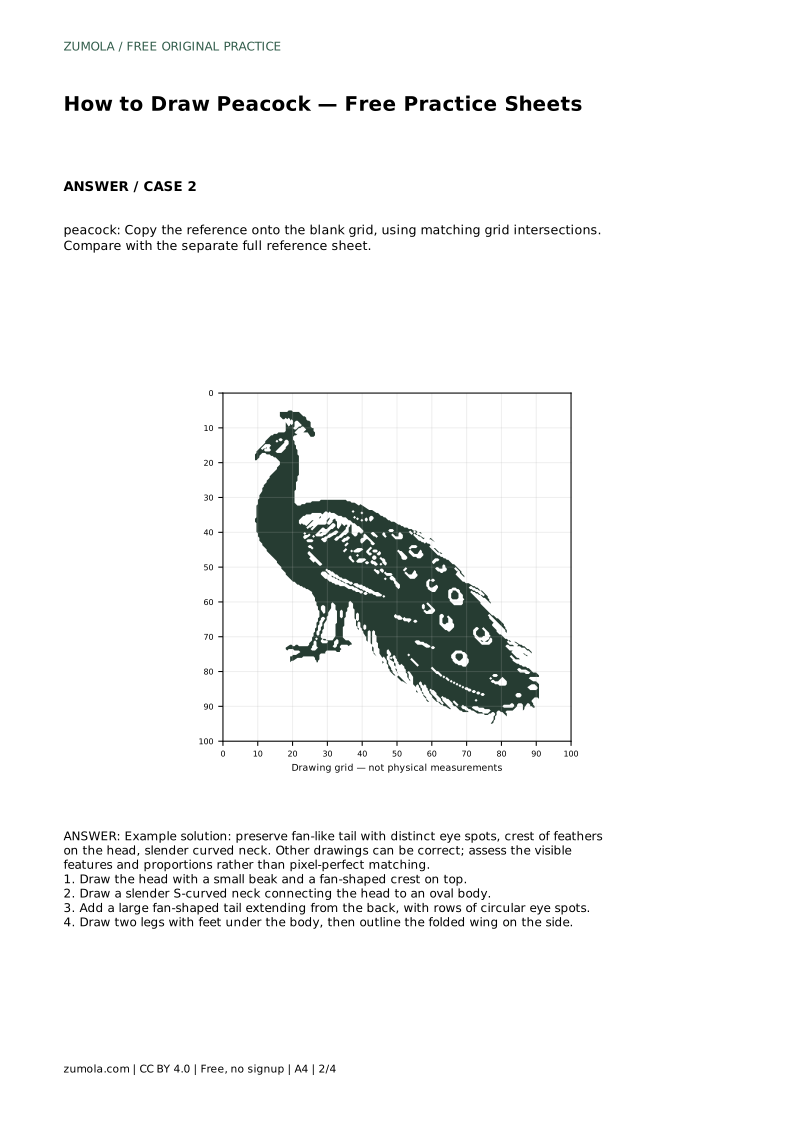
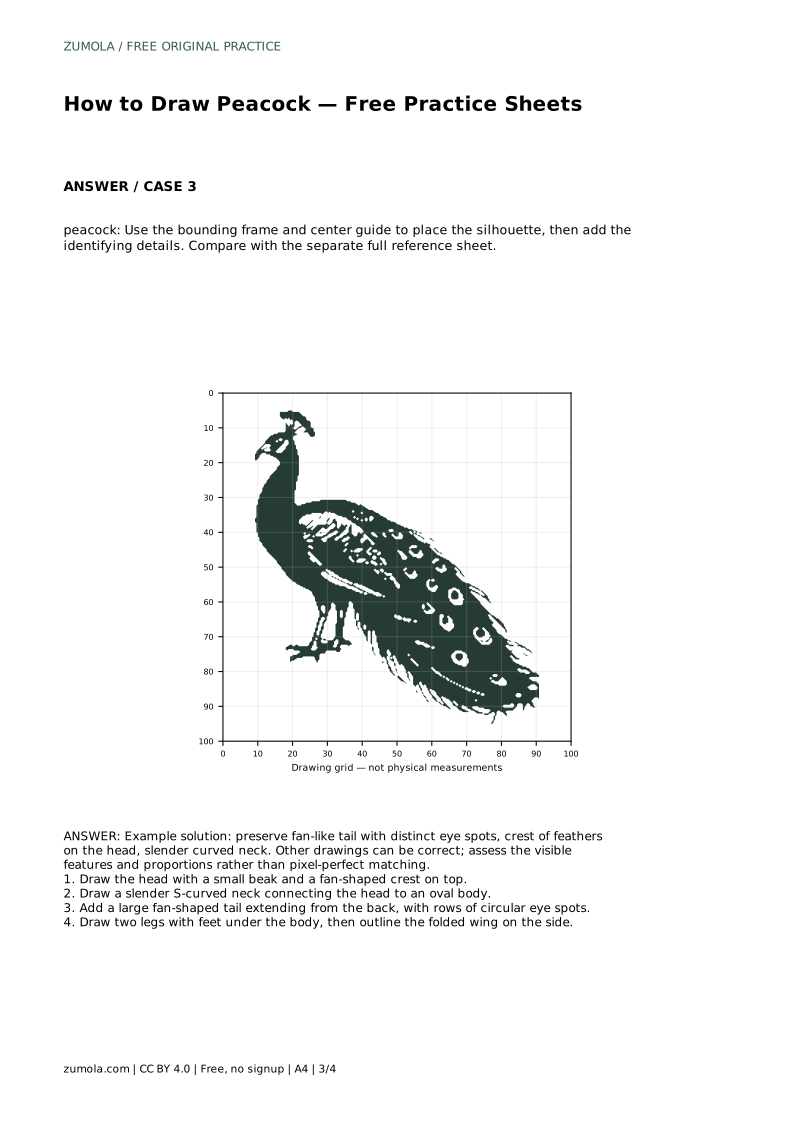
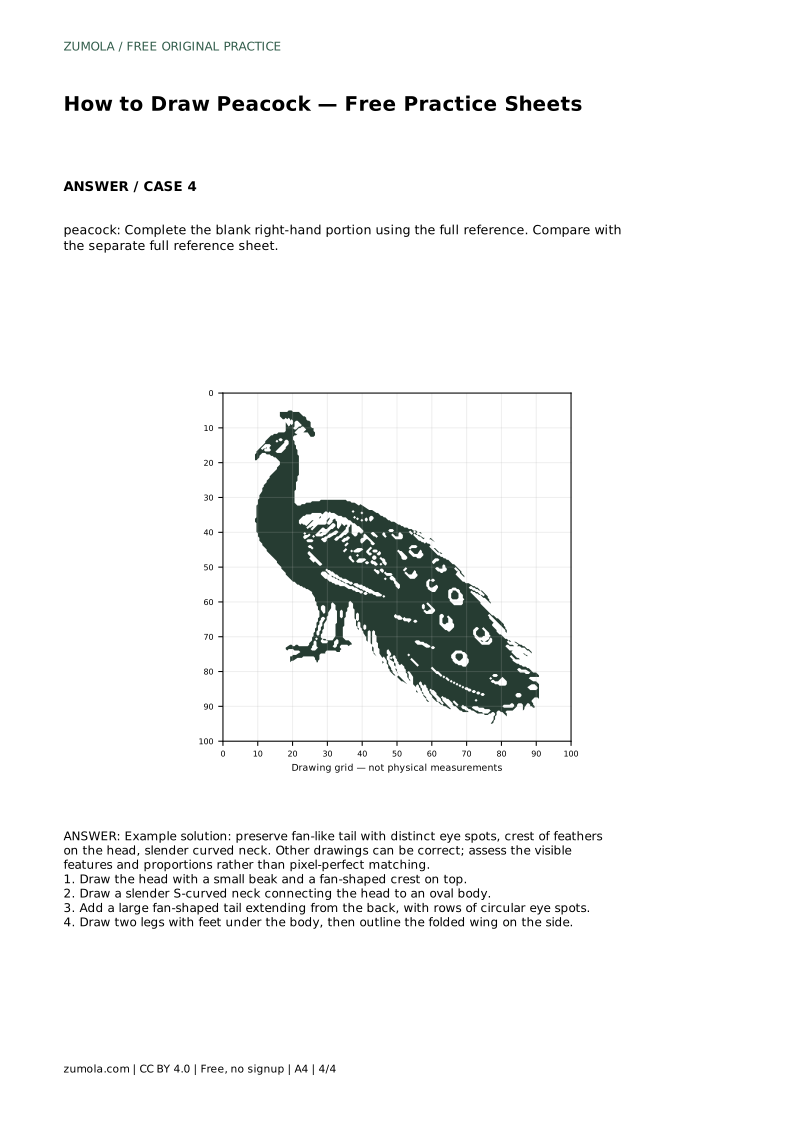
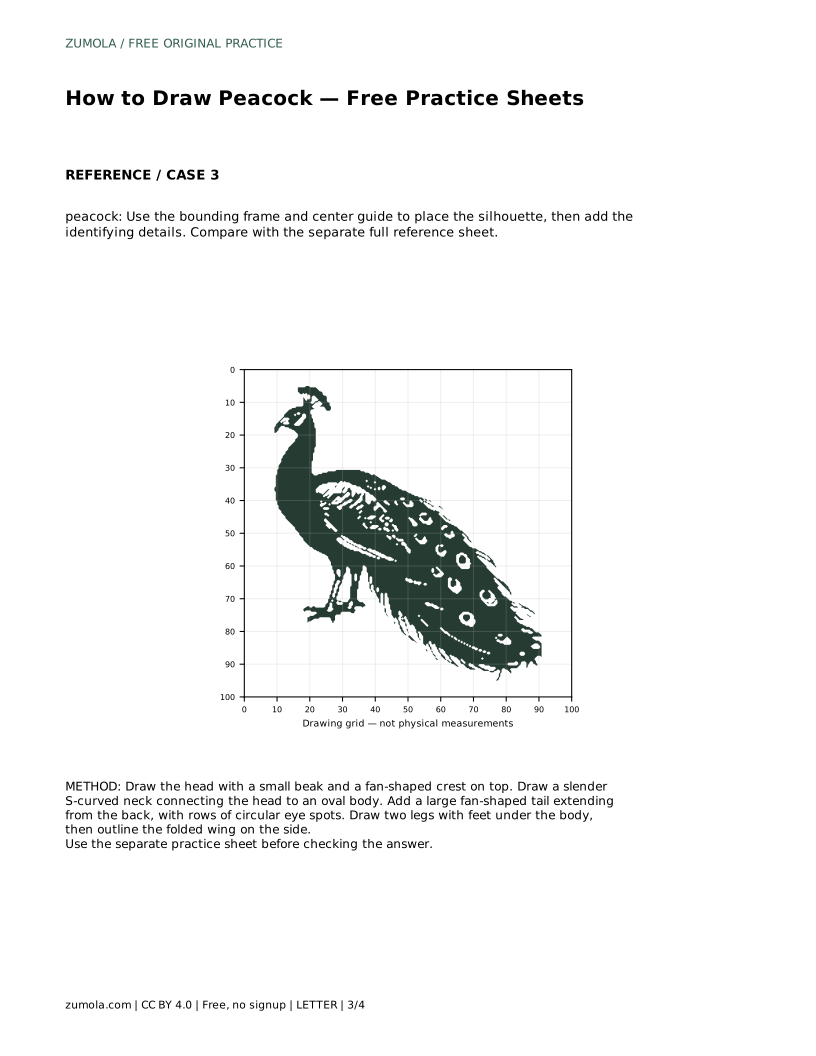
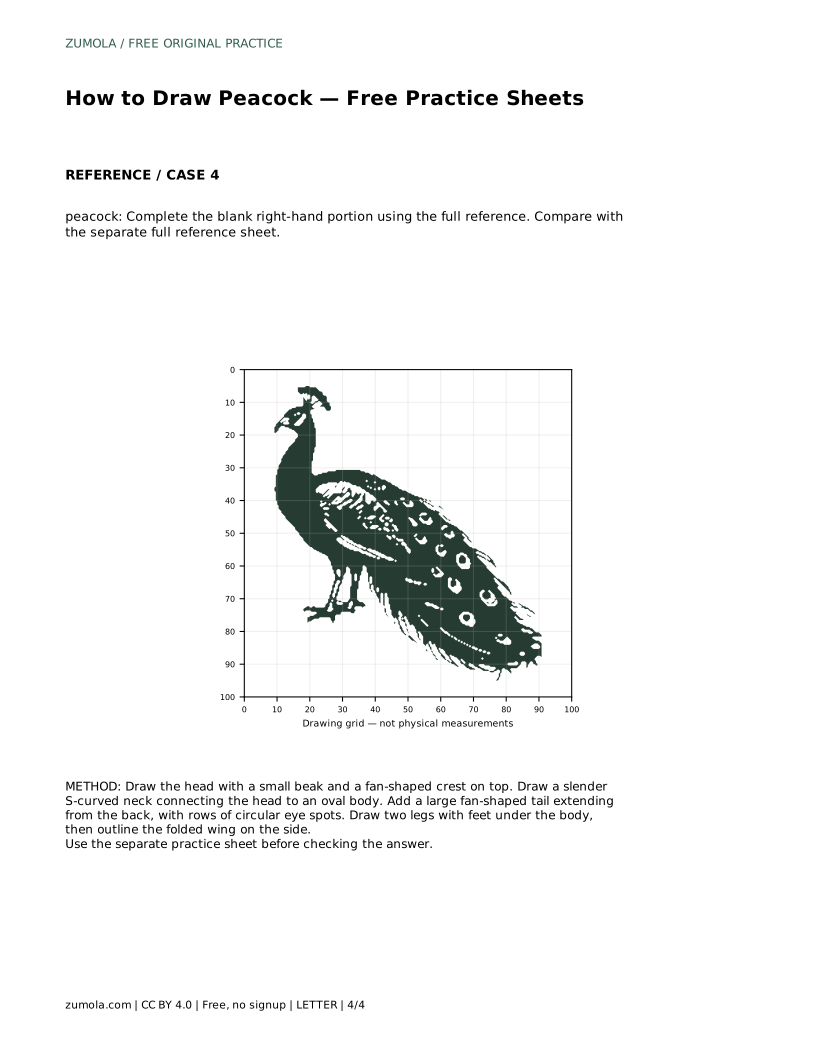
If you are using a grid sheet, match the reference at grid intersections rather than copying every small curve. If you are using the bounding frame and center guide, place the silhouette first and add details afterward. If you are completing a blank right-hand portion, use the visible left side to judge scale and spacing before drawing the missing details.
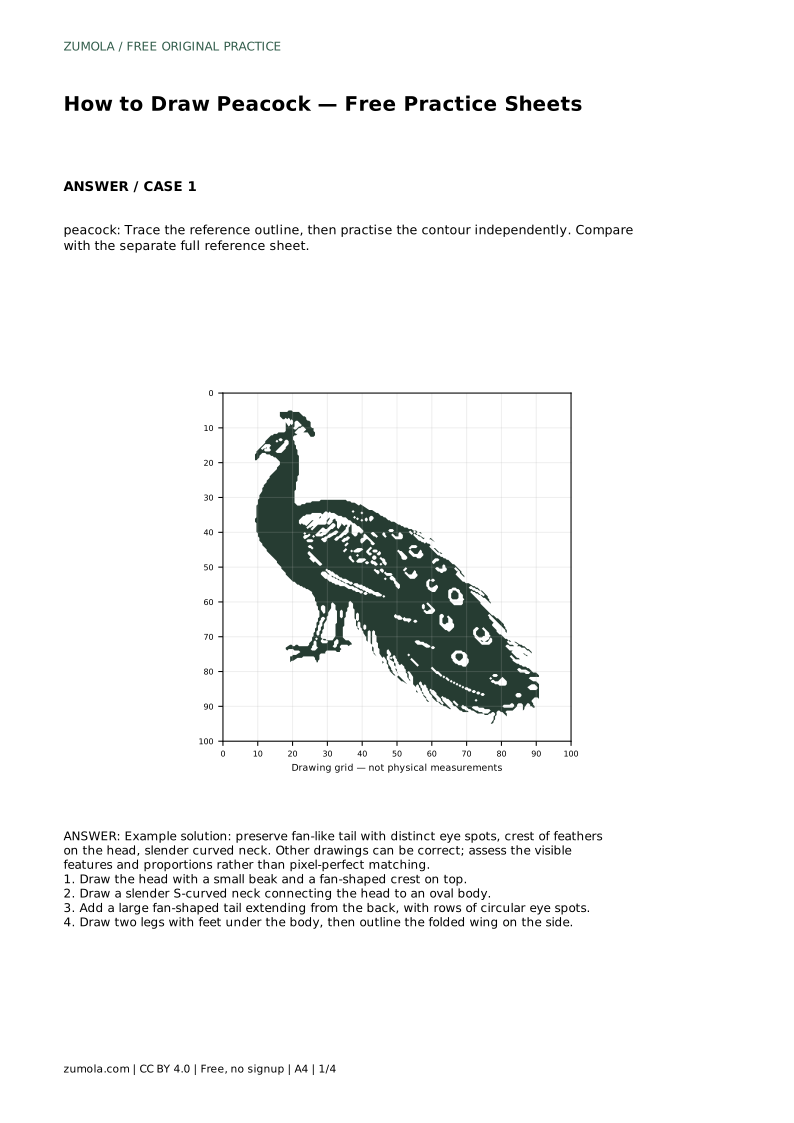
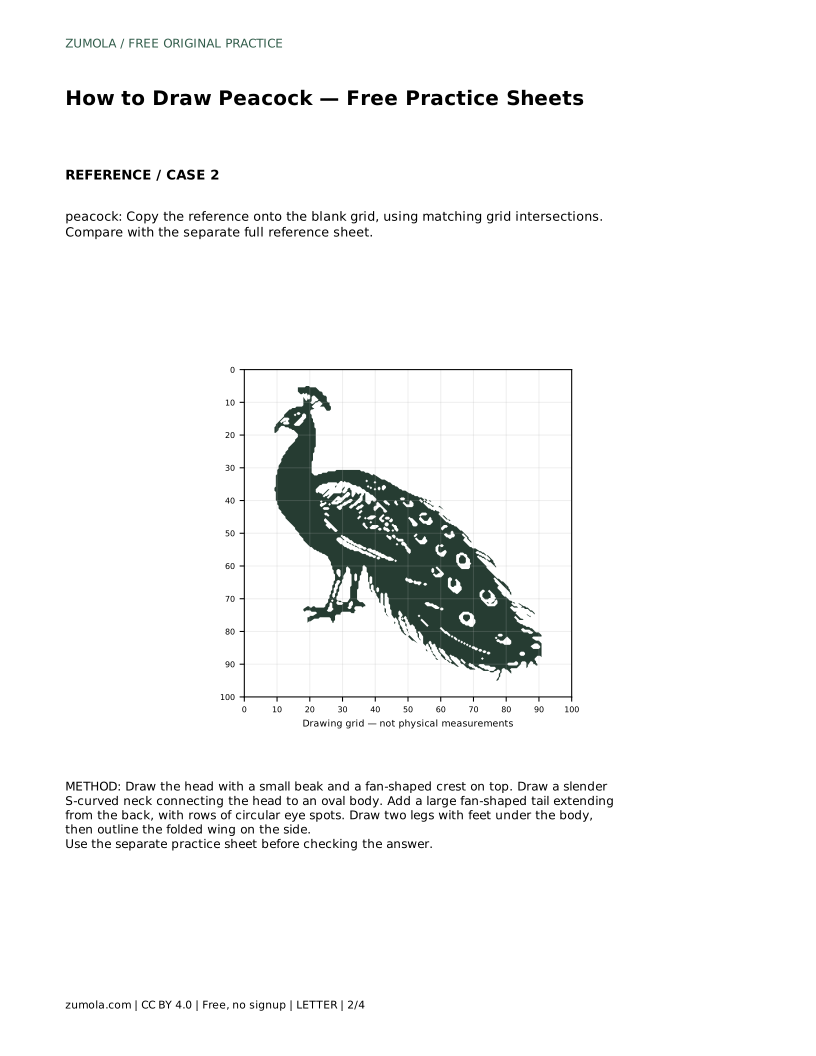
peacock: Trace the reference outline, then practise the contour independently. Compare with the separate full reference sheet.
Example solution: preserve fan-like tail with distinct eye spots, crest of feathers on the head, slender curved neck. Other drawings can be correct; assess the visible features and proportions rather than pixel-perfect matching. Draw the head with a small beak and a fan-shaped crest on top. Draw a slender S-curved neck connecting the head to an oval body. Add a large fan-shaped tail extending from the back, with rows of circular eye spots. Draw two legs with feet under the body, then outline the folded wing on the side.
No. Preserve the fan-like tail with distinct eye spots, the crest, and the slender curved neck. Other drawings can be correct; assess the visible features and proportions rather than pixel-perfect matching.
Draw the head with a small beak and fan-shaped crest, then the S-curved neck, the oval body, the fan tail with eye spots, and finally the legs and folded wing.
Tracing trains the contour, grid copying trains placement at intersections, the bounding frame and center guide train silhouette placement, and the blank right-hand portion trains completion from a partial reference.
All drawing practice · Free coordinate paper
Original resources · CC BY 4.0 · Free for personal and classroom use with attribution.