Reference diagrams
LETTER · Download PDF
A4 · Download PDF
Free original resources
Learn to draw a penguin with an upright oval body, pointed beak, flipper wings, and webbed feet. Trace, grid, and complete-the-drawing practice methods explained.
Four original cases, with reference diagrams, practice sheets and worked answers. Everything is free; no signup required.
LETTER · Download PDF
A4 · Download PDF
LETTER · Download PDF
A4 · Download PDF
LETTER · Download PDF
A4 · Download PDF
Use A4 or US Letter to match your printer. Use the stated values and conditions to solve each exercise; diagrams are not physical measuring rulers.
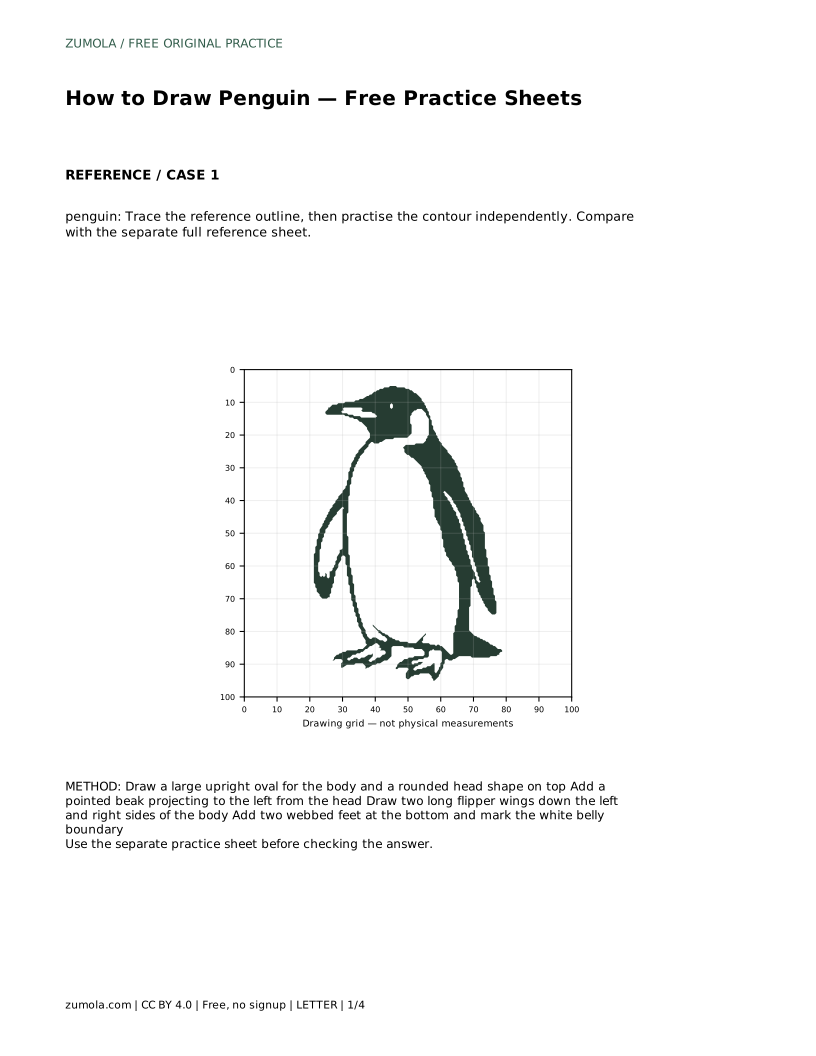
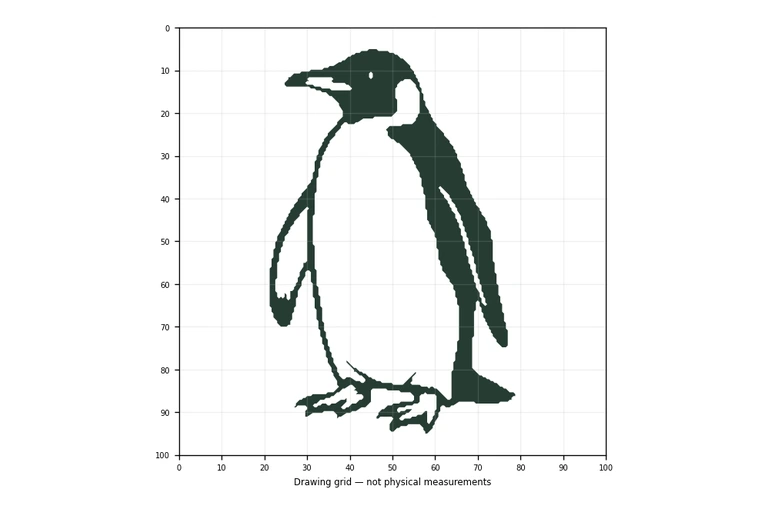
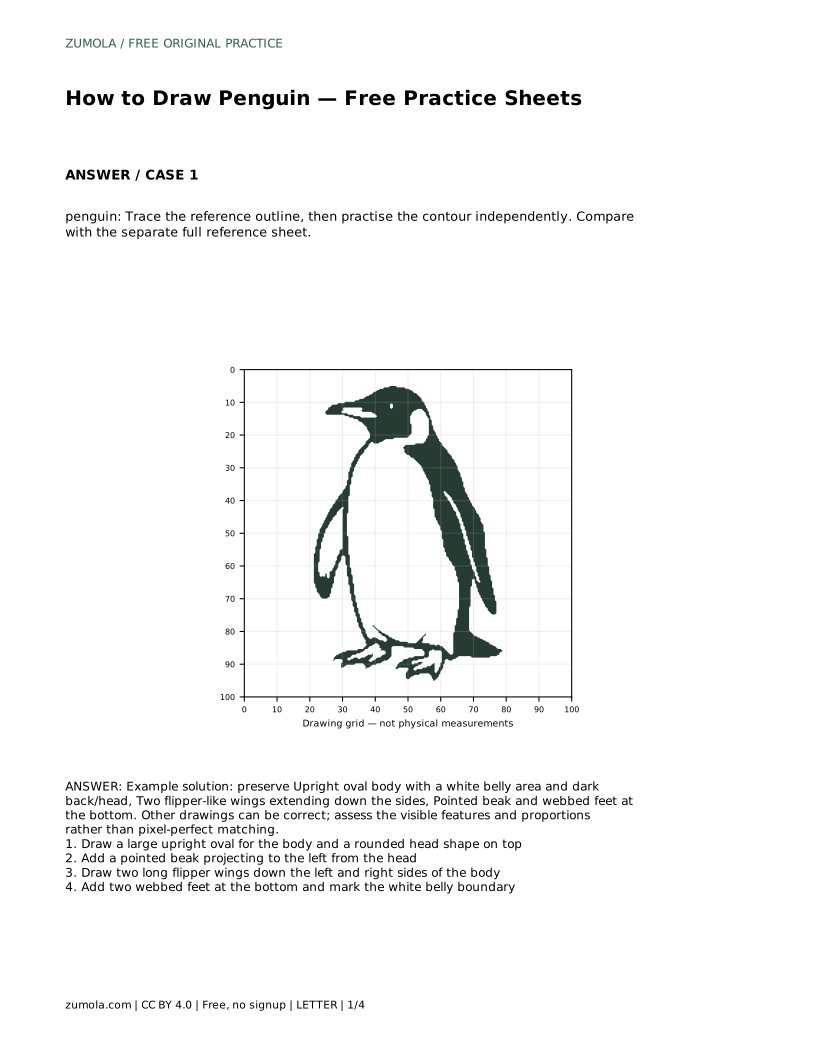
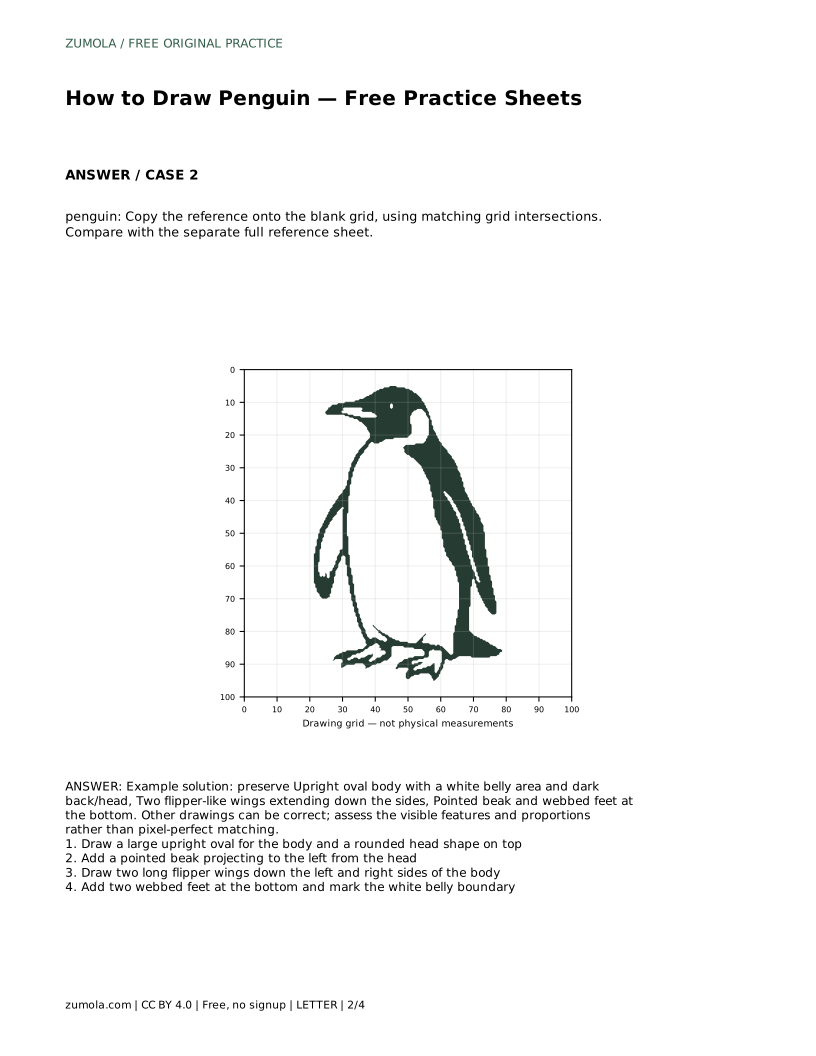
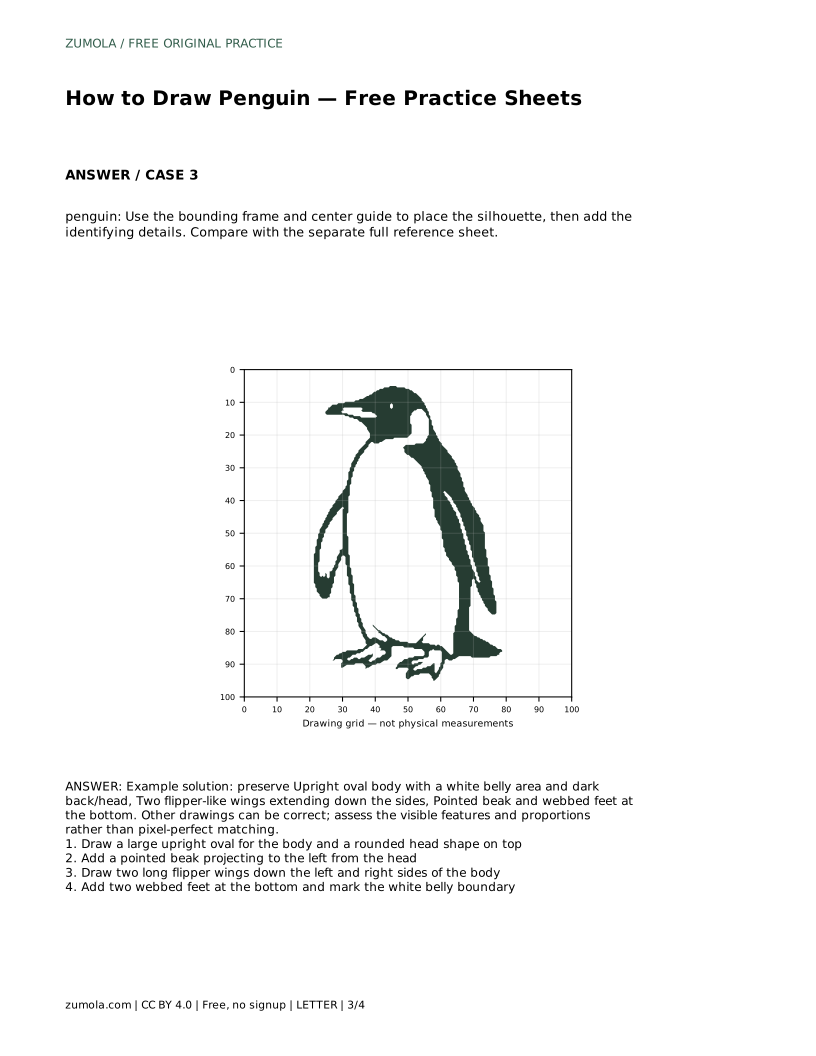
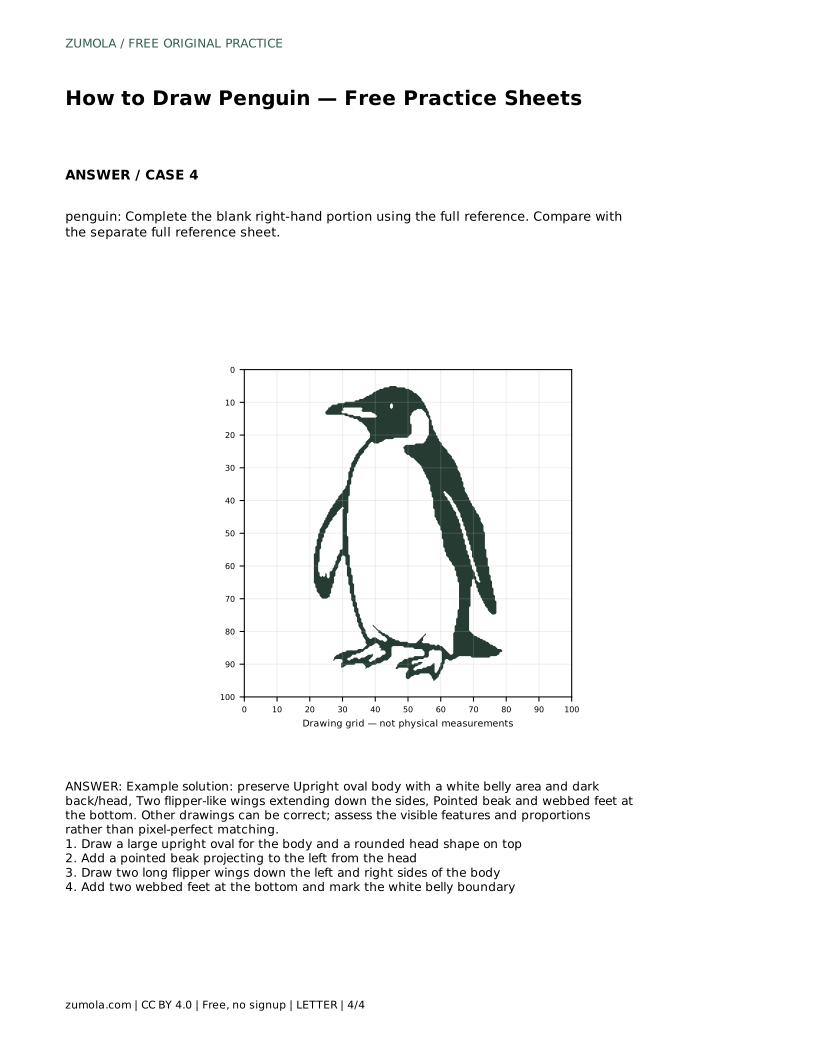
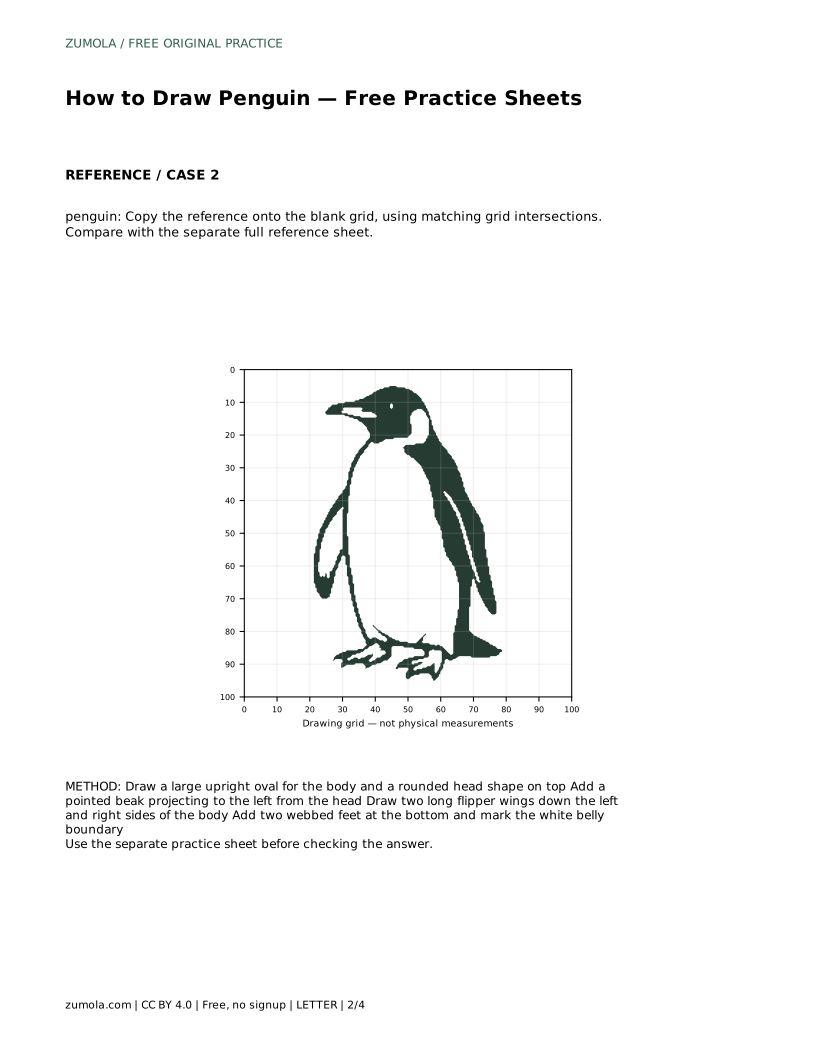
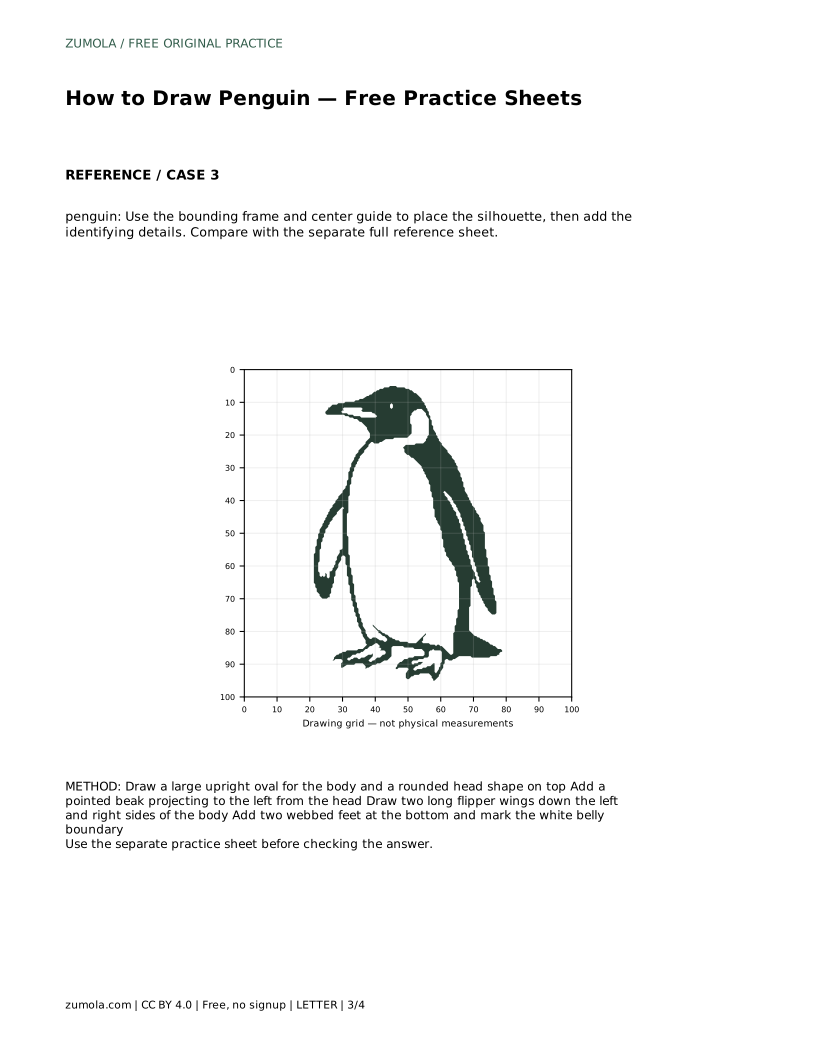
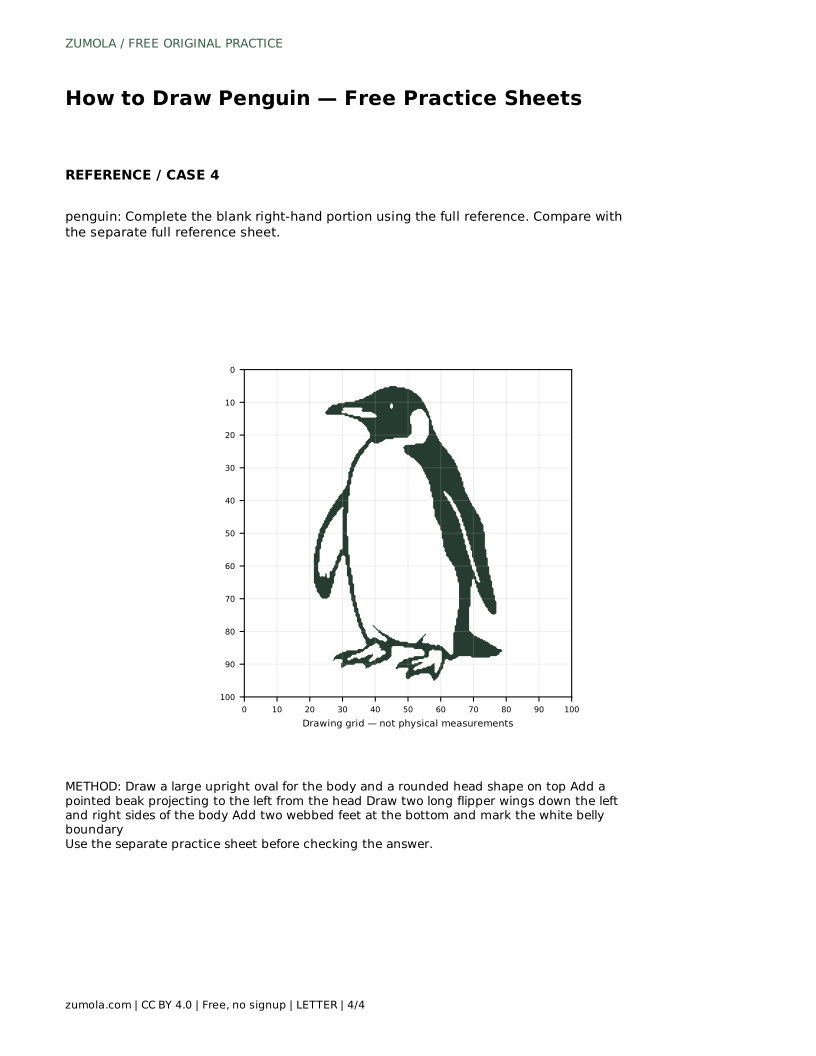
Drawing a penguin is a manageable project when you break it into a few clear shapes. This guide explains how to build an upright penguin from a large oval body, a rounded head, a pointed beak, two flipper wings, and webbed feet. You will also learn how tracing, grid copying, and partial-outline completion each train a different drawing skill, and how to judge your own work fairly when several valid outcomes exist.
Begin with the largest shape, not the smallest detail. A penguin standing upright reads as a tall oval body with a rounded head sitting on top. Keep the body wider at the base than at the shoulders so the figure looks stable rather than top-heavy. The head should be clearly smaller than the body; if the head grows too large, the drawing starts to look like a different bird.
Next, place the pointed beak projecting to the left from the head. A short triangle works well, and its tip should sit roughly level with the middle of the head. Then draw two long flipper wings down the left and right sides of the body. The wings should follow the body's curve rather than stick out stiffly. Finally, add two webbed feet at the bottom and mark the boundary of the white belly area. That boundary is a curved line running from below the beak down toward the feet, separating the pale front from the dark back and head.
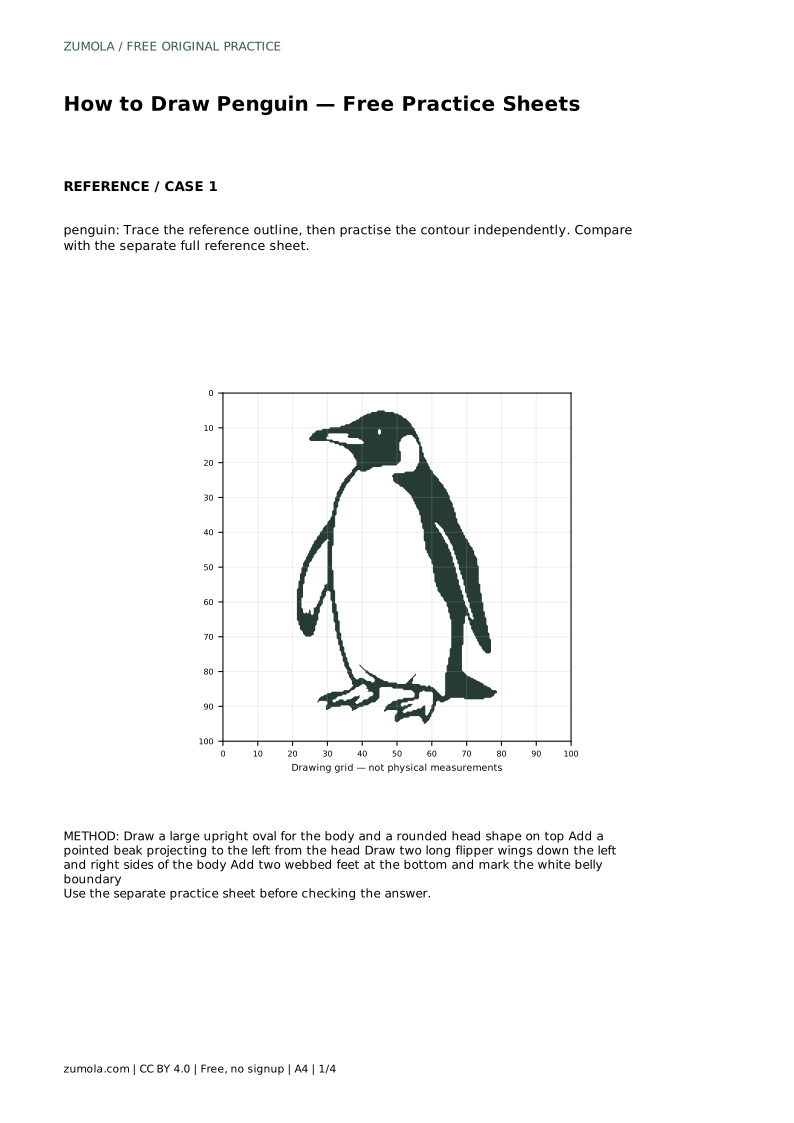
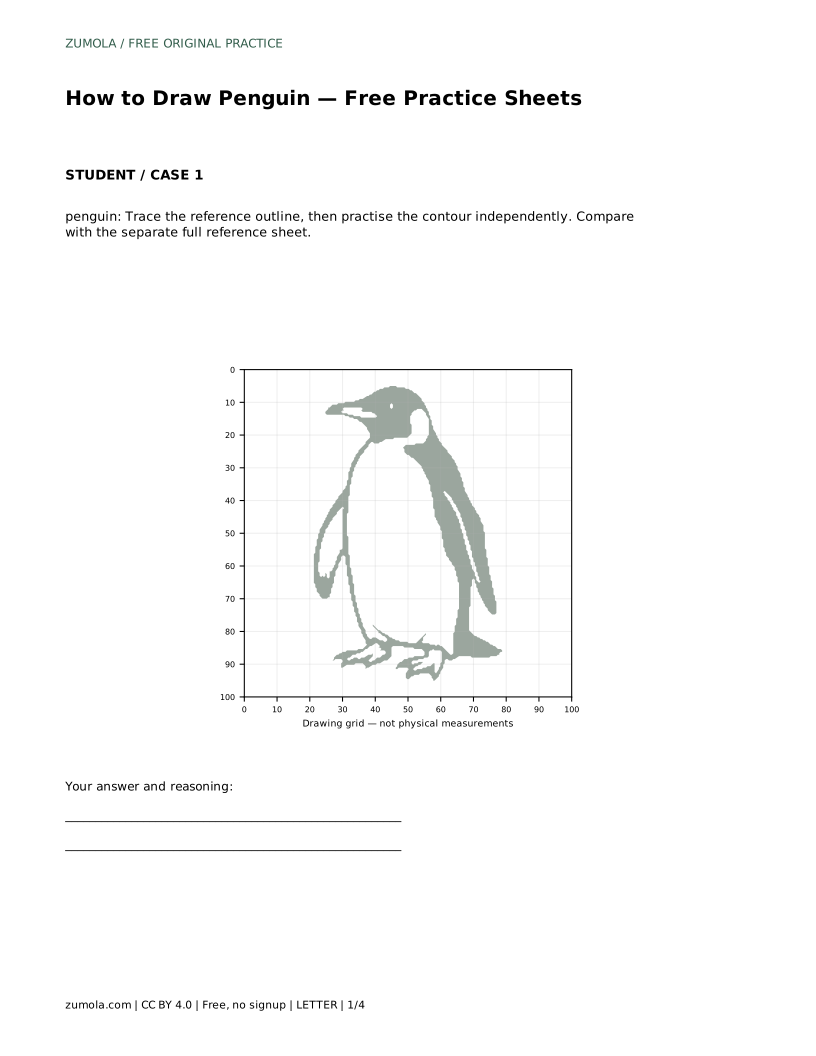
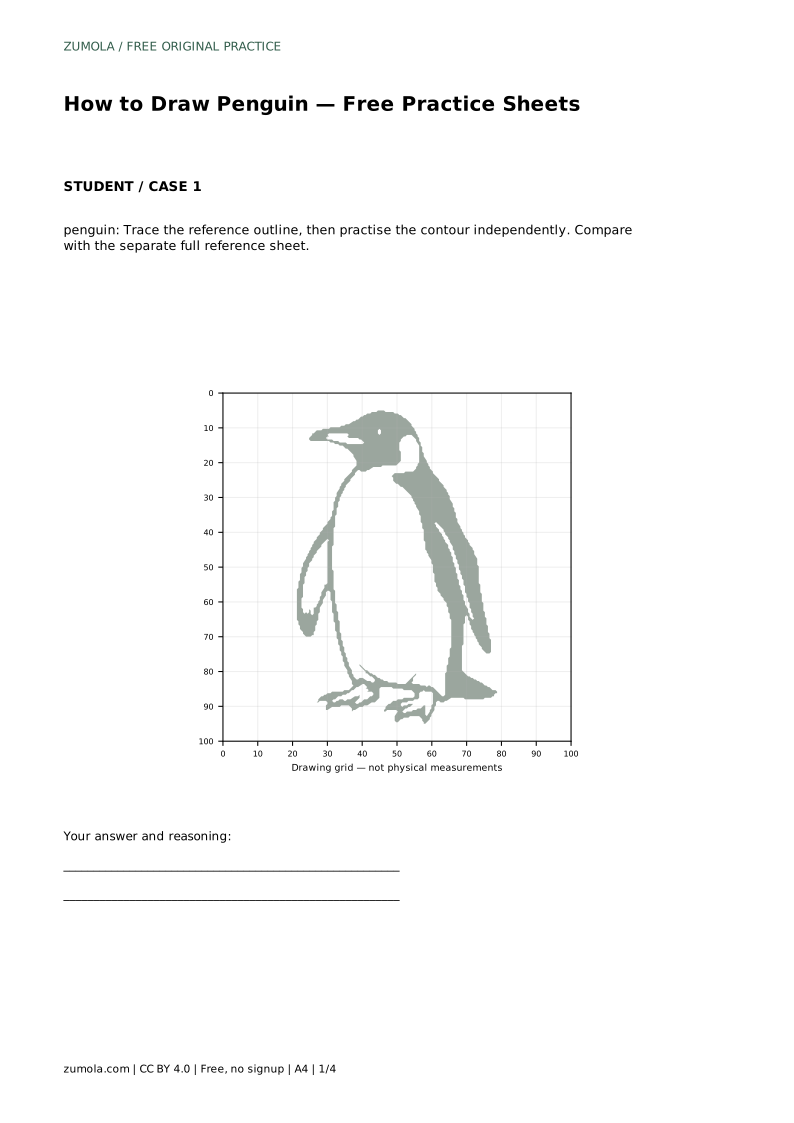
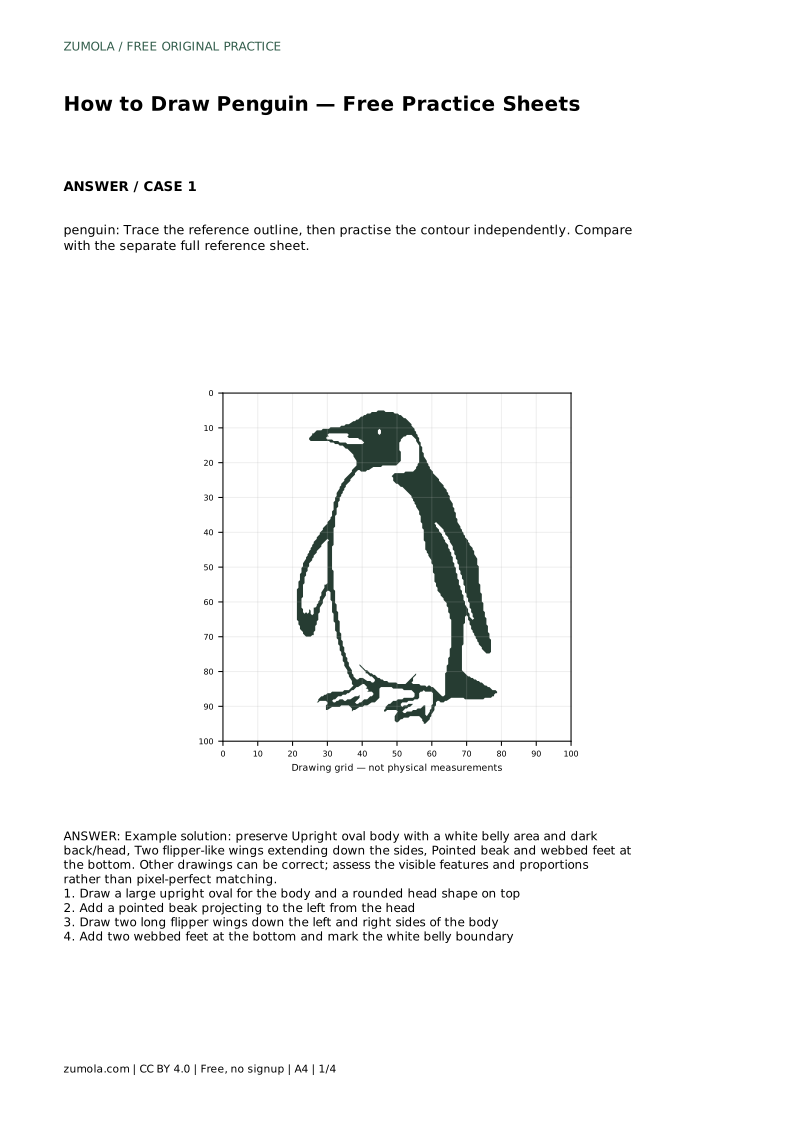
Tracing a reference outline trains your hand to follow a contour, but it does not test whether you can reproduce that contour from memory. After tracing, set the reference aside and draw the same penguin independently, then compare your result with the separate full reference sheet. This comparison is where most learning happens.
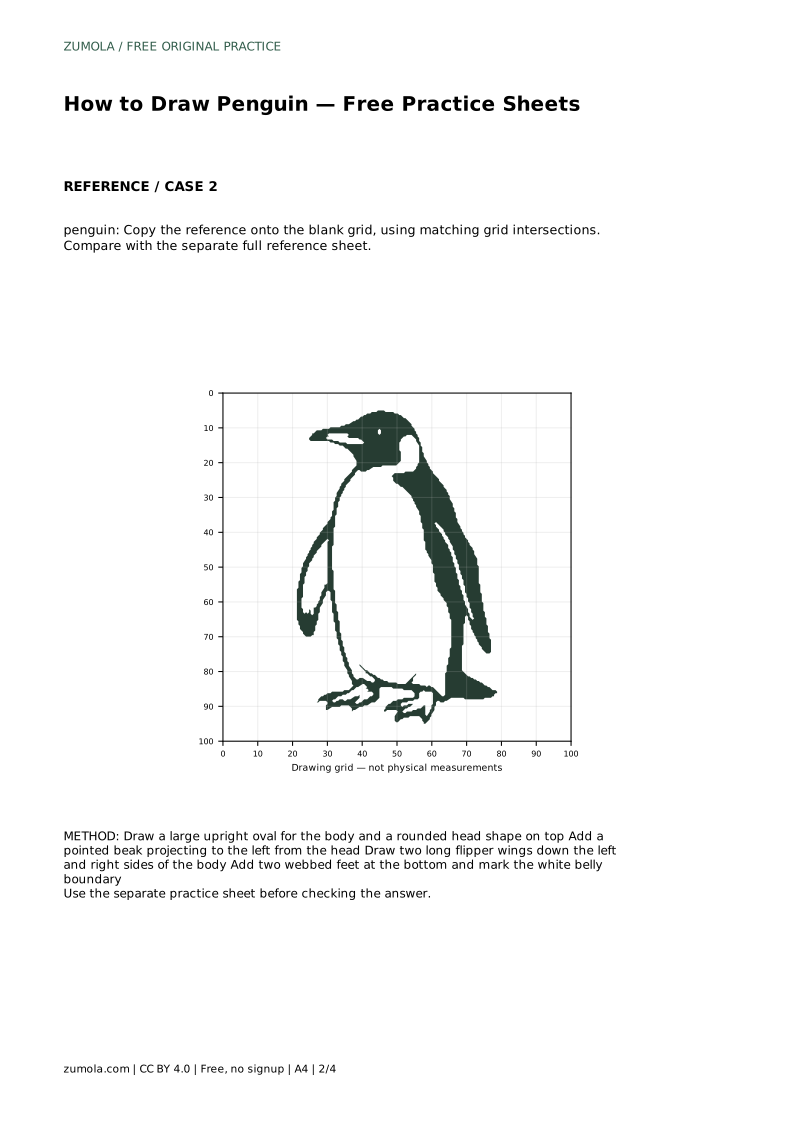
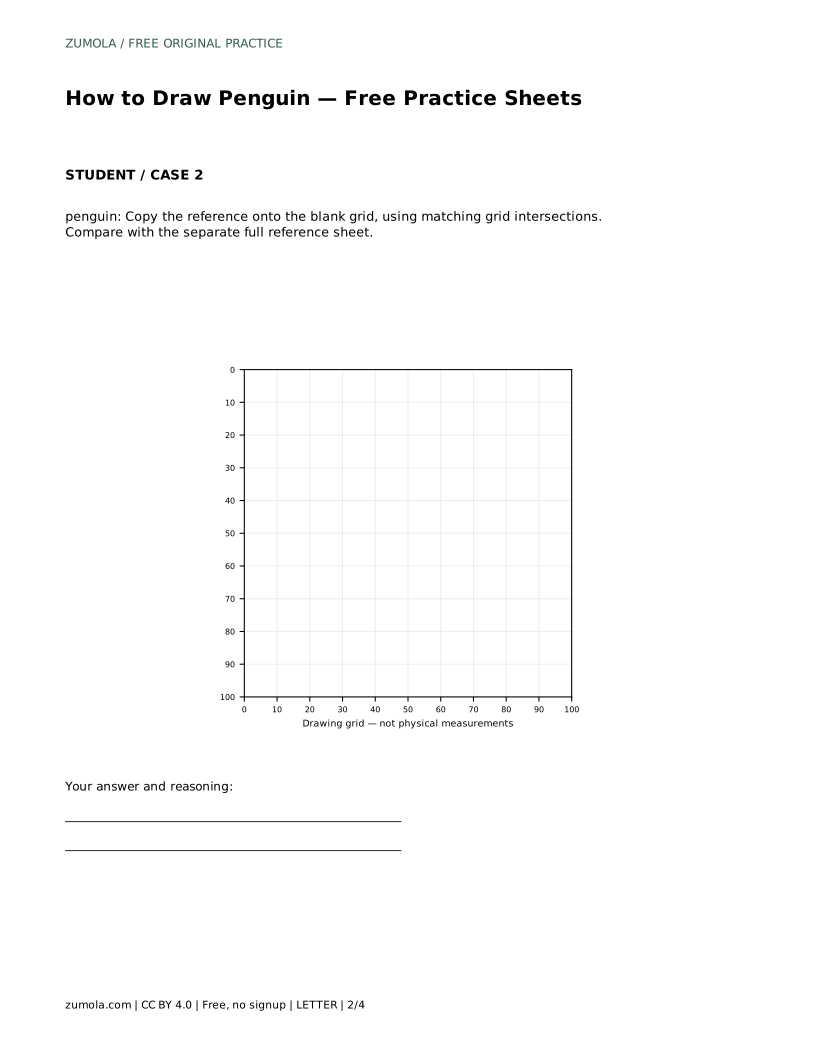
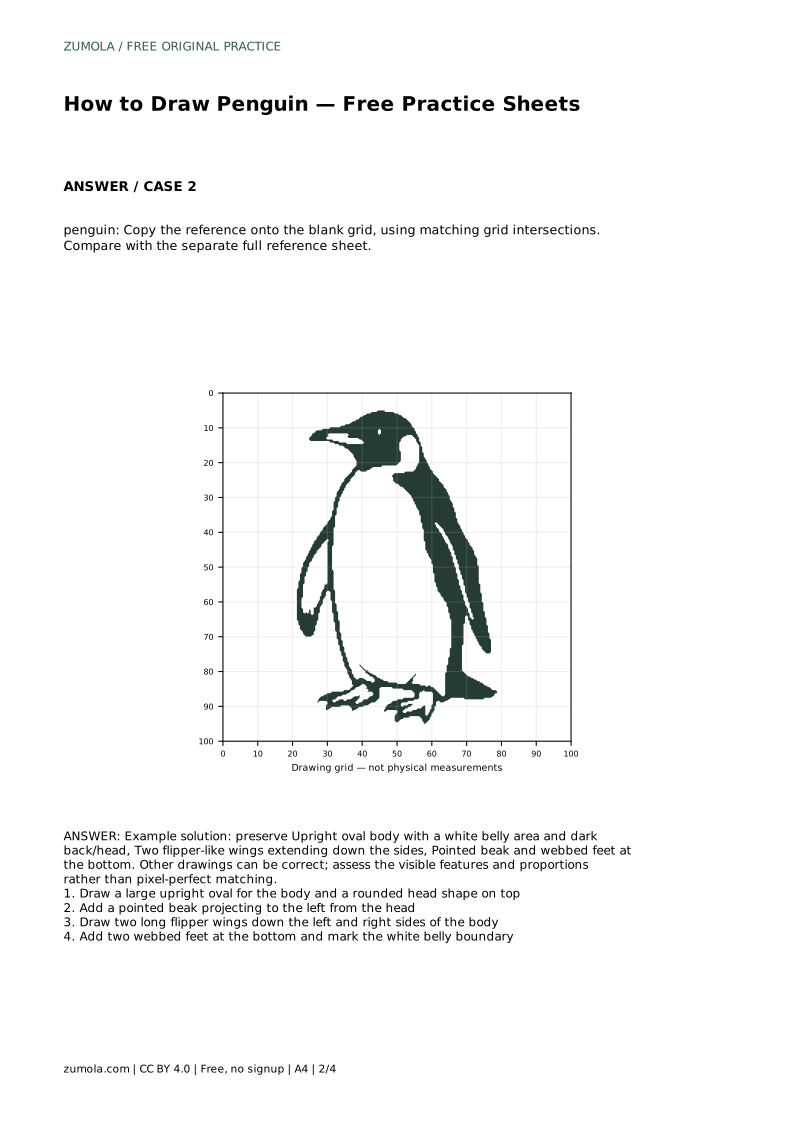
Copying onto a blank grid trains proportion and placement. Match the reference at grid intersections: if the beak tip meets a certain crossing, your beak tip should meet the same crossing. The grid does not make the drawing automatic, but it gives you checkpoints so one oversized wing does not quietly shift everything else.
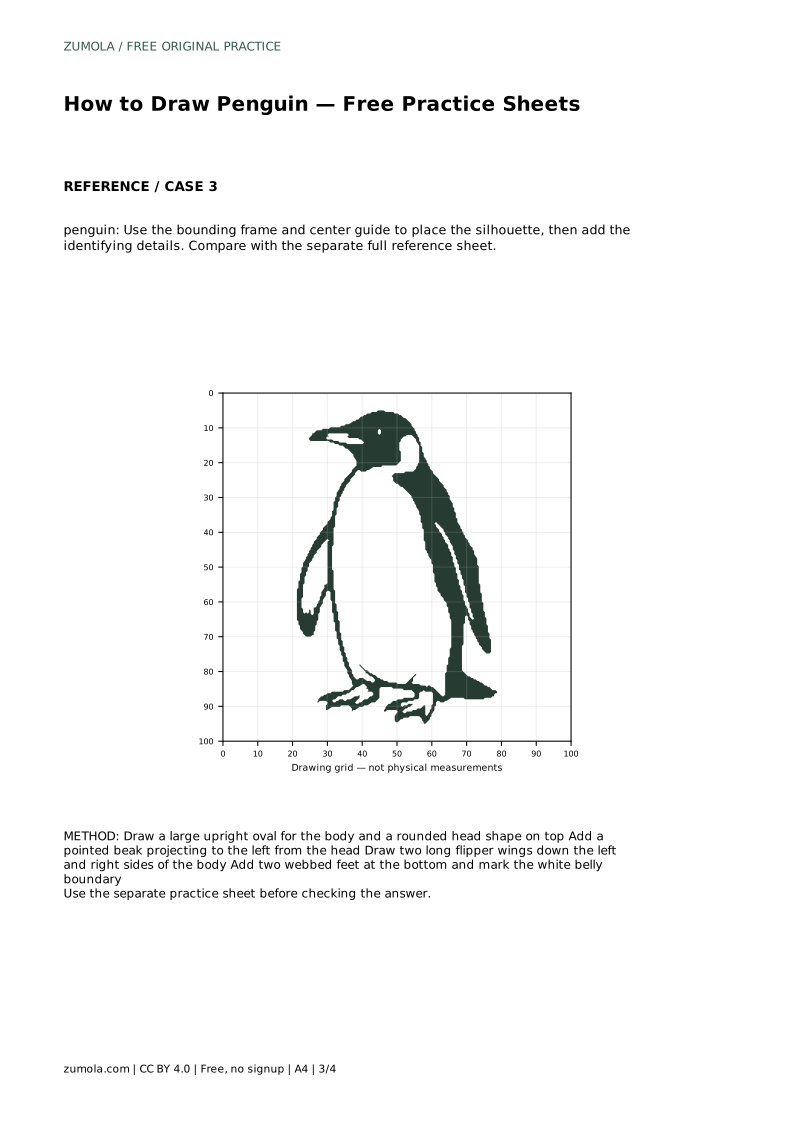
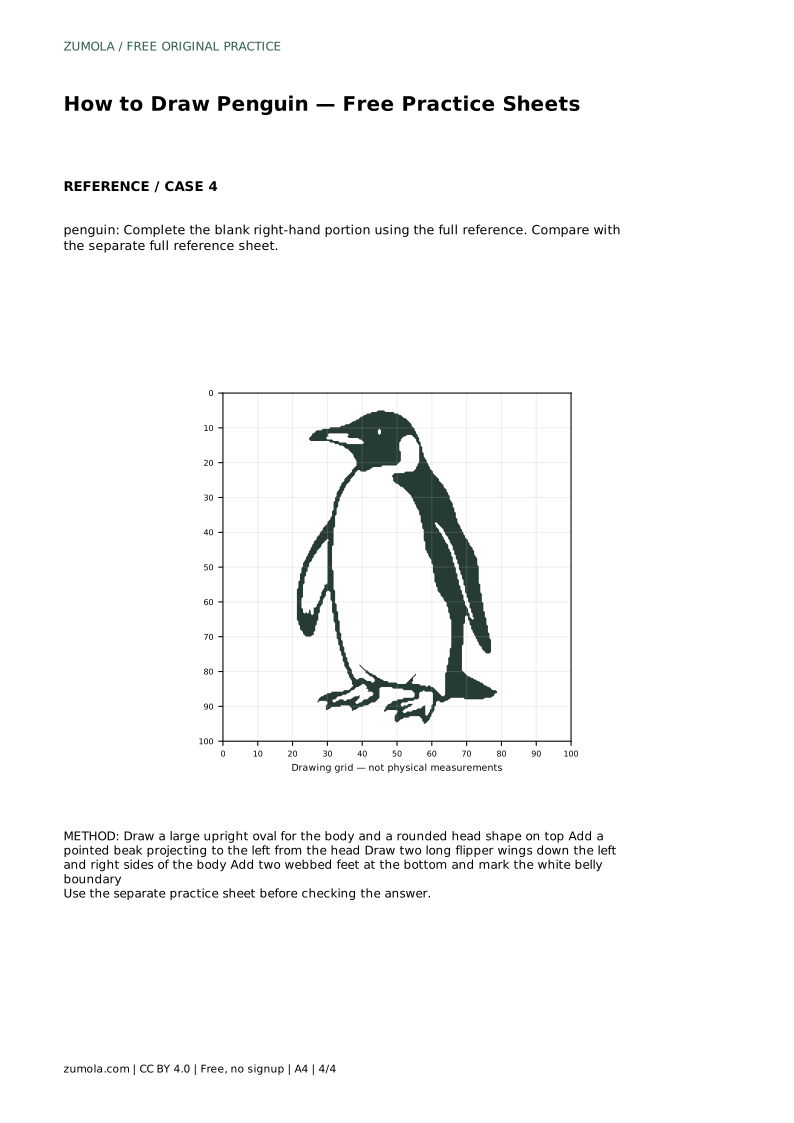
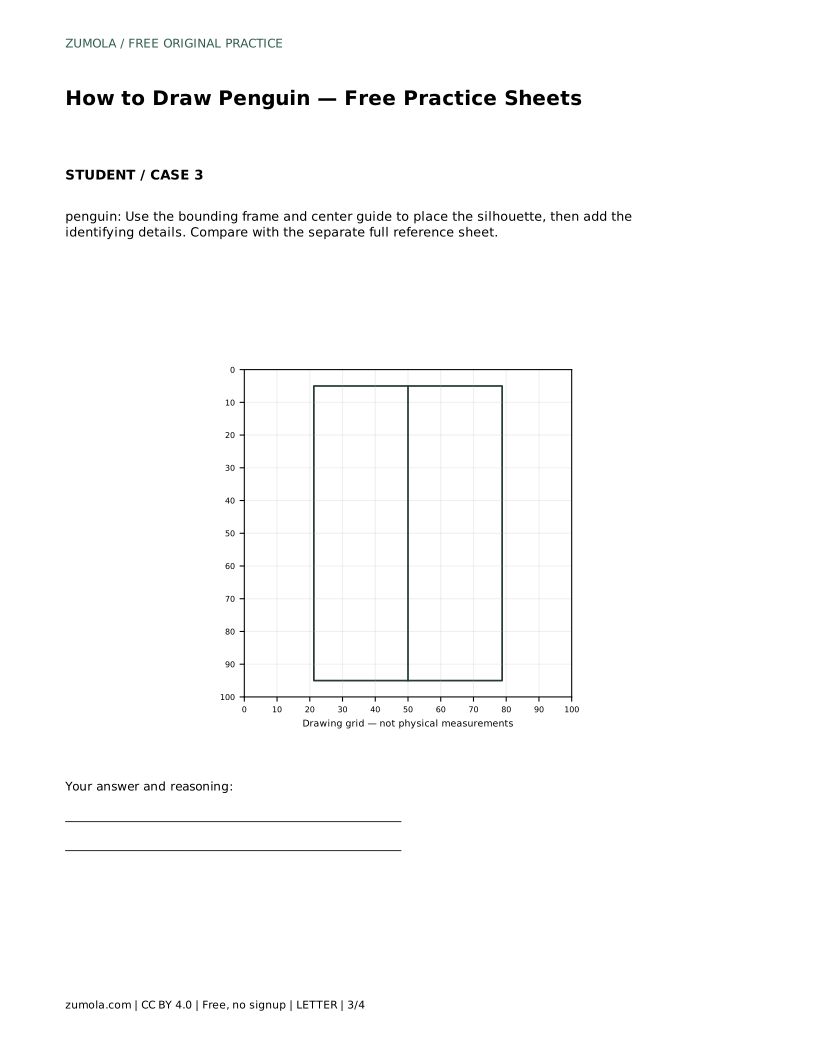
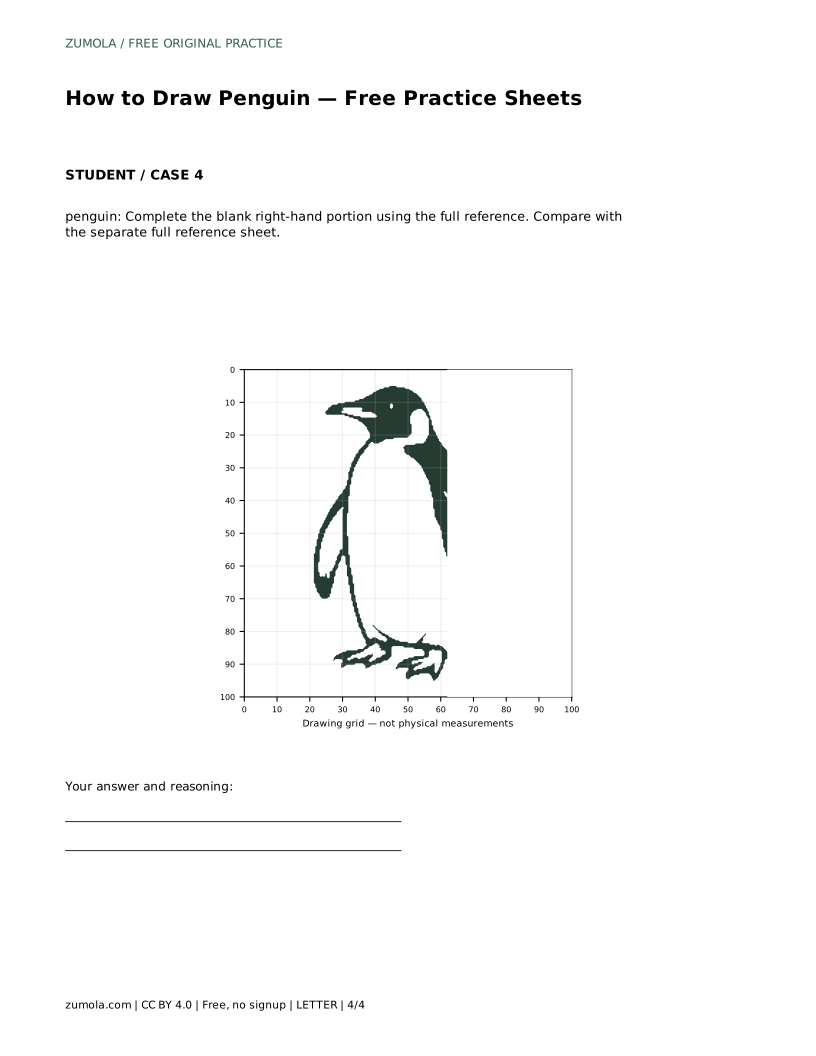
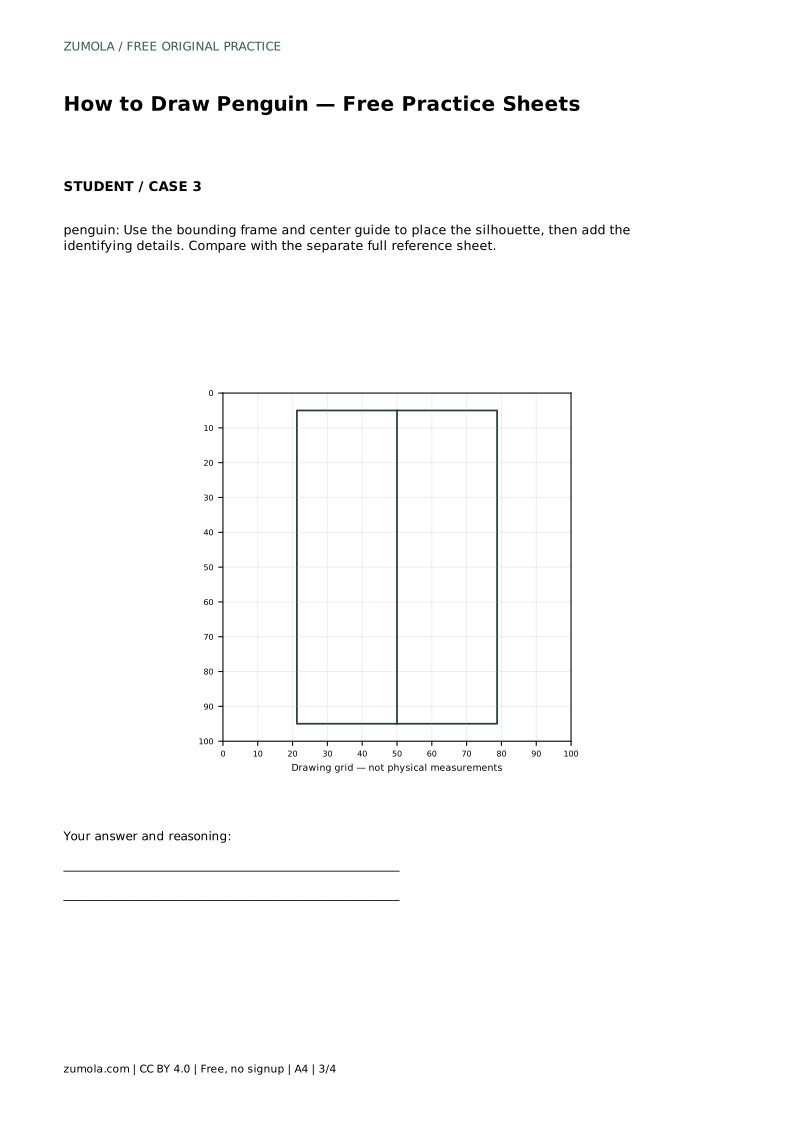
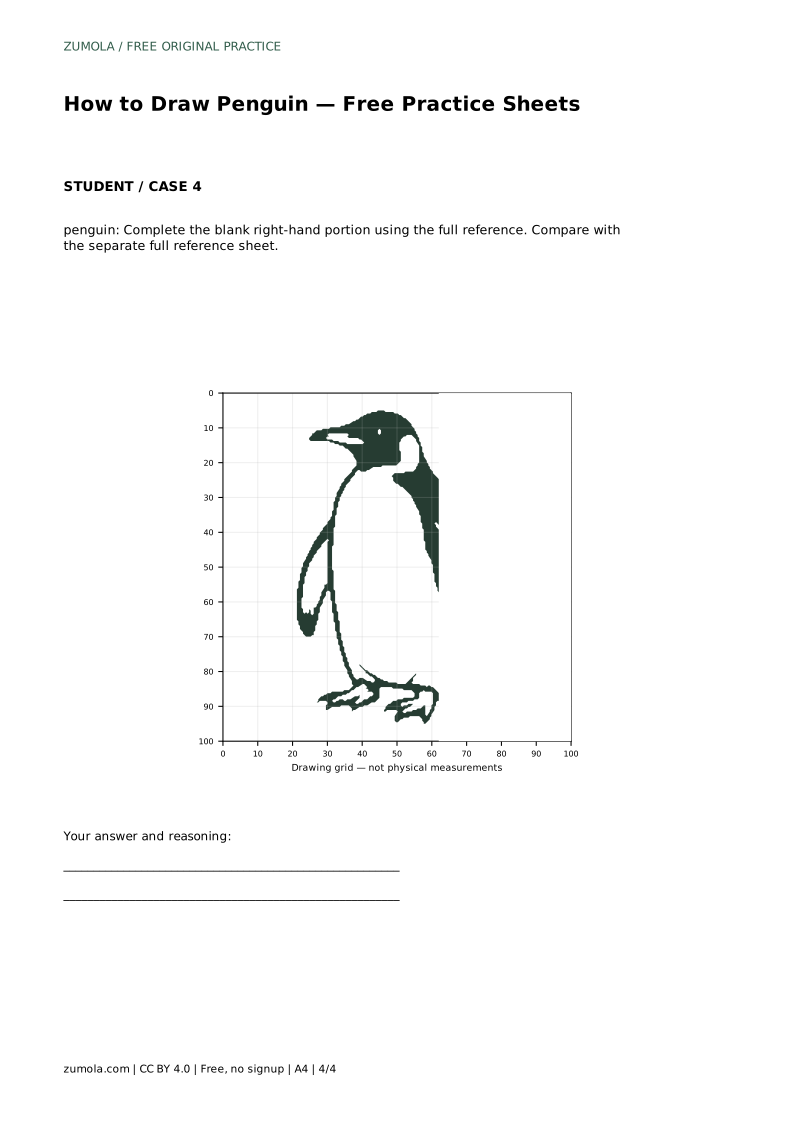
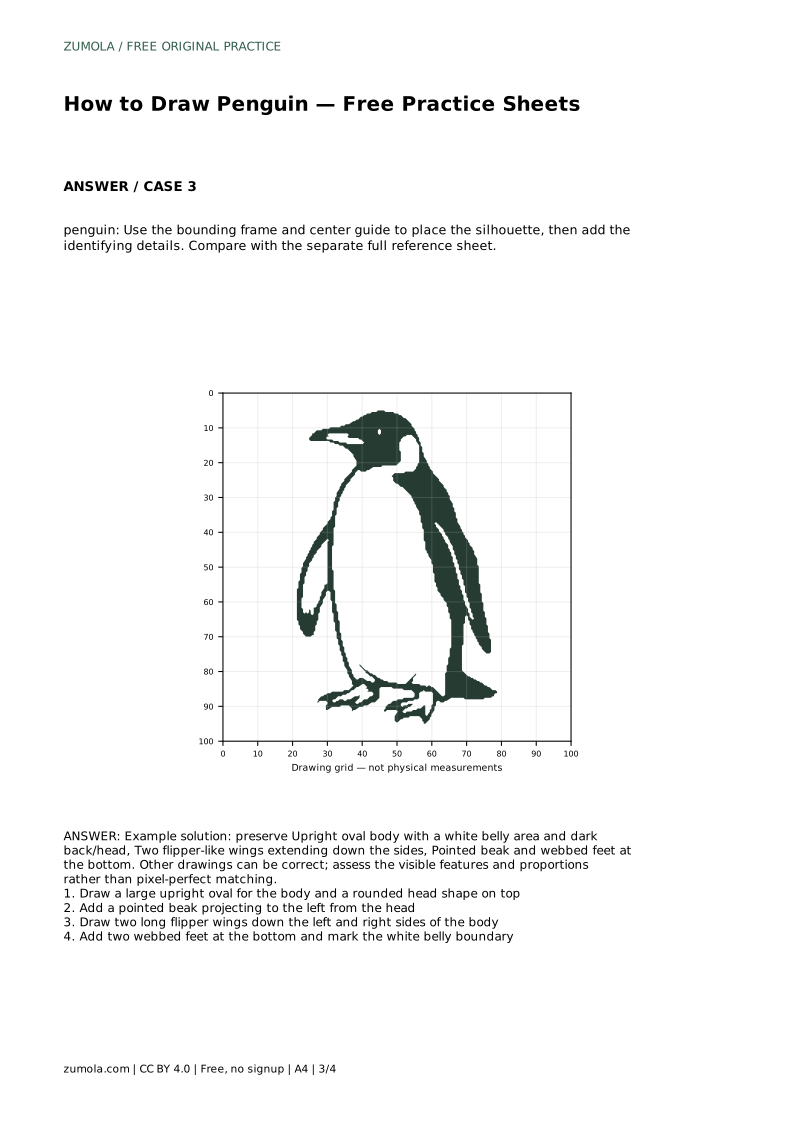
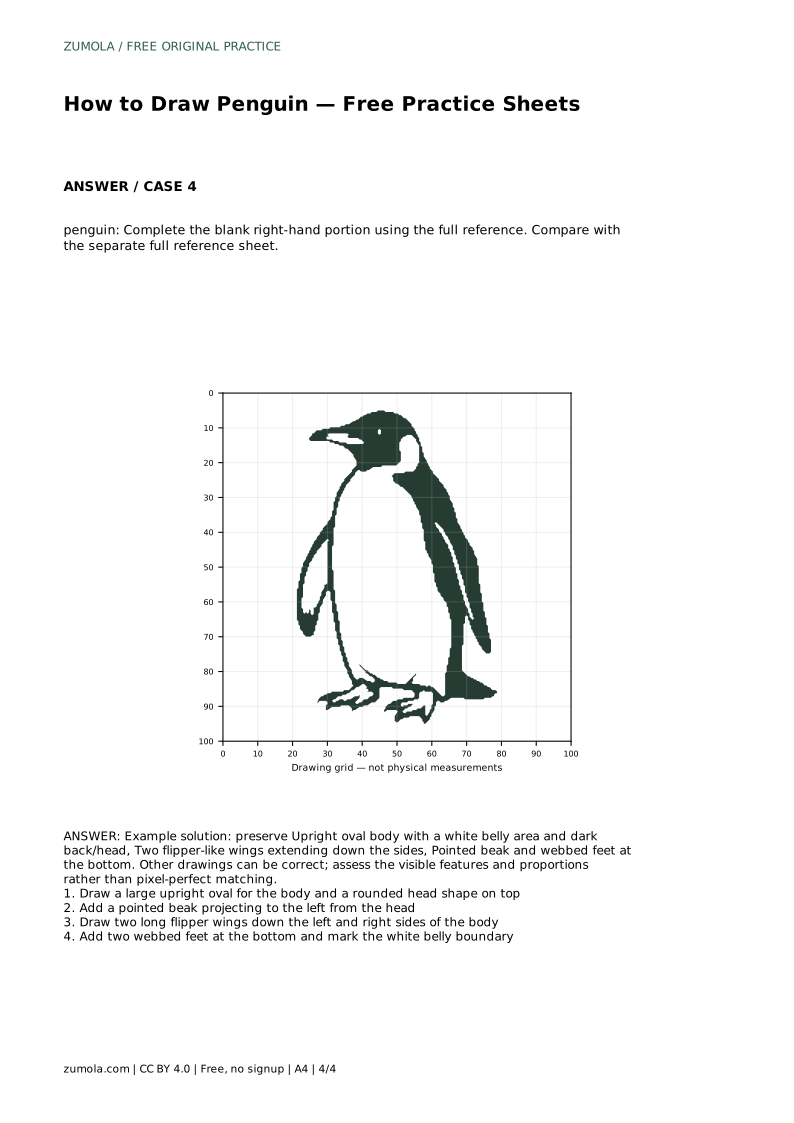
Using a bounding frame and center guide trains silhouette placement. The frame sets the outer limits of the drawing, and the center guide helps you keep the body balanced left and right. Complete-the-drawing practice, where the right-hand portion is blank, trains you to infer missing parts from the visible half. Each method asks for the same identifying features, but the support differs.
Penguin drawings have multiple valid outcomes. A slightly rounder body or a shorter beak can still be a correct penguin. Judge the visible features and proportions rather than pixel-perfect matching. Ask whether the body is upright and oval, whether the head is rounded and smaller than the body, whether the beak is pointed and projects to the left, whether two flipper wings run down the sides, whether two webbed feet sit at the bottom, and whether the white belly boundary is marked.
Proportion matters more than polish. Check that the wings are roughly similar in length, that the feet sit below the body rather than beside it, and that the head does not overwhelm the torso. A clean line is pleasant, but a wobbly line with correct proportions is a stronger drawing exercise.
penguin: Trace the reference outline, then practise the contour independently. Compare with the separate full reference sheet.
Example solution: preserve Upright oval body with a white belly area and dark back/head, Two flipper-like wings extending down the sides, Pointed beak and webbed feet at the bottom. Other drawings can be correct; assess the visible features and proportions rather than pixel-perfect matching. Draw a large upright oval for the body and a rounded head shape on top Add a pointed beak projecting to the left from the head Draw two long flipper wings down the left and right sides of the body Add two webbed feet at the bottom and mark the white belly boundary
No. Preserve the identifying features and sensible proportions. Other drawings can be correct, so assess the visible features rather than pixel-perfect matching.
Start by tracing the reference outline, then redraw the penguin independently and compare with the separate full reference sheet. Move to grid or frame practice once the basic shape feels familiar.
Usually a proportion problem: an oversized head, wings that stick out stiffly, or feet placed beside rather than below the body. Check those three points first.
All drawing practice · Free coordinate paper
Original resources · CC BY 4.0 · Free for personal and classroom use with attribution.