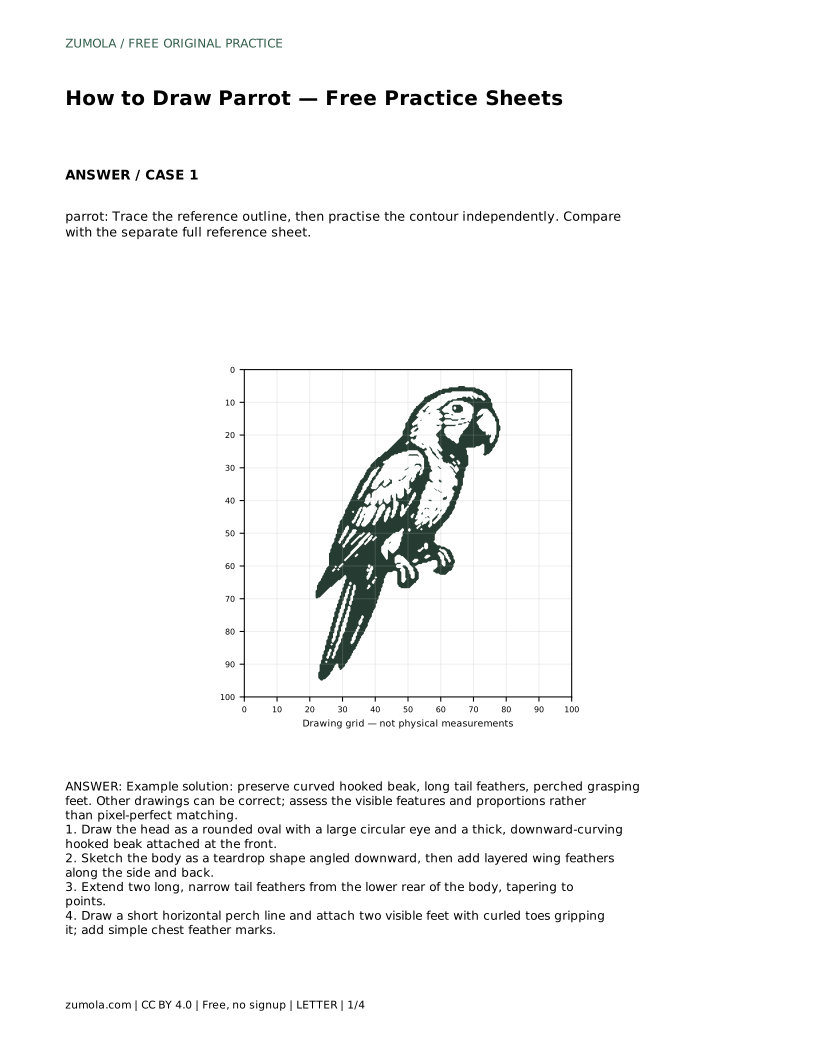
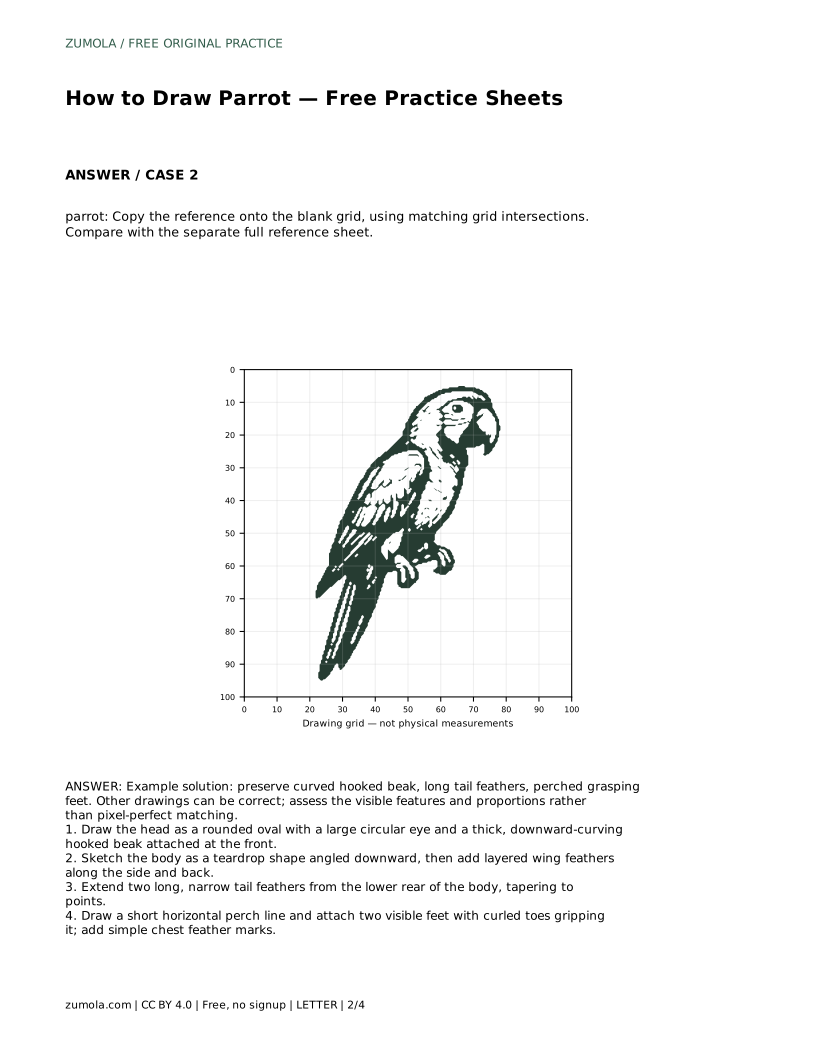
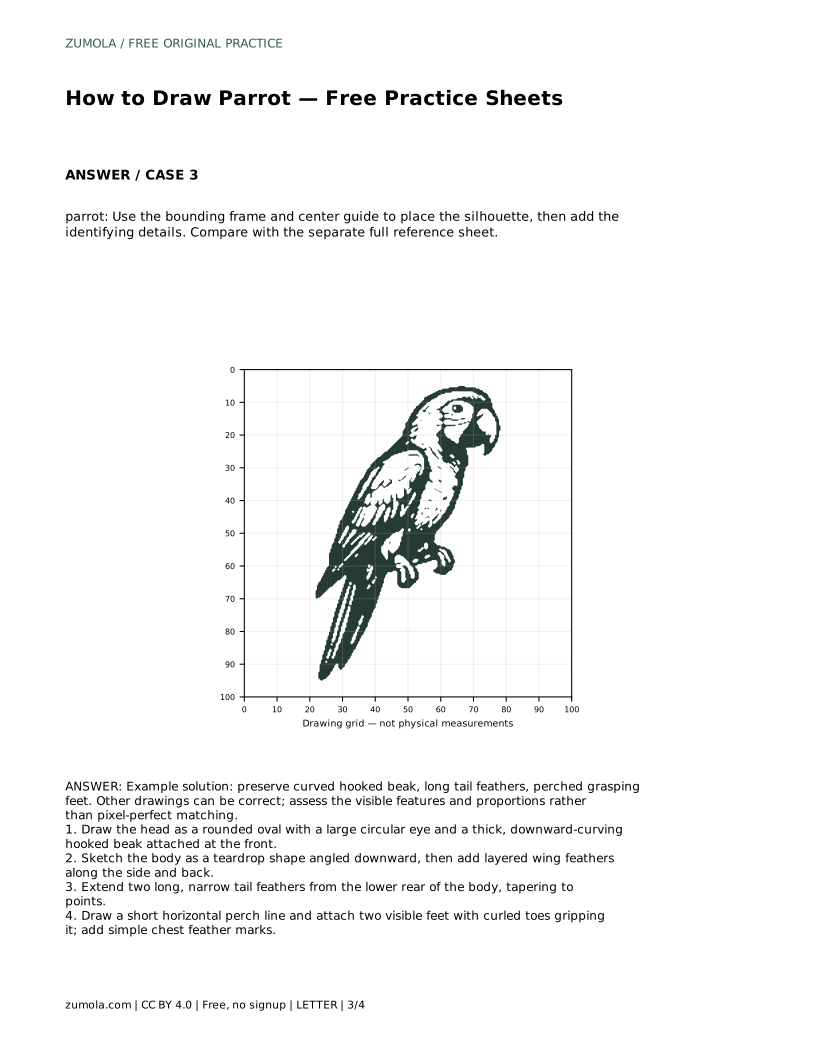
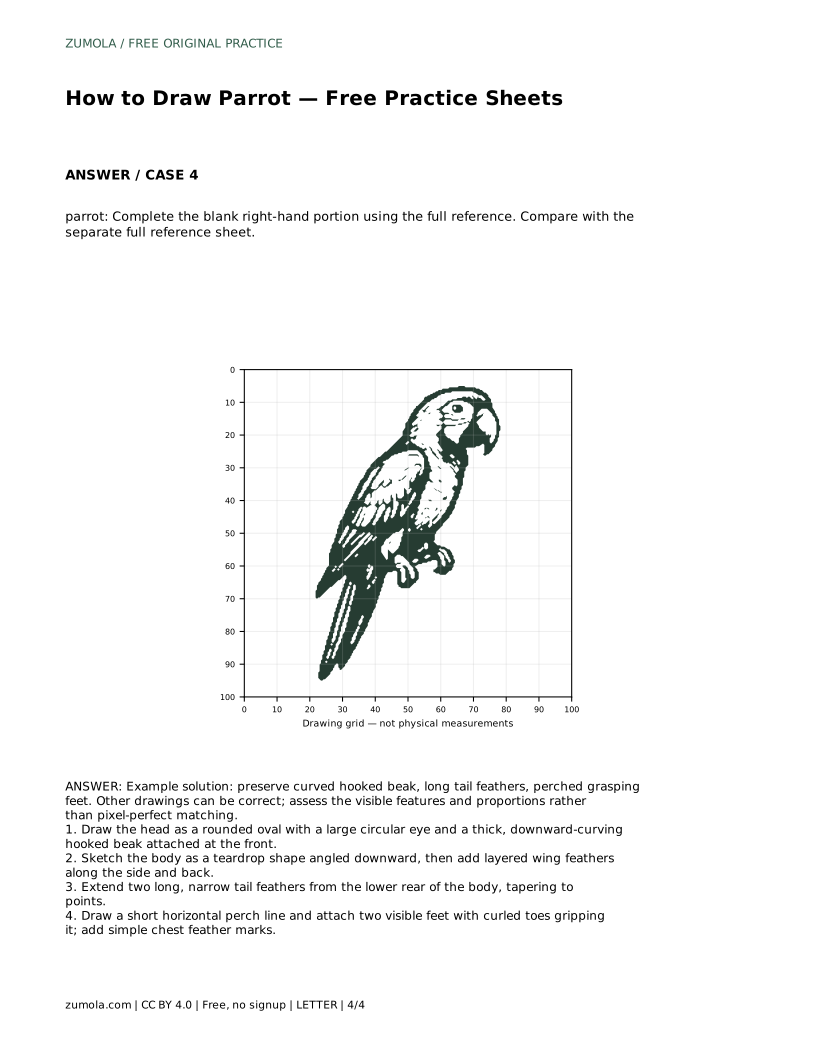
Reference diagrams
LETTER · Download PDF
A4 · Download PDF
Free original resources
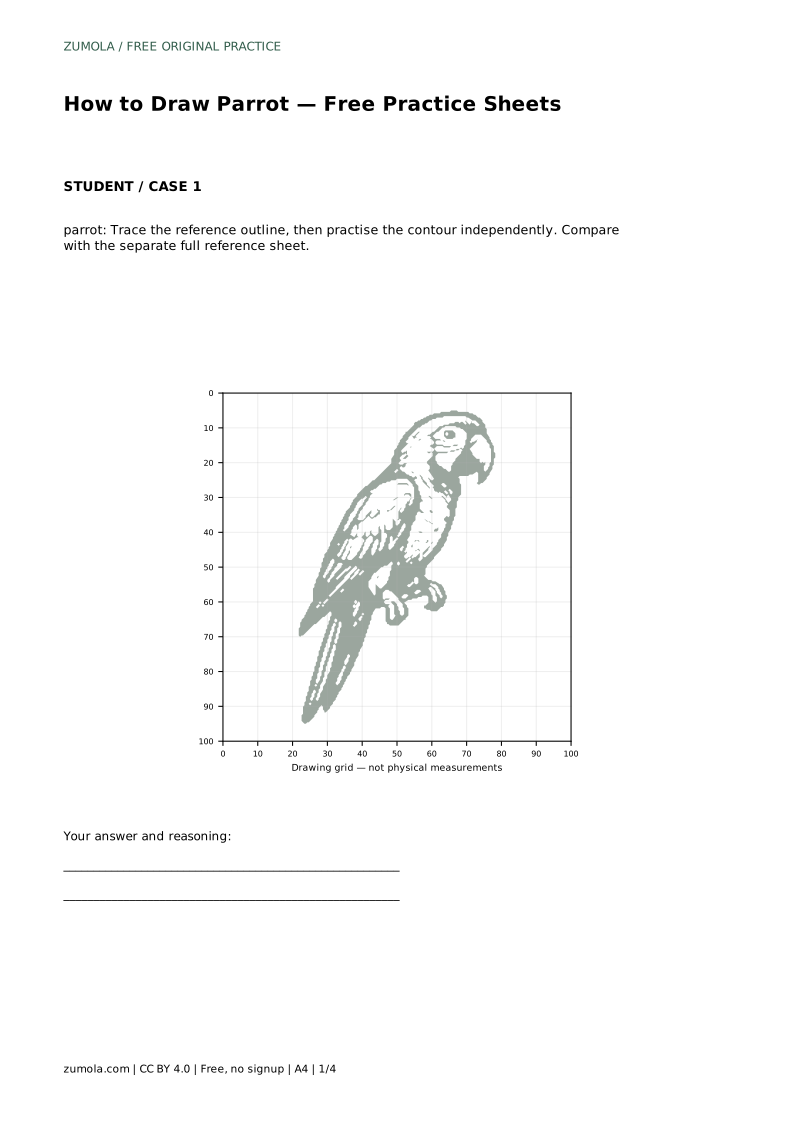
Learn to draw a cartoon parrot with a hooked beak, teardrop body, layered wing feathers, long tail feathers and gripping feet on a perch.
Four original cases, with reference diagrams, practice sheets and worked answers. Everything is free; no signup required.
LETTER · Download PDF
A4 · Download PDF
LETTER · Download PDF
A4 · Download PDF
LETTER · Download PDF
A4 · Download PDF
Use A4 or US Letter to match your printer. Use the stated values and conditions to solve each exercise; diagrams are not physical measuring rulers.
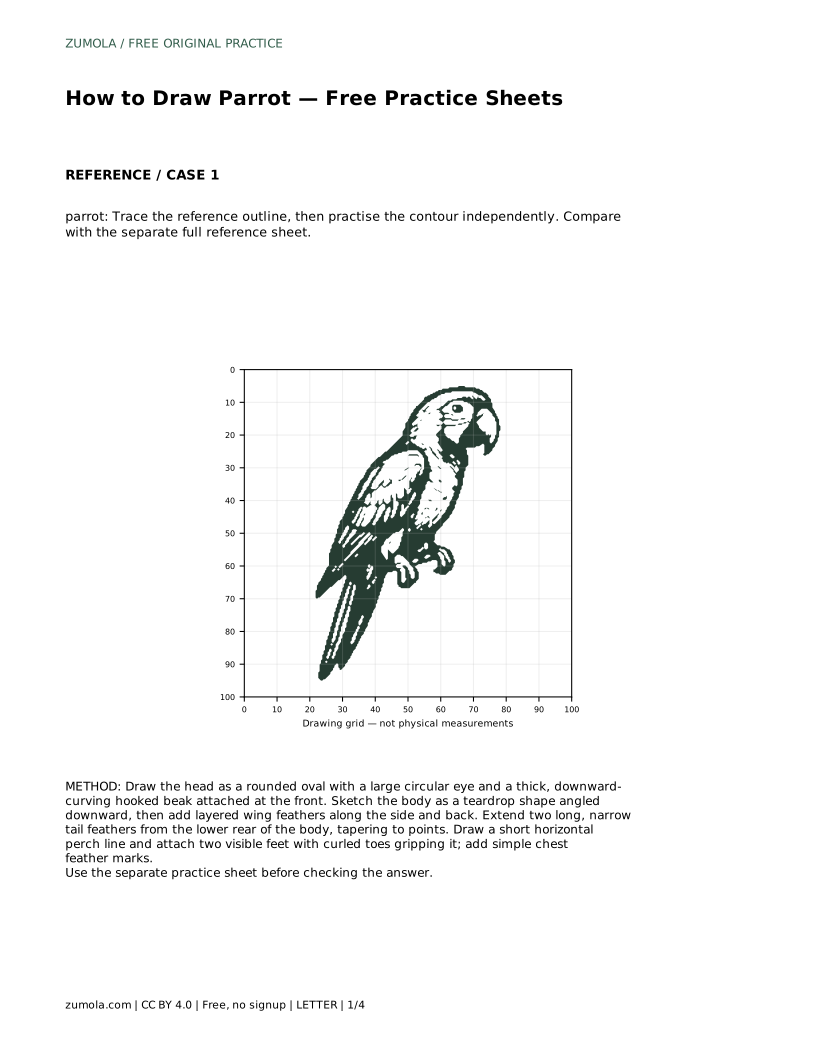
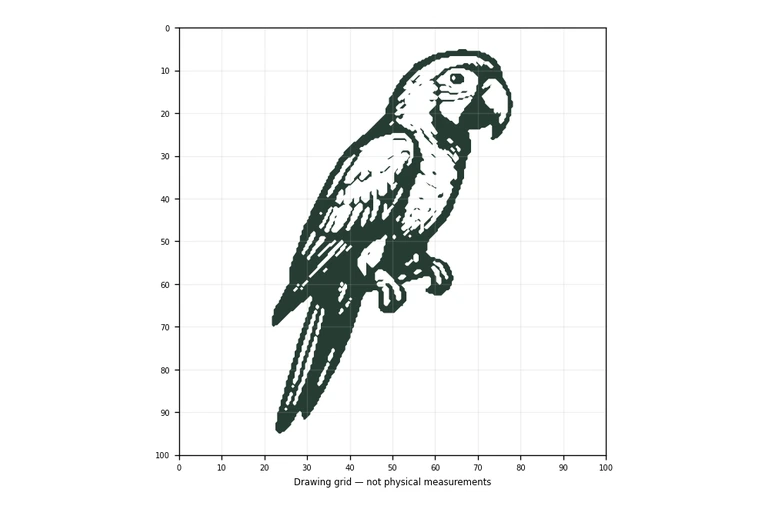
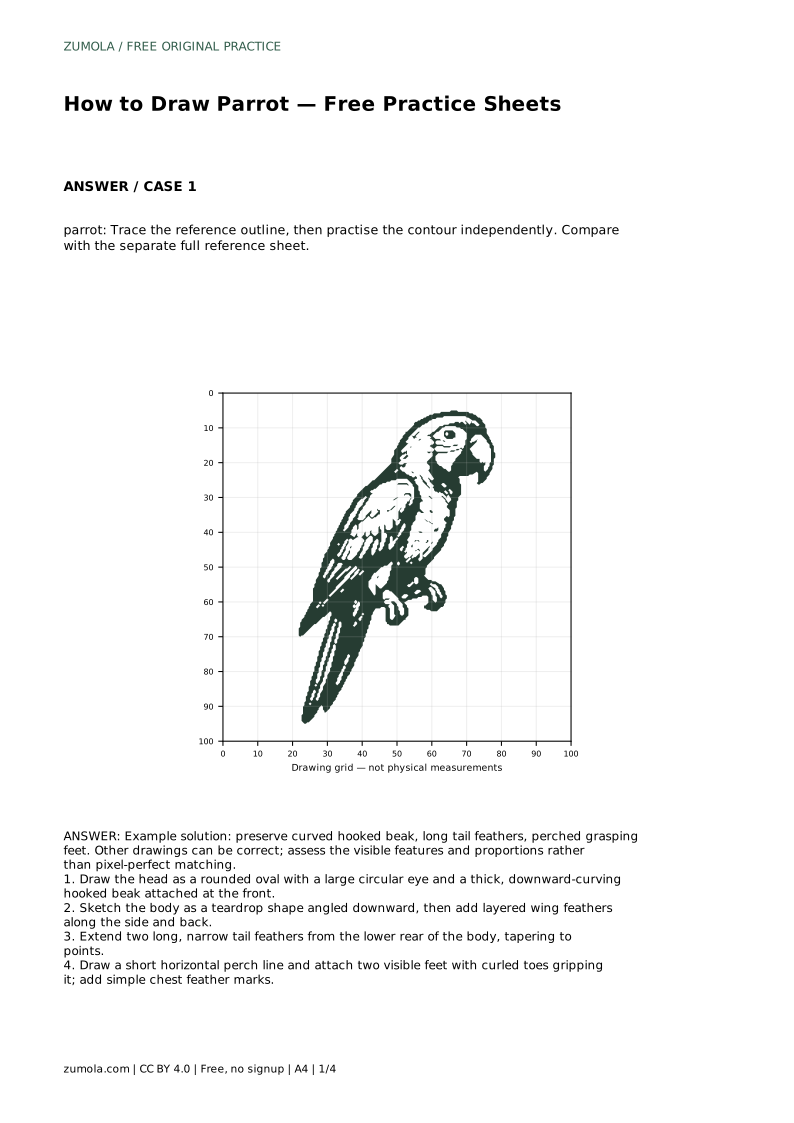
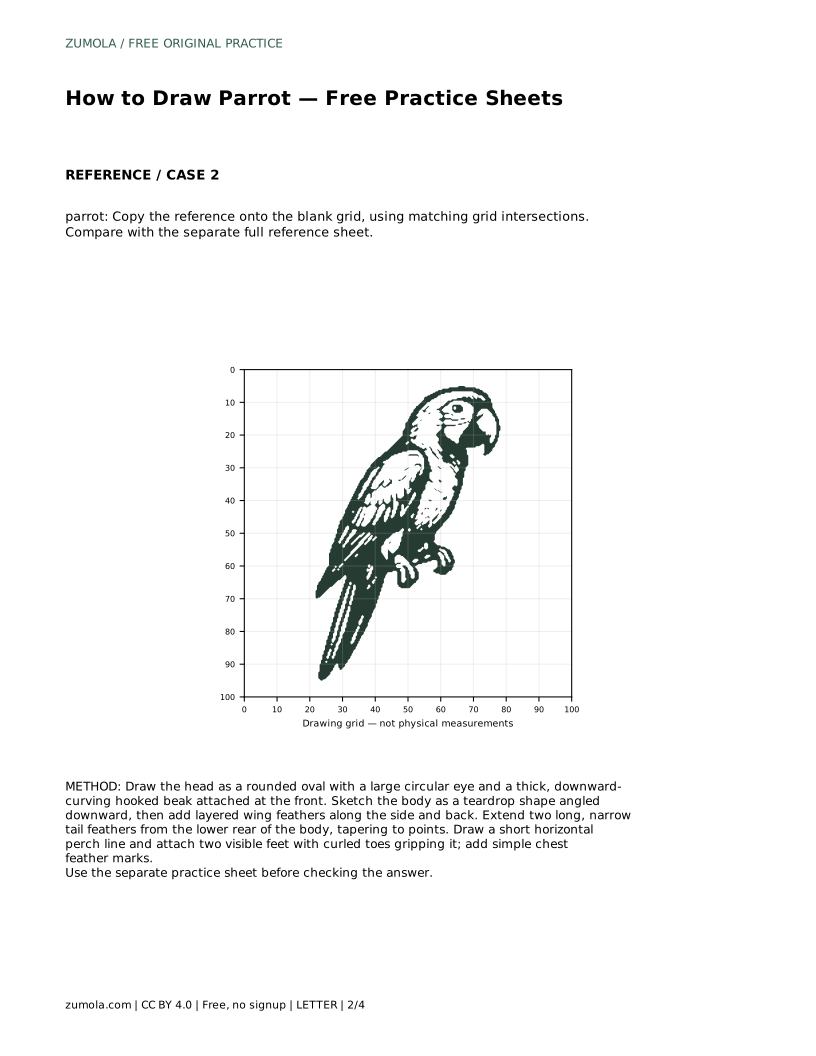
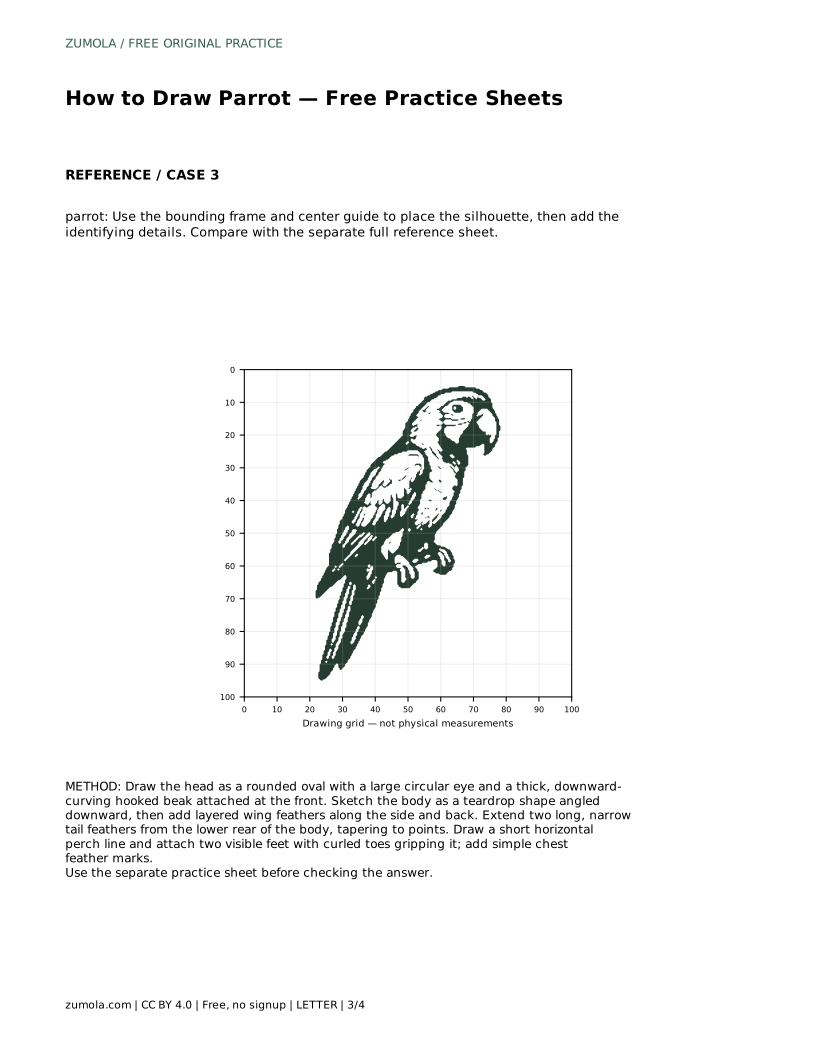
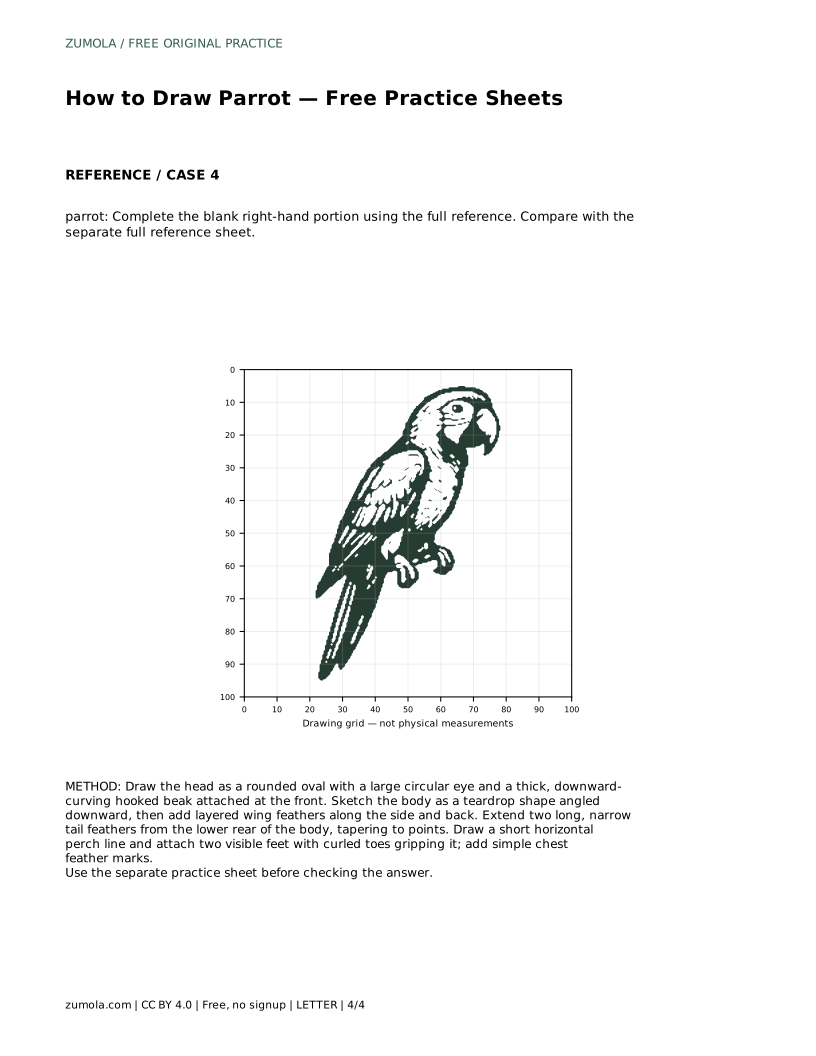
A cartoon parrot is built from a few clear shapes: a rounded head, a hooked beak, a teardrop body, layered wing feathers, two long tail feathers and feet that curl around a perch. This page explains the order to draw them and how to use the practice sheets to check your proportions. Because drawings can differ and still be correct, judge your work by visible features rather than an exact match.
Start with the head because it carries the parrot's most recognizable feature: the beak. Draw a rounded oval for the head, place a large circular eye inside it, and attach a thick beak at the front that curves downward to a point. The hook should read clearly as a hook, not a triangle.
Next, sketch the body as a teardrop angled downward from the head. Add layered wing feathers along the side and back, drawing each layer as a simple curved shape rather than a single outline. Keep the wing close to the body so the silhouette stays compact.
Extend two long, narrow tail feathers from the lower rear of the body, tapering each to a point. The tail should look longer than the body is wide, which helps the parrot read as a parrot rather than a generic bird.
Draw a short horizontal perch line, then attach two visible feet with curled toes gripping it. The toes should wrap around the line so the bird looks perched, not floating. Finish with a few simple chest feather marks to suggest texture without clutter.
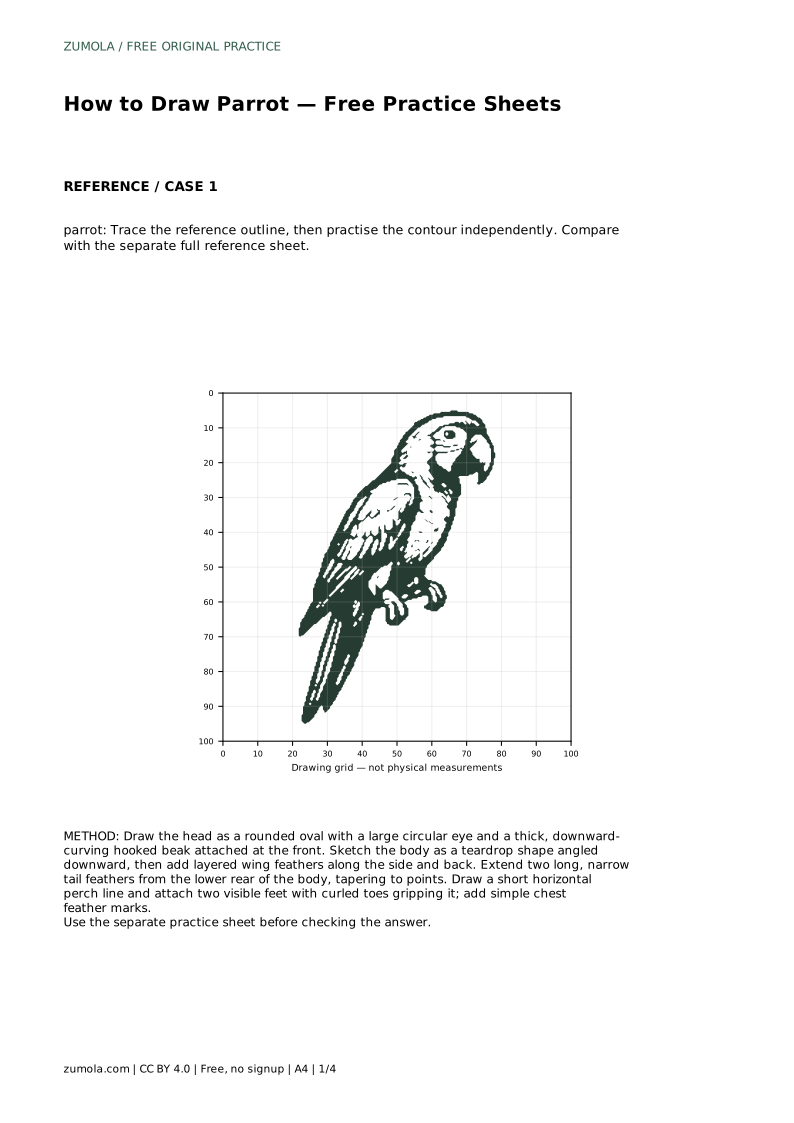
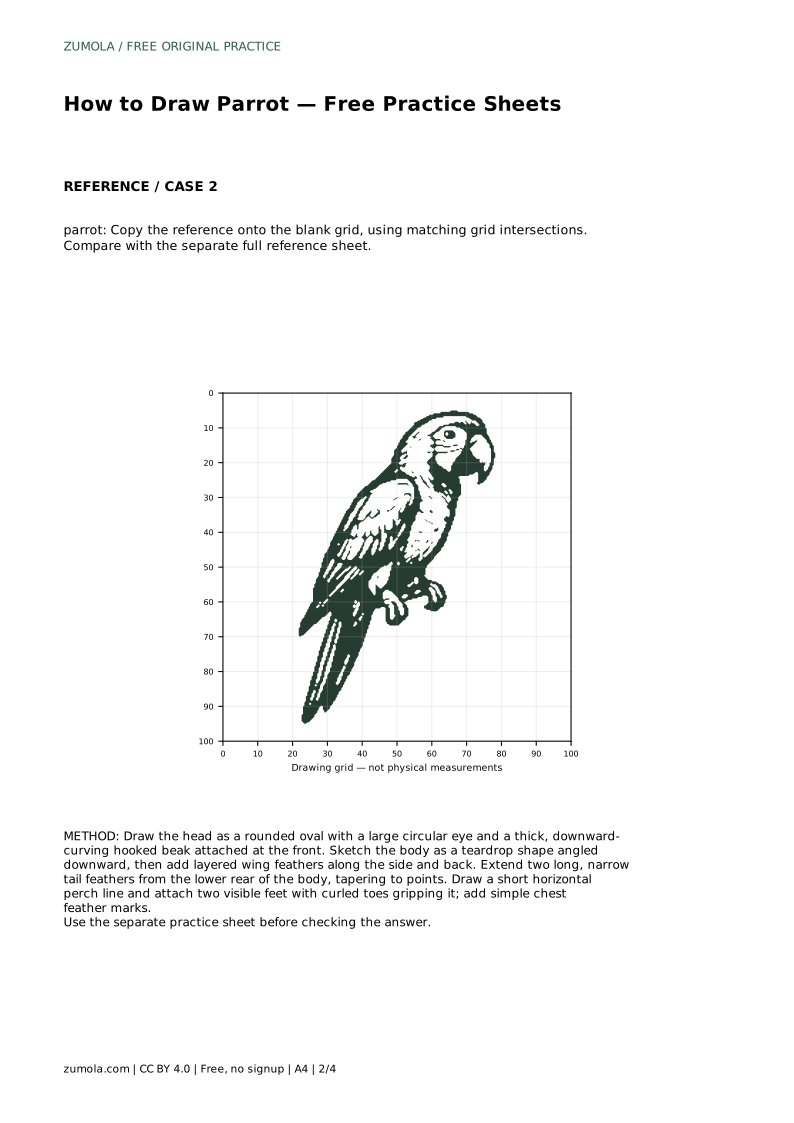
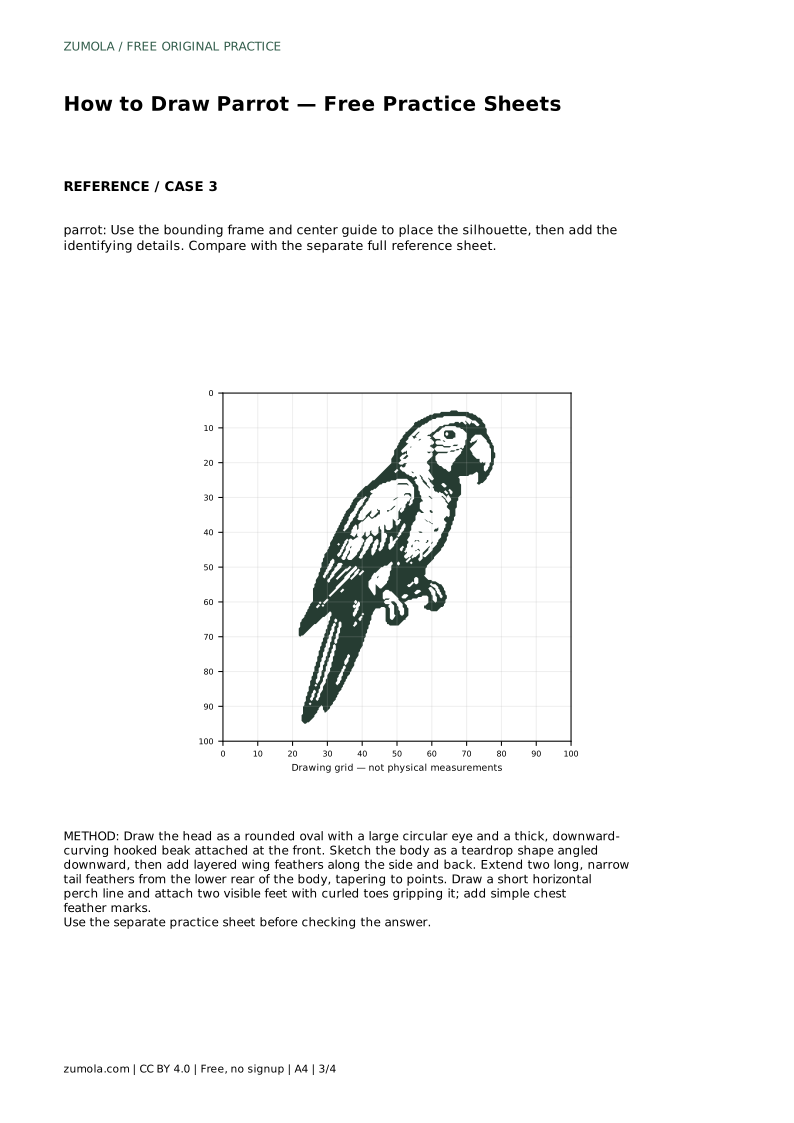
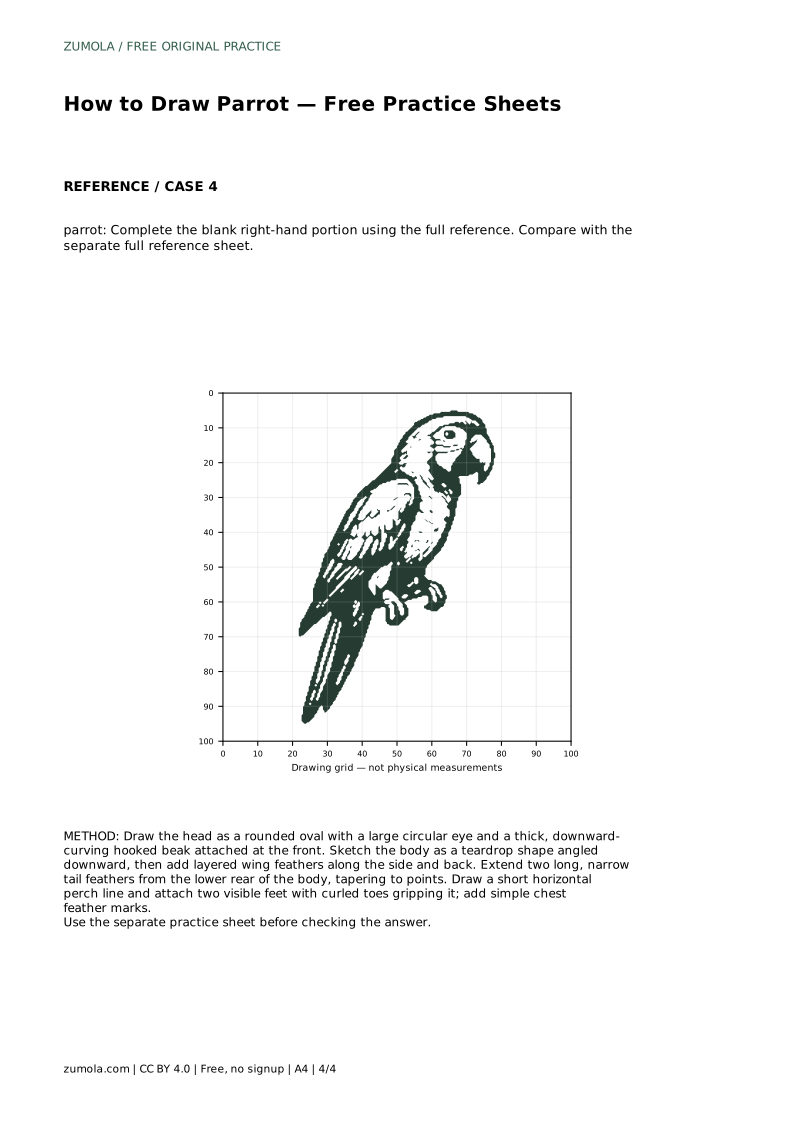
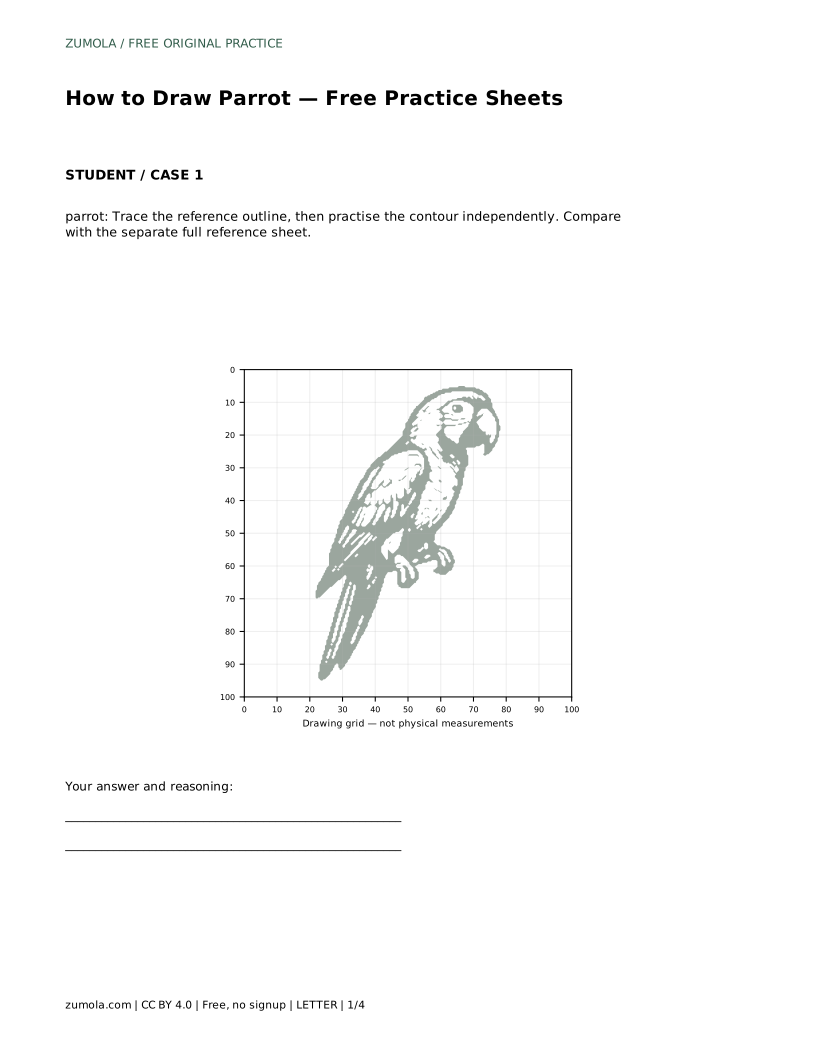
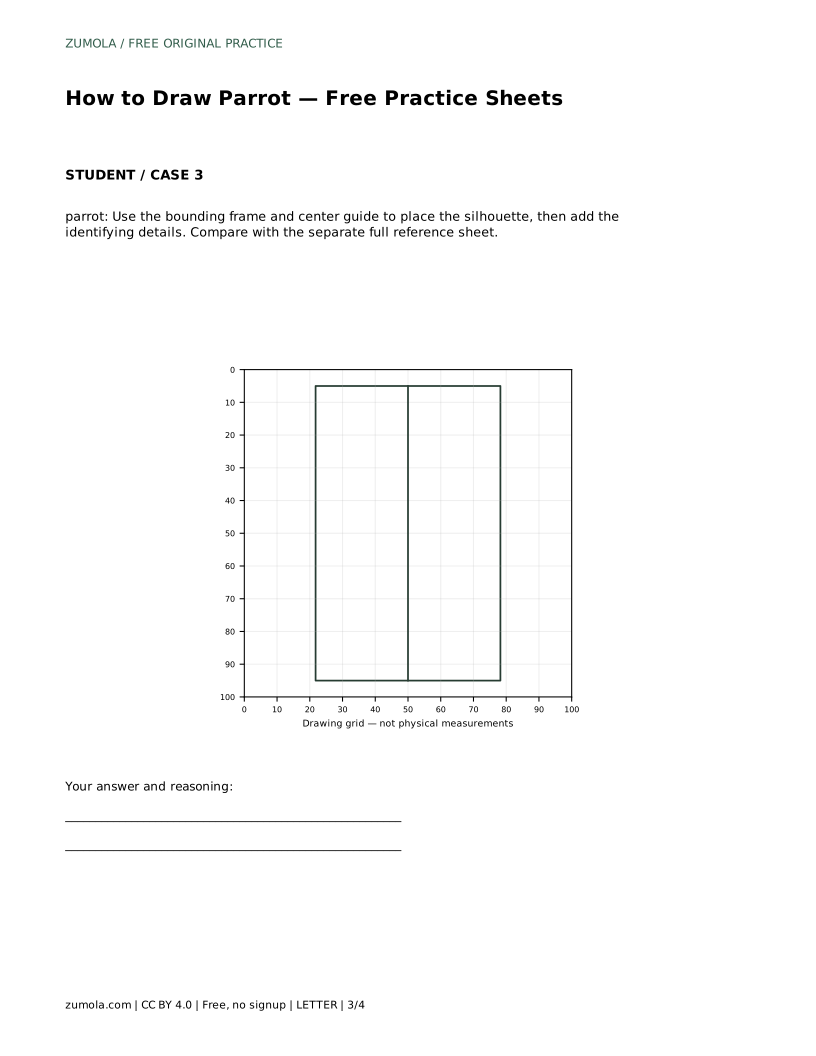
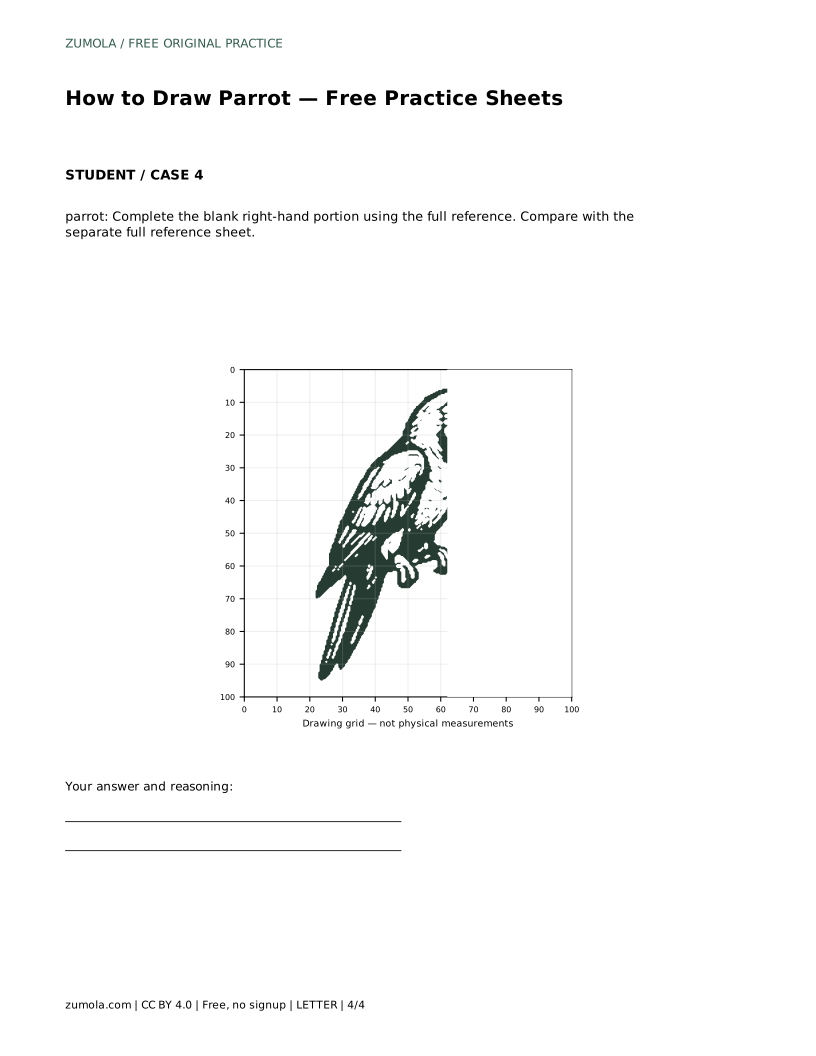
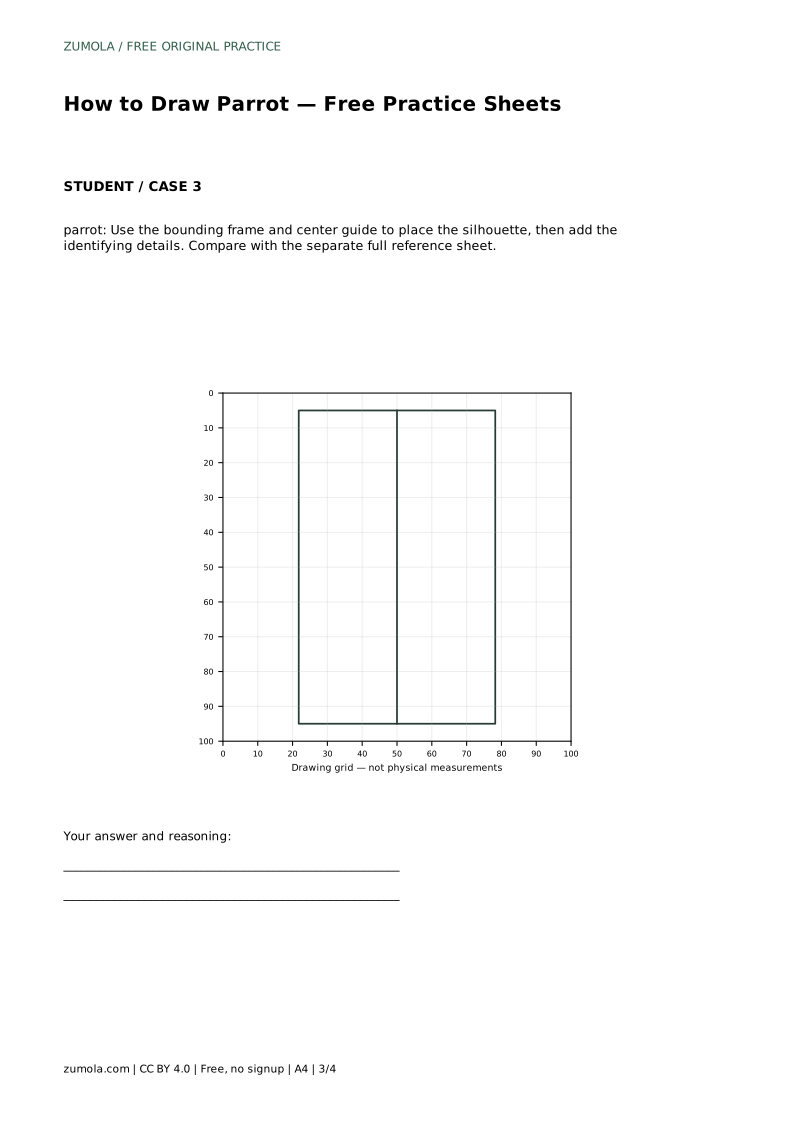
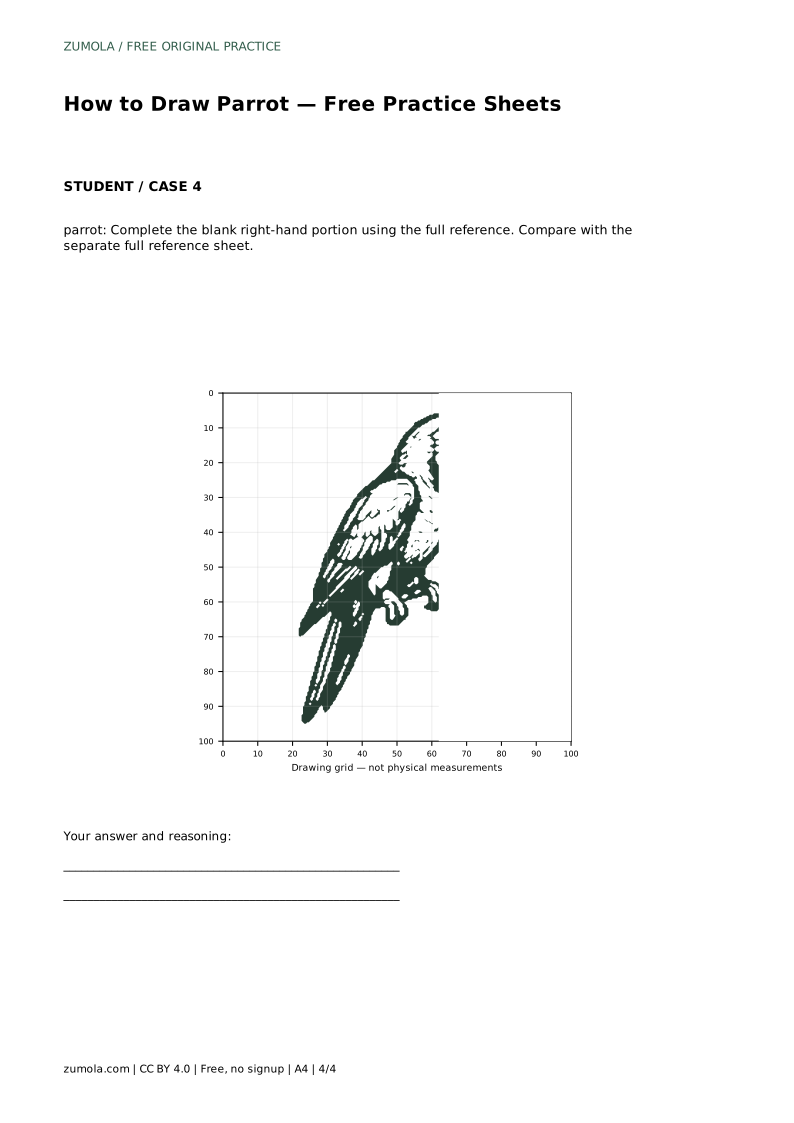
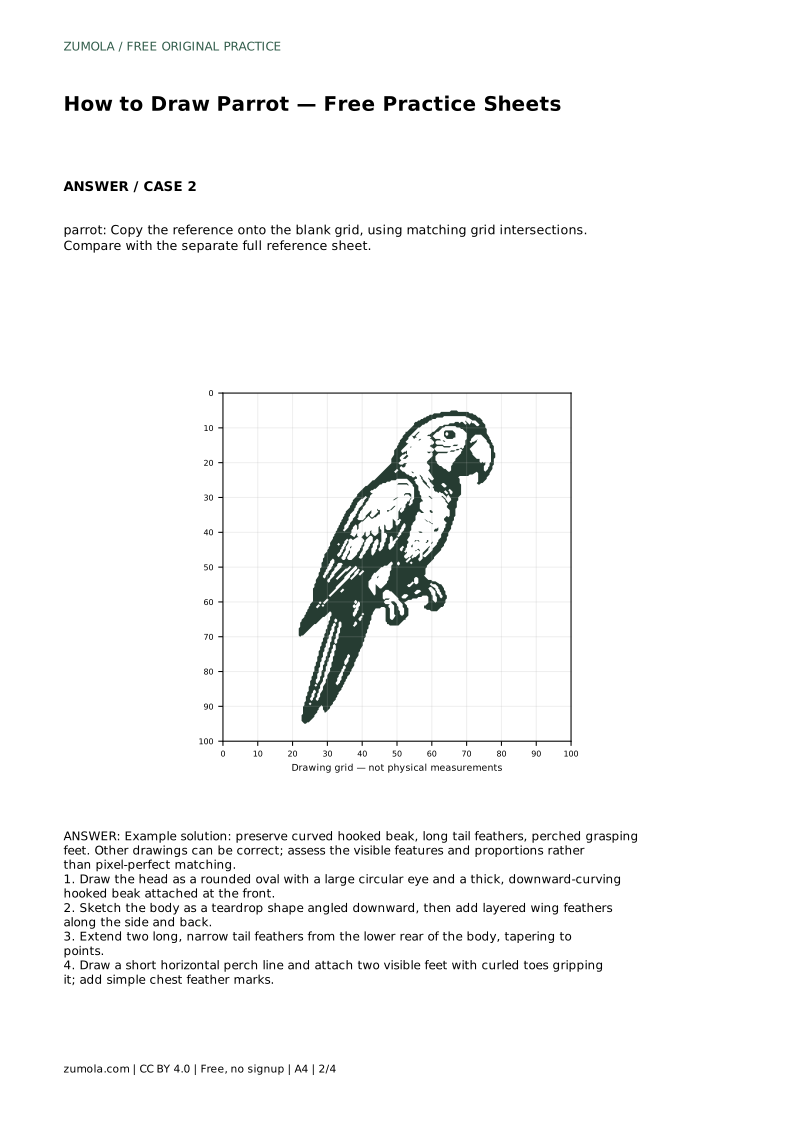
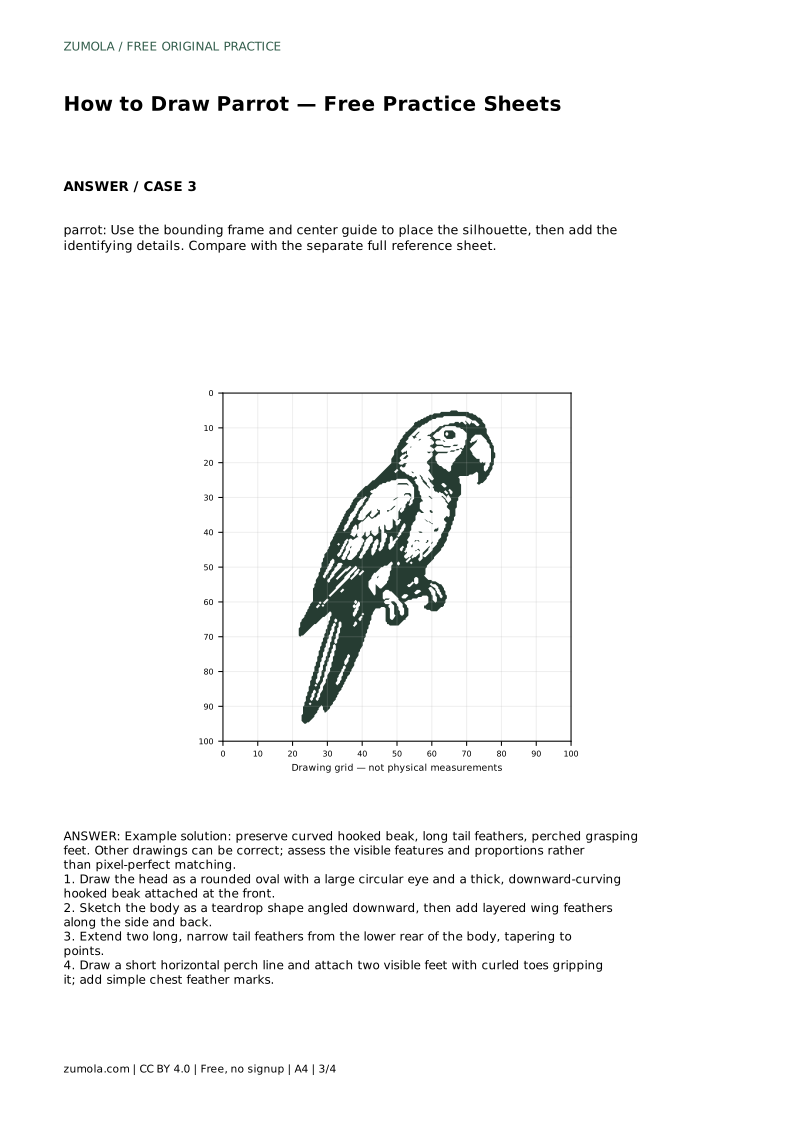
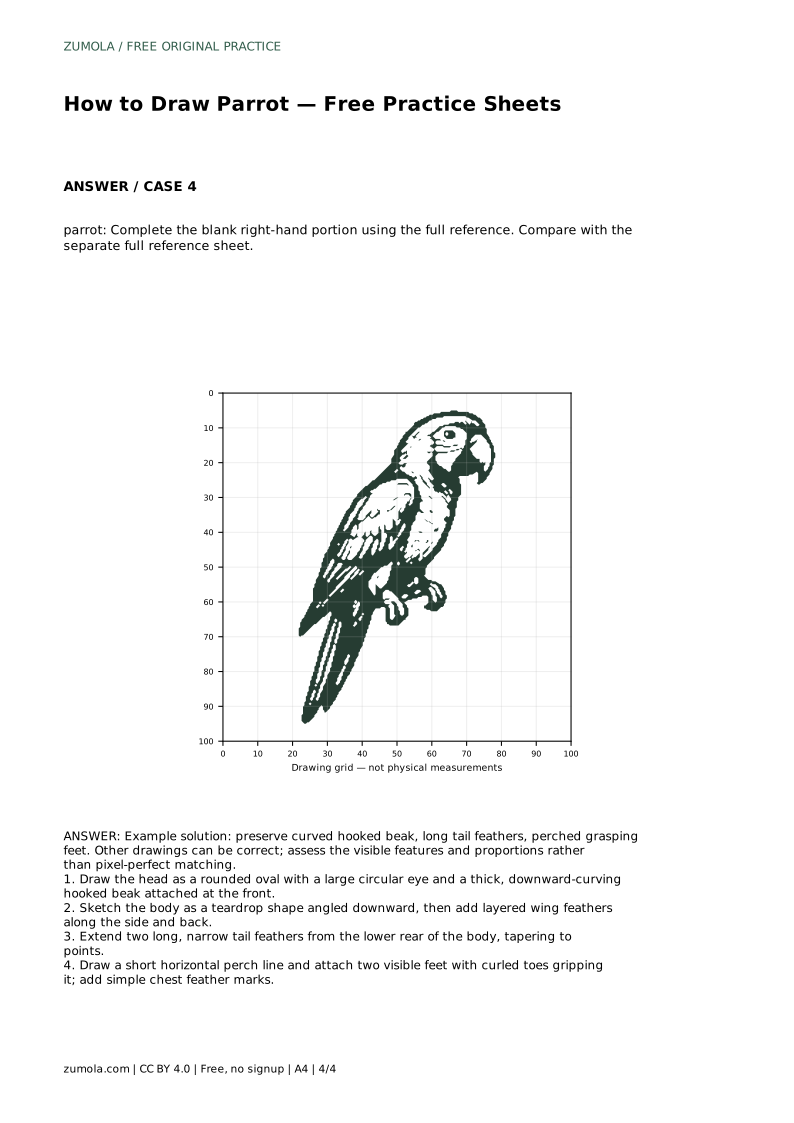
The sheets offer different kinds of support. One asks you to trace the reference outline, then practise the contour independently. Another asks you to copy the reference onto a blank grid using matching grid intersections. A third uses a bounding frame and center guide to place the silhouette before adding details. A fourth gives you the left portion and asks you to complete the blank right-hand portion from the full reference.
After each attempt, compare your drawing with the separate full reference sheet. Check the curved hooked beak, the long tail feathers and the perched grasping feet. These features matter more than matching every line exactly.
Look at your drawing as a whole. The beak should curve downward, the tail should extend well past the body, and the feet should visibly grip the perch. If any of these is unclear, redraw that part rather than adding more detail elsewhere.
Remember that art has multiple valid outcomes. A drawing with slightly different proportions can still be correct if the identifying features are present and readable.
parrot: Trace the reference outline, then practise the contour independently. Compare with the separate full reference sheet.
Example solution: preserve curved hooked beak, long tail feathers, perched grasping feet. Other drawings can be correct; assess the visible features and proportions rather than pixel-perfect matching. Draw the head as a rounded oval with a large circular eye and a thick, downward-curving hooked beak attached at the front. Sketch the body as a teardrop shape angled downward, then add layered wing feathers along the side and back. Extend two long, narrow tail feathers from the lower rear of the body, tapering to points. Draw a short horizontal perch line and attach two visible feet with curled toes gripping it; add simple chest feather marks.
No. Other drawings can be correct. Assess the visible features and proportions rather than pixel-perfect matching.
Check the curved hooked beak, the long tail feathers and the perched grasping feet.
Head and beak, then body, wing feathers, tail feathers, perch and feet, then chest feather marks.
All drawing practice · Free coordinate paper
Original resources · CC BY 4.0 · Free for personal and classroom use with attribution.