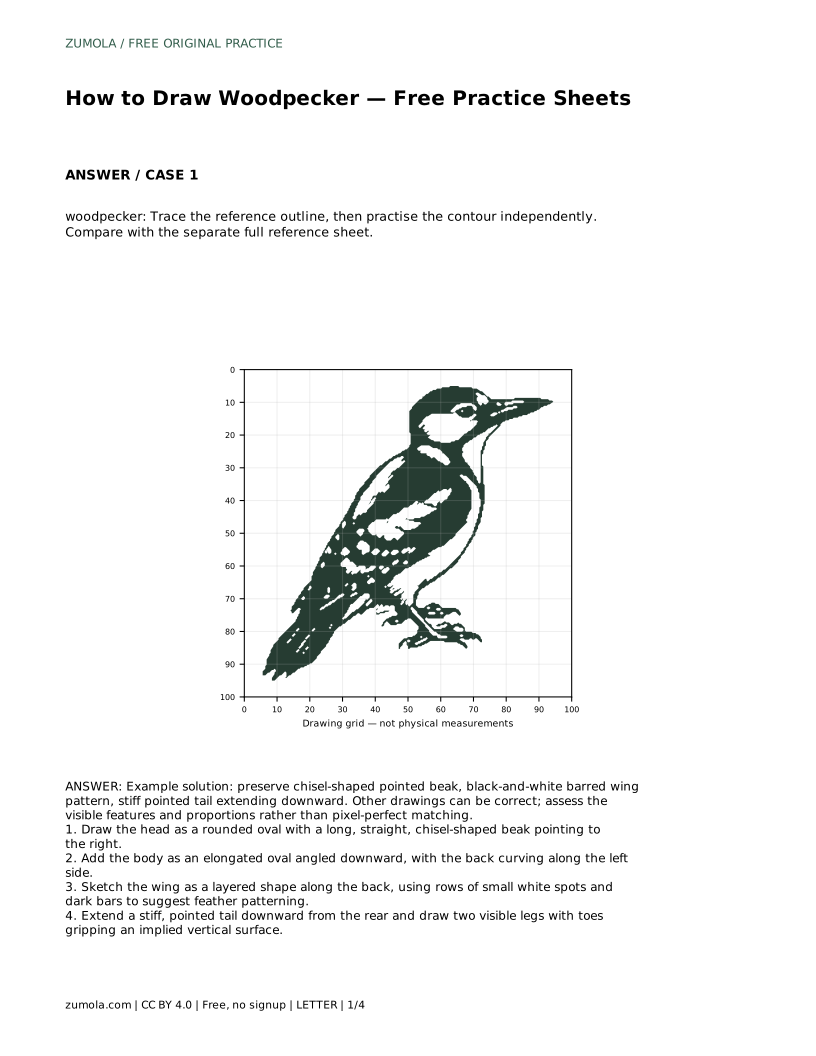
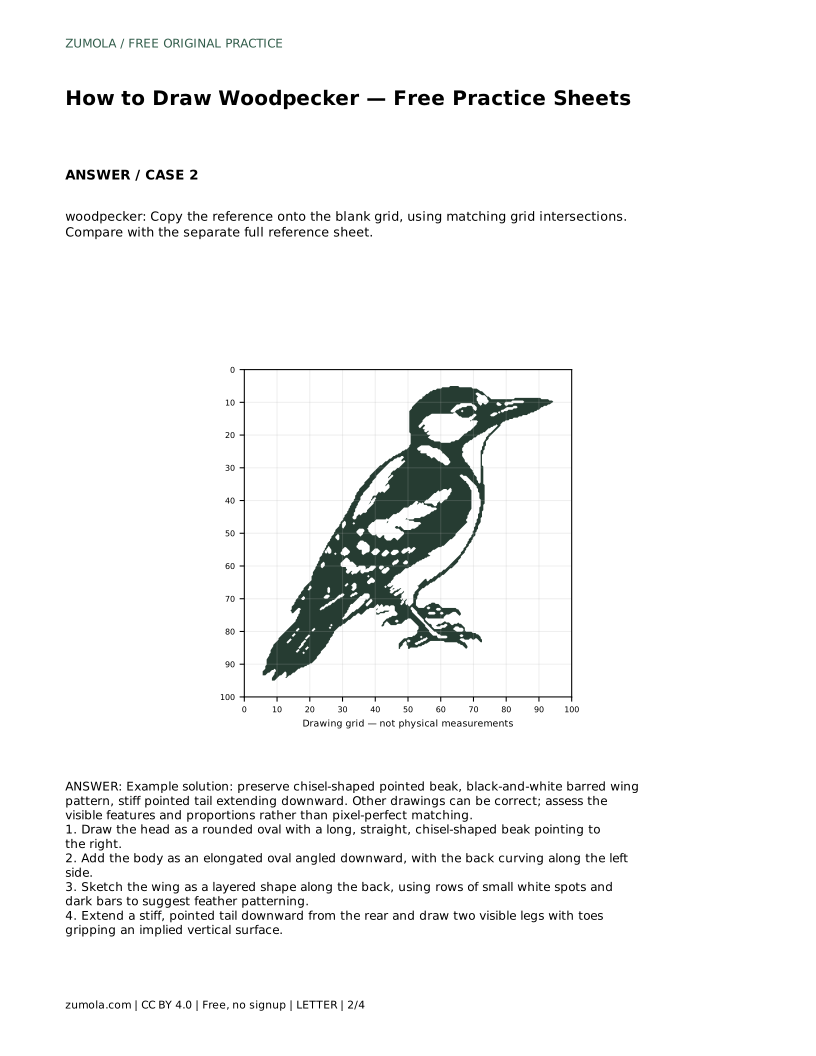
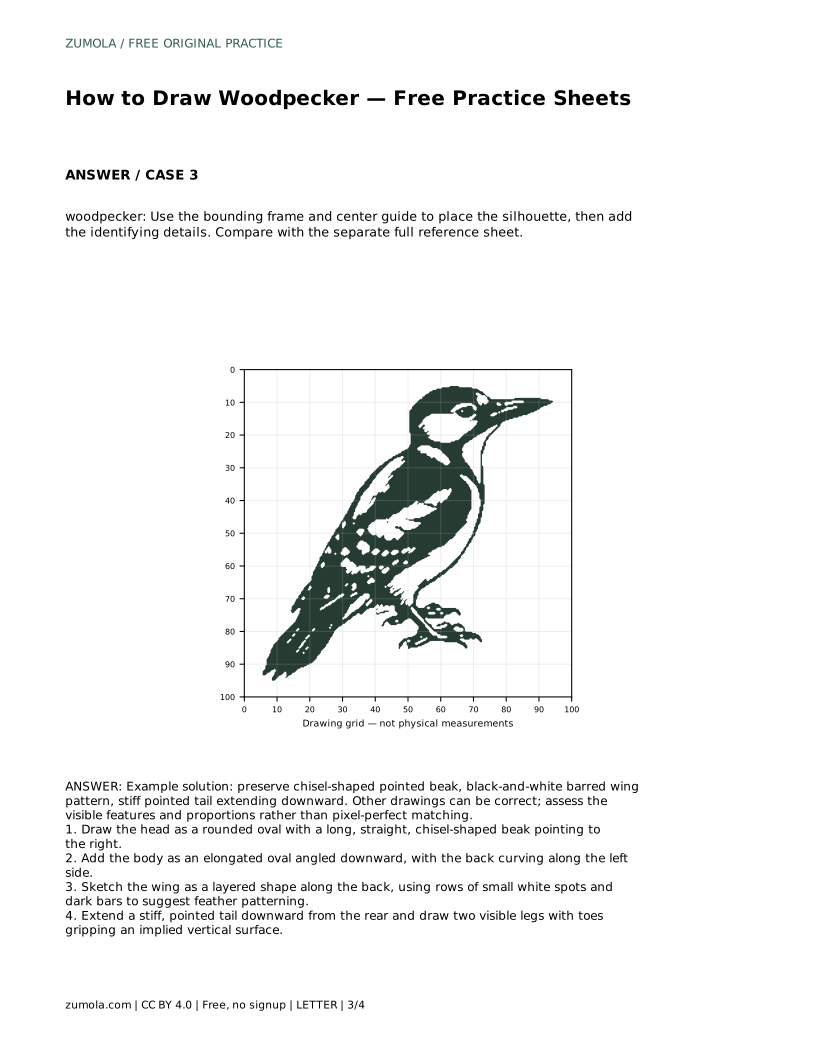
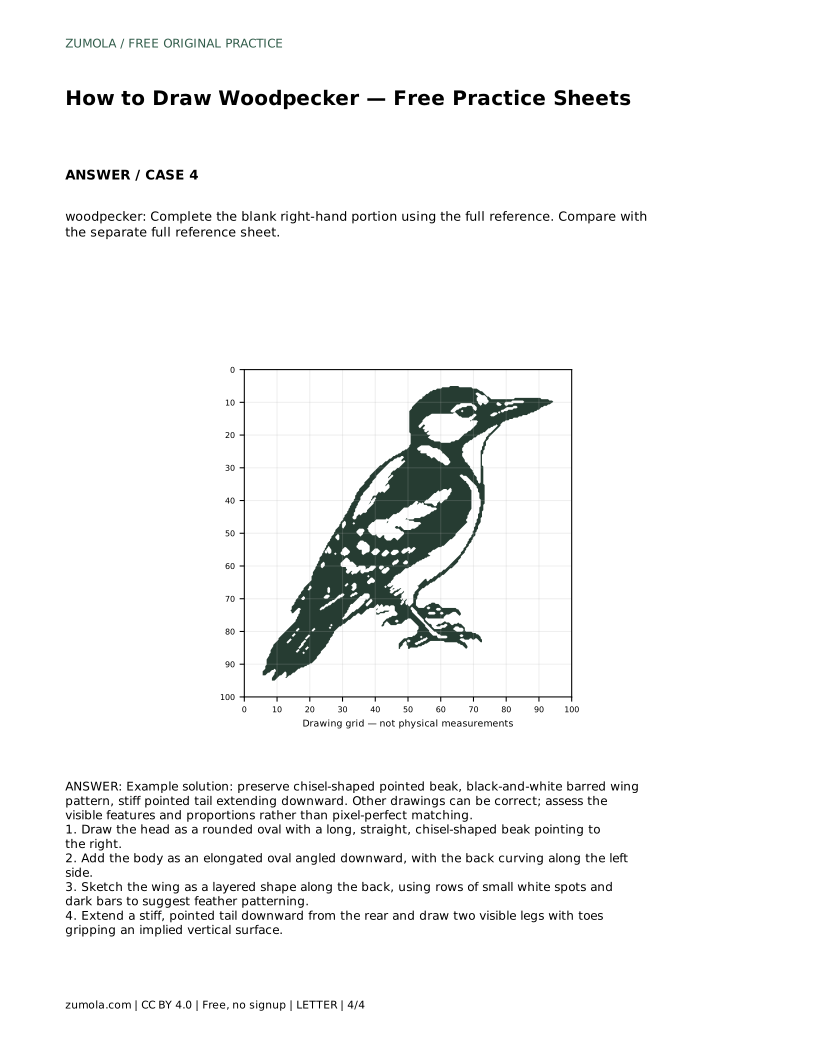
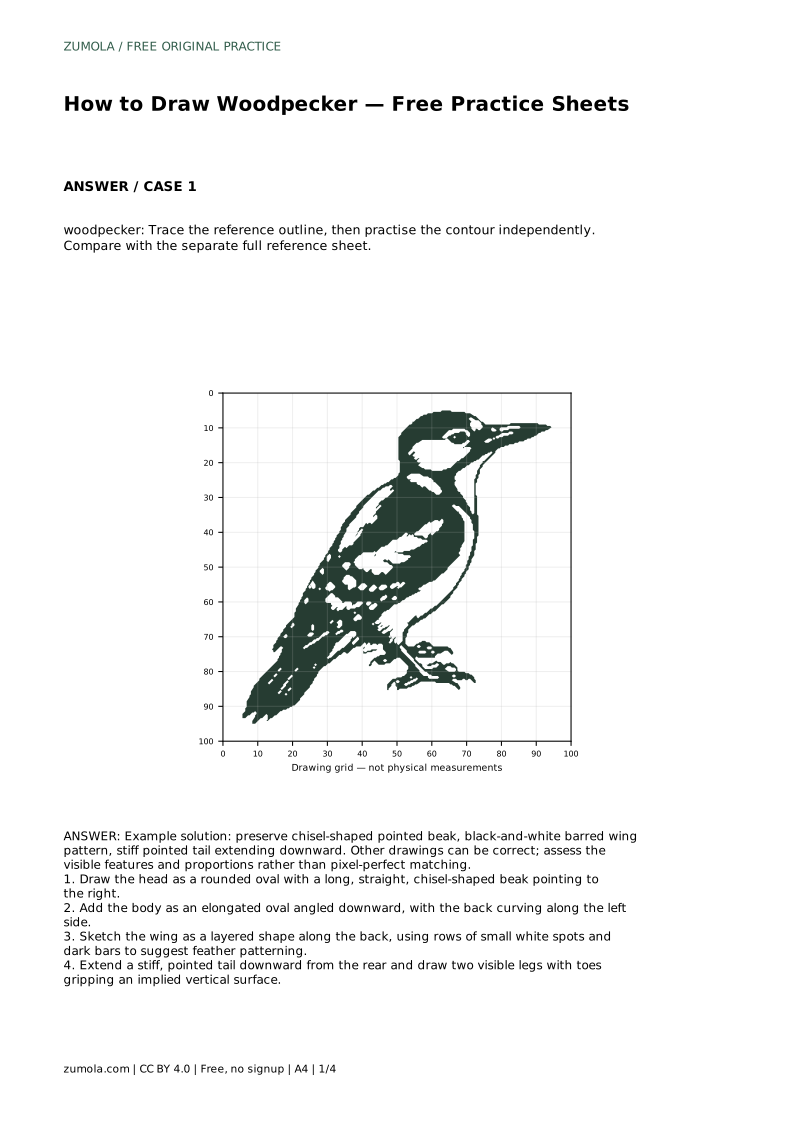
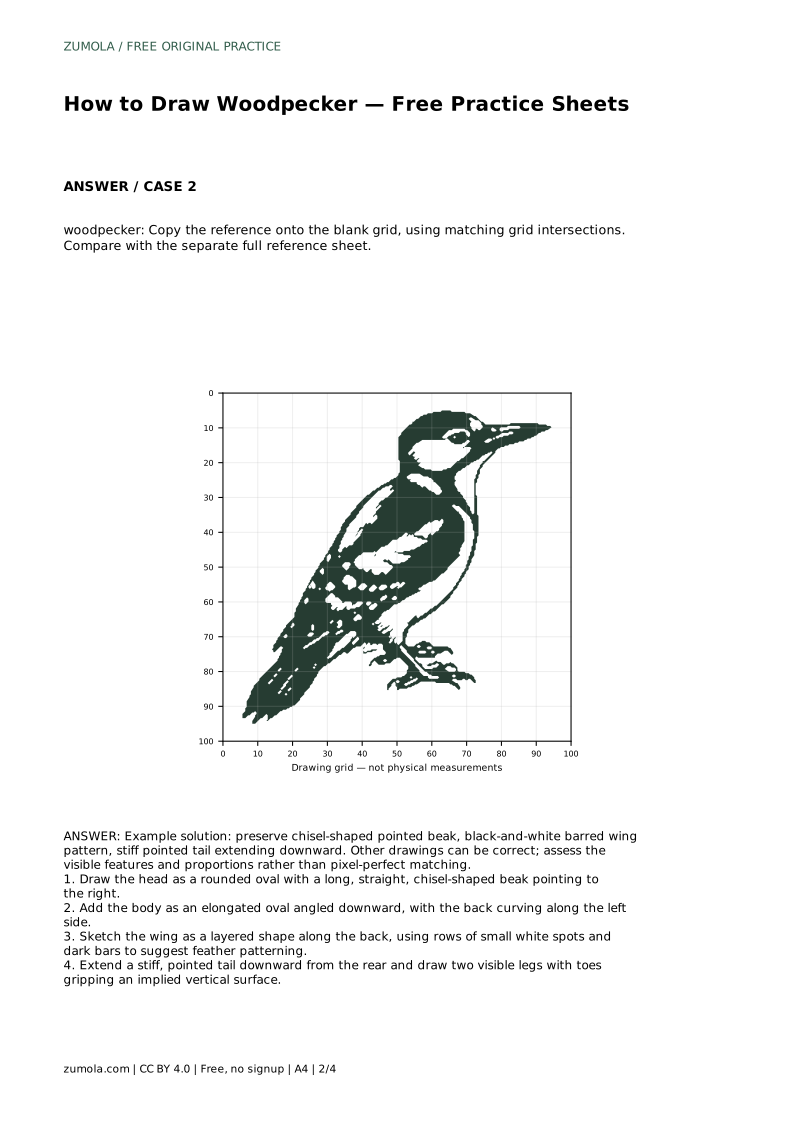
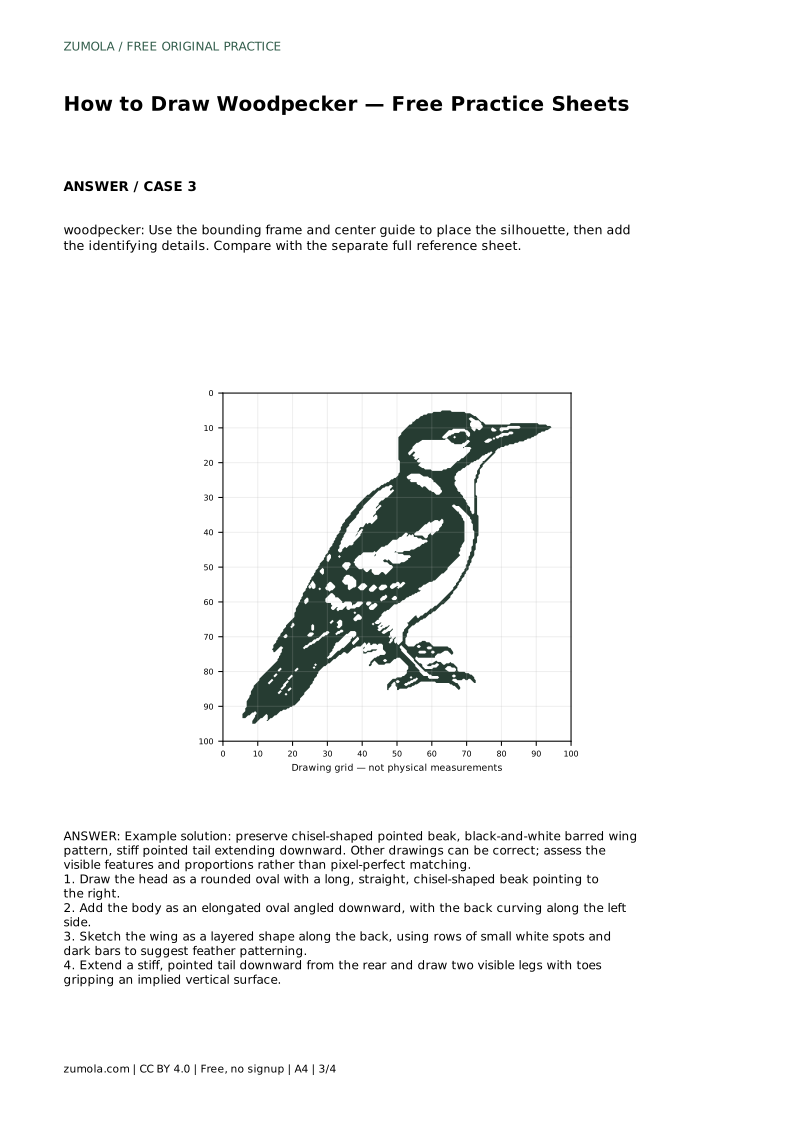
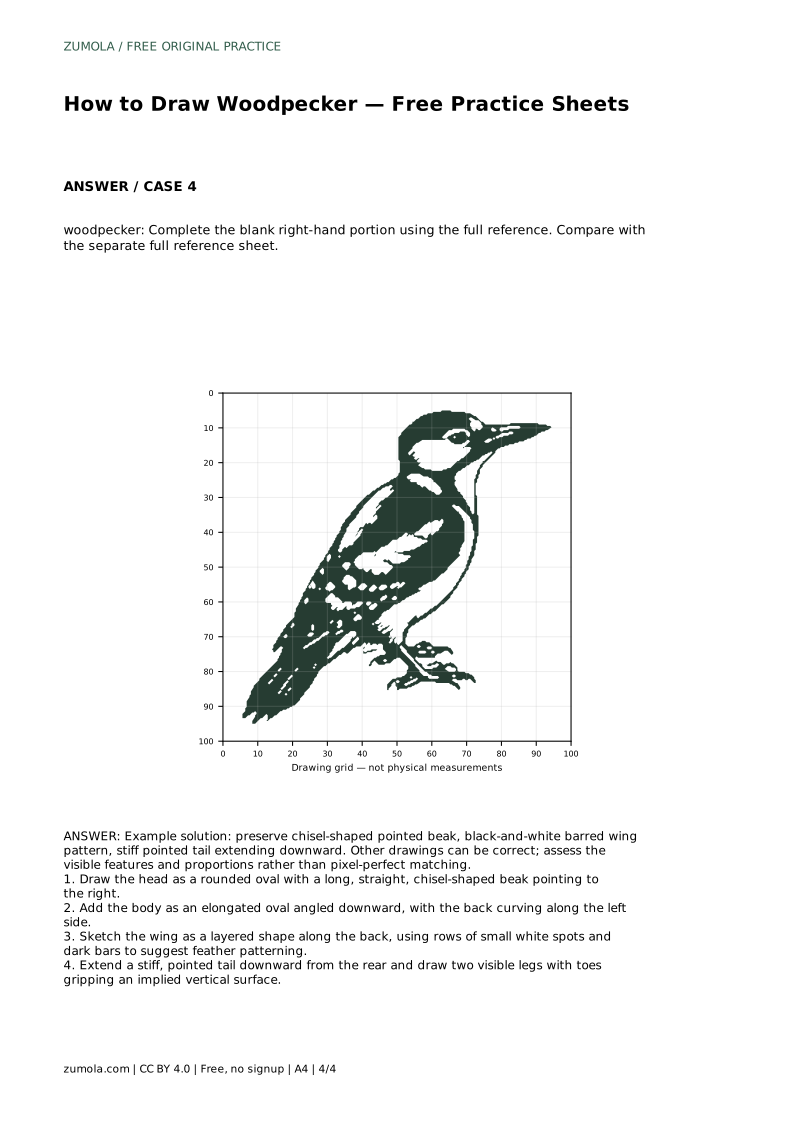
Reference diagrams
LETTER · Download PDF
A4 · Download PDF
Free original resources
Learn to draw a woodpecker by building its chisel beak, barred wing, and stiff tail. Use tracing, grid, frame, and partial-reference practice sheets.
Four original cases, with reference diagrams, practice sheets and worked answers. Everything is free; no signup required.
LETTER · Download PDF
A4 · Download PDF
LETTER · Download PDF
A4 · Download PDF
LETTER · Download PDF
A4 · Download PDF
Use A4 or US Letter to match your printer. Use the stated values and conditions to solve each exercise; diagrams are not physical measuring rulers.
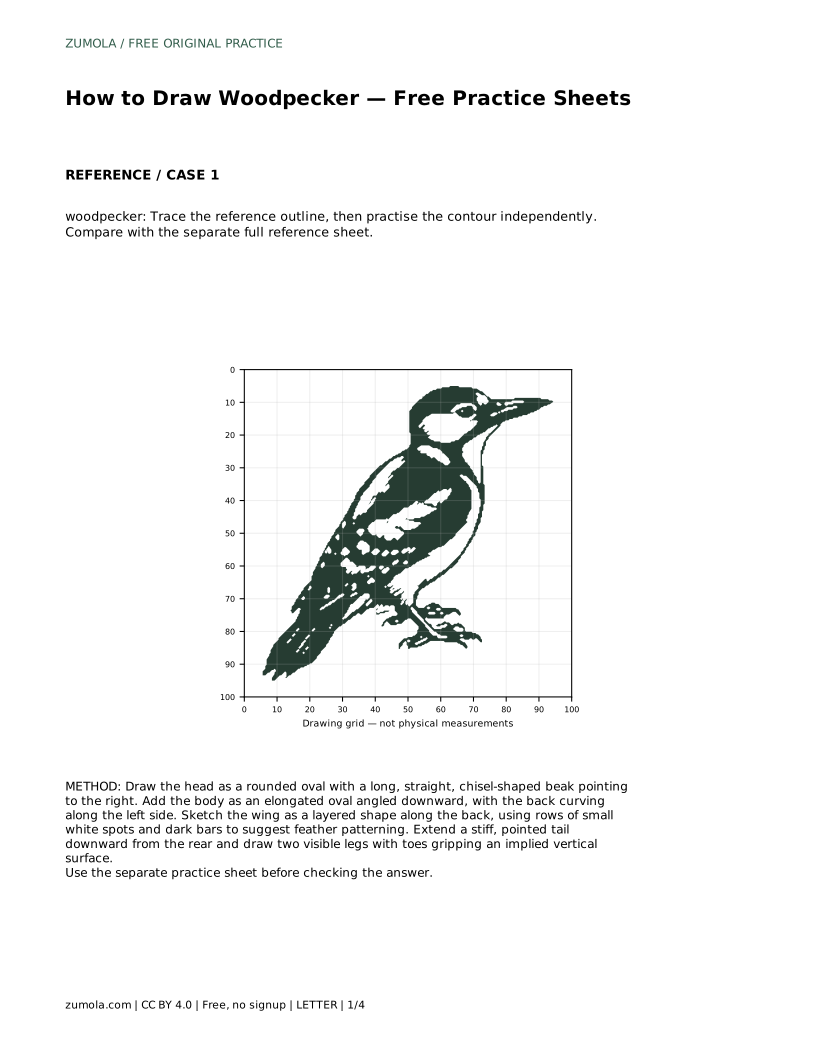
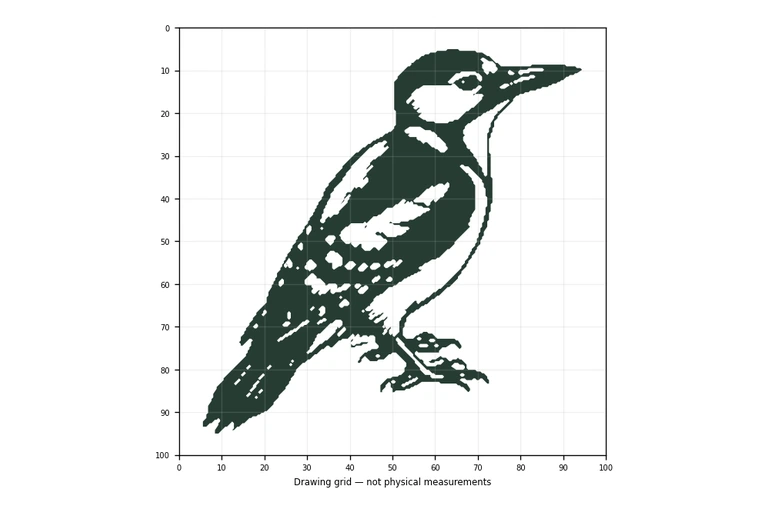
A woodpecker drawing depends on a few clear features: a rounded head, a long chisel-shaped beak, a body angled against a vertical surface, a patterned wing, and a stiff pointed tail. This page explains how to build those features in order, then how to practise them with tracing, grid, bounding-frame, and partial-reference sheets. The goal is not a pixel-perfect copy. Different drawings can be correct when the visible features and proportions hold together.
Start with the posture rather than the feather pattern. A woodpecker clings to a vertical surface, so the body sits close to an implied trunk and angles downward. Draw the head as a rounded oval, then attach a long, straight, chisel-shaped beak pointing to the right. Keep the beak narrow at the base and slightly pointed at the tip; a short cone reads as a different kind of bird.
Add the body as an elongated oval angled downward, with the back curving along the left side. The head should feel connected to the body by a short neck, not balanced on top of it. Leave space below the body for the tail, because the tail is part of the bird's support system and should extend downward rather than curl outward.
The wing sits along the back as a layered shape. Build it in two or three overlapping sections rather than one flat patch. Use rows of small white spots and dark bars to suggest feather patterning; the bars should follow the wing's direction, not run randomly across it. Spacing the marks evenly helps the pattern read at a distance.
Finish with the tail and feet. The tail is stiff and pointed, extending downward from the rear. Draw two visible legs with toes that curve as if gripping an implied vertical surface. You do not need to draw the trunk, but the toes and tail should behave as though one is there. Keep the feet small relative to the body.
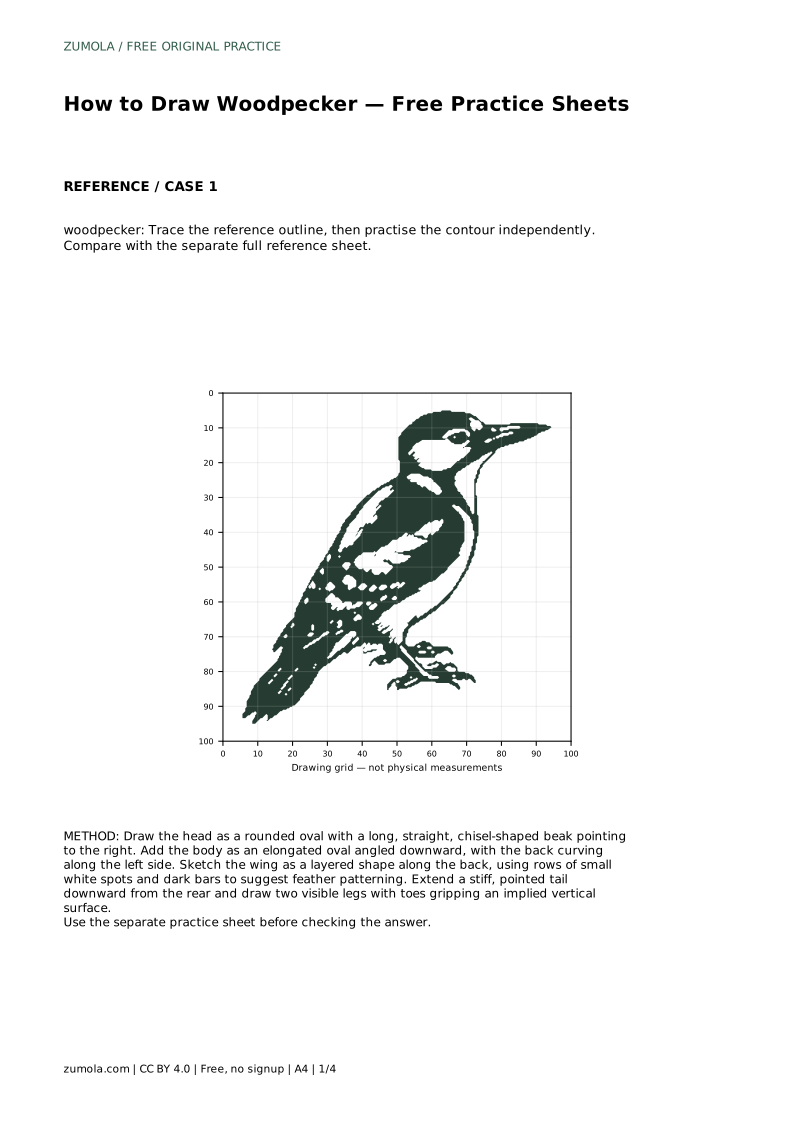
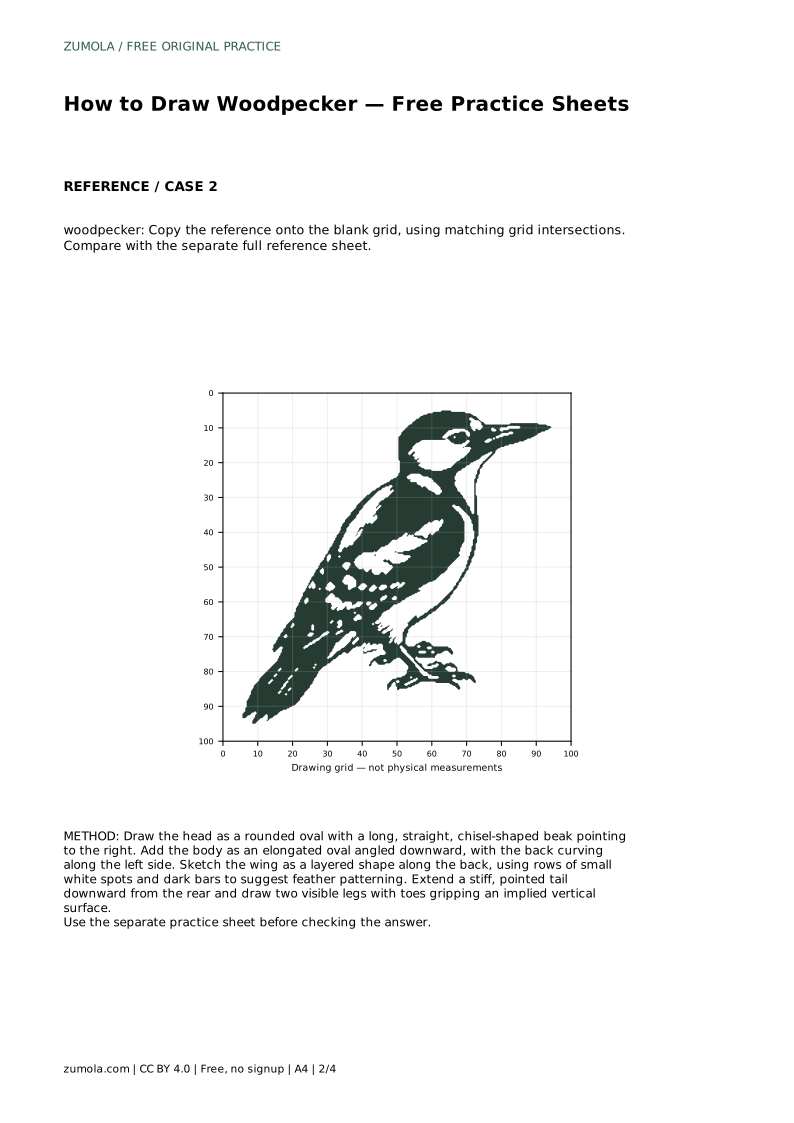
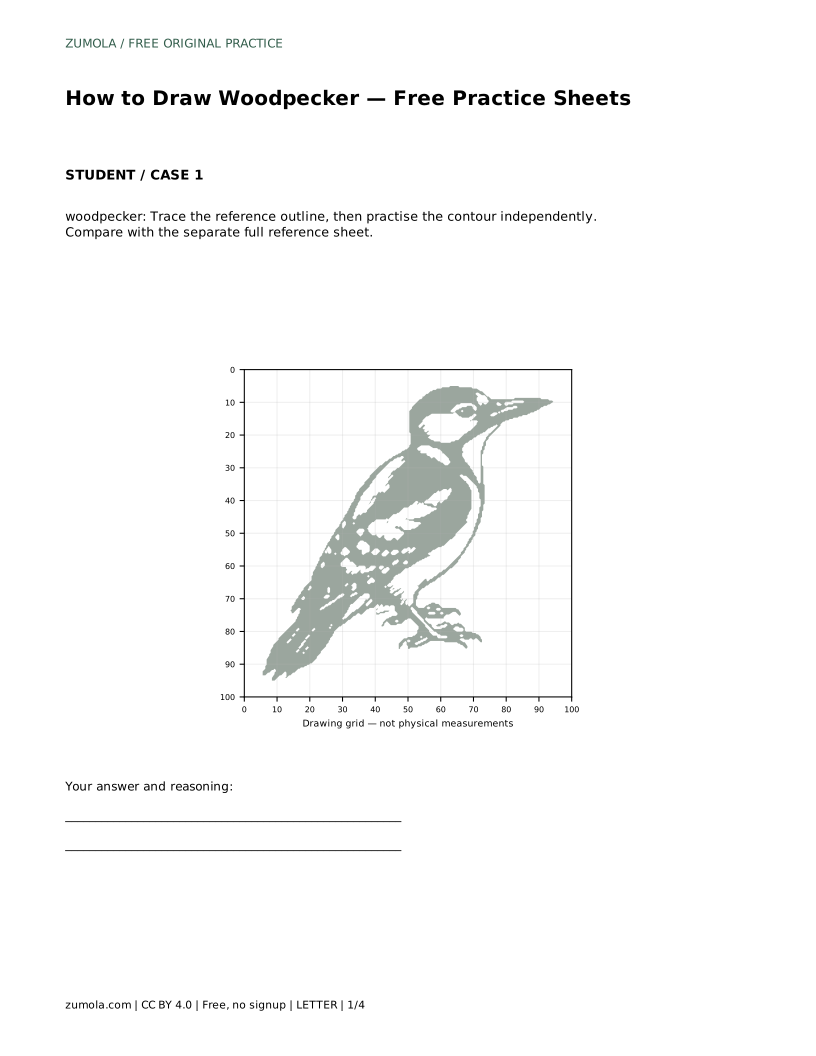
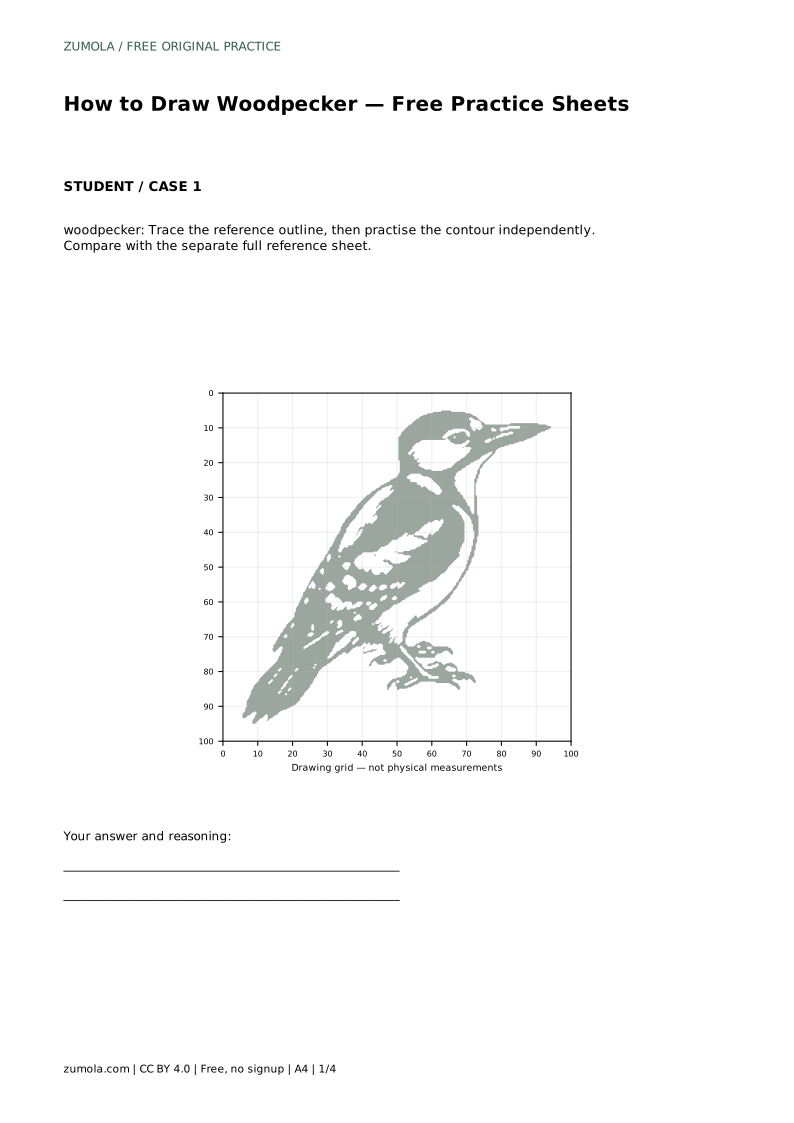
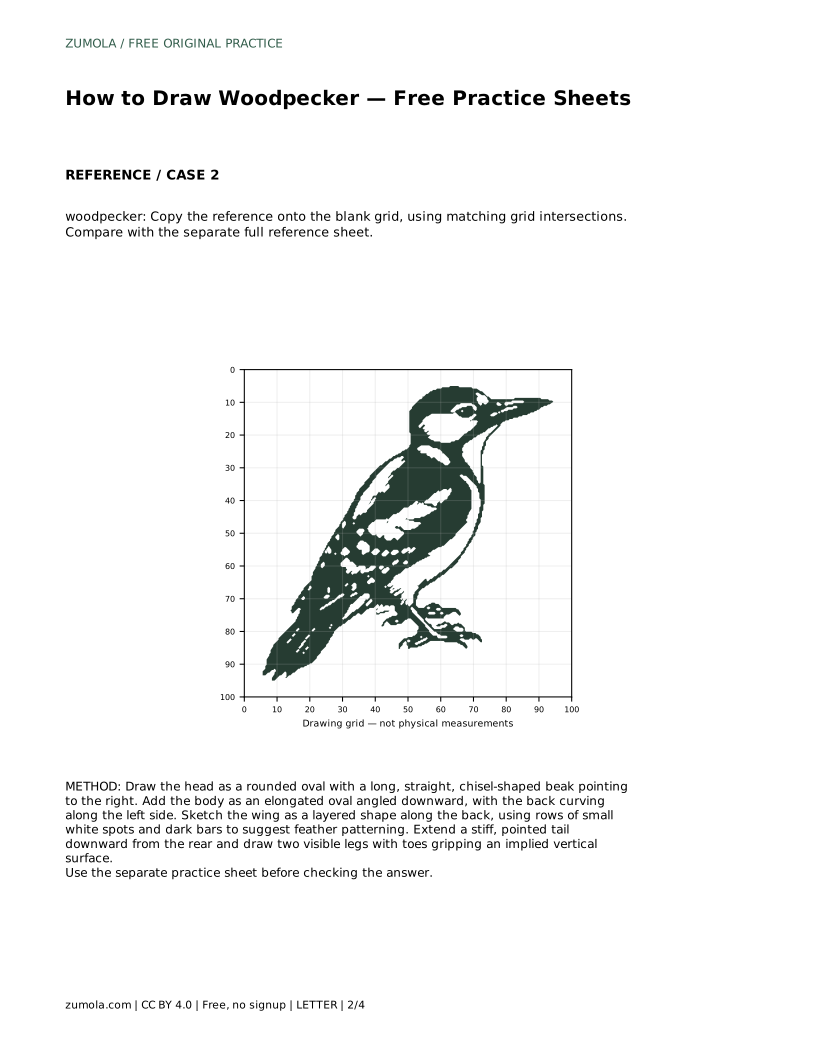
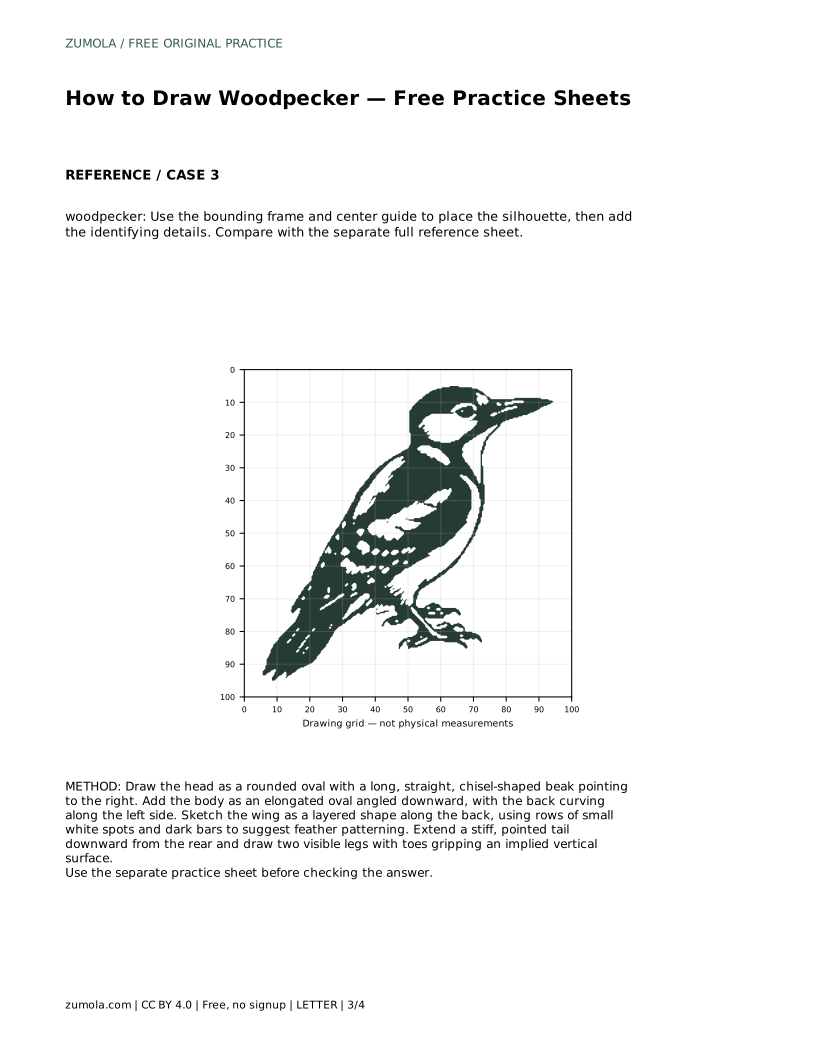
Tracing helps you feel the contour before drawing it freehand. Trace the reference outline once, then practise the contour independently and compare with the separate full reference sheet. The grid sheet asks you to copy the reference onto the blank grid using matching grid intersections; this trains placement and proportion rather than speed.
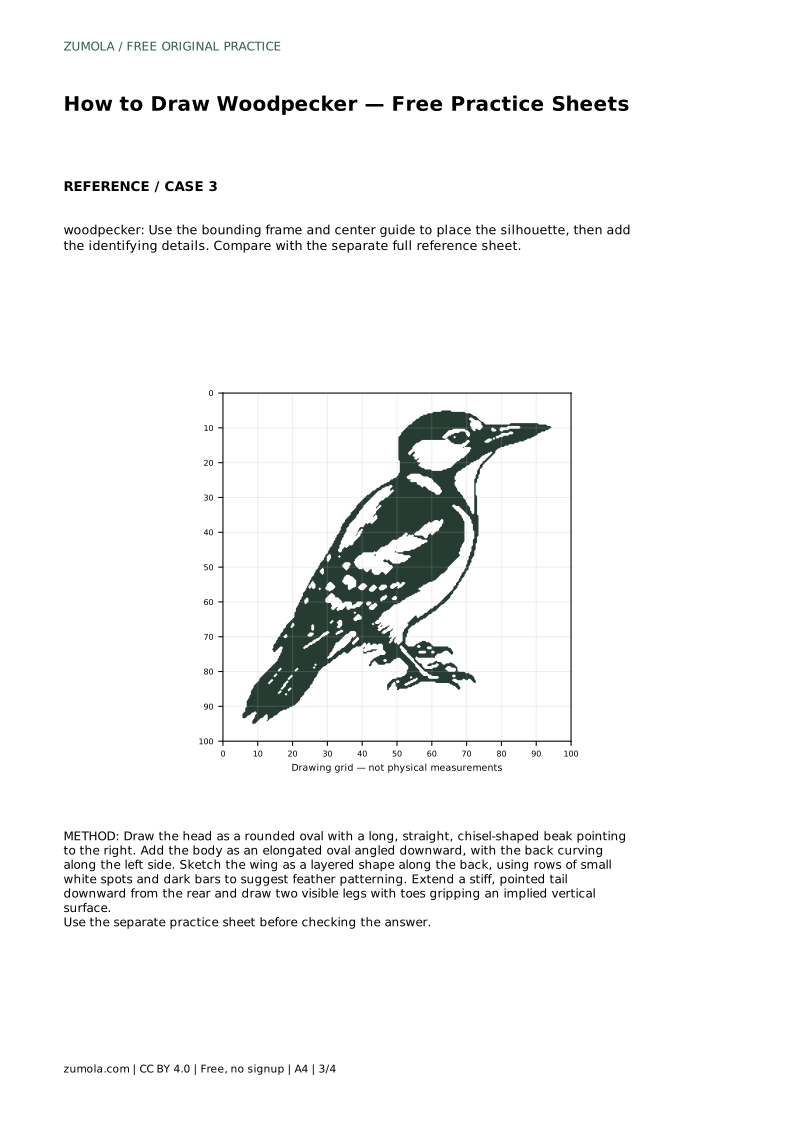
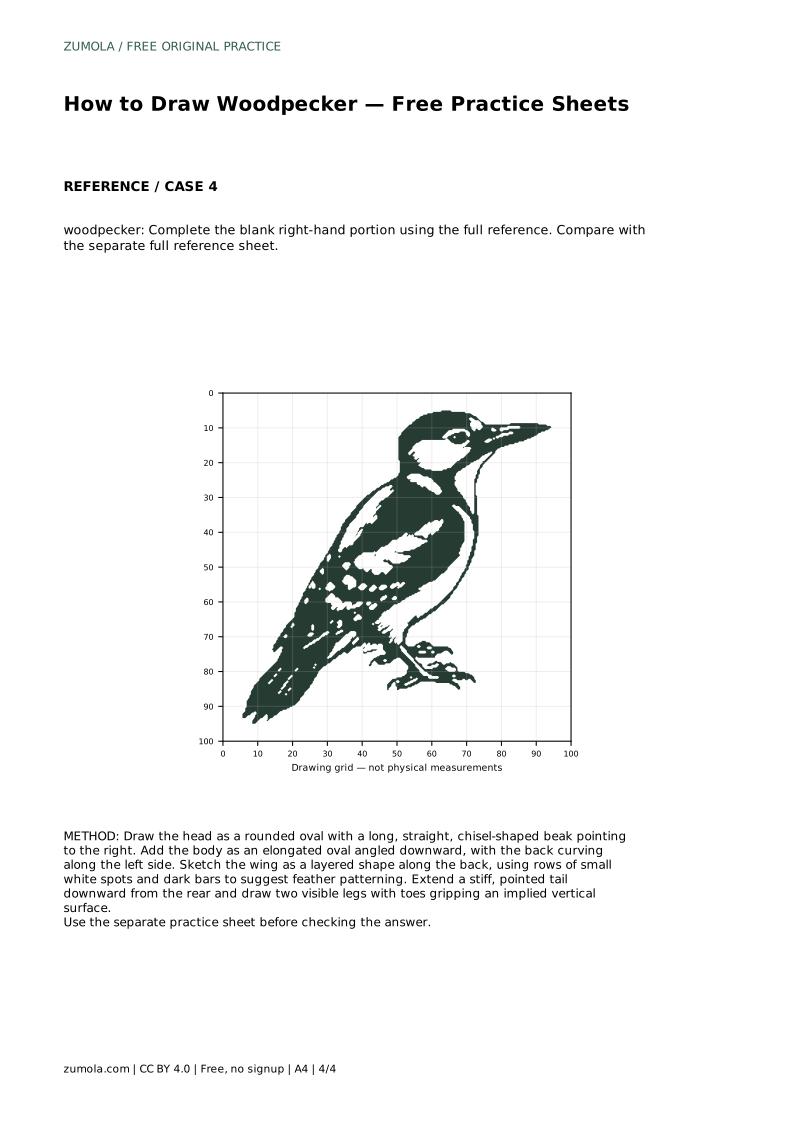
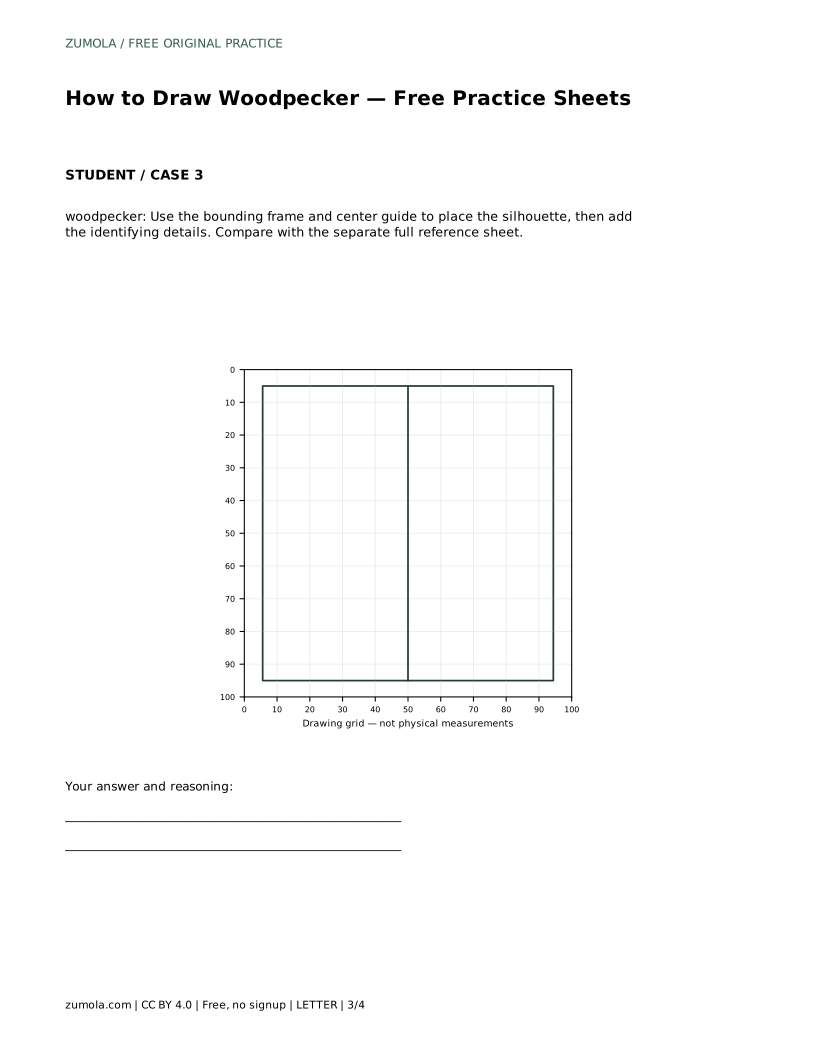
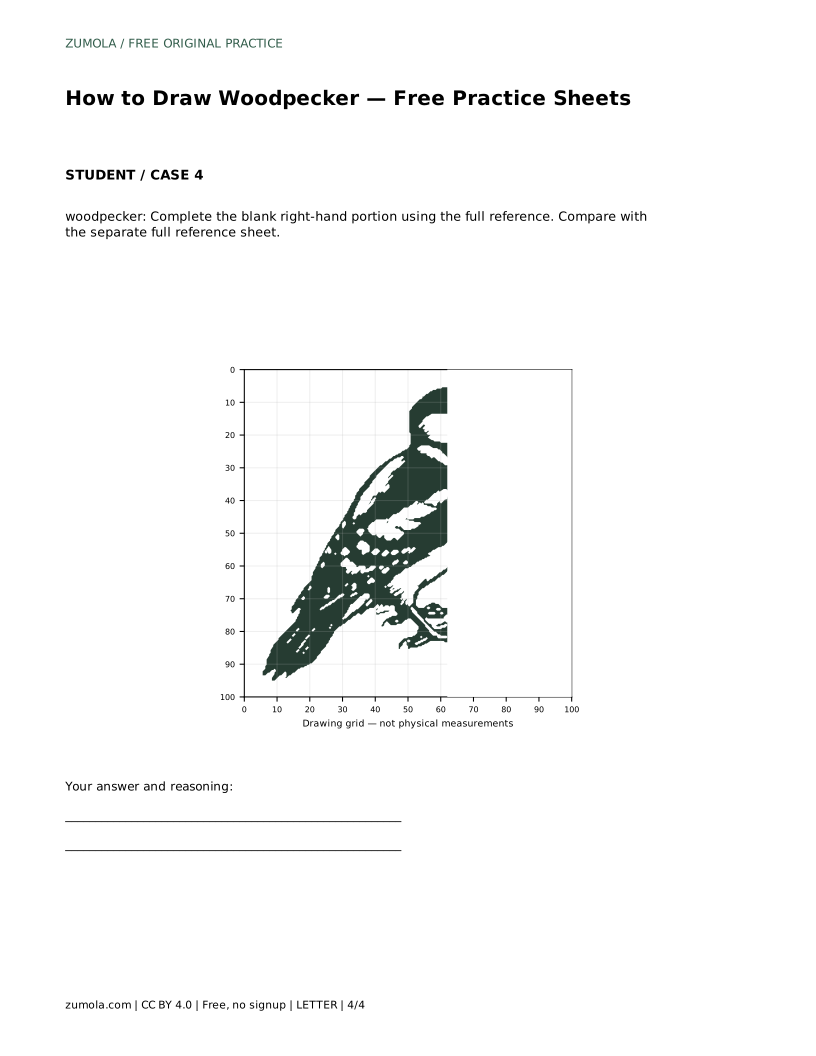
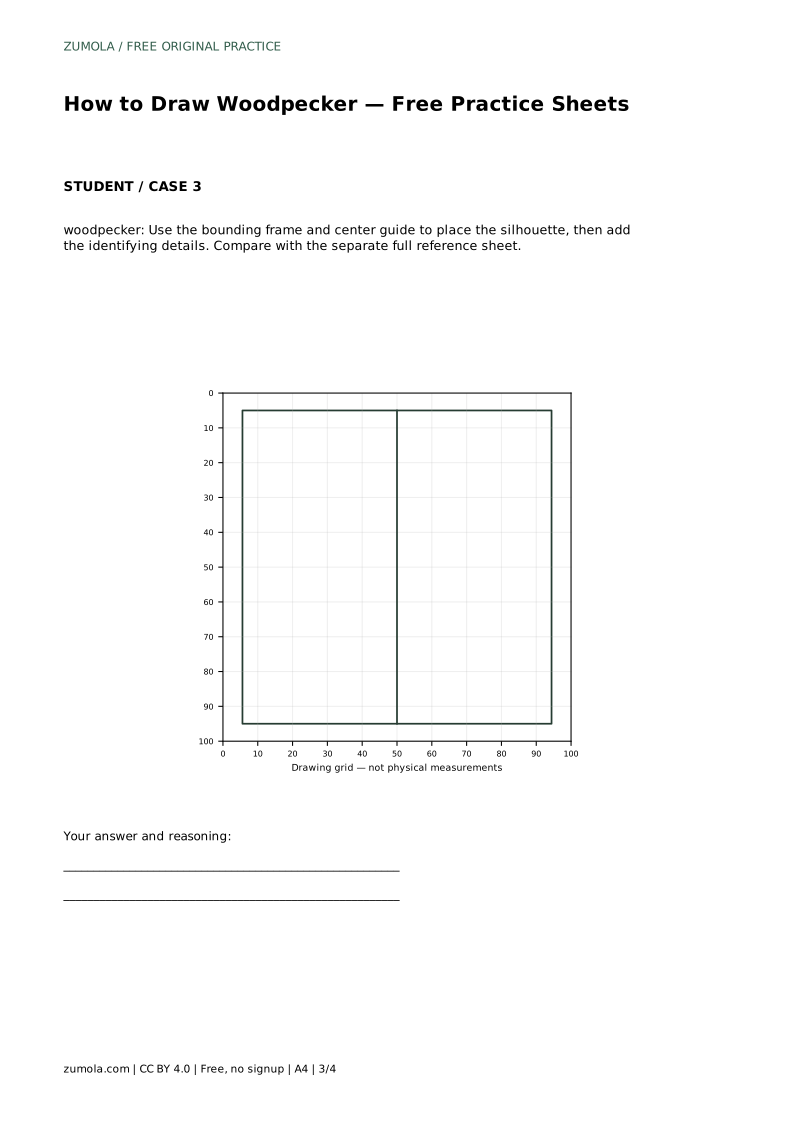
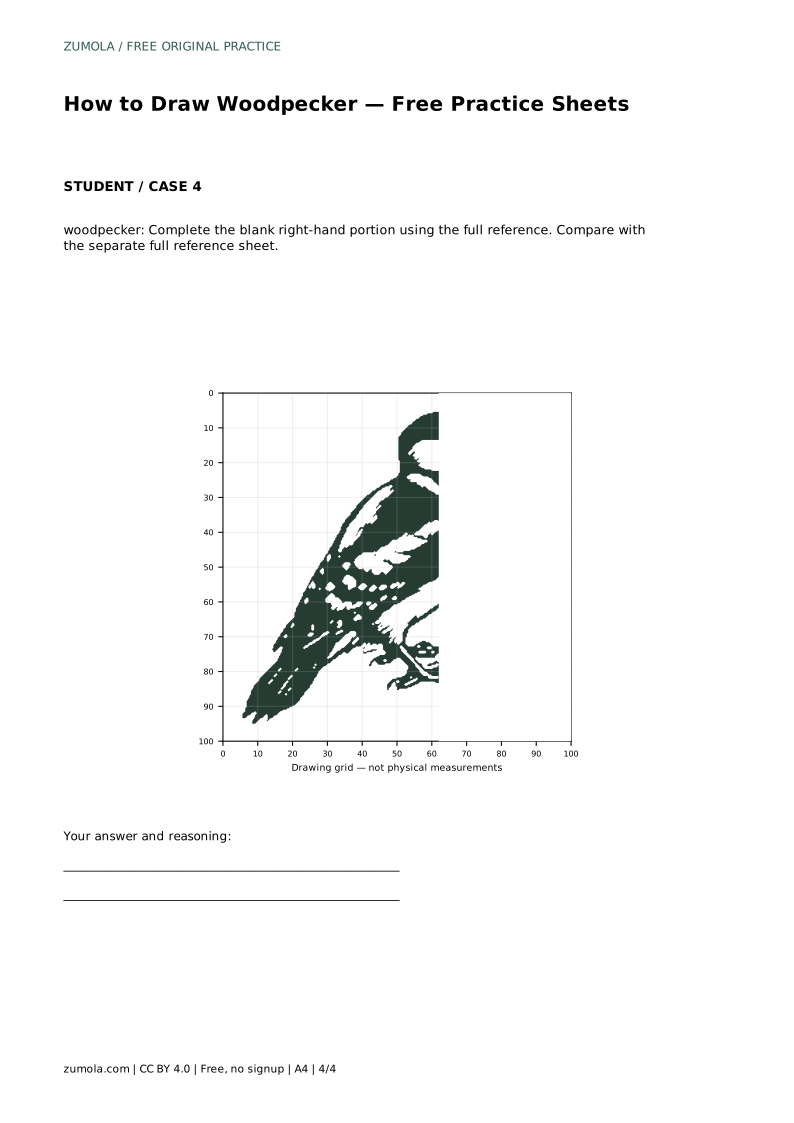
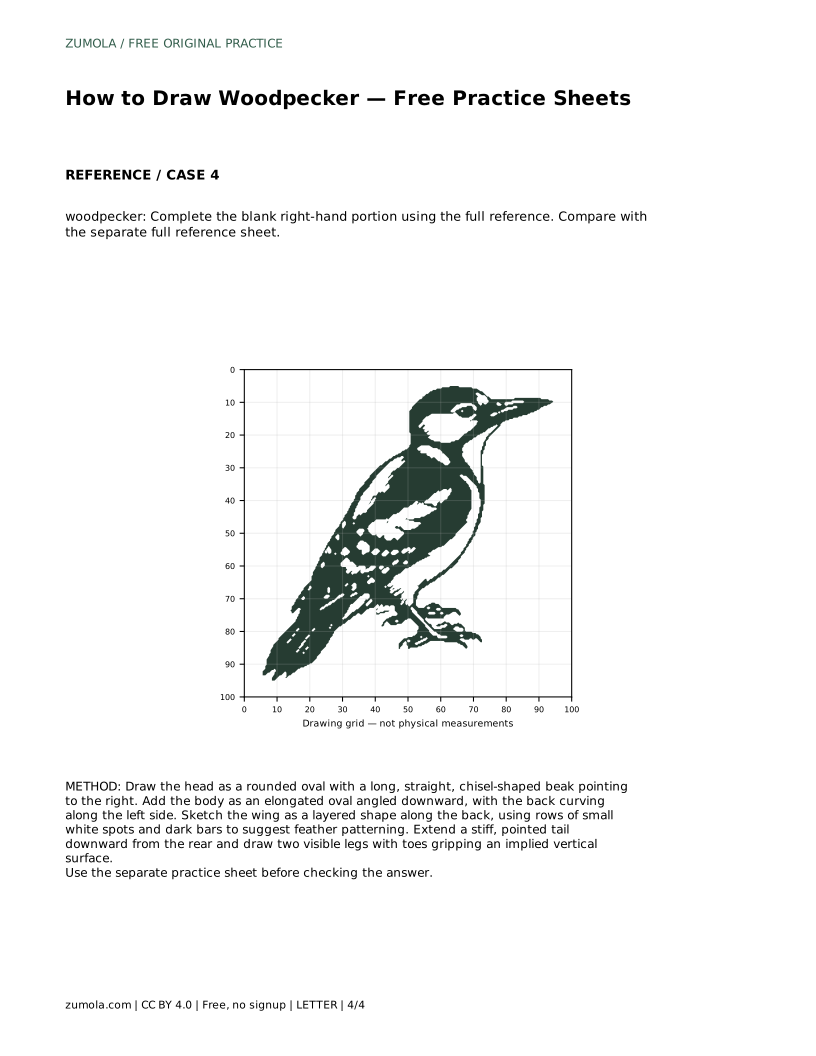
The bounding-frame sheet gives you a frame and center guide for placing the silhouette before adding identifying details. The partial-reference sheet leaves the right-hand portion blank, so you complete it from the full reference. In every case, compare your drawing with the separate full reference sheet and check the beak shape, wing pattern, and tail direction first.
A common problem is a beak that is too short or too wide, which changes the bird's identity. Another is a tail that curves or lifts instead of extending stiffly downward. Check these two features before you invest time in feather marks. If the head looks too large, compare the head oval to the body oval; the body should be noticeably longer.
Pattern errors are easier to fix early. If the bars cross the wing in conflicting directions, redraw the wing sections first, then reapply the marks. Keep the white spots small and consistent. When comparing with the reference, judge the visible features and proportions rather than pixel-perfect matching.
woodpecker: Trace the reference outline, then practise the contour independently. Compare with the separate full reference sheet.
Example solution: preserve chisel-shaped pointed beak, black-and-white barred wing pattern, stiff pointed tail extending downward. Other drawings can be correct; assess the visible features and proportions rather than pixel-perfect matching. Draw the head as a rounded oval with a long, straight, chisel-shaped beak pointing to the right. Add the body as an elongated oval angled downward, with the back curving along the left side. Sketch the wing as a layered shape along the back, using rows of small white spots and dark bars to suggest feather patterning. Extend a stiff, pointed tail downward from the rear and draw two visible legs with toes gripping an implied vertical surface.
No. Draw the toes and tail as if gripping an implied vertical surface; the trunk can stay unstated.
Yes. Other drawings can be correct; assess the visible features and proportions rather than pixel-perfect matching.
Start with tracing to learn the contour, then move to the grid or frame sheet for placement, and use the partial sheet to test independent completion.
All drawing practice · Free coordinate paper
Original resources · CC BY 4.0 · Free for personal and classroom use with attribution.