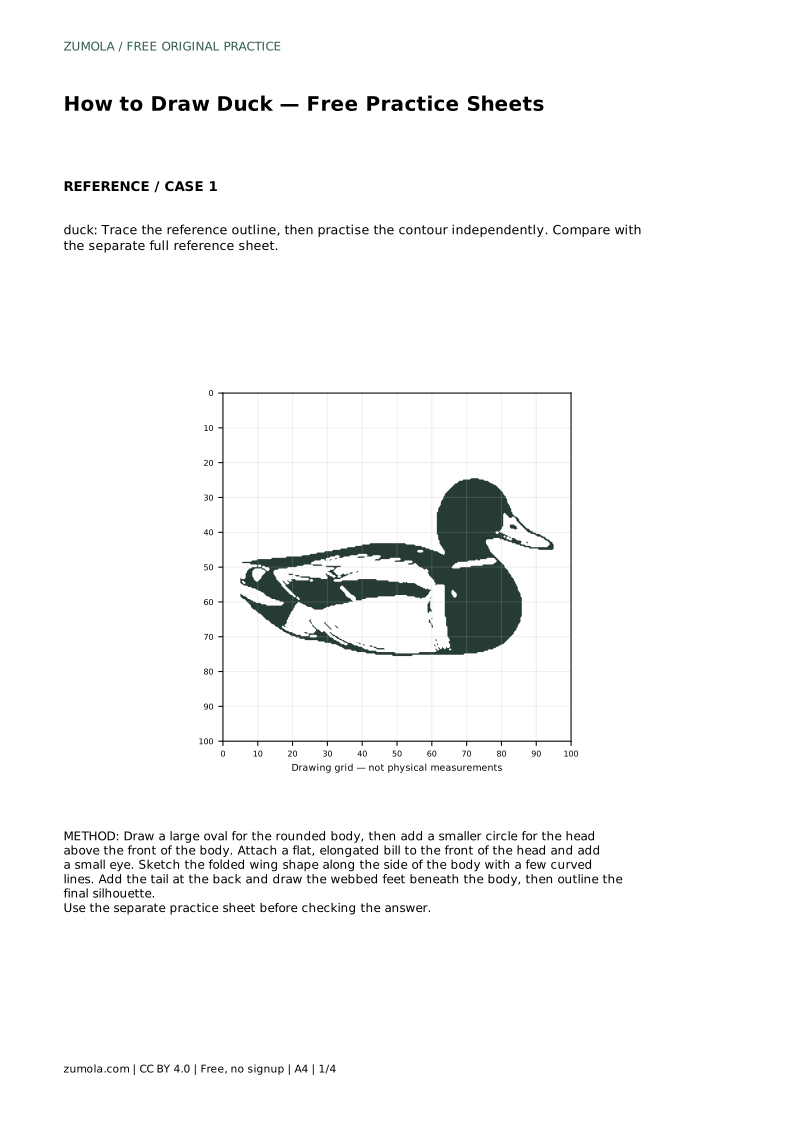
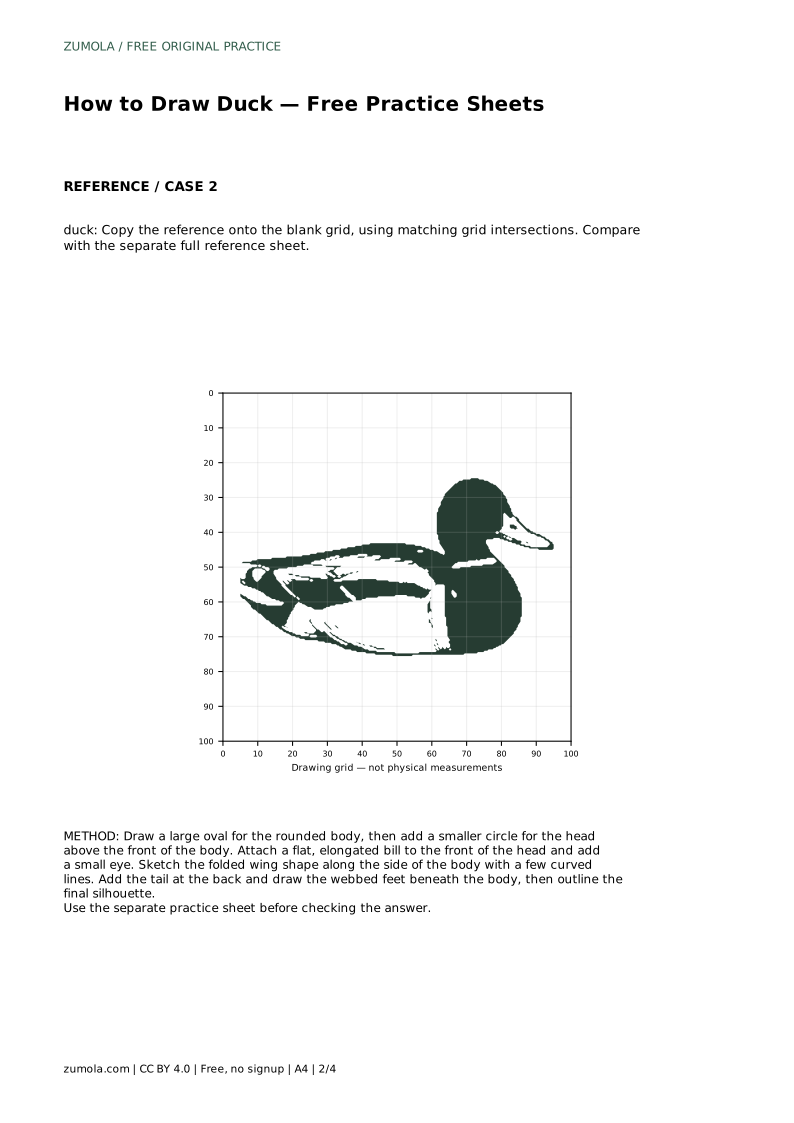
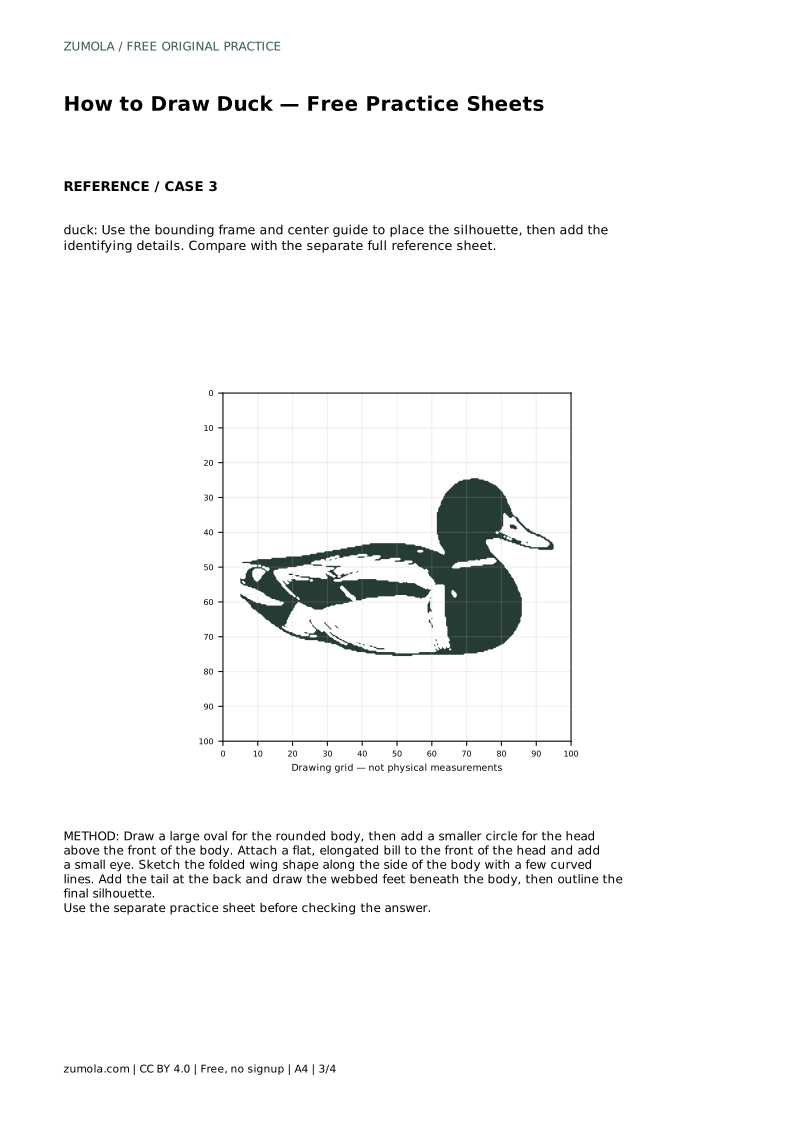
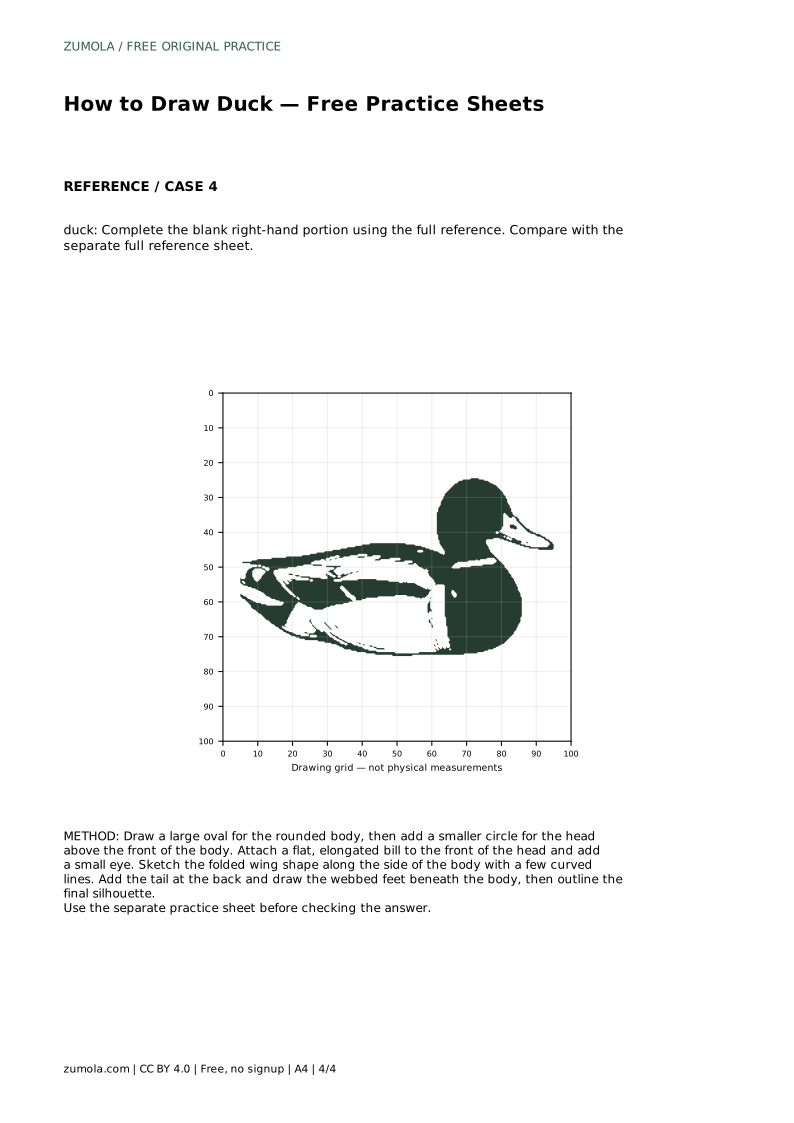
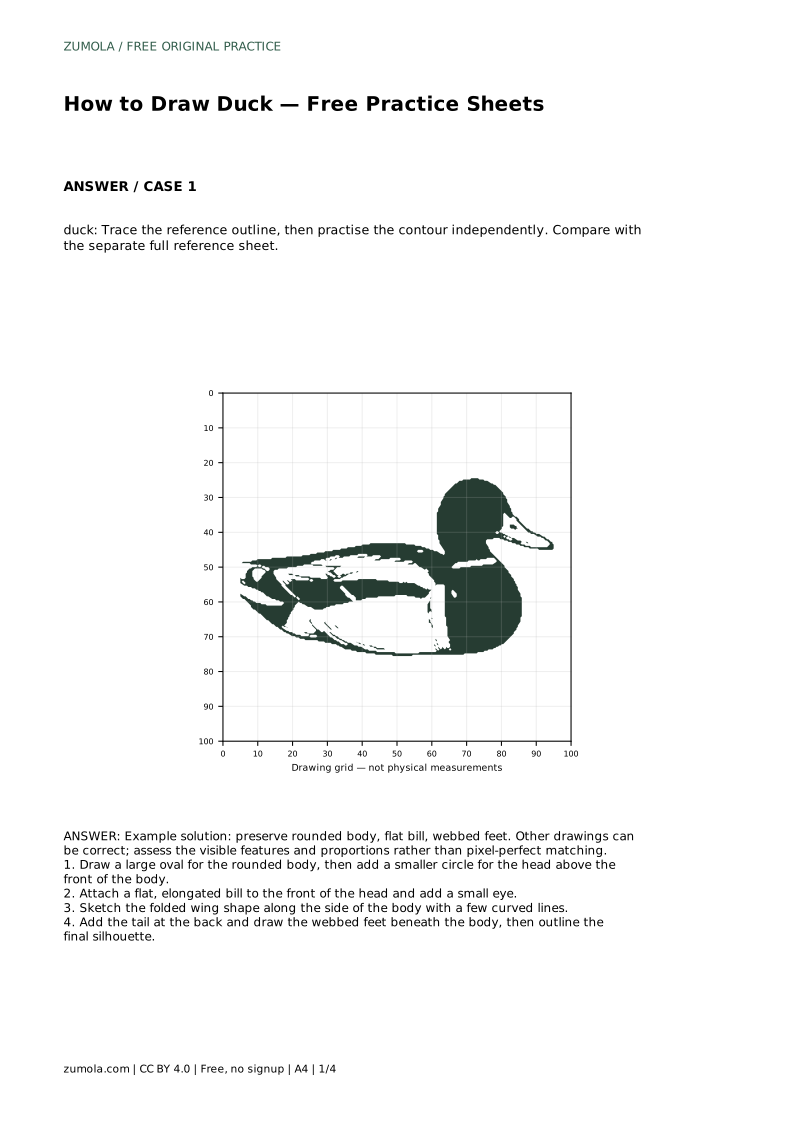
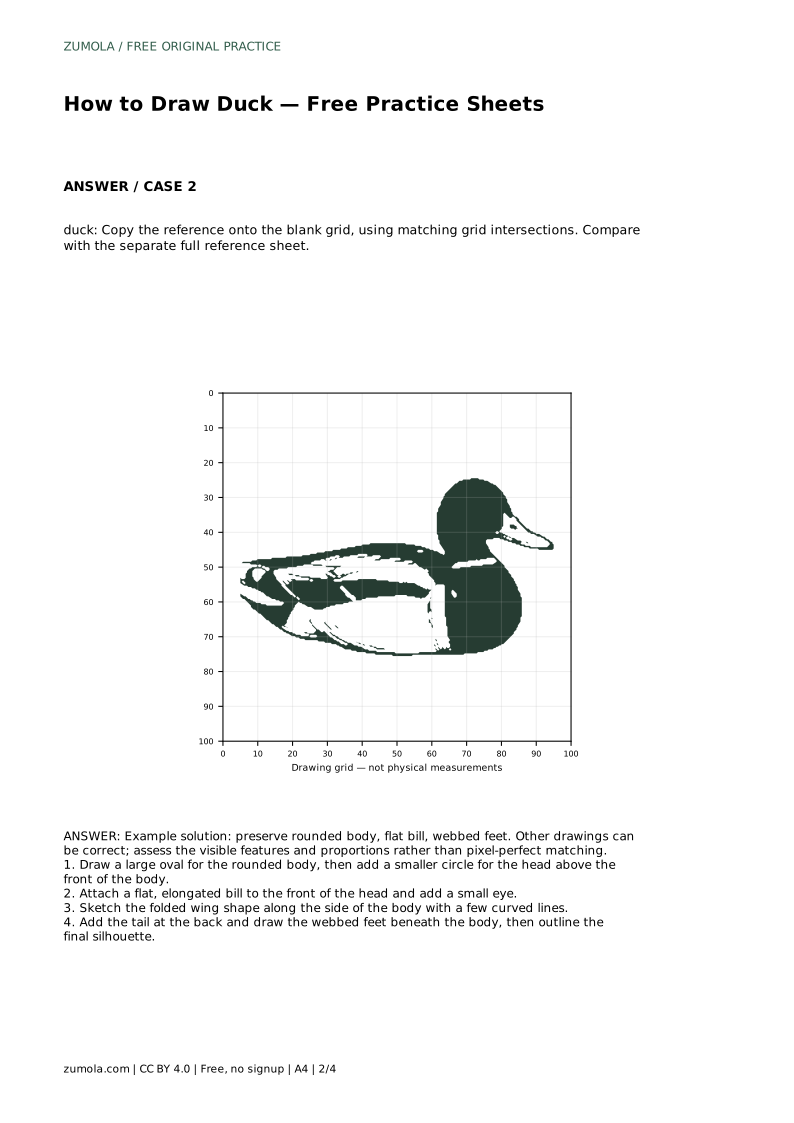
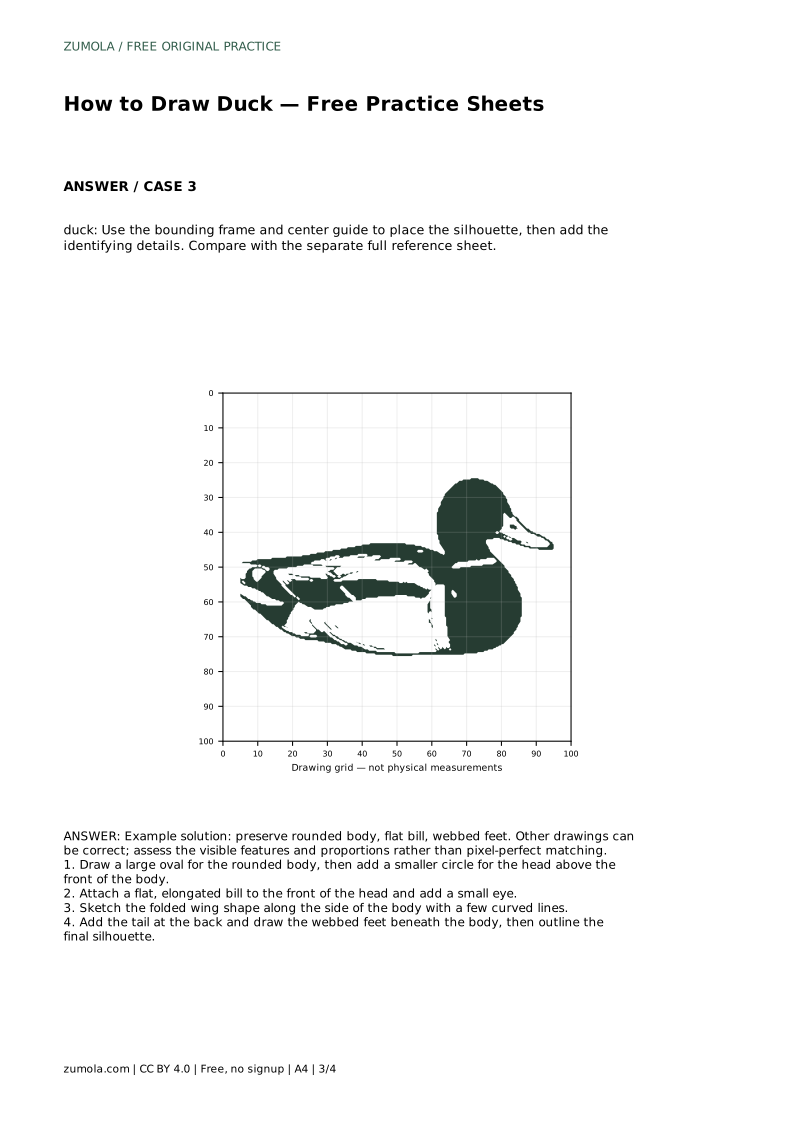
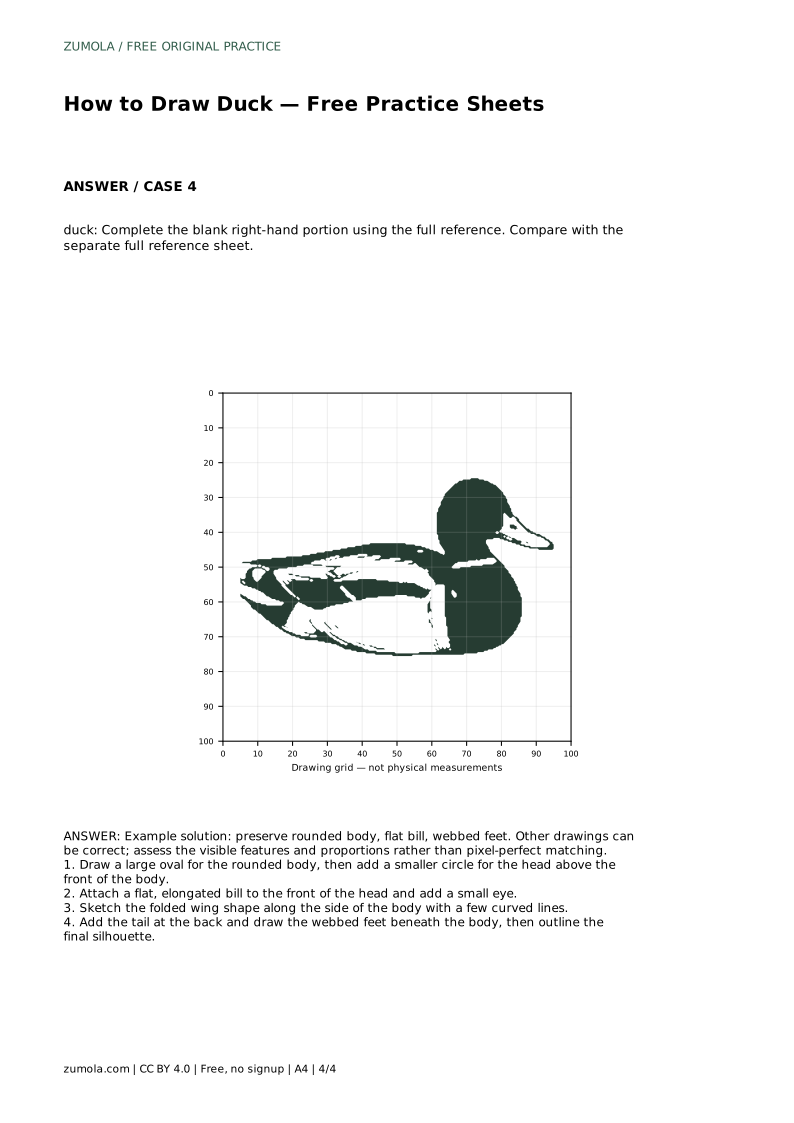
Reference diagrams
LETTER · Download PDF
A4 · Download PDF
Free original resources
Learn to draw a cute kawaii duck with a rounded body, flat bill, and webbed feet. Trace, copy, and complete practice sheets, then check your work with a rubric.
Four original cases, with reference diagrams, practice sheets and worked answers. Everything is free; no signup required.
LETTER · Download PDF
A4 · Download PDF
LETTER · Download PDF
A4 · Download PDF
LETTER · Download PDF
A4 · Download PDF
Use A4 or US Letter to match your printer. Use the stated values and conditions to solve each exercise; diagrams are not physical measuring rulers.
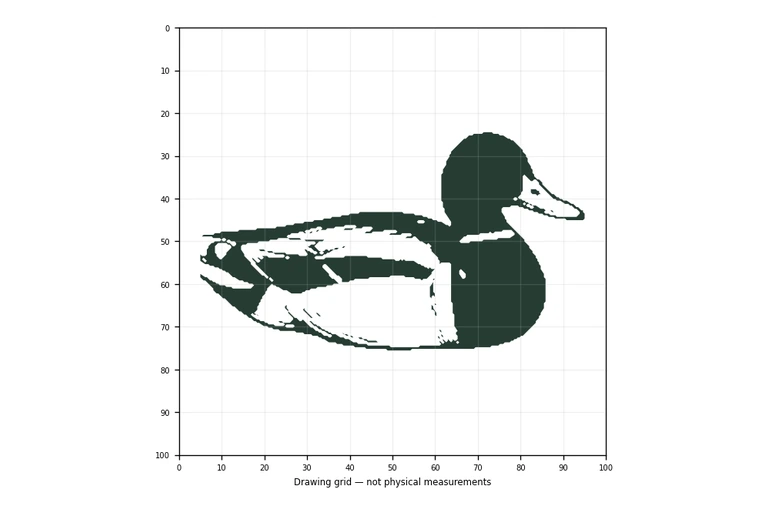
A cute kawaii duck is built from a few clear shapes: a large rounded body, a smaller head, a flat bill, a folded wing, a tail, and webbed feet. This page explains how to draw that duck and how to use the practice sheets to build the same skills. Because drawings can differ and still be correct, you will assess visible features and proportions rather than expect a pixel-perfect match.
Begin by placing the body before any detail. Draw a large oval for the rounded body, then add a smaller circle for the head above the front of the body. Keep the head clearly smaller than the body so the duck reads as cute rather than top-heavy. The head sits toward the front, not centered over the middle of the oval.
Next, attach a flat, elongated bill to the front of the head and add a small eye. The bill should look flat and stretched sideways, not pointed like a beak. A small eye placed on the head keeps the face simple and friendly. At this stage, check that the body, head, and bill connect without gaps or awkward overlaps.
Sketch the folded wing shape along the side of the body with a few curved lines. The wing should sit inside the body outline, suggesting a folded wing rather than a separate floating shape. Add the tail at the back with a short, rounded point that grows out of the body oval.
Draw the webbed feet beneath the body. Each foot should show a flat, fan-like shape with visible web divisions, and both feet should sit under the body rather than off to one side. Finally, outline the final silhouette so the separate shapes read as one duck. Keep the outline smooth and continuous where the body, head, and bill meet.
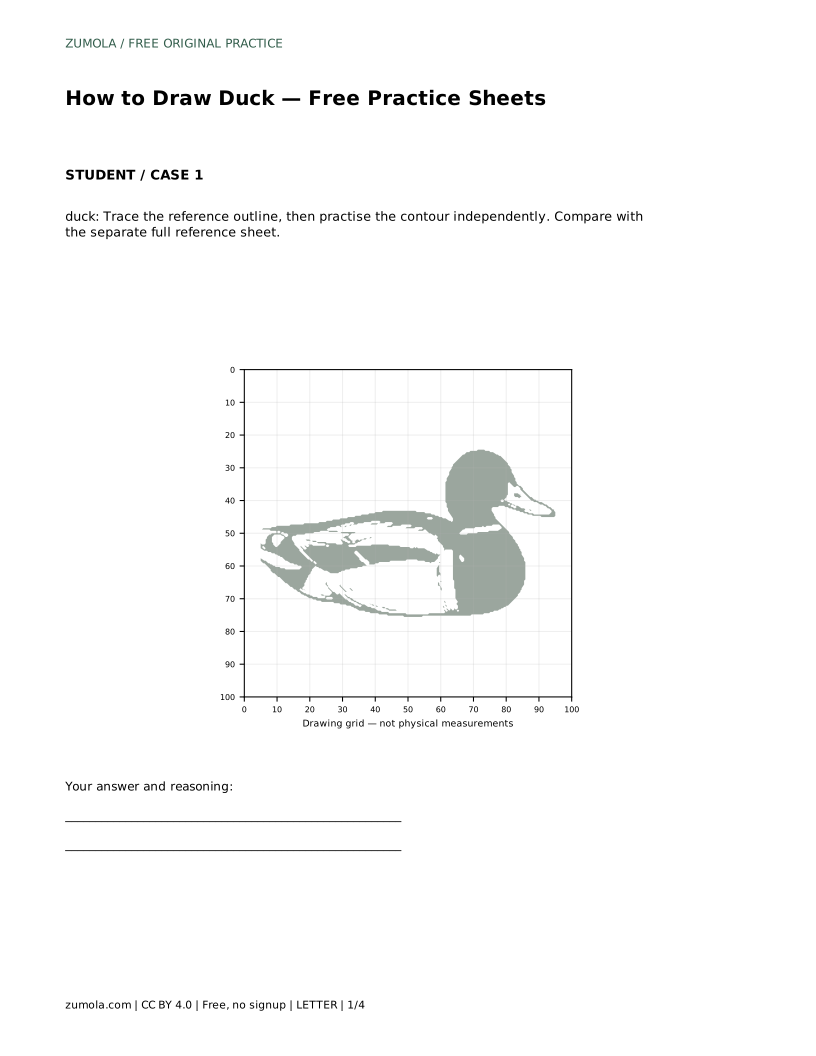
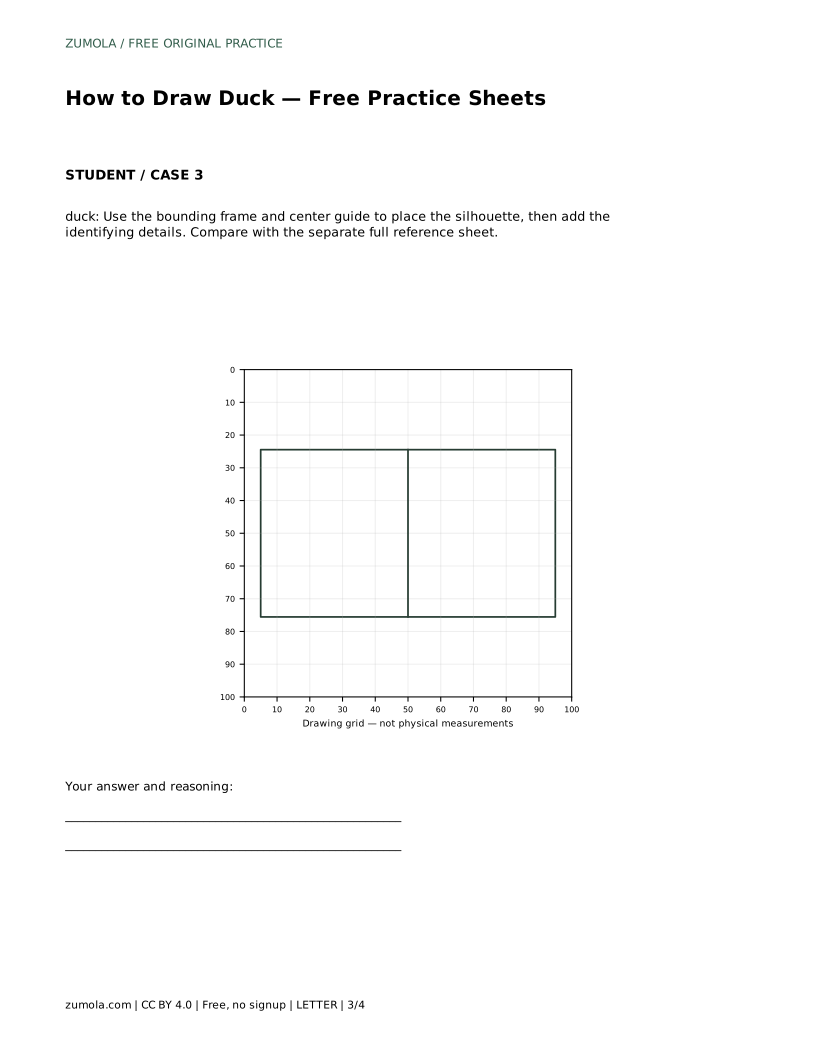
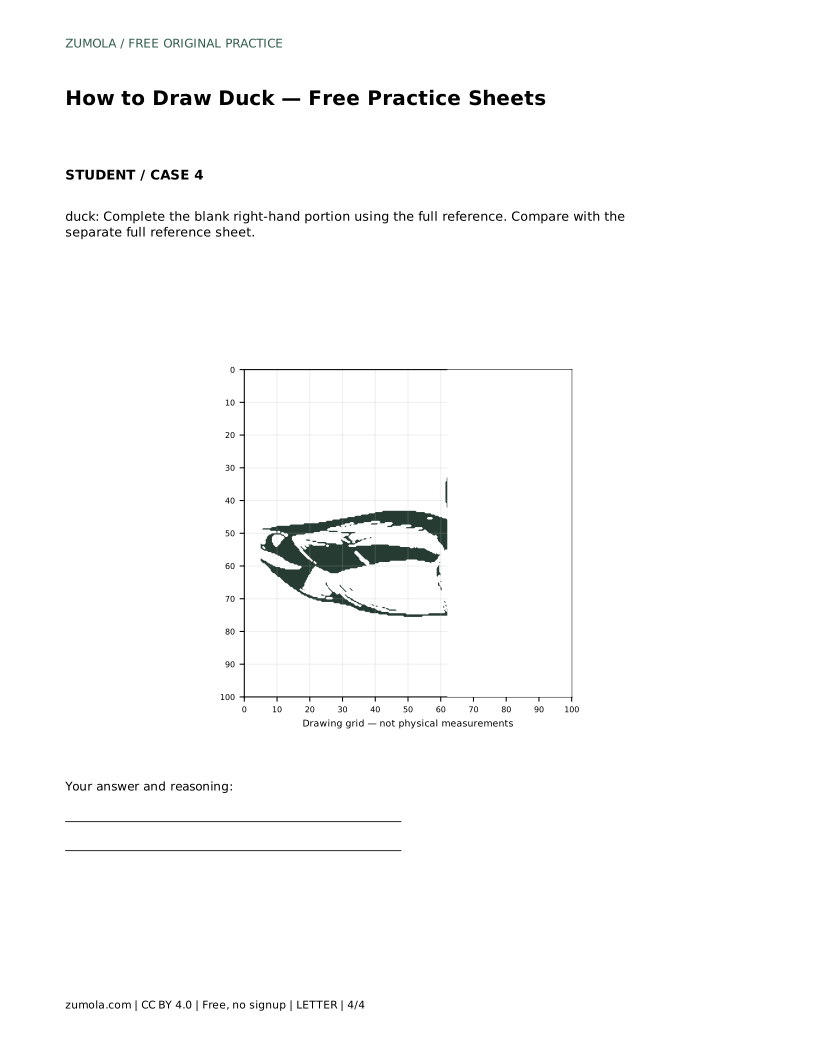
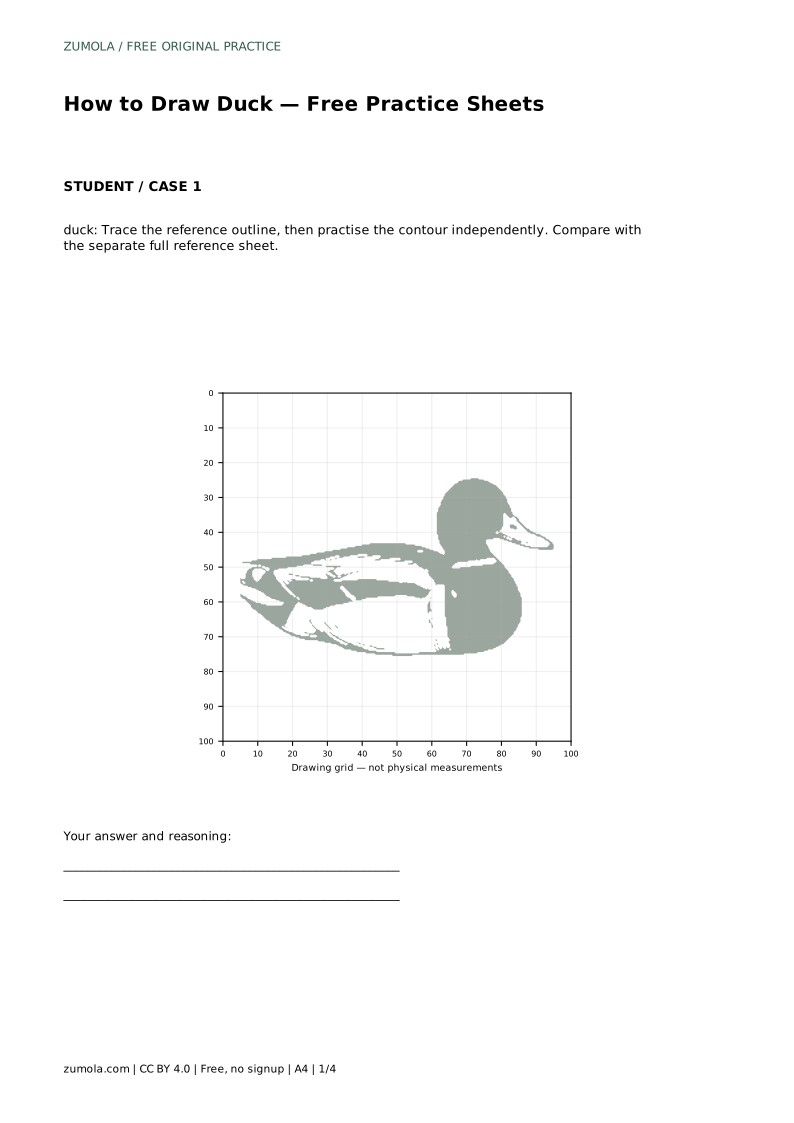
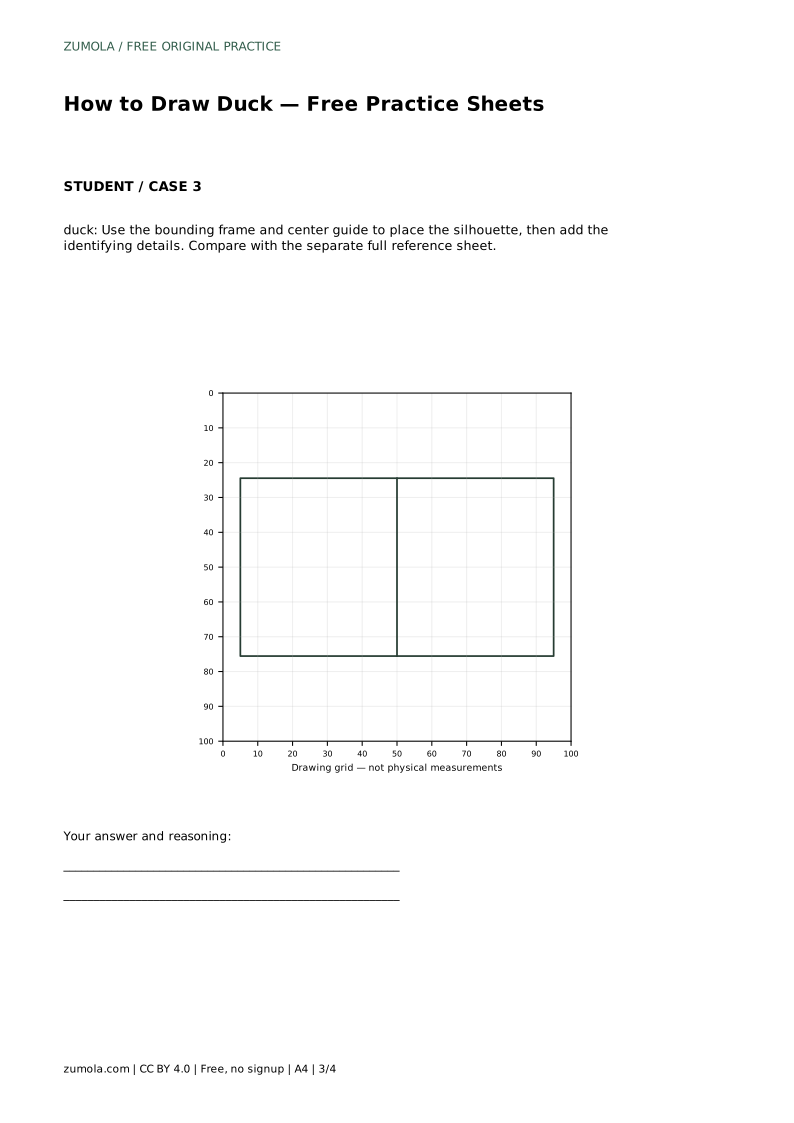
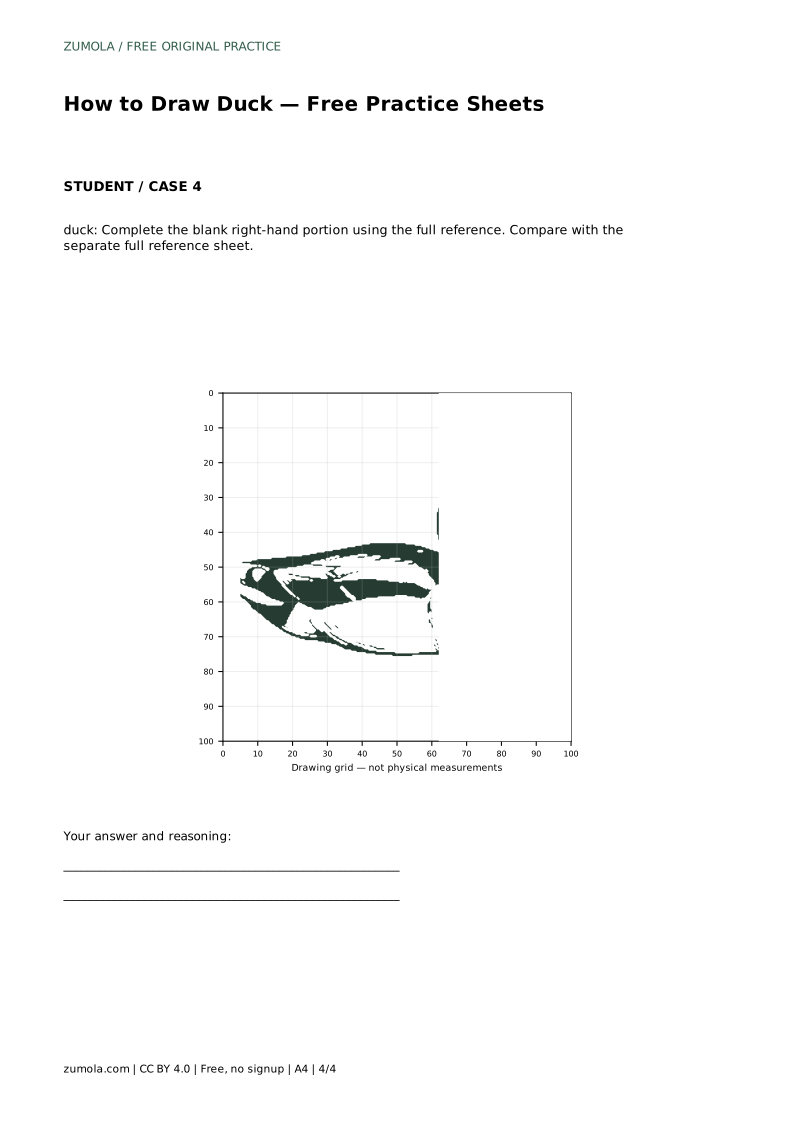
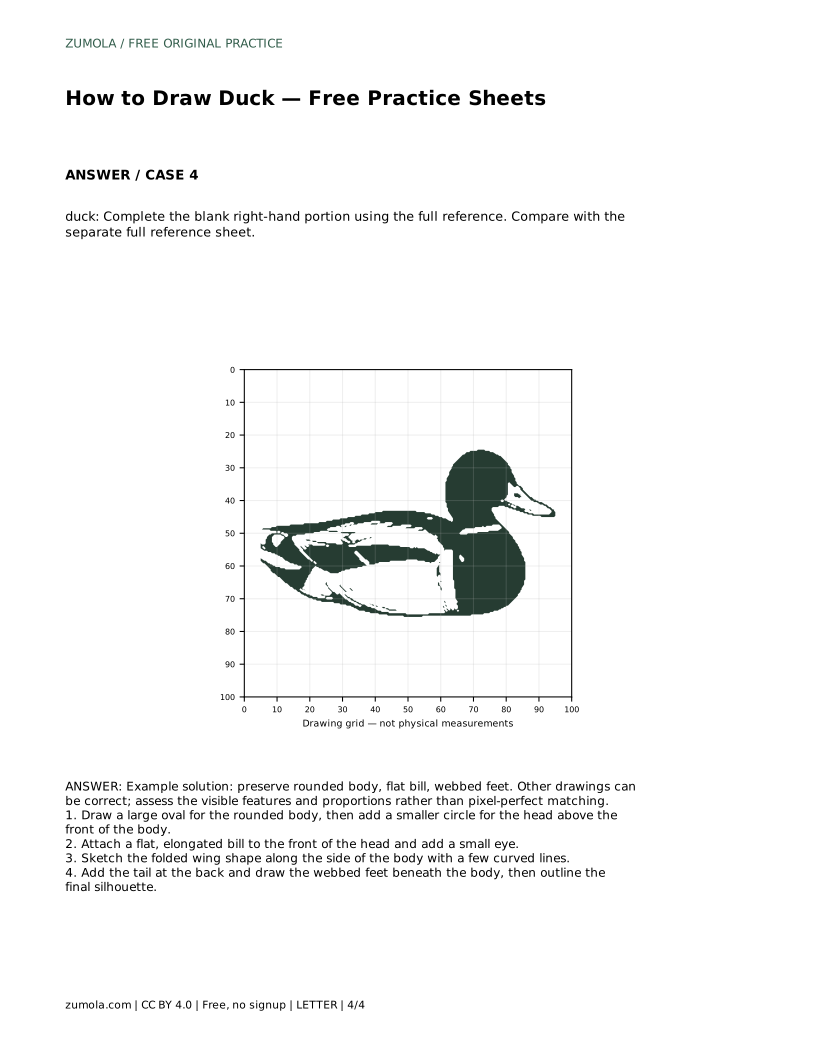
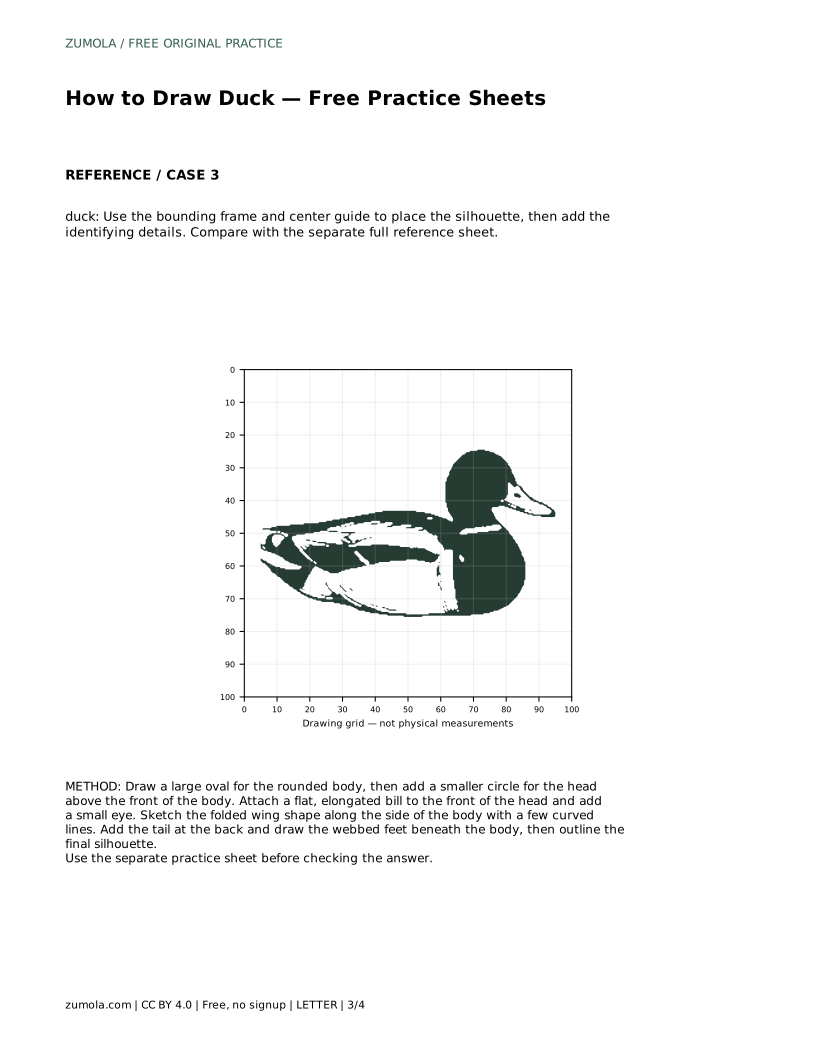
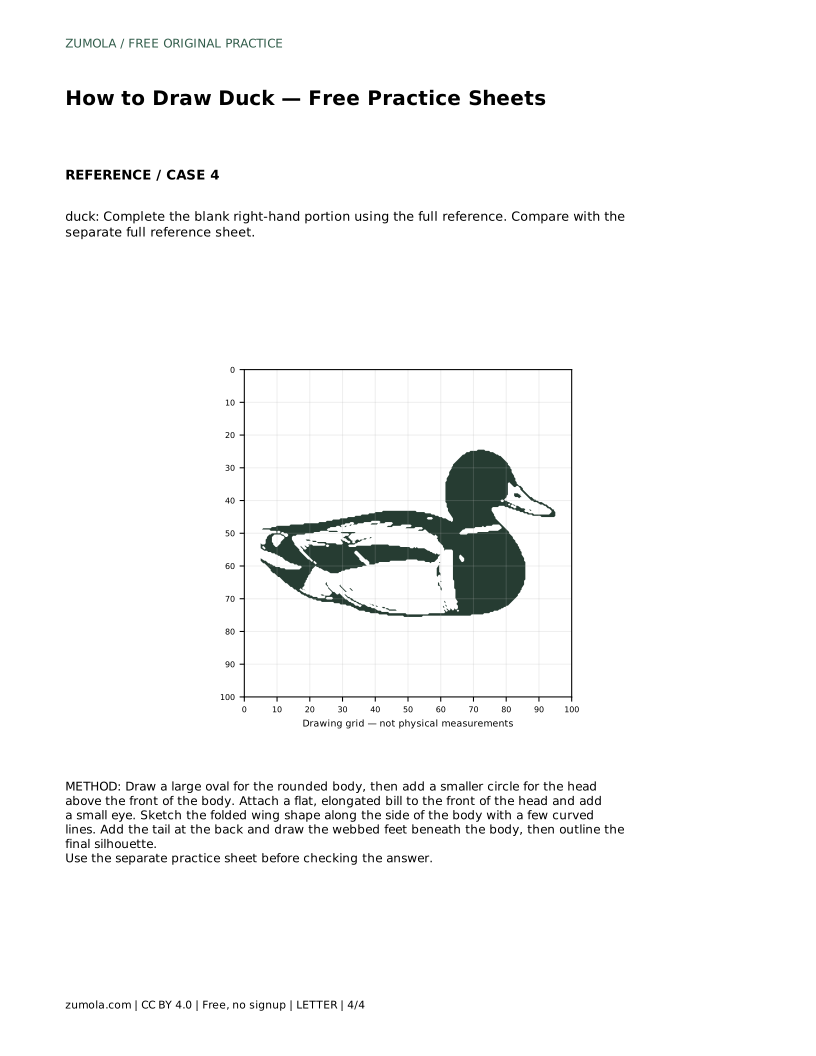
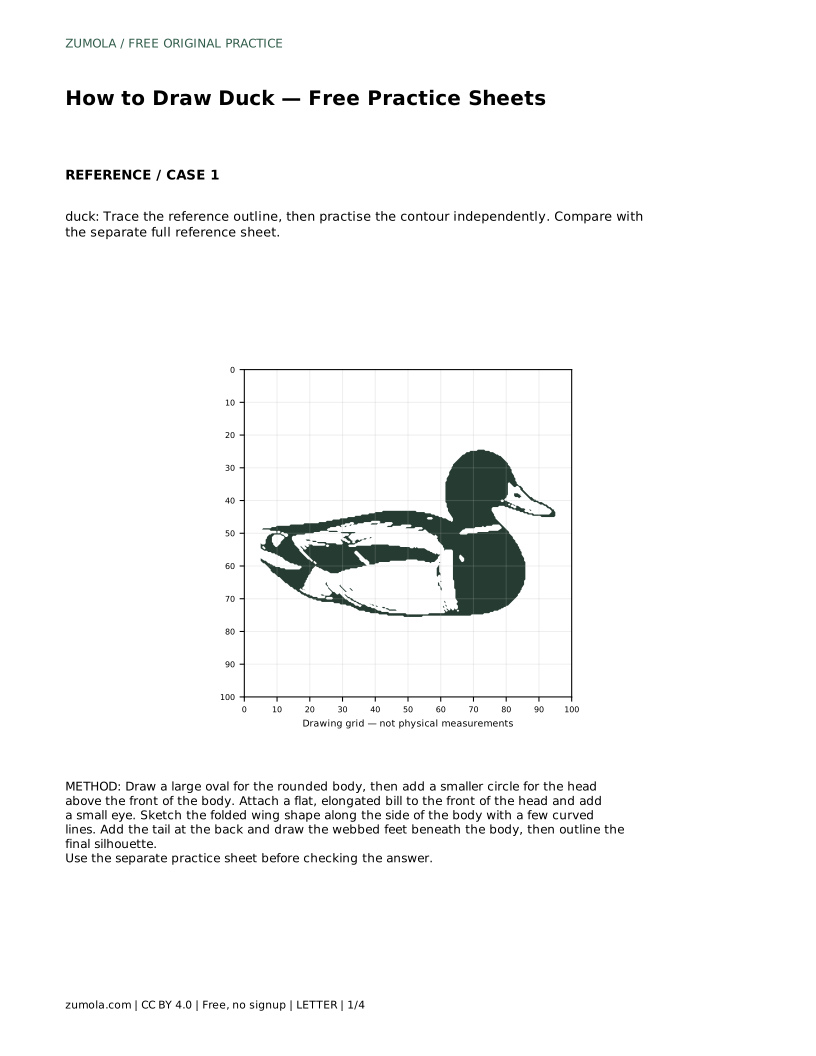
The sheets give you different ways to practise the same duck. On the trace sheet, follow the reference outline first, then try the contour independently and compare with the separate full reference sheet. On the grid sheet, copy the reference onto the blank grid using matching grid intersections. On the frame sheet, use the bounding frame and center guide to place the silhouette before adding the identifying details. On the completion sheet, finish the blank right-hand portion using the full reference.
Each sheet asks you to preserve the rounded body, flat bill, and webbed feet. Compare your drawing with the full reference sheet afterward. Other drawings can be correct, so judge the visible features and proportions rather than pixel-perfect matching.
After drawing, compare your duck with the reference sheet. Check that the body is the largest shape, the head is smaller and above the front of the body, the bill is flat and elongated, and the feet are webbed and beneath the body. Look at the wing and tail to confirm they sit within or against the body outline.
Small differences in angle, size, or line style are fine. What matters is that a viewer can identify the duck from its rounded body, flat bill, and webbed feet, and that the parts connect in a believable way.
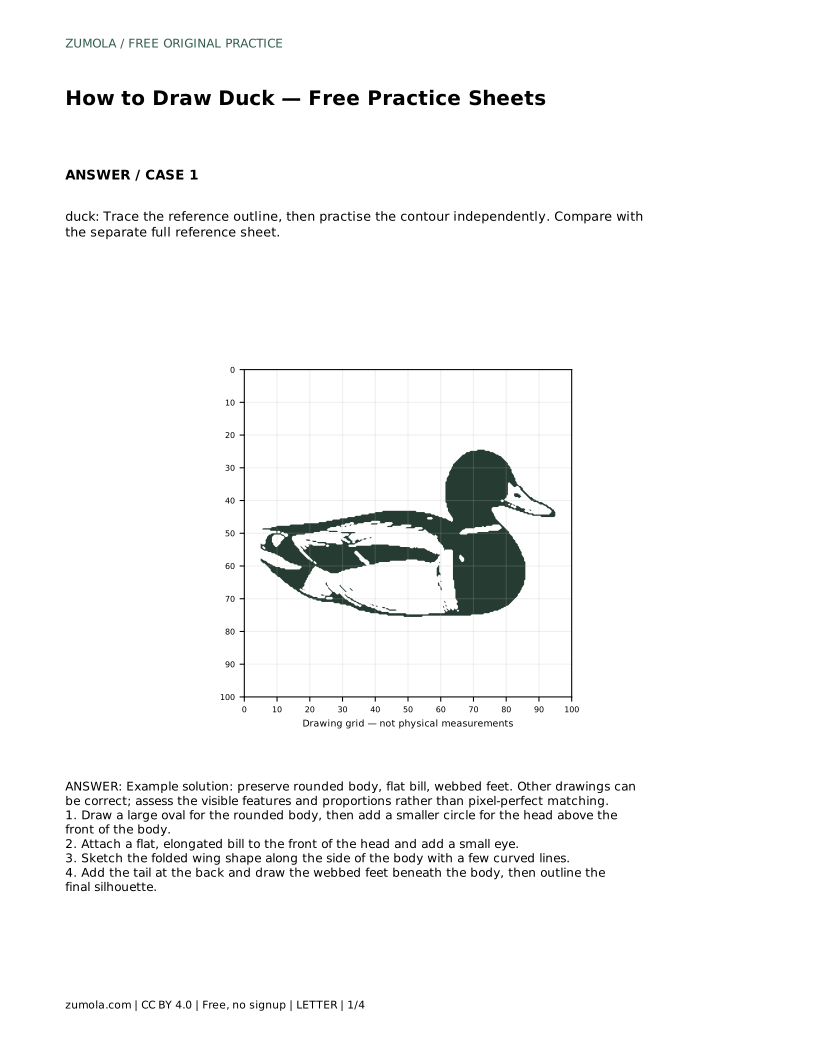
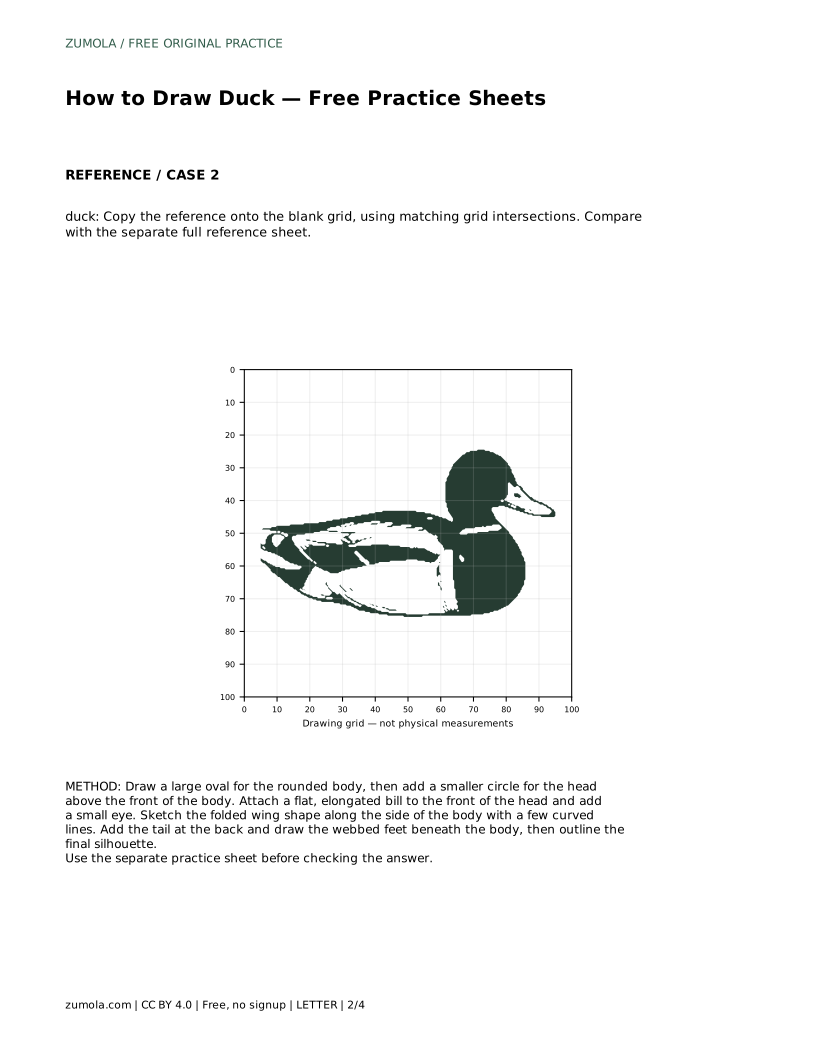
duck: Trace the reference outline, then practise the contour independently. Compare with the separate full reference sheet.
Example solution: preserve rounded body, flat bill, webbed feet. Other drawings can be correct; assess the visible features and proportions rather than pixel-perfect matching. Draw a large oval for the rounded body, then add a smaller circle for the head above the front of the body. Attach a flat, elongated bill to the front of the head and add a small eye. Sketch the folded wing shape along the side of the body with a few curved lines. Add the tail at the back and draw the webbed feet beneath the body, then outline the final silhouette.
No. Other drawings can be correct. Assess the visible features and proportions, such as the rounded body, flat bill, and webbed feet, rather than pixel-perfect matching.
Check the big shapes first: the body should be the largest shape, the head smaller and above the front, and the bill flat and elongated.
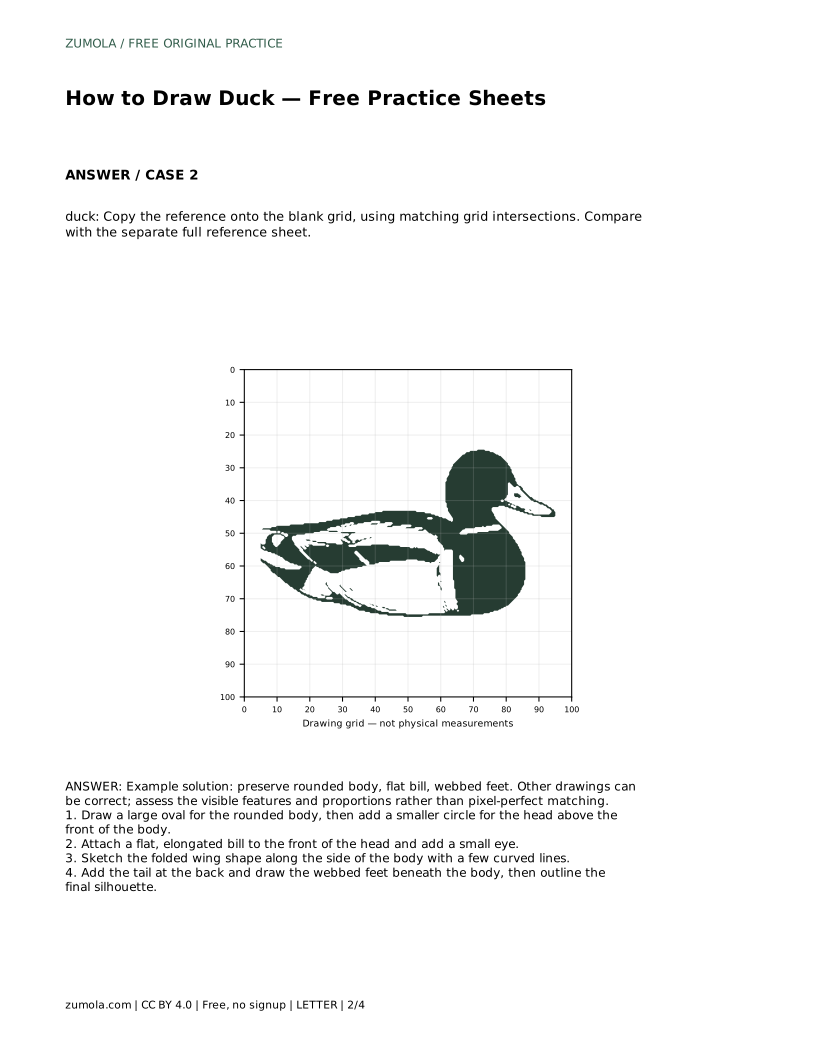
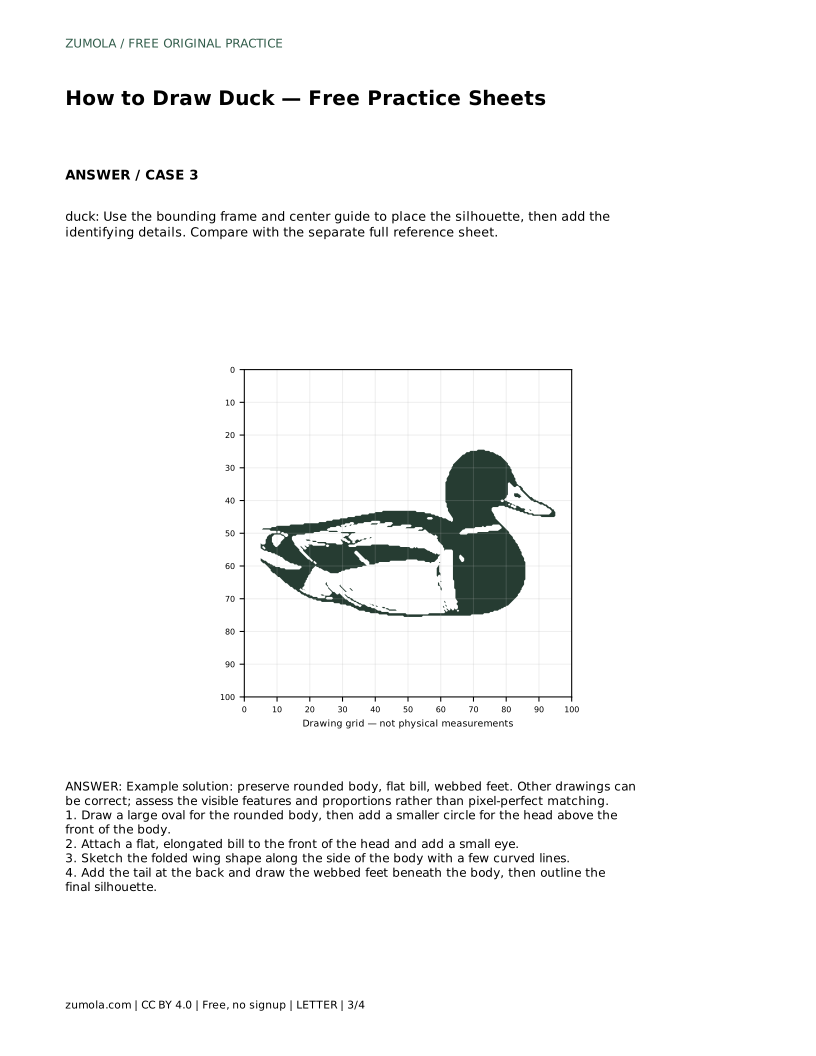
The grid sheet asks you to copy the reference onto a blank grid using matching intersections. The frame sheet uses a bounding frame and center guide to place the silhouette before you add details.
All drawing practice · Free coordinate paper
Original resources · CC BY 4.0 · Free for personal and classroom use with attribution.