Reference diagrams
LETTER · Download PDF
A4 · Download PDF
Free original resources
Learn a pencil drawing of a phoenix with spread wings, flame-like feathers, a crested head, and a flowing tail. Trace, grid, and complete practice sheets.
Four original cases, with reference diagrams, practice sheets and worked answers. Everything is free; no signup required.
LETTER · Download PDF
A4 · Download PDF
LETTER · Download PDF
A4 · Download PDF
LETTER · Download PDF
A4 · Download PDF
Use A4 or US Letter to match your printer. Use the stated values and conditions to solve each exercise; diagrams are not physical measuring rulers.
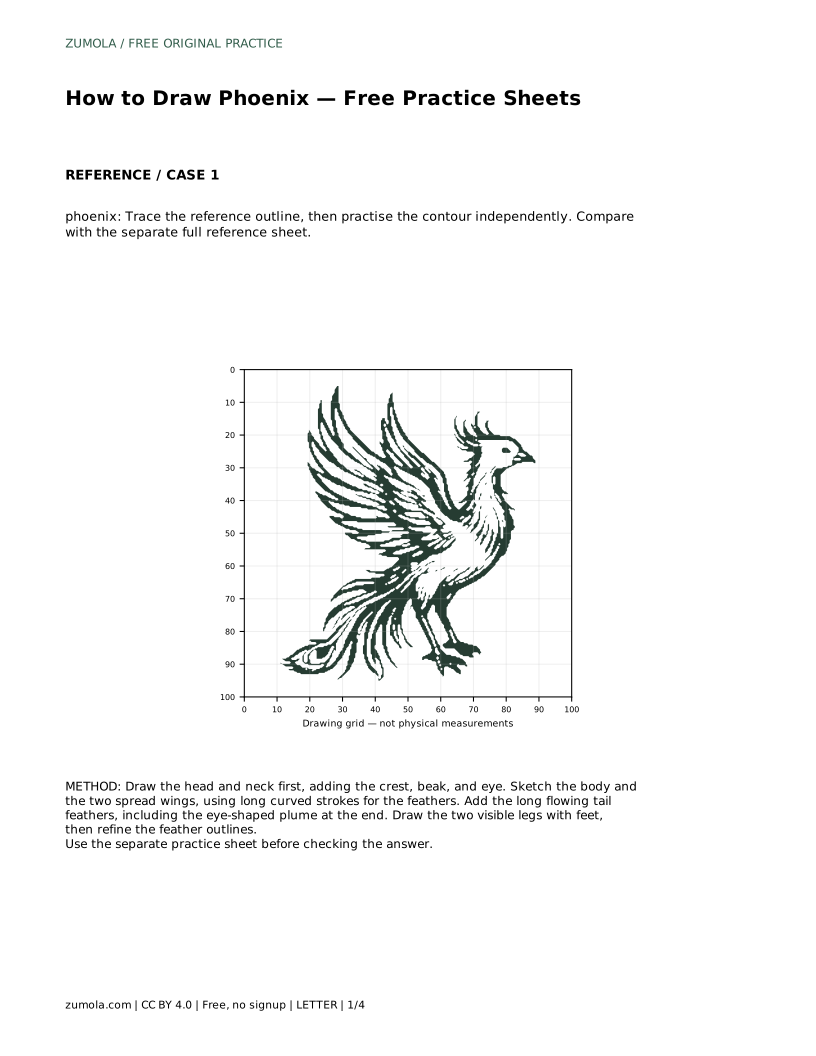
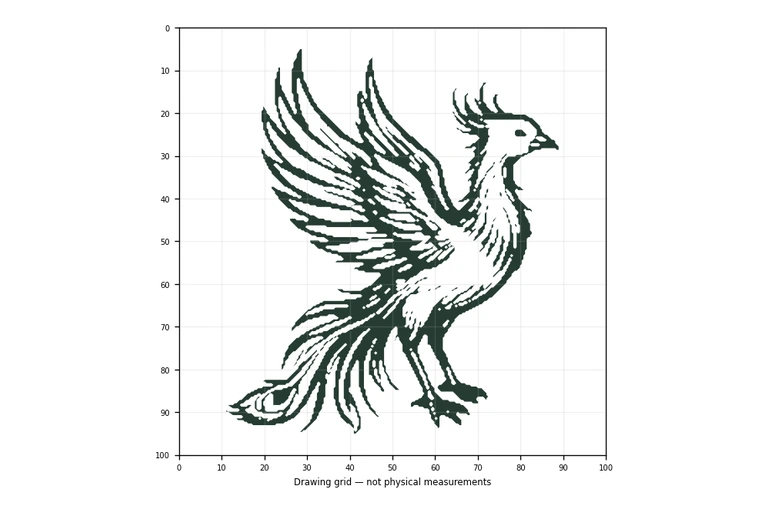
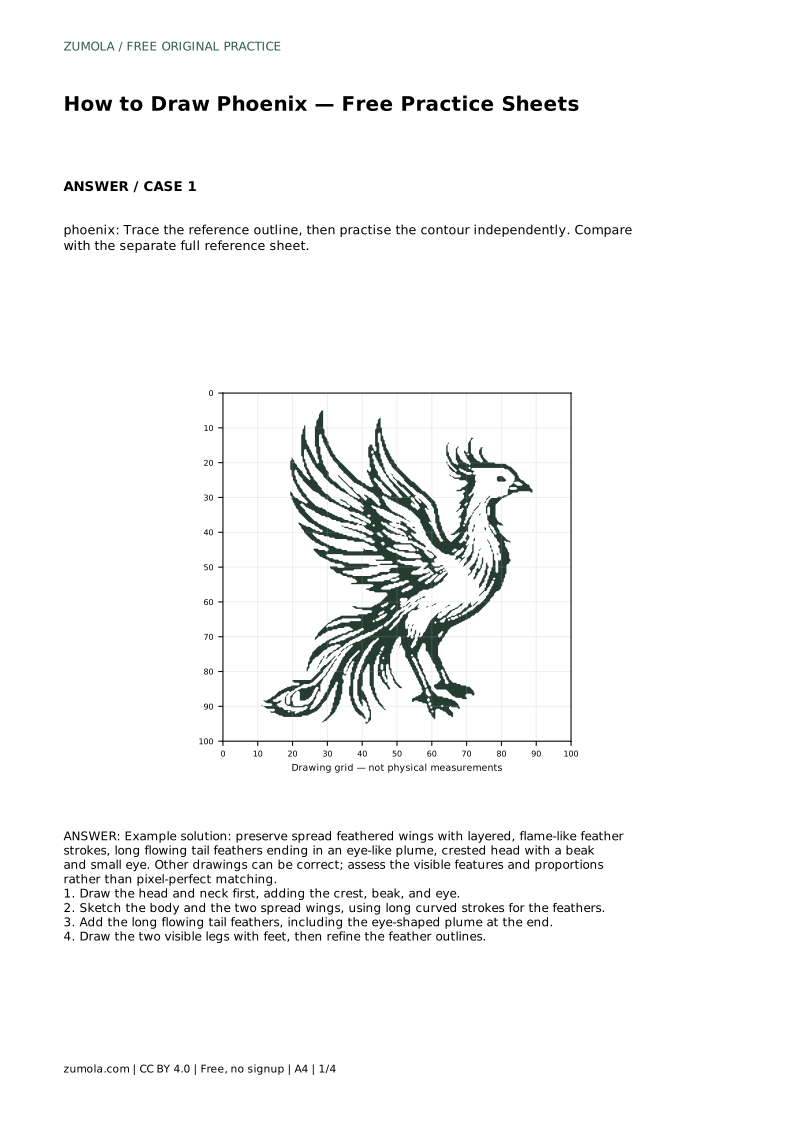
A phoenix drawing works best when you build it in a clear order: head and neck first, then body and wings, then the long tail, and finally the legs and feather detail. This page explains that sequence and how to use the practice sheets, including tracing, grid copying, and partial completion. Because mythical birds have many valid interpretations, judge your drawing by visible features and proportions rather than an exact match.
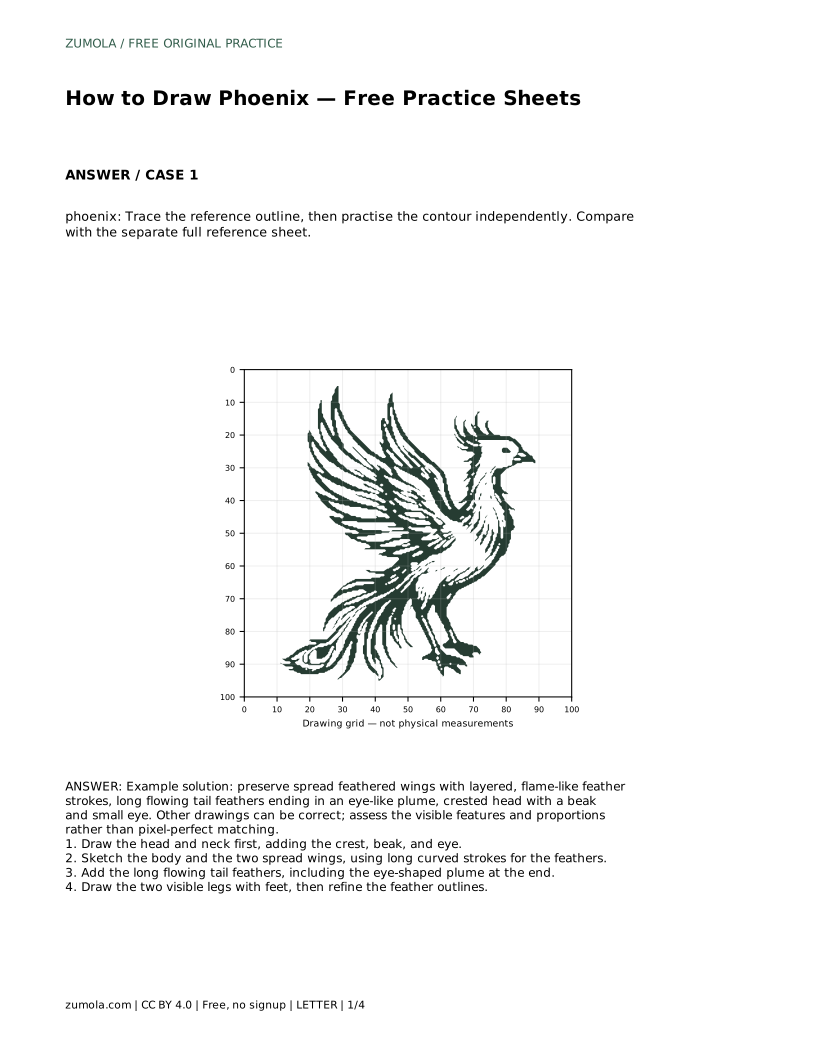
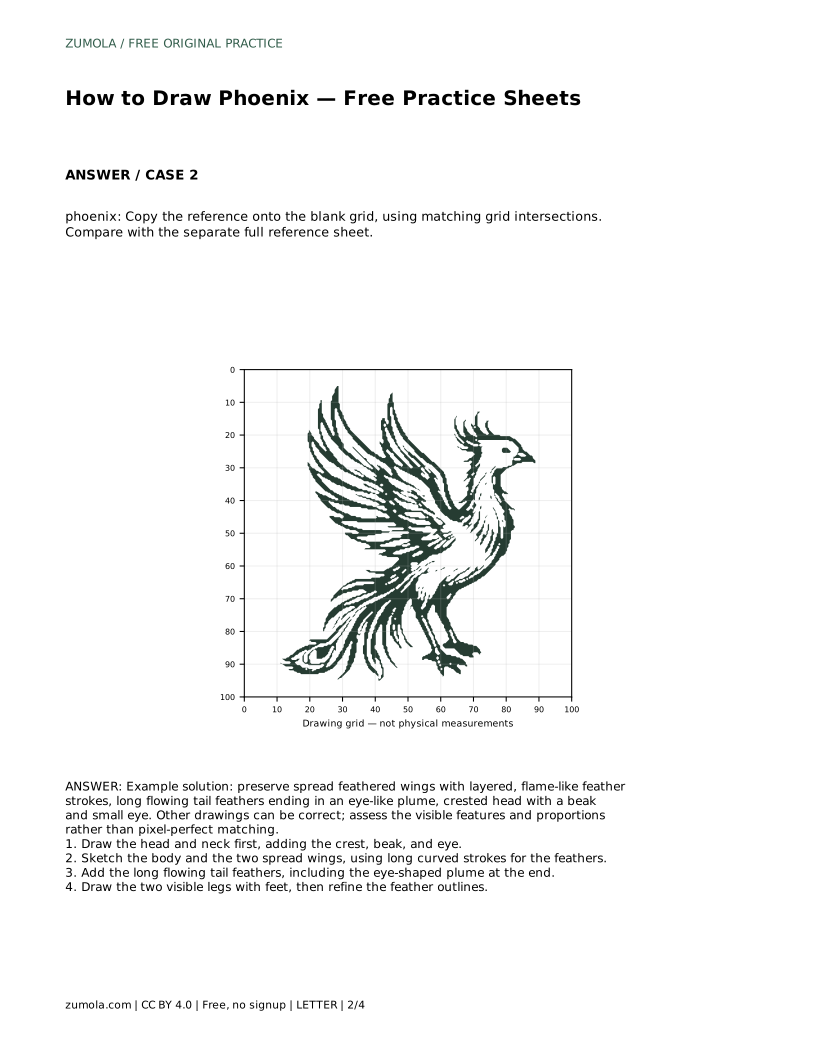
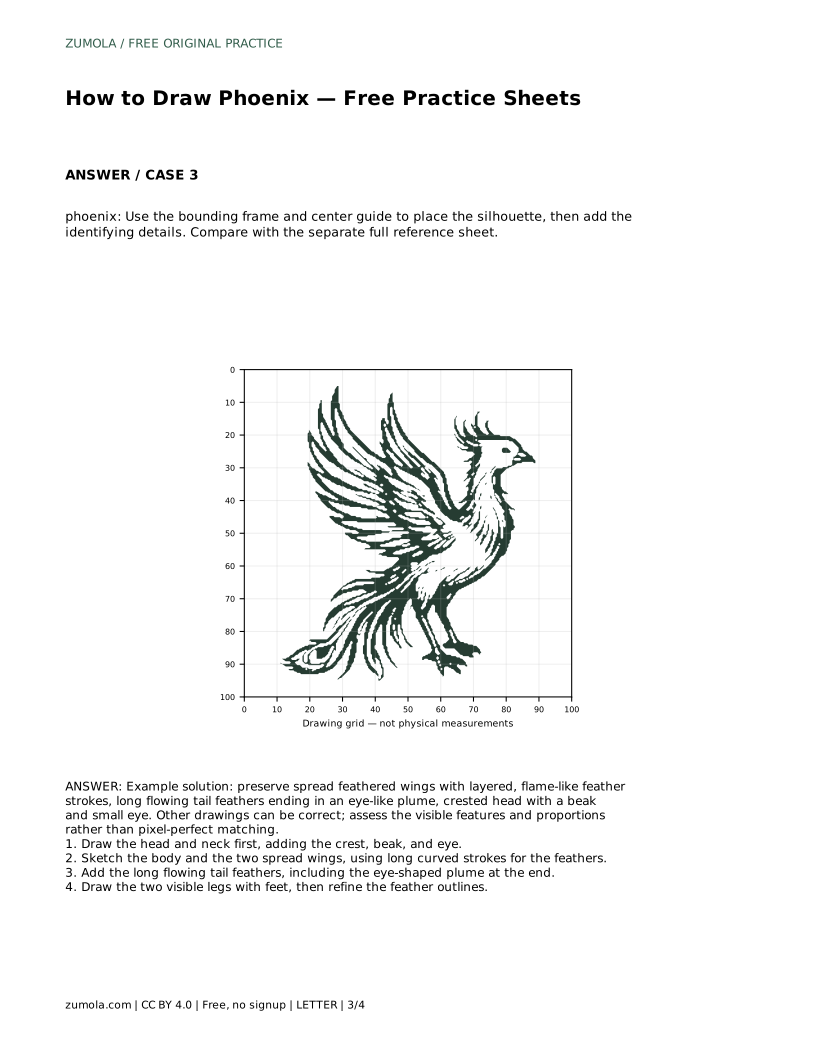
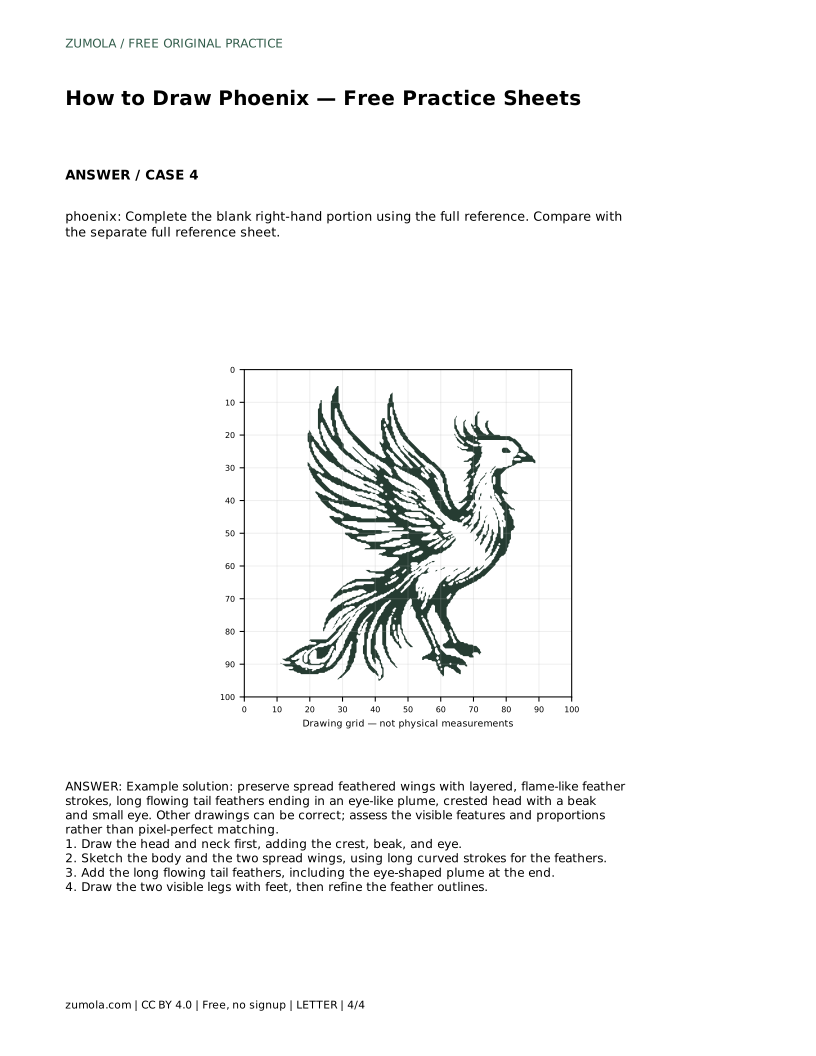
Place the head before anything else. The head is small compared with the spread wings, so drawing it first gives you a fixed point for the neck and body. Sketch an oval for the skull, then add the crest above and behind it. The crest can be a few flame-like points rather than a single shape. Add a short beak pointing forward and a small eye set slightly back from the beak.
Keep the neck curved and fairly slim. A gentle S-curve reads well and leaves room for the chest below. Work lightly at this stage; these lines are guides, not final outlines.
Sketch the body as a compact oval beneath the neck. The wings spread outward from the upper back, so mark their direction before drawing feathers. Use long curved strokes that follow the wing's sweep. Layer shorter strokes inside the wing to suggest rows of feathers.
Keep both wings roughly balanced in size and angle. They do not need to be identical, but one wing should not look much longer or higher than the other unless you intend that. Leave the feather outlines loose until the body and wings are placed.
The tail is the phoenix's most distinctive feature. Draw several long flowing feathers that curve away from the body, and finish at least one with an eye-like plume at the tip. Vary the lengths so the tail looks lively rather than uniform.
Add the two visible legs below the body, with feet that grip or rest. Then refine the feather outlines, darkening the lines you want to keep and erasing the light guides. Compare your drawing with the separate full reference sheet to check the overall proportions.
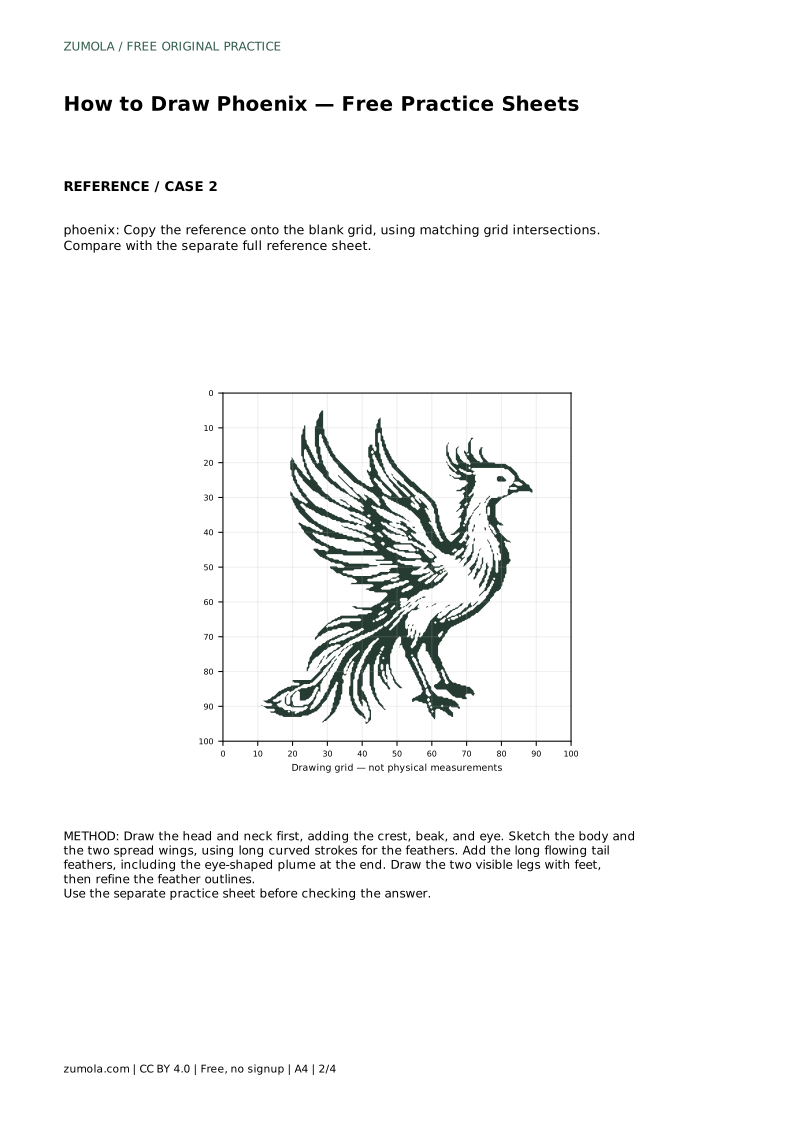
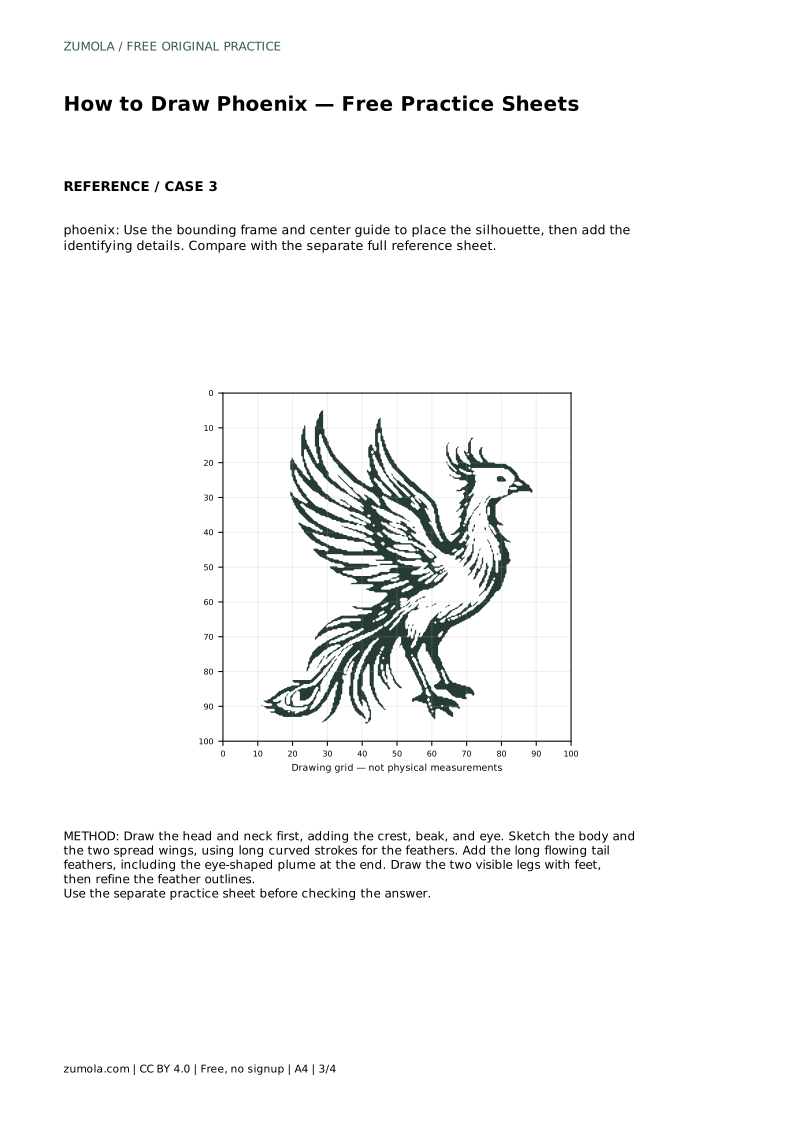
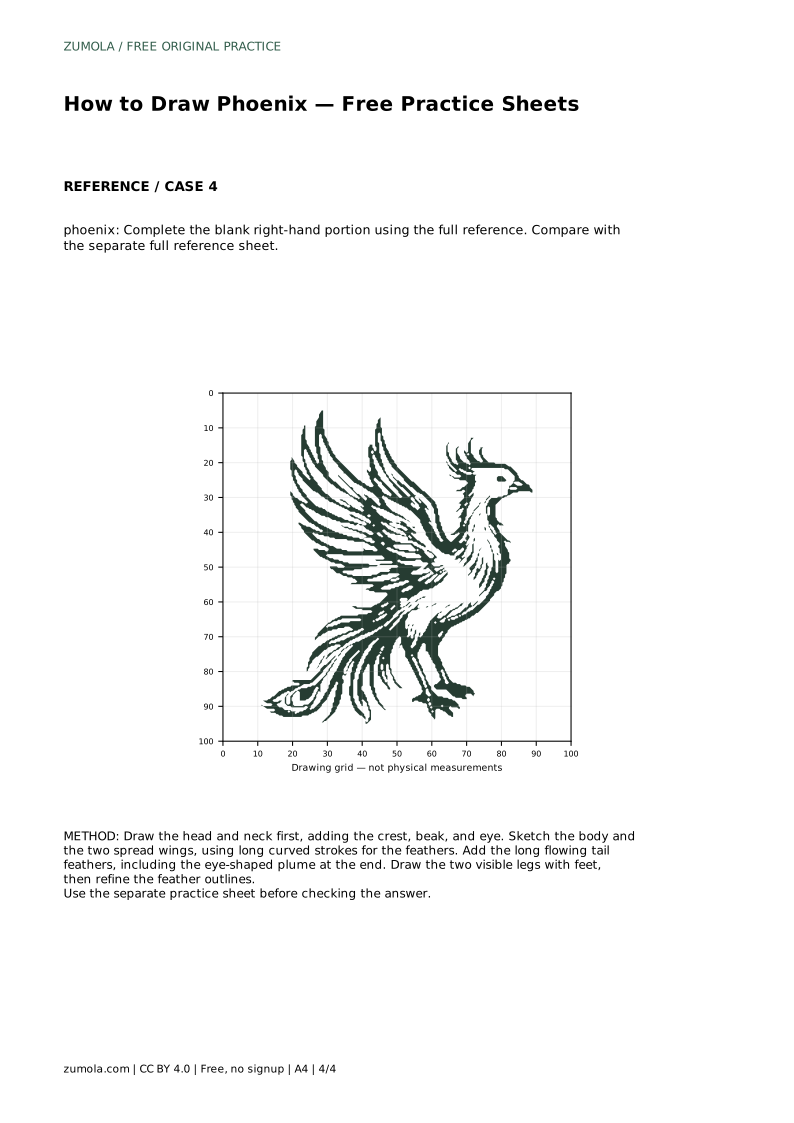
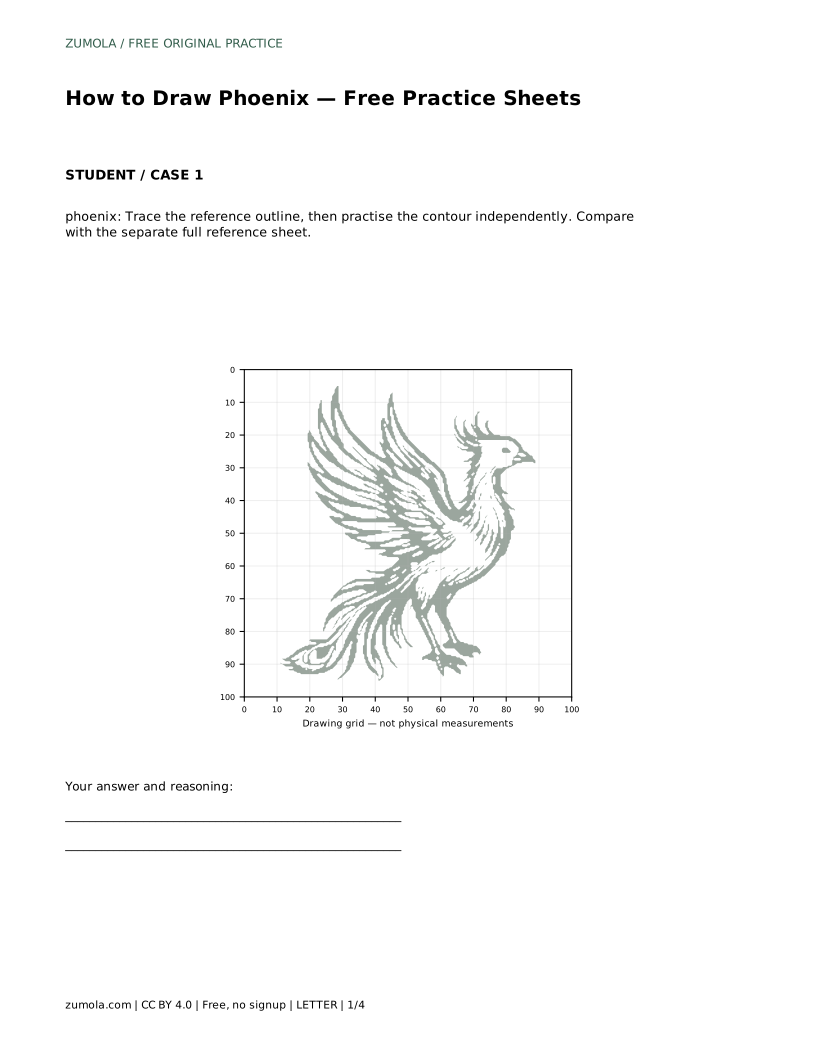
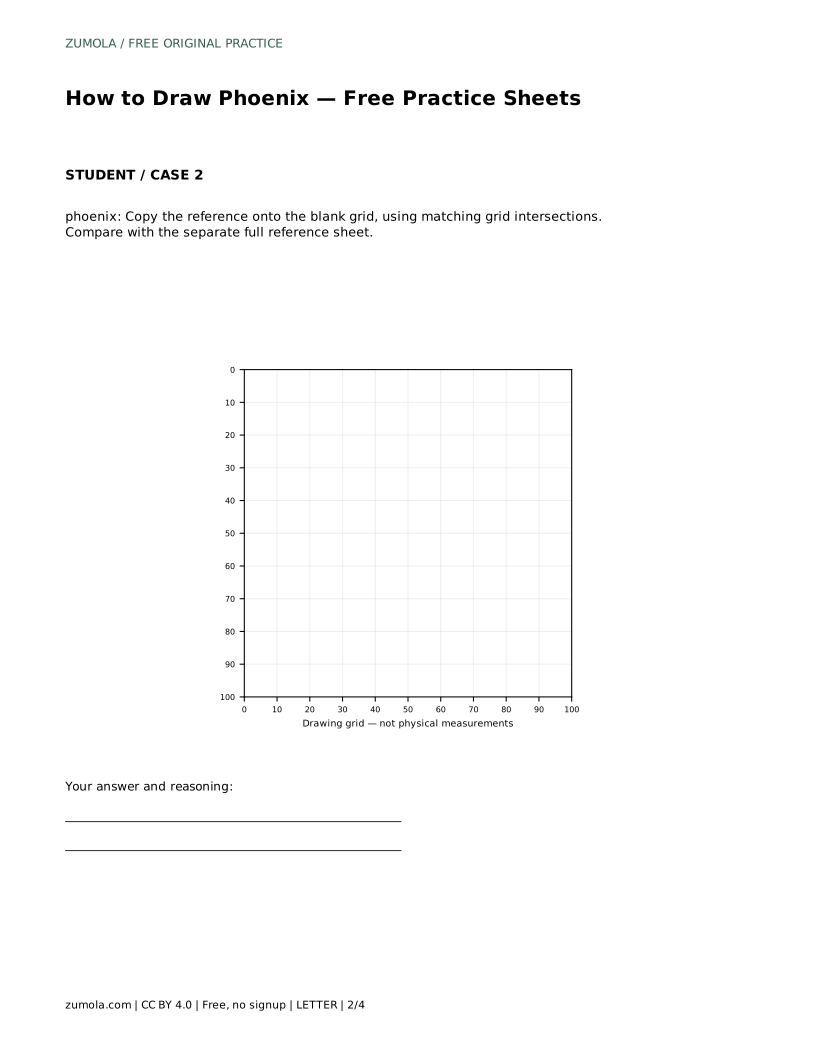
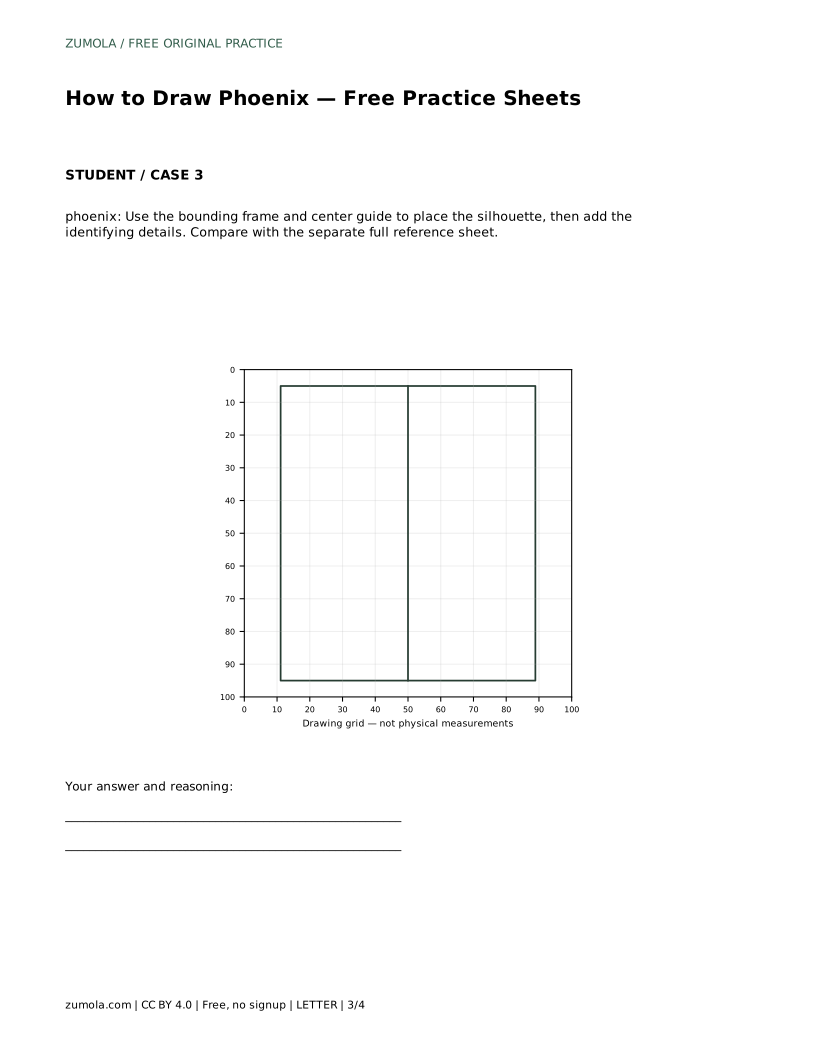
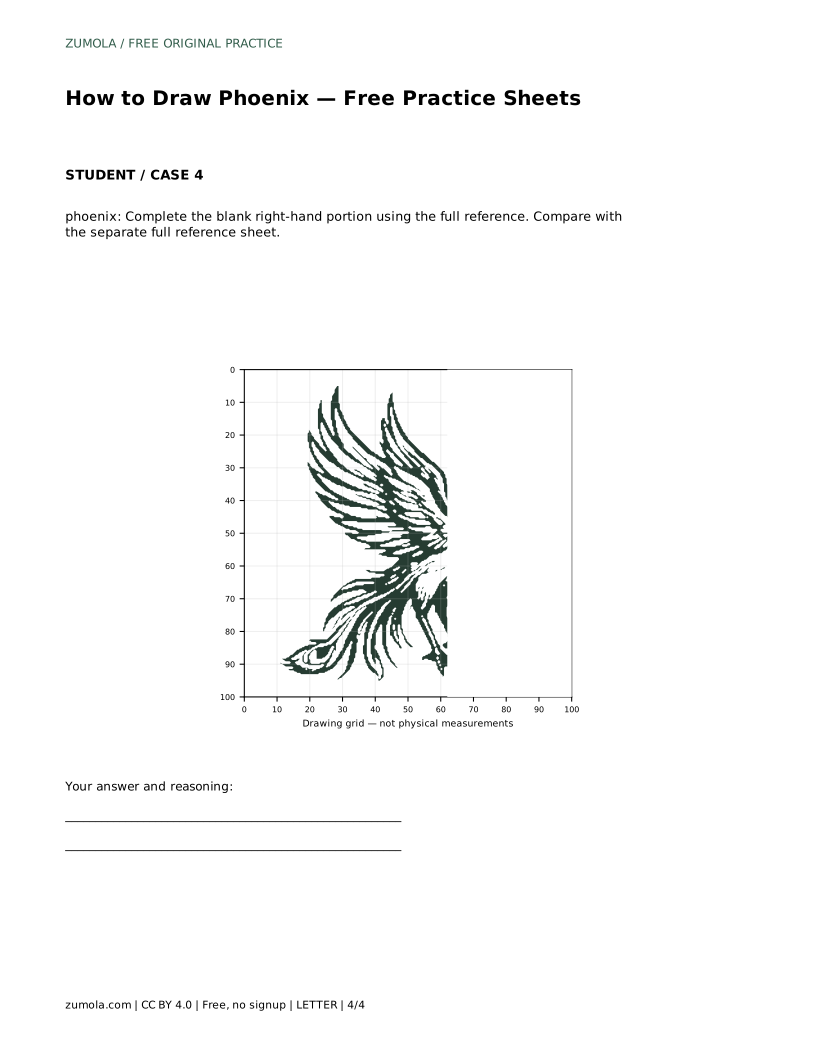
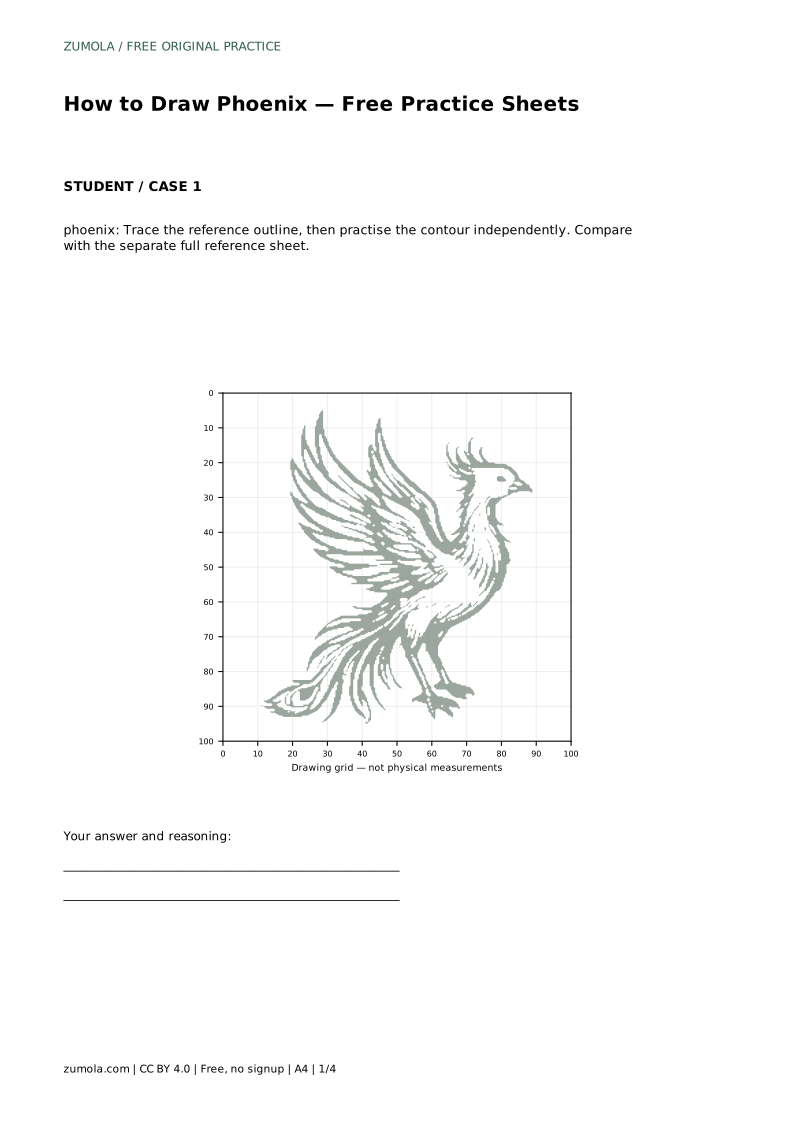
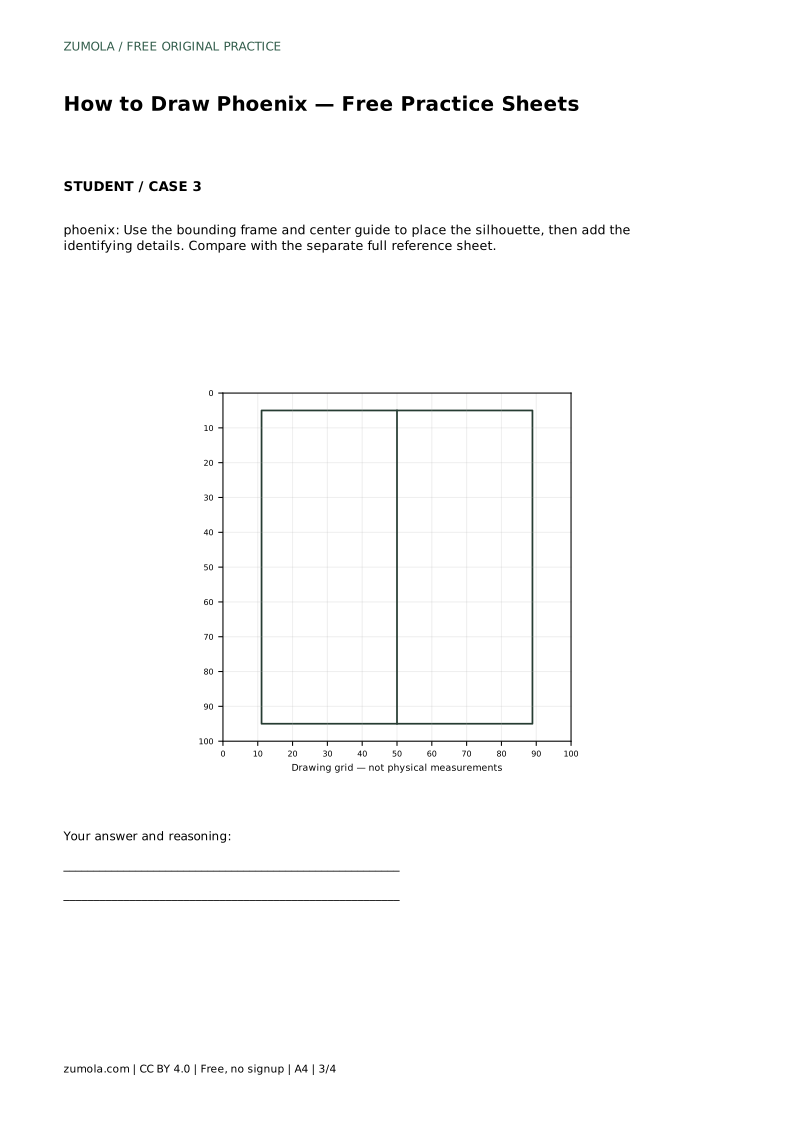
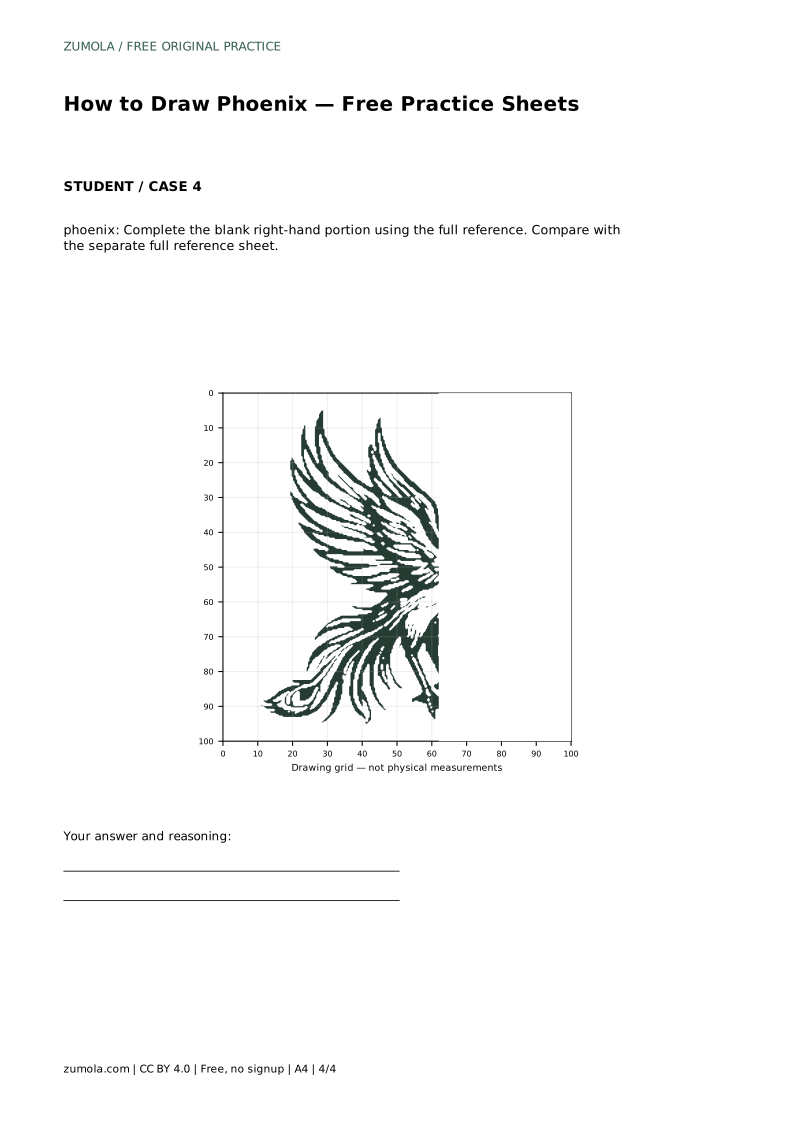
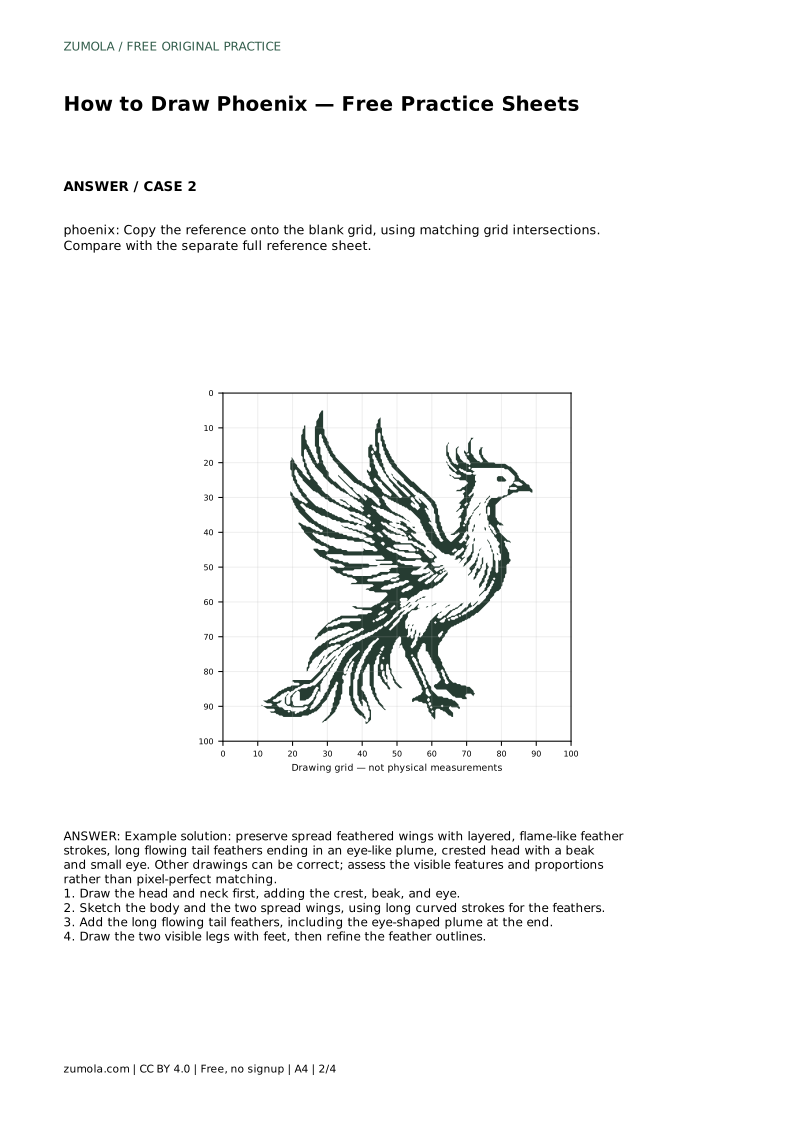
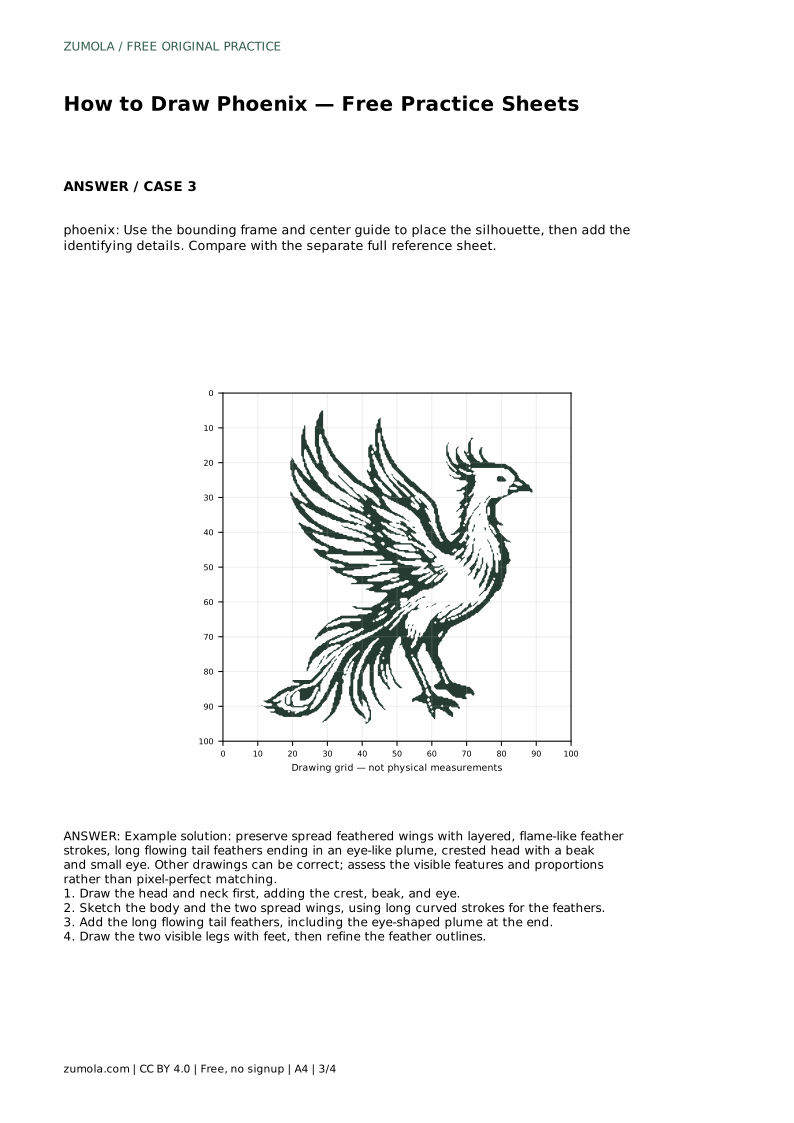
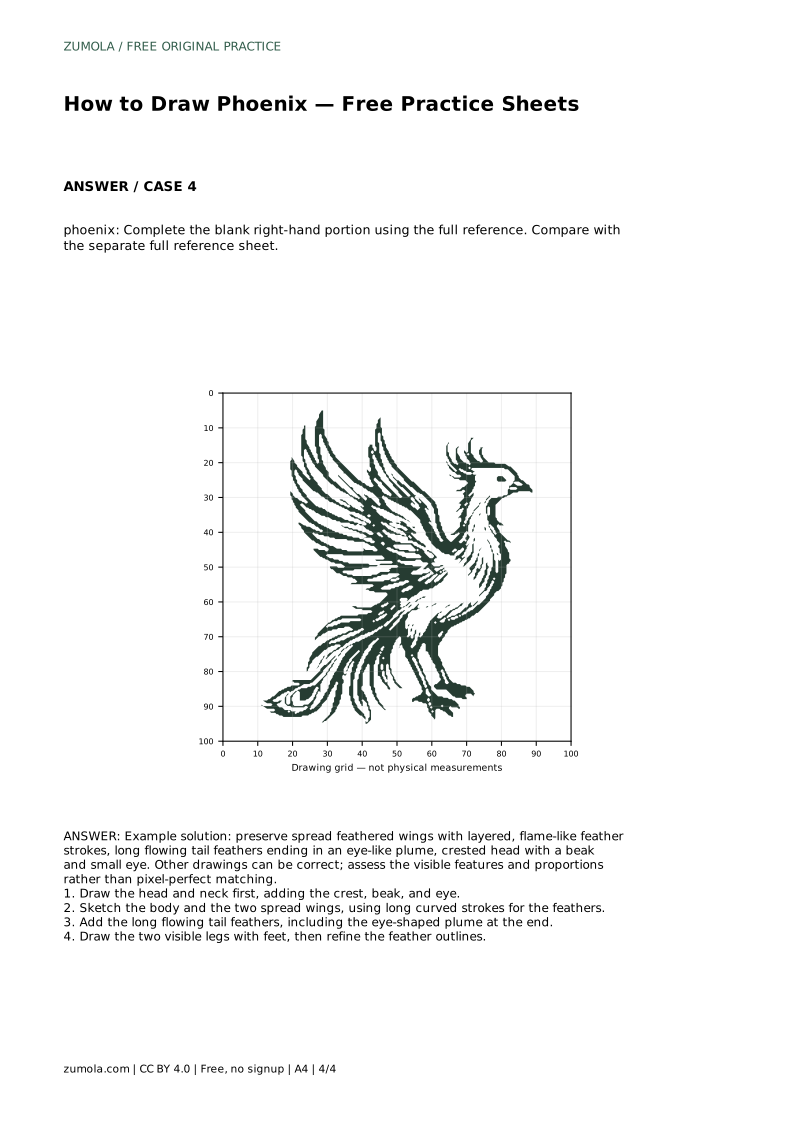
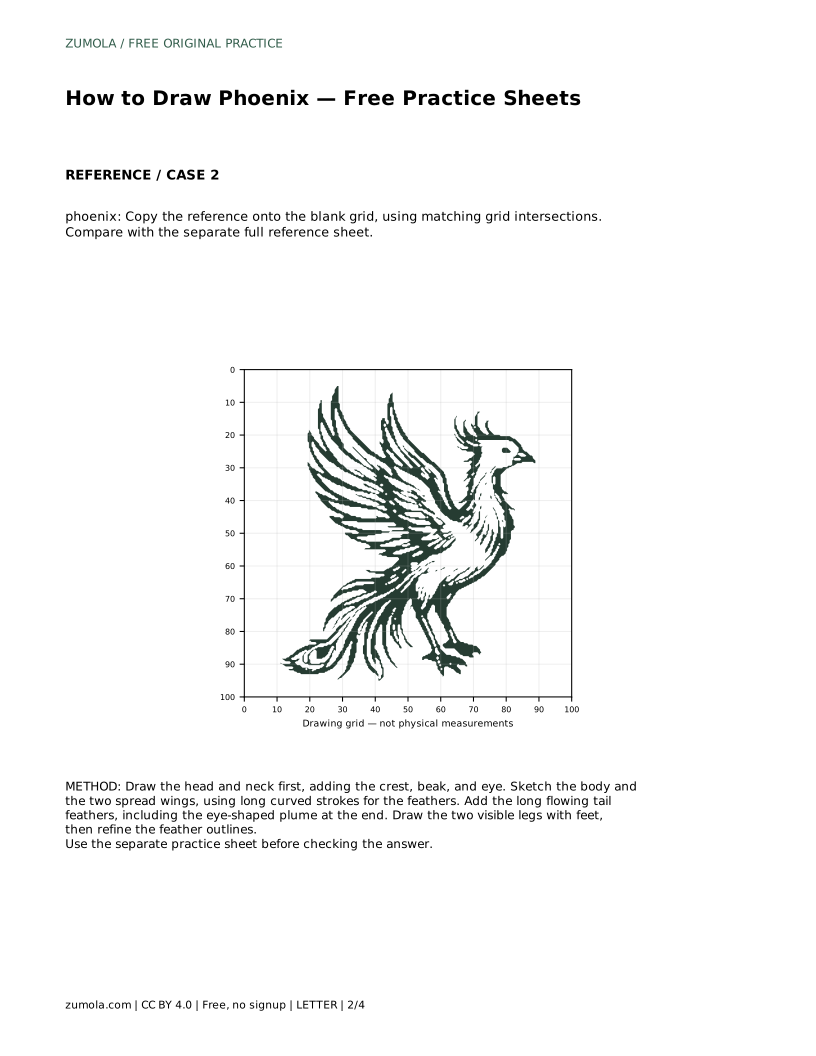
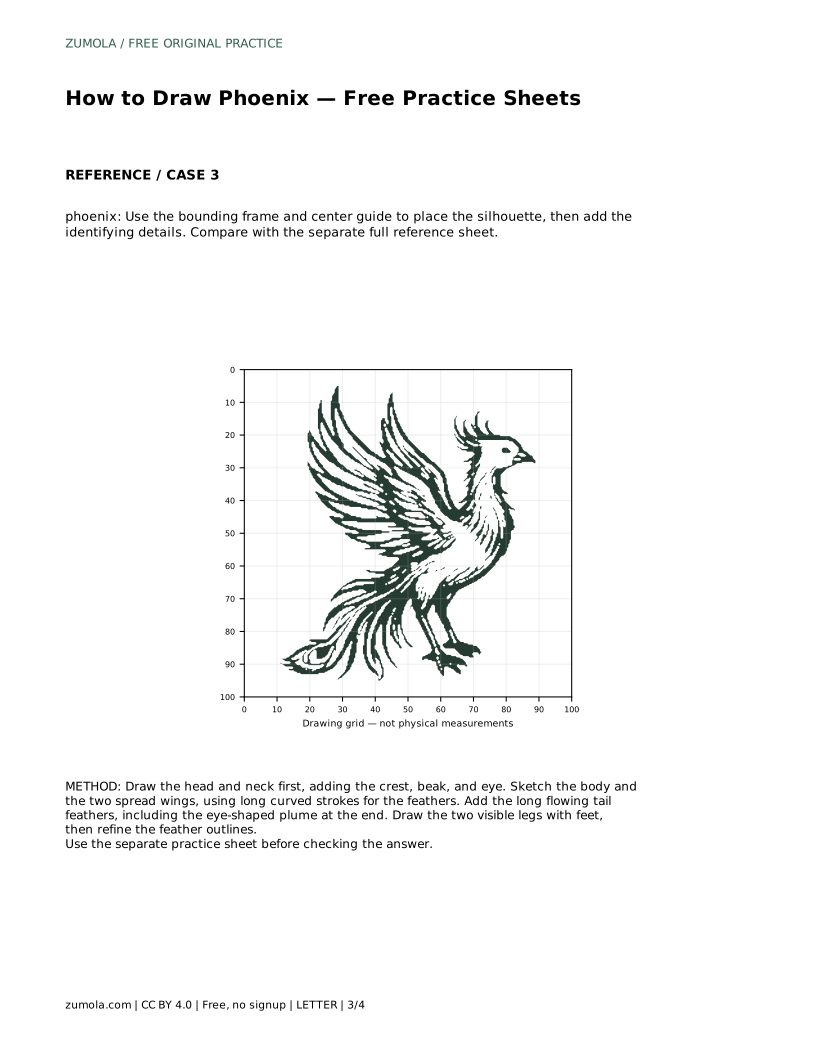
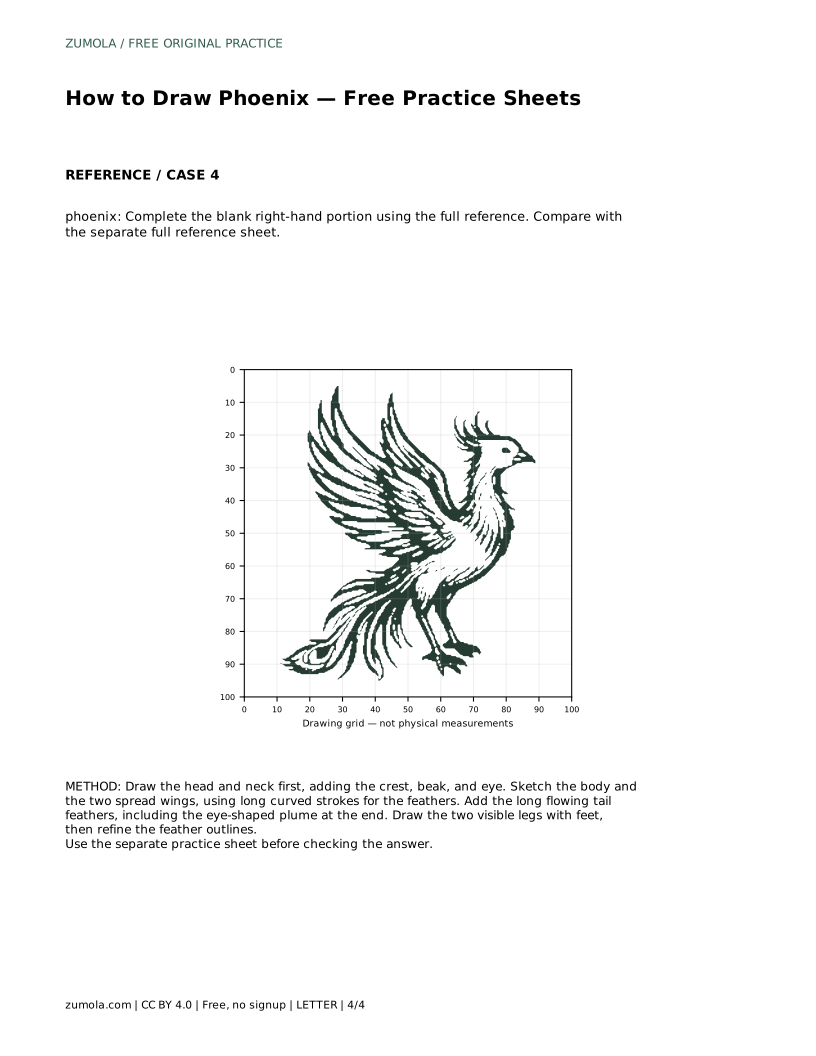
The trace sheet asks you to follow the reference outline, then practise the contour independently. The grid sheet asks you to copy the reference onto the blank grid using matching intersections. The frame sheet gives a bounding frame and center guide for placing the silhouette before adding details. The partial sheet asks you to complete the blank right-hand portion using the full reference.
Each format trains a different skill: tracing builds familiarity, grids build proportion, frames build placement, and partial completion builds recall. Use the full reference sheet separately for comparison.
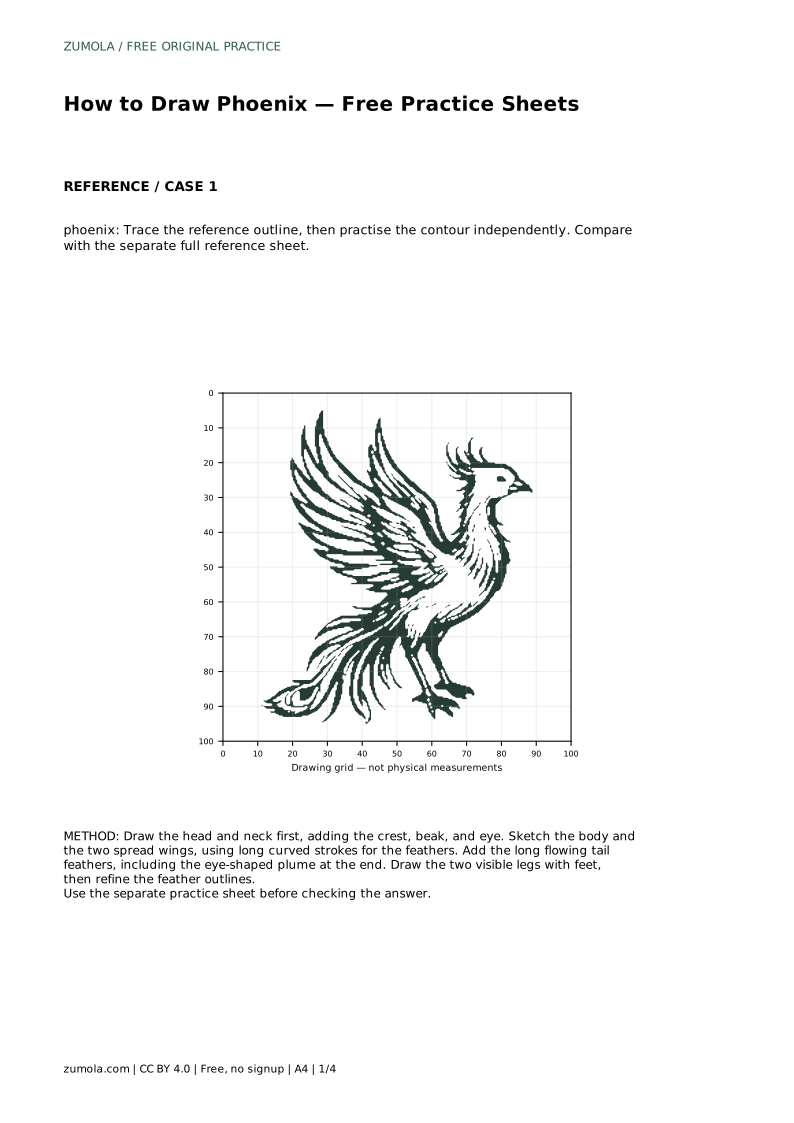
A finished phoenix should show spread feathered wings, layered flame-like feather strokes, long flowing tail feathers with an eye-like plume, a crested head with a beak and small eye, and two visible legs with feet. Other drawings can be correct, so assess these visible features and their proportions rather than pixel-perfect matching.
phoenix: Trace the reference outline, then practise the contour independently. Compare with the separate full reference sheet.
Example solution: preserve spread feathered wings with layered, flame-like feather strokes, long flowing tail feathers ending in an eye-like plume, crested head with a beak and small eye. Other drawings can be correct; assess the visible features and proportions rather than pixel-perfect matching. Draw the head and neck first, adding the crest, beak, and eye. Sketch the body and the two spread wings, using long curved strokes for the feathers. Add the long flowing tail feathers, including the eye-shaped plume at the end. Draw the two visible legs with feet, then refine the feather outlines.
The suggested order is head and neck, body and wings, tail, then legs and refinement. It keeps proportions easier to manage, but you can adjust the order if you keep the same features.
Look for spread feathered wings, layered flame-like feather strokes, long flowing tail feathers with an eye-like plume, a crested head with a beak and small eye, and two visible legs with feet.
Tracing follows the outline, grids copy by intersections, frames place the silhouette, and partial sheets complete a blank portion. Each builds a different drawing skill.
All drawing practice · Free coordinate paper
Original resources · CC BY 4.0 · Free for personal and classroom use with attribution.