Reference diagrams
LETTER · Download PDF
A4 · Download PDF
Free original resources
Learn to draw a bean by tracing its kidney-shaped outline, building a smooth contour, and adding small surface dimples. Compare your work with a reference sheet.
Four original cases, with reference diagrams, practice sheets and worked answers. Everything is free; no signup required.
LETTER · Download PDF
A4 · Download PDF
LETTER · Download PDF
A4 · Download PDF
LETTER · Download PDF
A4 · Download PDF
Use A4 or US Letter to match your printer. Use the stated values and conditions to solve each exercise; diagrams are not physical measuring rulers.
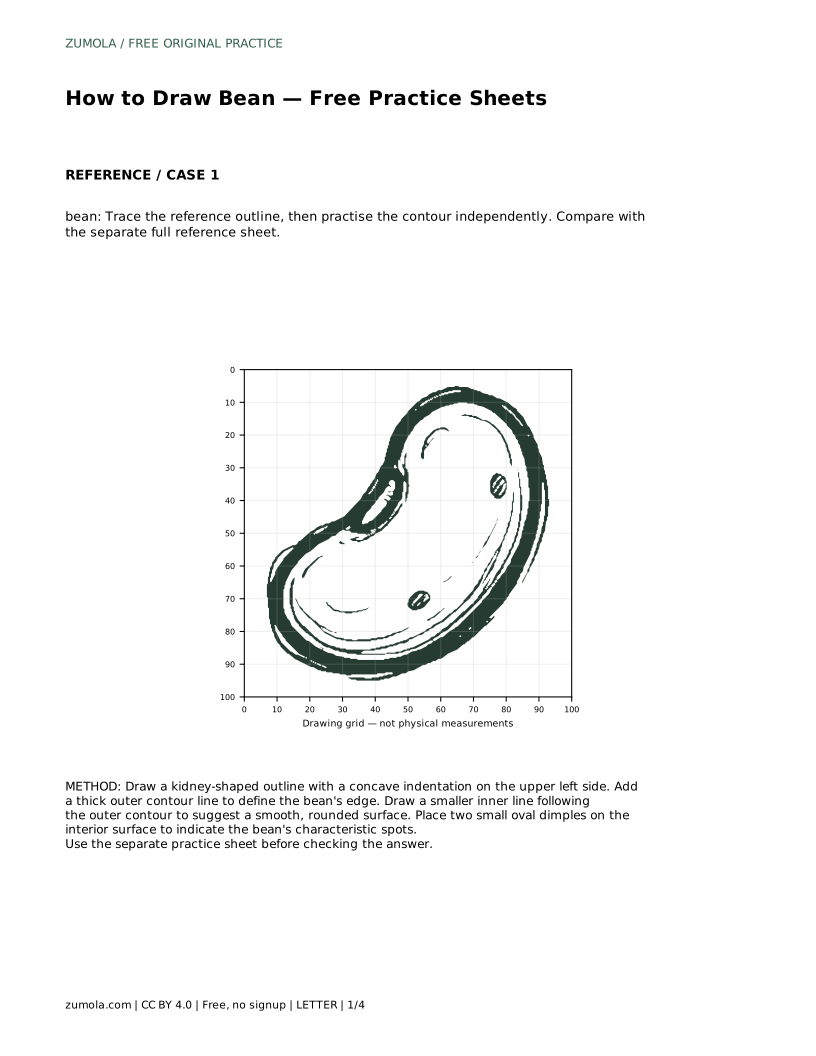
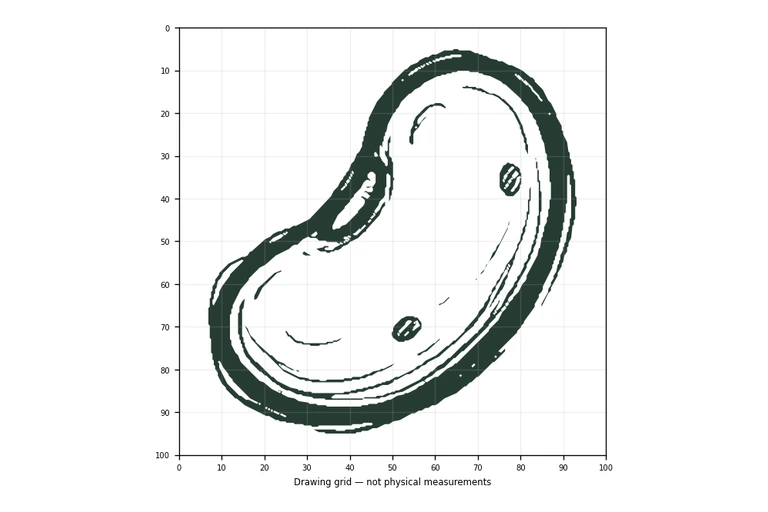
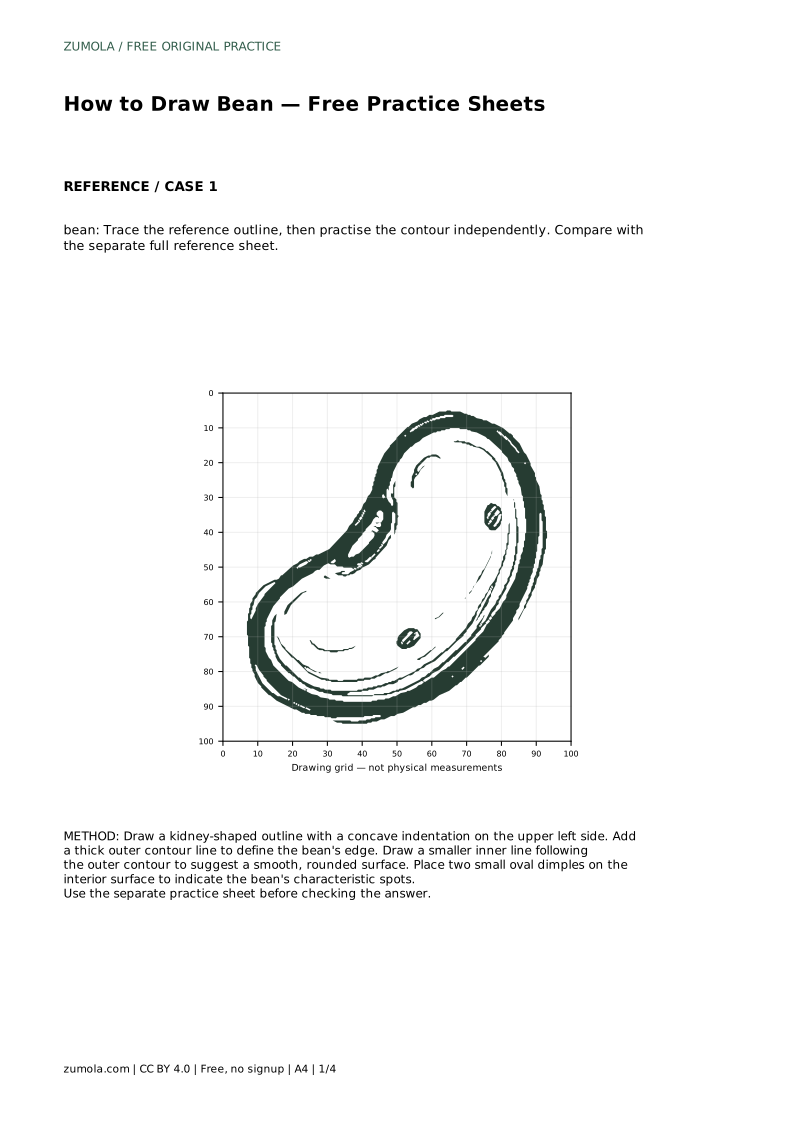
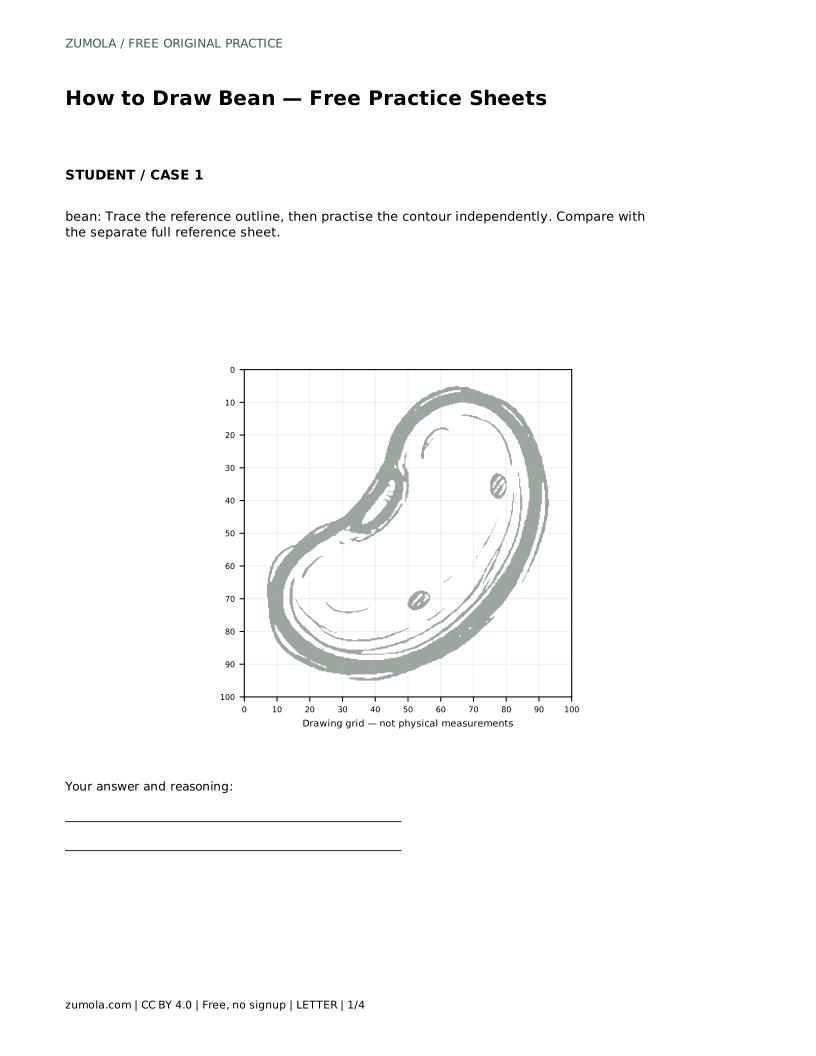
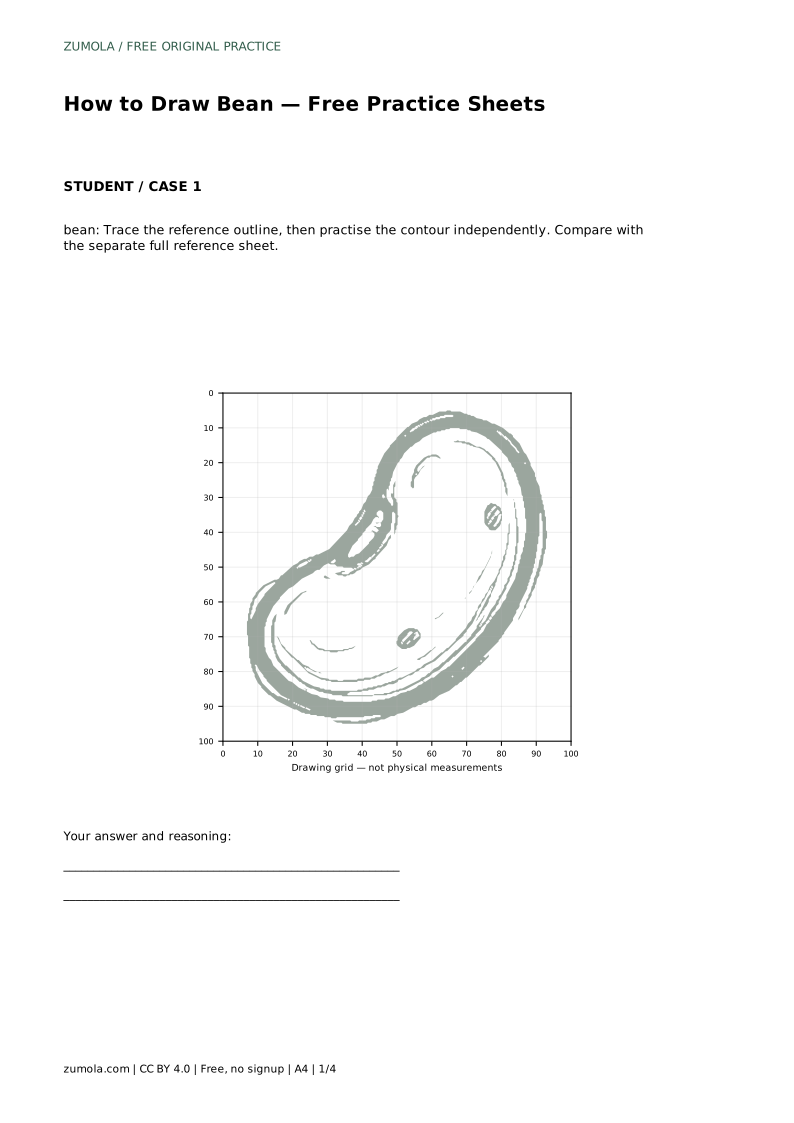
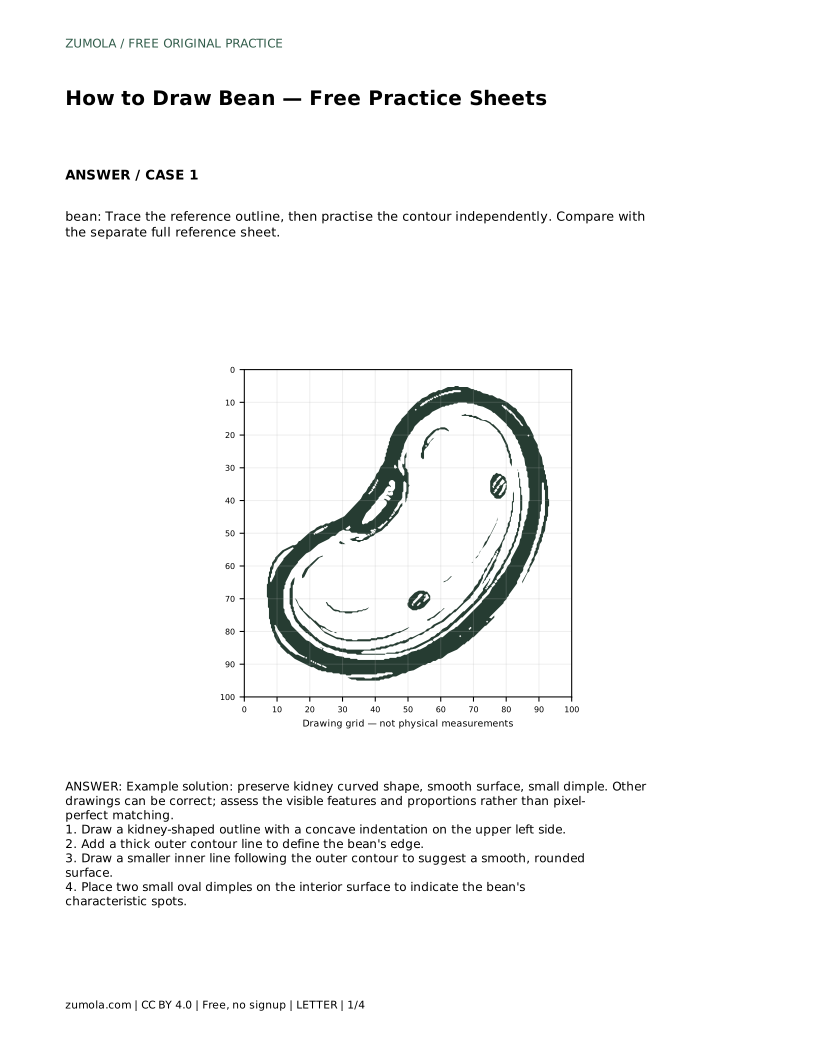
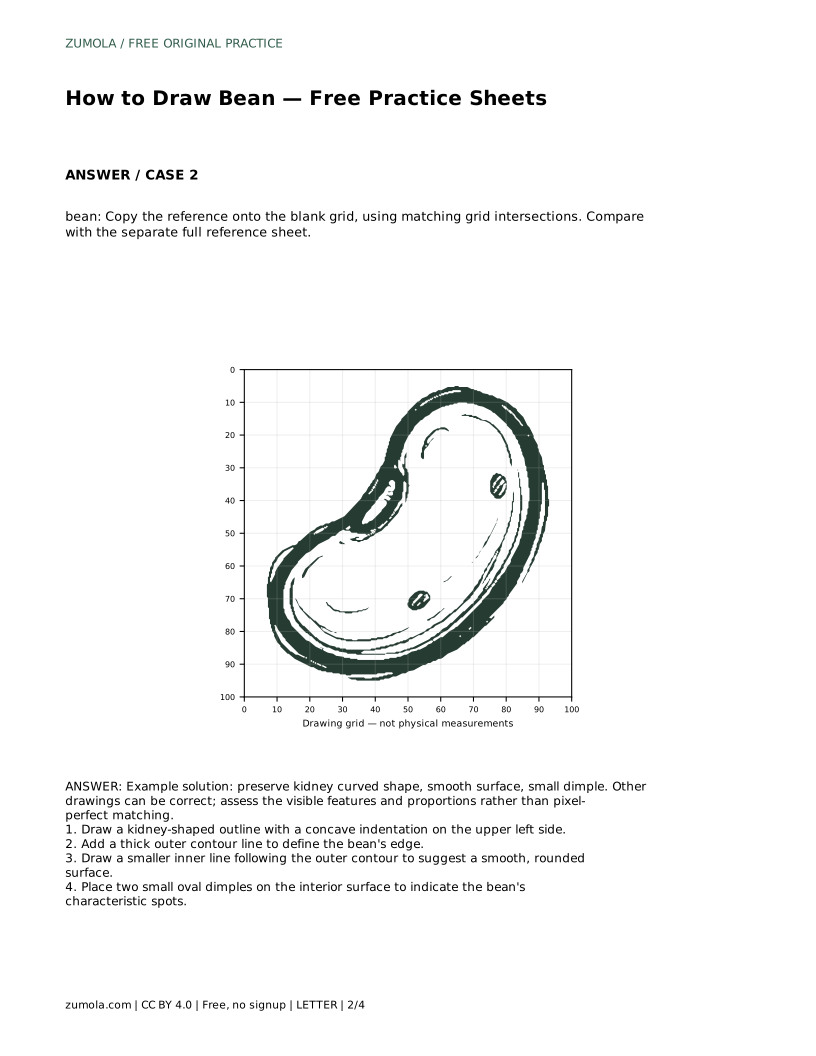
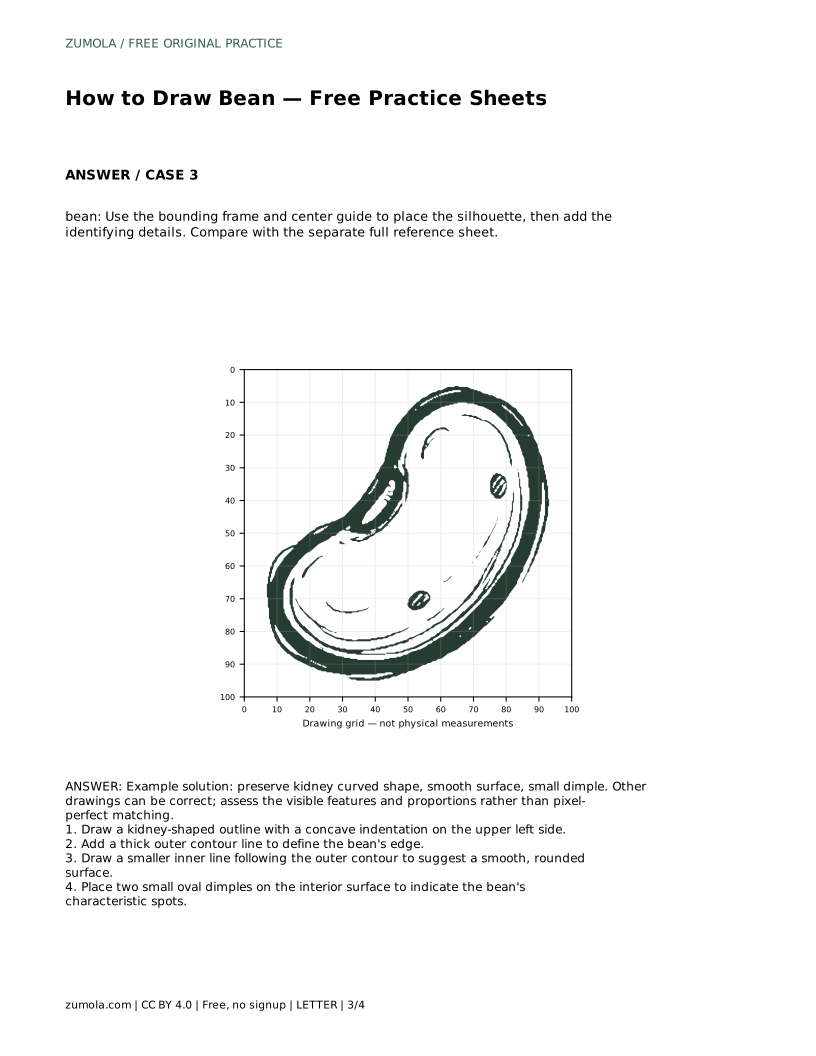
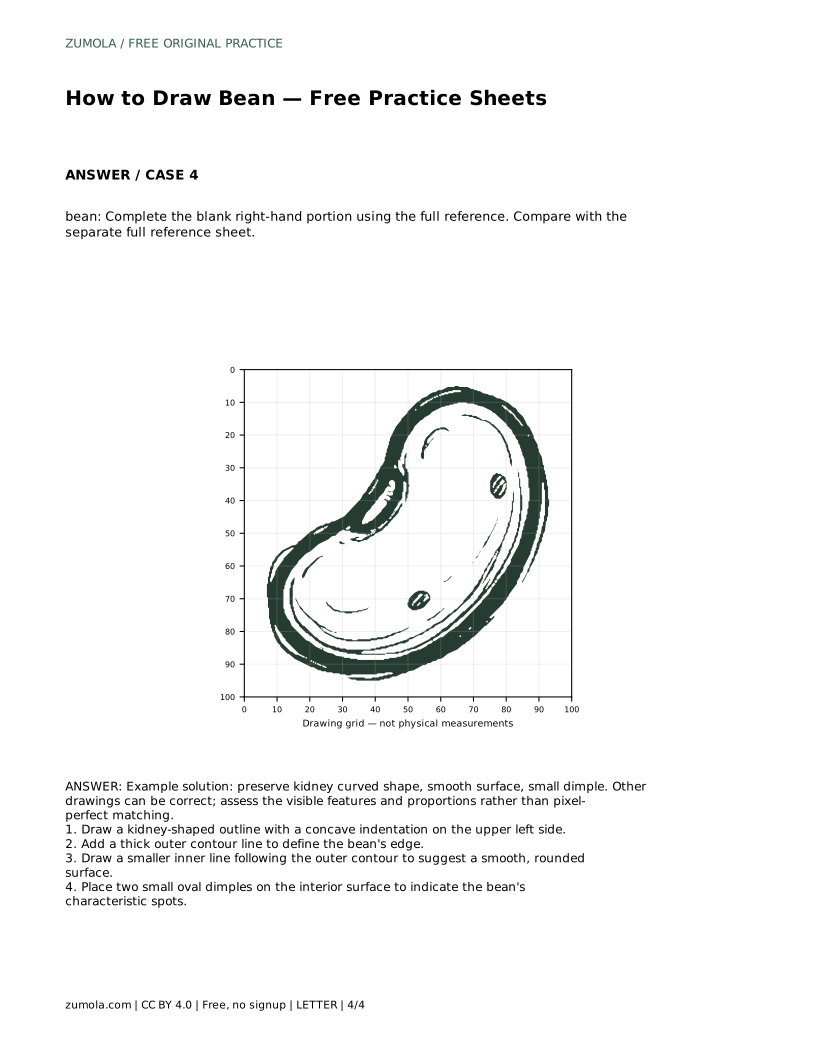
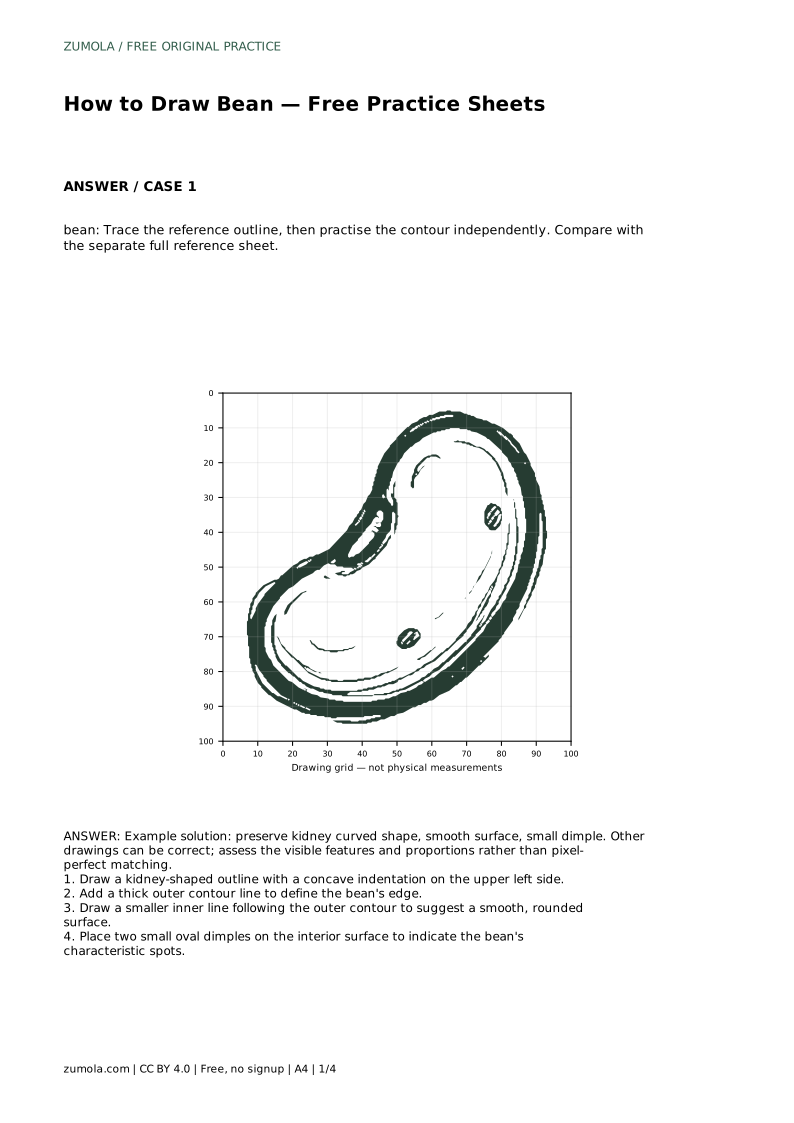
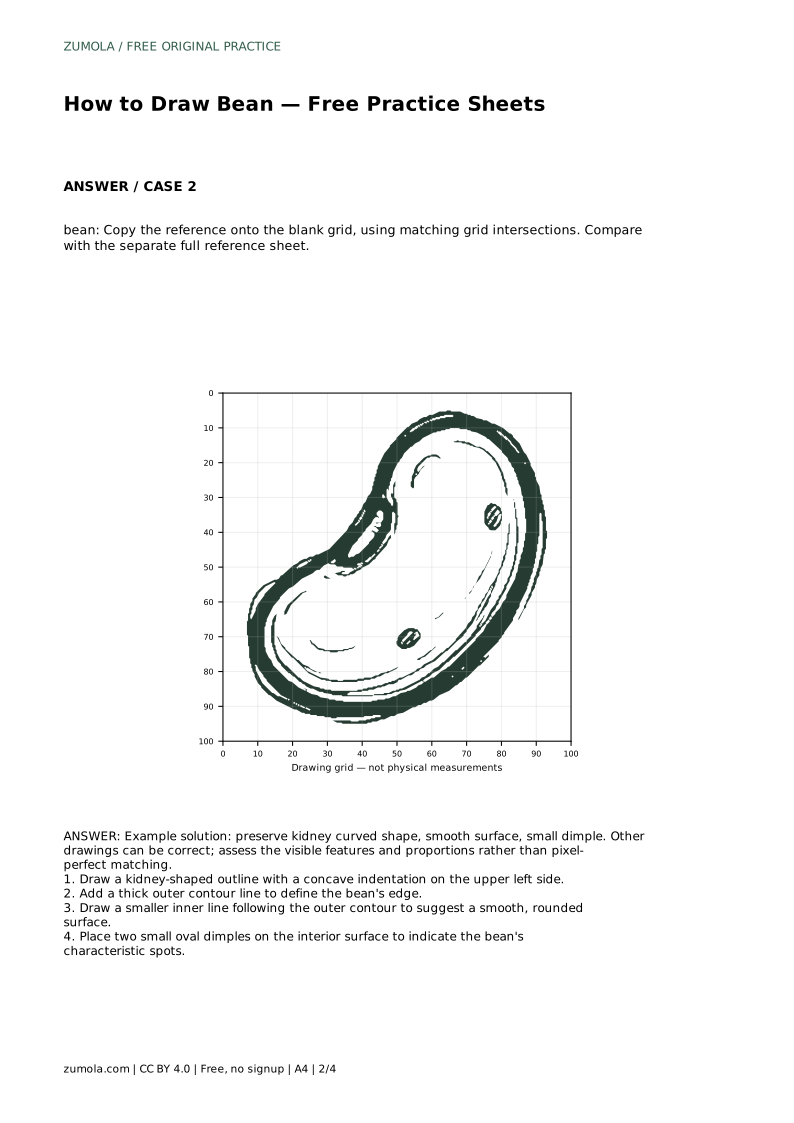
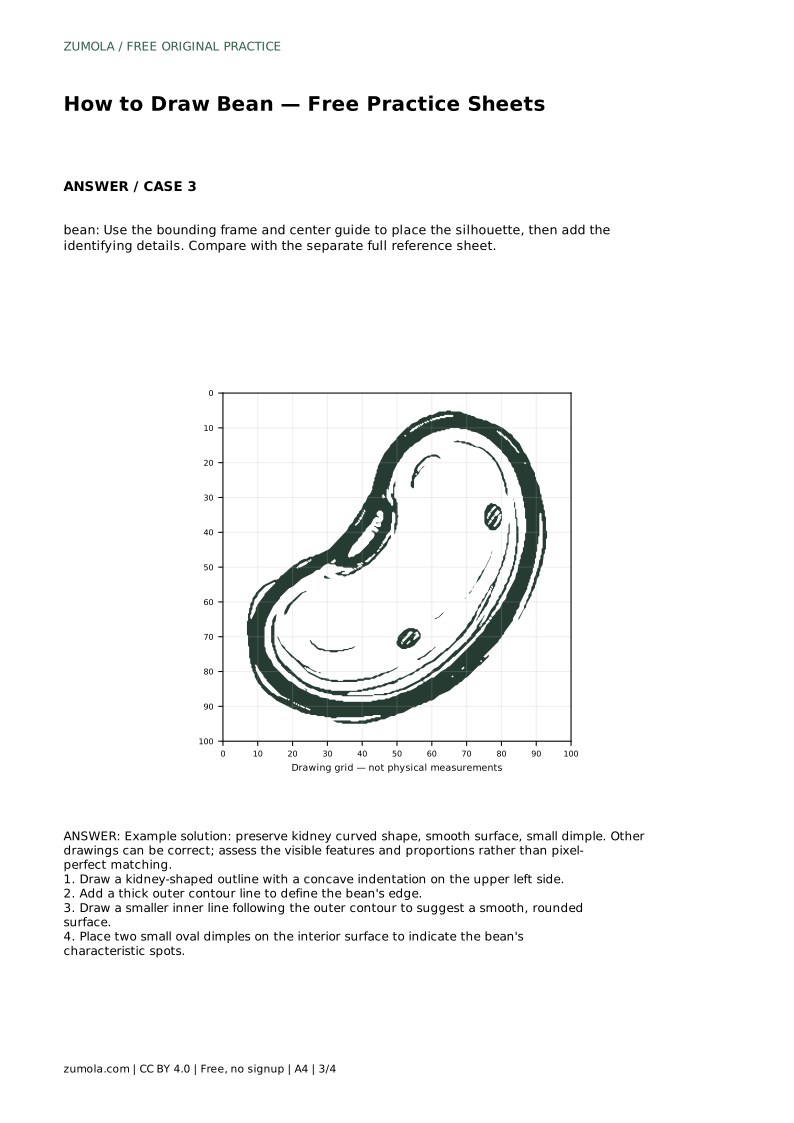
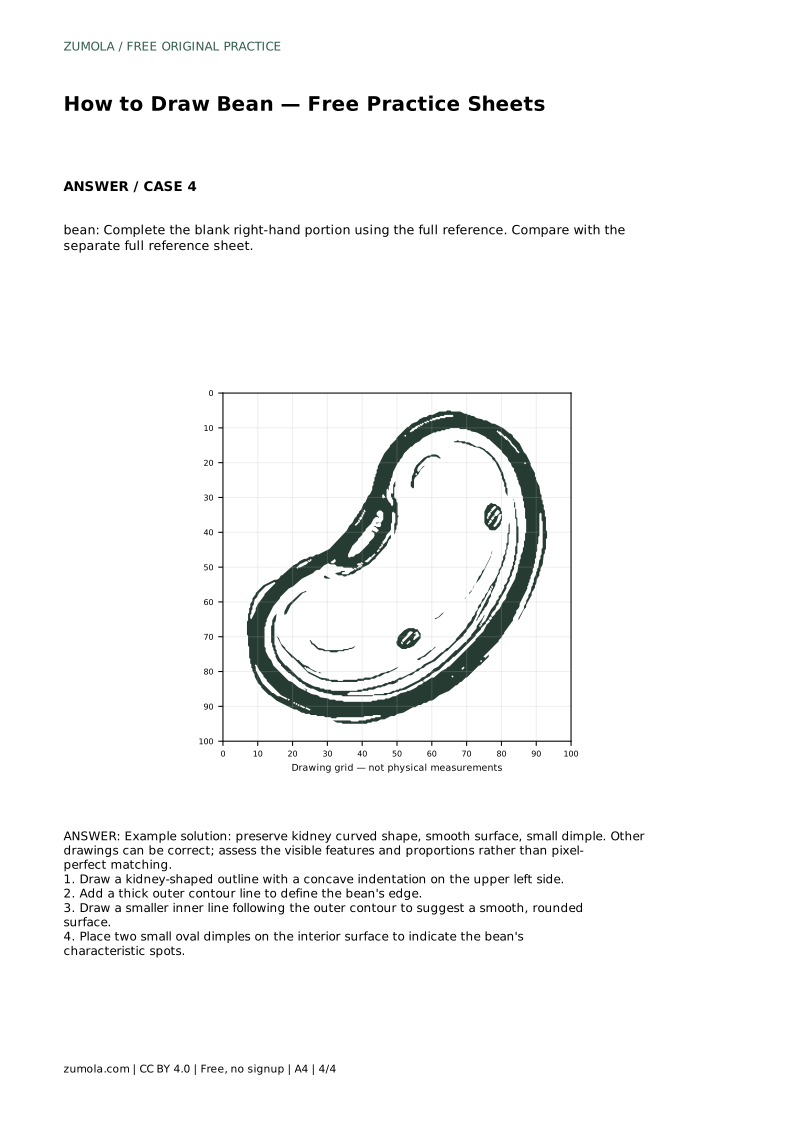
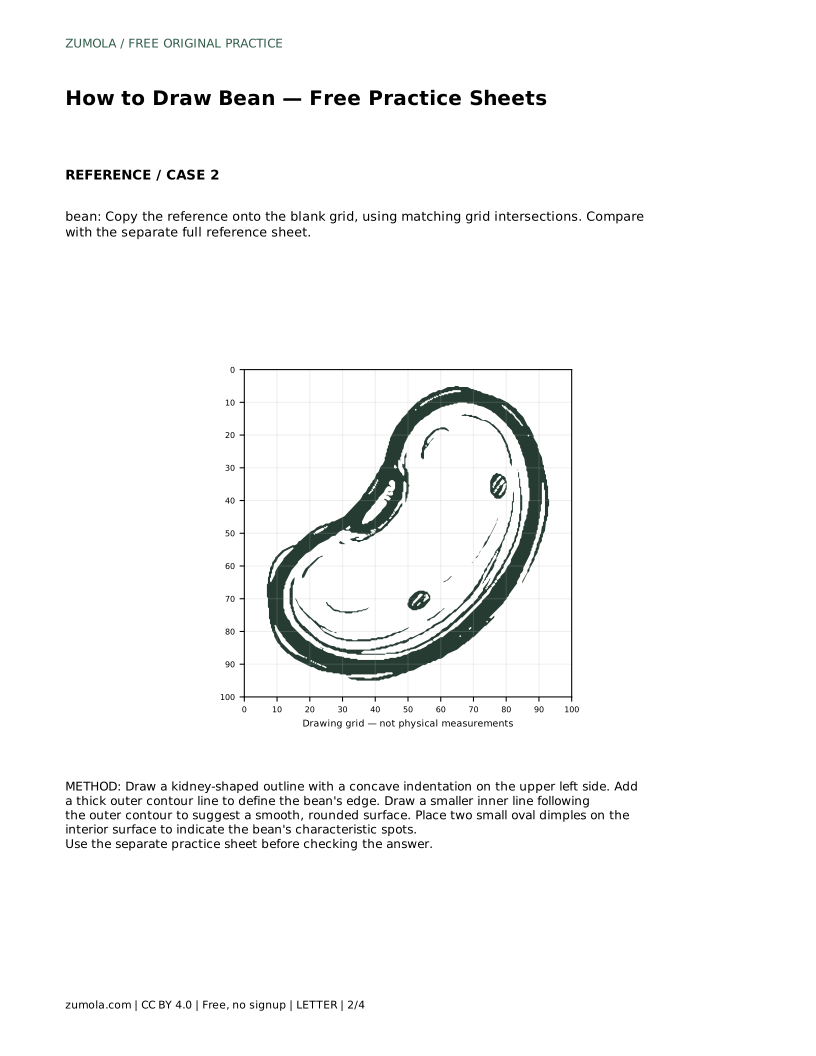
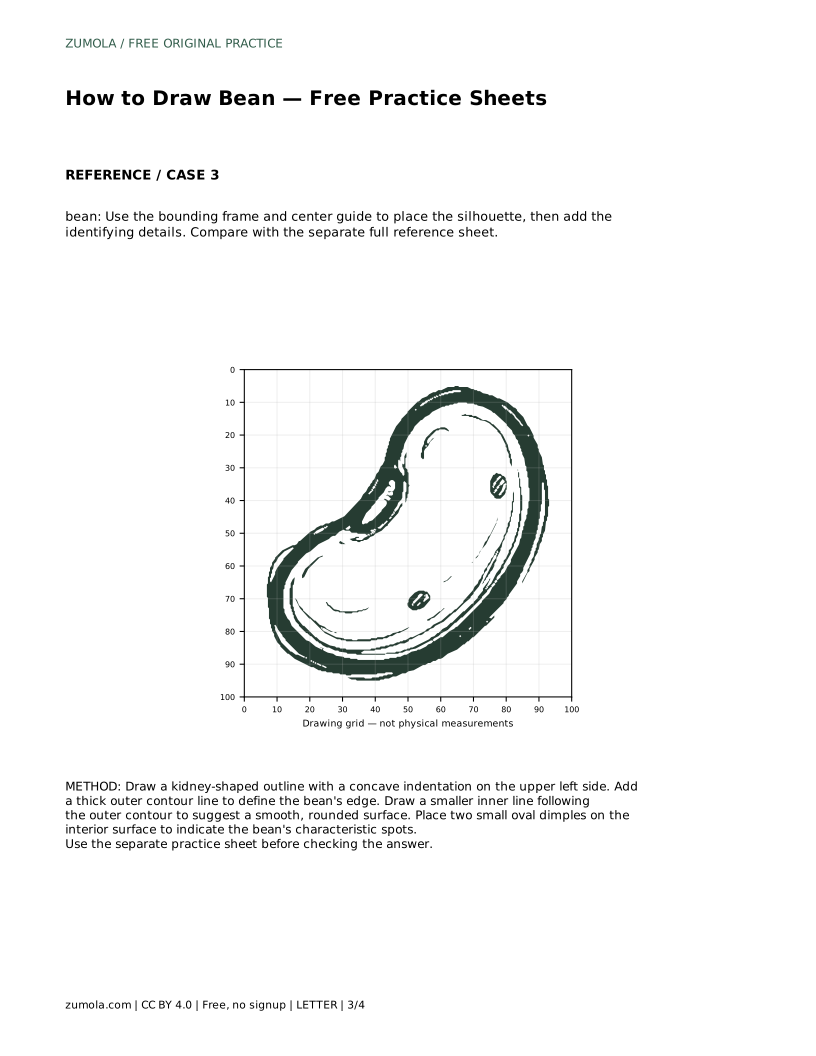
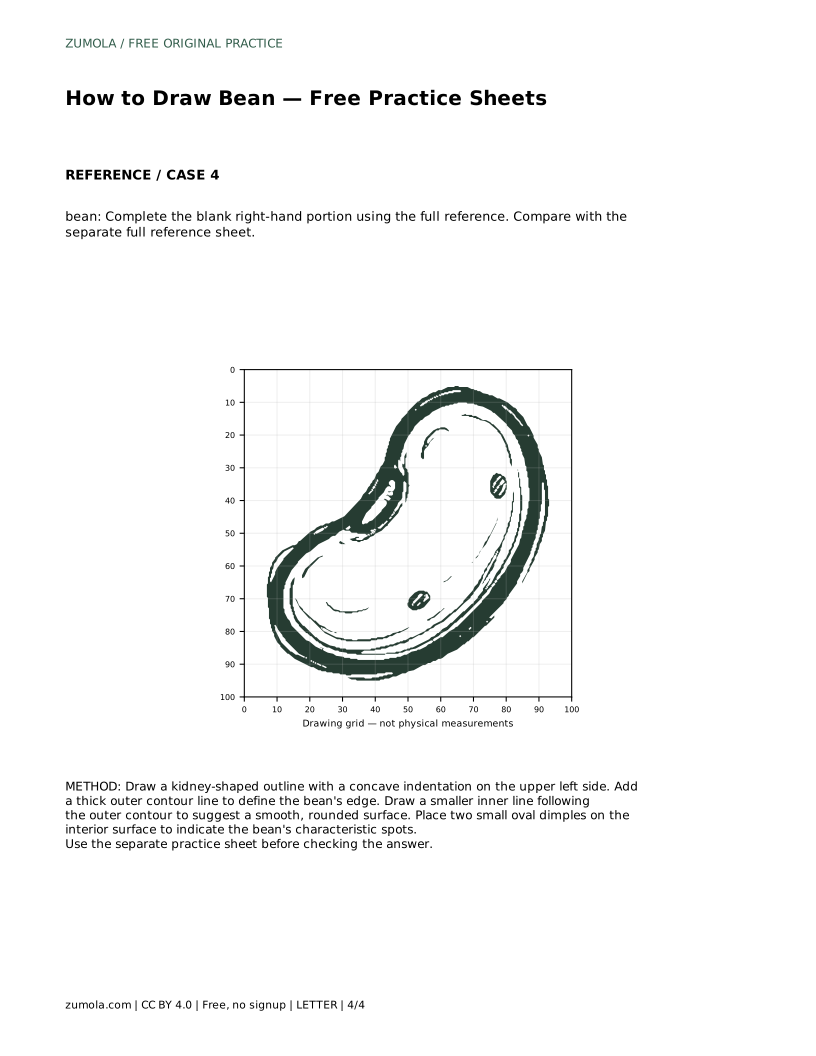
Drawing a bean is a small exercise in observation: the outline curves unevenly, one side dips inward, and the surface looks smooth rather than flat. This page explains how to trace a reference outline, then practise the contour independently. You will learn to keep the kidney shape, thicken the outer edge, add an inner line that suggests roundness, and place two small oval dimples. Compare your finished drawing with the separate full reference sheet.
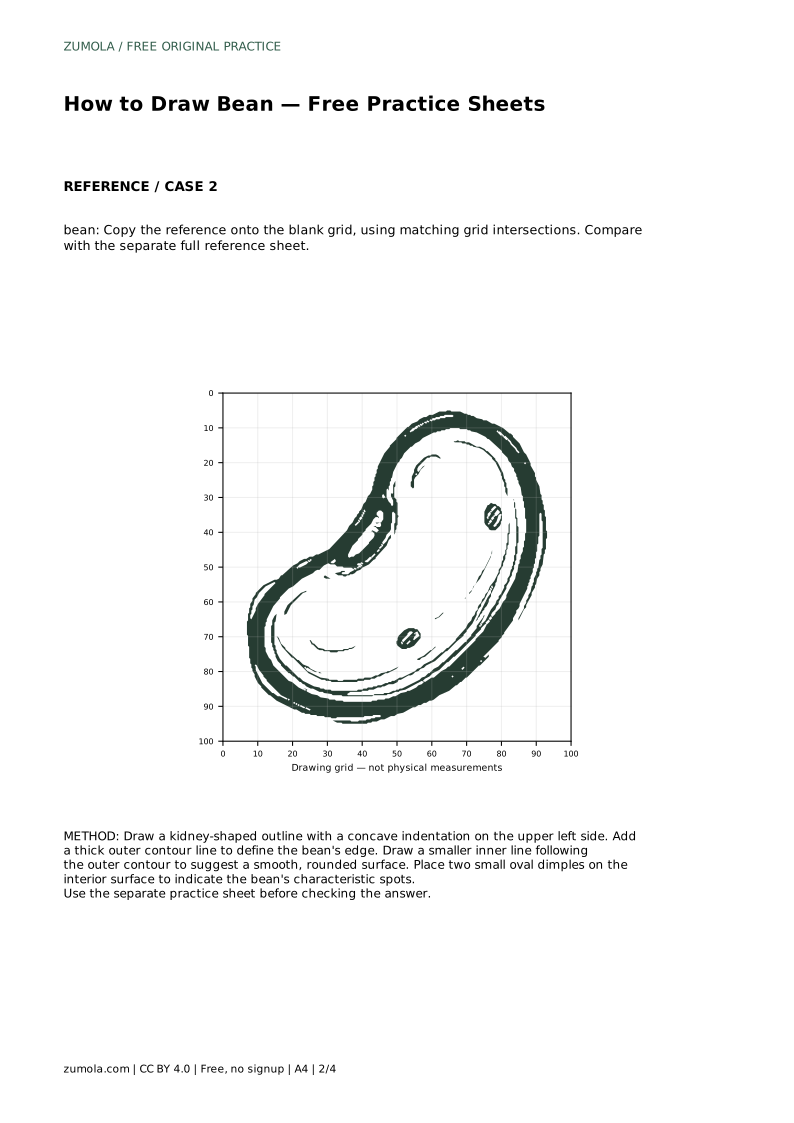
A bean's silhouette is not a circle or an oval. It is a curved shape with a concave indentation, usually on the upper left side. Begin by looking at the reference outline and finding that dip before you draw anything else. The dip controls the whole proportion: if it sits too high, the bean looks like a bent oval; if it sits too low, the shape loses its characteristic kidney curve.
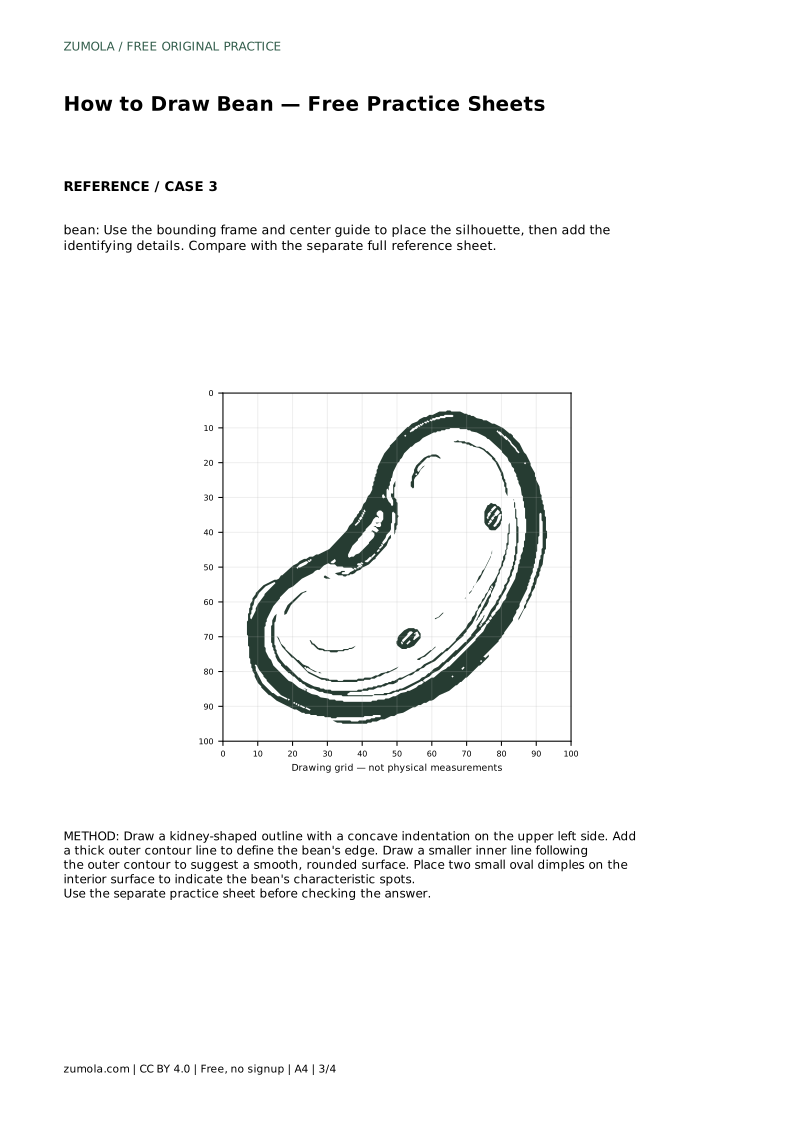
Trace the reference outline first. Keep your pencil moving in one continuous line where possible, and let the curve change direction gradually. The lower edge should bulge outward, while the upper edge rises toward the indentation. Do not rush to add details; the outline is the foundation.
Once the outline is in place, add a thick outer contour line to define the bean's edge. This line is not a second shape; it is the same edge drawn with more weight. Keep the thickness even, and do not let it wander away from the original outline. A heavy, consistent edge makes the bean read as a solid object rather than a flat sketch.
Next, draw a smaller inner line that follows the outer contour. This line suggests a smooth, rounded surface. Leave a narrow gap between the inner line and the outer edge, and keep the gap roughly even around the shape. The inner line should echo the kidney curve, including the indentation, without crossing the outer contour.
The bean's surface has two small oval dimples that indicate its characteristic spots. Place them on the interior surface, inside the inner line, not on the outer edge. Their position matters more than their exact size: they should sit apart from each other and away from the indentation, so the smooth surface remains visible around them.
Draw each dimple as a small oval with a soft edge. Avoid making them perfectly circular or identical; a bean's spots are slightly irregular. Keep them light so they read as surface marks rather than holes. When you finish, compare your drawing with the separate full reference sheet and check the kidney curve, the smooth contour, and the small dimple placement.
bean: Trace the reference outline, then practise the contour independently. Compare with the separate full reference sheet.
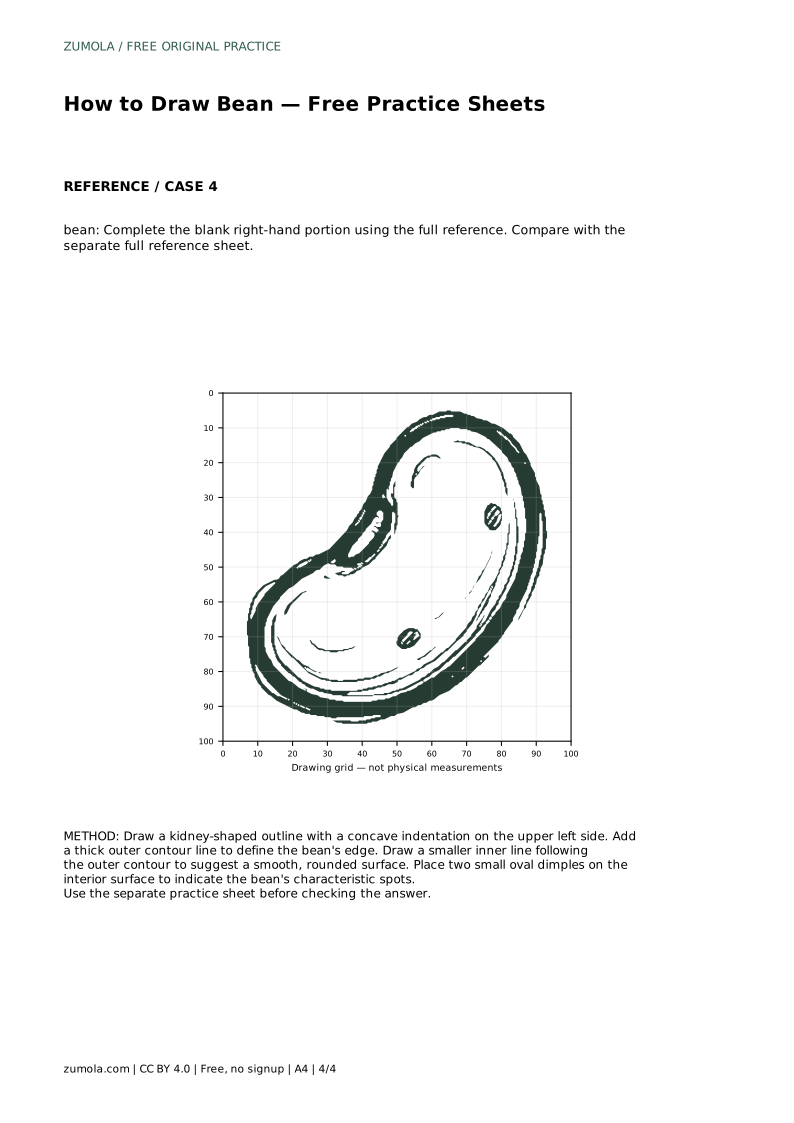
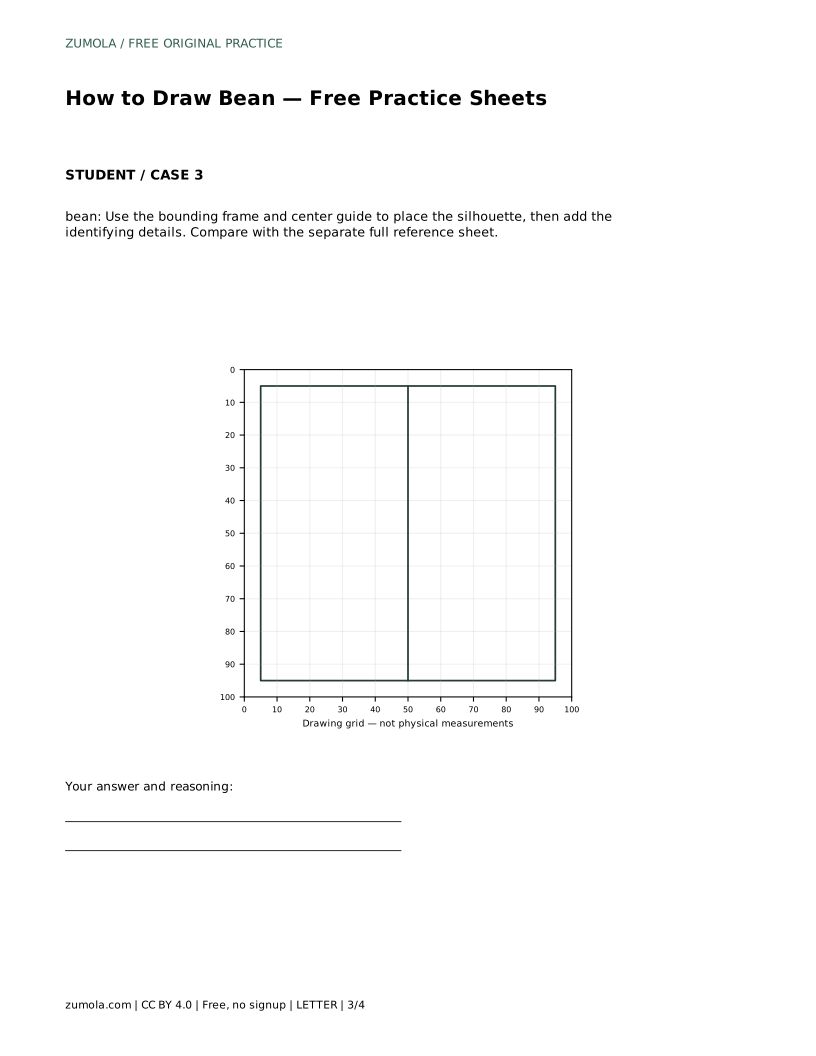
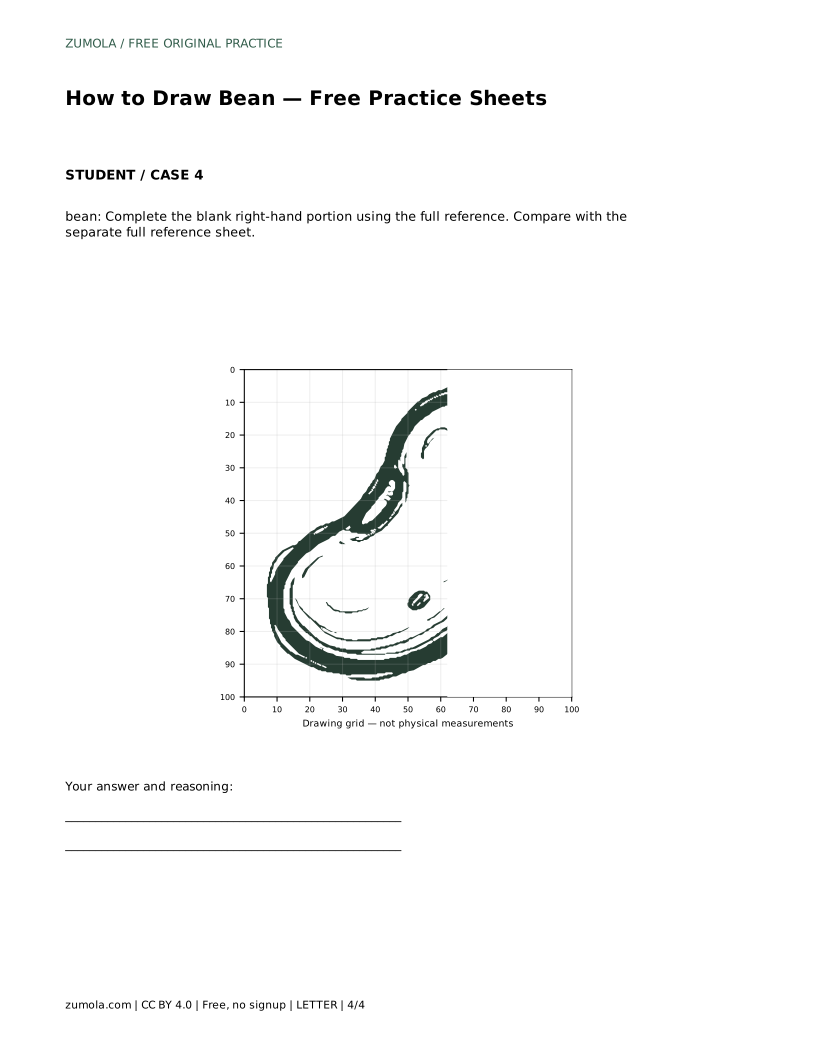
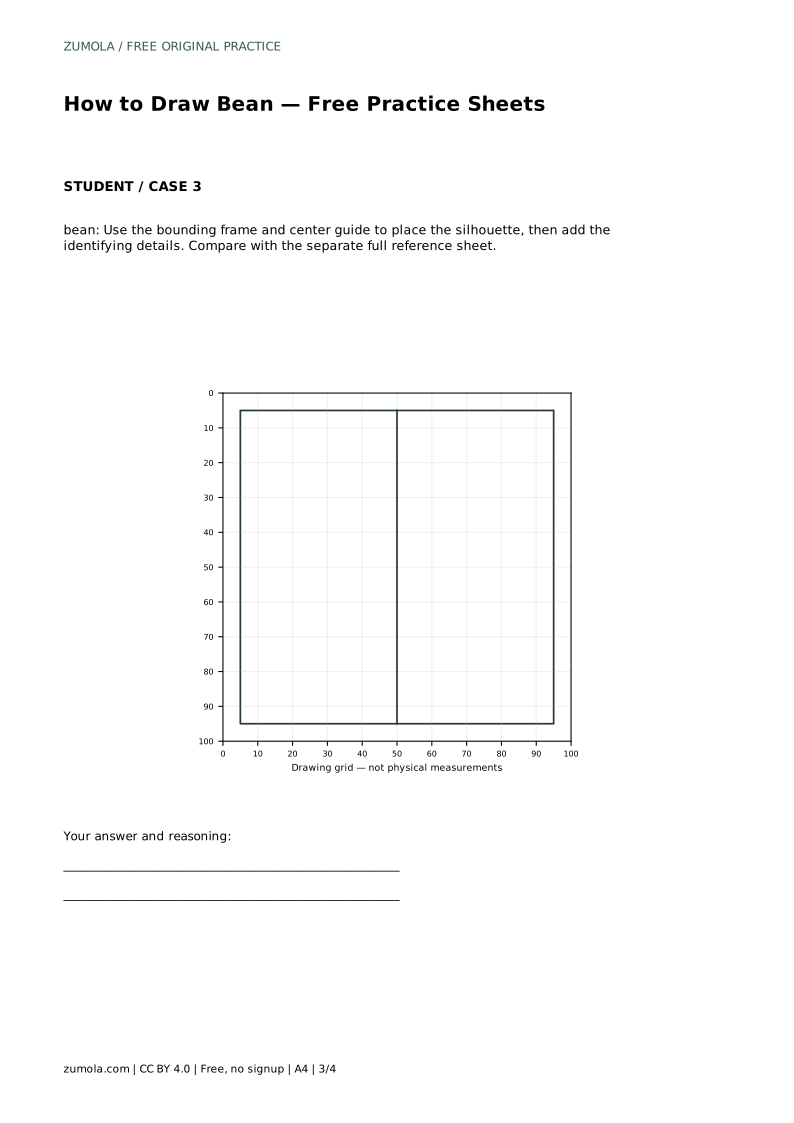
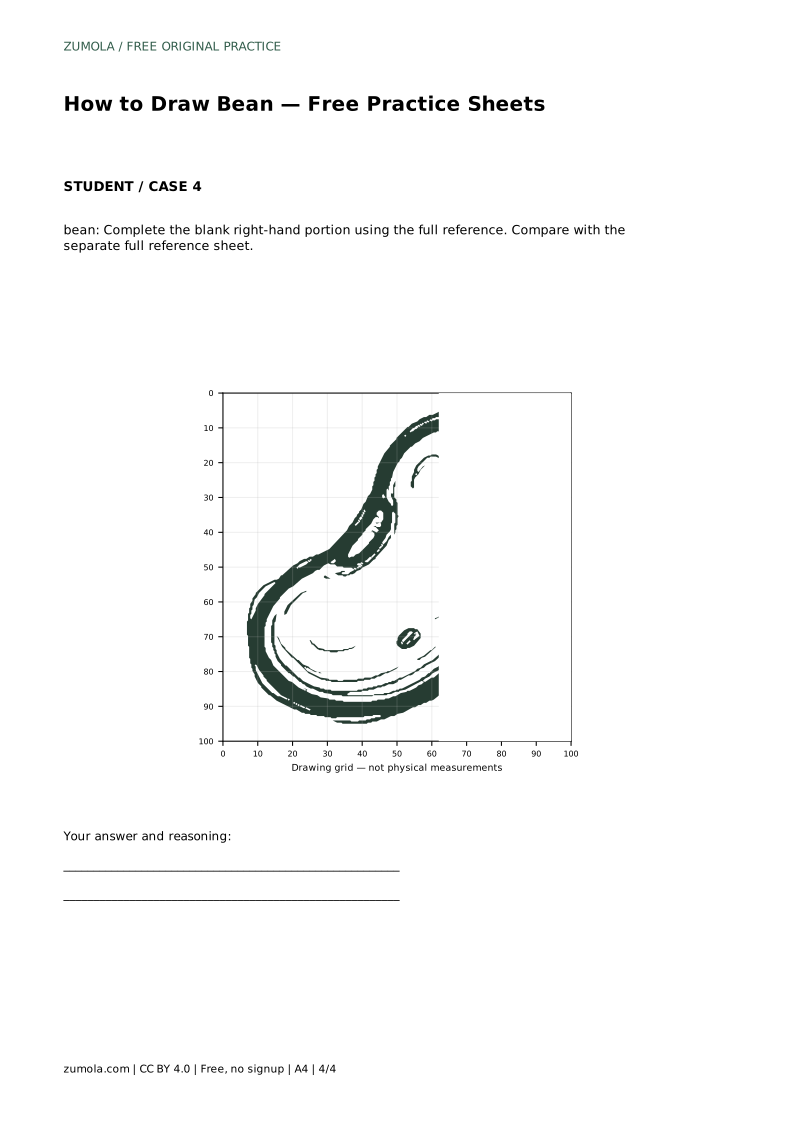
Example solution: preserve kidney curved shape, smooth surface, small dimple. Other drawings can be correct; assess the visible features and proportions rather than pixel-perfect matching. Draw a kidney-shaped outline with a concave indentation on the upper left side. Add a thick outer contour line to define the bean's edge. Draw a smaller inner line following the outer contour to suggest a smooth, rounded surface. Place two small oval dimples on the interior surface to indicate the bean's characteristic spots.
No. Other drawings can be correct. Assess the visible features and proportions, such as the kidney curve, smooth surface, and small dimple, rather than pixel-perfect matching.
Check that the outline has a concave indentation on the upper left side, the outer contour is thick and even, the inner line follows the outer contour, and two small oval dimples sit on the interior surface.
Yes. Trace the reference outline once, then practise the contour independently on a blank sheet. Compare both attempts with the separate full reference sheet.
All drawing practice · Free coordinate paper
Original resources · CC BY 4.0 · Free for personal and classroom use with attribution.