Reference diagrams
LETTER · Download PDF
A4 · Download PDF
Free original resources
Learn to draw a hot cocoa mug with a tapered cylindrical body, oval rim, C-shaped handle, and cocoa surface swirls. Practice with tracing, grid, and frame sheets.
Four original cases, with reference diagrams, practice sheets and worked answers. Everything is free; no signup required.
LETTER · Download PDF
A4 · Download PDF
LETTER · Download PDF
A4 · Download PDF
LETTER · Download PDF
A4 · Download PDF
Use A4 or US Letter to match your printer. Use the stated values and conditions to solve each exercise; diagrams are not physical measuring rulers.
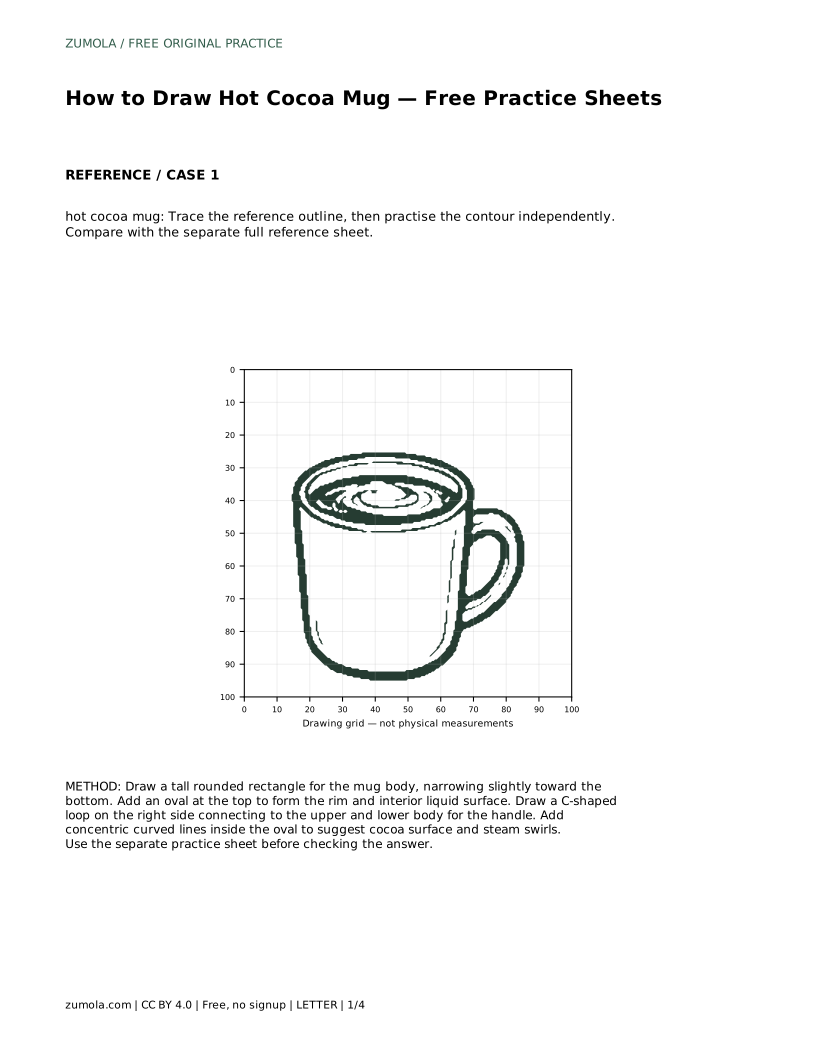
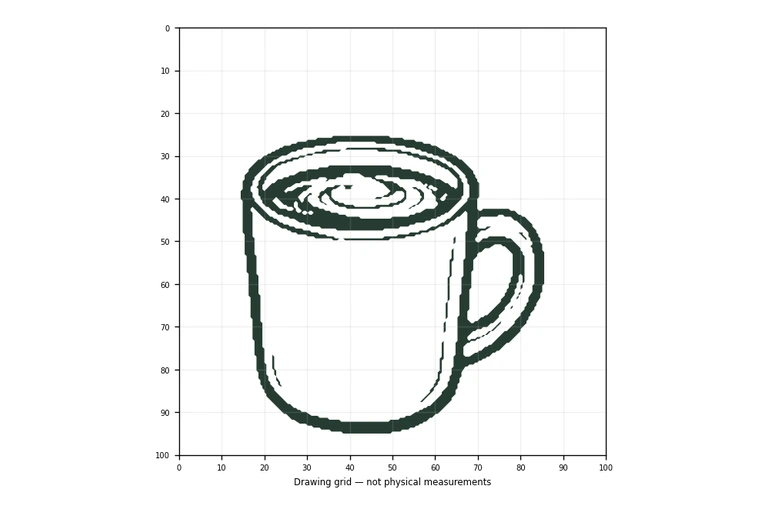
A hot cocoa mug is a good subject for learning how a cylinder looks from slightly above. You need a body that narrows toward the base, an oval rim that shows the liquid surface, and a handle that connects cleanly to the side. This guide explains the order to draw those parts and how to judge your result fairly, since more than one drawing can be correct.
Start with the largest shape: the mug body. Draw a tall rounded rectangle, then narrow it slightly toward the bottom so the sides taper inward. This taper suggests a vessel resting on a surface rather than a flat card. Keep the left and right sides roughly balanced so the mug does not lean.
Next, add an oval at the top. The oval represents the rim seen from slightly above, and its interior is the cocoa surface. Make the oval wide enough to sit across the full top of the body, with its lower curve overlapping the body slightly. A narrow oval reads as a mug seen almost level; a wider oval reads as a view from higher above. Choose one viewpoint and keep it consistent.
Draw a C-shaped loop on the right side of the body. The handle should connect at two points: one near the upper body and one near the lower body, leaving a clear opening between them. Keep the loop's thickness fairly even so it looks like a handle rather than a thin wire or a solid block.
Inside the oval, add concentric curved lines to suggest the cocoa surface. These curves should follow the oval's shape rather than run straight across. A few short curved lines rising above the rim can suggest steam, but keep them light and separate from the rim so the mug's outline stays readable.
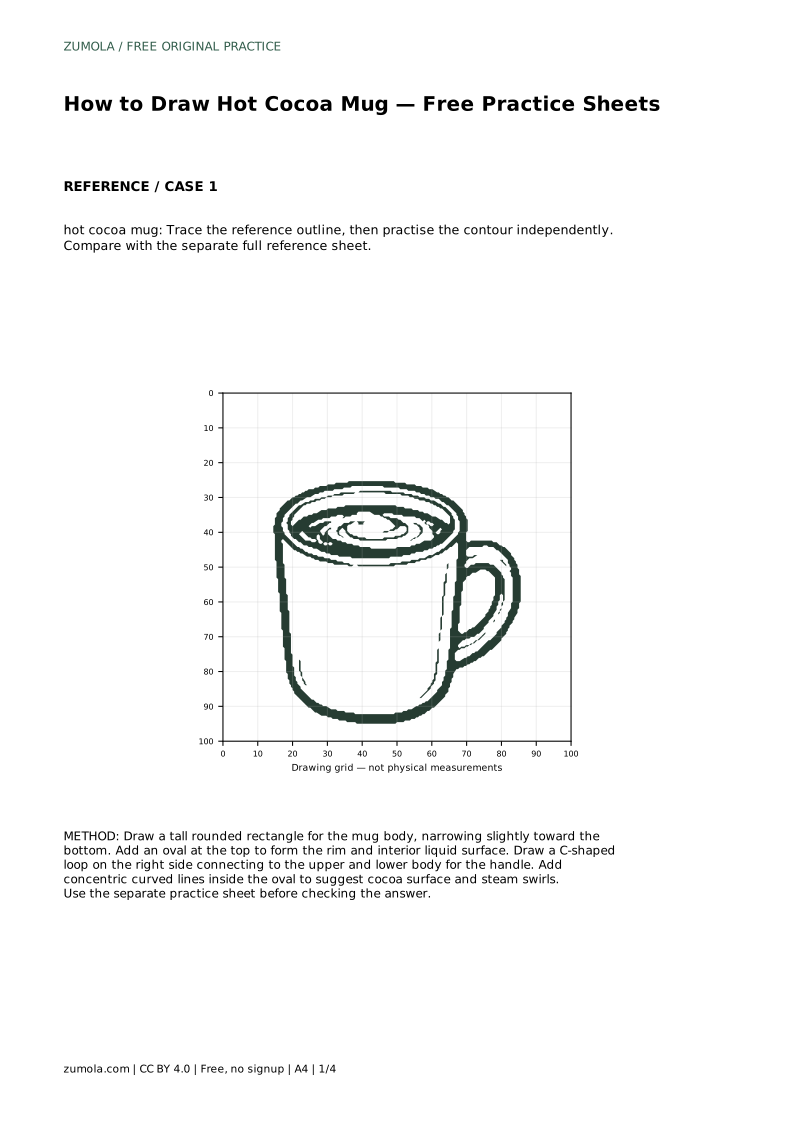
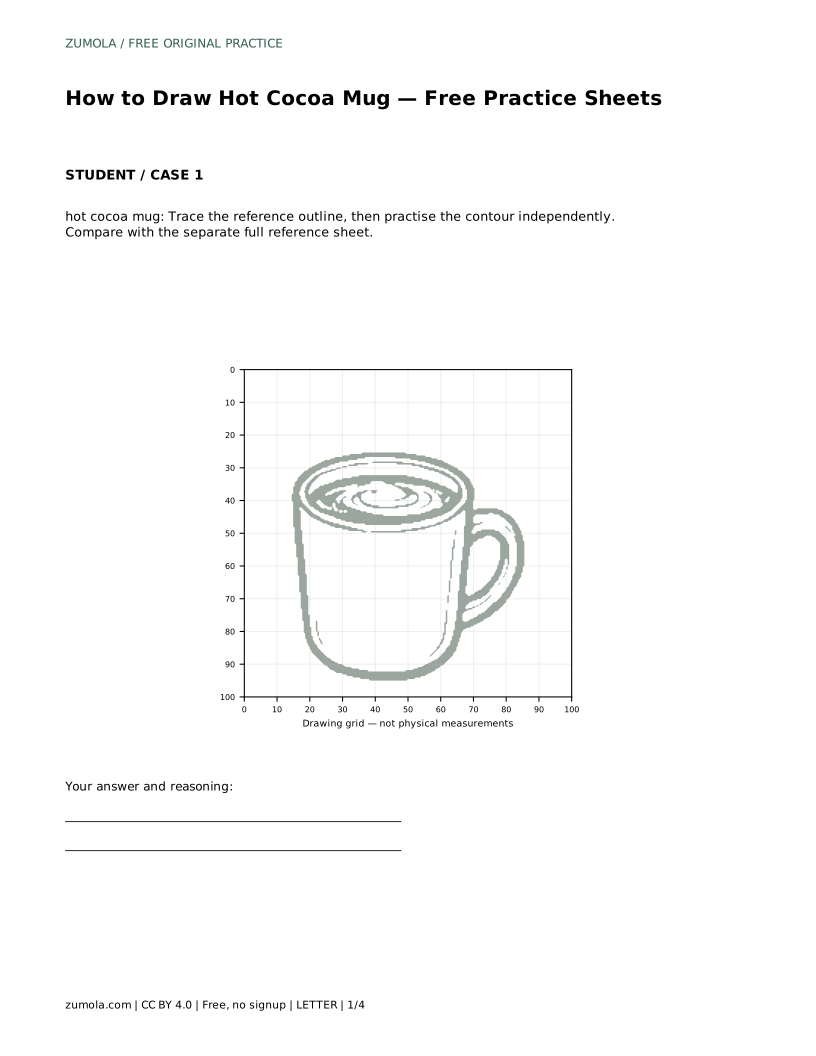
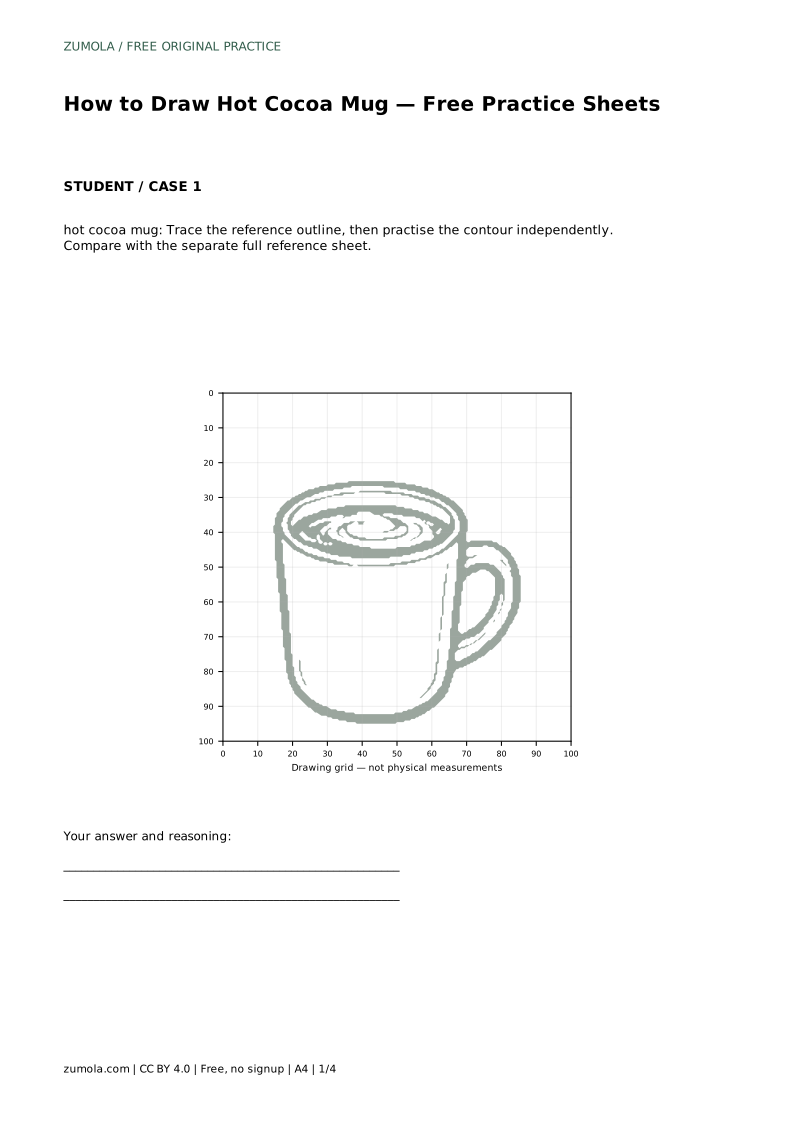
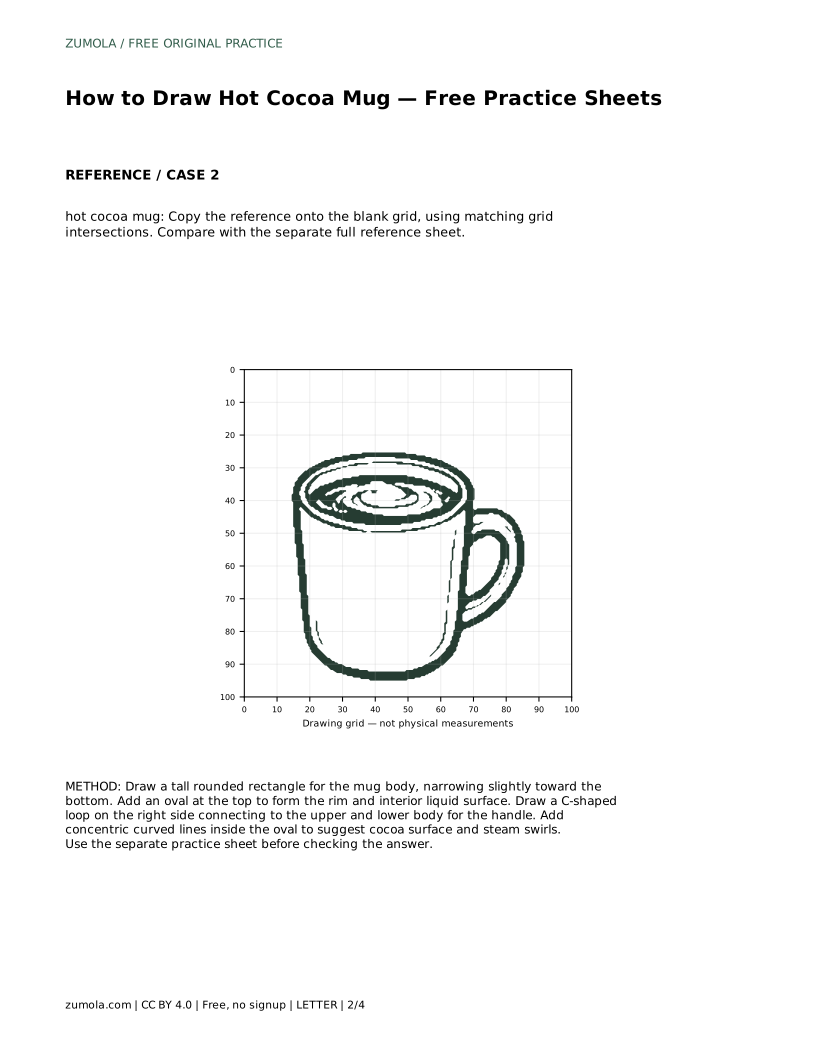
Tracing a reference outline helps you feel the contour before drawing it independently. After tracing, put the reference aside and redraw the mug from memory, then compare your drawing with the separate full reference sheet. The comparison is about visible features and proportions, not pixel-perfect matching.
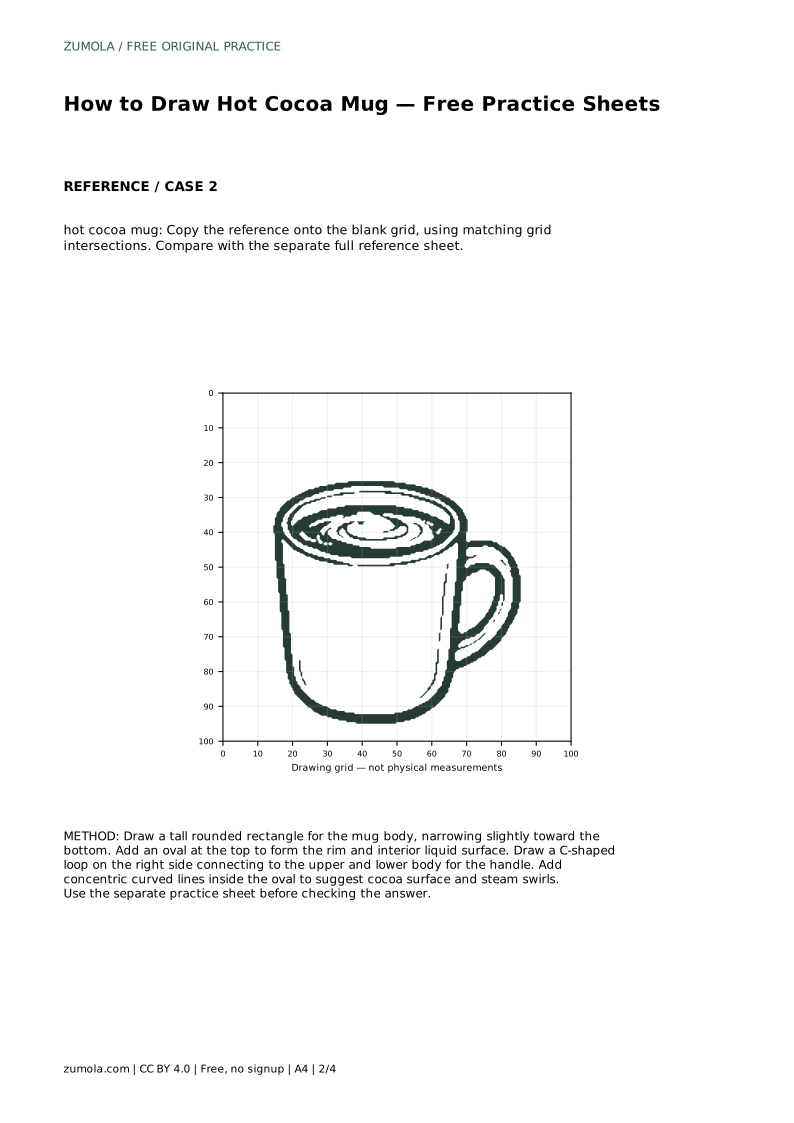
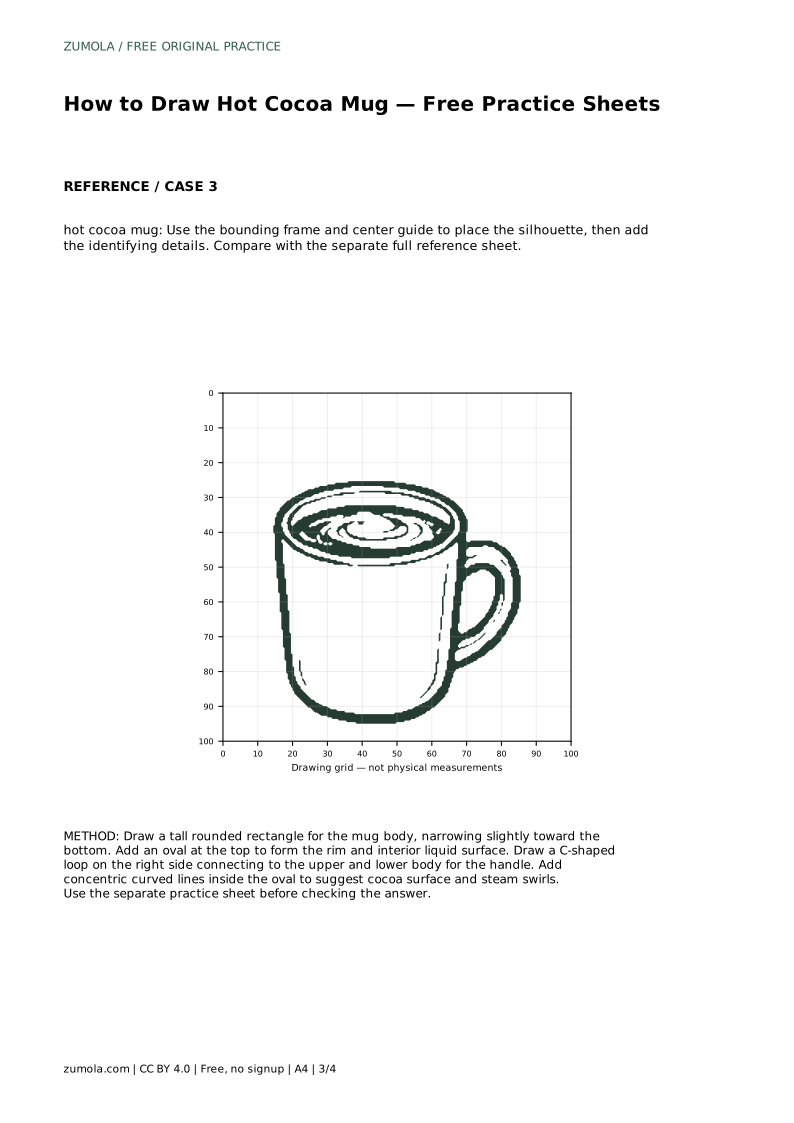
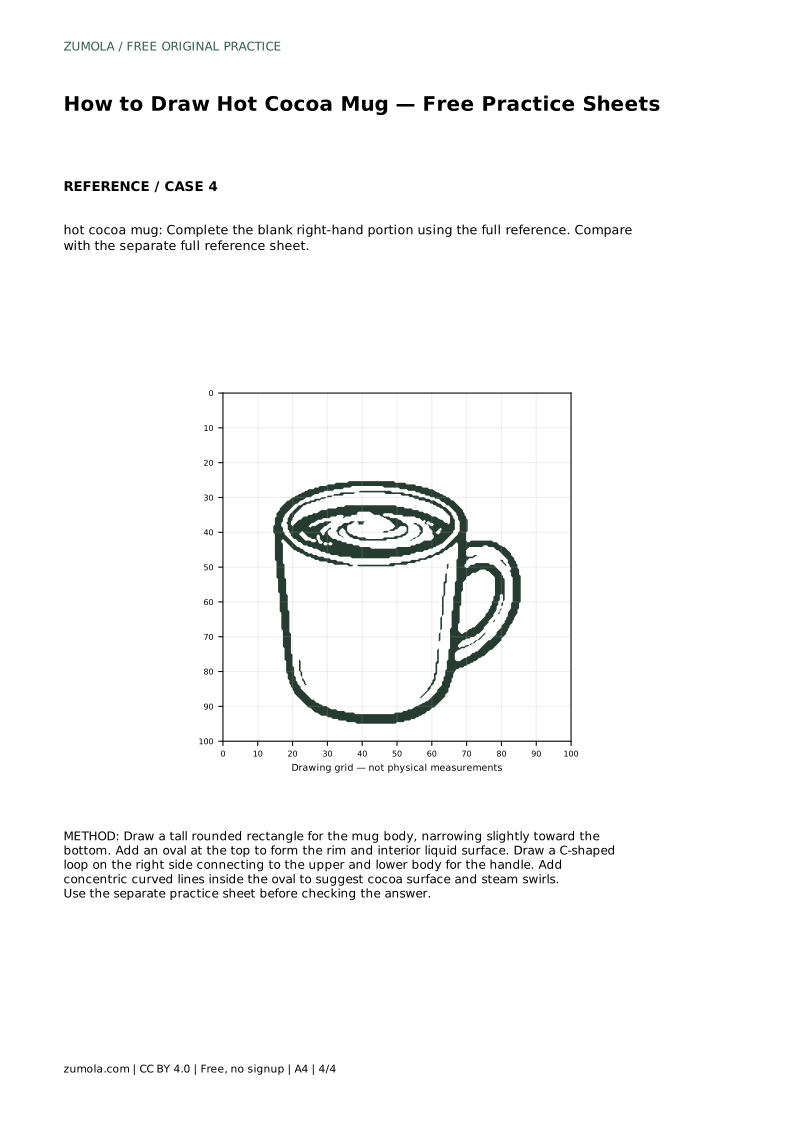
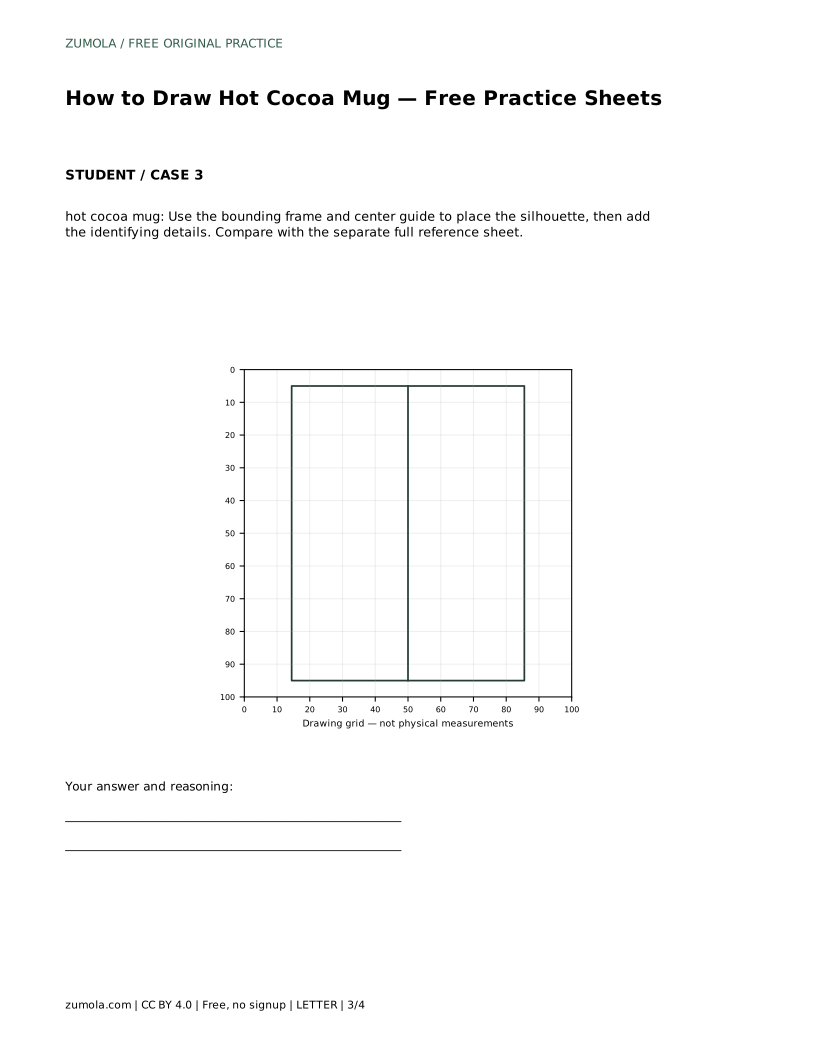
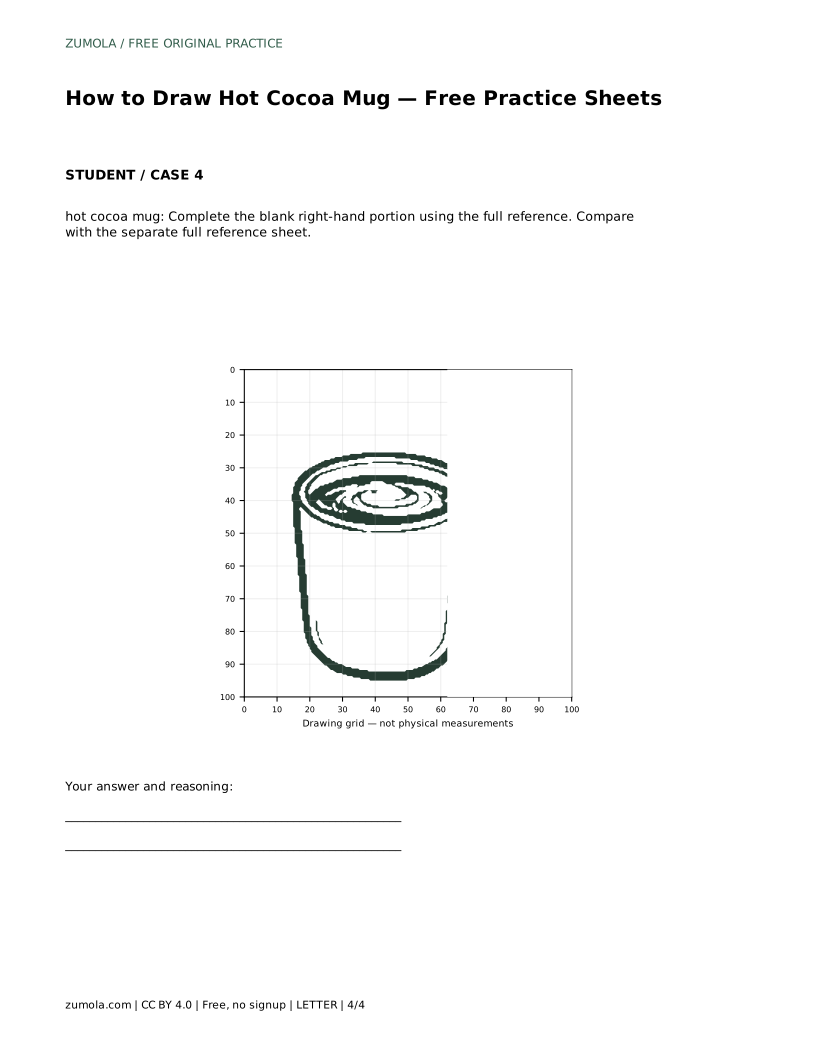
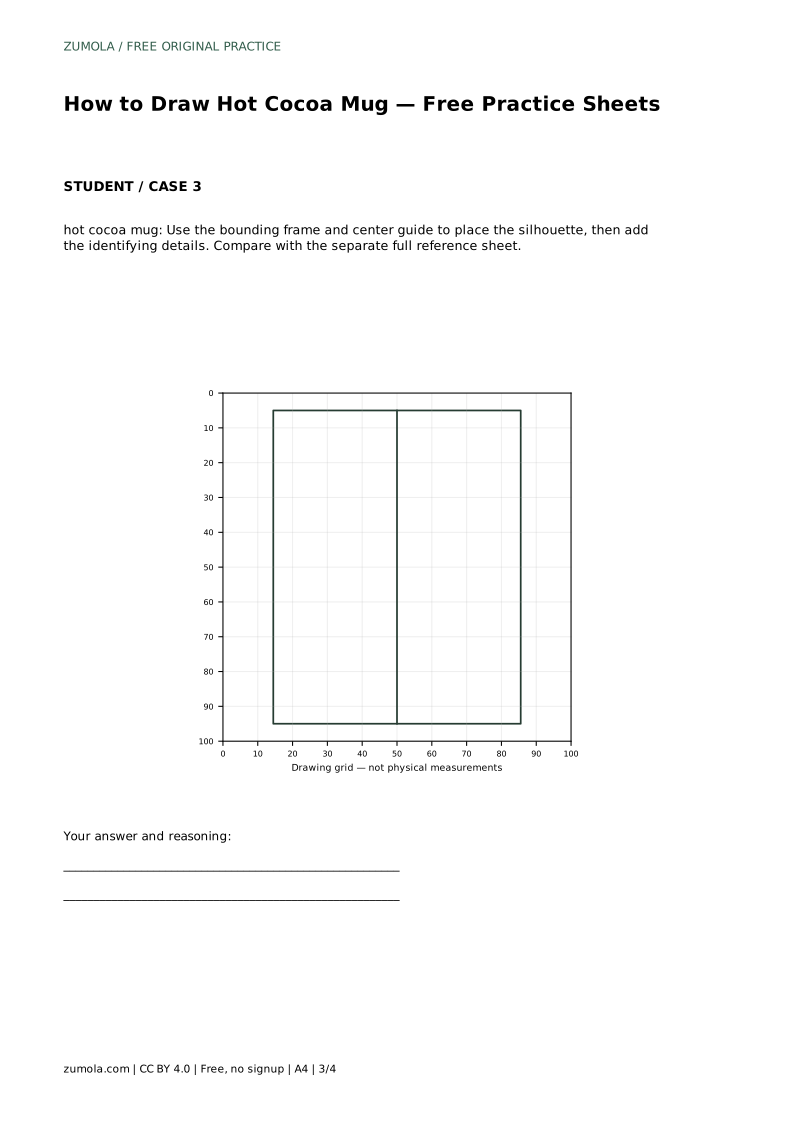
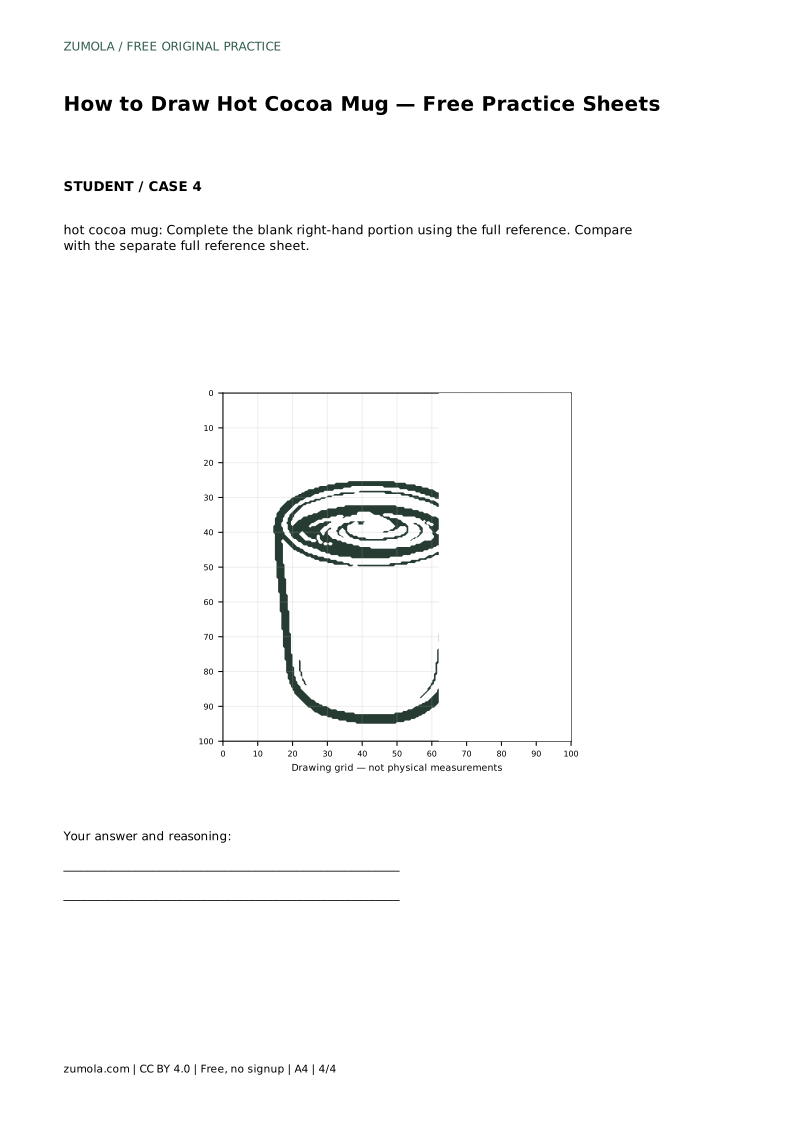
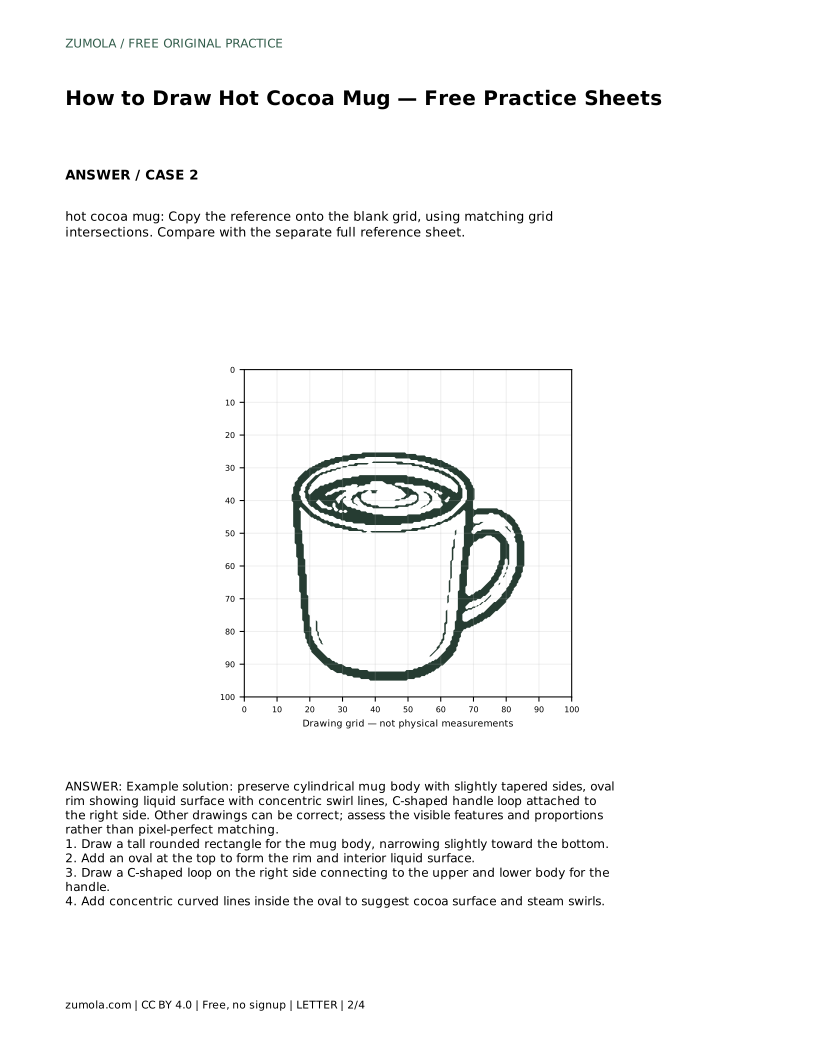
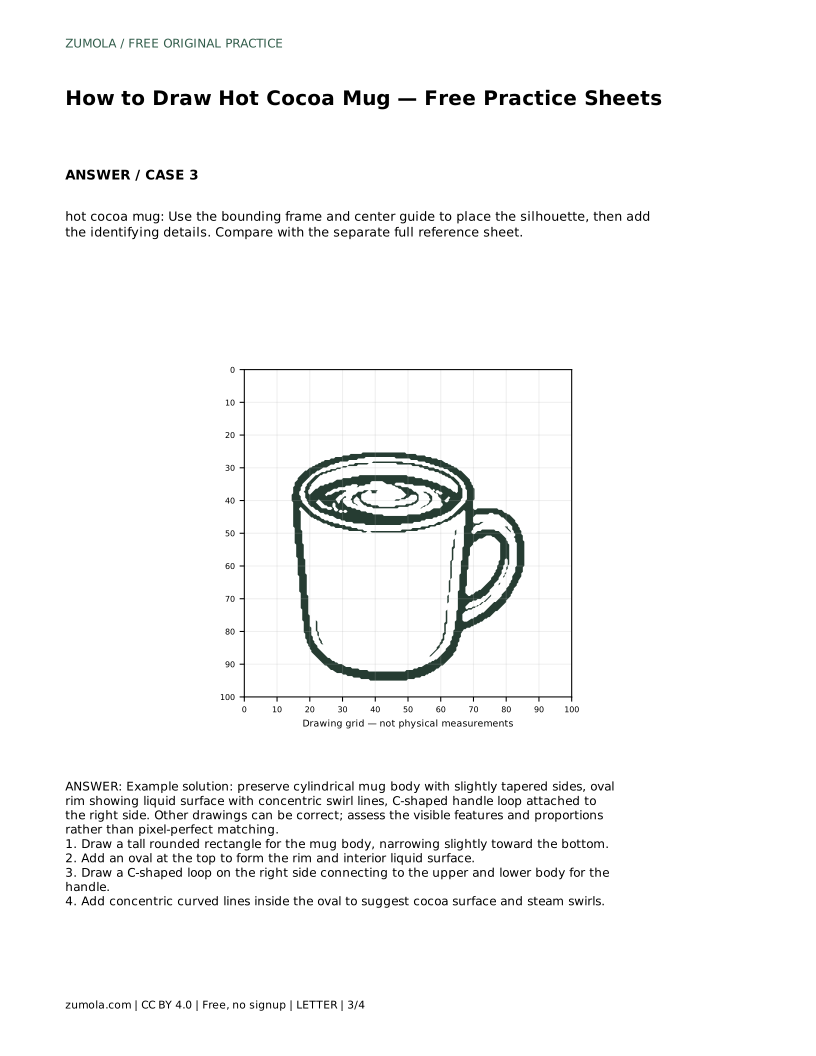
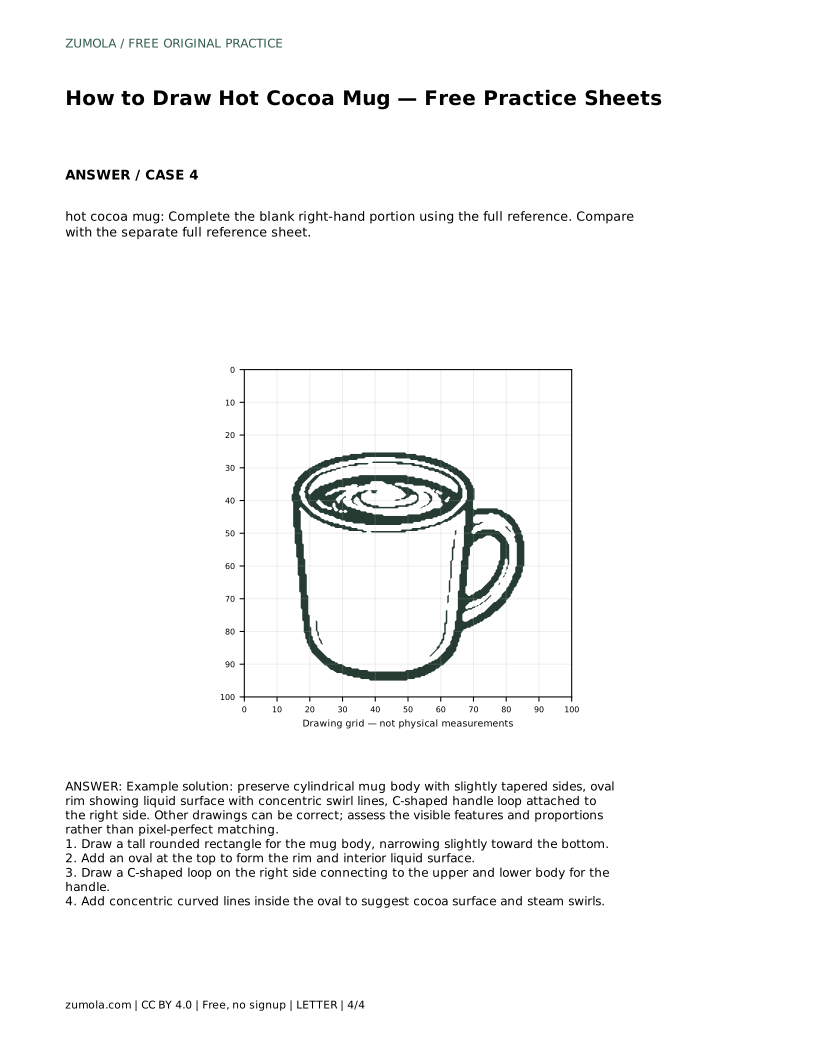
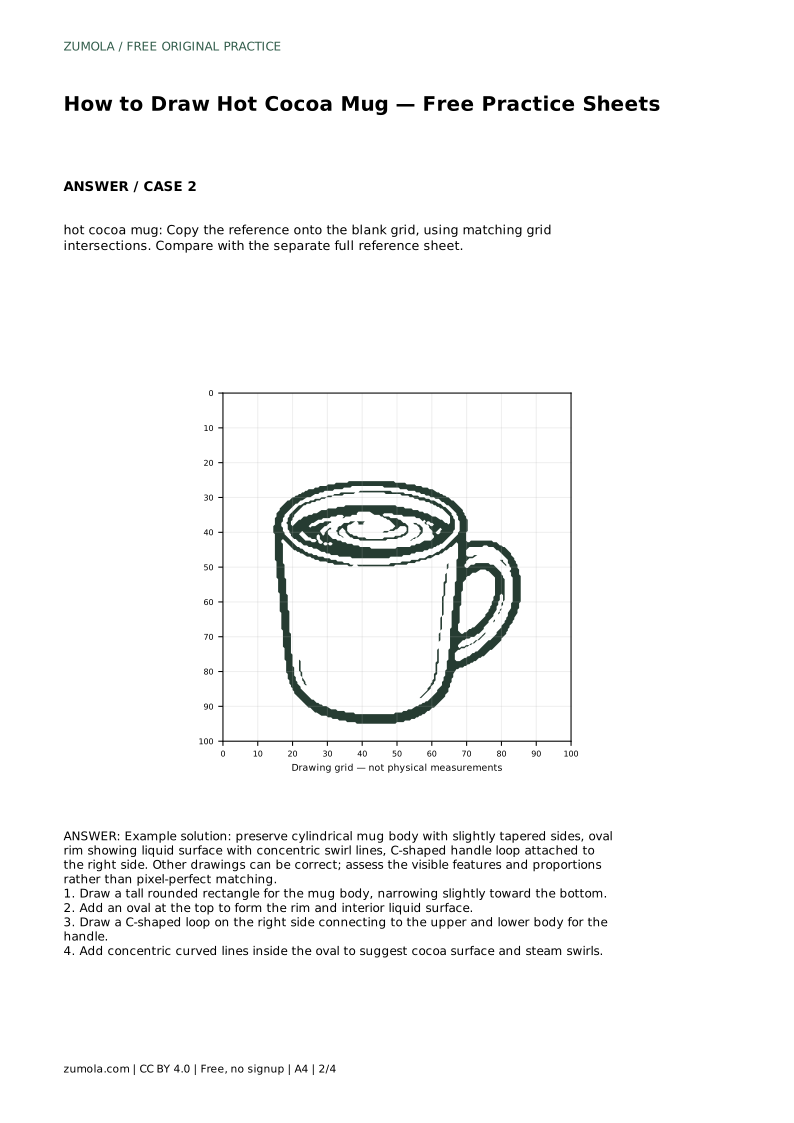
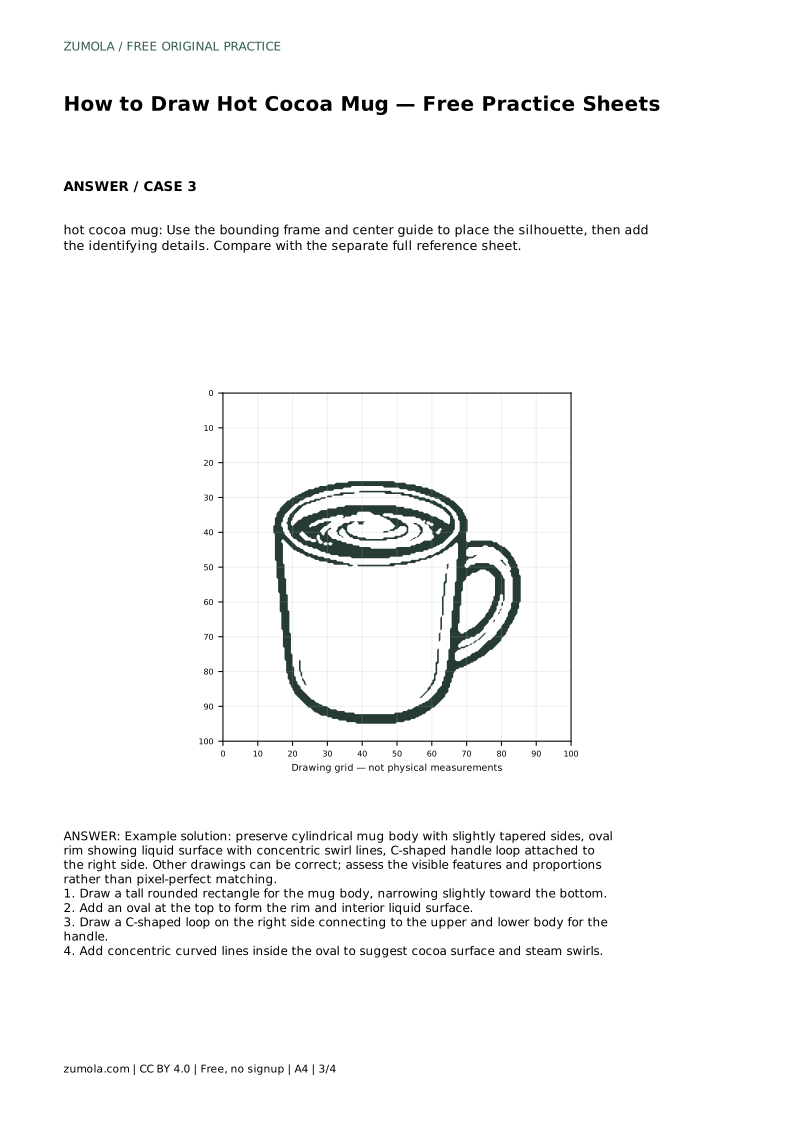
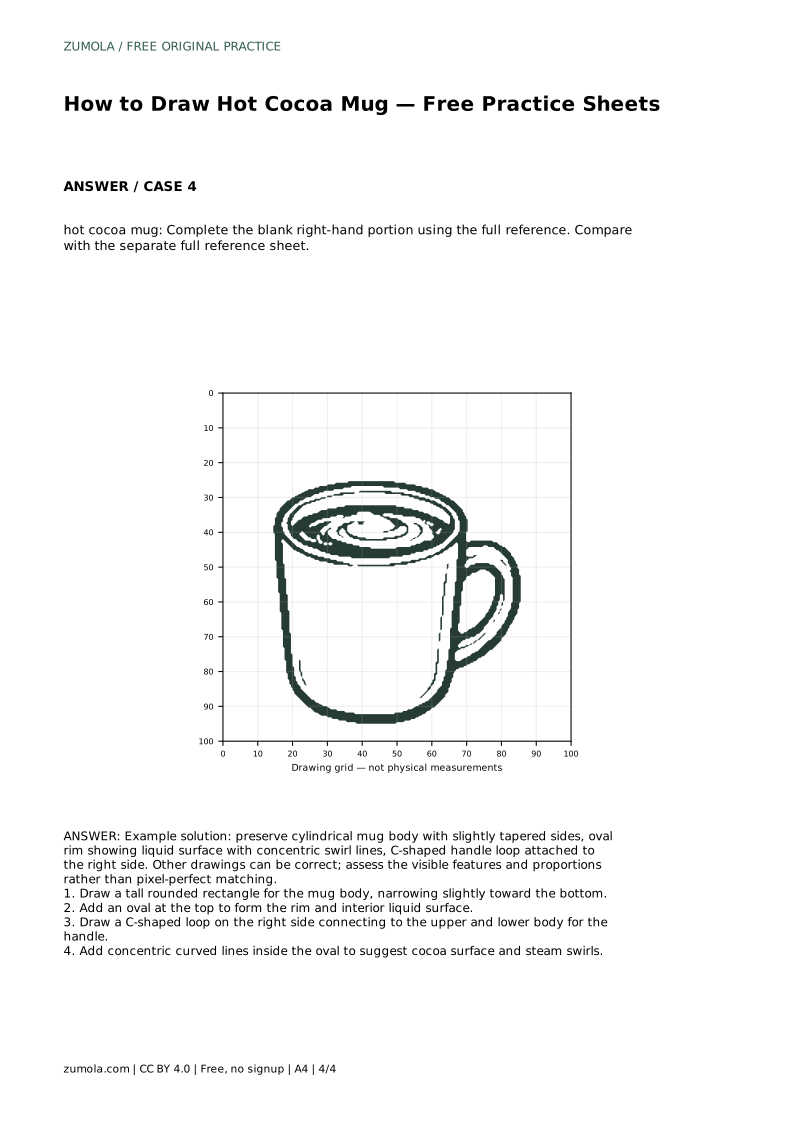
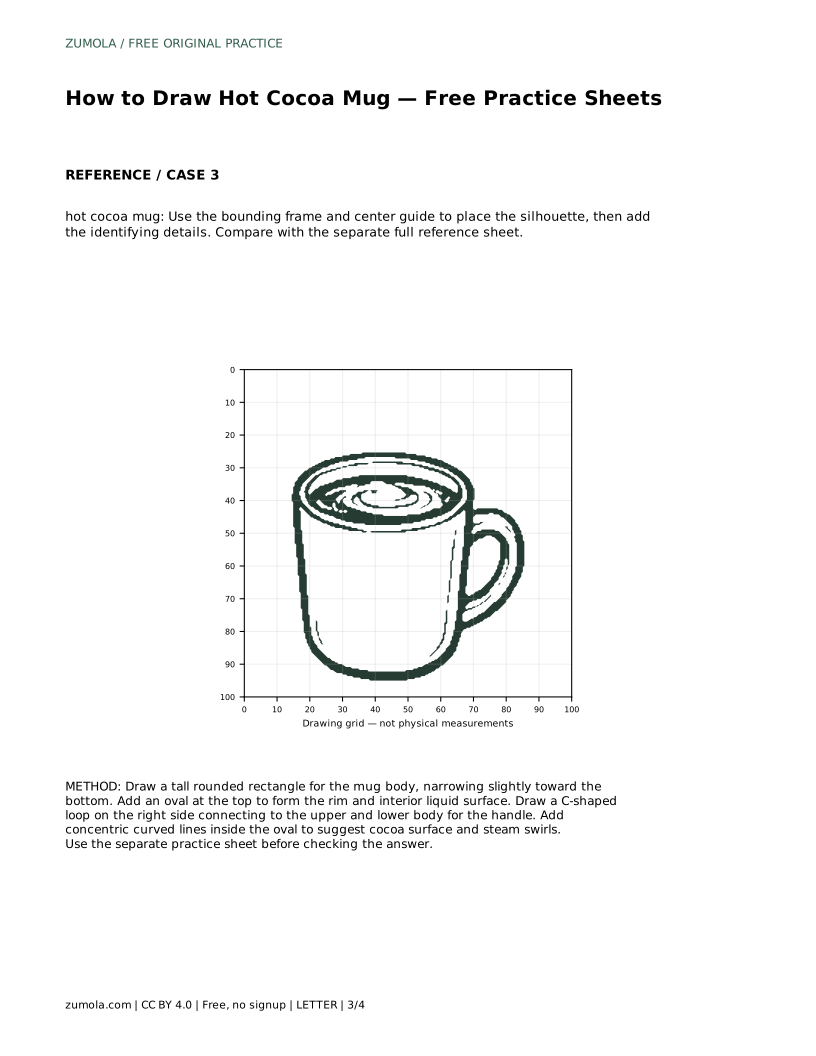
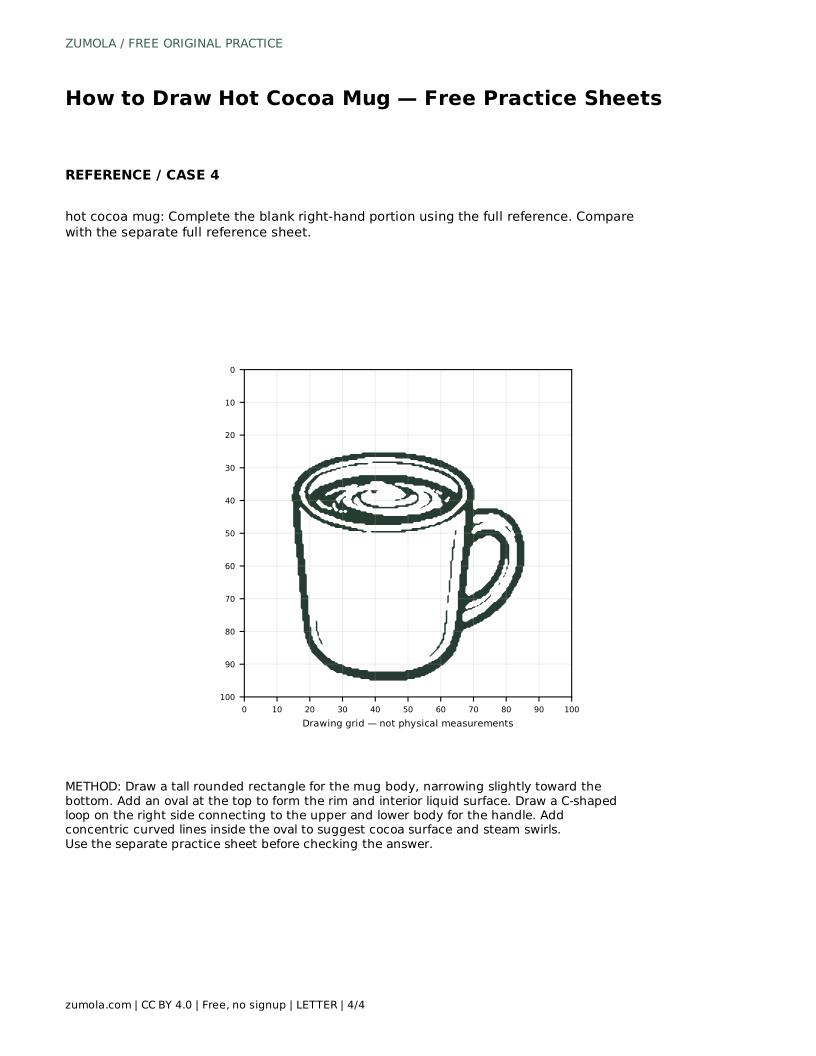
A blank grid supports copying by matching intersections: place the rim, handle joints, and base at corresponding grid points. A bounding frame with a center guide helps you place the silhouette before adding details. A partial sheet with the right-hand portion blank asks you to complete the mug using the full reference, which tests whether you can carry proportions across the page.
Because art has multiple valid outcomes, assess the visible features rather than demanding an exact match. Ask whether the body reads as a tapered cylinder, whether the oval rim shows a liquid surface, whether the handle forms a C-shaped loop attached at two points, and whether the surface lines follow the oval. Proportions can vary between correct drawings.
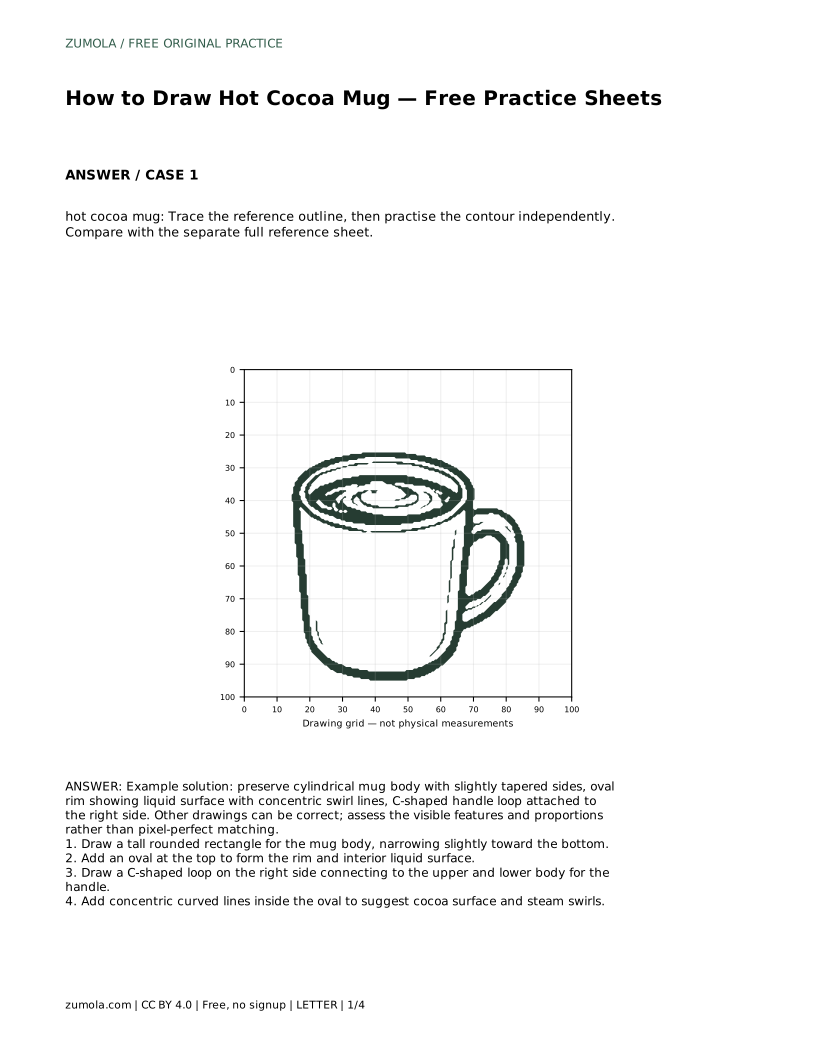
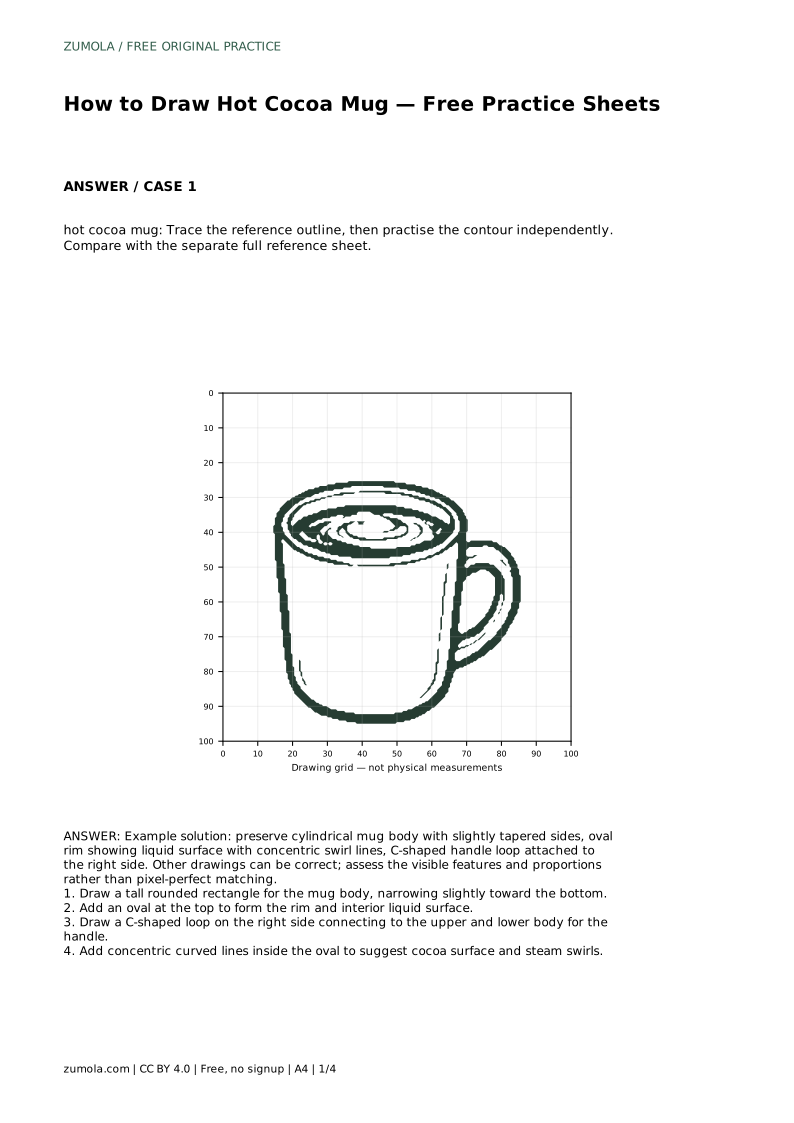
hot cocoa mug: Trace the reference outline, then practise the contour independently. Compare with the separate full reference sheet.
Example solution: preserve cylindrical mug body with slightly tapered sides, oval rim showing liquid surface with concentric swirl lines, C-shaped handle loop attached to the right side. Other drawings can be correct; assess the visible features and proportions rather than pixel-perfect matching. Draw a tall rounded rectangle for the mug body, narrowing slightly toward the bottom. Add an oval at the top to form the rim and interior liquid surface. Draw a C-shaped loop on the right side connecting to the upper and lower body for the handle. Add concentric curved lines inside the oval to suggest cocoa surface and steam swirls.
The reference places it on the right, but a mirrored handle on the left can still be a correct drawing. What matters is a C-shaped loop attached at two points.
It depends on your viewpoint. A wider oval suggests looking down at the mug; a narrower oval suggests a more level view. Keep it consistent with the body.
Yes. The grid supports copying by matching intersections, so tracing is optional practice rather than a required first step.
All drawing practice · Free coordinate paper
Original resources · CC BY 4.0 · Free for personal and classroom use with attribution.