Reference diagrams
LETTER · Download PDF
A4 · Download PDF
Free original resources
Learn to draw a strawberry by building a heart-like body, a leafy crown, and scattered seeds. Trace, grid, and complete-the-drawing practice included.
Four original cases, with reference diagrams, practice sheets and worked answers. Everything is free; no signup required.
LETTER · Download PDF
A4 · Download PDF
LETTER · Download PDF
A4 · Download PDF
LETTER · Download PDF
A4 · Download PDF
Use A4 or US Letter to match your printer. Use the stated values and conditions to solve each exercise; diagrams are not physical measuring rulers.
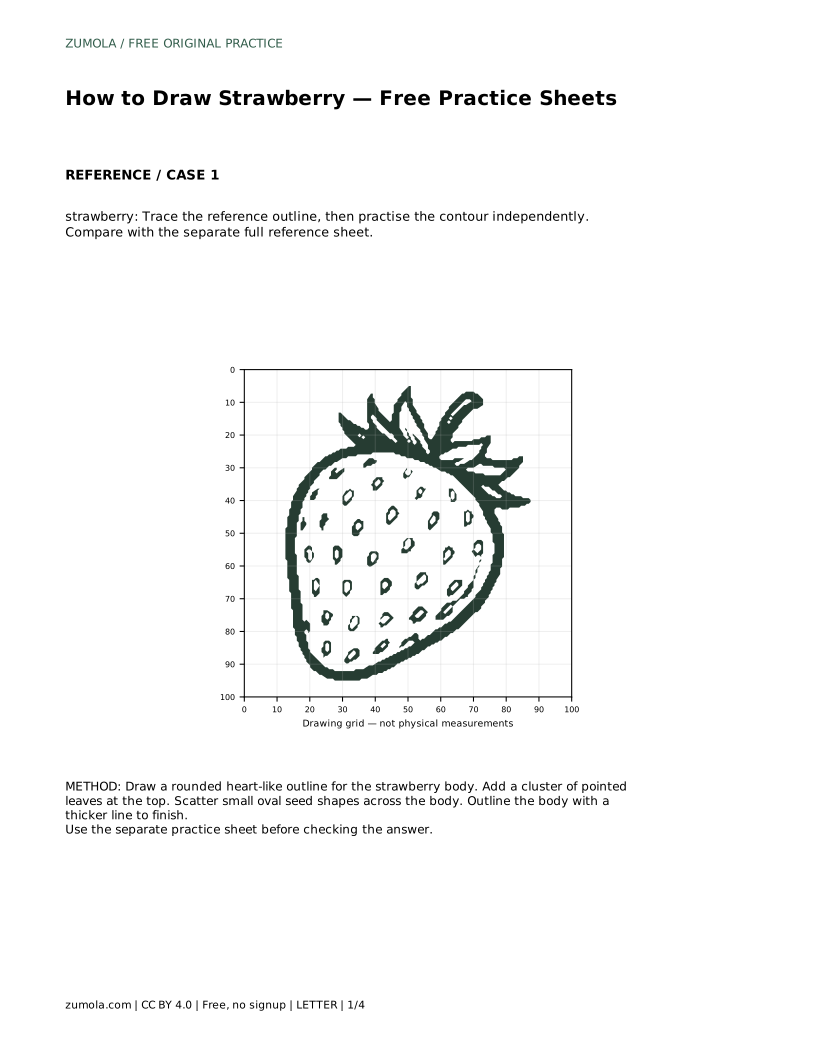
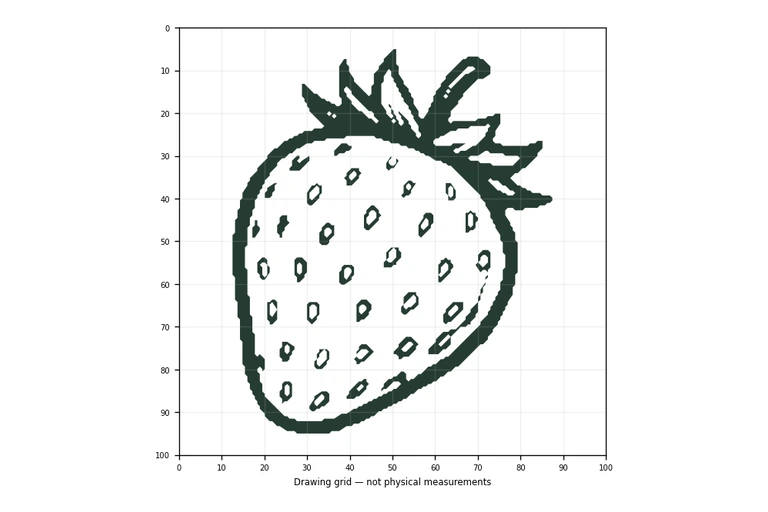
A drawing of a strawberry is mostly a problem of shape and placement: a rounded body that narrows toward the bottom, a crown of pointed leaves at the top, and small seeds spread across the surface. This page explains how to build those parts in order, then use the practice sheets to trace the outline, copy it onto a grid, place it with a center guide, or finish a partly drawn version.
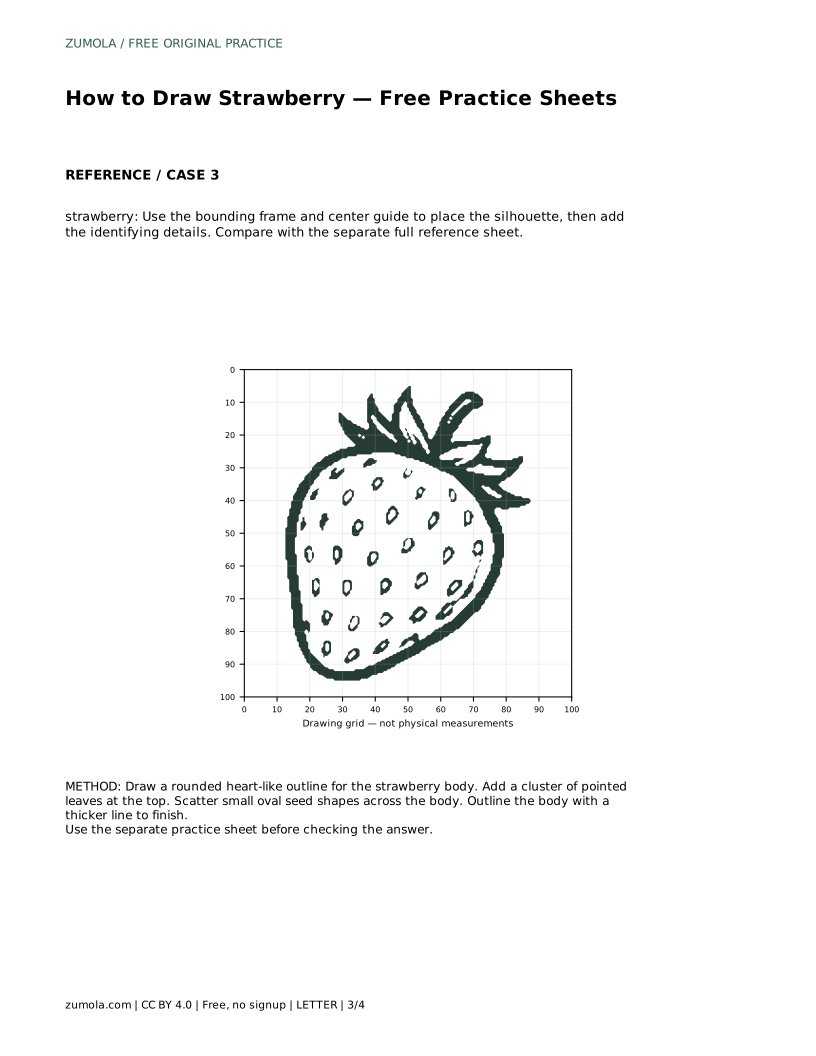
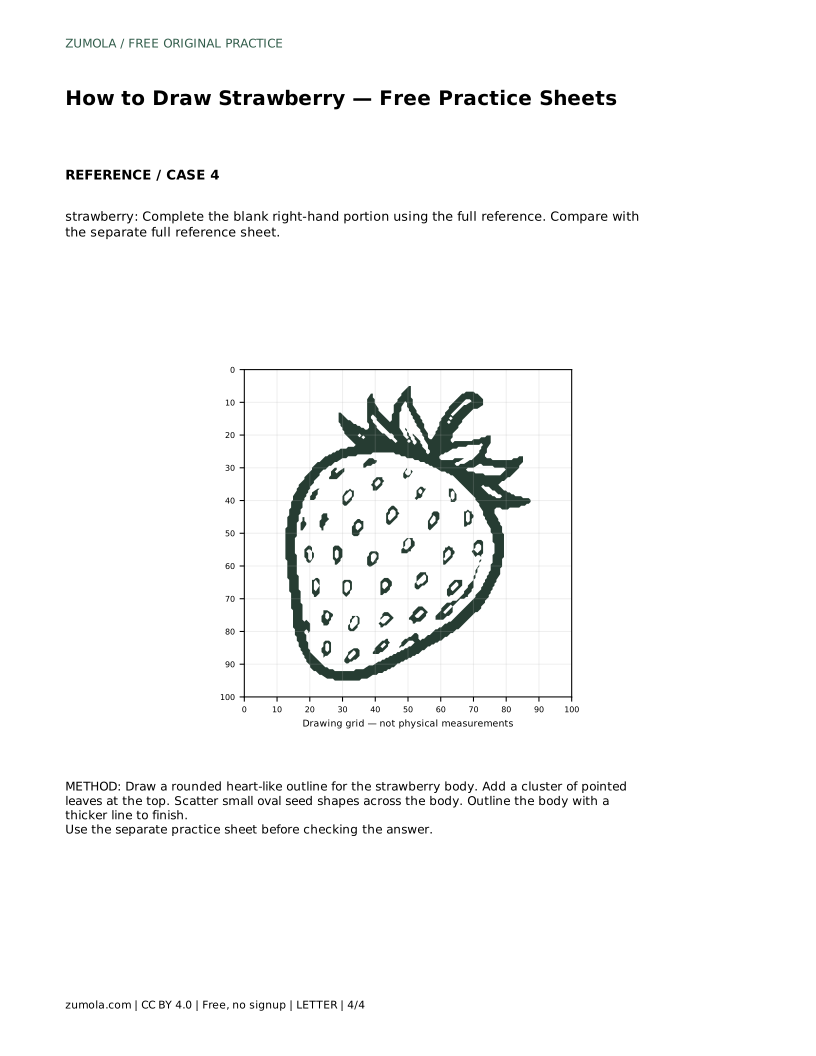
Begin with the strawberry body rather than the leaves. Draw a rounded, heart-like outline: wide across the upper middle, gently tapering to a soft point at the bottom. Keep the two sides roughly balanced, but allow slight asymmetry, since real fruit is rarely perfectly even. A common proportion is a body about as tall as it is wide, or slightly taller. Lightly sketch this outline first so you can adjust it before adding detail.
Check the silhouette before going further. Turn the page or step back and ask whether the shape reads as a strawberry on its own. If the bottom is too blunt, narrow it gradually; if the top is too pointed, flatten it slightly to leave room for the leaf crown.
The leaves sit at the top of the body and spread outward like a small star. Draw a cluster of pointed leaf shapes, with the center leaves shorter and the outer leaves angled to the sides. Overlap them slightly so the crown looks connected rather than like separate spikes. Keep the leaves proportionate to the body: a crown that is too large can overwhelm the fruit, while one that is too small may not read clearly.
A short stem can rise from the center of the cluster. Keep it simple and thin, and make sure it emerges from the meeting point of the leaves rather than floating above them.
Scatter small oval seed shapes across the body. Space them unevenly rather than in a strict grid, and let them follow the curve of the surface: seeds near the edges can appear slightly narrower because the surface turns away. Keep the ovals small and consistent in size so they read as seeds rather than spots. Leave a little clear space between them.
When the details are placed, go over the body with a thicker line to finish. Keep the leaf crown and seeds lighter so the overall silhouette stays clear. If you are using a practice sheet, compare your drawing with the separate full reference sheet afterward and judge the visible features and proportions rather than expecting a pixel-perfect match.
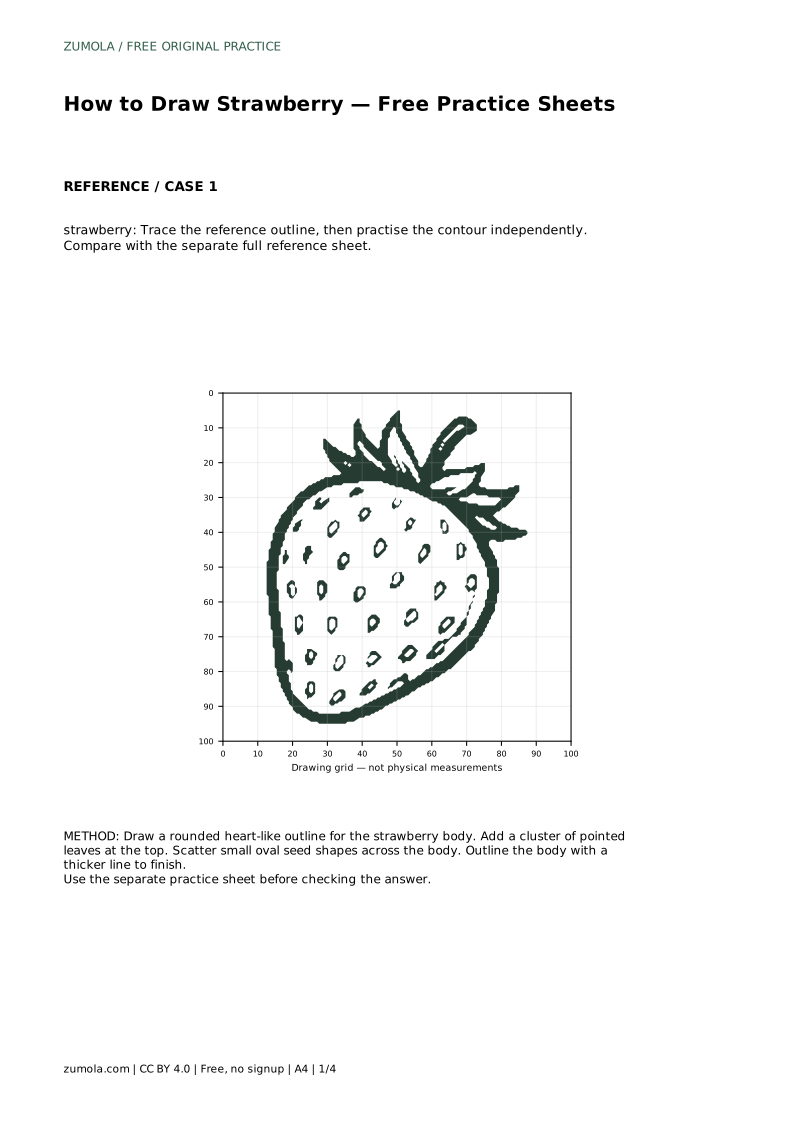
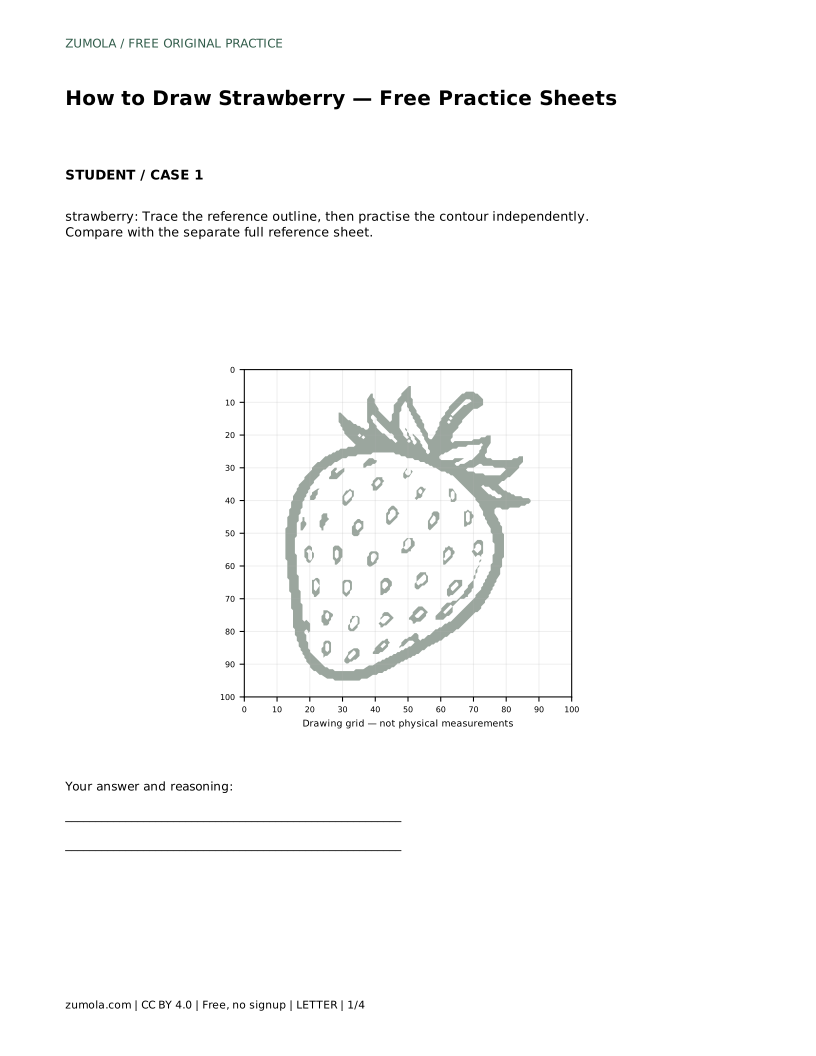
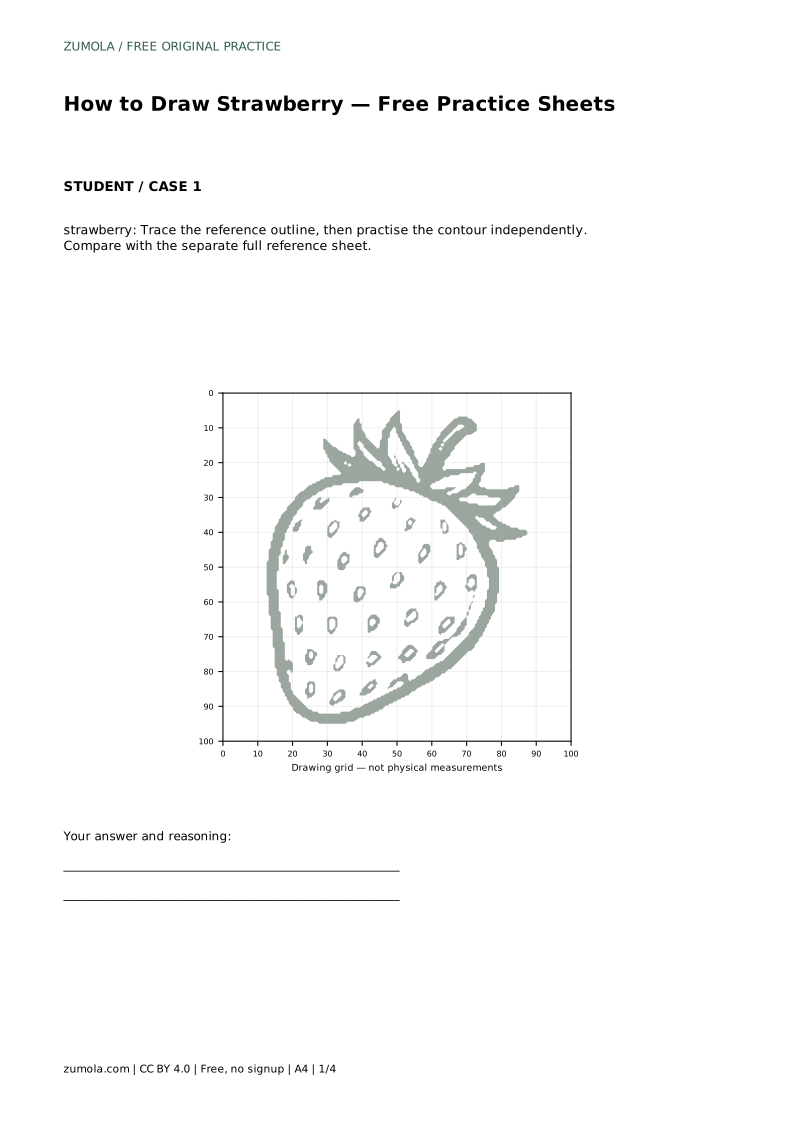
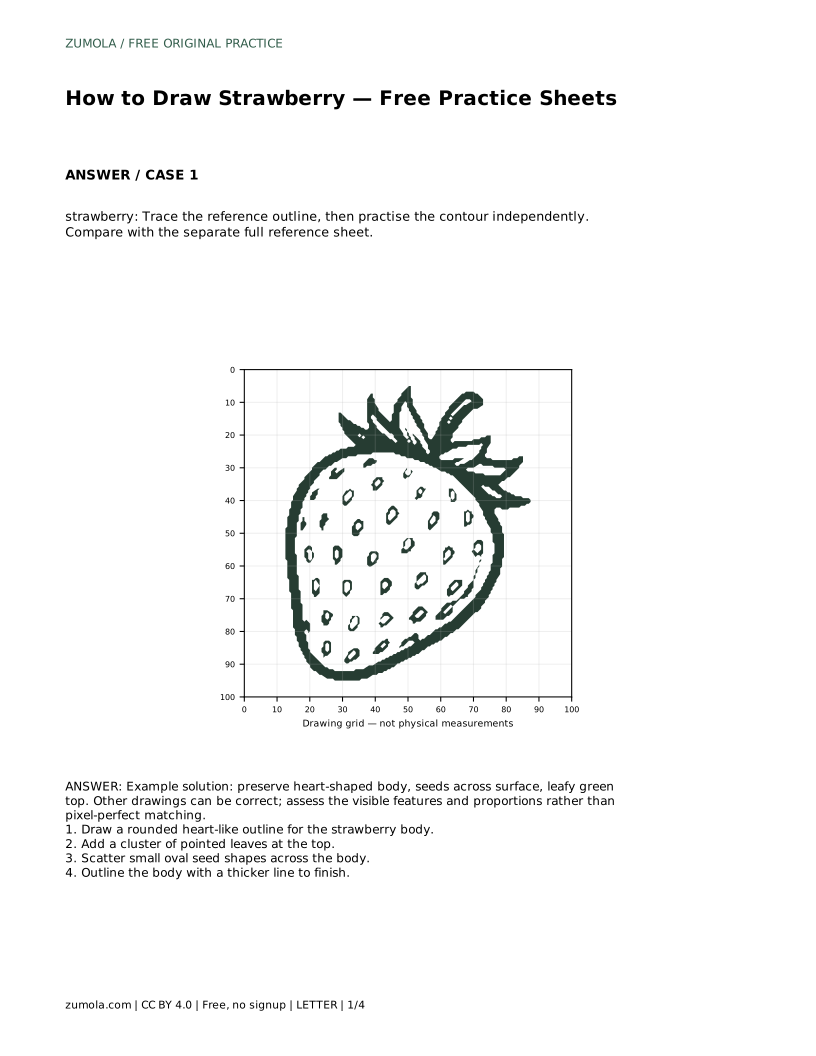
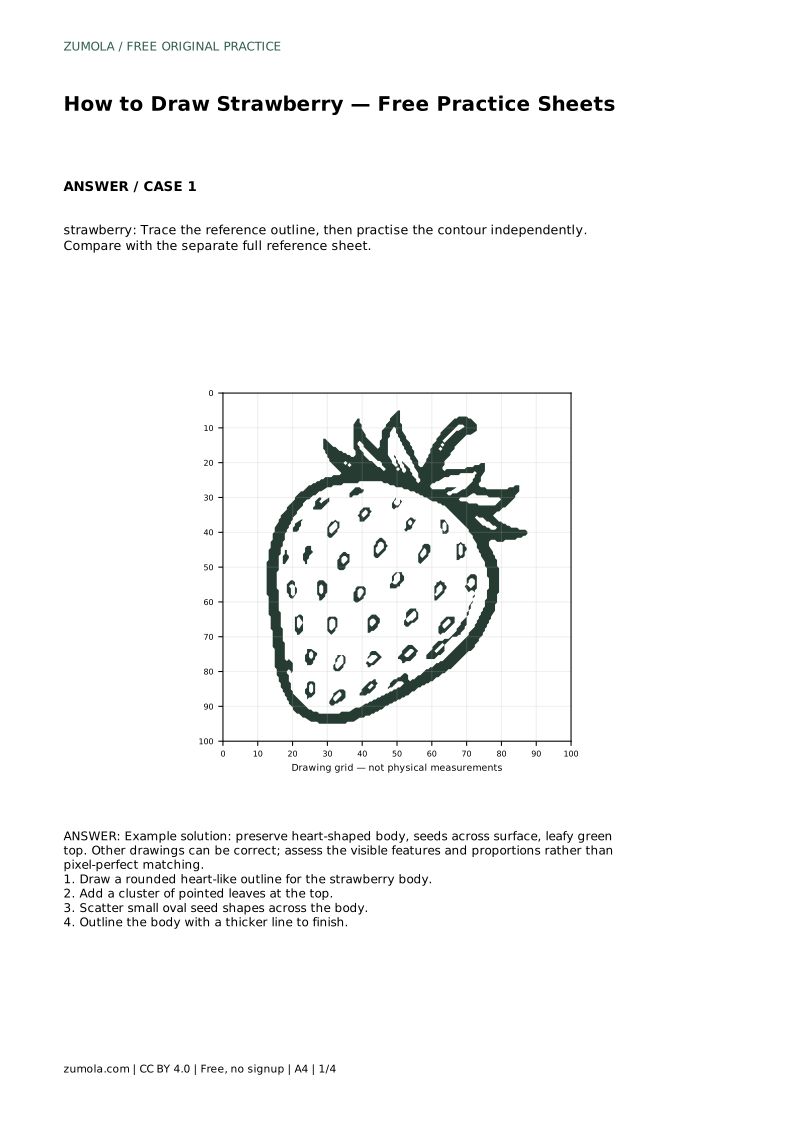
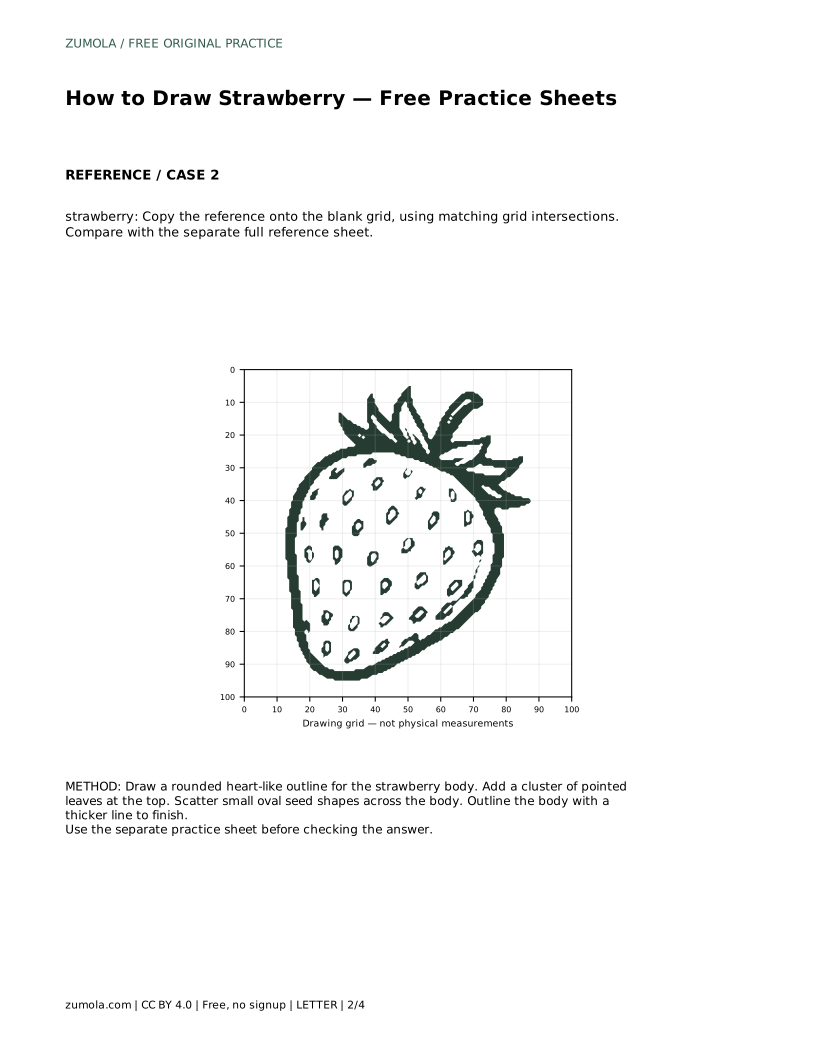
strawberry: Trace the reference outline, then practise the contour independently. Compare with the separate full reference sheet.
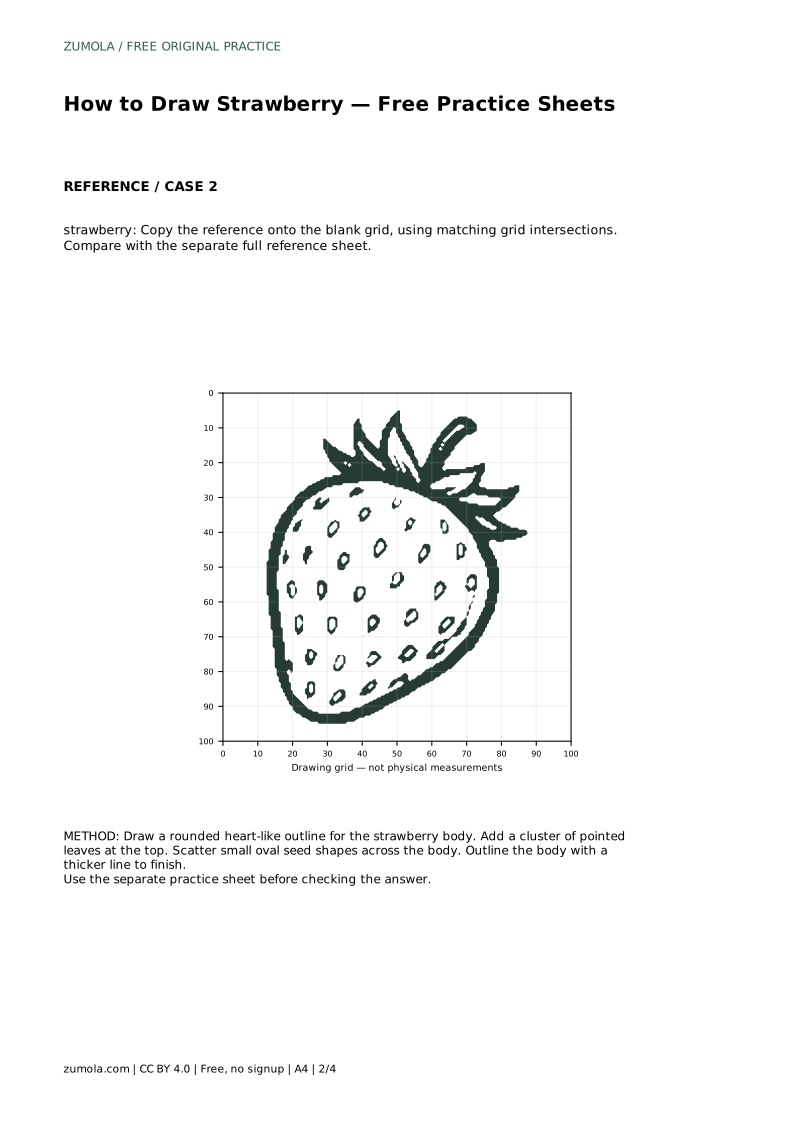
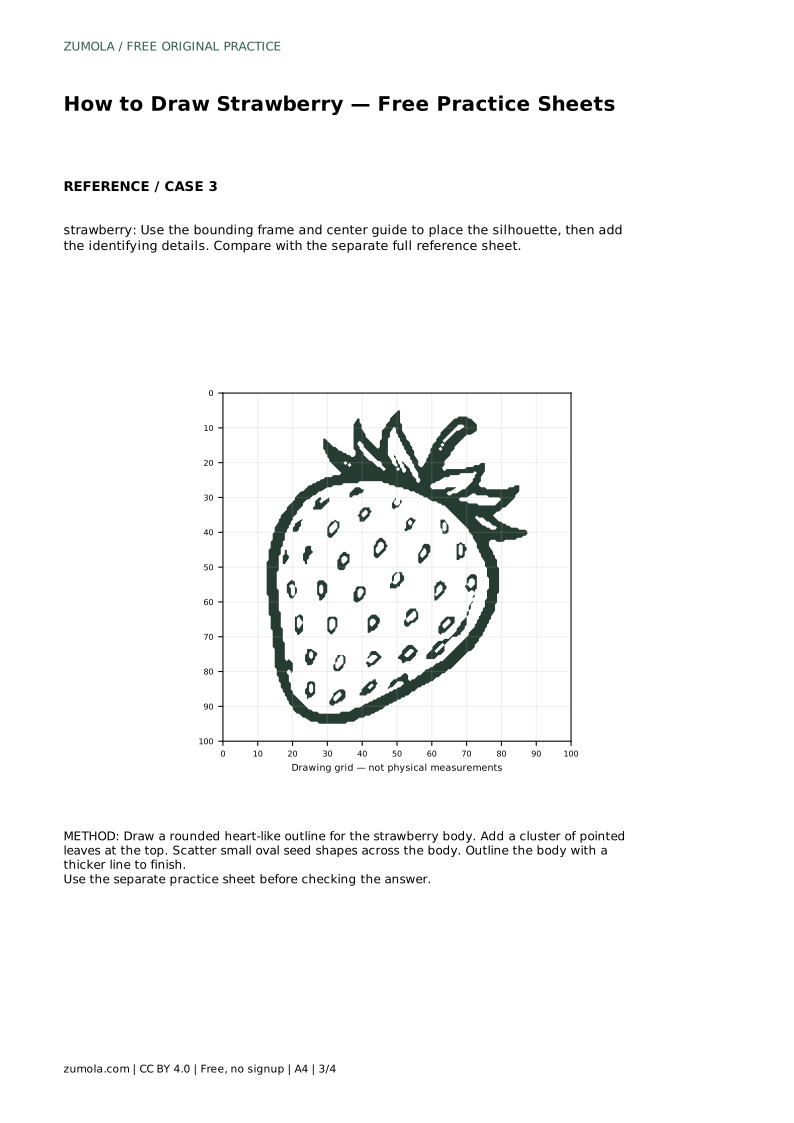
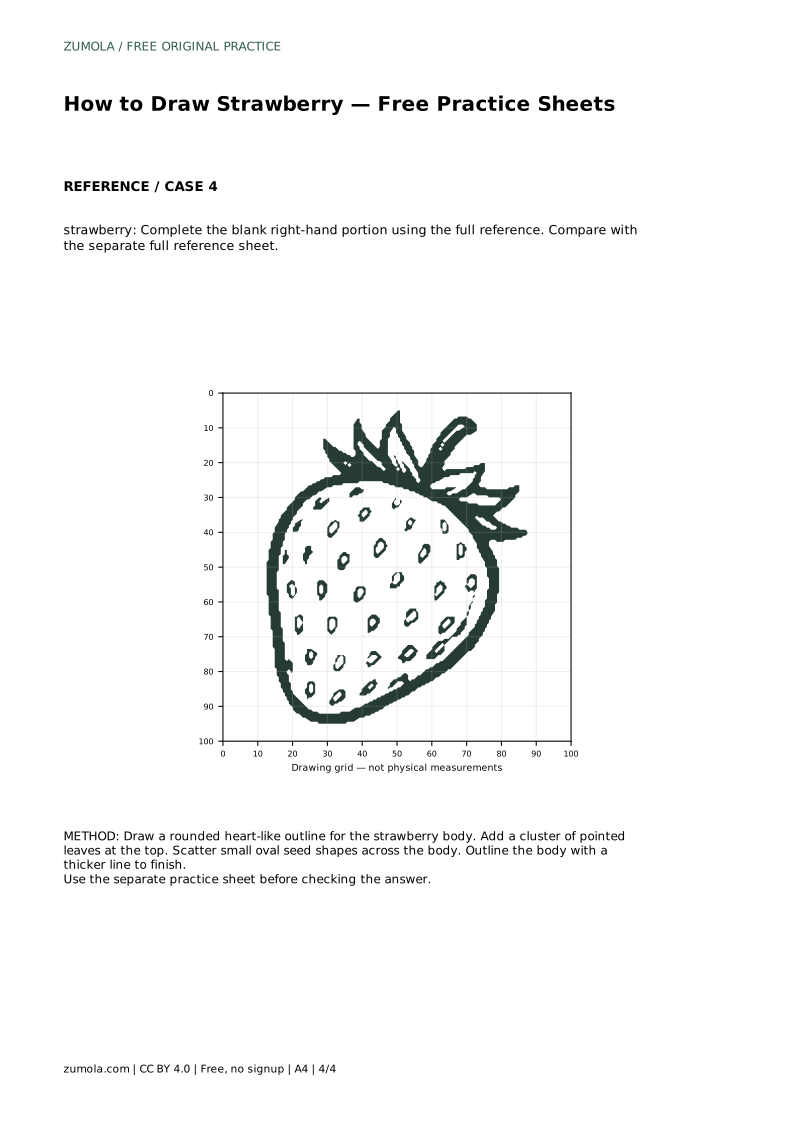
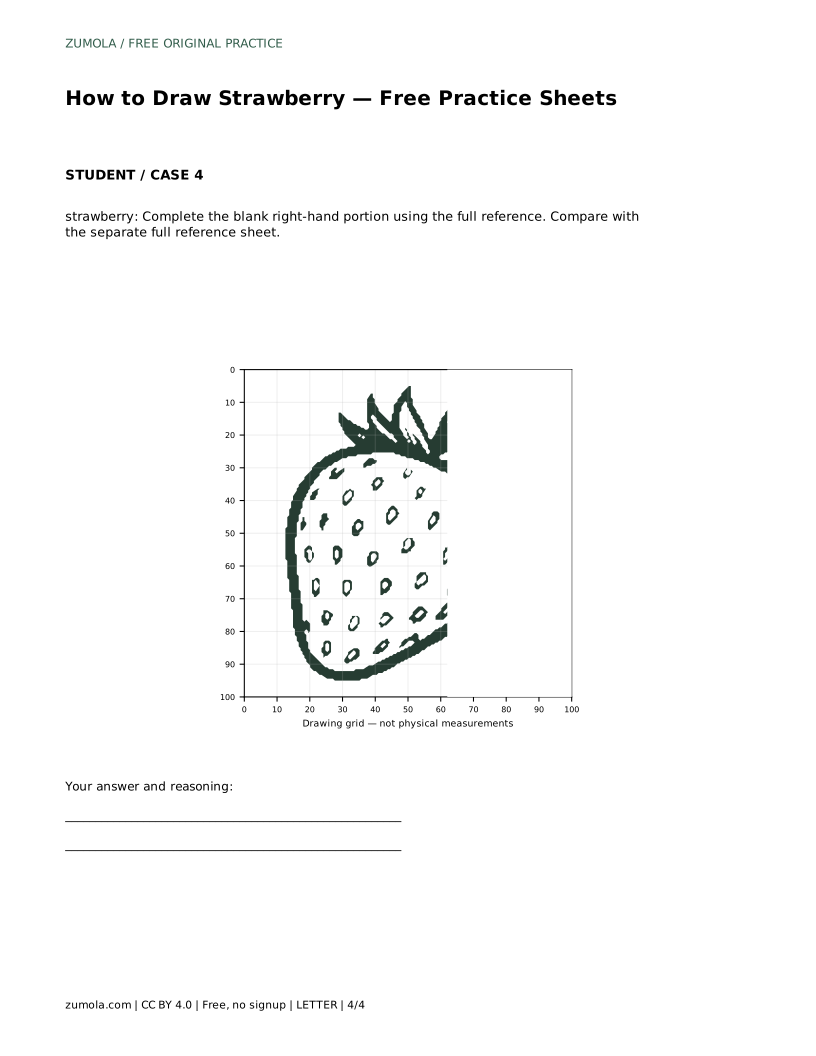
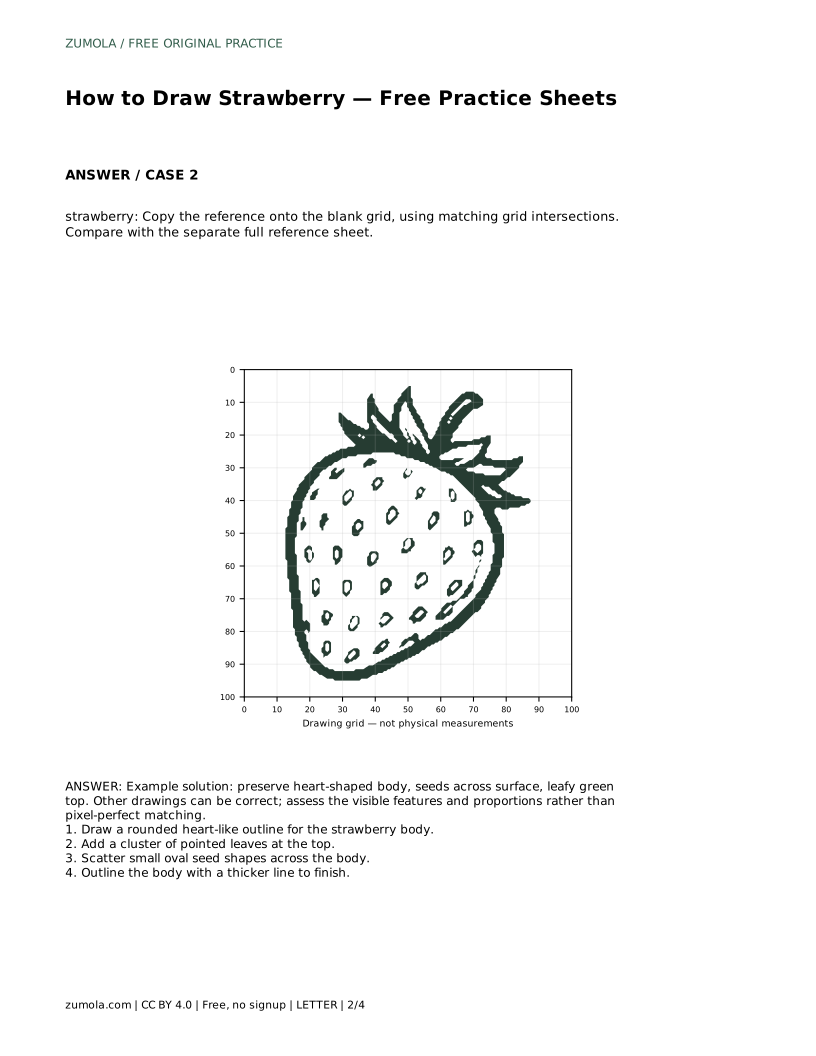
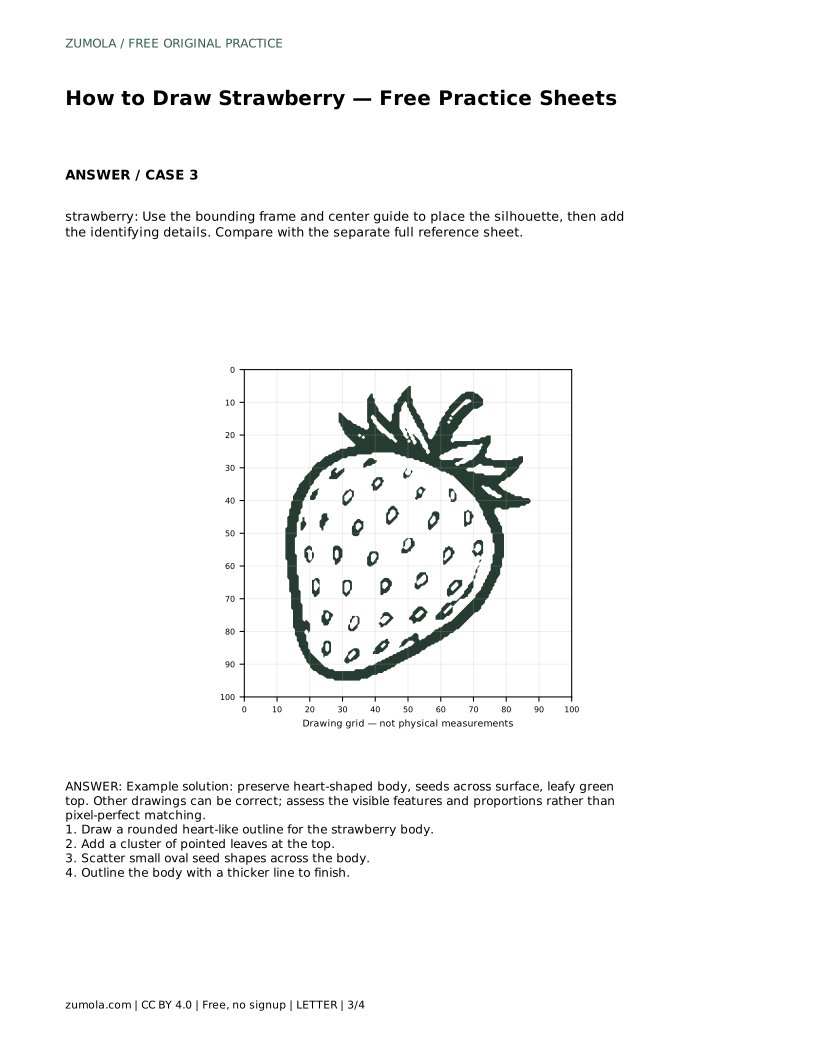
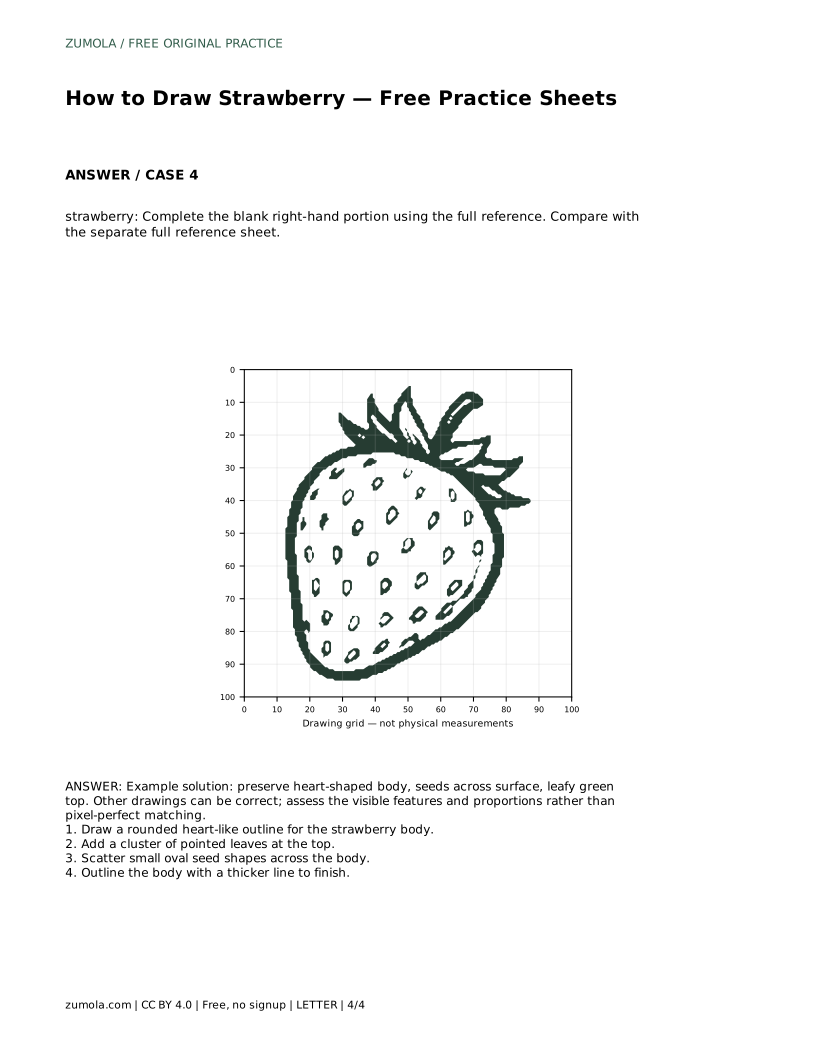
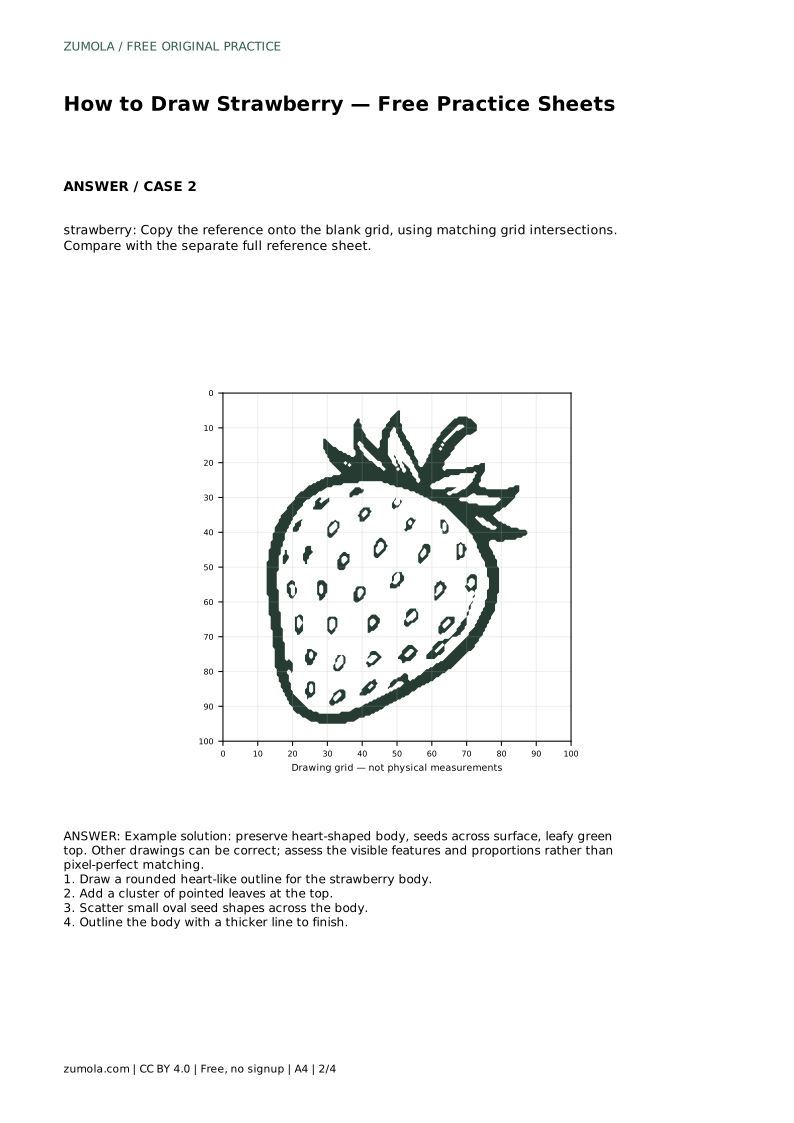
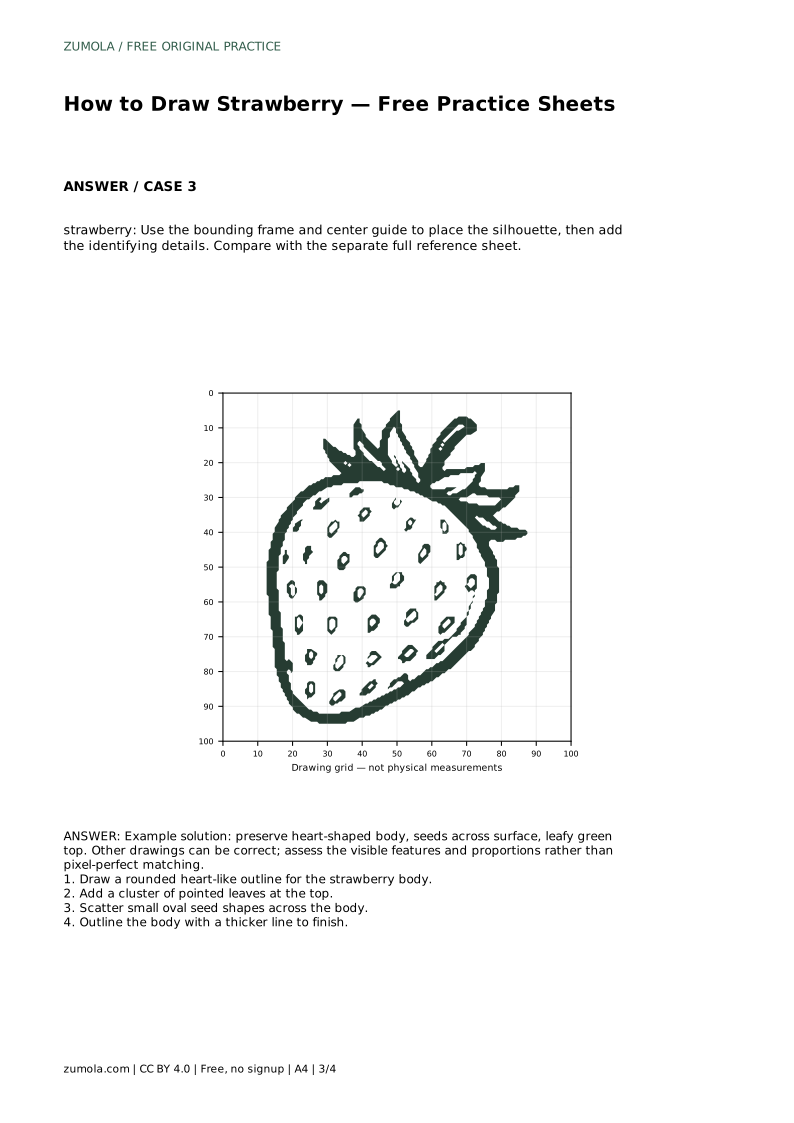
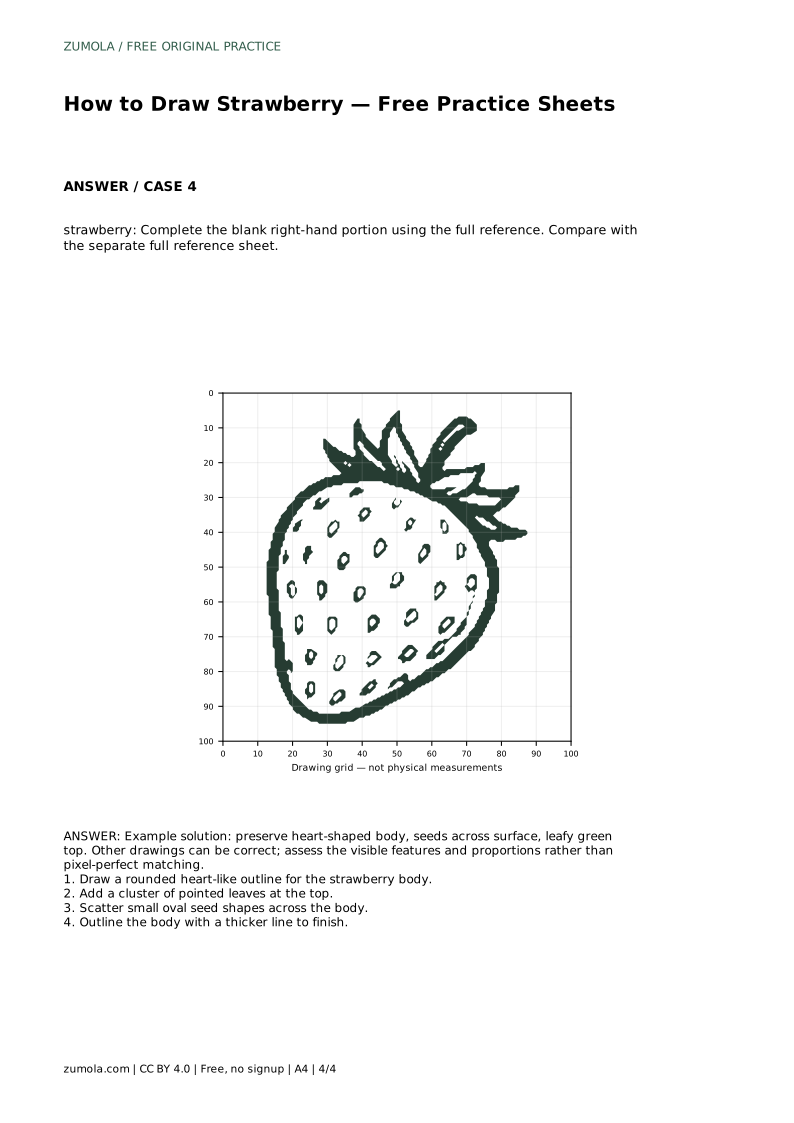
Example solution: preserve heart-shaped body, seeds across surface, leafy green top. Other drawings can be correct; assess the visible features and proportions rather than pixel-perfect matching. Draw a rounded heart-like outline for the strawberry body. Add a cluster of pointed leaves at the top. Scatter small oval seed shapes across the body. Outline the body with a thicker line to finish.
No. Slight asymmetry is natural and acceptable. Aim for a balanced, readable silhouette rather than an exact mirror image.
There is no fixed number. Cover the body with small, evenly sized ovals spaced unevenly, leaving some clear space between them.
Compare the heart-like body, the leafy crown, and the spread of seeds. Judge the visible features and proportions rather than expecting an exact match.
All drawing practice · Free coordinate paper
Original resources · CC BY 4.0 · Free for personal and classroom use with attribution.