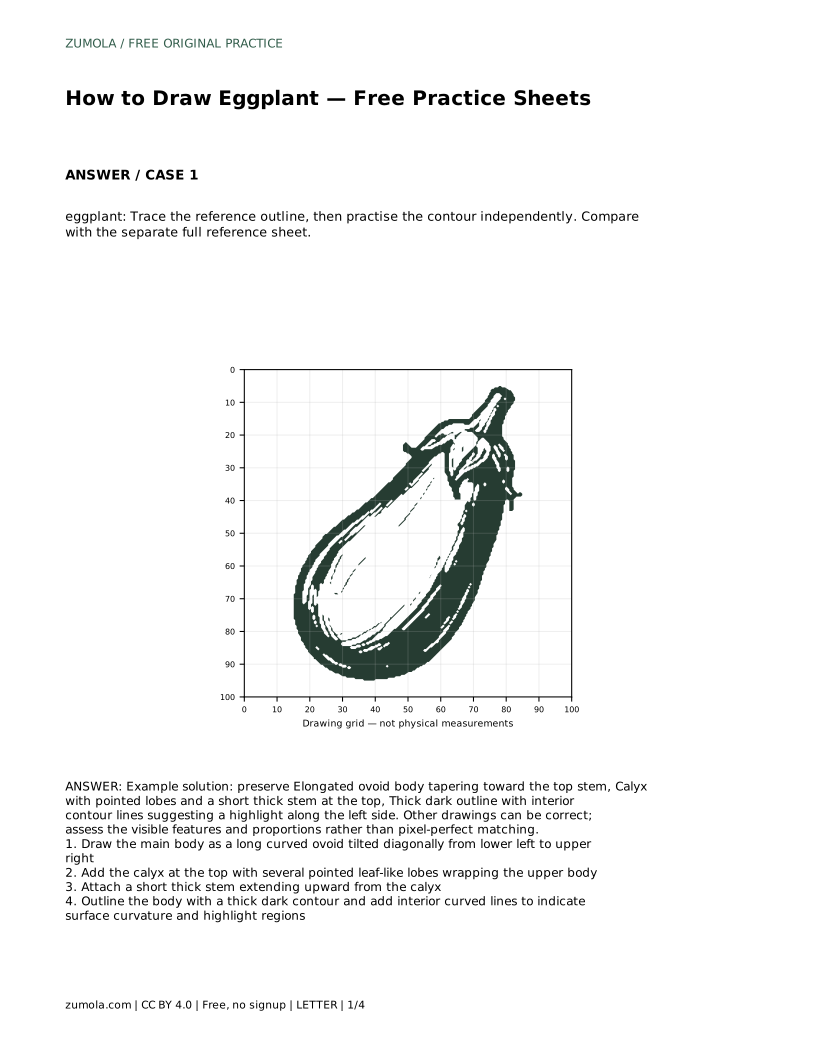
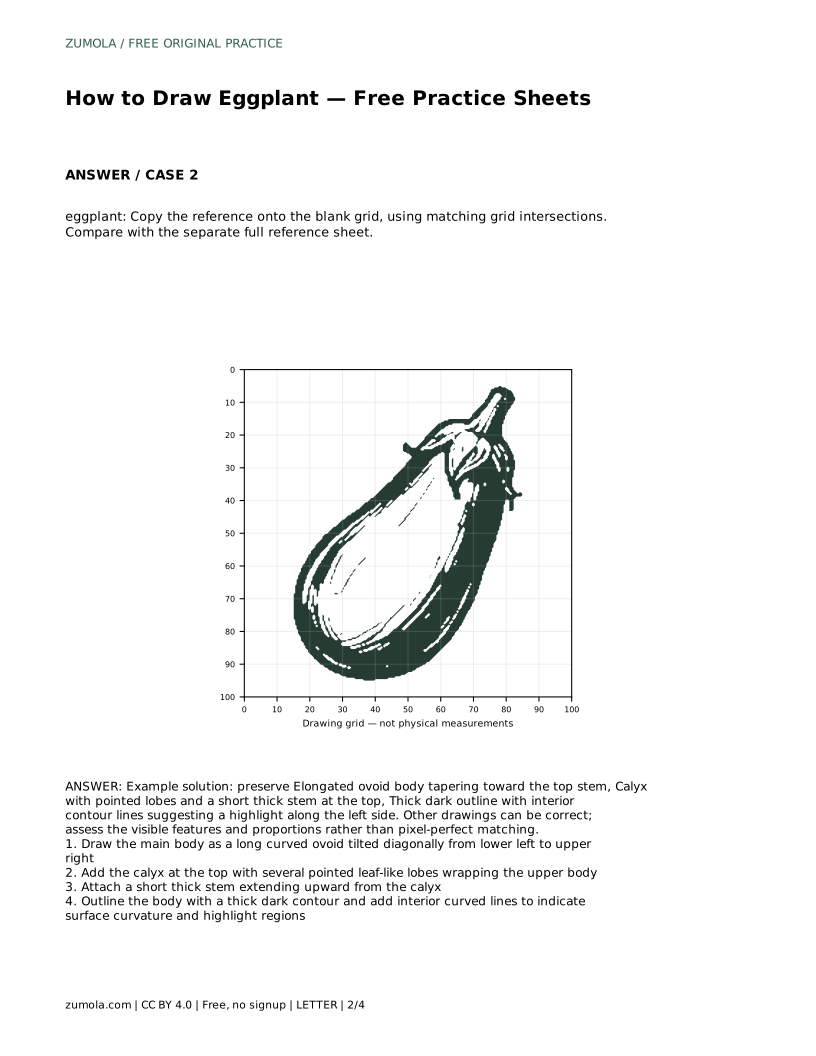
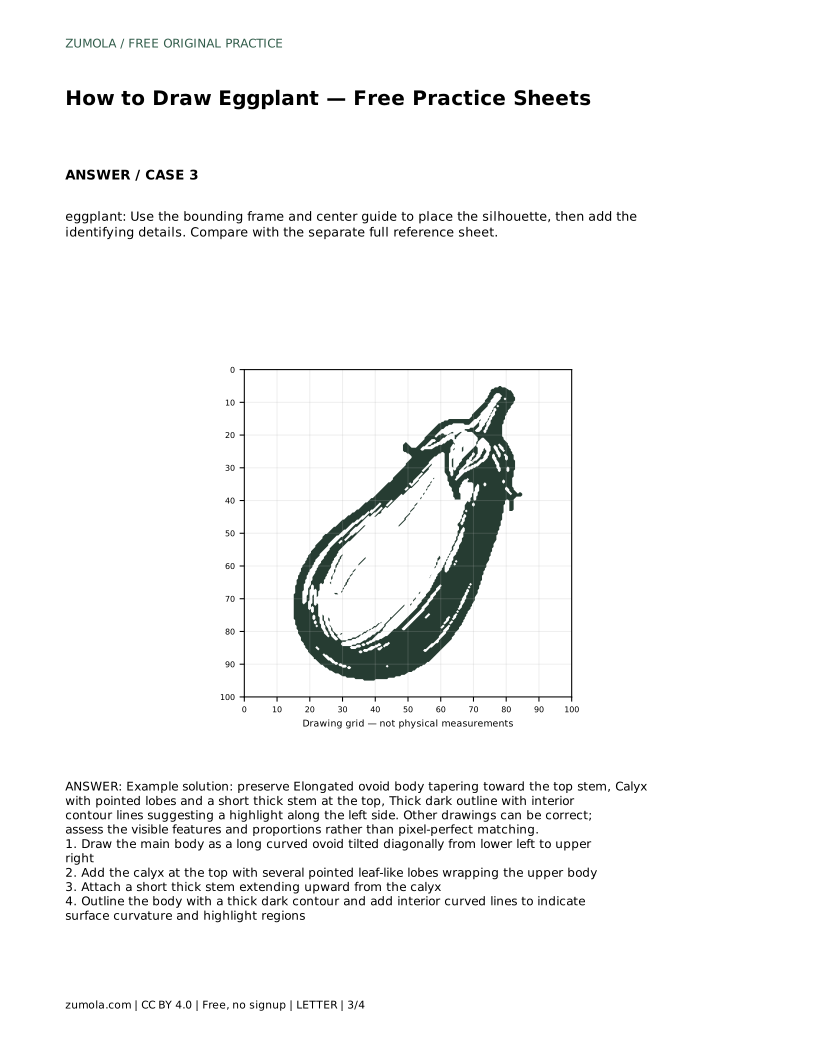
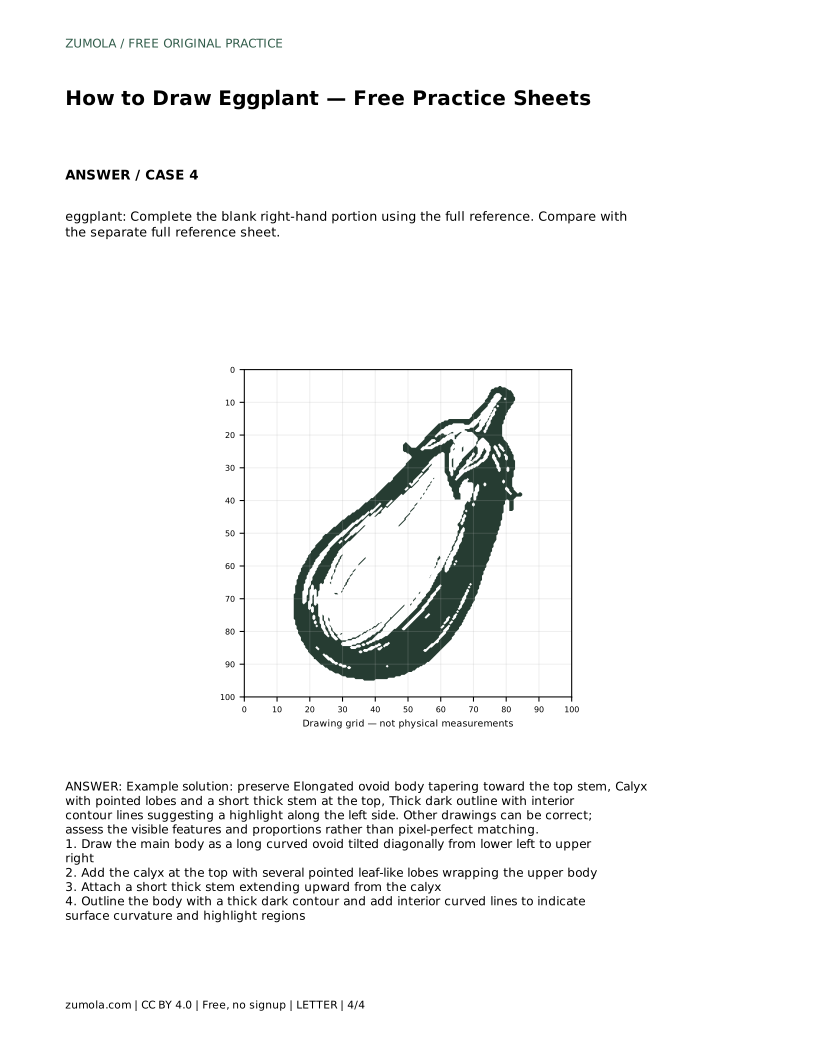
Reference diagrams
LETTER · Download PDF
A4 · Download PDF
Free original resources
Learn to draw an eggplant by building its tilted ovoid body, lobed calyx and short stem, then refining the outline and interior contour lines.
Four original cases, with reference diagrams, practice sheets and worked answers. Everything is free; no signup required.
LETTER · Download PDF
A4 · Download PDF
LETTER · Download PDF
A4 · Download PDF
LETTER · Download PDF
A4 · Download PDF
Use A4 or US Letter to match your printer. Use the stated values and conditions to solve each exercise; diagrams are not physical measuring rulers.
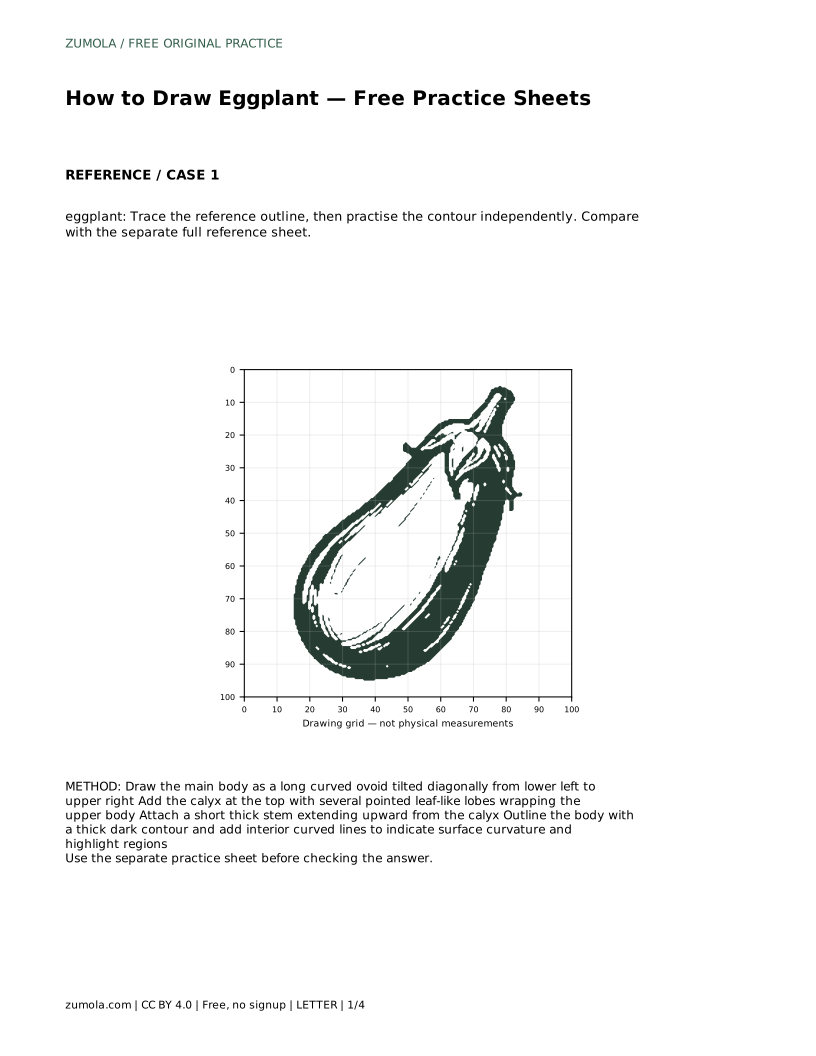
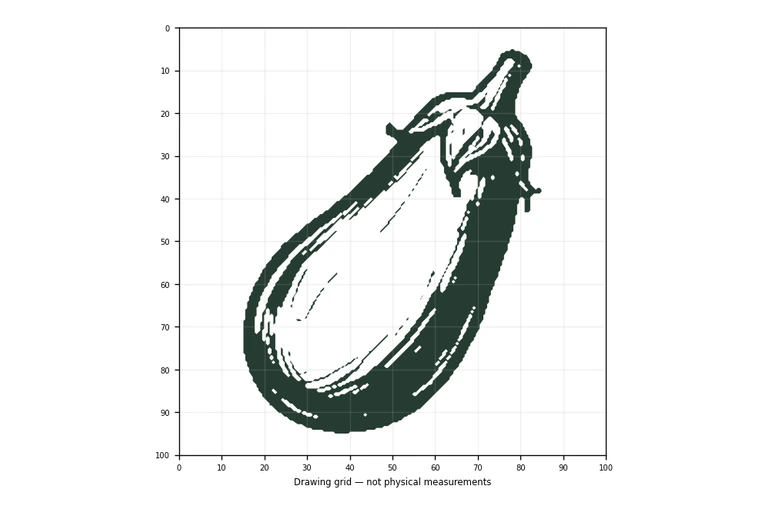
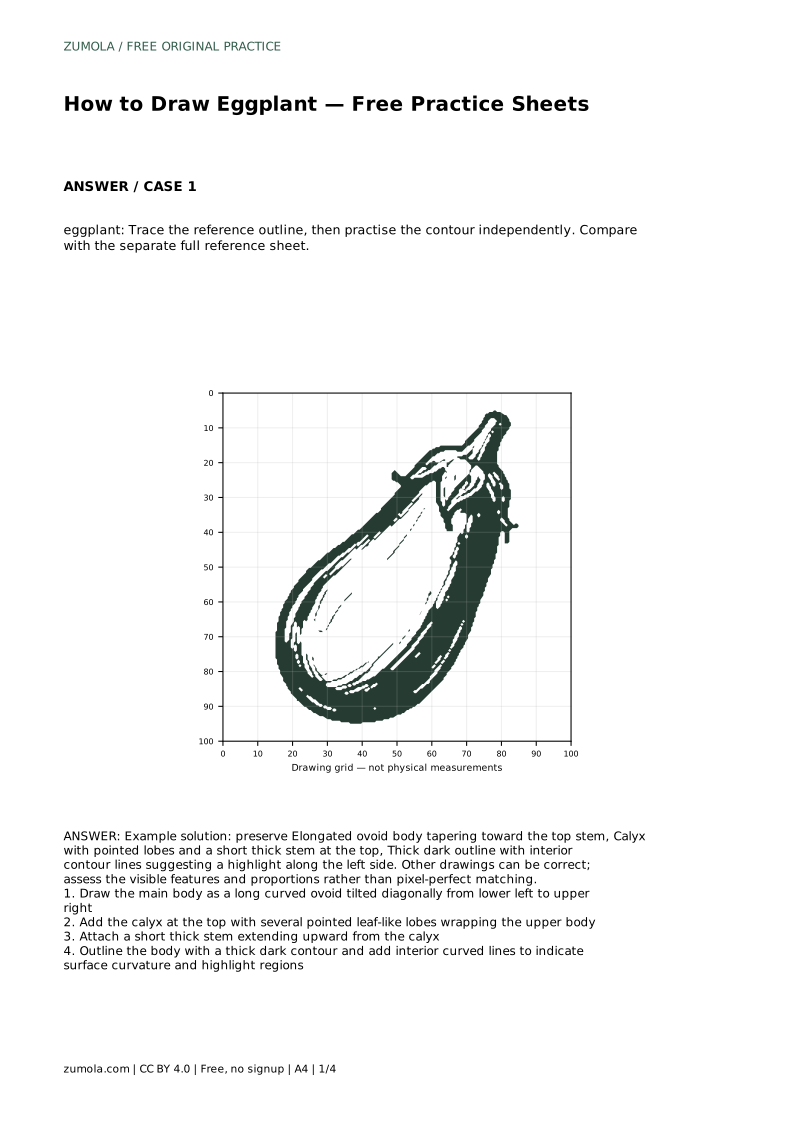
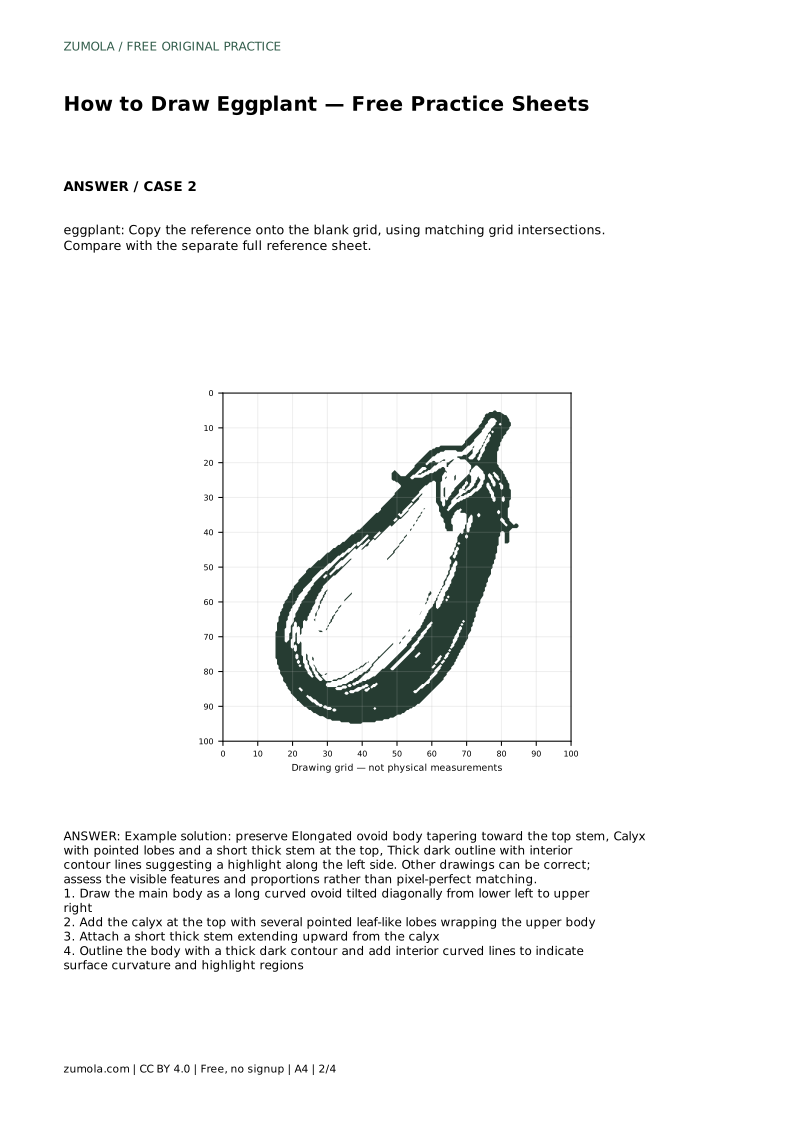
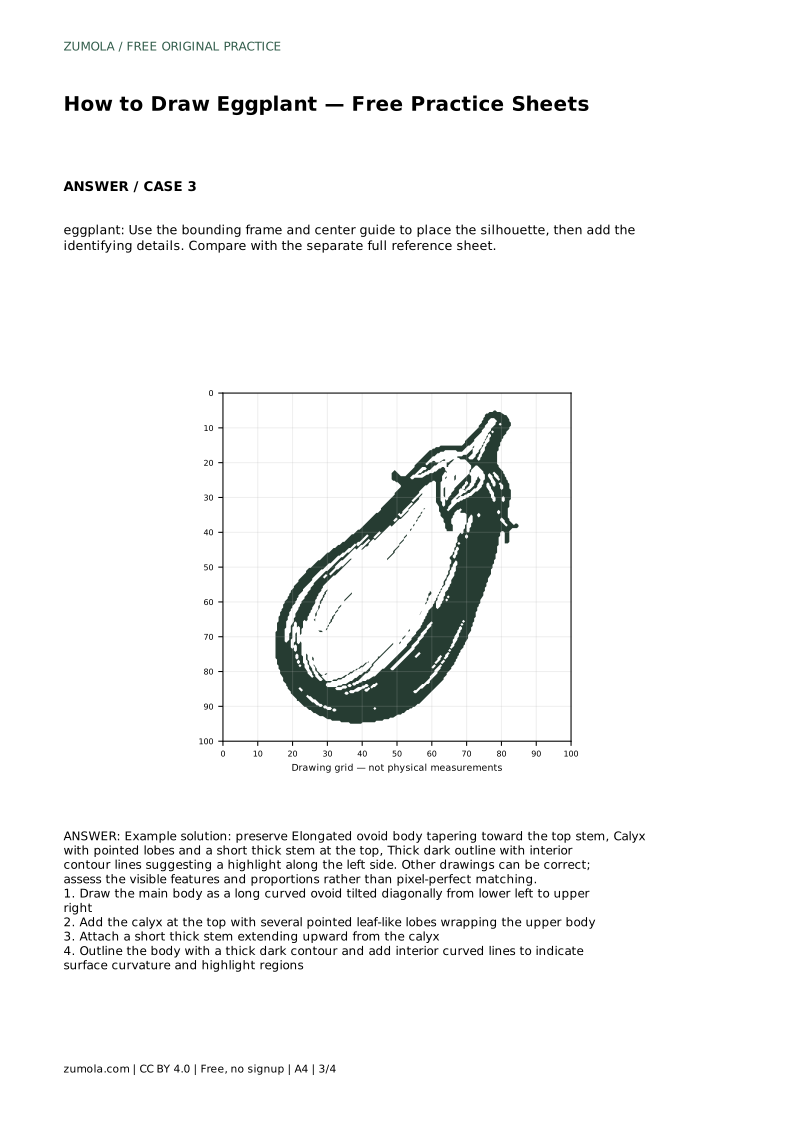
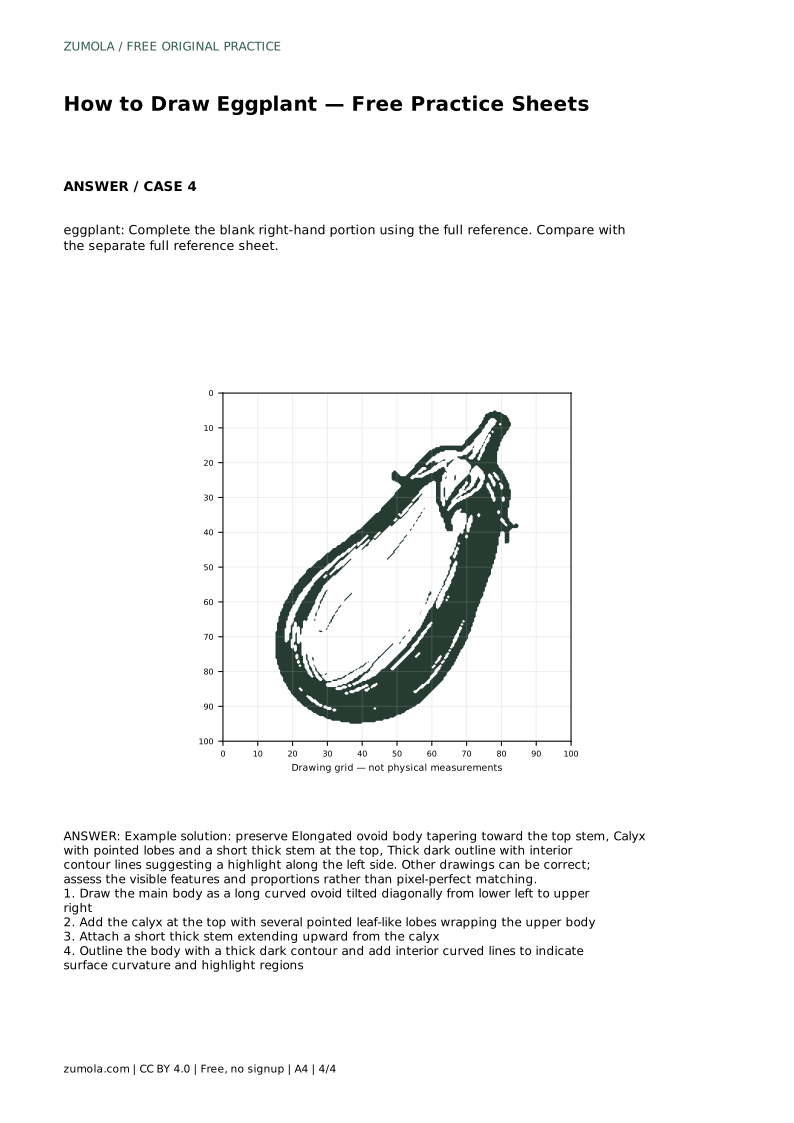
An eggplant drawing depends on a few clear shapes: a long body that curves and tapers toward the top, a leafy calyx with pointed lobes, and a short thick stem. This page explains how to place those parts in order, how to use tracing, grid and frame practice sheets, and how to judge your drawing by visible features and proportions rather than exact matching.
Start with the largest shape. The eggplant body is an elongated ovoid, wider near the lower middle and narrowing toward the top where the calyx sits. Tilt it diagonally from lower left to upper right so the drawing has direction and does not look stiff. Keep the curve gentle; a single smooth arc along each side is easier to correct than a series of short strokes.
Check the taper before adding anything else. The top should be noticeably narrower than the widest point, and the base should be rounded rather than pointed. If the body looks like a circle or a straight-sided capsule, redraw the side curves so the widest point sits below the middle.
The calyx is the leafy cap at the top of the fruit. Draw several pointed, leaf-like lobes that wrap around the upper body rather than sitting flat on top like a lid. The lobes should overlap the body slightly, which makes the cap look attached. Vary the lobe lengths a little so the calyx reads as organic.
Attach a short, thick stem extending upward from the center of the calyx. Keep it shorter than you might expect; a long thin stem changes the silhouette and makes the drawing look like a different fruit. The stem and calyx together form the top landmark that identifies the subject.
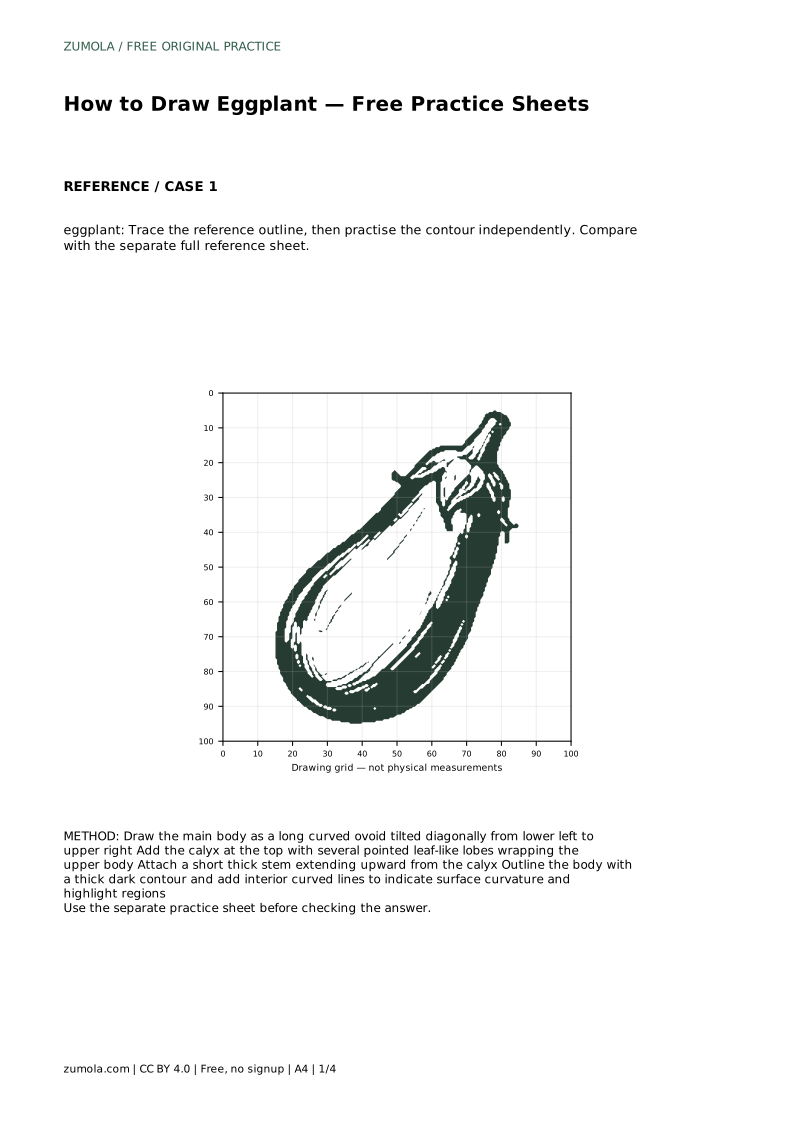
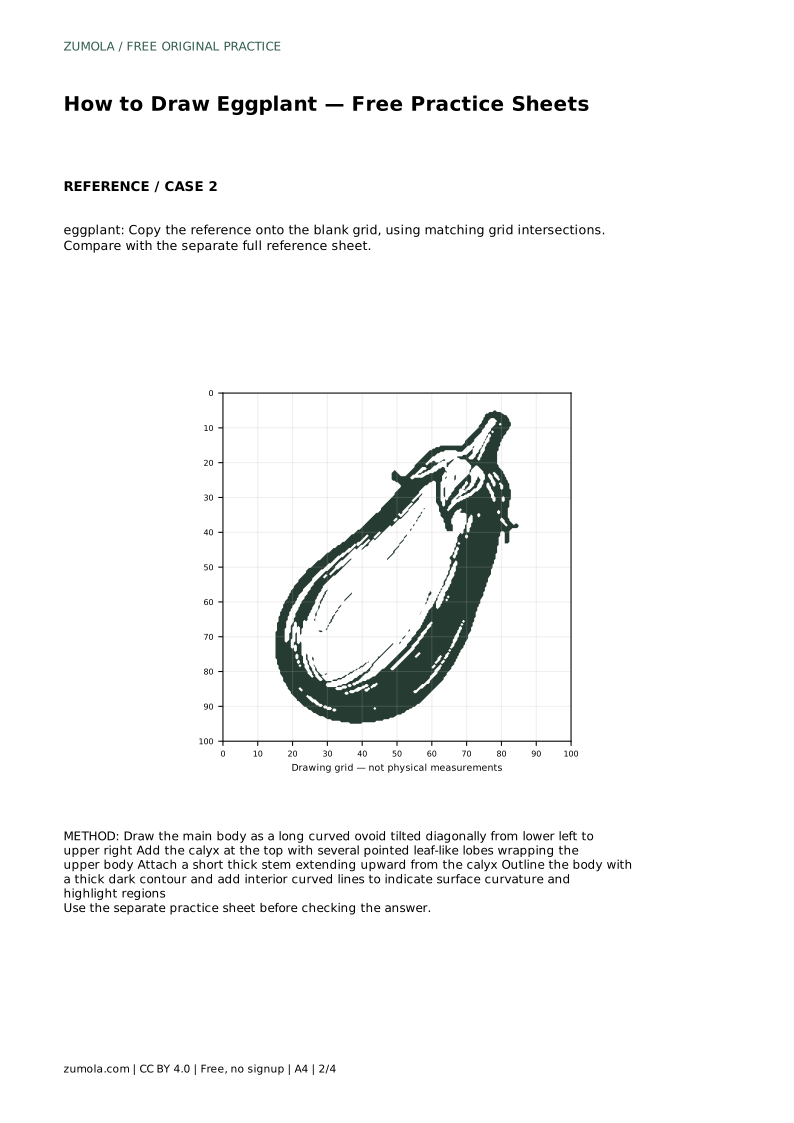
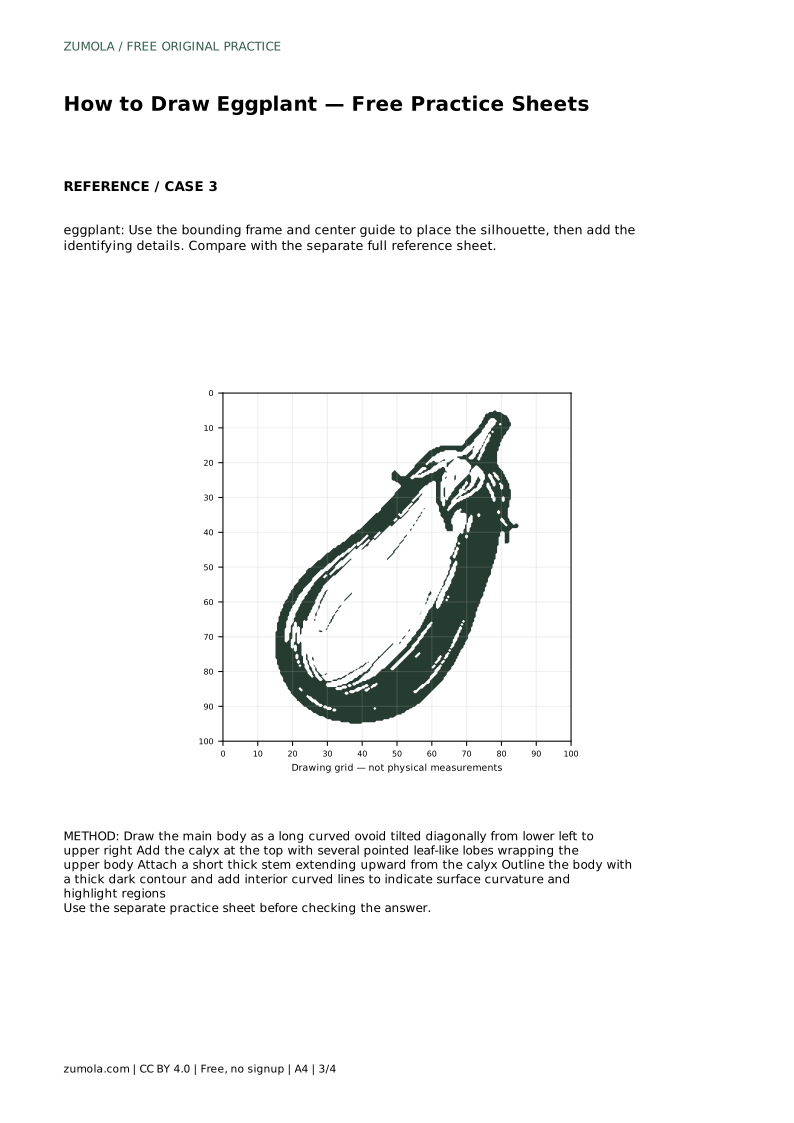
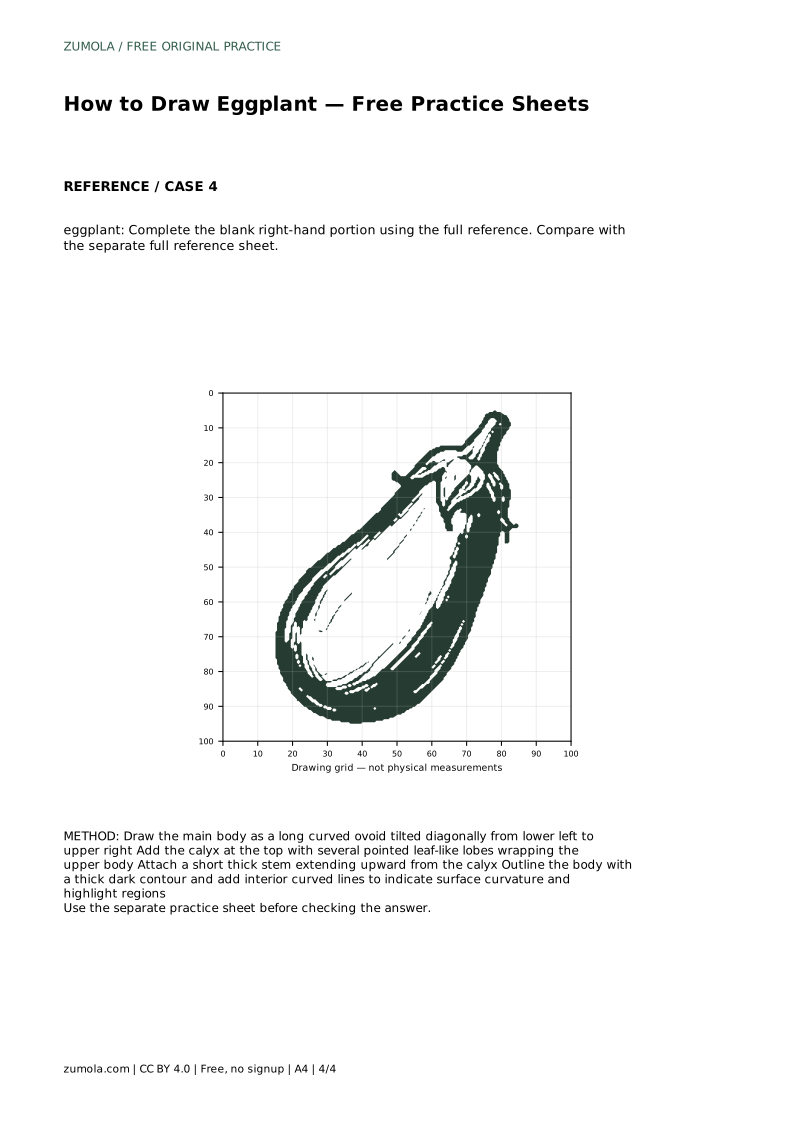
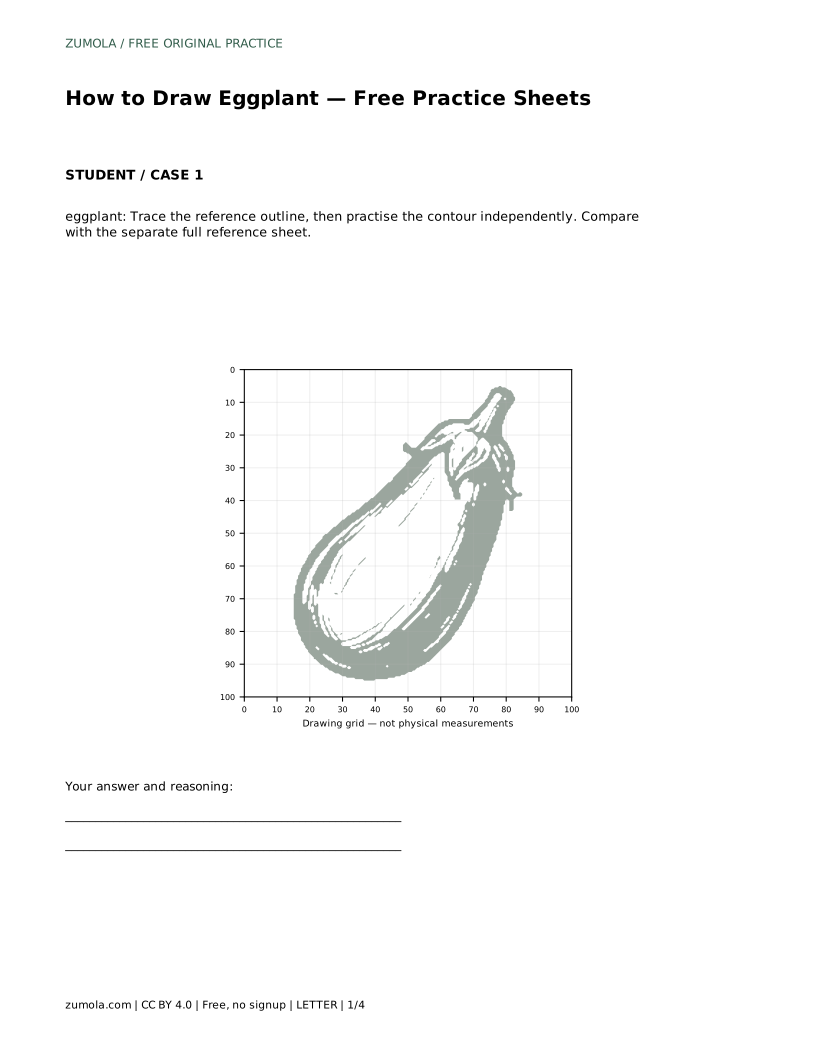
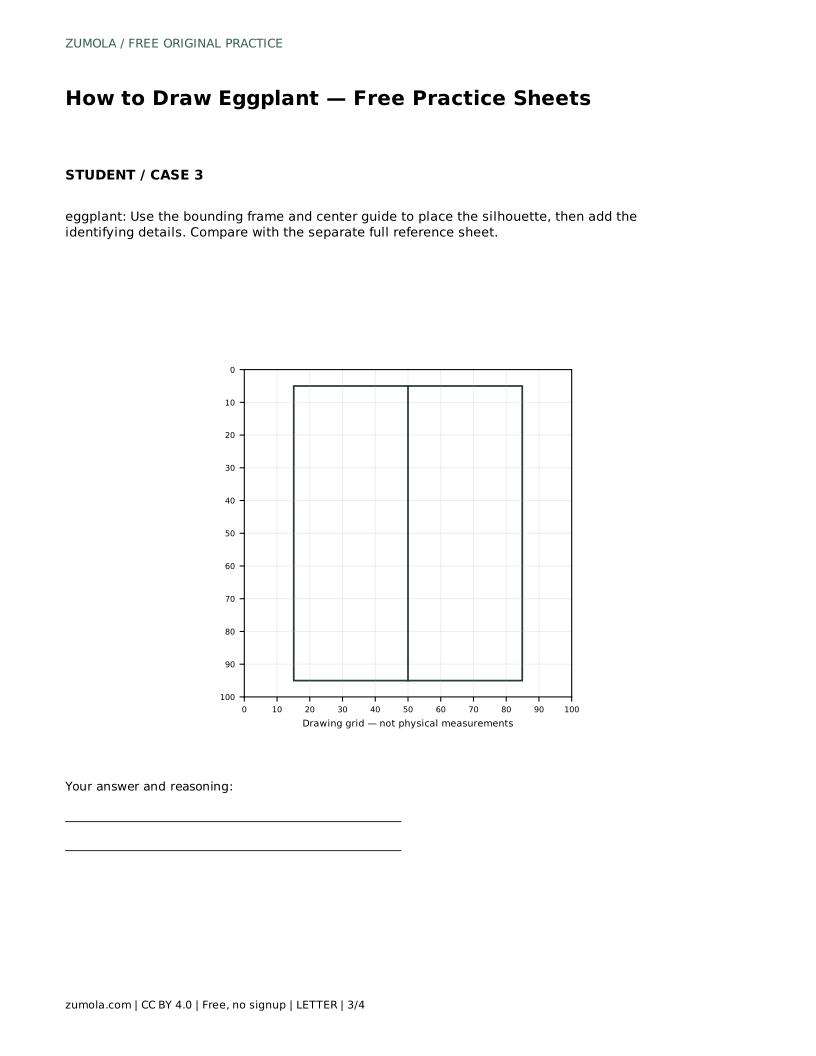
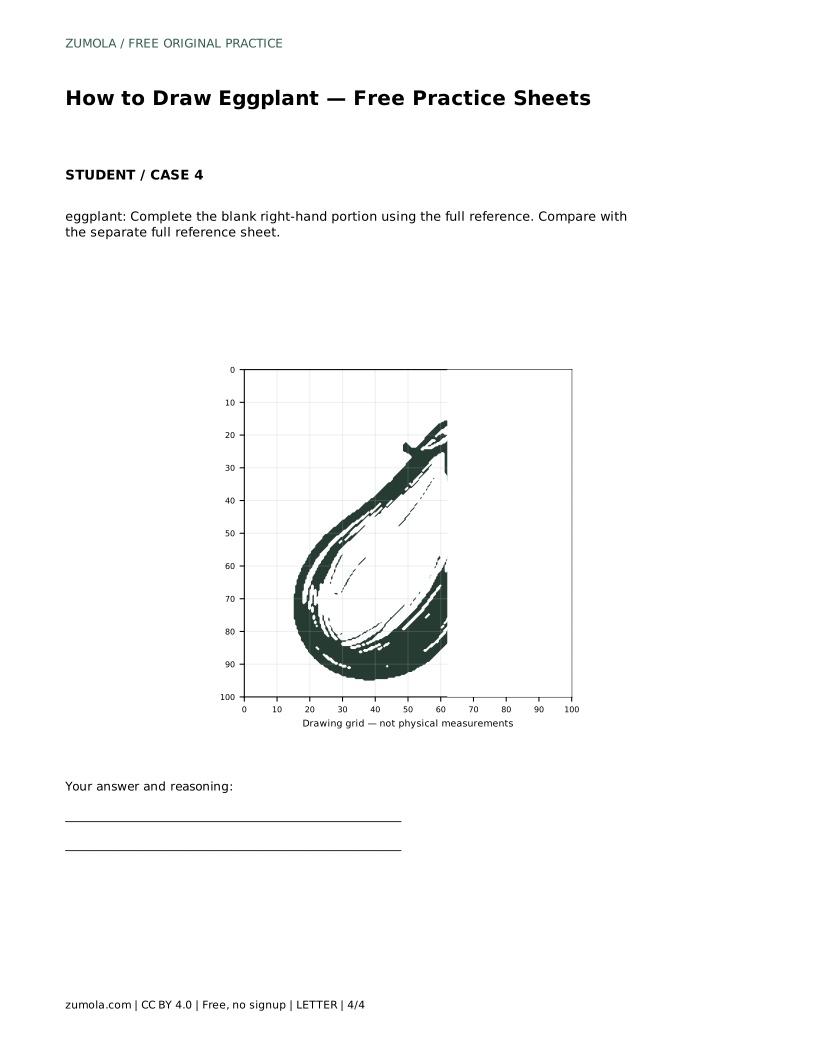
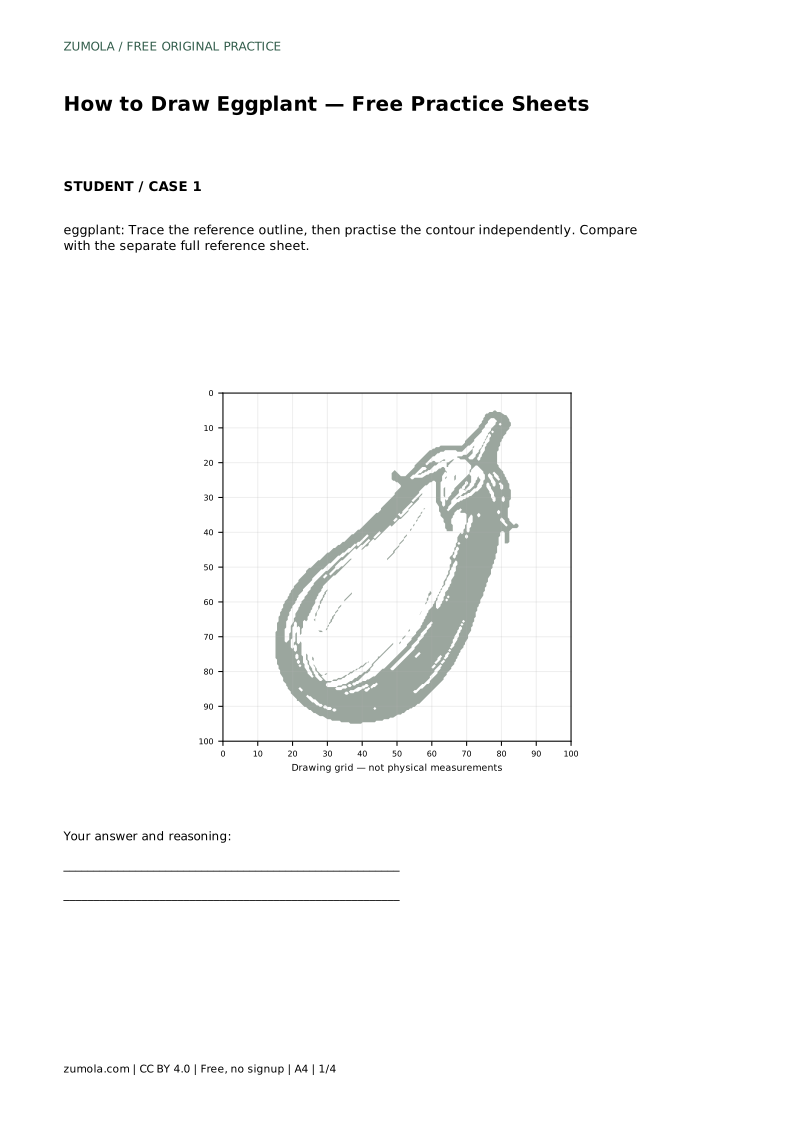
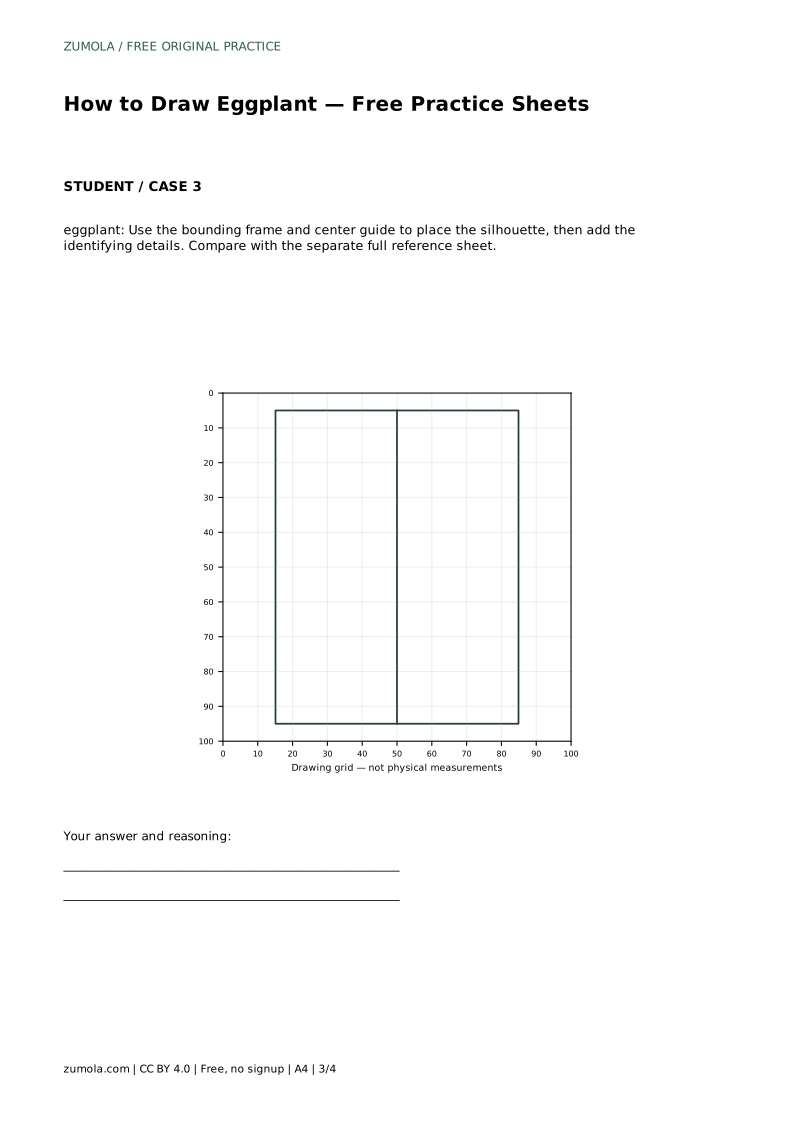
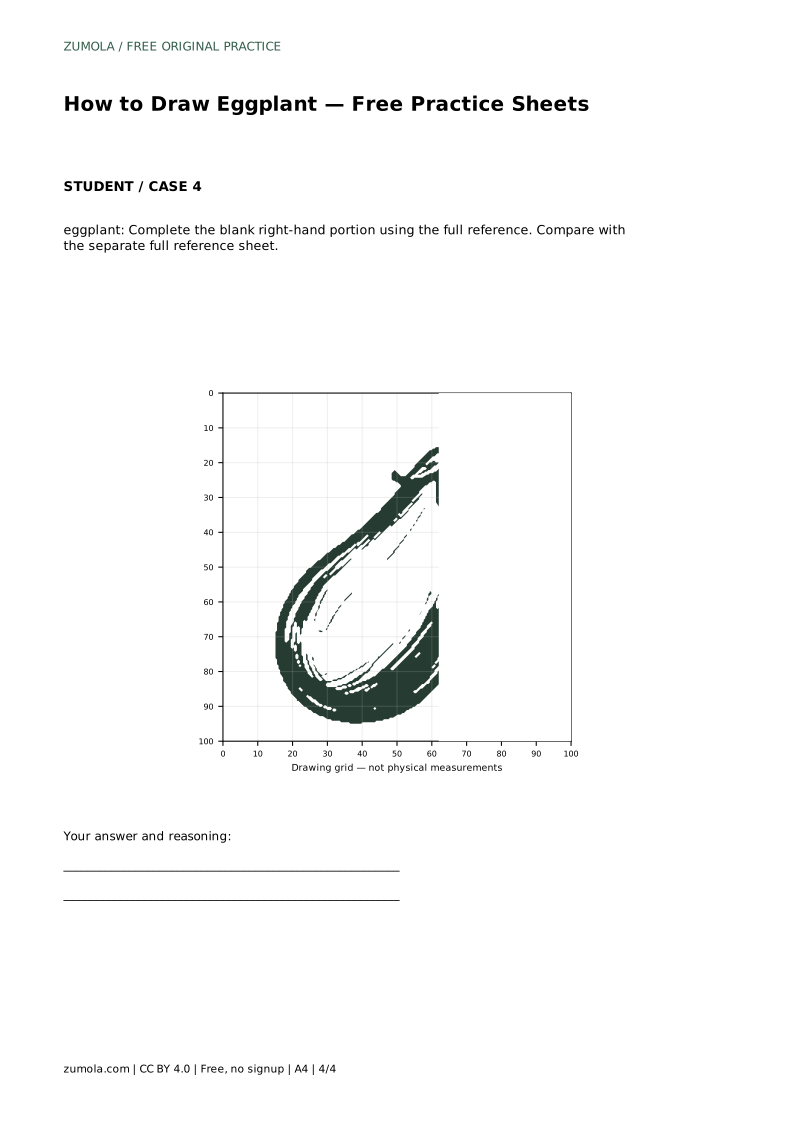
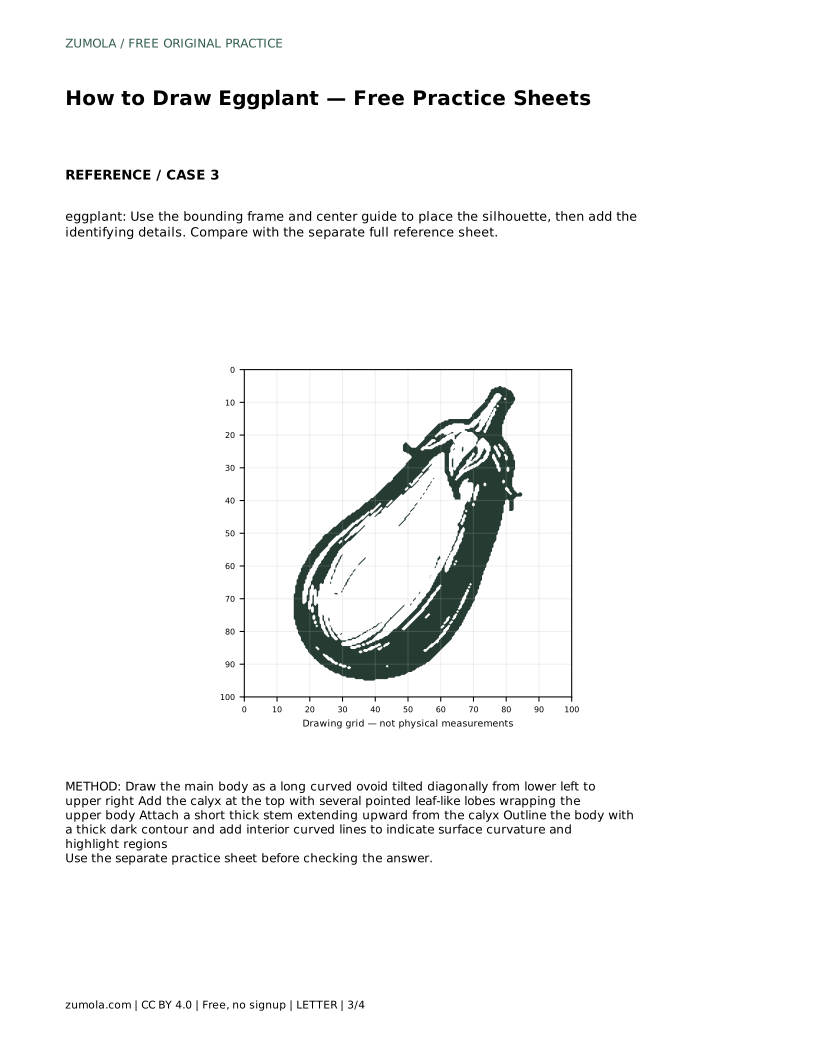
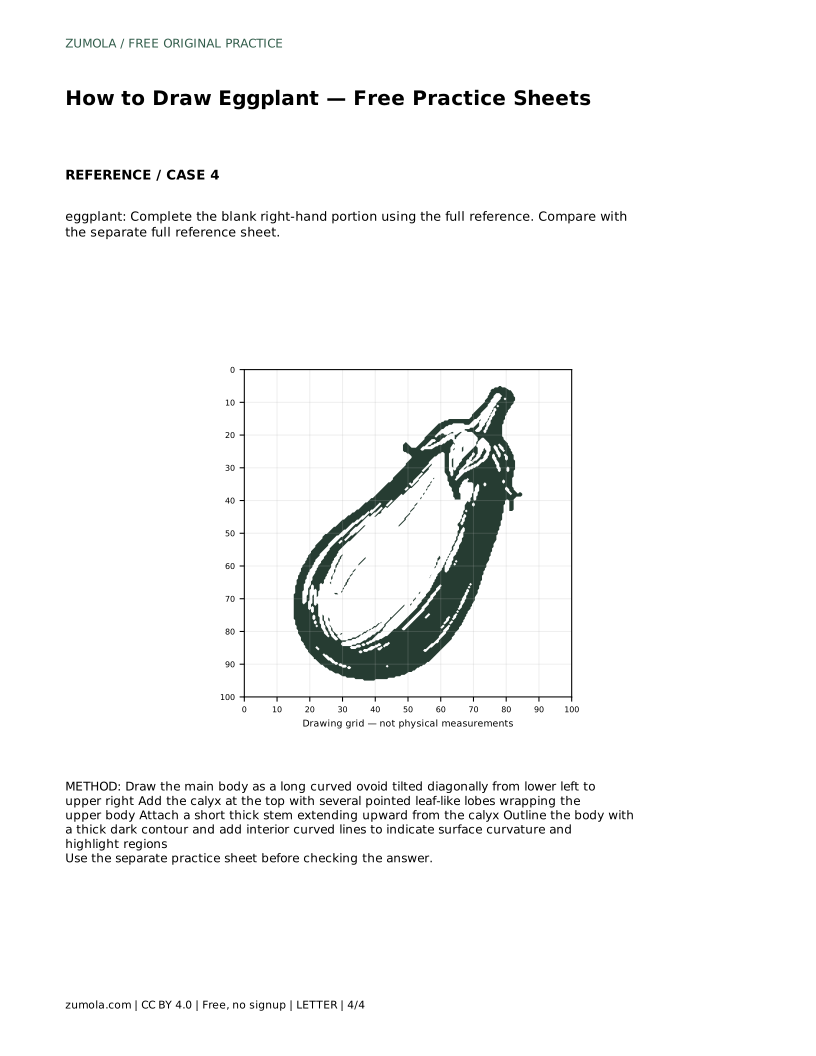
Tracing helps you feel the contour, but it does not test whether you can reproduce it. After tracing the reference outline, cover or set aside the traced version and draw the contour independently, then compare with the separate full reference sheet. The grid version asks you to match intersections, which trains placement and proportion. The bounding frame and center guide version asks you to place the silhouette inside a defined area before adding identifying details. The partial-reference version asks you to complete the blank right-hand portion using the full reference.
Each format targets a different skill, so treat them as separate exercises rather than repeats. On the grid, note where the widest point falls relative to grid lines. On the frame version, check that the body fills the frame without touching the edges unless the reference does.
Outline the body with a thick dark contour, then add interior curved lines that follow the surface. These lines suggest curvature and a highlight region, commonly along the left side when light comes from that direction. Keep interior lines sparse and parallel to the body's curve; too many lines flatten the form.
Art has multiple valid outcomes. A drawing can differ from the reference and still be correct if the elongated tapered body, lobed calyx, short thick stem and readable contour are present. Judge proportions and features, not pixel-perfect matching.
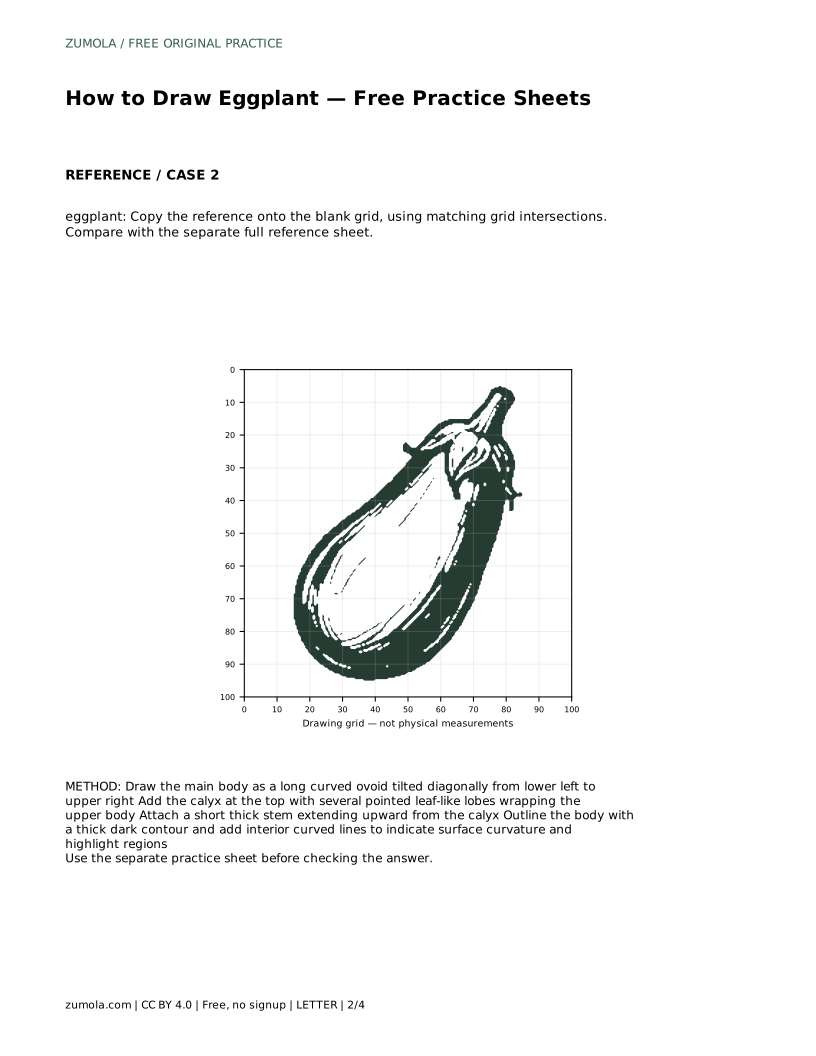
eggplant: Trace the reference outline, then practise the contour independently. Compare with the separate full reference sheet.
Example solution: preserve Elongated ovoid body tapering toward the top stem, Calyx with pointed lobes and a short thick stem at the top, Thick dark outline with interior contour lines suggesting a highlight along the left side. Other drawings can be correct; assess the visible features and proportions rather than pixel-perfect matching. Draw the main body as a long curved ovoid tilted diagonally from lower left to upper right Add the calyx at the top with several pointed leaf-like lobes wrapping the upper body Attach a short thick stem extending upward from the calyx Outline the body with a thick dark contour and add interior curved lines to indicate surface curvature and highlight regions
No. Use the reference to check proportions and identifying features. Different line choices and highlight placements can still be correct.
Start with tracing to learn the contour, then move to the grid or frame version to test placement without tracing.
A few curved lines are enough. Keep them following the body's surface and leave space for a highlight rather than filling the shape.
All drawing practice · Free coordinate paper
Original resources · CC BY 4.0 · Free for personal and classroom use with attribution.