Reference diagrams
LETTER · Download PDF
A4 · Download PDF
Free original resources
Learn to draw a coconut by building its round body, dark rimmed opening, and light streaks. Trace, grid, or complete the outline, then check your work with a rubric.
Four original cases, with reference diagrams, practice sheets and worked answers. Everything is free; no signup required.
LETTER · Download PDF
A4 · Download PDF
LETTER · Download PDF
A4 · Download PDF
LETTER · Download PDF
A4 · Download PDF
Use A4 or US Letter to match your printer. Use the stated values and conditions to solve each exercise; diagrams are not physical measuring rulers.
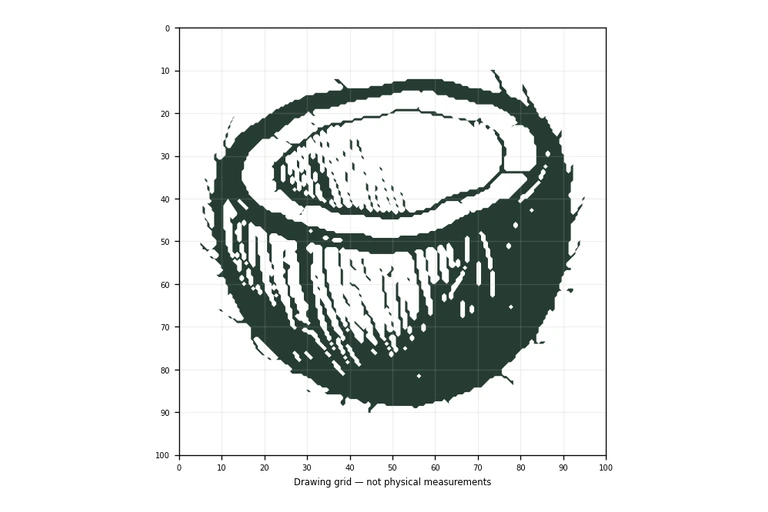
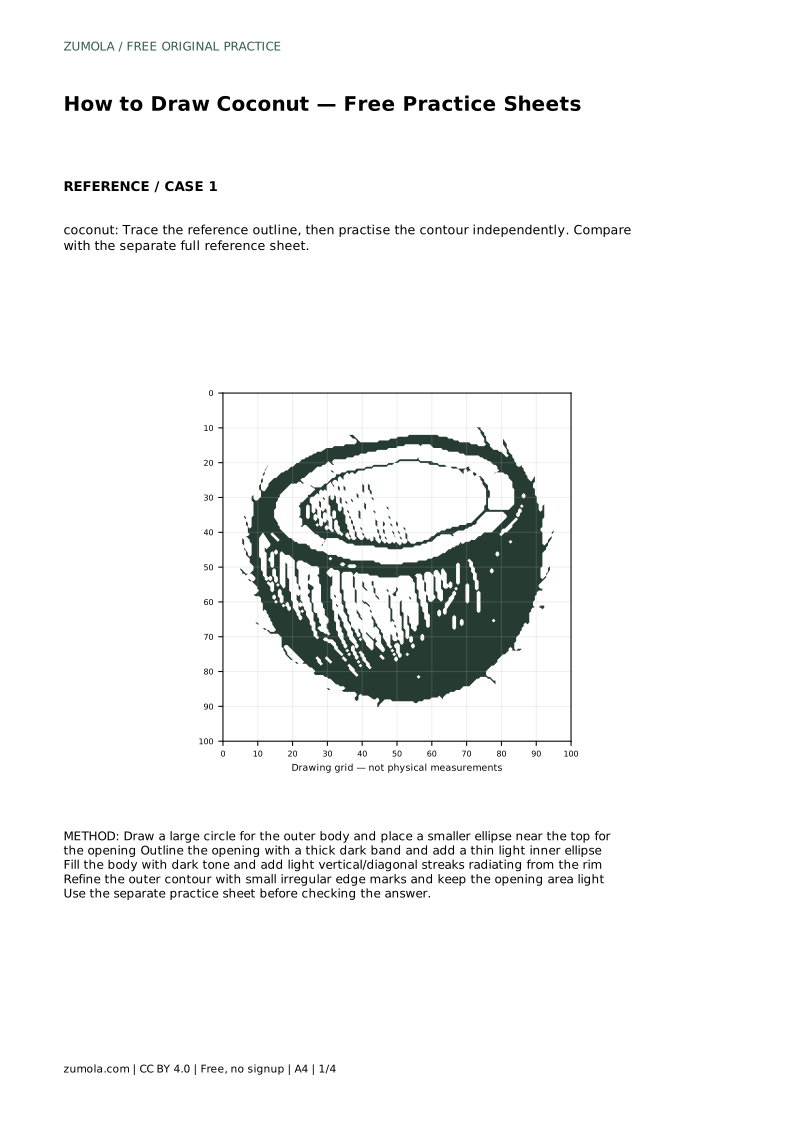
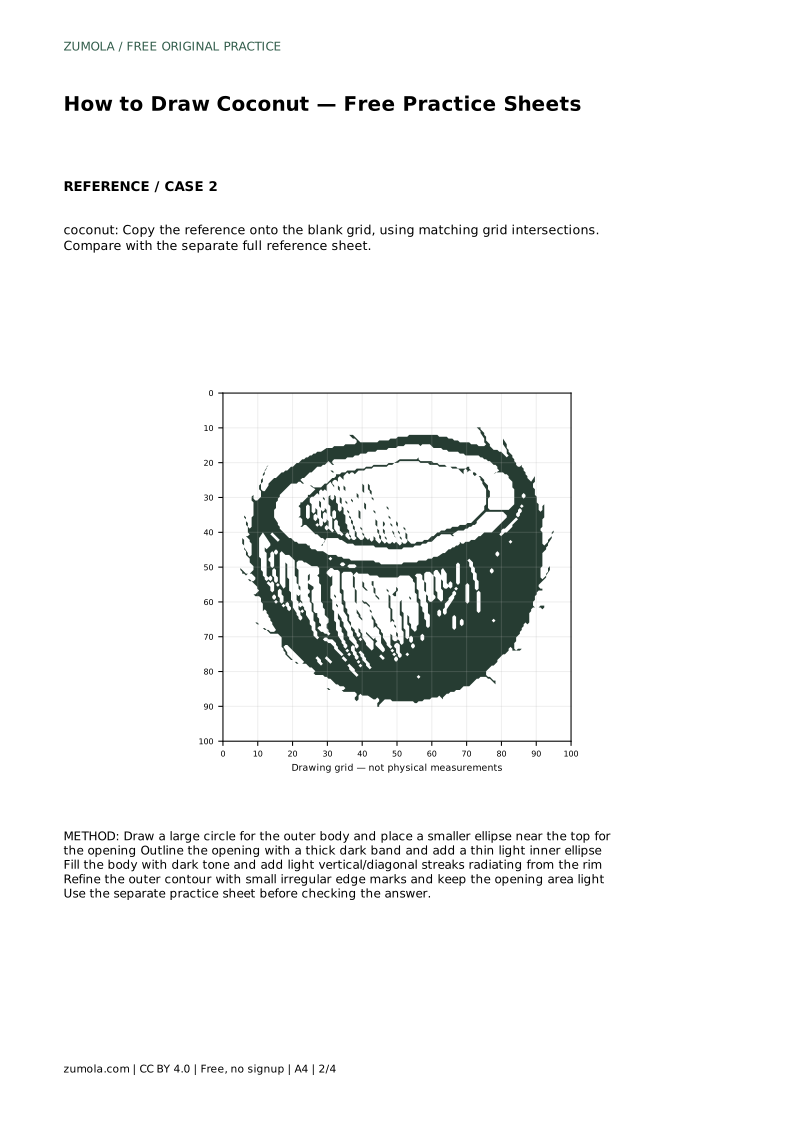
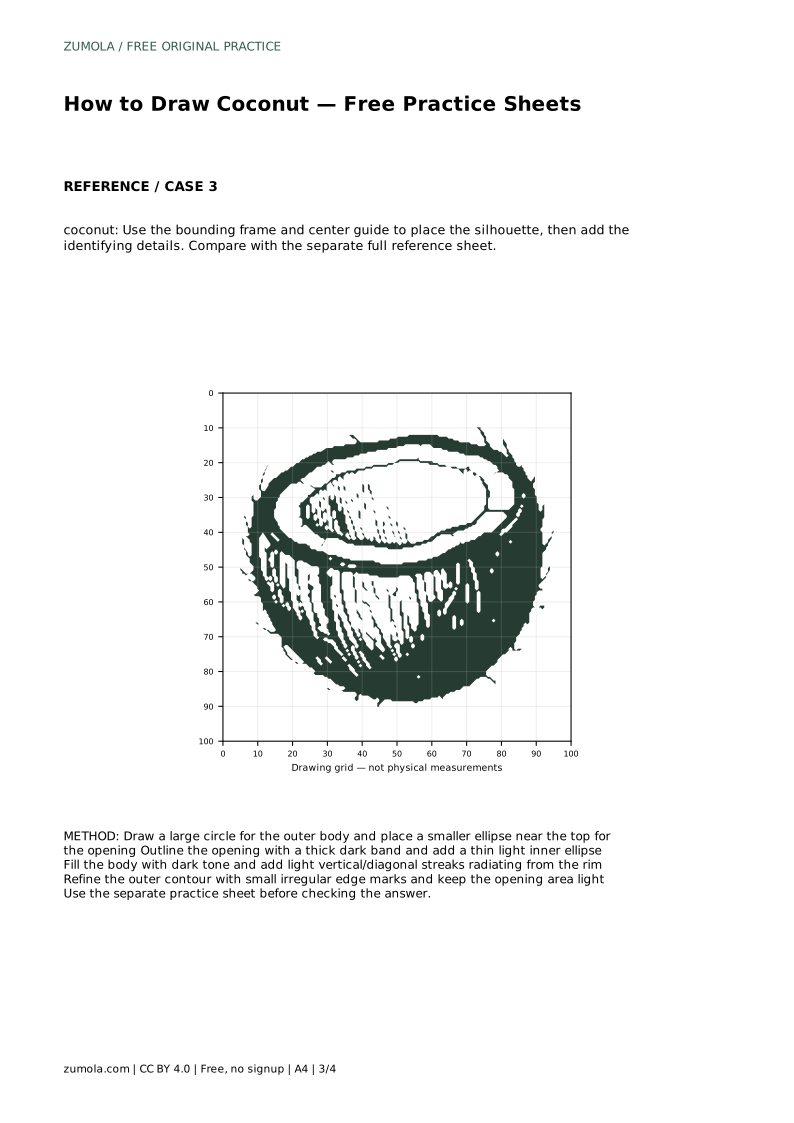
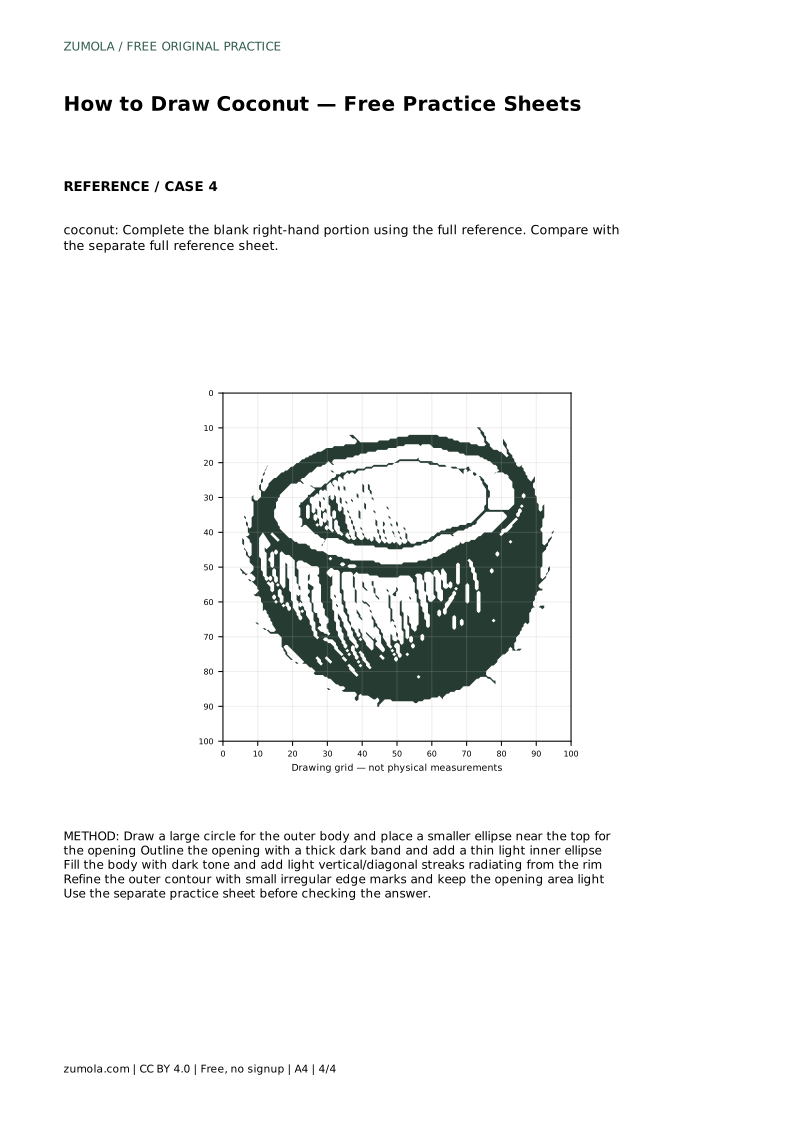
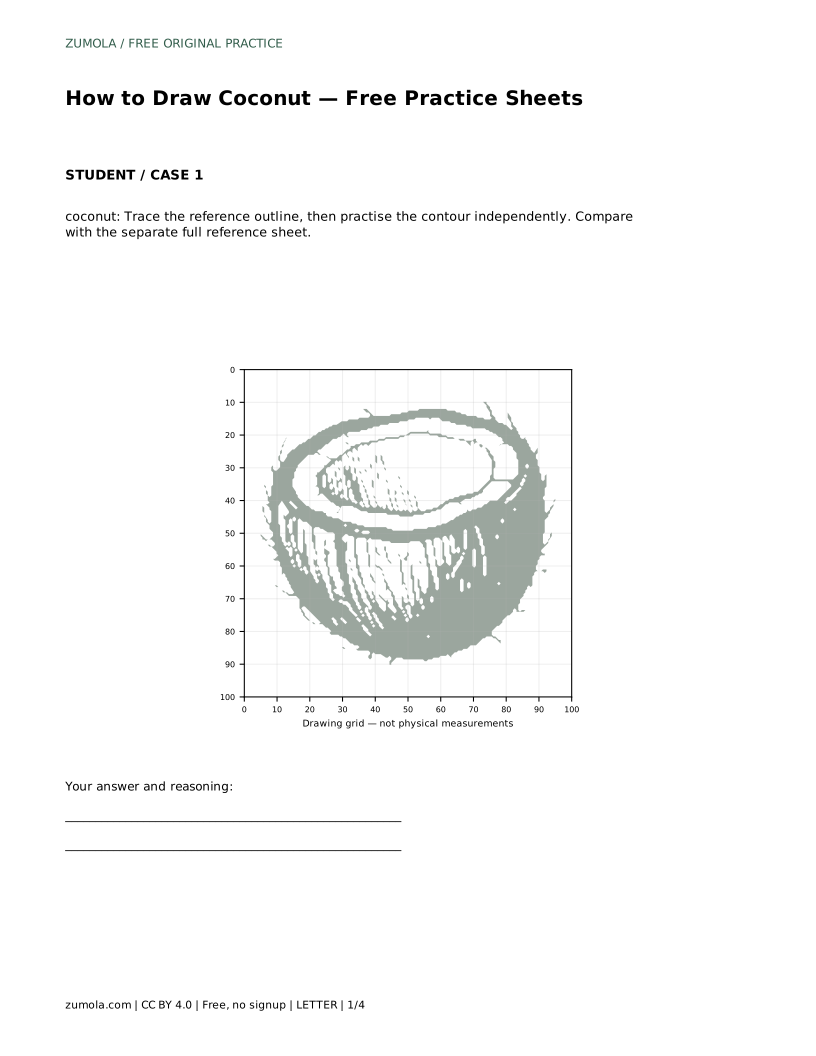
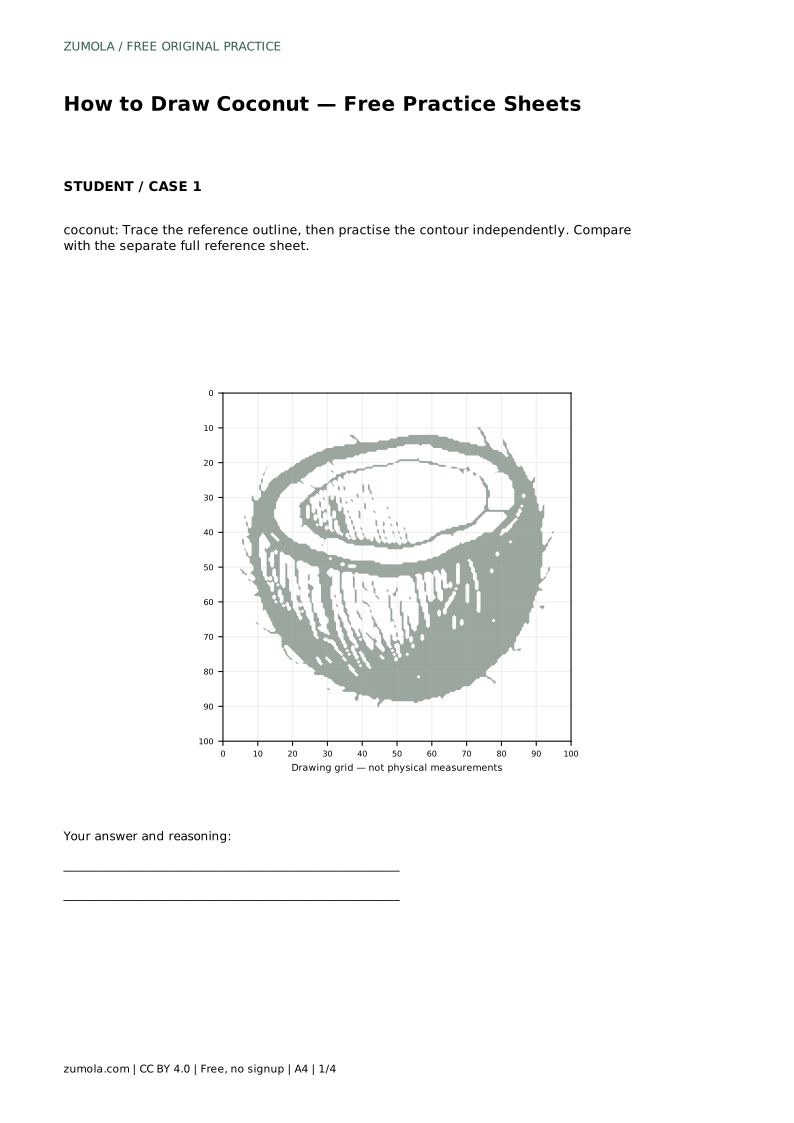
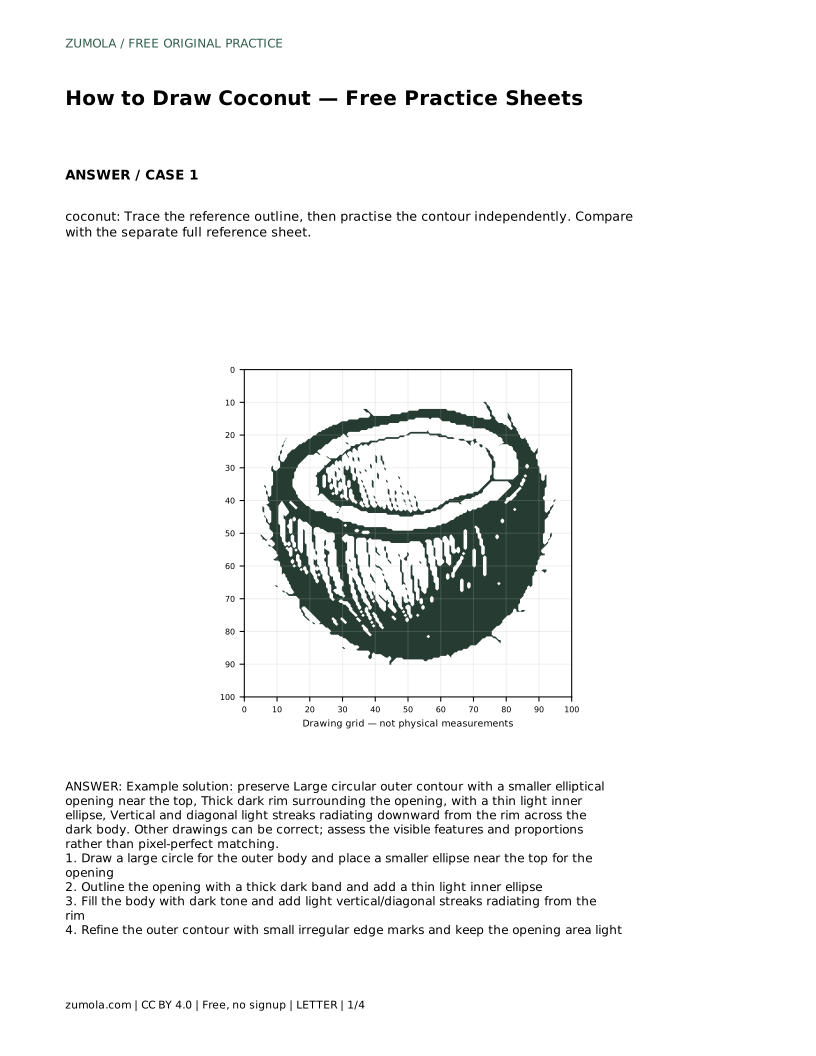
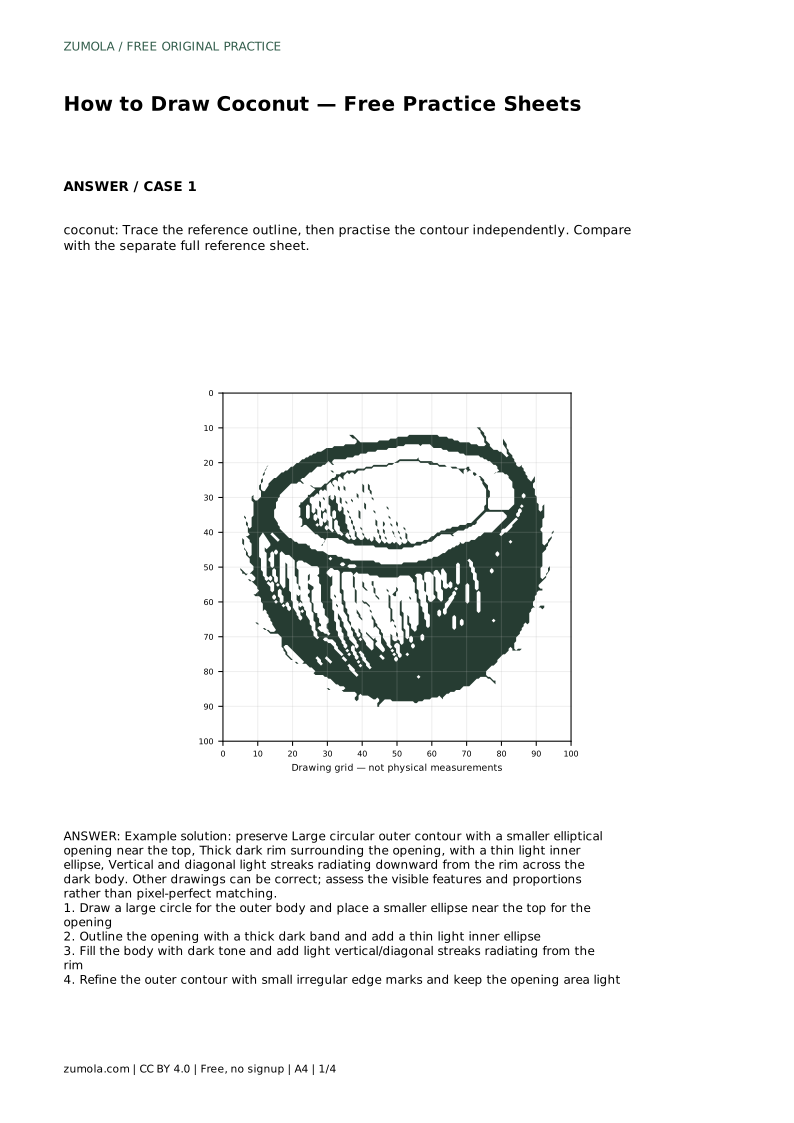
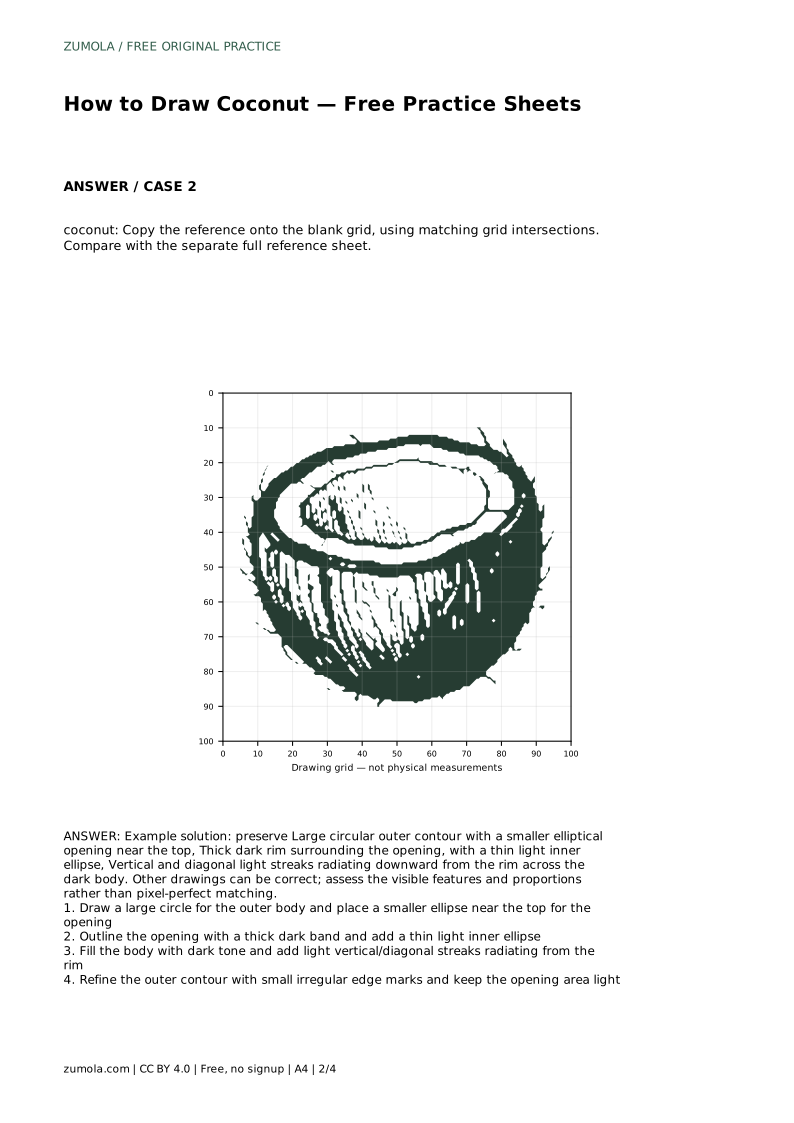
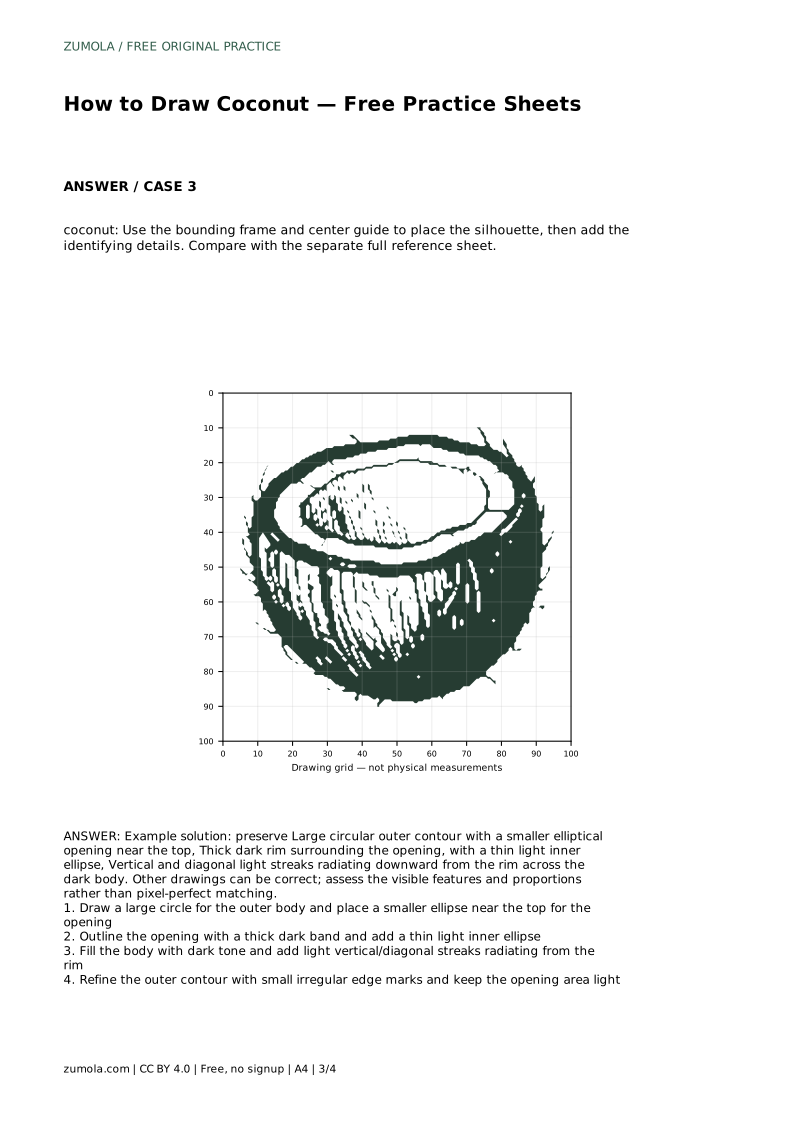
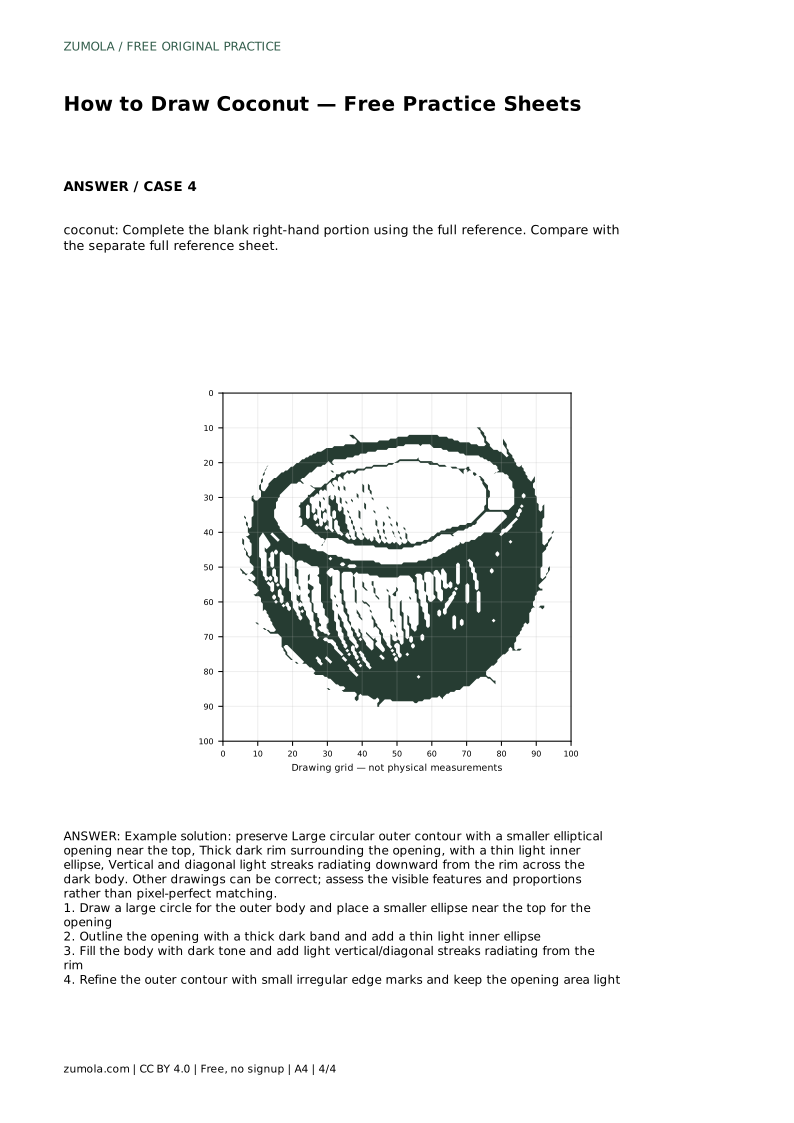
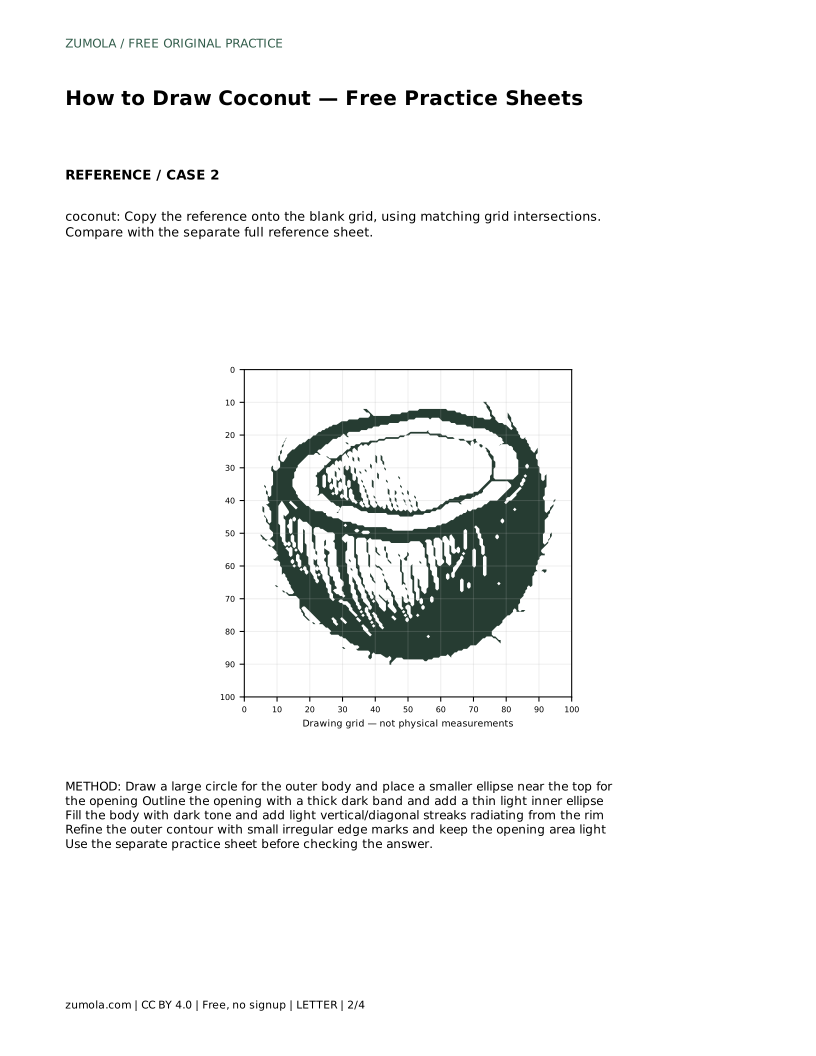
A drawing of a coconut depends on a few clear features: a large round body, a smaller elliptical opening near the top, a thick dark rim around that opening, and pale streaks running down the dark shell. This page explains how those parts fit together and how to practise them on free printable sheets. You can trace the outline first, then draw it independently and compare your result with the full reference.
Begin by treating the coconut as two connected shapes rather than one complicated object. The outer body is a large circle, slightly flattened if you prefer, and the opening is a smaller ellipse placed near the top. An ellipse is a stretched circle; its width is greater than its height here, which makes the opening look like a cut surface seen at an angle.
The rim is the band between the outer edge of the opening and the inner ellipse. Draw it thick and dark, then place a thin light ellipse inside it to suggest the pale flesh. The body stays dark, with light streaks radiating downward from the rim. Those streaks follow the curve of the shell, so angle them slightly outward as they travel down.
Tracing helps you feel the proportions before you commit to a freehand outline. Follow the reference contour slowly, keeping the opening ellipse centred near the top rather than pushed to one side. When you finish, set the traced sheet beside the separate full reference and compare the size of the opening relative to the body.
On your next attempt, cover the reference and draw from memory using the same four steps. Small differences in the outer contour are normal; what matters is that the opening, rim, and streaks remain in the right relationship. If the opening looks too large, redraw it smaller before adding tone, because the rim is easier to place once the ellipse is settled.
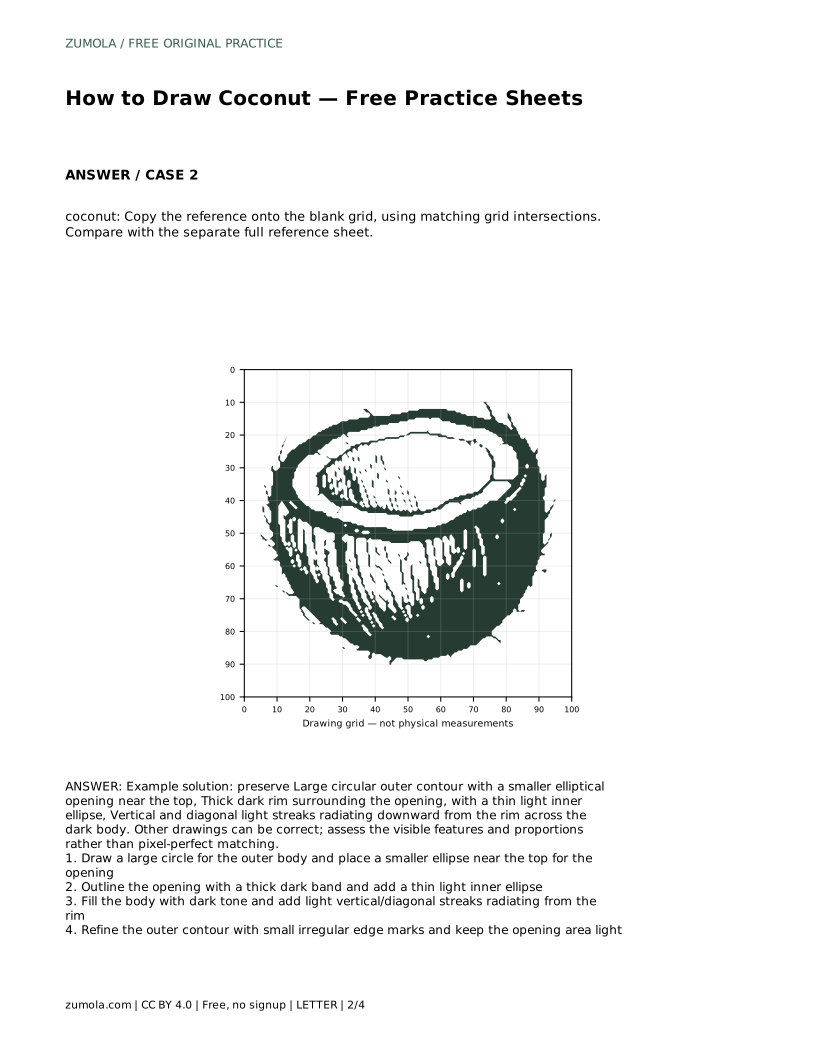
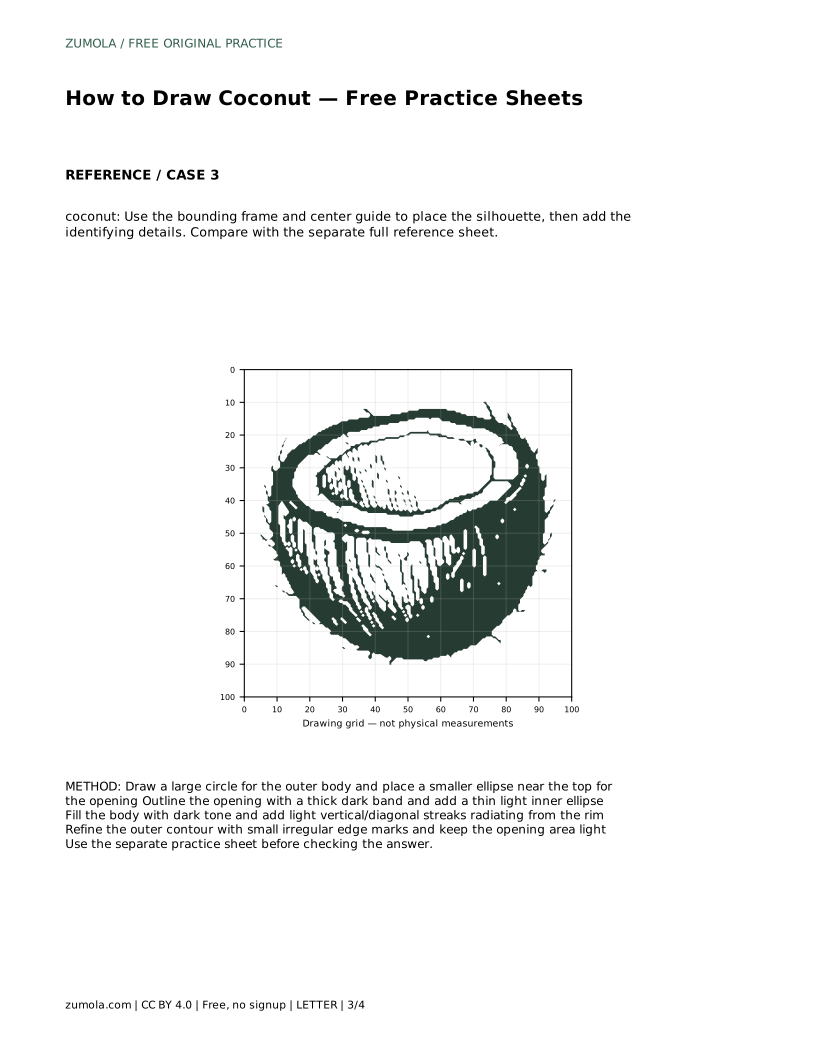
A grid divides the reference and your blank sheet into matching squares. Copy the outline square by square, using grid intersections to judge where the circle curves and where the opening begins. This method is useful when your freehand circle keeps drifting out of shape.
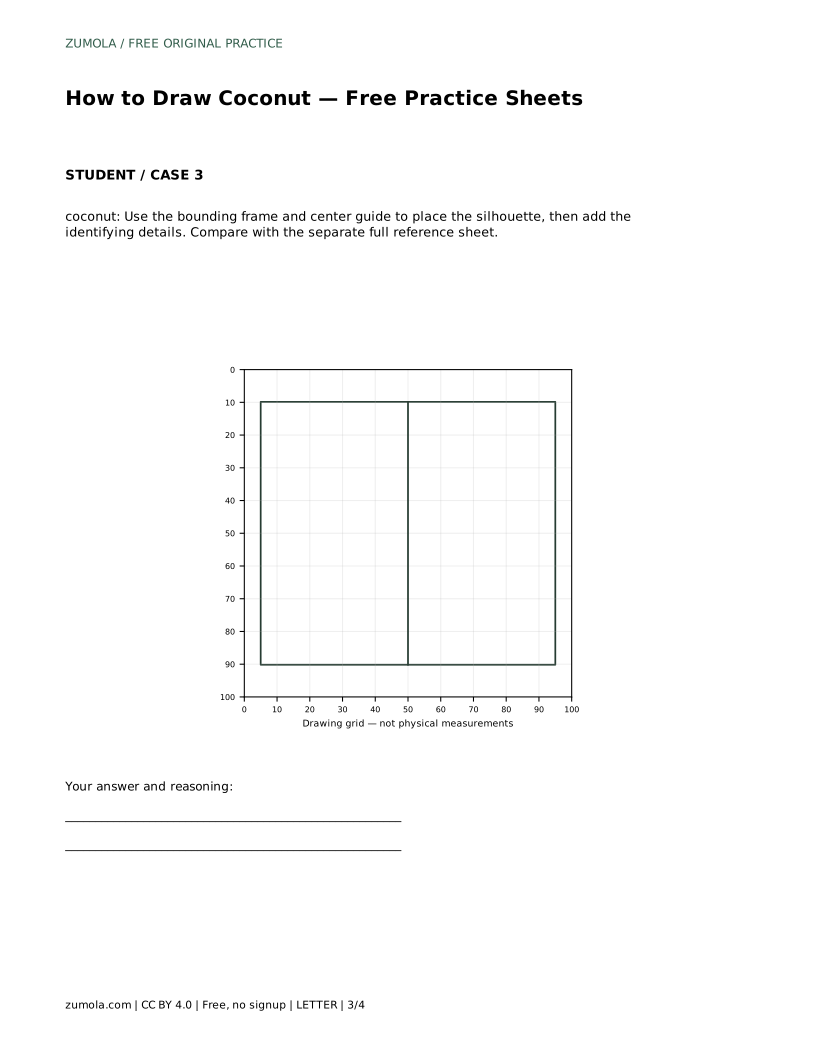
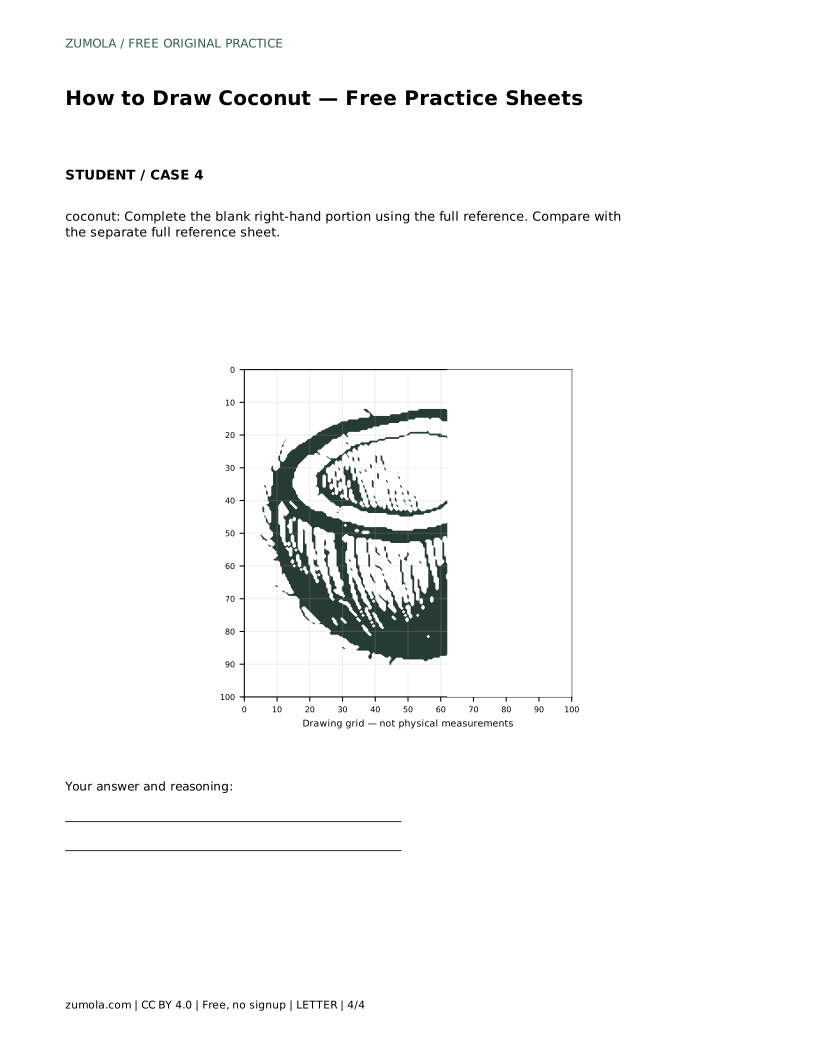
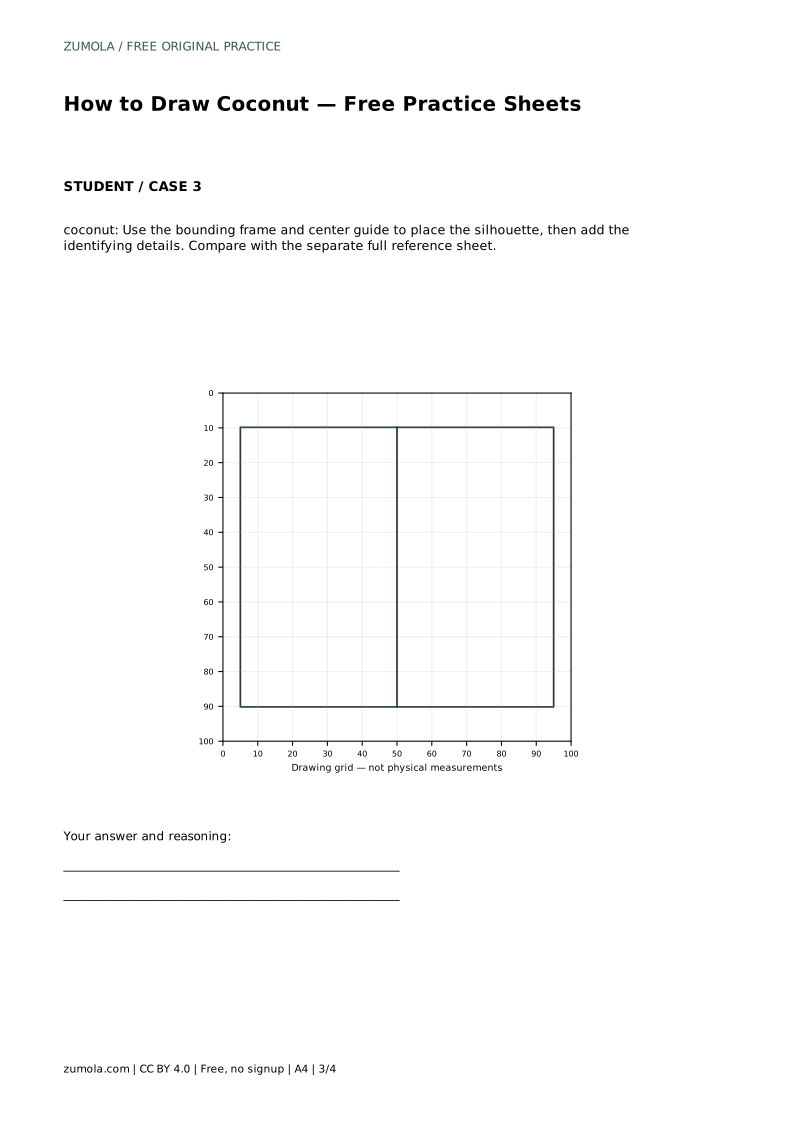
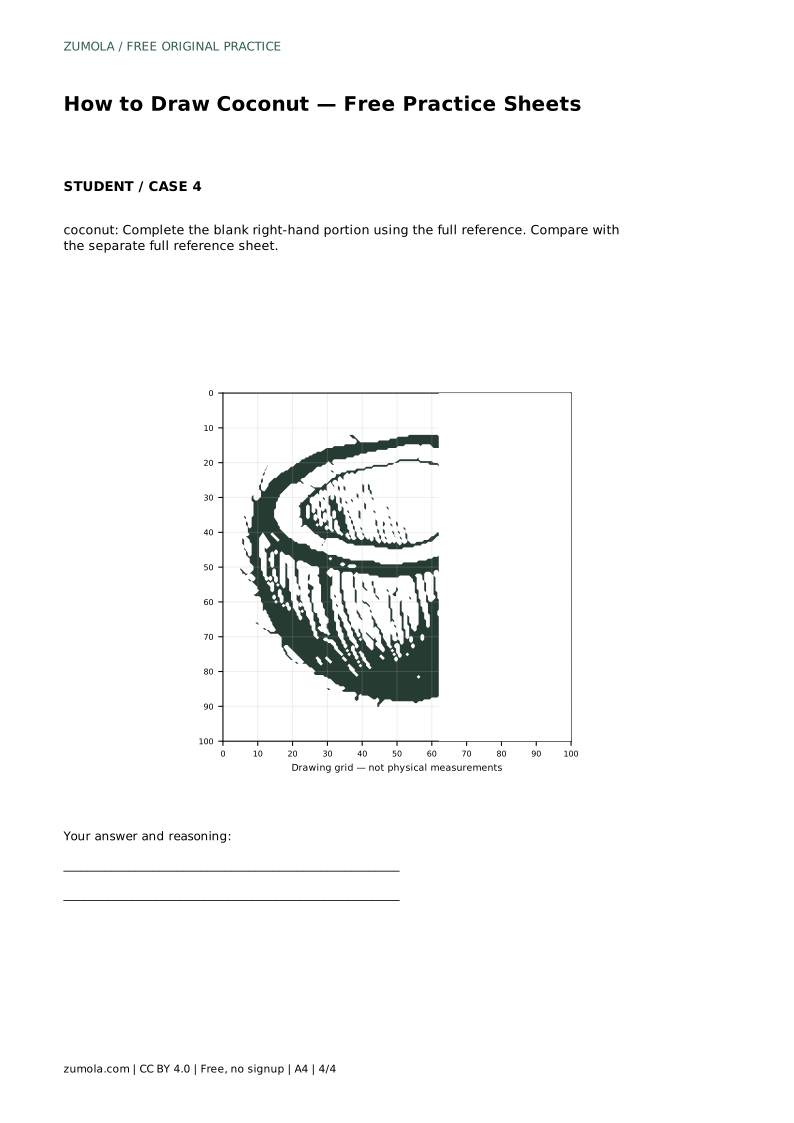
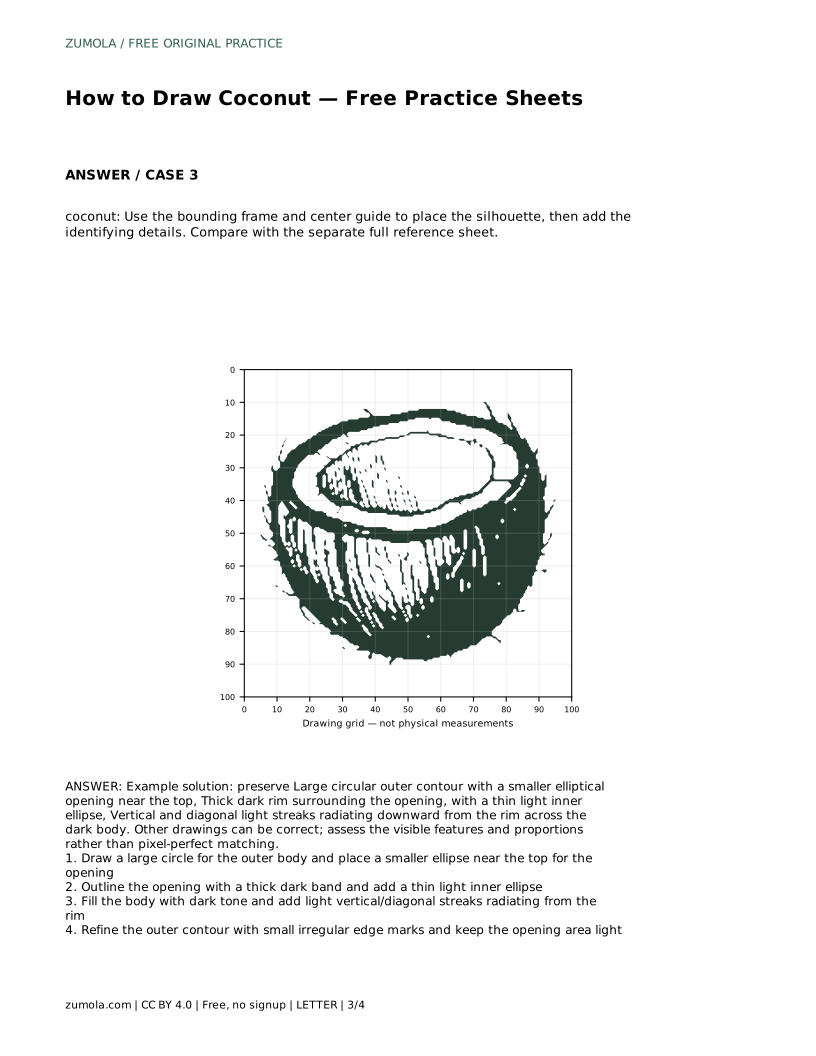
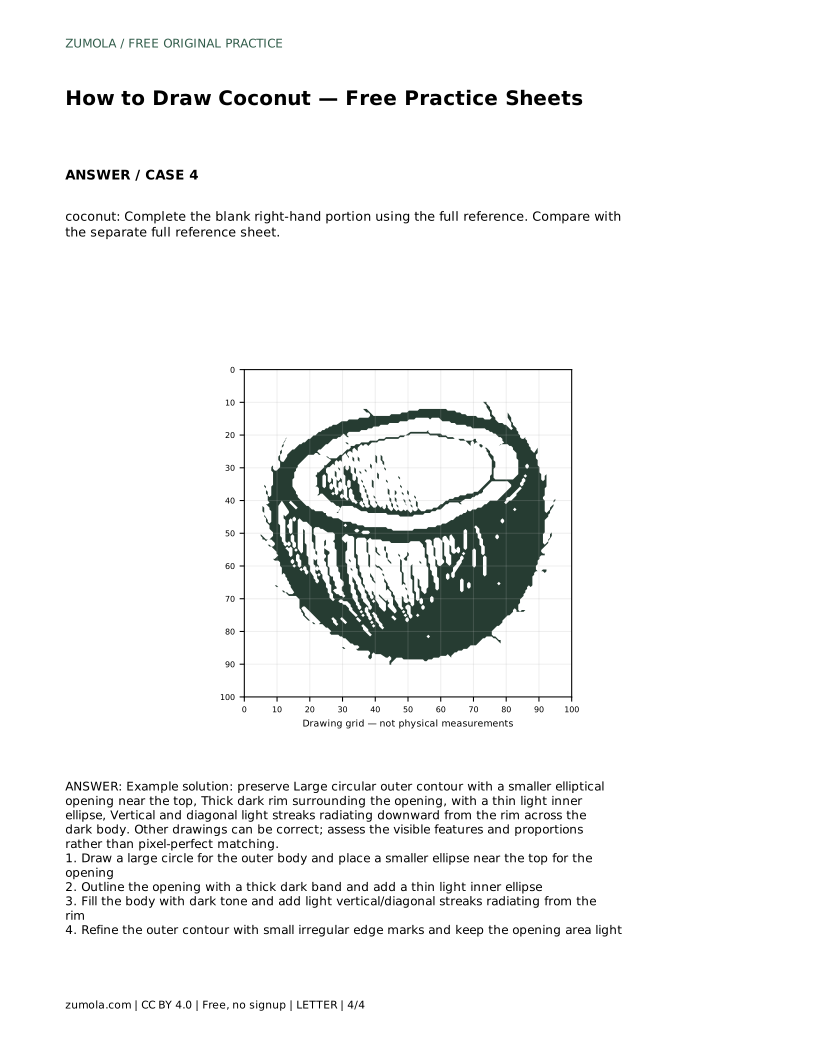
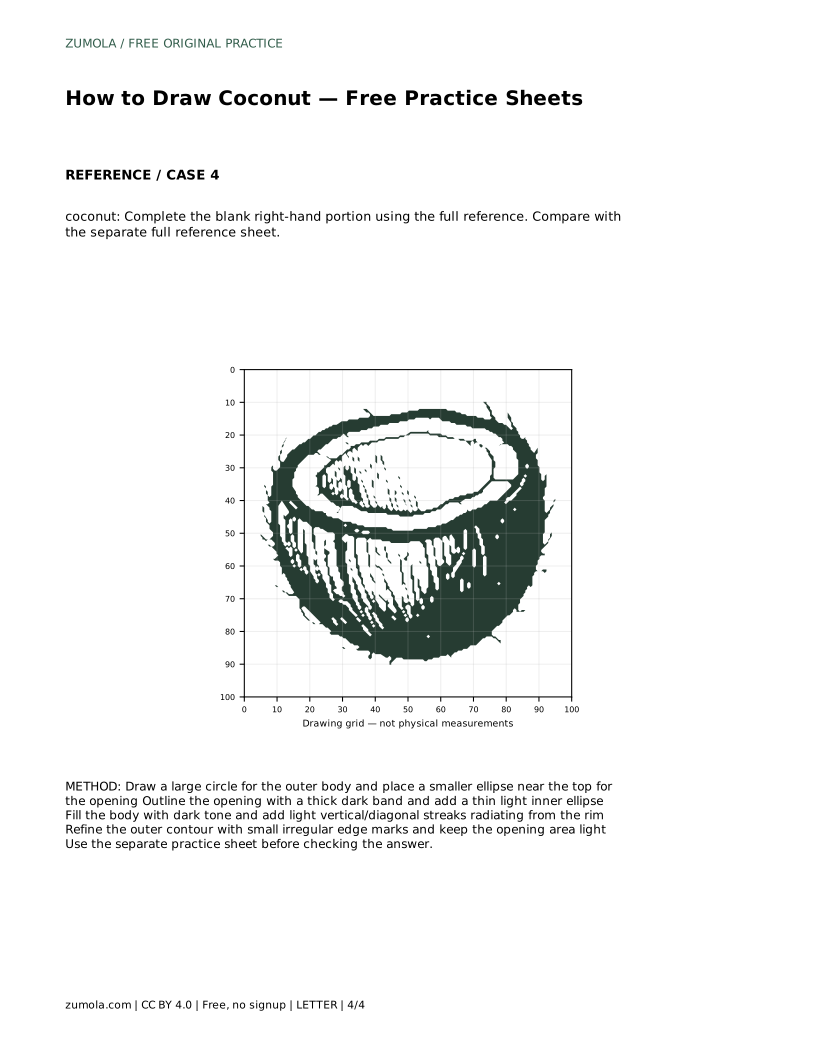
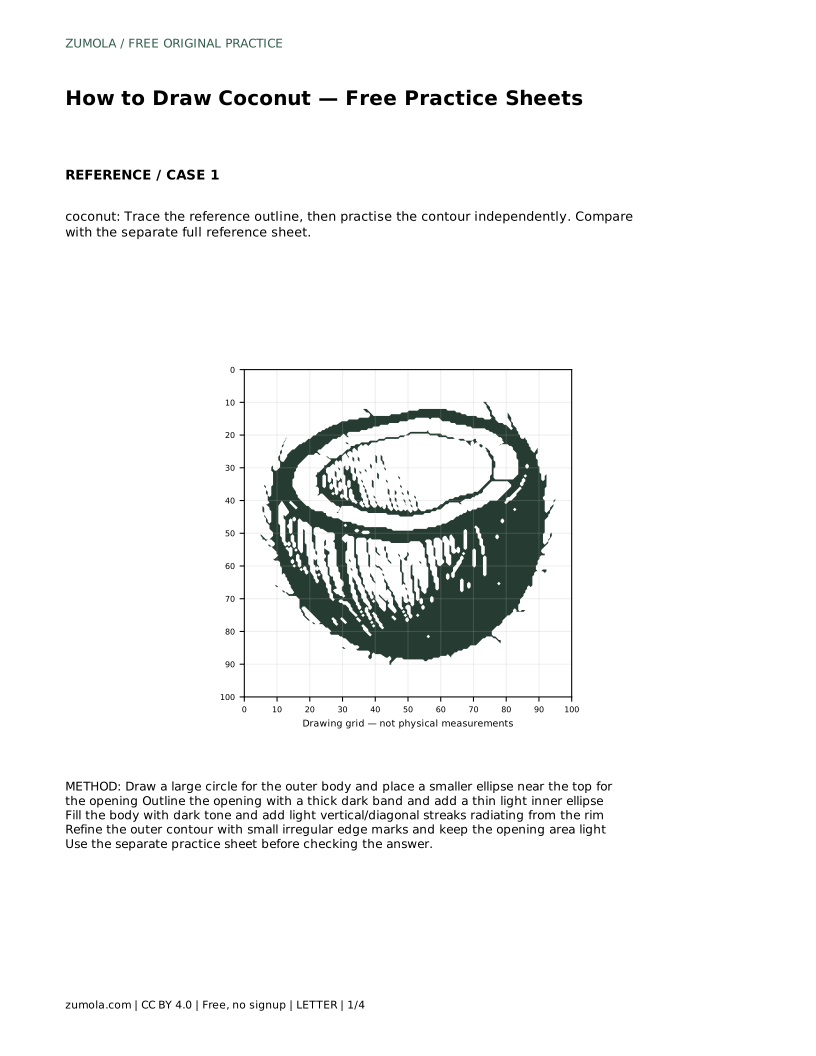
The bounding frame and centre guide work differently. The frame marks the outer limits of the drawing, and the centre guide helps you place the silhouette symmetrically. Mark the widest and tallest points of the body first, then add the opening and its rim. The half-sheet exercise asks you to complete the blank right-hand portion using the full reference, so match the height of the opening and the direction of the streaks to the finished left side.
Keep the opening area light while the body darkens. Build the dark tone in thin layers so the rim stays distinct from the shell. The light streaks should start at the rim and spread downward, growing slightly wider as they descend. Leave small gaps between streaks so the dark body still reads as a solid surface.
Finish by checking the outer edge. A perfectly smooth circle can look flat, so add small irregular marks along the contour. These marks suggest the fibrous shell without changing the overall round shape.
coconut: Trace the reference outline, then practise the contour independently. Compare with the separate full reference sheet.
Example solution: preserve Large circular outer contour with a smaller elliptical opening near the top, Thick dark rim surrounding the opening, with a thin light inner ellipse, Vertical and diagonal light streaks radiating downward from the rim across the dark body. Other drawings can be correct; assess the visible features and proportions rather than pixel-perfect matching. Draw a large circle for the outer body and place a smaller ellipse near the top for the opening Outline the opening with a thick dark band and add a thin light inner ellipse Fill the body with dark tone and add light vertical/diagonal streaks radiating from the rim Refine the outer contour with small irregular edge marks and keep the opening area light
No. Several drawings can be correct. Judge the visible features and proportions, such as the round body, the opening near the top, the thick rim, and the downward streaks, rather than pixel-perfect matching.
Draw the outer circle, then the opening ellipse, then the thick rim and thin inner ellipse, then the dark body and light streaks. Refine the outer contour last.
A grid helps you judge curves and positions by matching intersections, which builds freehand control. Tracing is useful first for feeling the proportions.
All drawing practice · Free coordinate paper
Original resources · CC BY 4.0 · Free for personal and classroom use with attribution.