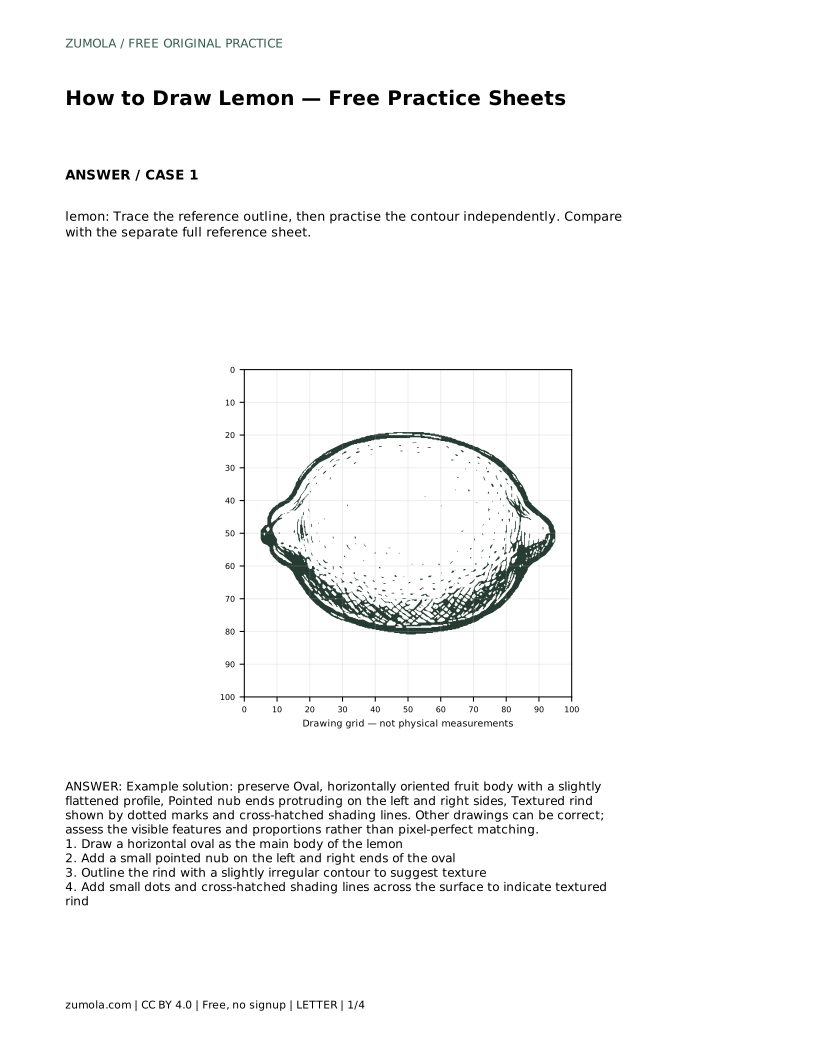
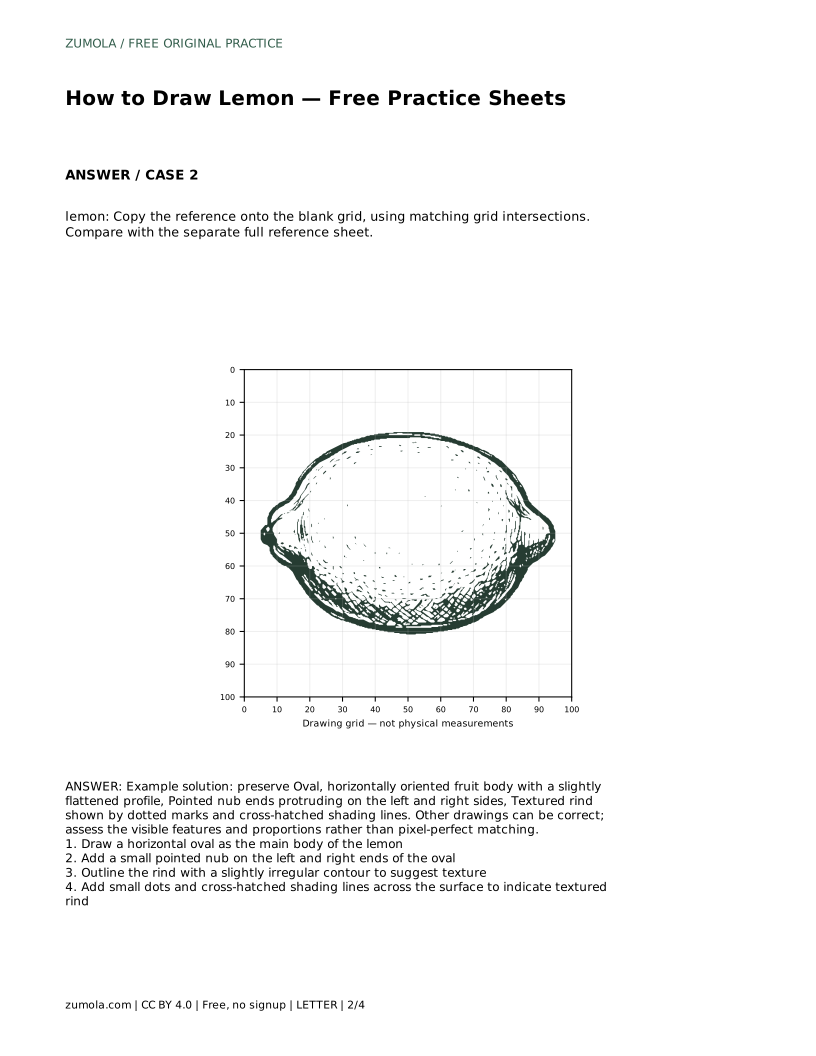
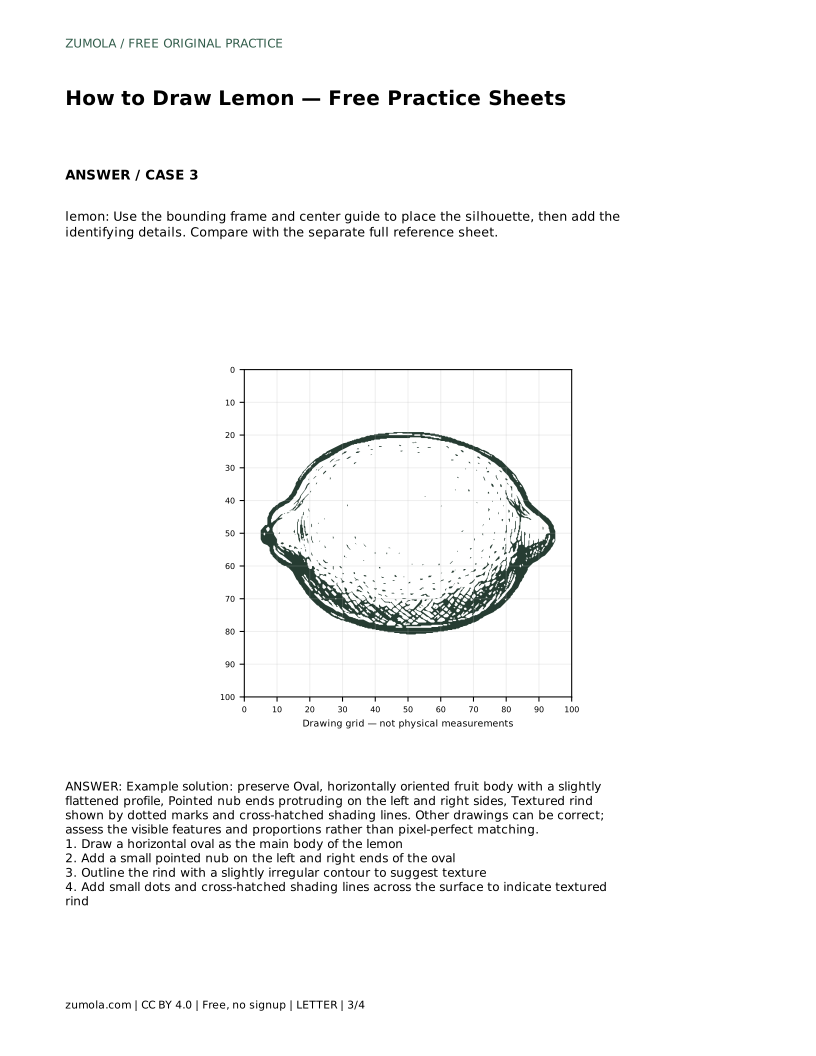
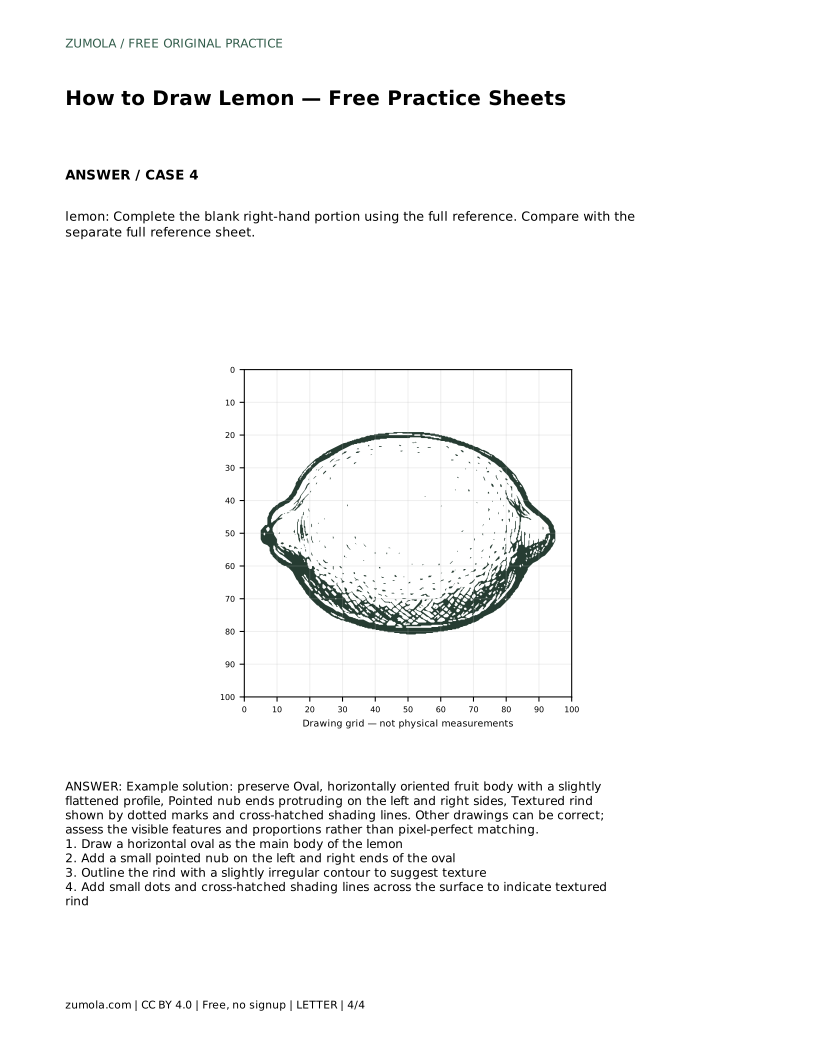
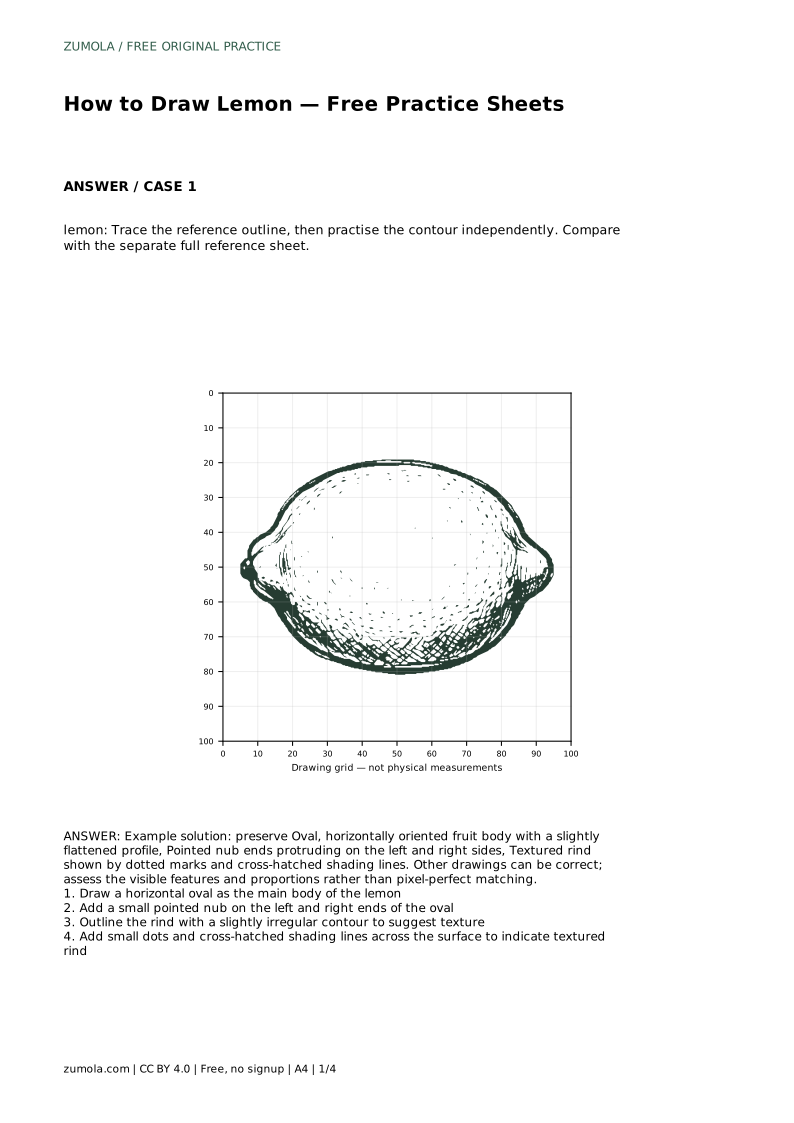
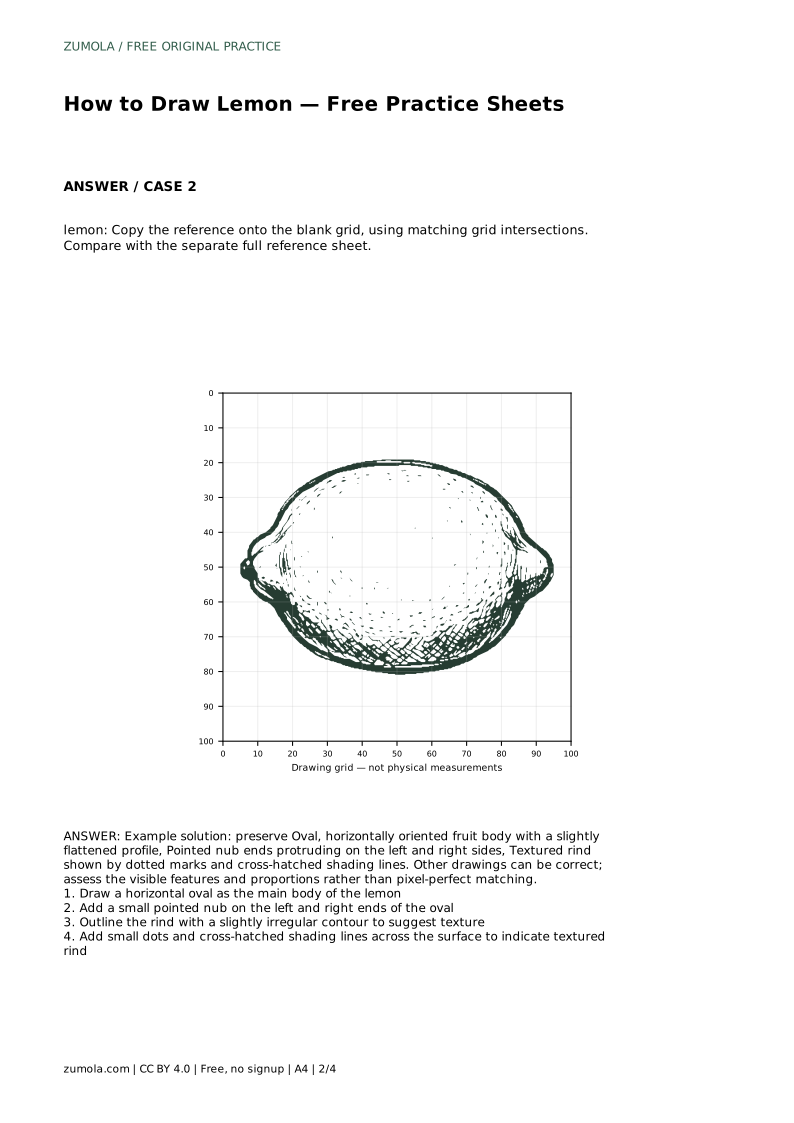
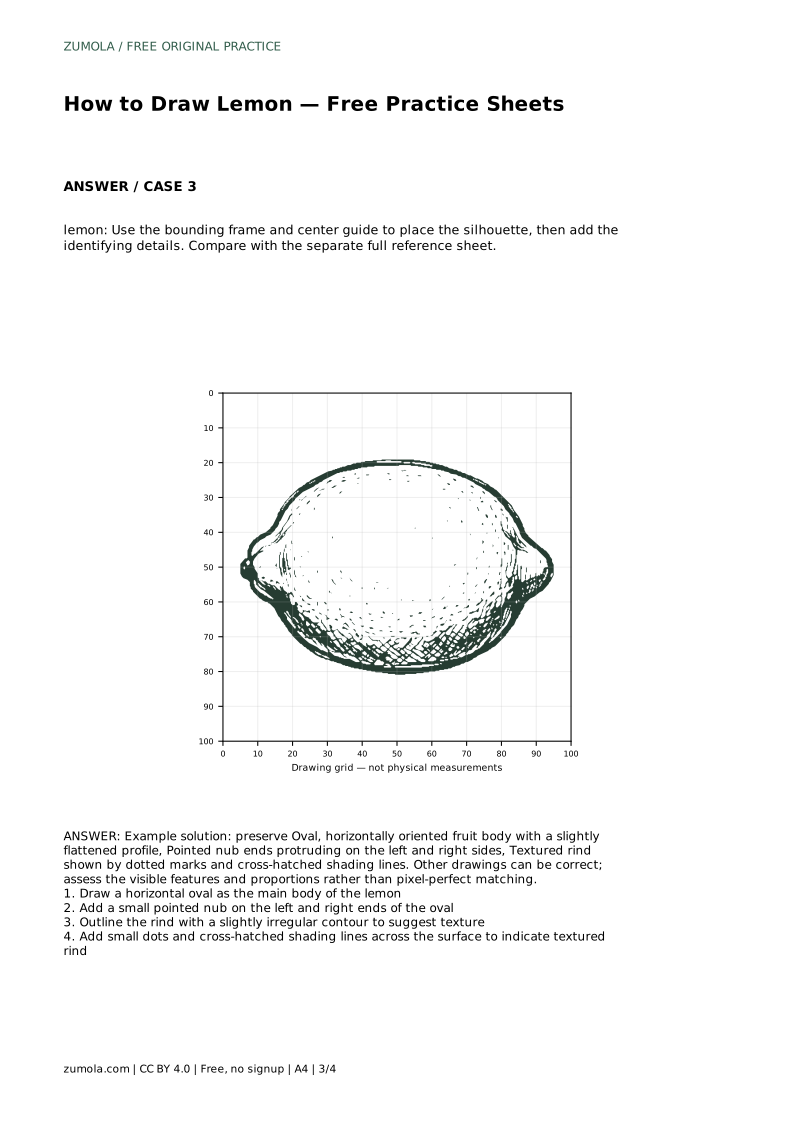
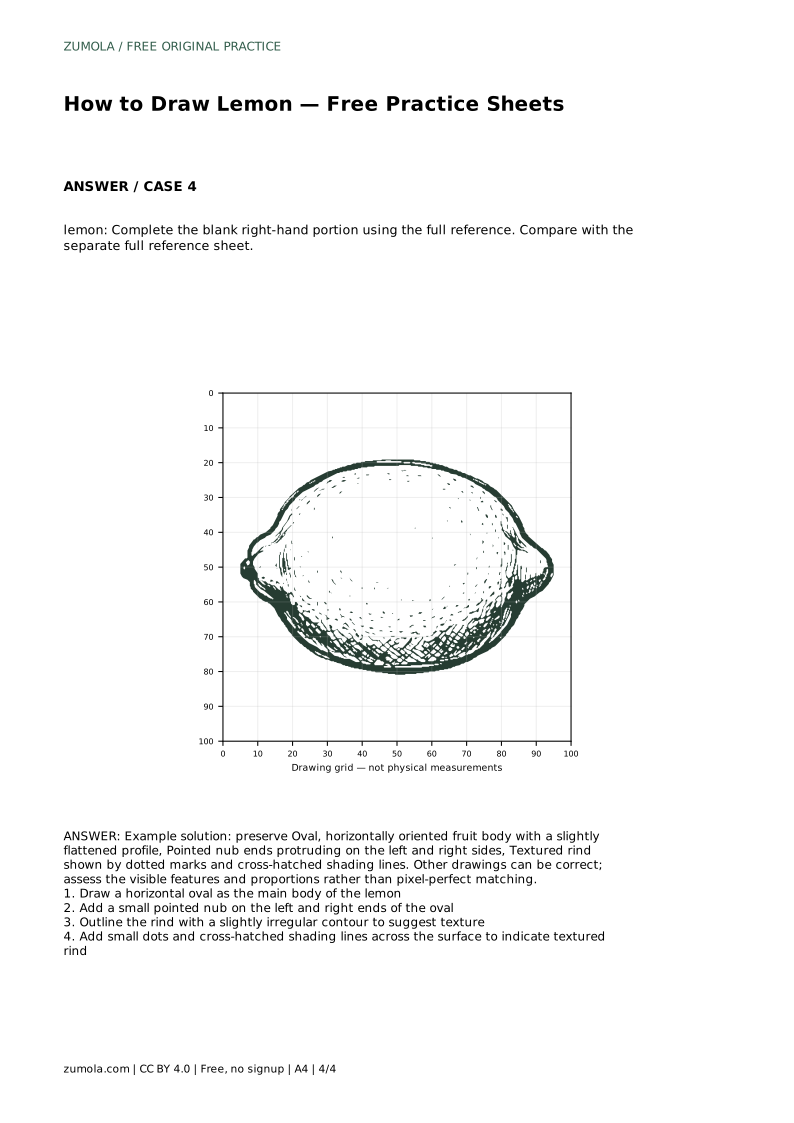
Reference diagrams
LETTER · Download PDF
A4 · Download PDF
Free original resources
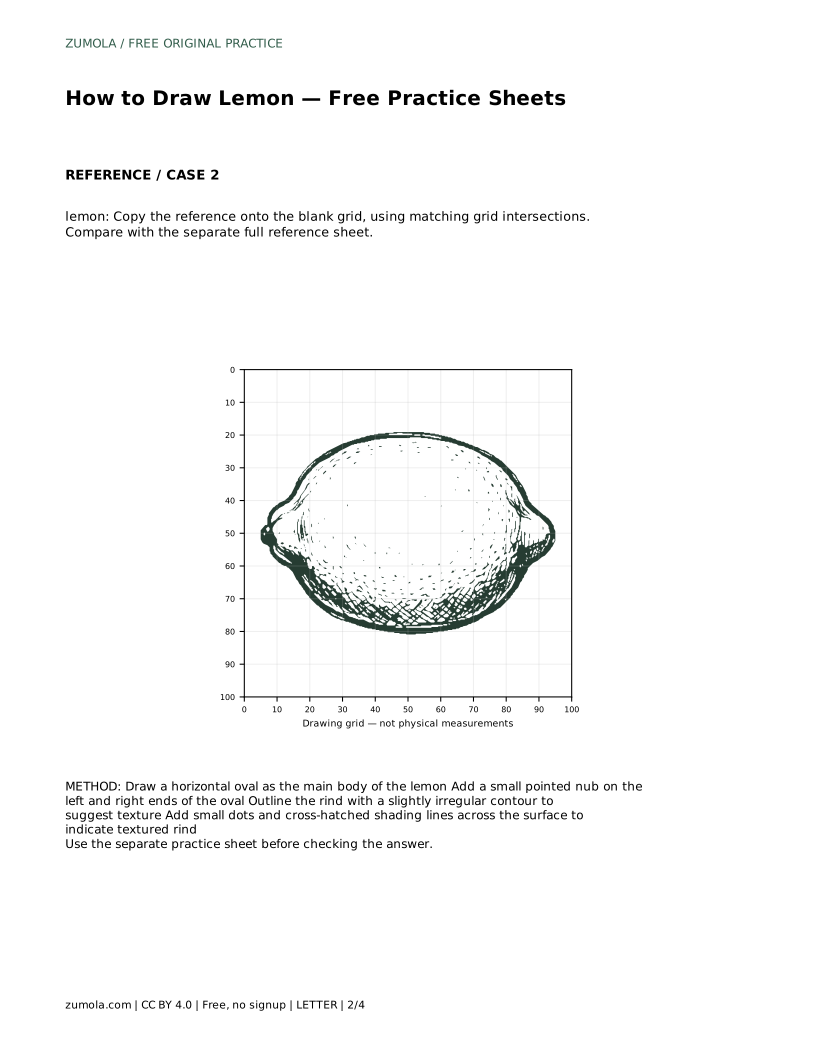
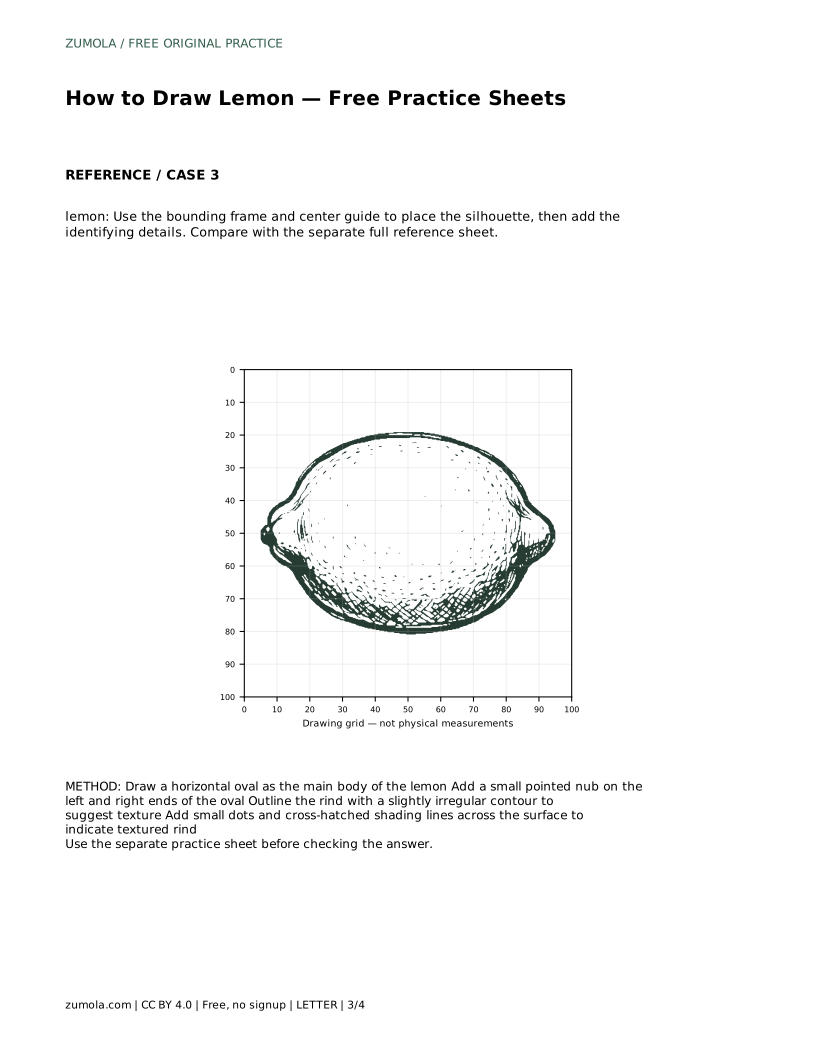
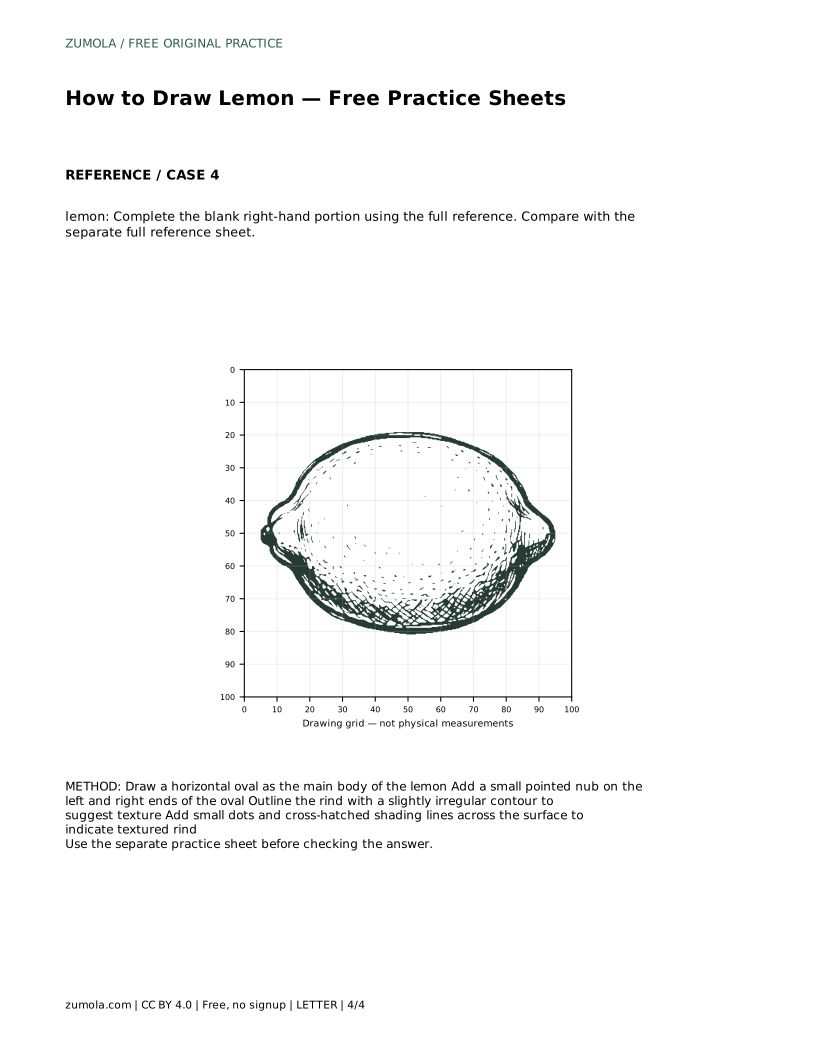
Learn to draw a lemon with a horizontal oval body, pointed nub ends, and textured rind. Trace, grid, and complete-the-drawing practice sheets support each step.
Four original cases, with reference diagrams, practice sheets and worked answers. Everything is free; no signup required.
LETTER · Download PDF
A4 · Download PDF
LETTER · Download PDF
A4 · Download PDF
LETTER · Download PDF
A4 · Download PDF
Use A4 or US Letter to match your printer. Use the stated values and conditions to solve each exercise; diagrams are not physical measuring rulers.
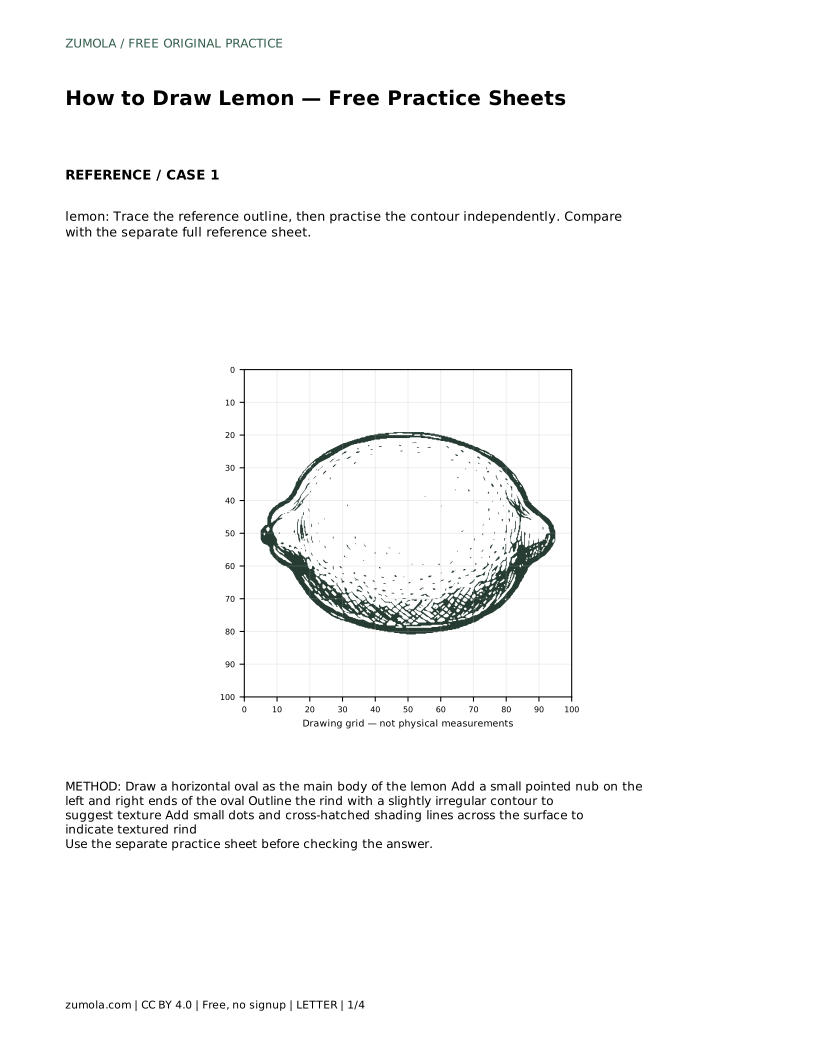
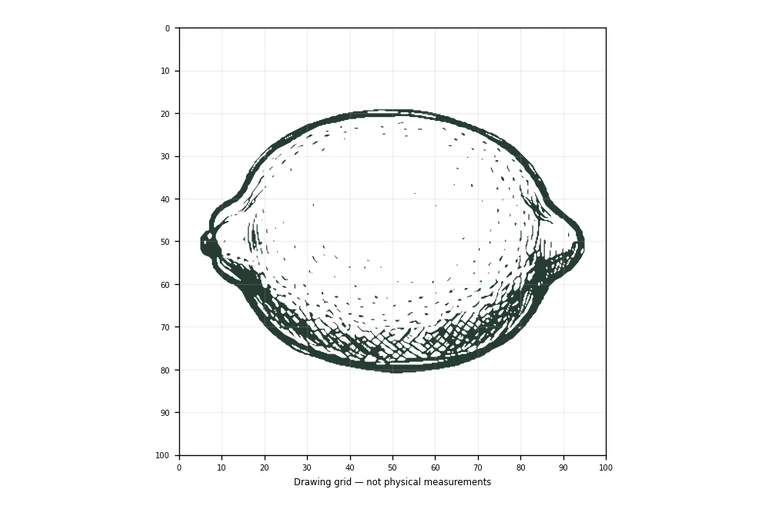
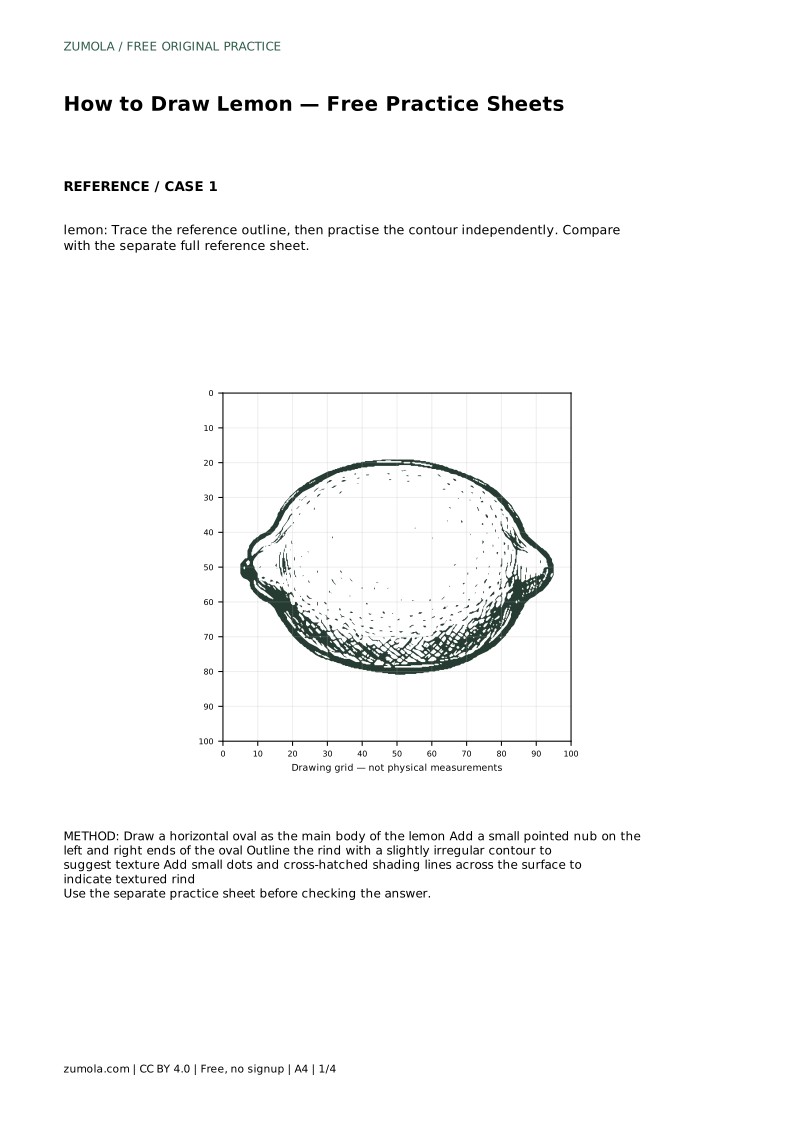
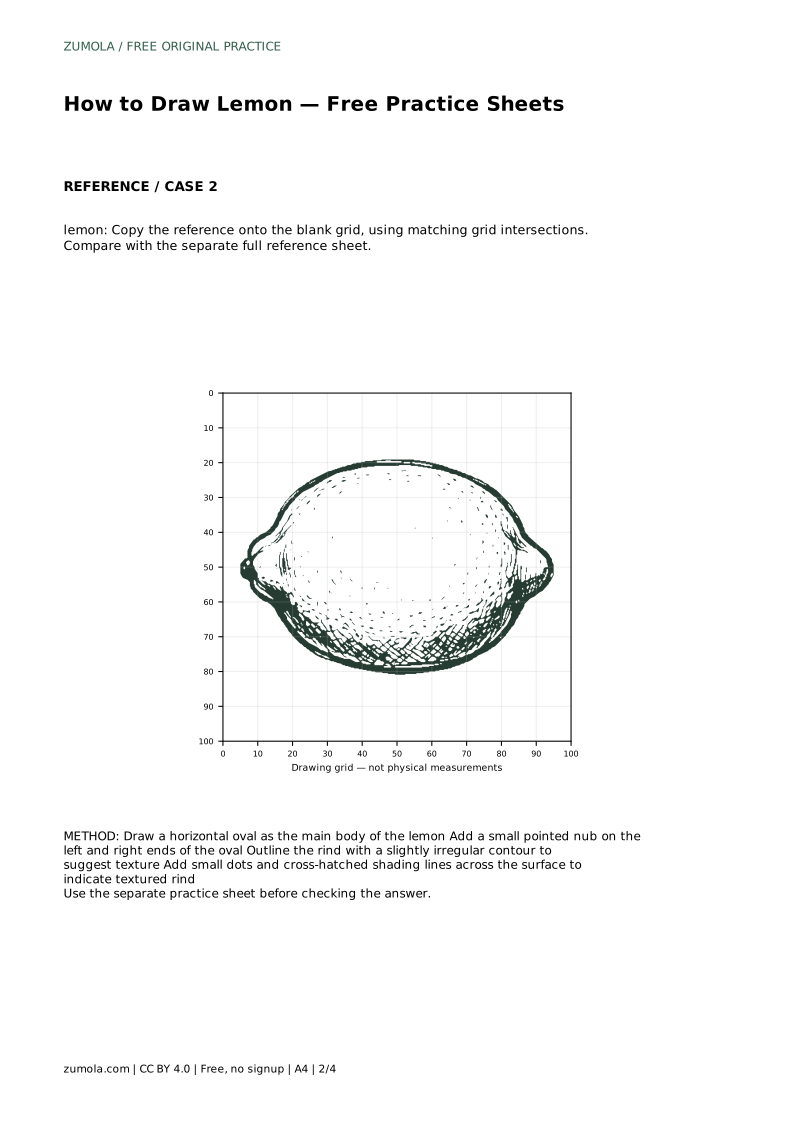
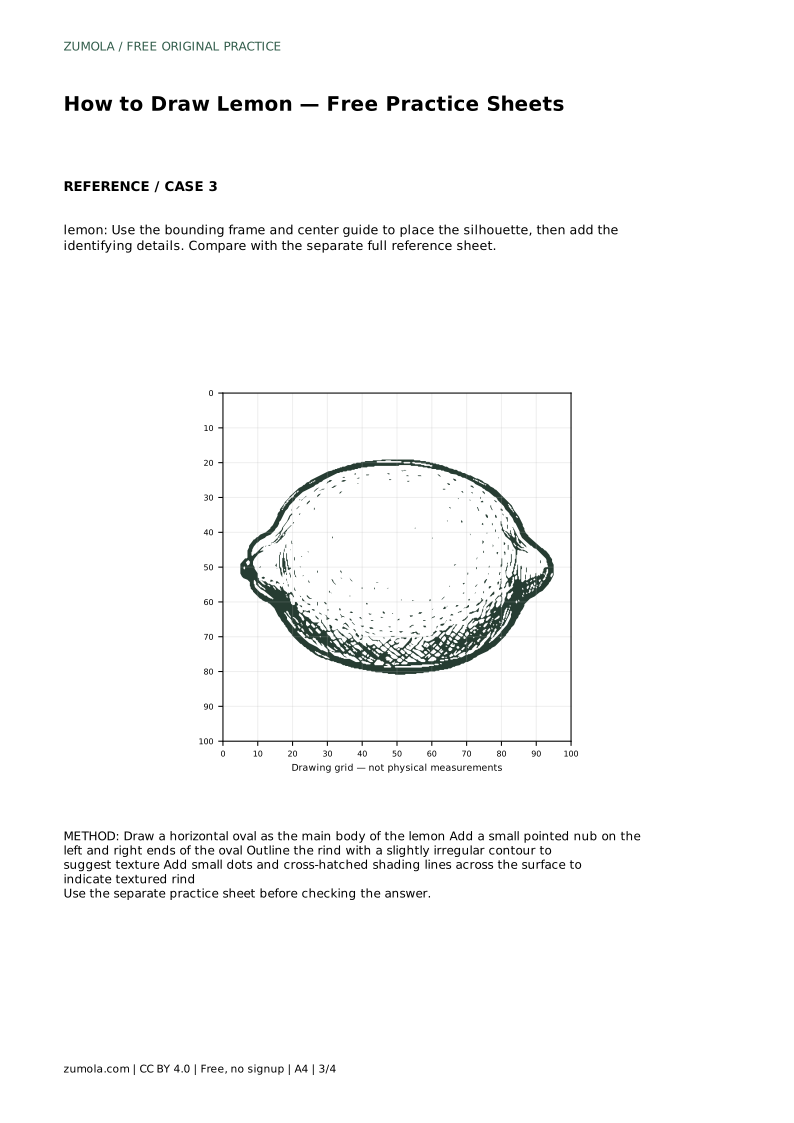
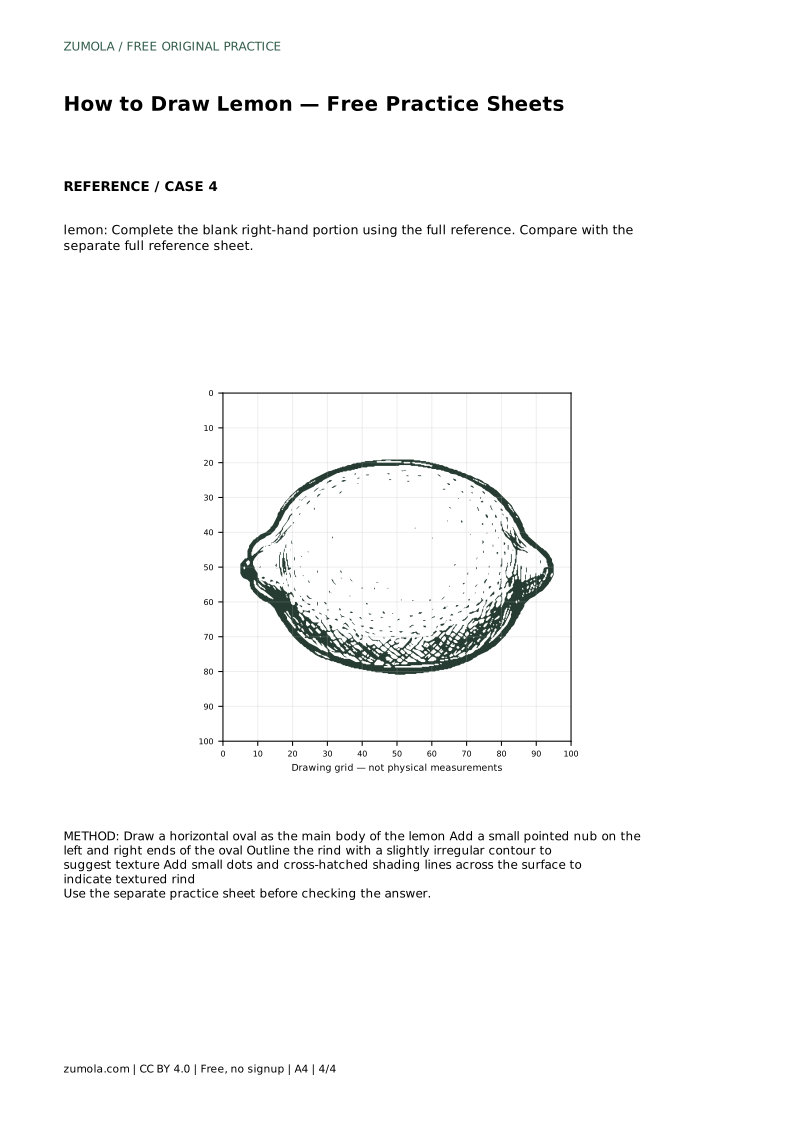
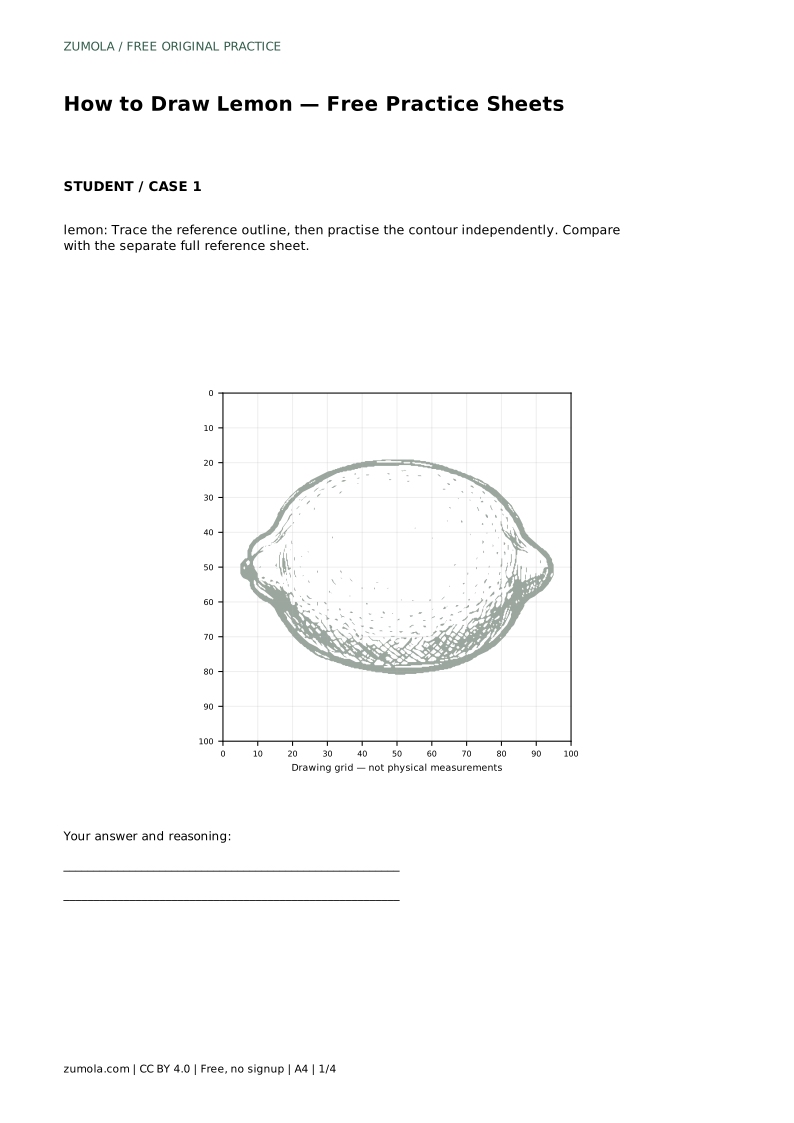
A lemon is easy to recognise but surprisingly easy to draw too round or too smooth. This page shows how to build the fruit from a horizontal oval, add the small pointed nubs at each end, and suggest the rind with dots and cross-hatched lines. The practice sheets let you trace the outline first, then try the contour independently, use a grid, or complete a partly drawn version.
Begin with the overall silhouette rather than the surface detail. A lemon is a horizontally oriented fruit body with a slightly flattened profile, so draw an oval that is wider than it is tall. Keep the top and bottom gently curved; avoid making it a perfect circle or a tall egg shape.
Next, add a small pointed nub protruding on the left and right sides. These nubs sit at the ends of the long axis and give the fruit its characteristic look. Keep them short and slightly tapered. If one nub is longer than the other, that is fine, but both should read as small points rather than stems or spikes.
Lemon rind is textured, not glassy. Outline the rind with a slightly irregular contour so the edge is not mechanically smooth. Small wobbles and shallow bumps suggest the peel without changing the basic oval.
Add small dots and cross-hatched shading lines across the surface to indicate textured rind. Spread the marks unevenly: a few clusters, some open areas, and lighter marks near the edges. Cross-hatching means sets of short lines crossing at an angle. Keep the lines short and close together where you want darker texture, and leave gaps where the fruit would catch light.
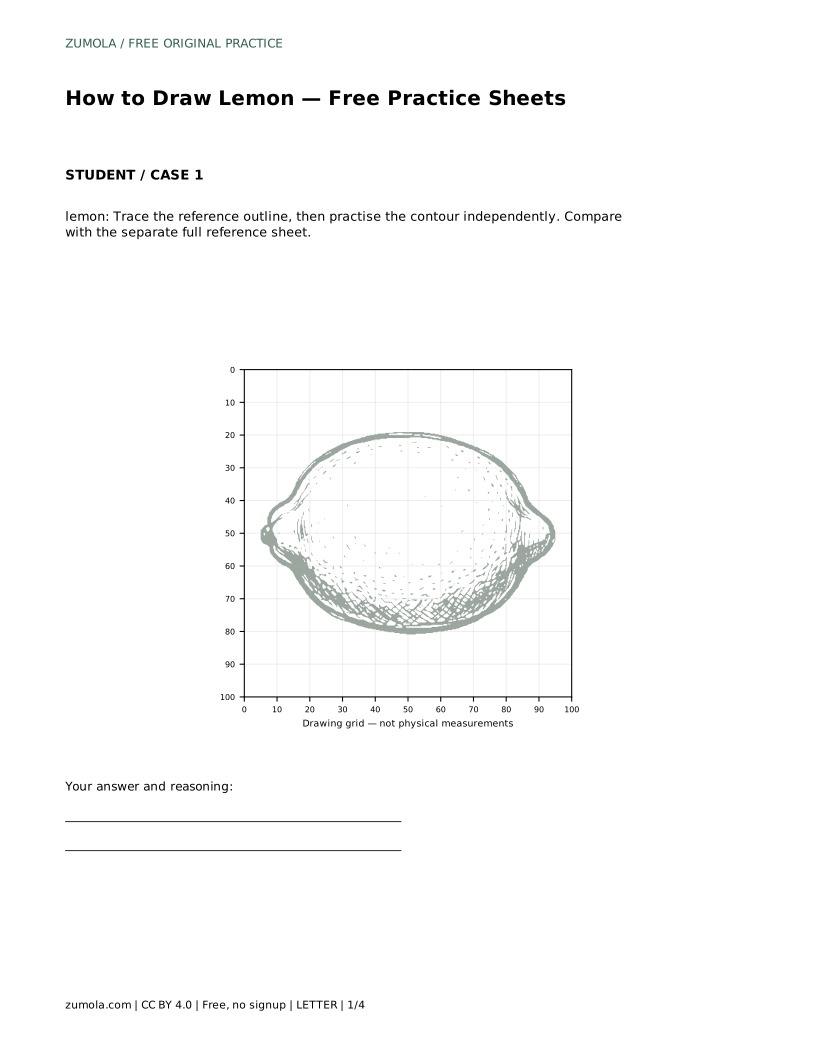
The trace sheet asks you to follow the reference outline, then practise the contour independently. Compare your freehand attempt with the separate full reference sheet, not with your traced line. The grid sheet asks you to copy the reference onto a blank grid using matching grid intersections; this helps you judge where the oval ends and where the nubs sit.
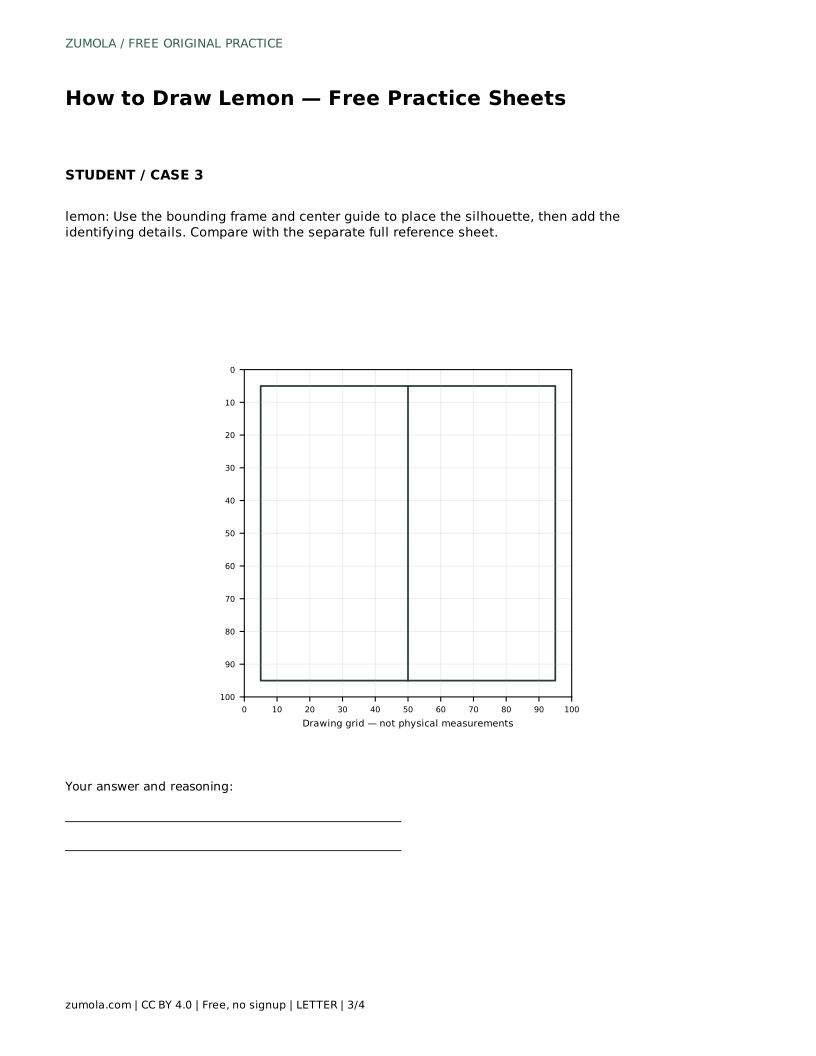
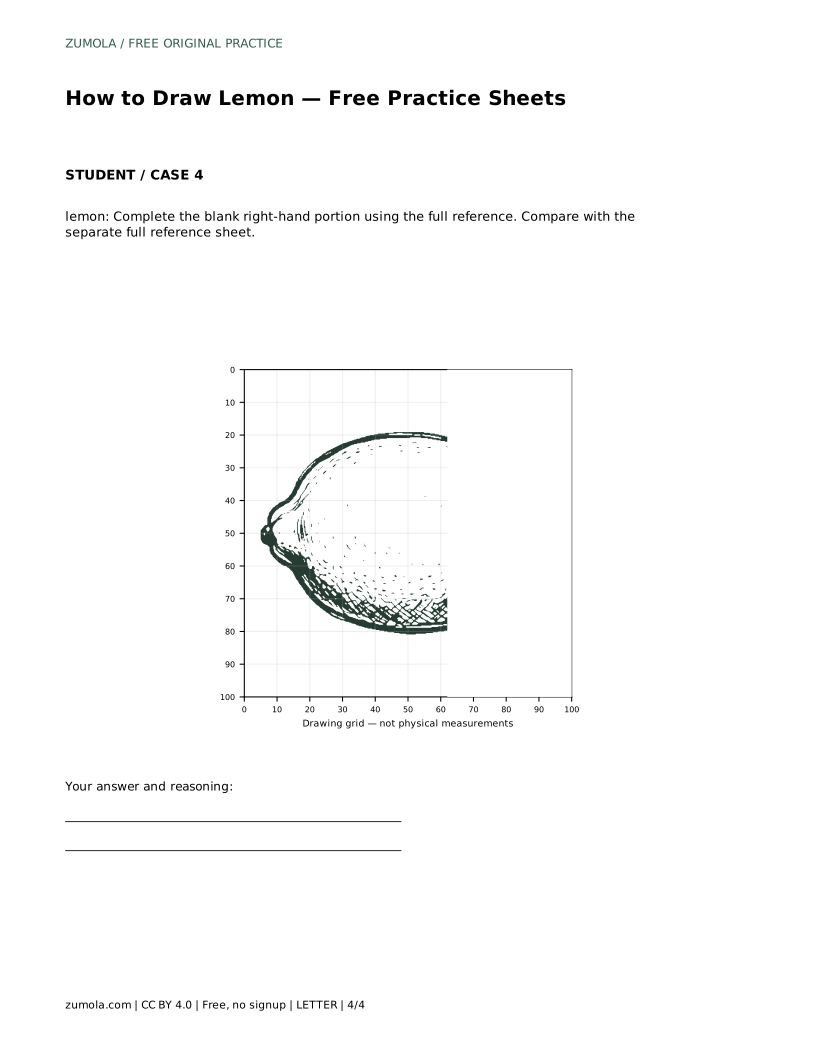
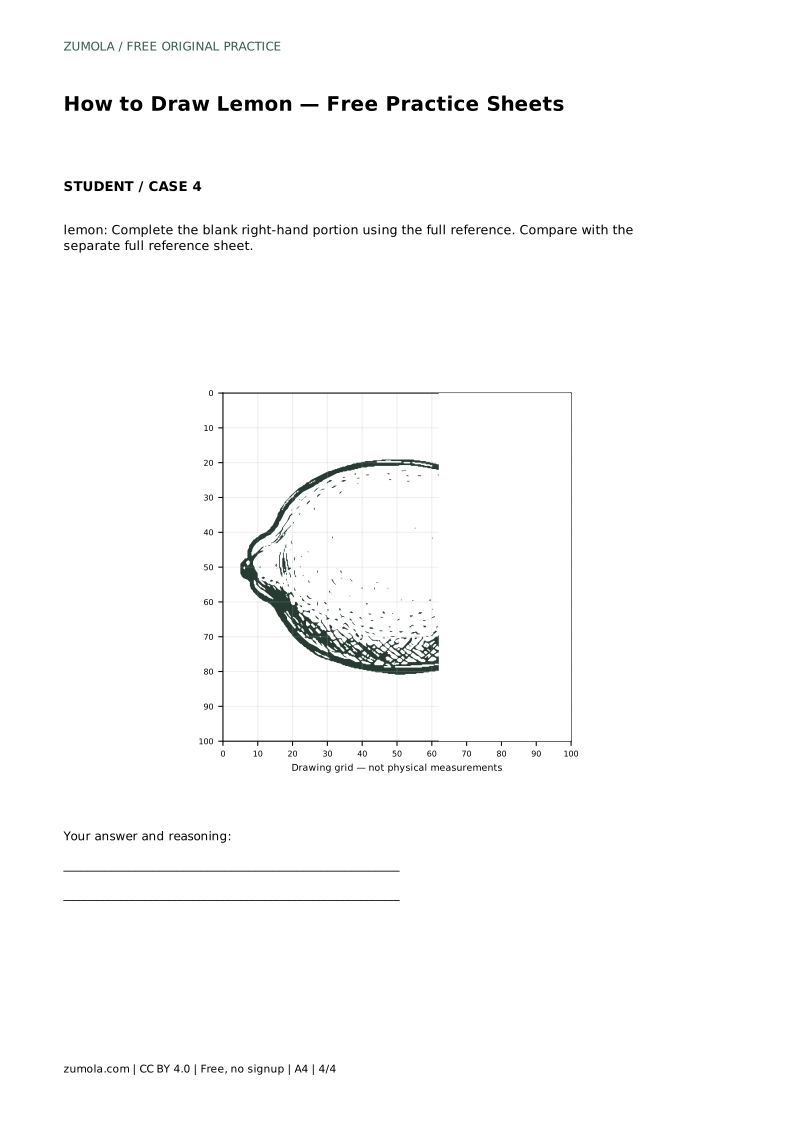
The bounding-frame sheet gives you a frame and centre guide to place the silhouette before adding identifying details. The complete-the-drawing sheet gives you the left portion and asks you to finish the blank right-hand portion using the full reference. In every format, the goal is the same set of visible features and sensible proportions, not a pixel-perfect match.
Suppose the task is to trace the reference outline, then practise the contour independently and compare with the separate full reference sheet. A correct result preserves the oval, horizontally oriented fruit body with a slightly flattened profile, pointed nub ends protruding on the left and right sides, and textured rind shown by dotted marks and cross-hatched shading lines. Other drawings can be correct; assess the visible features and proportions rather than pixel-perfect matching.
lemon: Trace the reference outline, then practise the contour independently. Compare with the separate full reference sheet.
Example solution: preserve Oval, horizontally oriented fruit body with a slightly flattened profile, Pointed nub ends protruding on the left and right sides, Textured rind shown by dotted marks and cross-hatched shading lines. Other drawings can be correct; assess the visible features and proportions rather than pixel-perfect matching. Draw a horizontal oval as the main body of the lemon Add a small pointed nub on the left and right ends of the oval Outline the rind with a slightly irregular contour to suggest texture Add small dots and cross-hatched shading lines across the surface to indicate textured rind
No. The nubs sit on the left and right ends of the horizontal body, but either end can be slightly longer. Keep the fruit horizontal and the nubs small.
Enough dots and short cross-hatched lines to suggest rind, with gaps between clusters. Stop before the surface looks uniformly speckled.
Compare the oval's width-to-height ratio, the position and size of both nubs, and whether the rind texture is visible but uneven. Exact line matching is not required.
All drawing practice · Free coordinate paper
Original resources · CC BY 4.0 · Free for personal and classroom use with attribution.