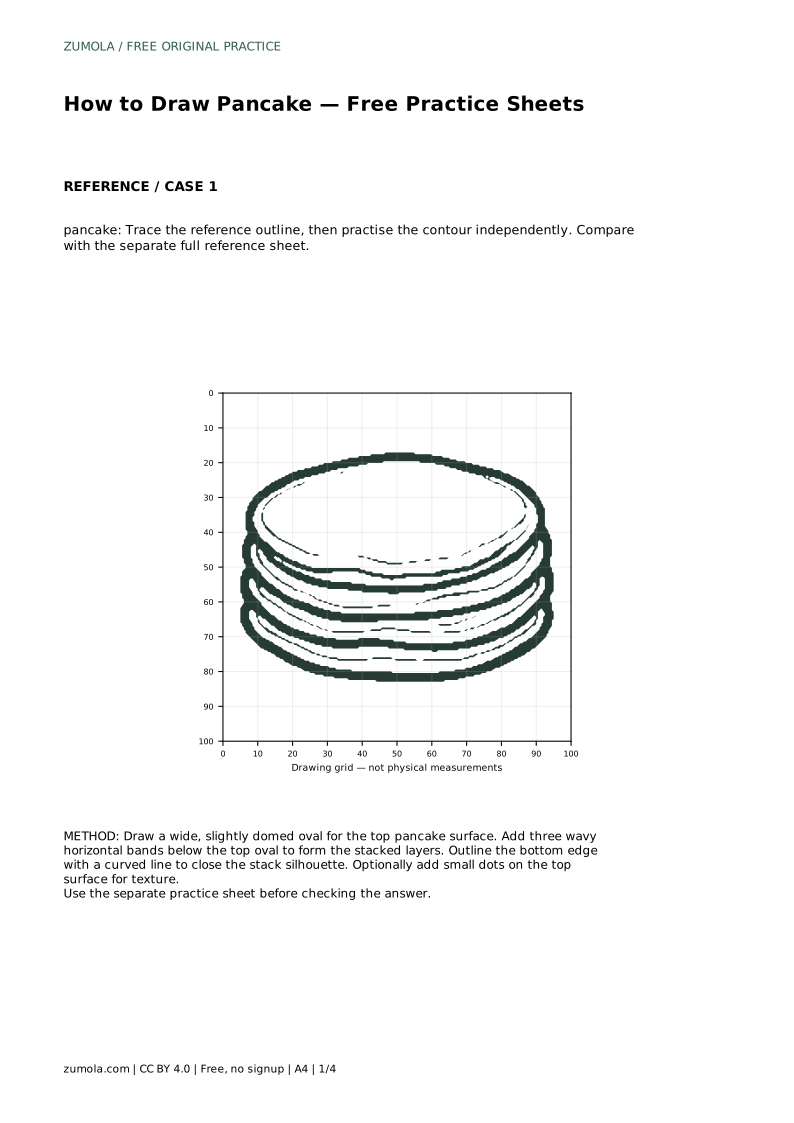
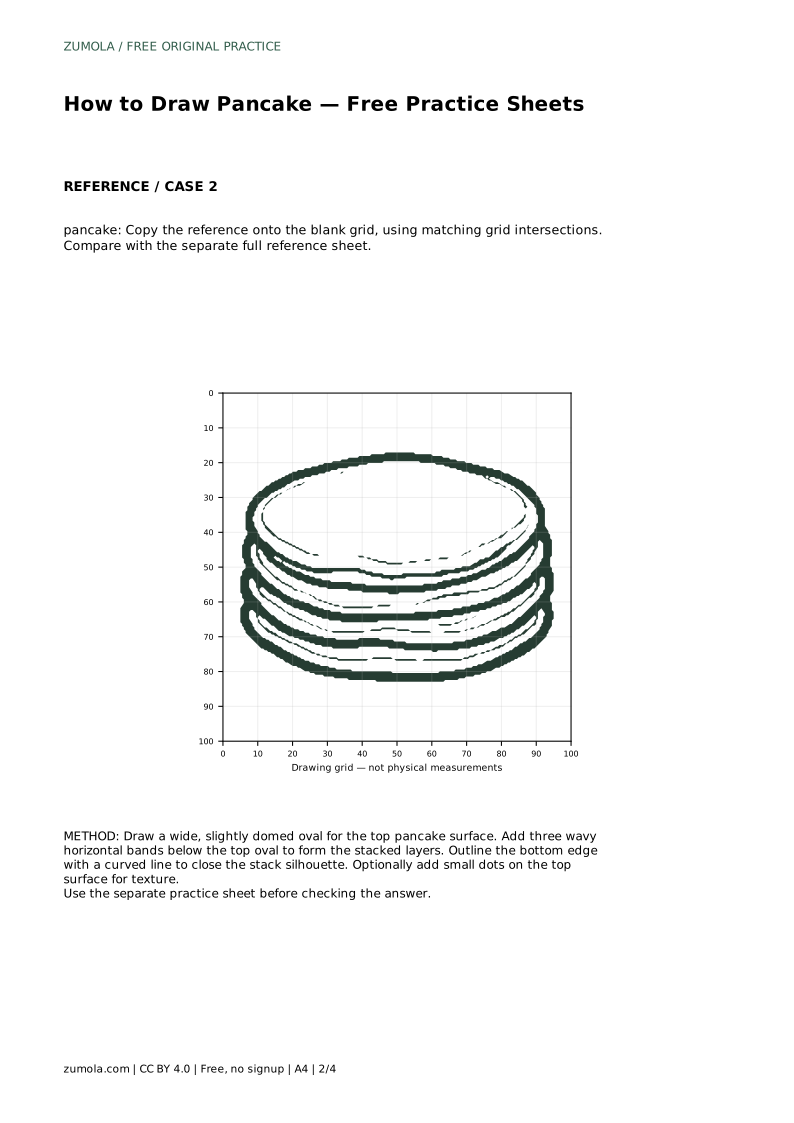
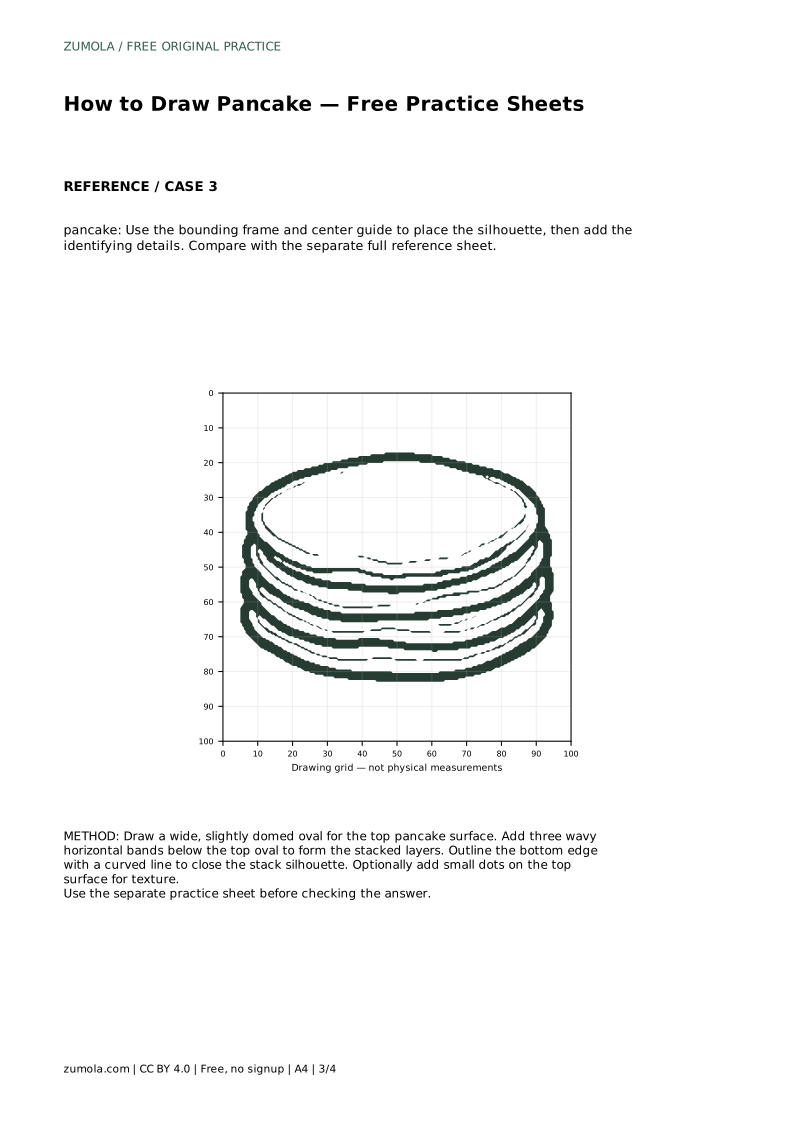
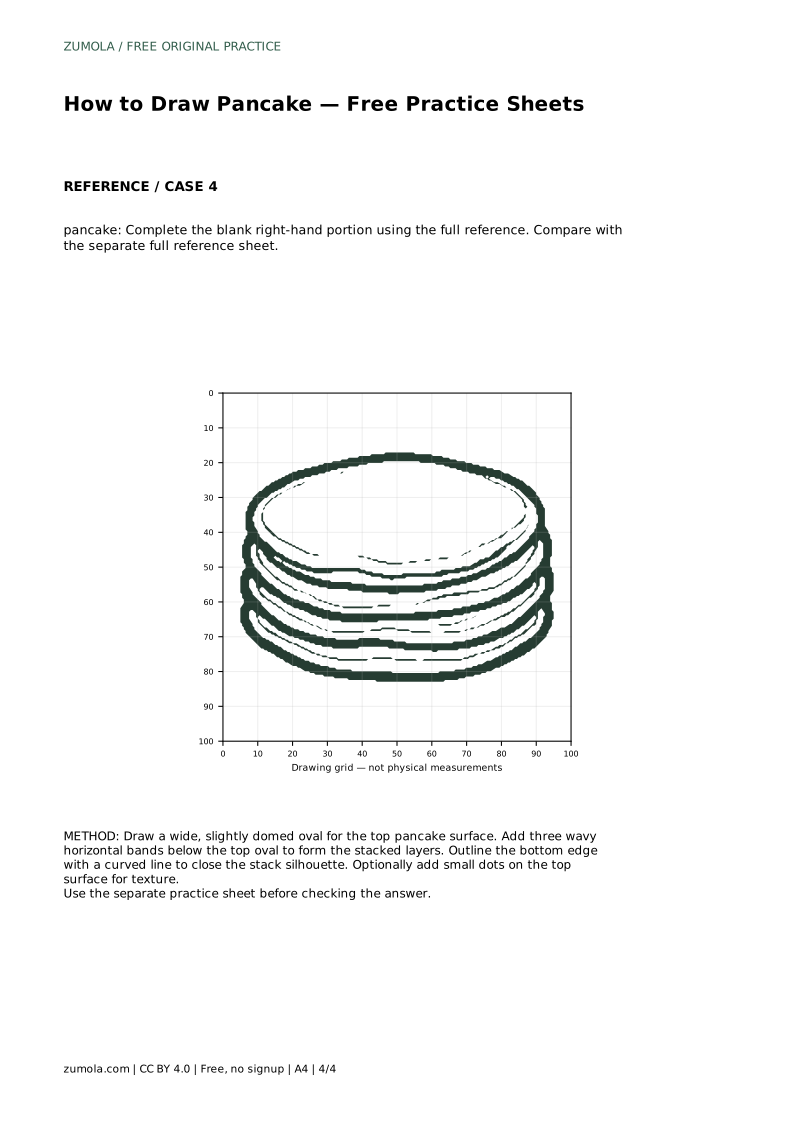
Reference diagrams
LETTER · Download PDF
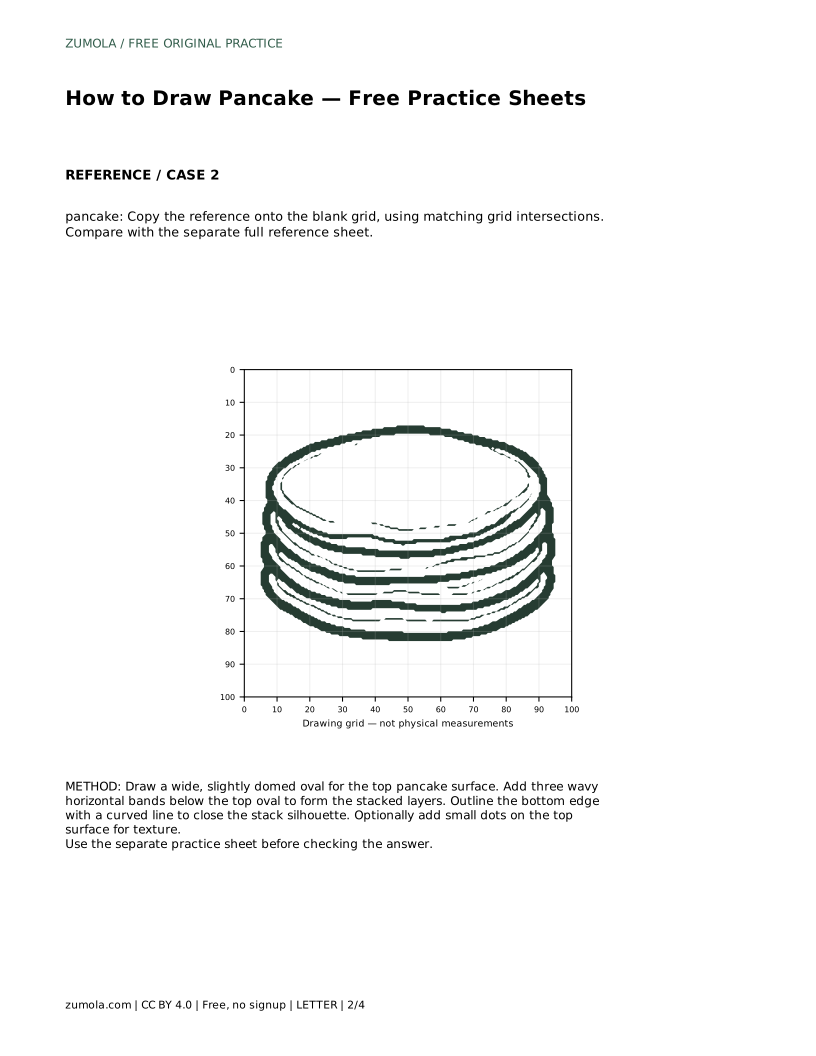
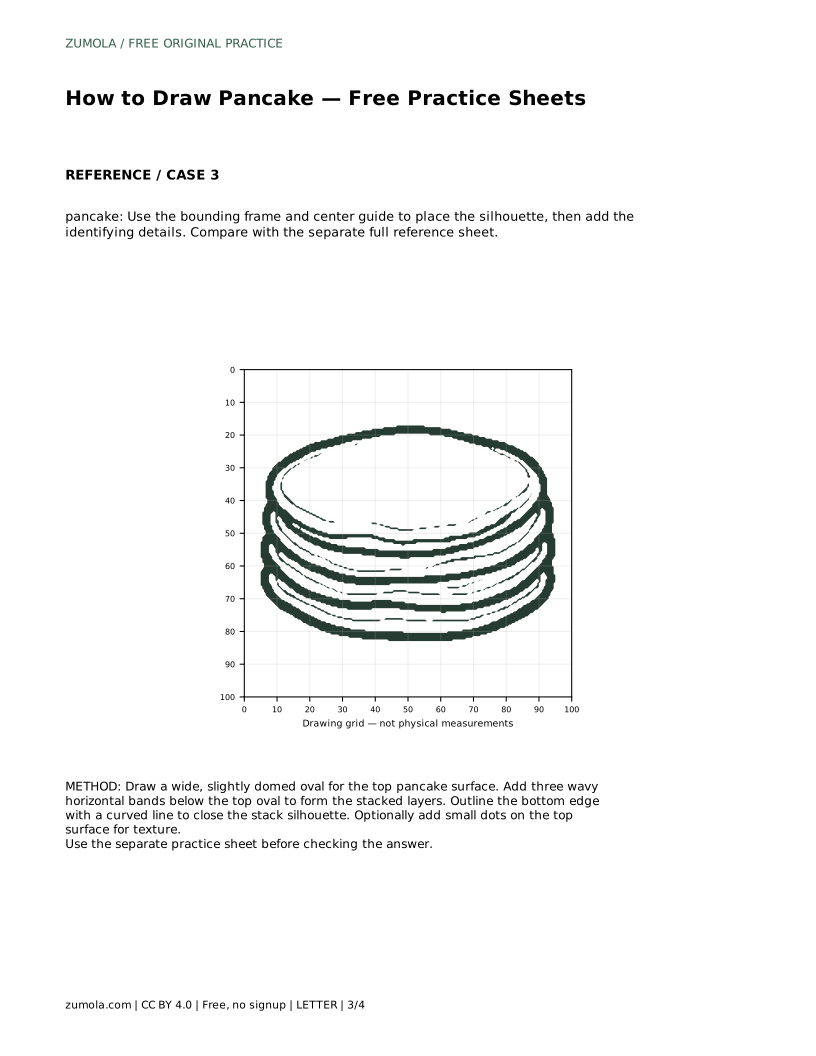
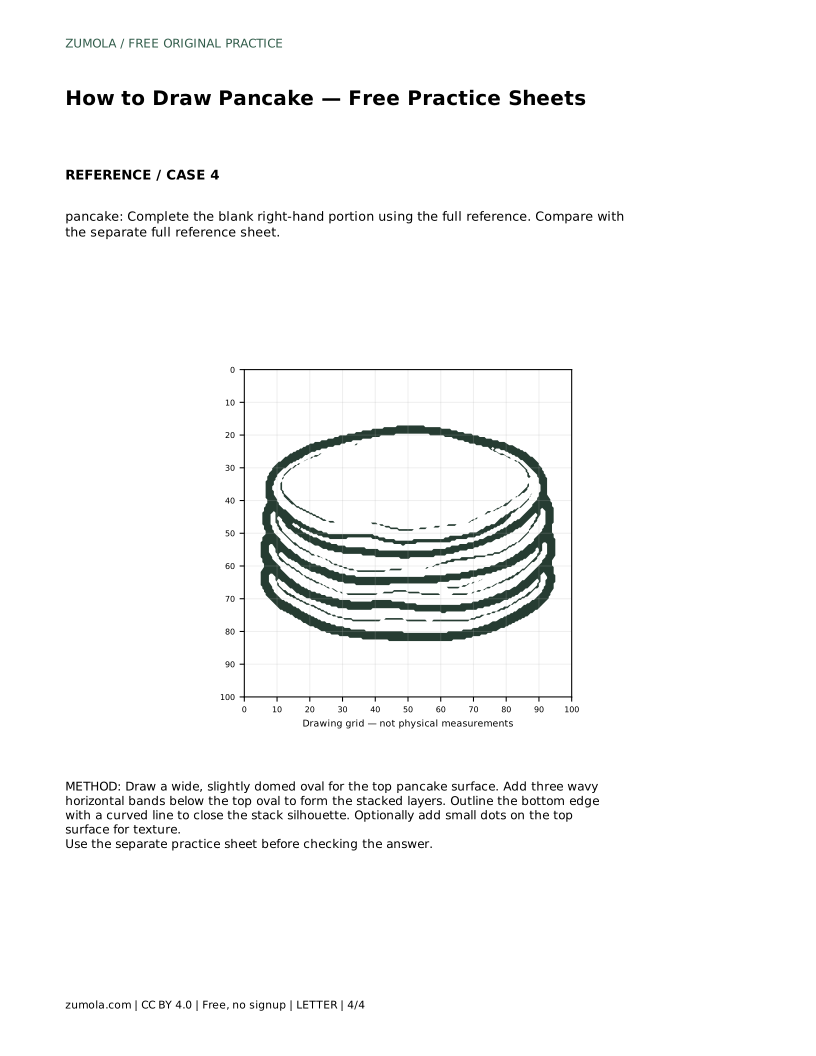
A4 · Download PDF
Free original resources
Learn to draw a flat pancake stack with four layers, wavy edges, and a domed top. Trace, grid-copy, and complete-the-drawing practice sheets build contour control.
Four original cases, with reference diagrams, practice sheets and worked answers. Everything is free; no signup required.
LETTER · Download PDF
A4 · Download PDF
LETTER · Download PDF
A4 · Download PDF
LETTER · Download PDF
A4 · Download PDF
Use A4 or US Letter to match your printer. Use the stated values and conditions to solve each exercise; diagrams are not physical measuring rulers.
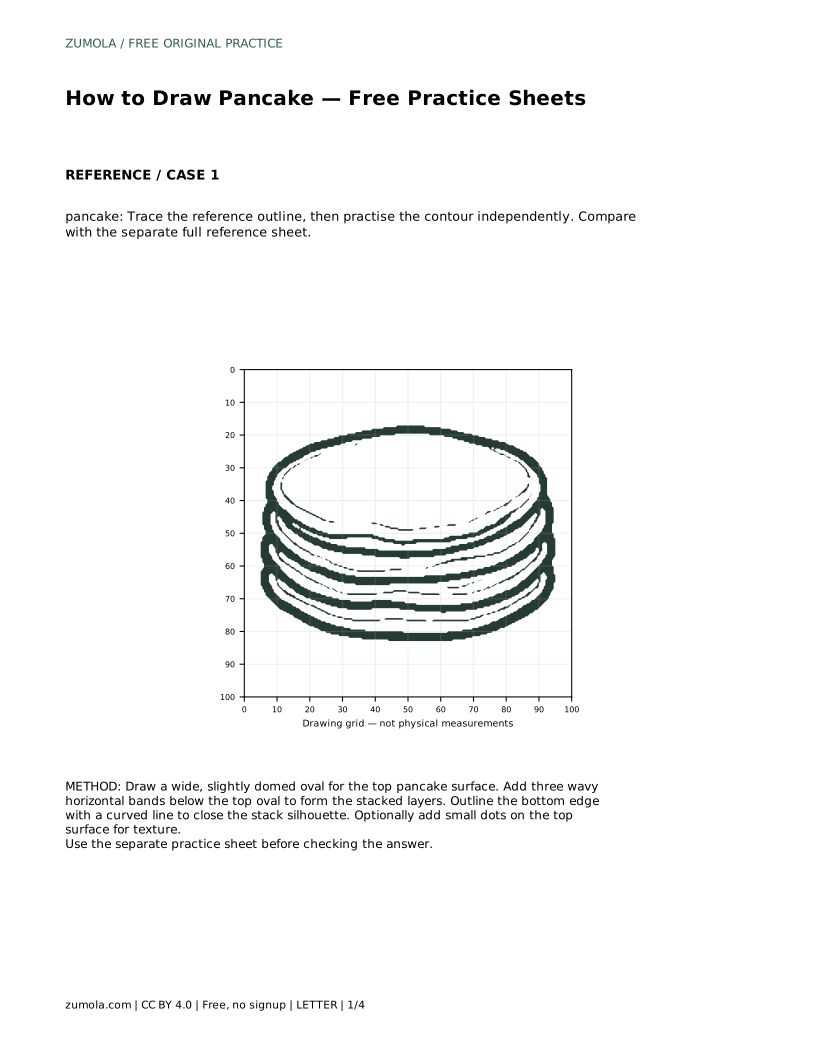
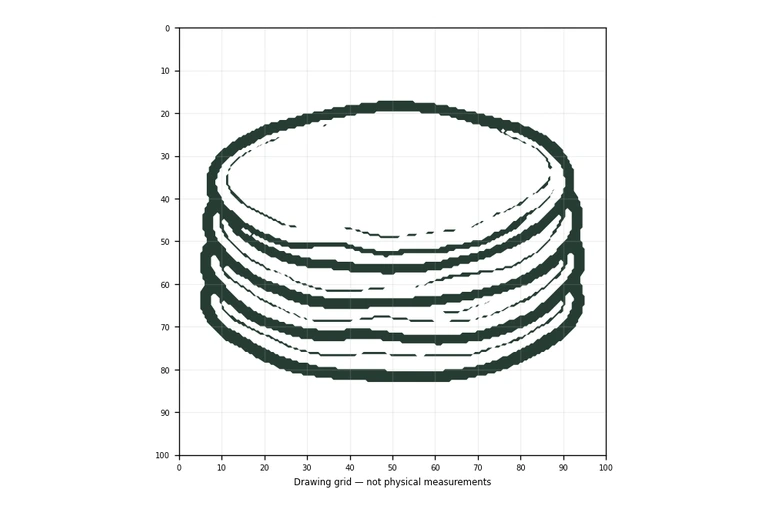
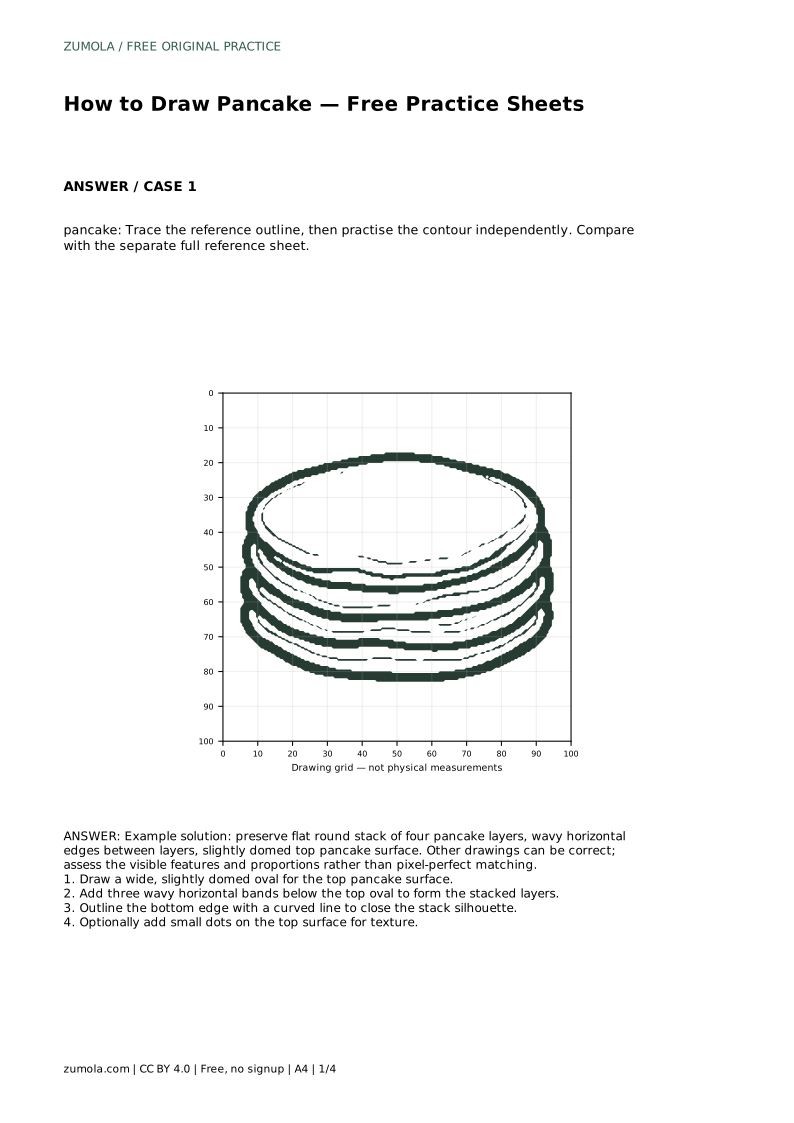
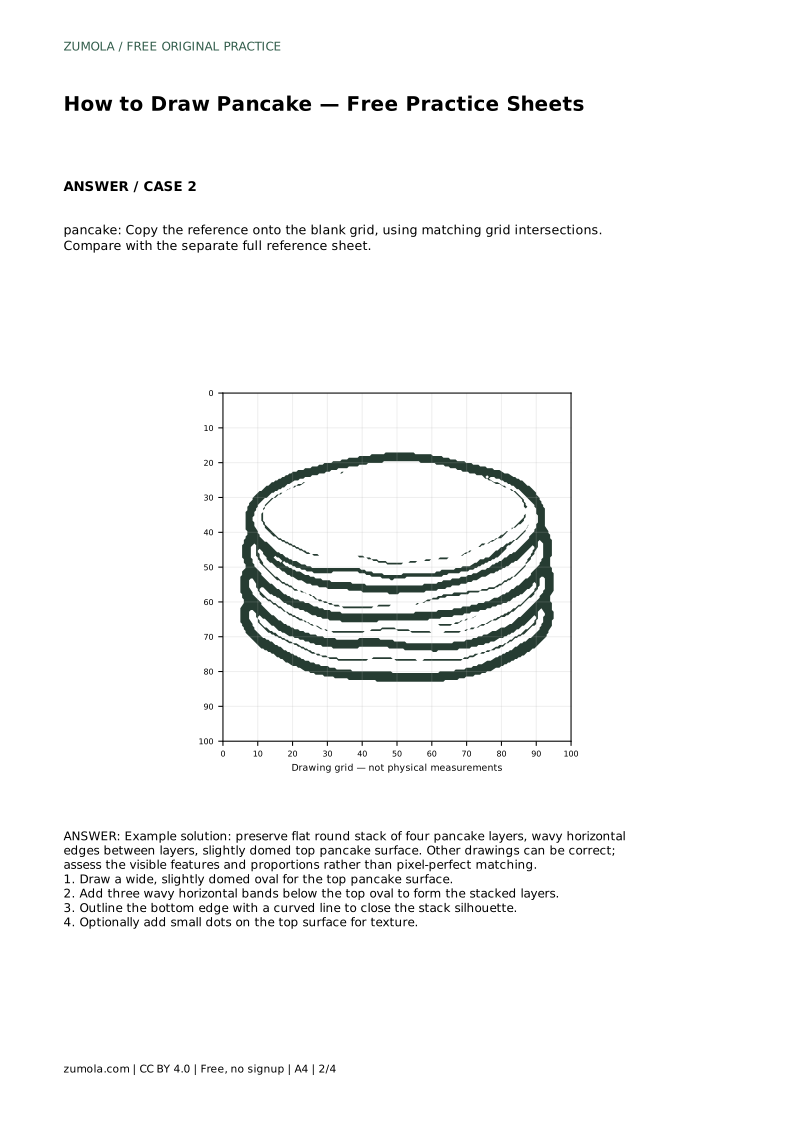
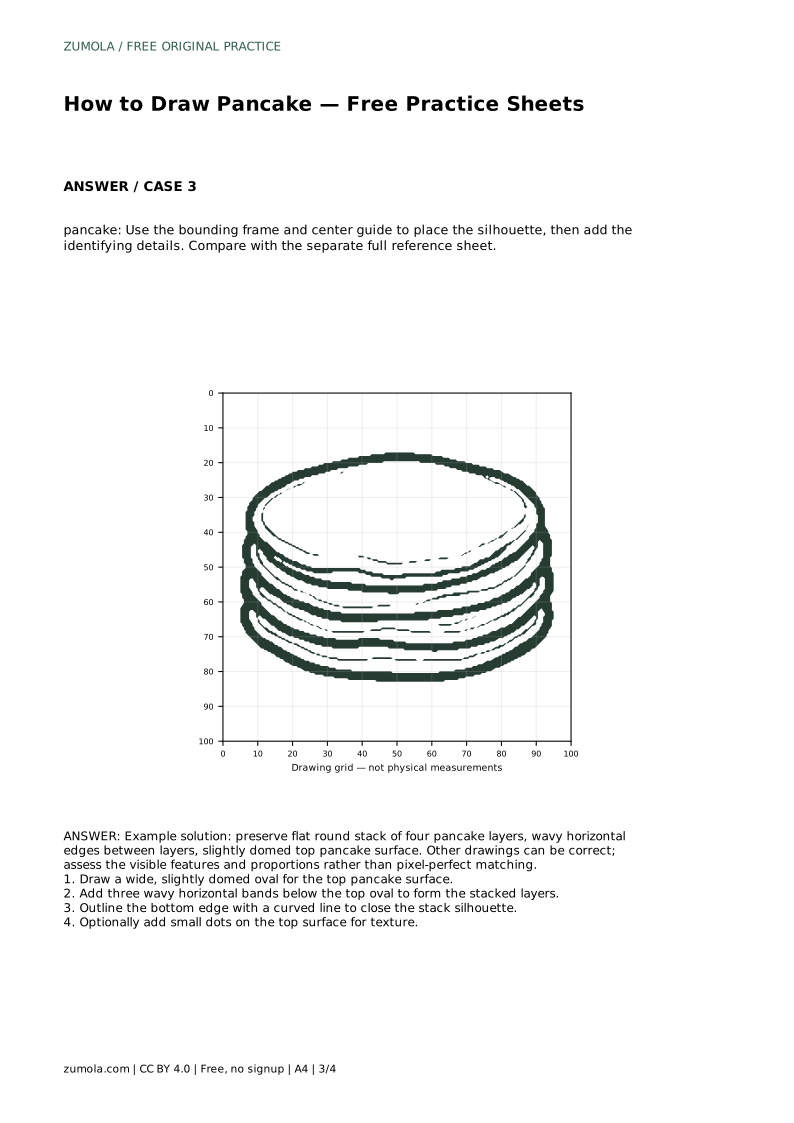
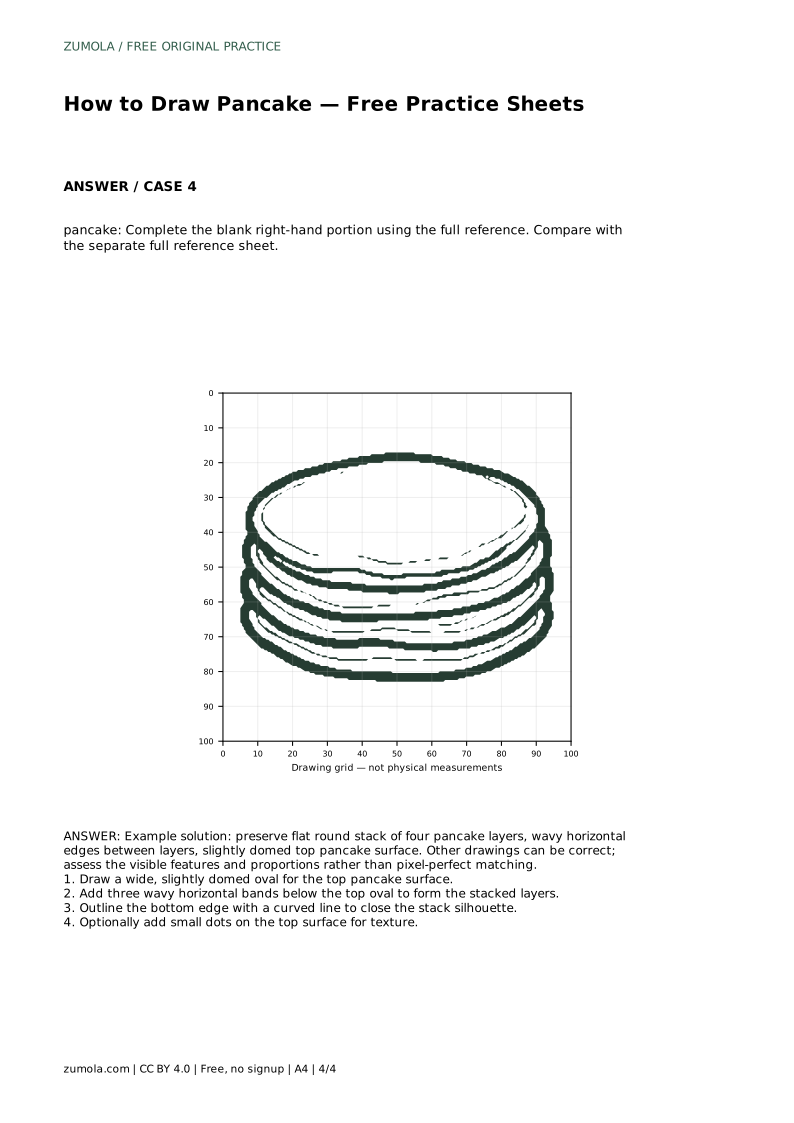
Drawing a pancake is a good beginner exercise because the shape is simple but not plain: a wide, slightly domed top surface sits above a stack of flat layers with wavy horizontal edges. This page explains how to build that silhouette step by step, then how to use trace, grid-copy, and partial-reference practice sheets to strengthen your line control. The goal is a recognizable pancake stack with believable proportions, not a pixel-perfect copy.
Begin with the top pancake, because it sets the width and character of the whole drawing. Draw a wide oval that is slightly domed rather than perfectly flat; a gentle upward curve across the middle reads as a soft, cooked surface. Keep the oval broad and shallow so the stack looks like food rather than a ball.
Below the top oval, add three wavy horizontal bands. Each band represents the visible edge of a pancake layer, so the waves should run roughly side to side and stay close to horizontal. Vary the wave height slightly so the layers look natural, but keep the overall stack level. Finish by closing the bottom edge with a curved line that connects the lowest band back to the sides of the stack.
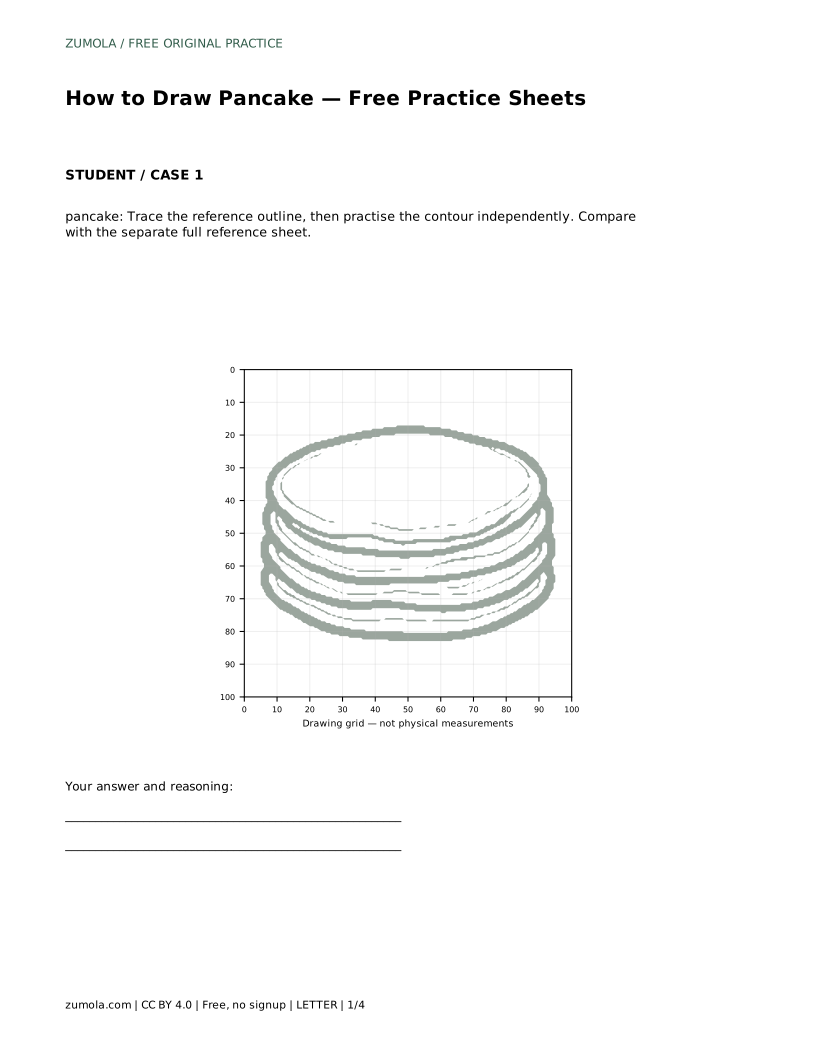
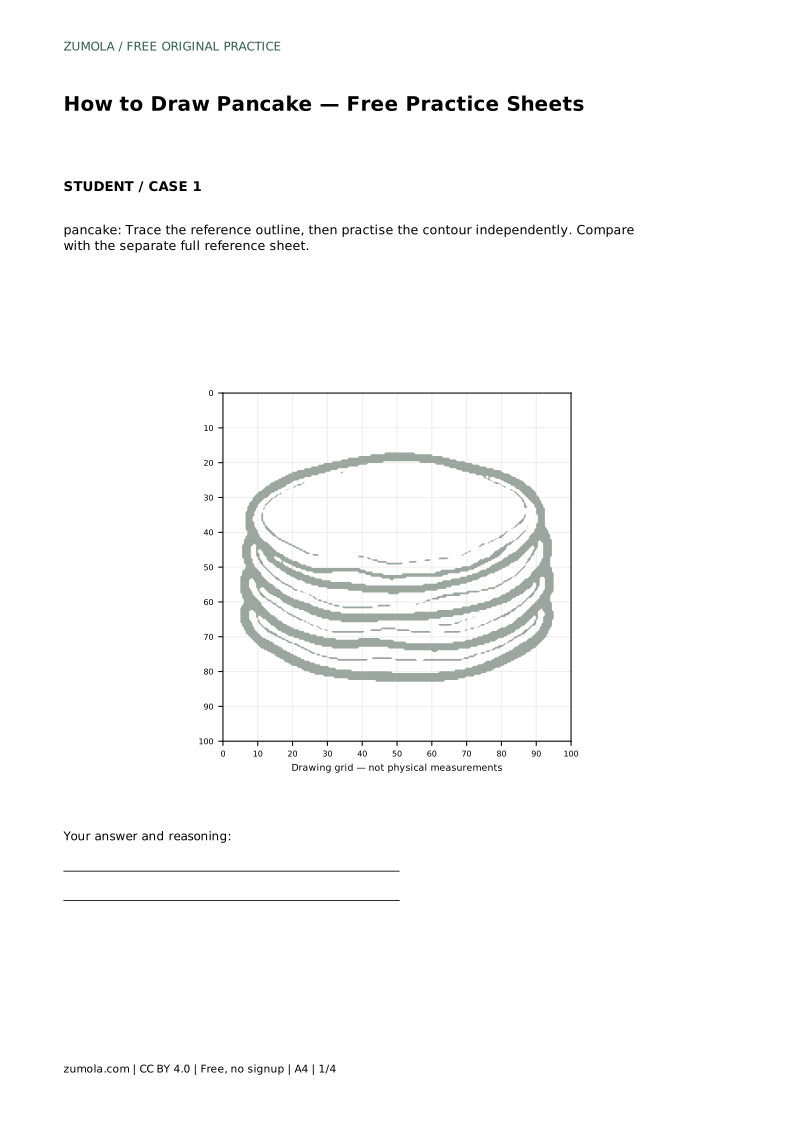
The trace sheet asks you to follow the reference outline first, then repeat the contour on your own nearby. Tracing teaches the path of the line; the independent repeat is where the learning happens, so slow down and compare your freehand contour with the reference before moving on.
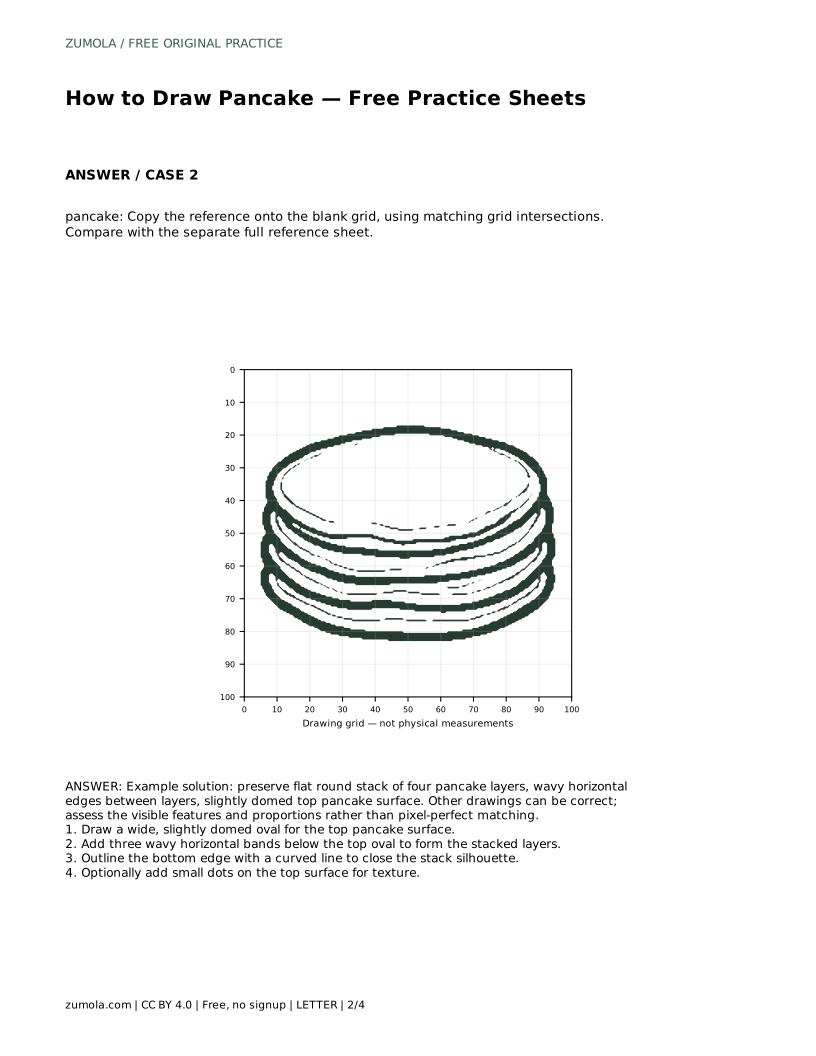
The grid-copy sheet places the reference and a blank grid side by side. Match where the outline crosses grid intersections rather than copying the whole shape at once. Work from the widest part of the top oval outward, then place the wavy layer edges at the same relative heights.
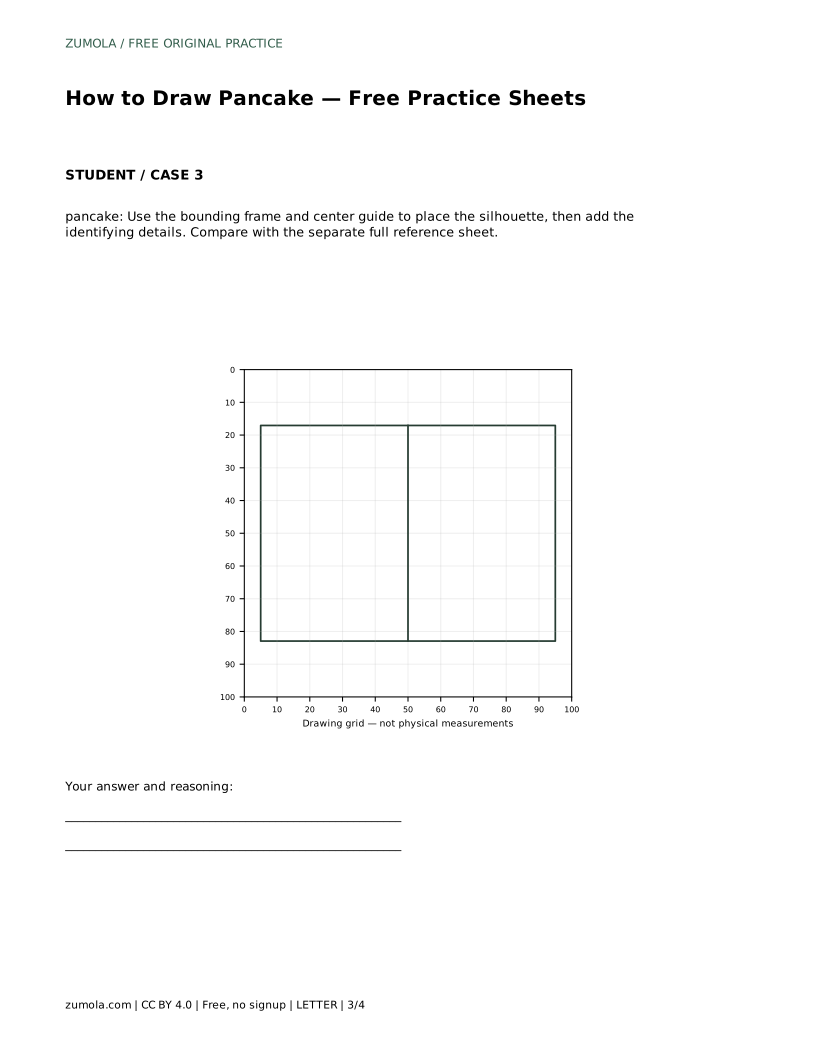
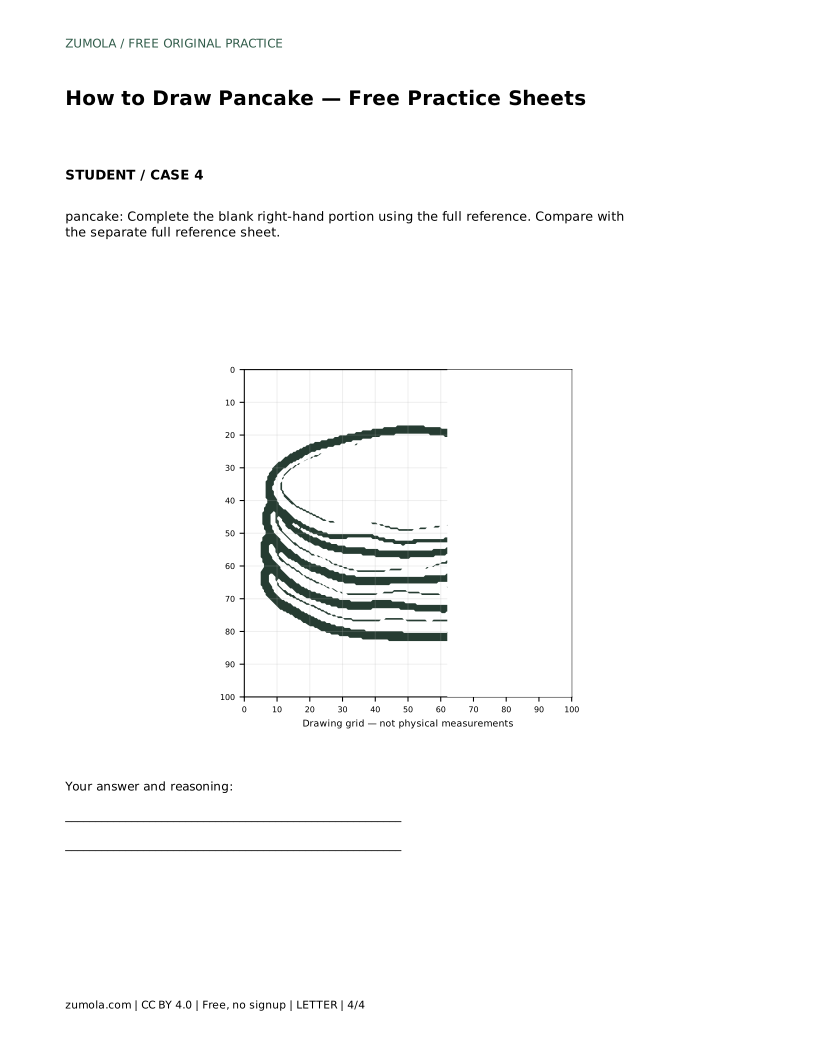
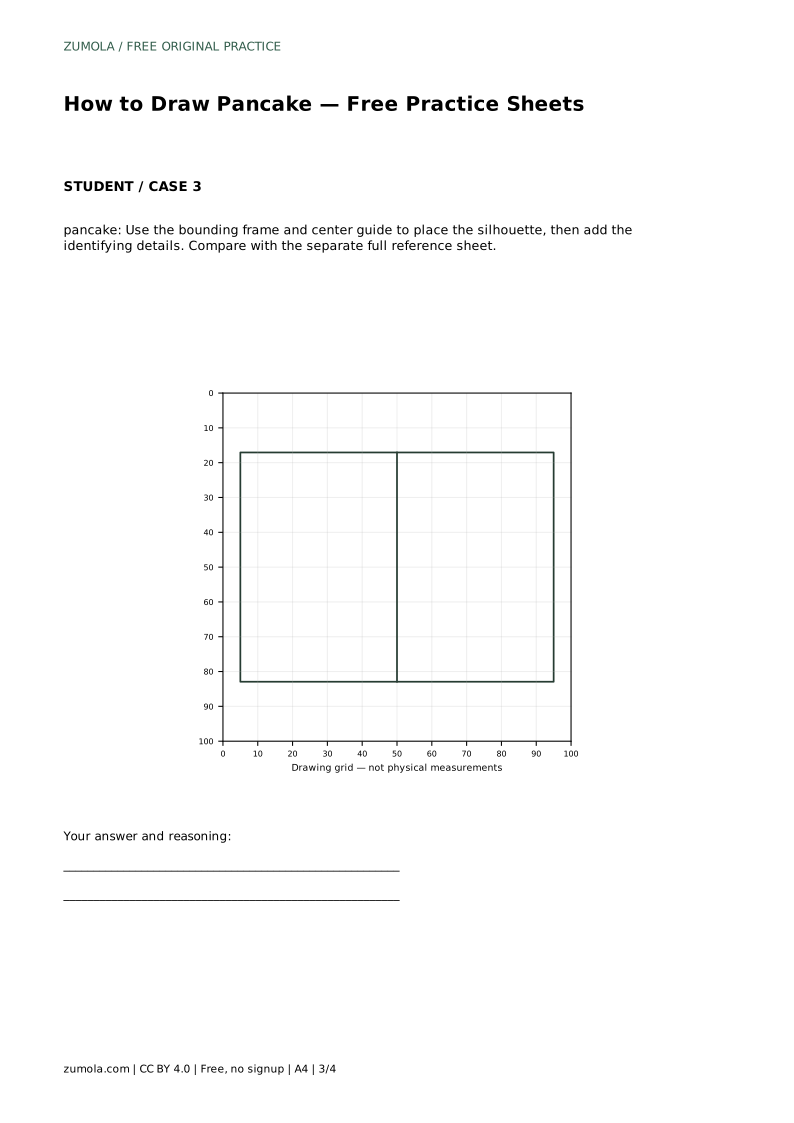
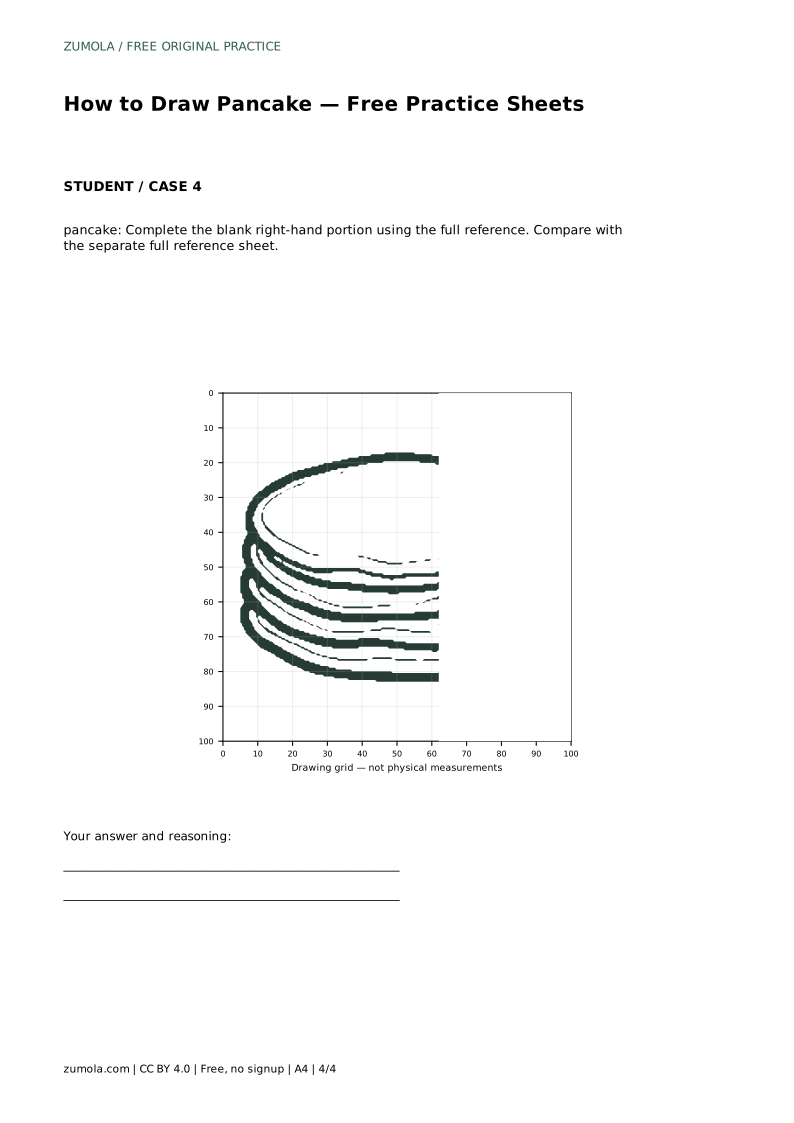
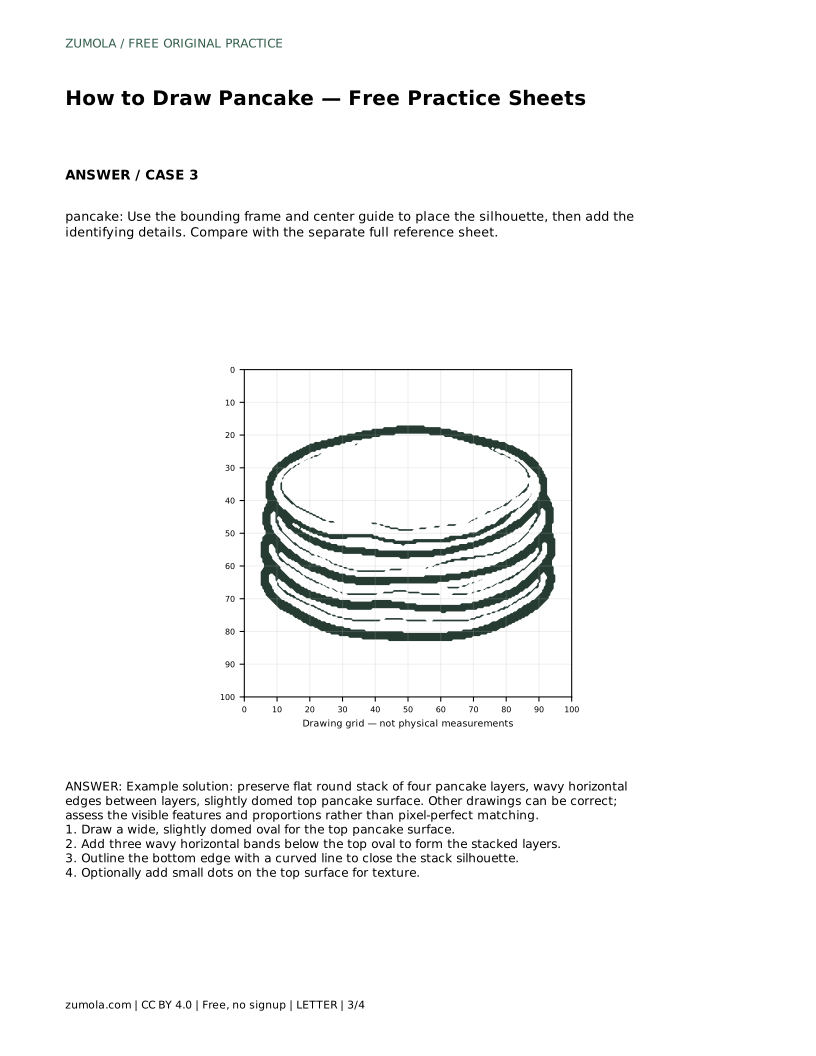
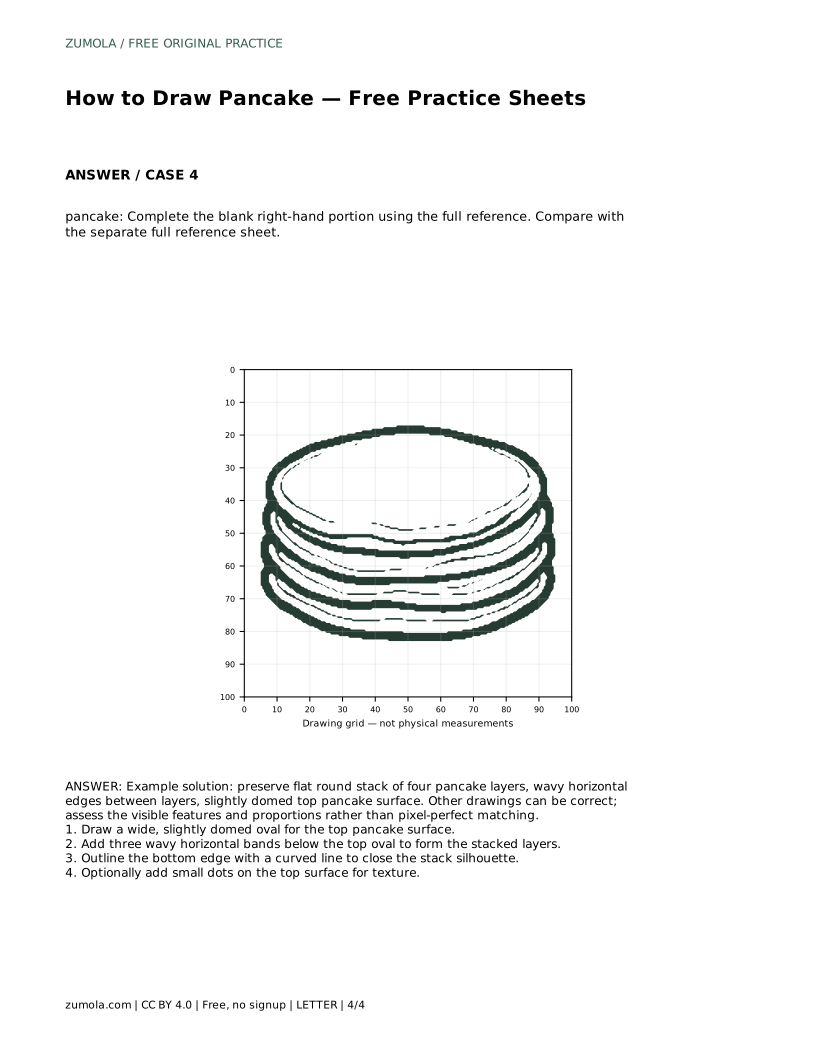
The bounding-frame sheet gives you a frame and center guide. Use them to position the silhouette before adding details: center the stack horizontally, keep the top oval inside the upper portion of the frame, and leave room below for the bottom curve. The partial-reference sheet shows only part of the drawing; complete the missing right-hand portion by continuing the same layer heights and edge rhythm.
A convincing pancake stack is wider than it is tall, with the top oval clearly the largest single shape. If your stack looks like a cylinder, the layer bands are probably too straight or too evenly spaced. If it looks like a single thick pancake, you may have merged the bands. Check that four distinct layers are visible: the domed top plus three wavy bands beneath it.
Texture dots are optional and should stay small and sparse on the top surface. They suggest browning without changing the silhouette. Avoid heavy shading until the outline is accurate, since shading can hide proportion errors.
Repeat the same contour several times on one sheet, varying only size. This helps you internalize the relationship between the top oval and the layer bands. When a freehand attempt drifts, compare it with the reference sheet rather than erasing repeatedly; noting the difference is more useful than chasing a perfect line.
Because drawings can be correct in different ways, judge your work by visible features and proportions. A slightly different wave pattern or oval width can still be a good pancake drawing if the stack reads clearly.
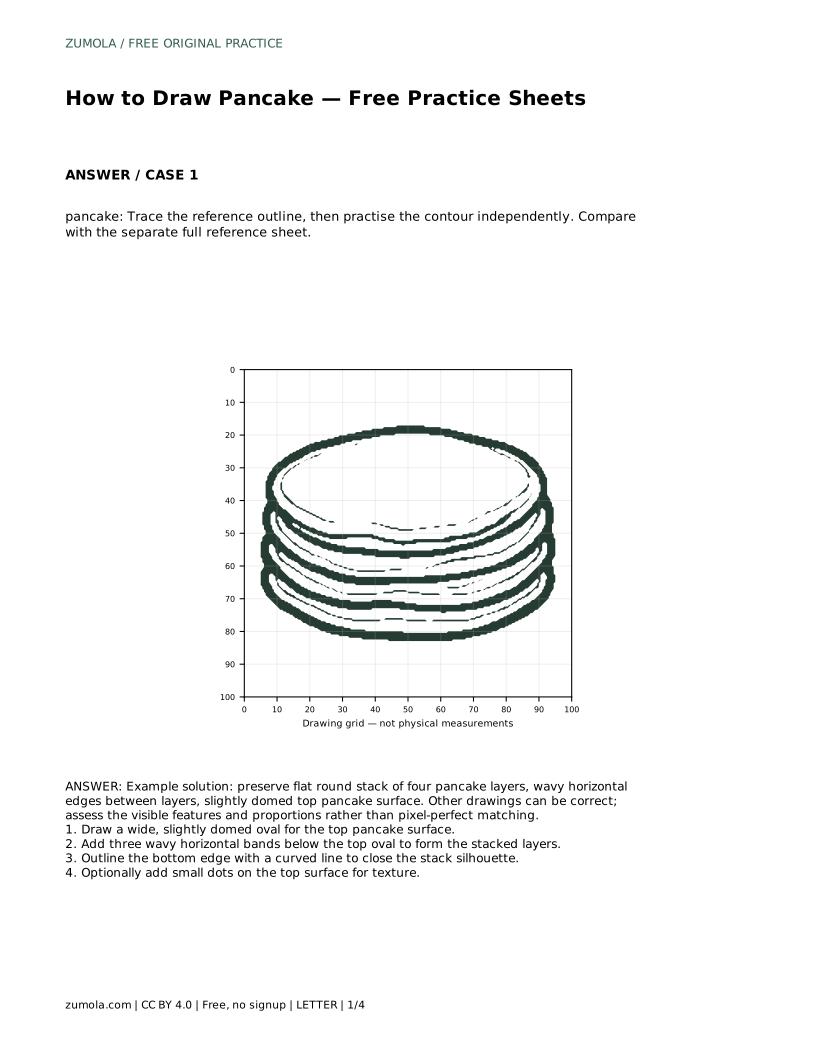
pancake: Trace the reference outline, then practise the contour independently. Compare with the separate full reference sheet.
Example solution: preserve flat round stack of four pancake layers, wavy horizontal edges between layers, slightly domed top pancake surface. Other drawings can be correct; assess the visible features and proportions rather than pixel-perfect matching. Draw a wide, slightly domed oval for the top pancake surface. Add three wavy horizontal bands below the top oval to form the stacked layers. Outline the bottom edge with a curved line to close the stack silhouette. Optionally add small dots on the top surface for texture.
The reference shows four pancake layers: a slightly domed top surface plus three wavy horizontal bands beneath it. Keep all four visible so the stack reads clearly.
No. Different wave patterns and slightly different oval widths can still be correct. Assess whether the flat round stack, wavy layer edges, and domed top are present and proportionate.
Draw the wide domed top oval first, then add the three wavy bands below it, then close the bottom edge with a curve. Add small texture dots last if you want them.
All drawing practice · Free coordinate paper
Original resources · CC BY 4.0 · Free for personal and classroom use with attribution.