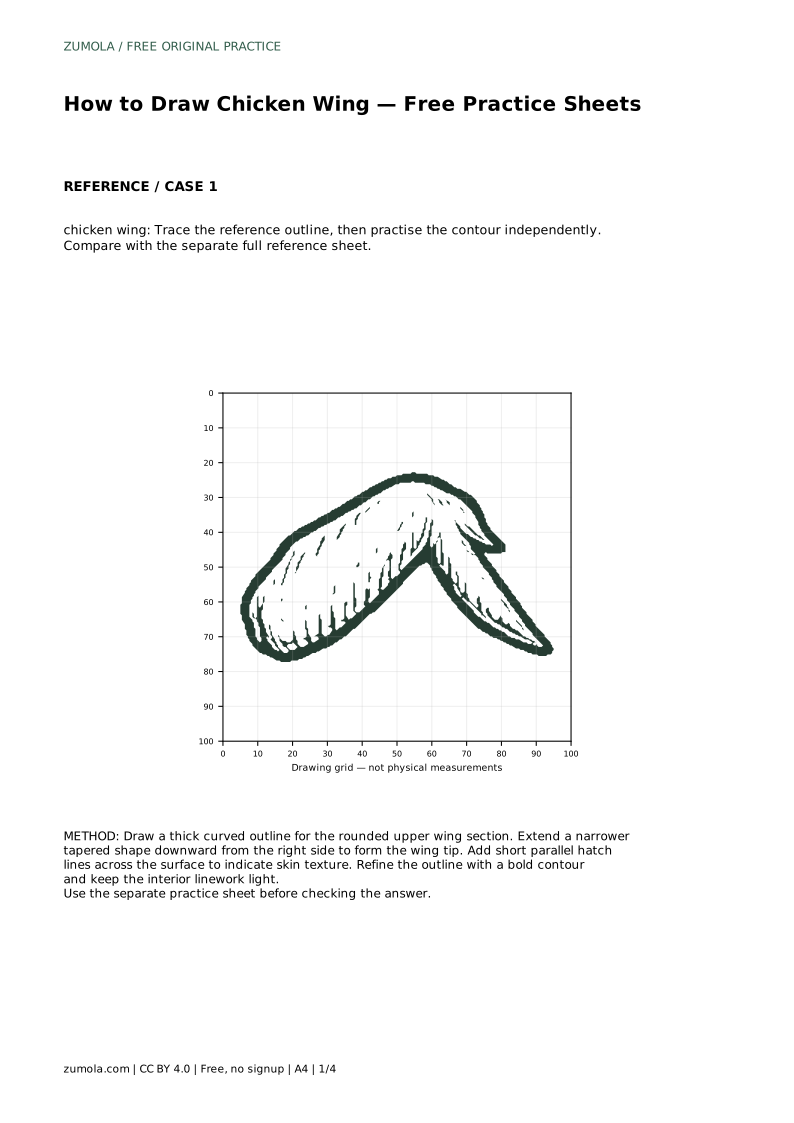
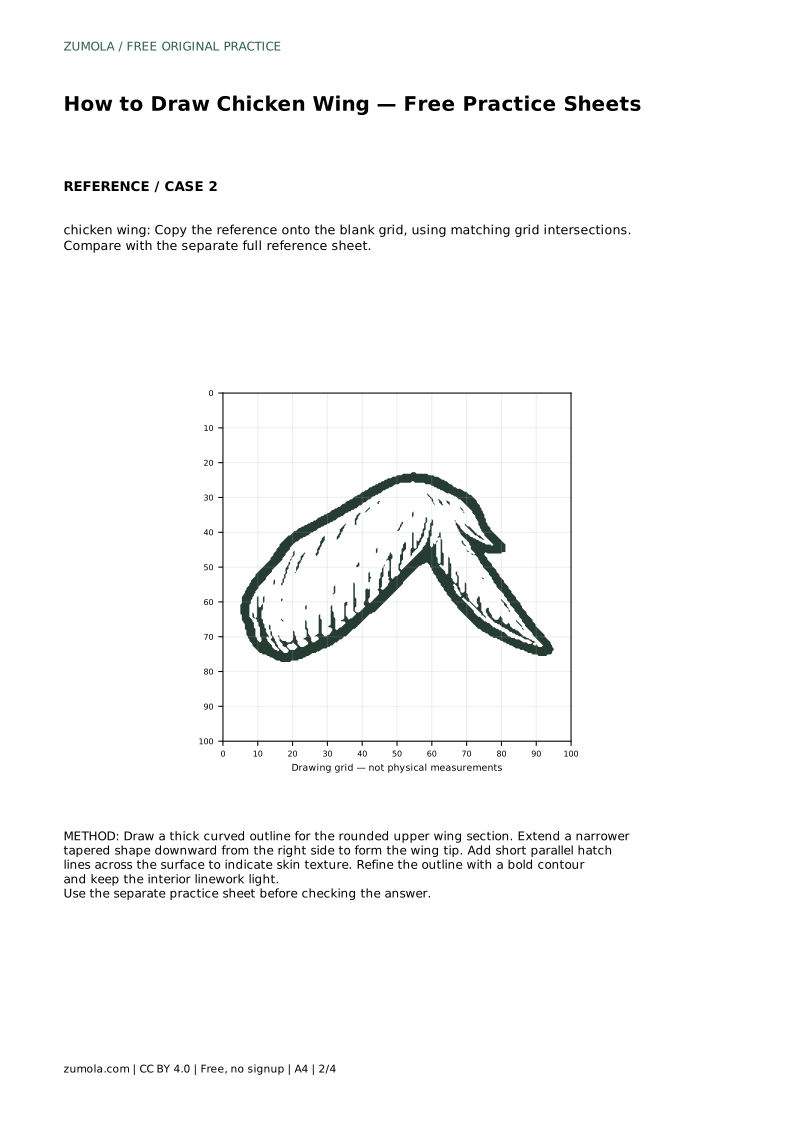
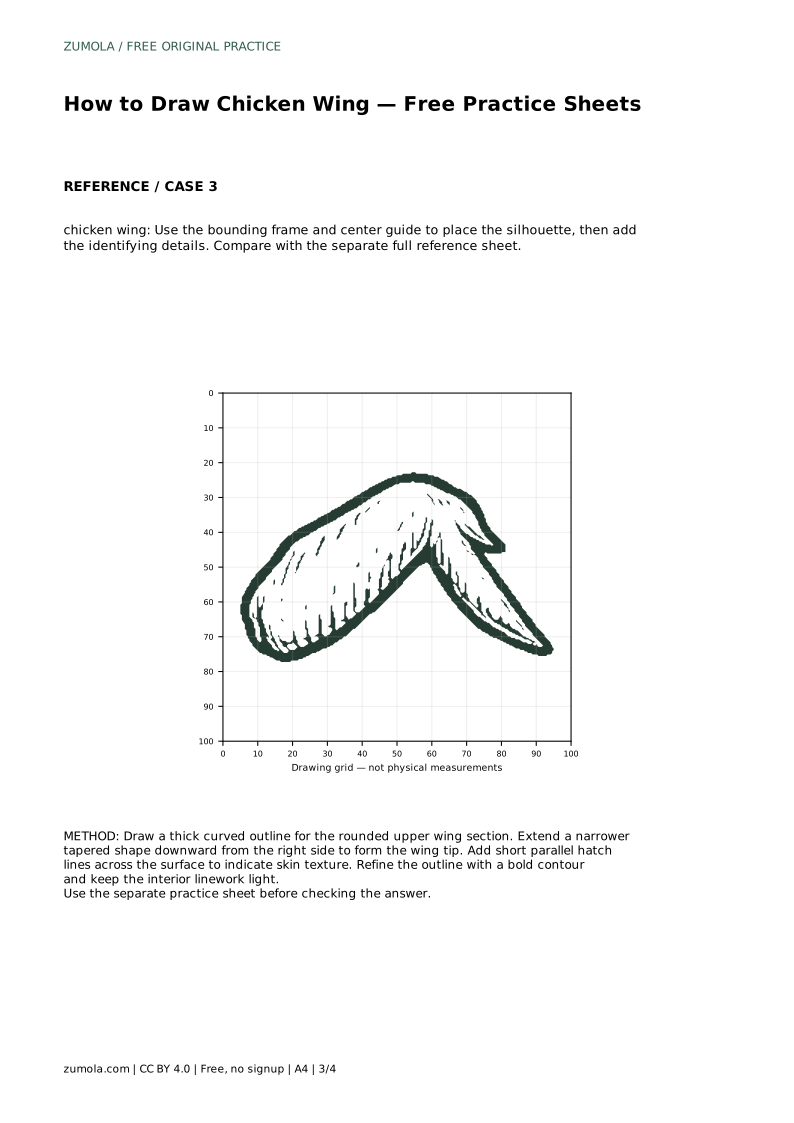
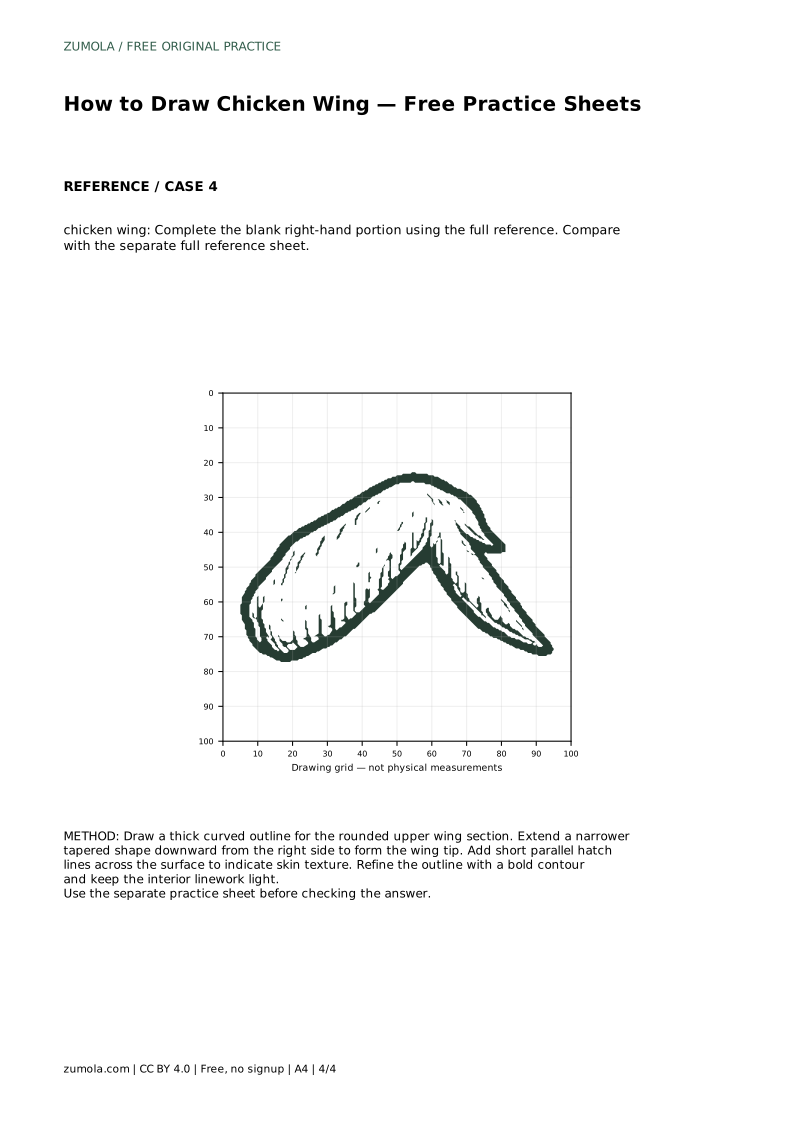
Reference diagrams
LETTER · Download PDF
A4 · Download PDF
Free original resources
Learn to draw a chicken wing by tracing, gridding, and completing a reference. Build the rounded upper section, tapered tip, and light skin texture with a clear rubric.
Four original cases, with reference diagrams, practice sheets and worked answers. Everything is free; no signup required.
LETTER · Download PDF
A4 · Download PDF
LETTER · Download PDF
A4 · Download PDF
LETTER · Download PDF
A4 · Download PDF
Use A4 or US Letter to match your printer. Use the stated values and conditions to solve each exercise; diagrams are not physical measuring rulers.
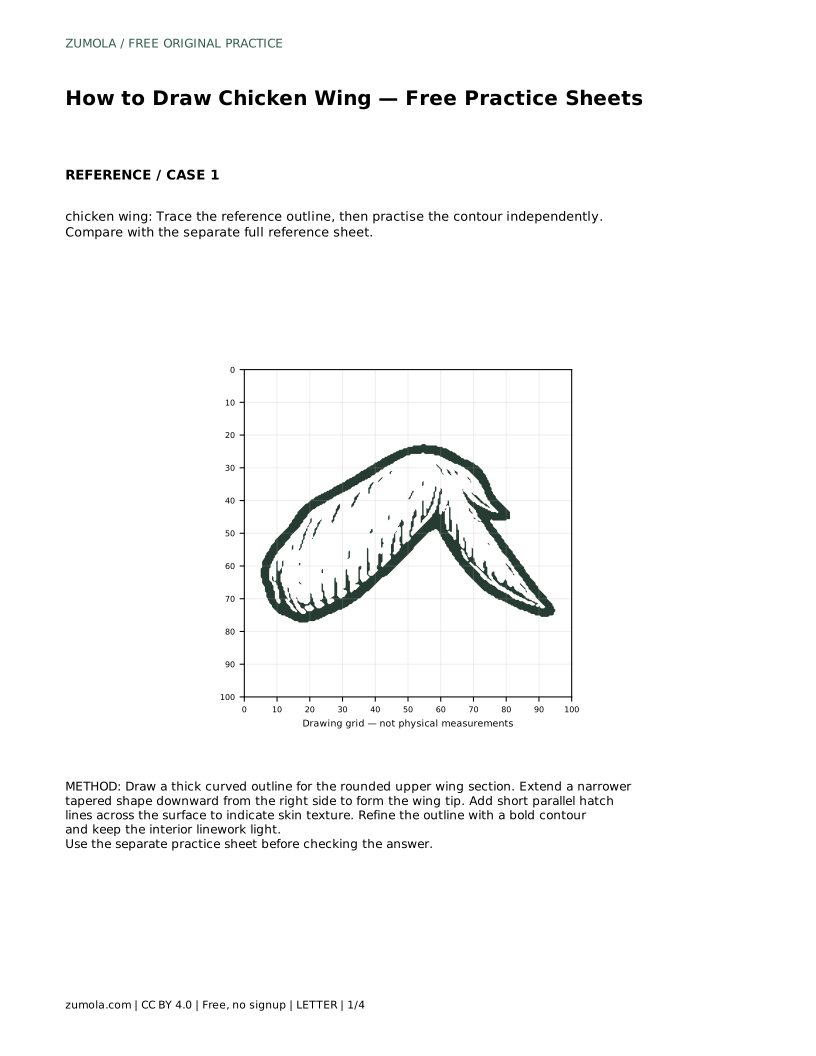
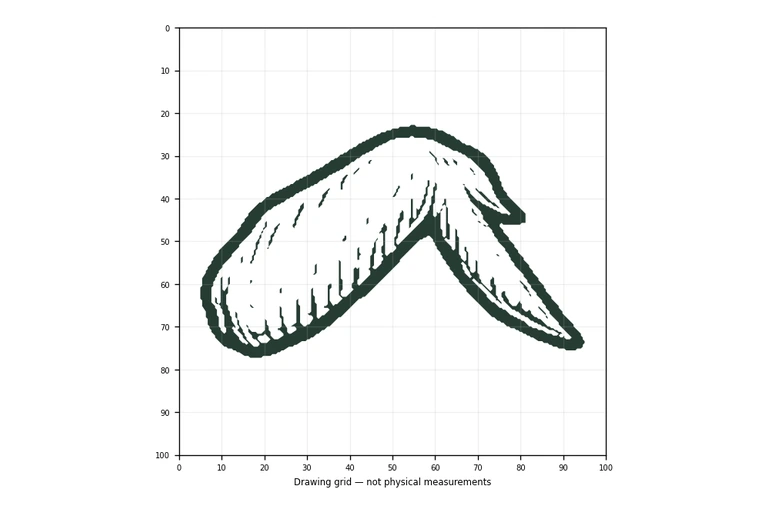
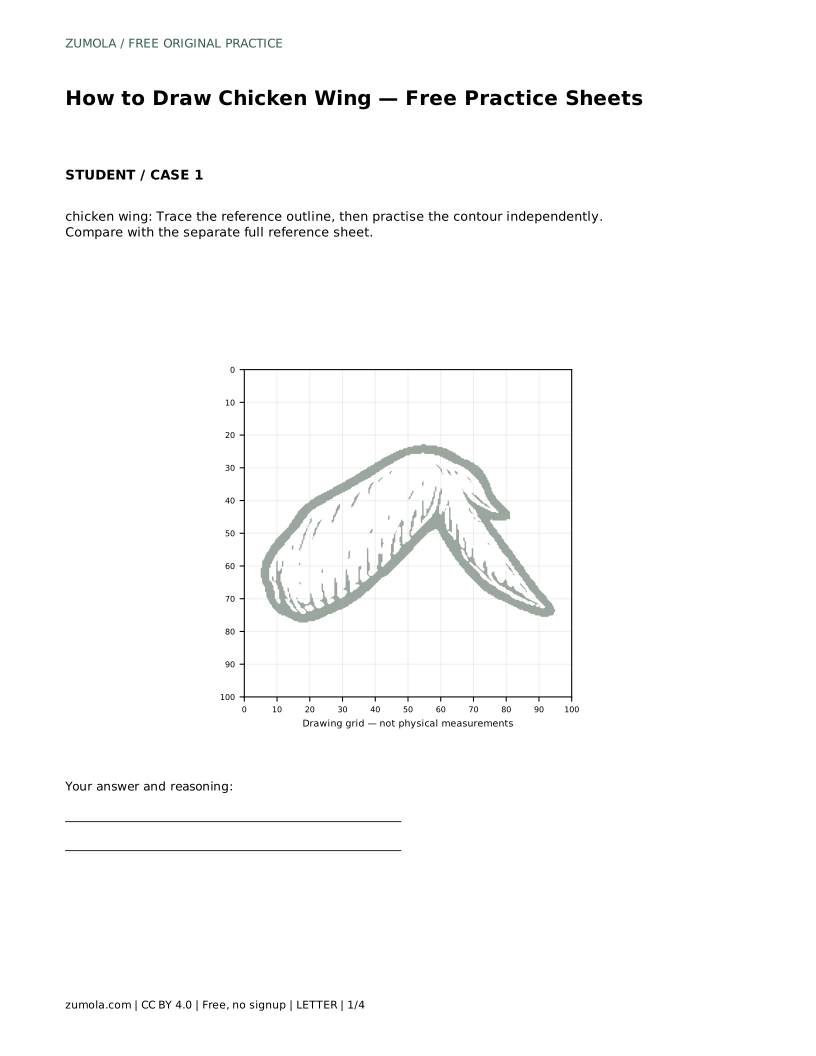
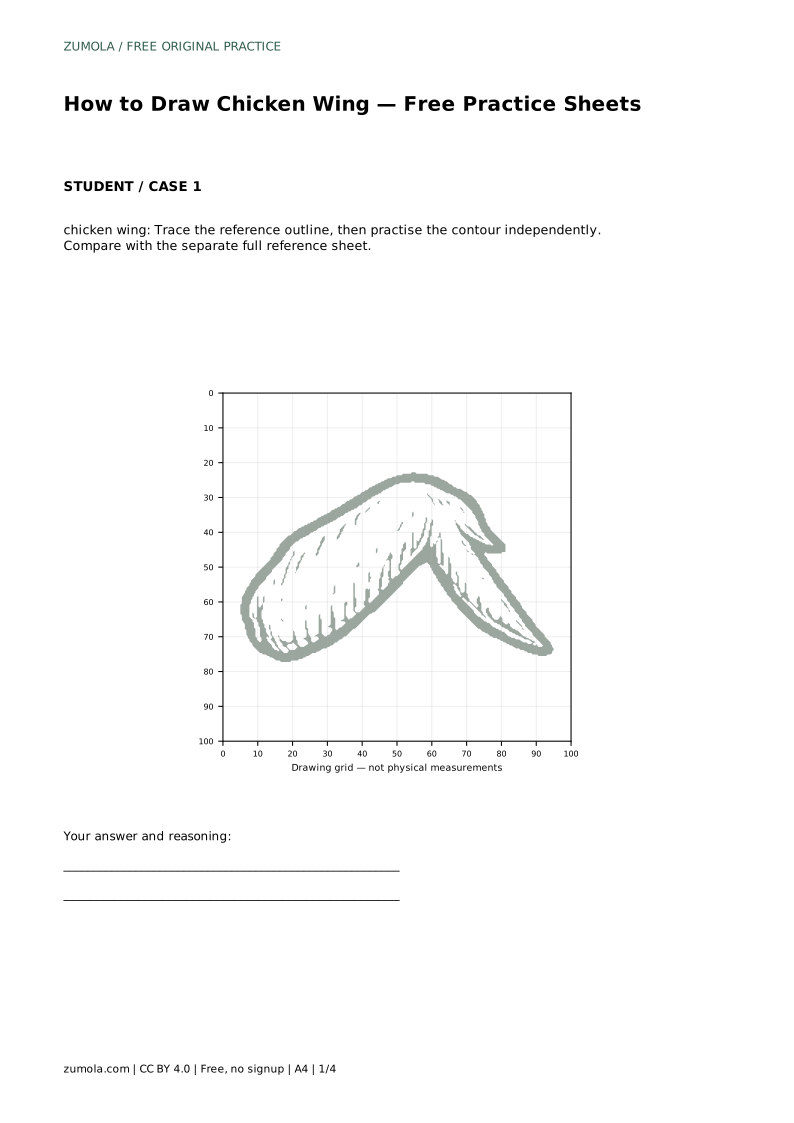
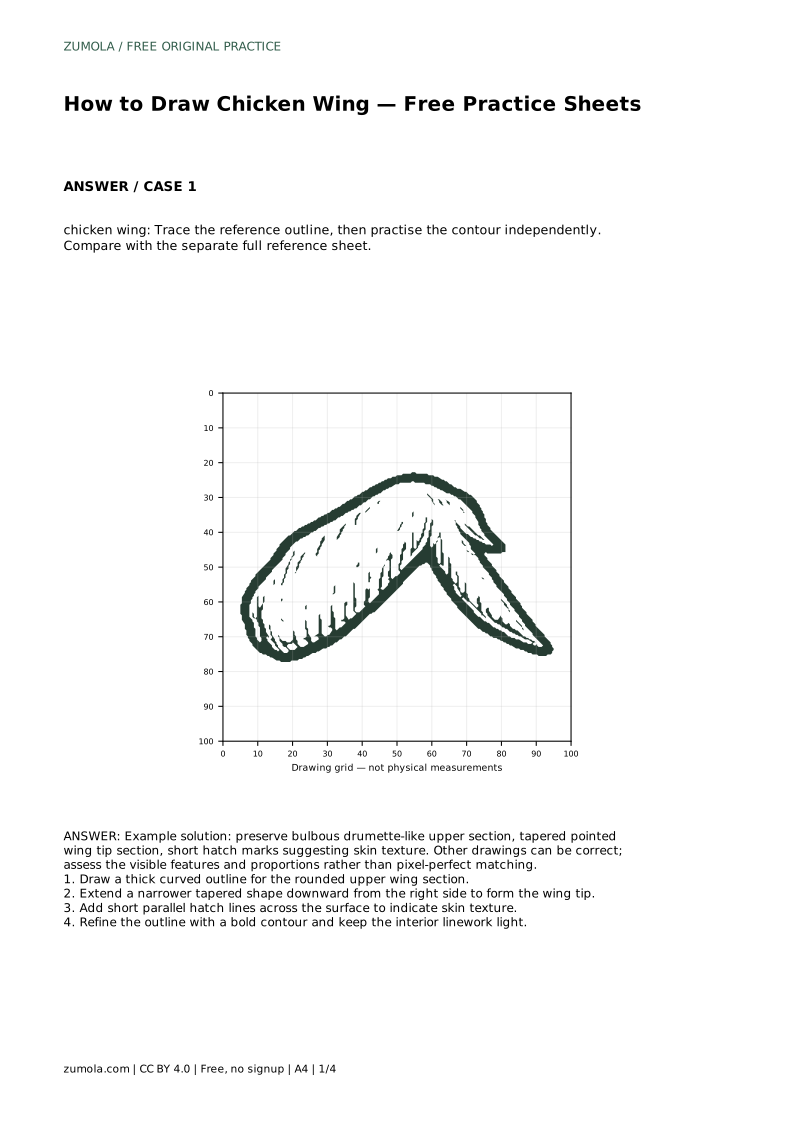
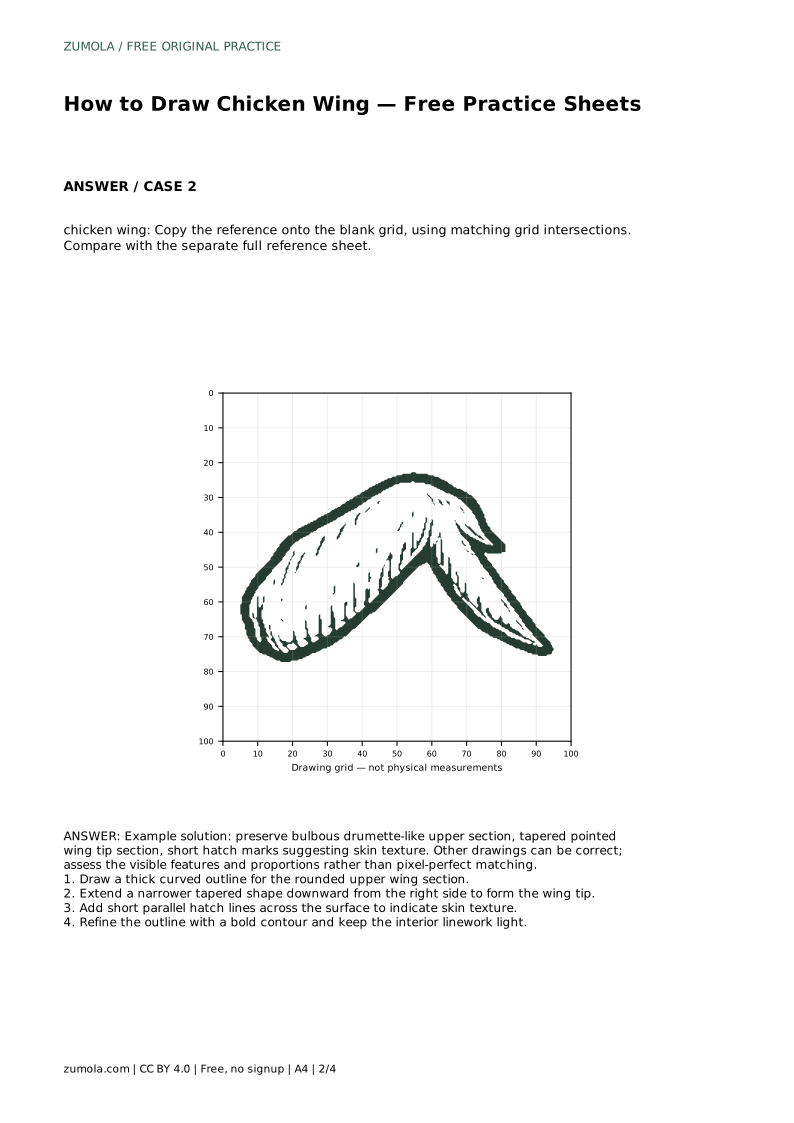
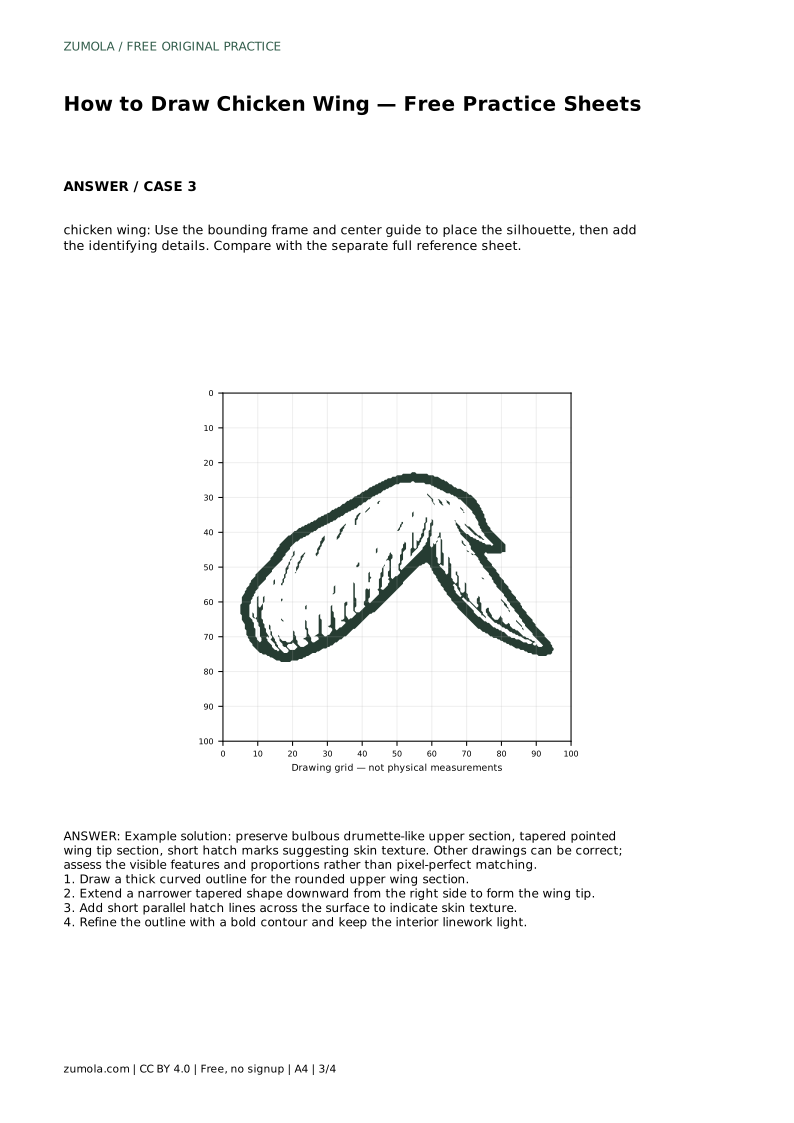
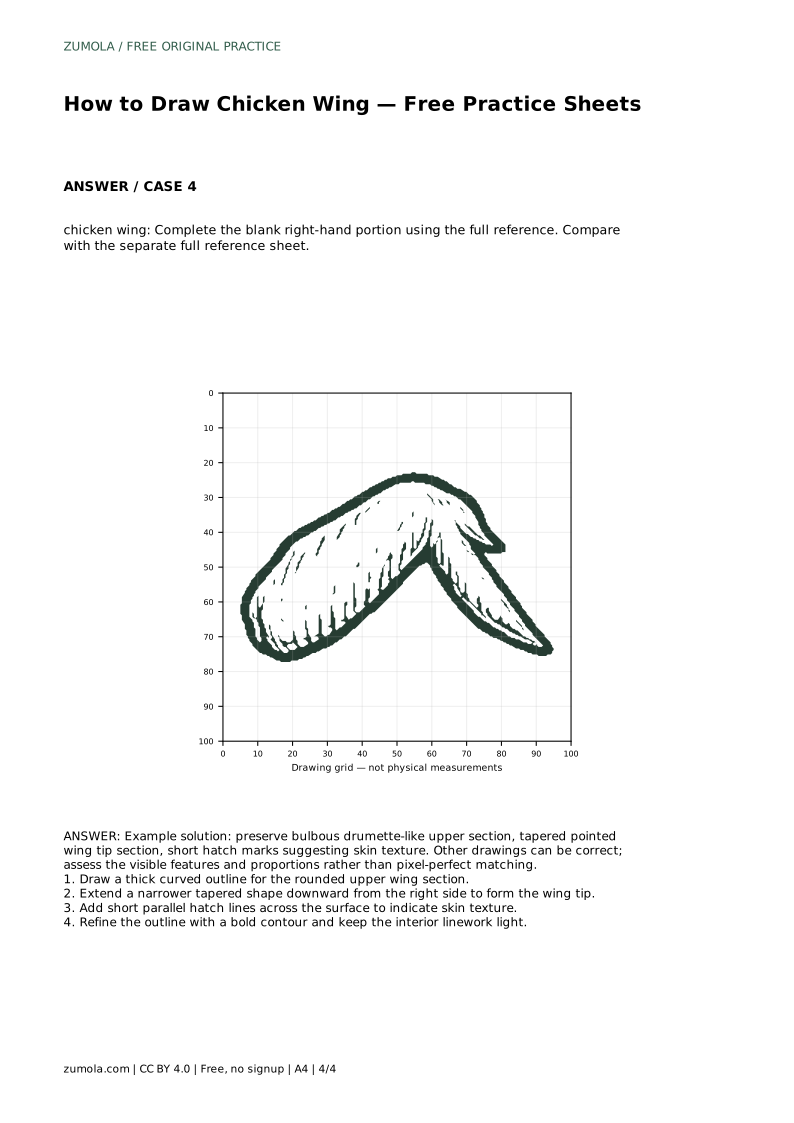
A chicken wing drawing is mostly a study in two connected shapes: a rounded, bulbous upper section and a narrower tapered tip that extends from it. This page explains how to observe those shapes, place them accurately, and add simple surface marks that suggest skin without overworking the line. The practice sheets give you a reference outline, a grid version, a guided frame, and a partial drawing to complete. Each method trains a different observation skill, and all of them accept more than one correct result.
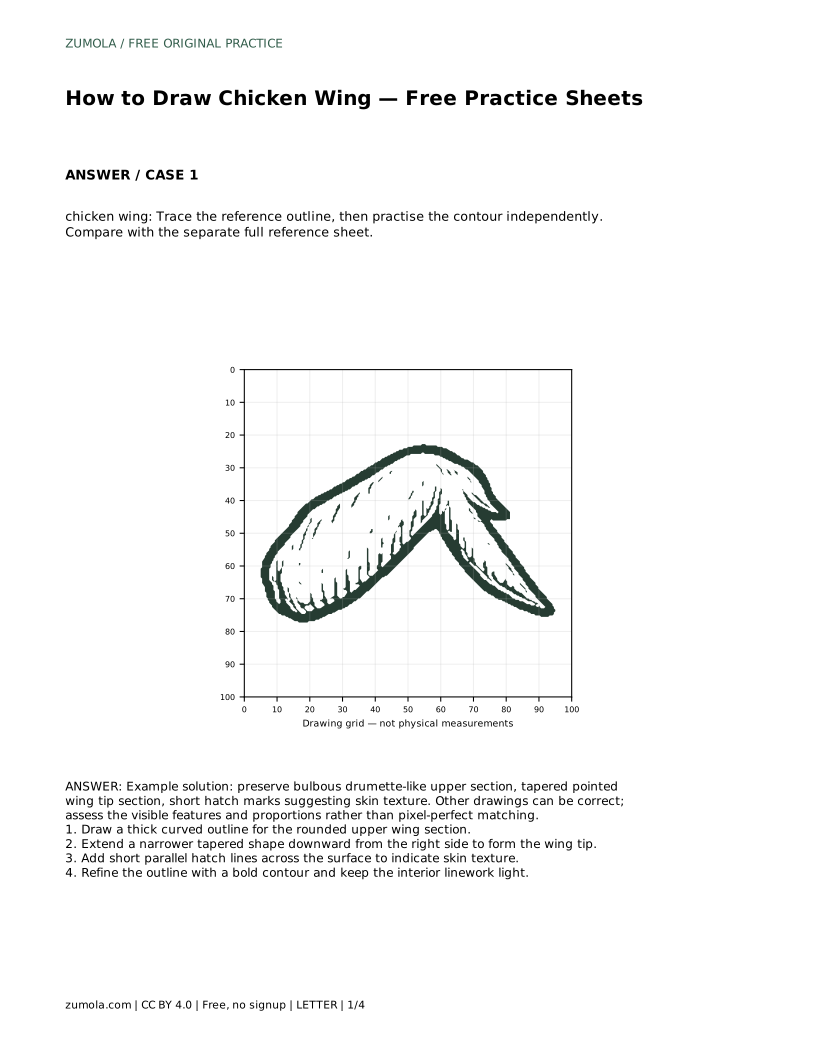
Before drawing, look at the reference and separate the wing into its large upper mass and its tapered lower section. The upper section is thick and curved, like a rounded teardrop leaning to one side. The tip is narrower and ends in a point. Notice where the two masses meet: that junction is usually a slight inward curve or notch, not a straight line.
Proportions matter more than exact edges. Compare the length of the tapered section with the height of the rounded section, and check how far the tip leans away from the upper mass. Keep those relationships consistent as you draw, and the wing will read correctly even if your outline differs from the reference.
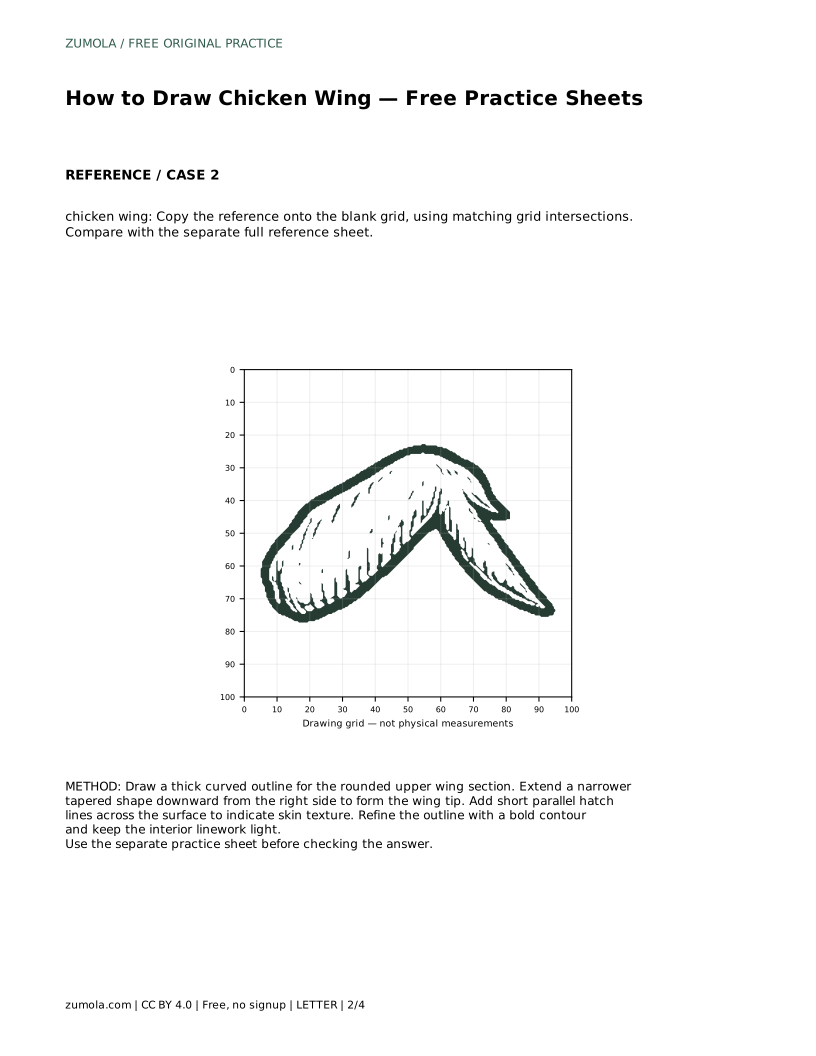
Tracing builds familiarity with the contour, but it does not test whether you can reproduce it. Use the trace sheet to feel how the outline curves, then move to a blank area and draw the same shape from observation. Keep your pencil light so you can adjust the curve before committing.
When you compare your independent drawing with the full reference sheet, look at the overall silhouette first, then the junction, then the tip. Small differences in the curve are acceptable; a tip that points the wrong way or an upper section that is too narrow changes the character of the drawing.
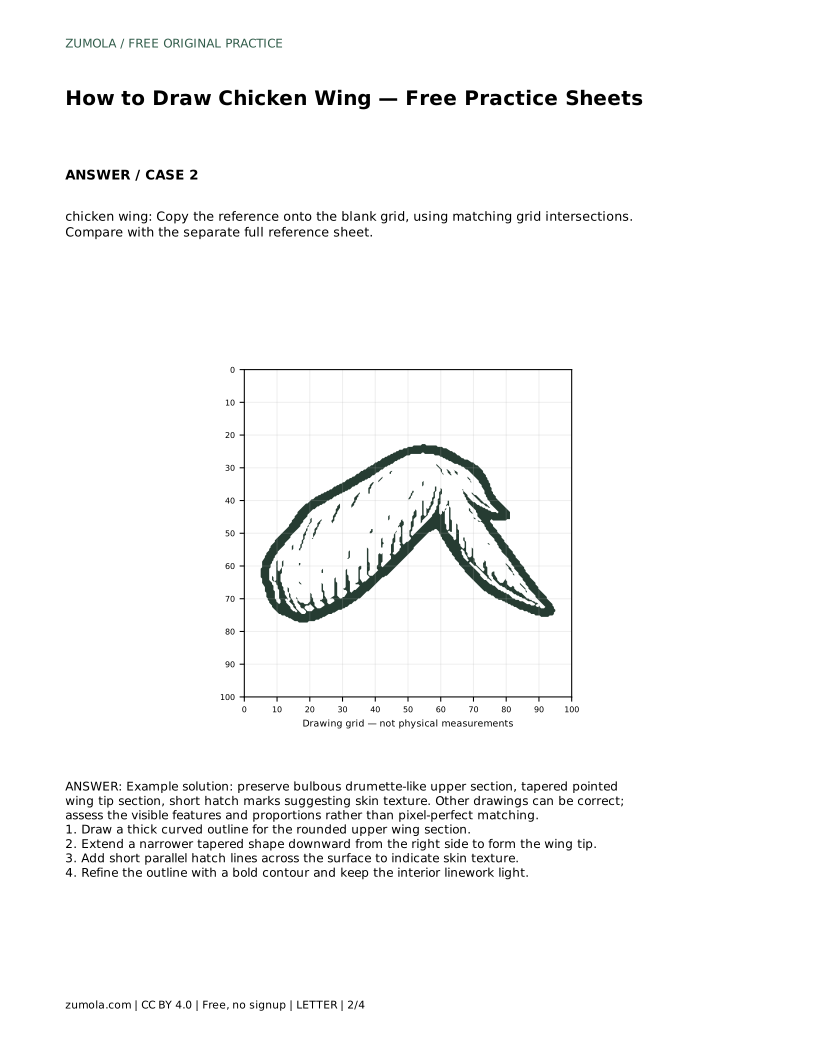
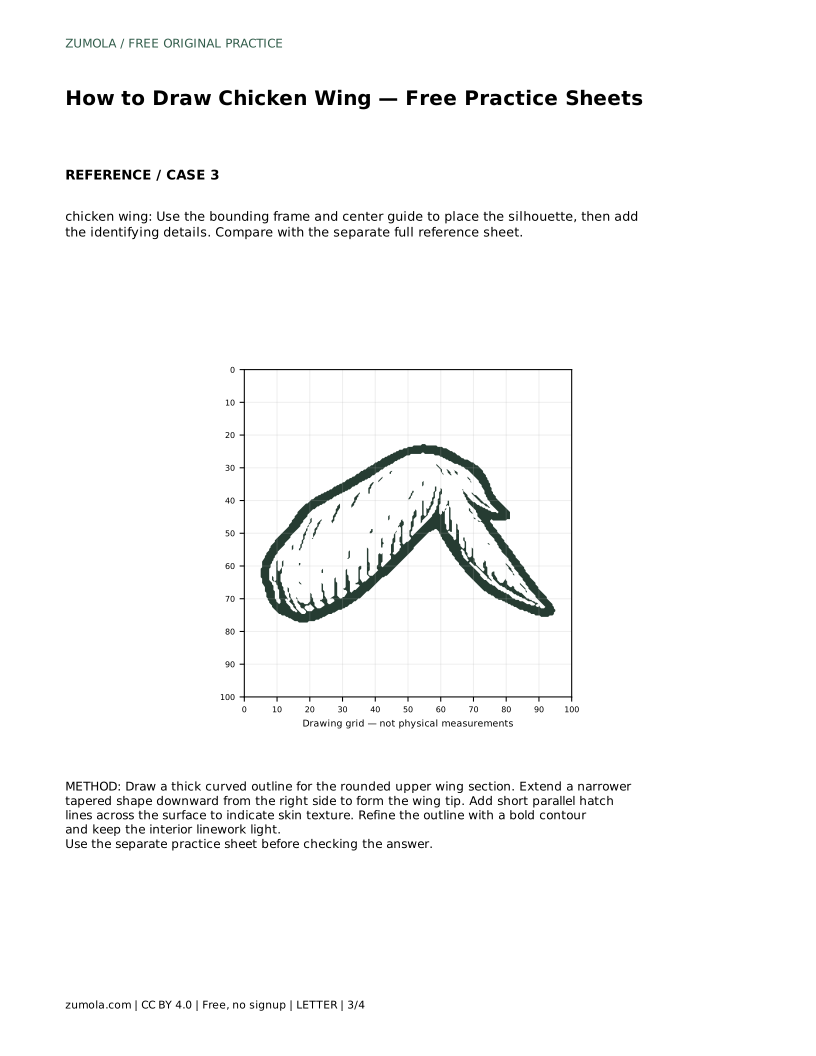
The grid sheet asks you to copy the reference onto a blank grid by matching intersections. Work one square at a time, noting where the outline crosses each grid line. This method slows you down and improves placement, especially for the lean of the tip.
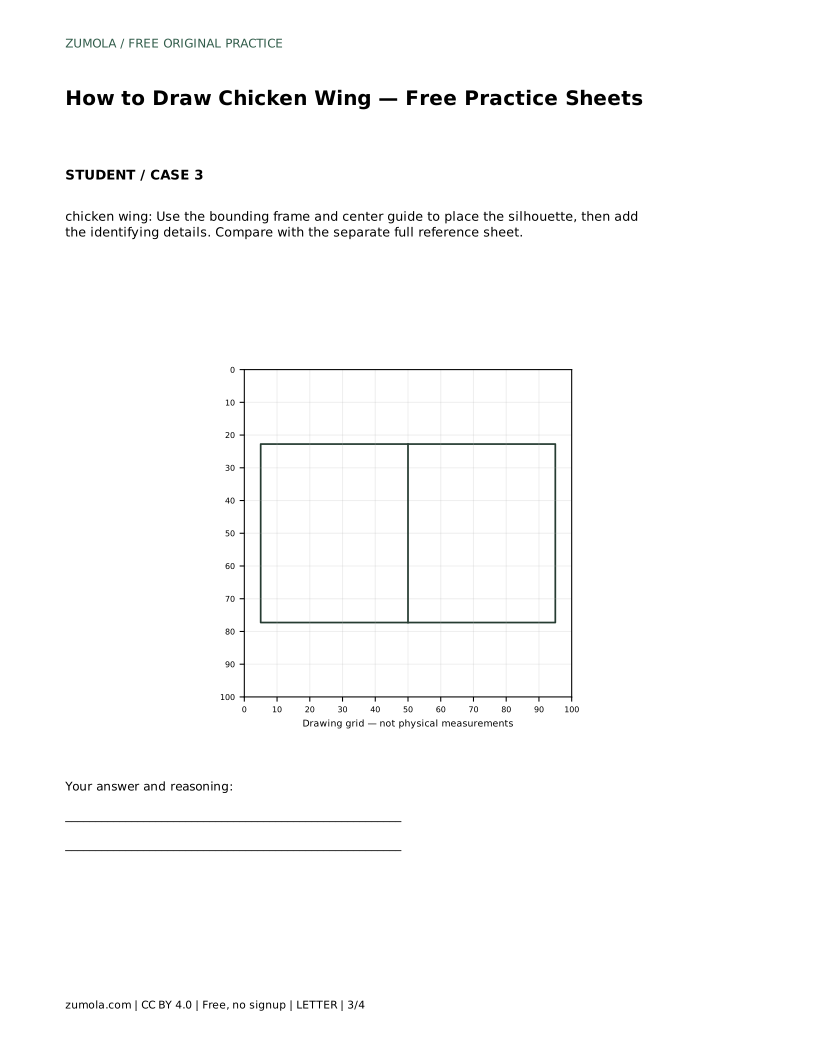
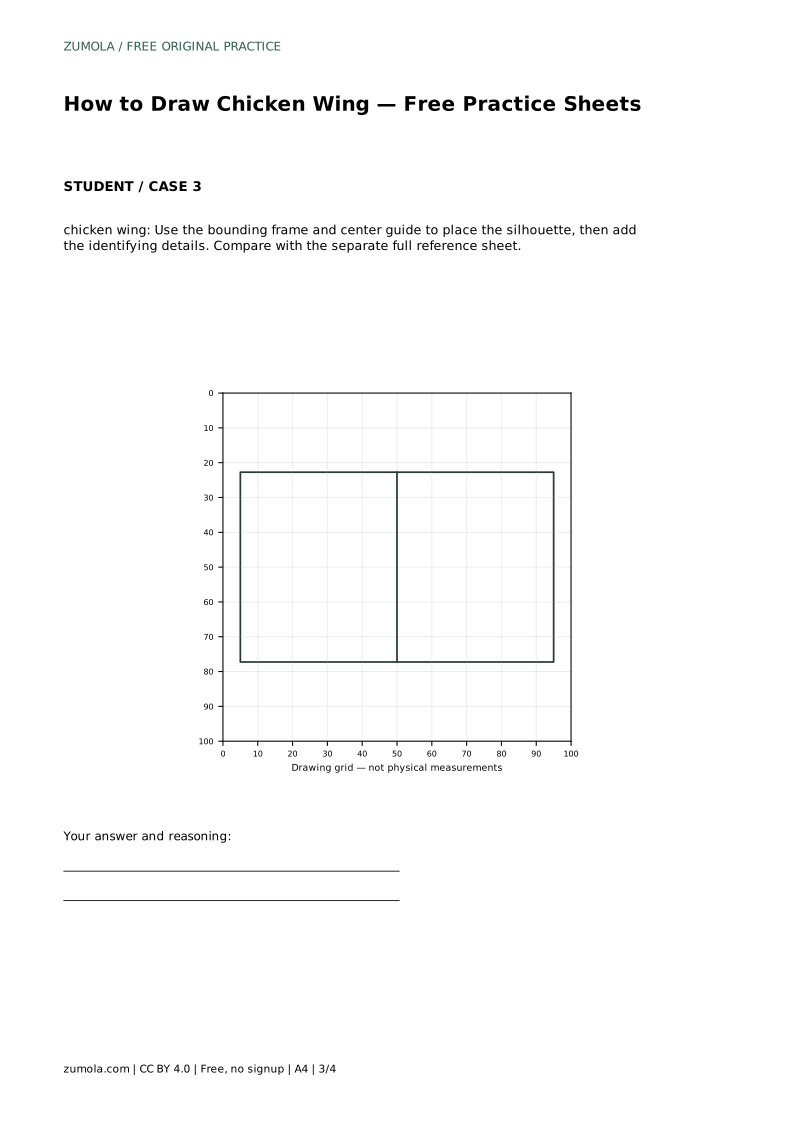
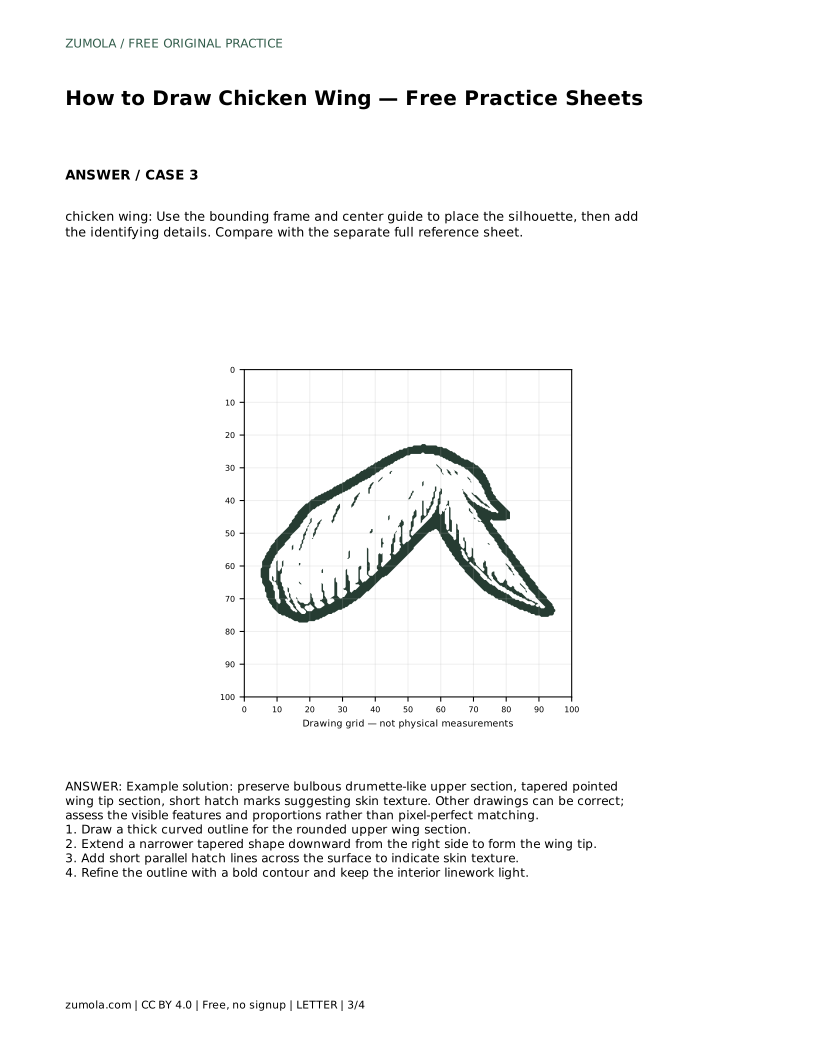
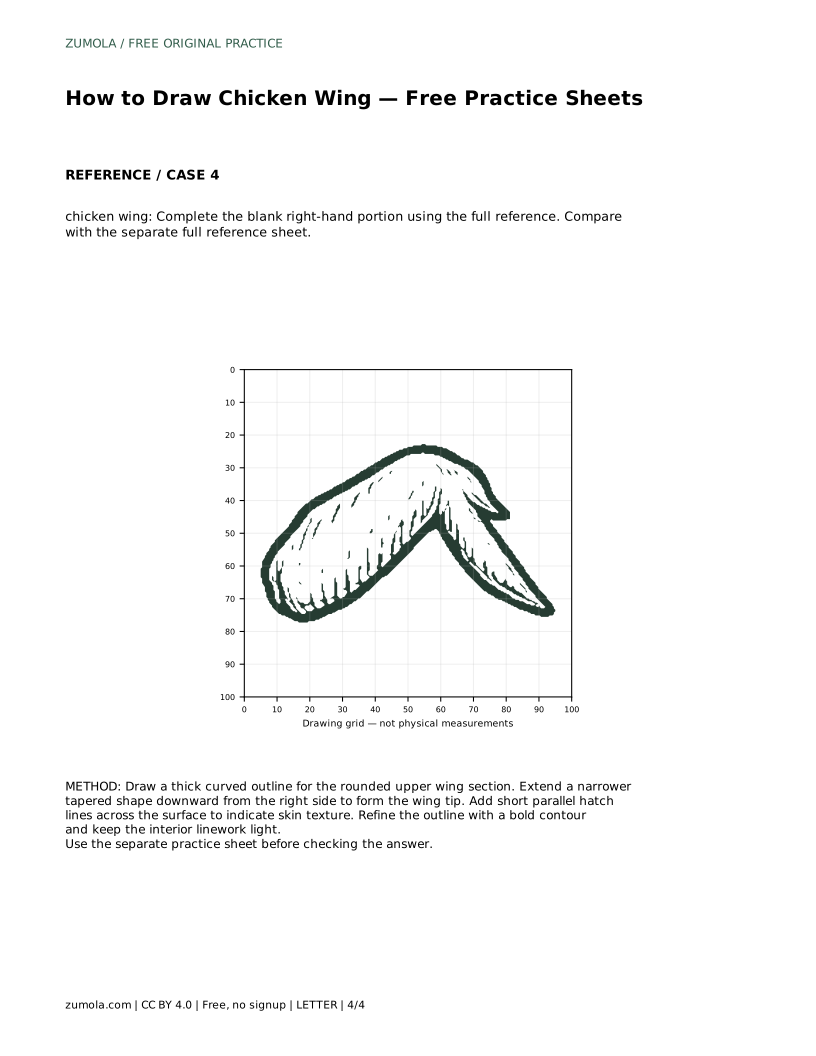
The bounding frame and center guide work differently: they give you a box and a midline so you can position the silhouette before adding detail. Use the frame to judge how much space the wing occupies, and the center guide to check whether the upper mass sits left or right of the middle. Neither guide tells you the exact answer; they help you compare your drawing with the reference.
Skin texture on a chicken wing is suggested, not described in detail. Short parallel hatch marks across the surface imply a slightly uneven skin without turning the drawing into a map of every bump. Keep these marks light and spaced, and let them follow the curve of the surface rather than sitting flat.
Finish by strengthening the outer contour and leaving interior linework lighter. A bold outline separates the wing from the background, while light interior marks keep the surface from looking heavy. This contrast is what makes a simple drawing read clearly.
chicken wing: Trace the reference outline, then practise the contour independently. Compare with the separate full reference sheet.
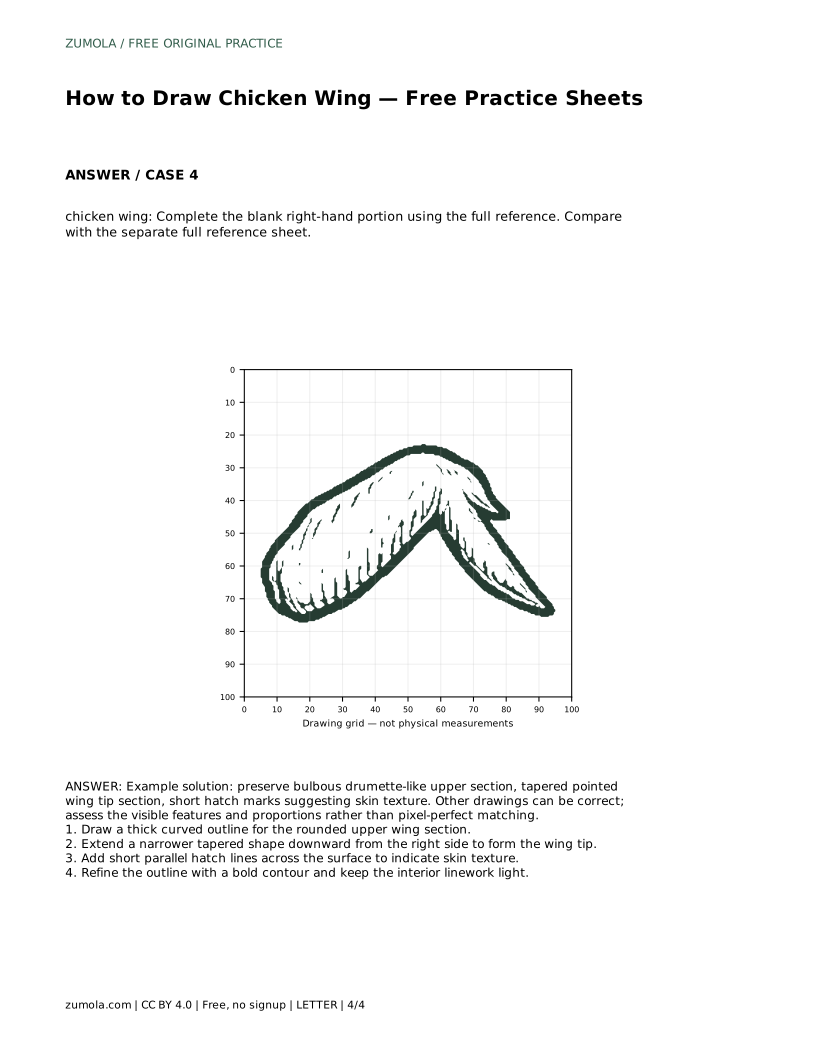
Example solution: preserve bulbous drumette-like upper section, tapered pointed wing tip section, short hatch marks suggesting skin texture. Other drawings can be correct; assess the visible features and proportions rather than pixel-perfect matching. Draw a thick curved outline for the rounded upper wing section. Extend a narrower tapered shape downward from the right side to form the wing tip. Add short parallel hatch lines across the surface to indicate skin texture. Refine the outline with a bold contour and keep the interior linework light.
No. Several drawings can be correct. Judge the visible features and proportions, such as the rounded upper section, the tapered tip, and the light skin texture, rather than pixel-perfect matching.
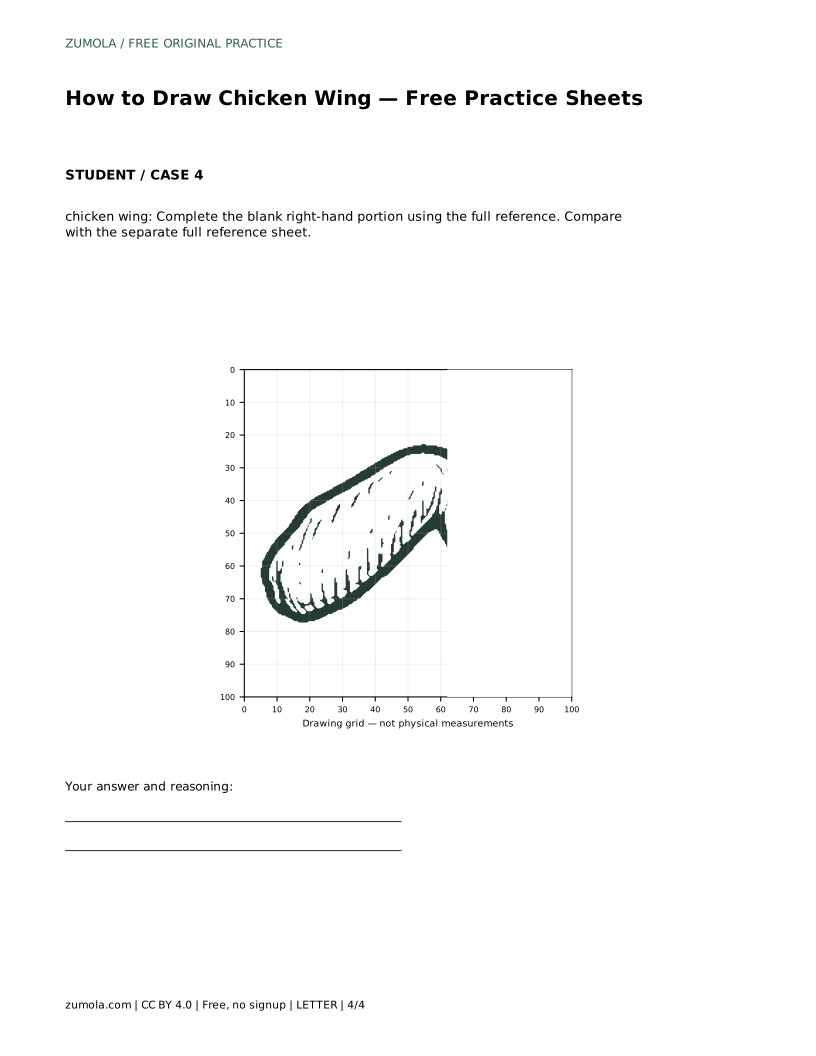
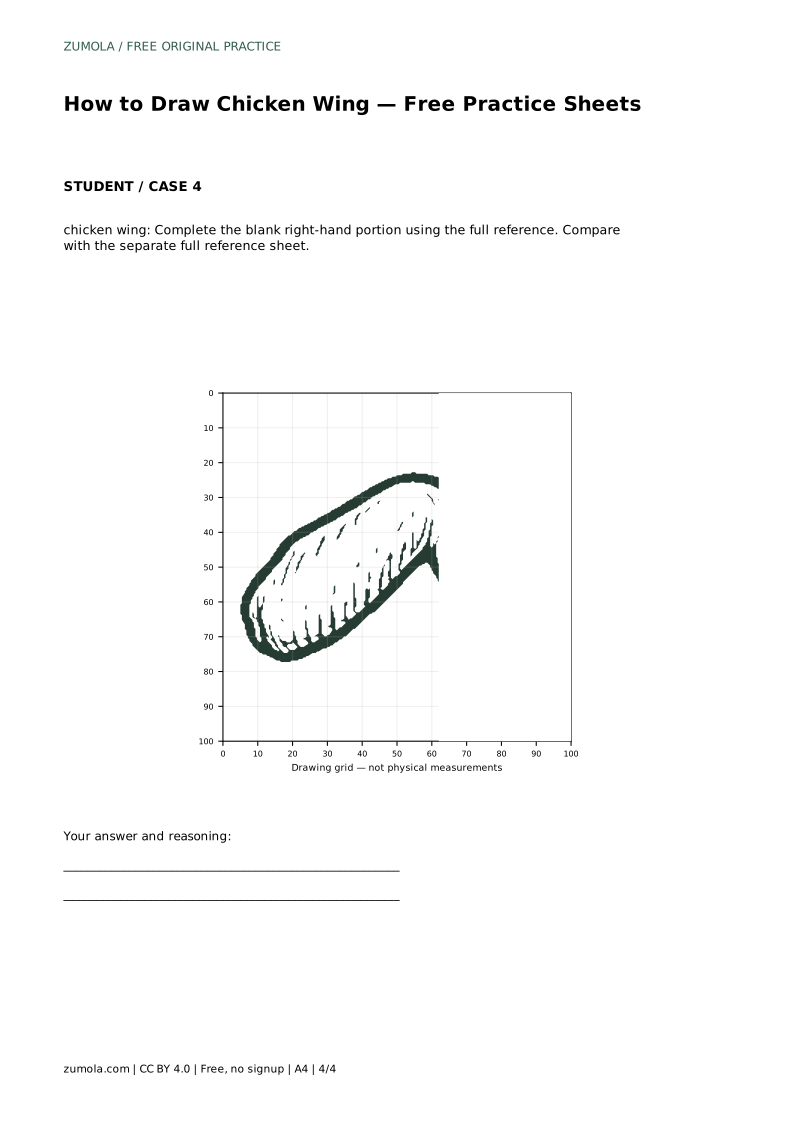
Start with the trace sheet to learn the contour, then move to the grid or frame sheet to practise placement, and finish with the partial drawing to test independent completion.
The drawing is finished when the silhouette reads clearly, the tip points in the right direction, the hatch marks are light, and the outer contour is stronger than the interior lines.
All drawing practice · Free coordinate paper
Original resources · CC BY 4.0 · Free for personal and classroom use with attribution.