Reference diagrams
LETTER · Download PDF
A4 · Download PDF
Free original resources
Learn to draw a cocktail glass with an elliptical rim, V-shaped bowl, liquid line, thin stem and oval base. Trace, grid, frame and finish-the-drawing practice.
Four original cases, with reference diagrams, practice sheets and worked answers. Everything is free; no signup required.
LETTER · Download PDF
A4 · Download PDF
LETTER · Download PDF
A4 · Download PDF
LETTER · Download PDF
A4 · Download PDF
Use A4 or US Letter to match your printer. Use the stated values and conditions to solve each exercise; diagrams are not physical measuring rulers.
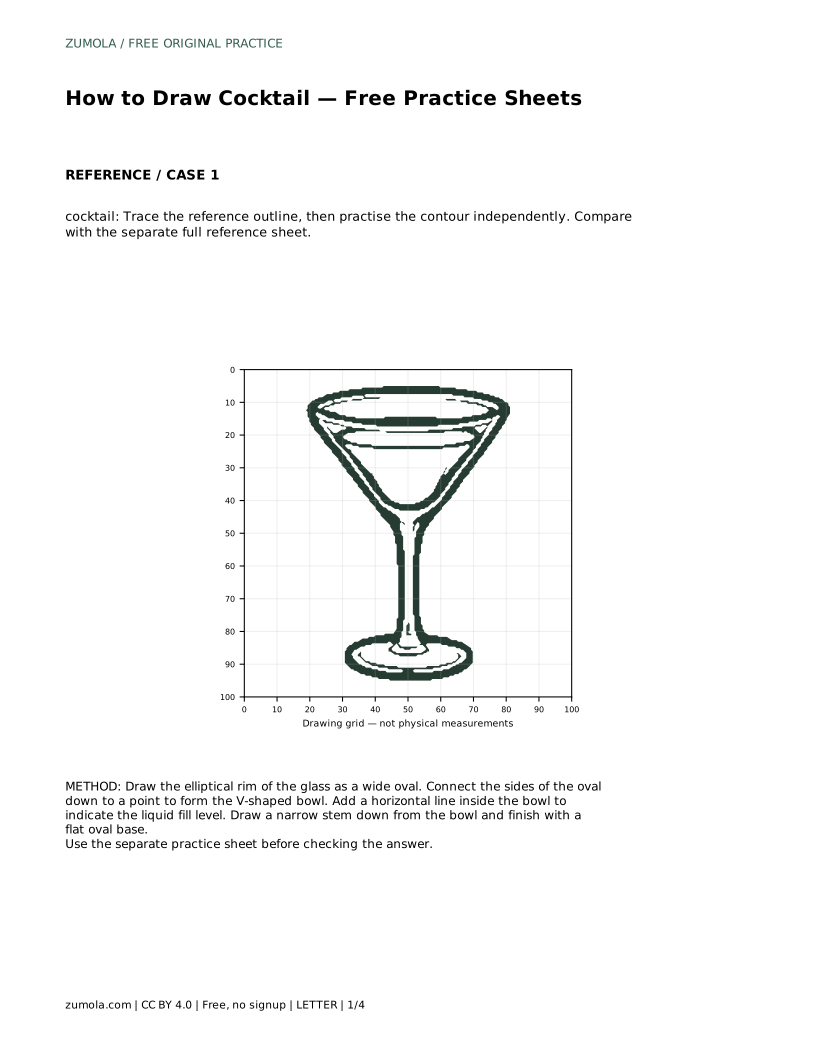
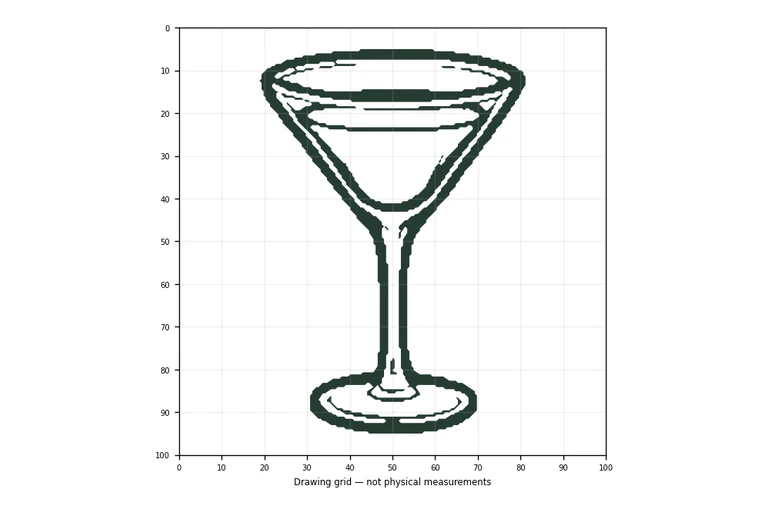
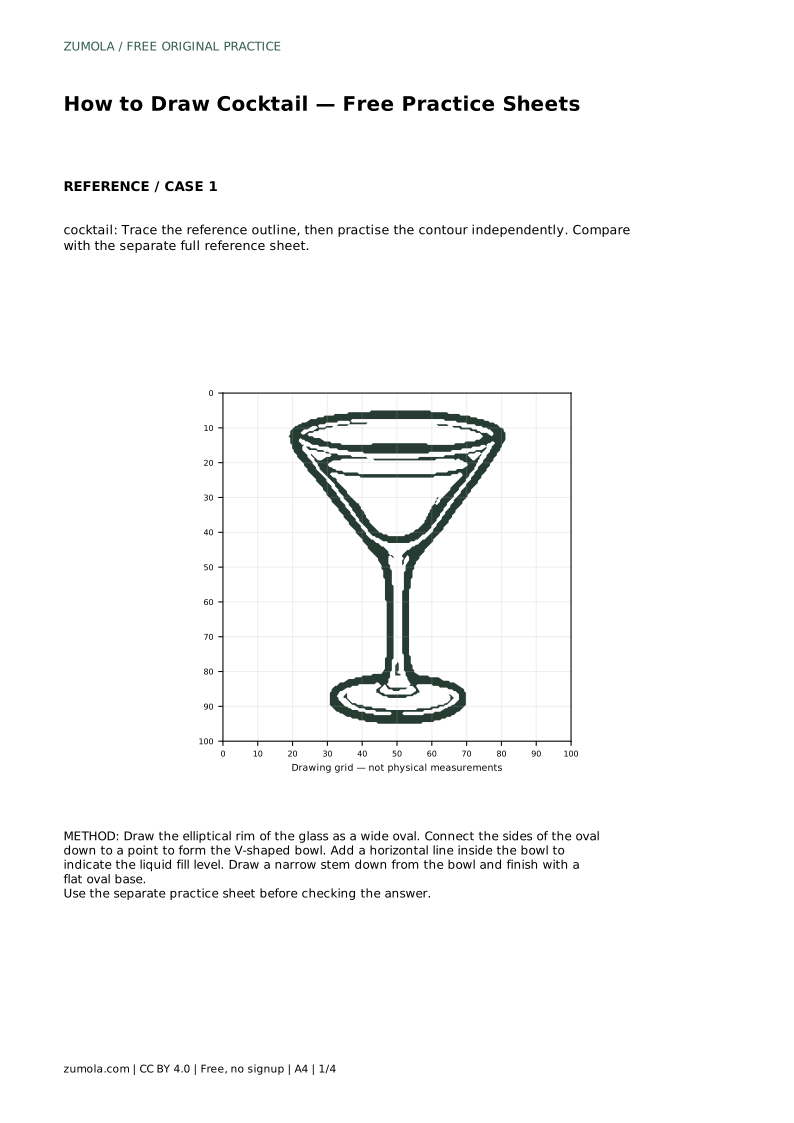
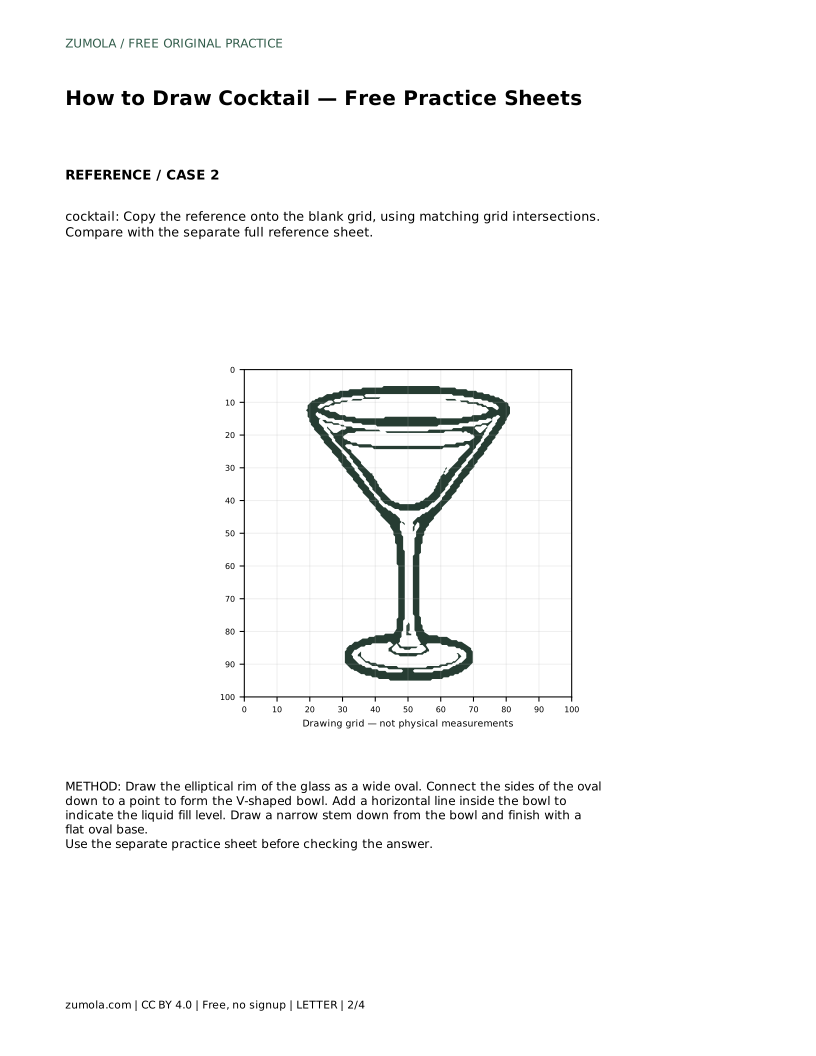
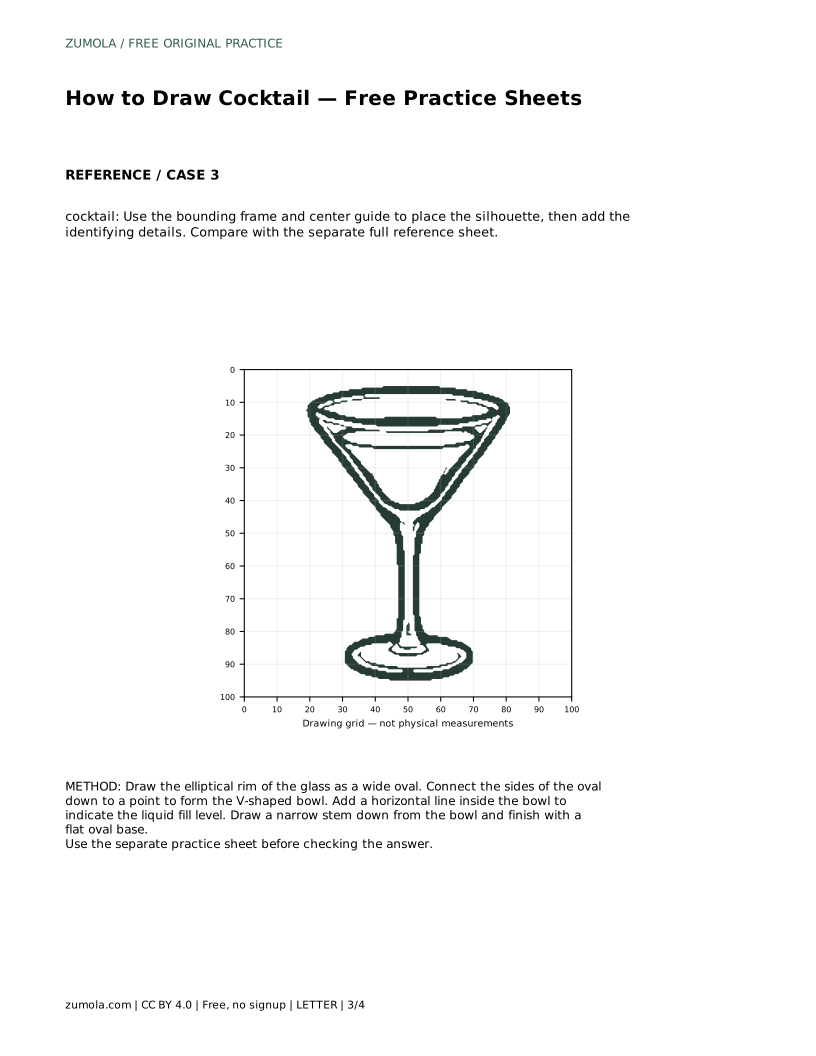
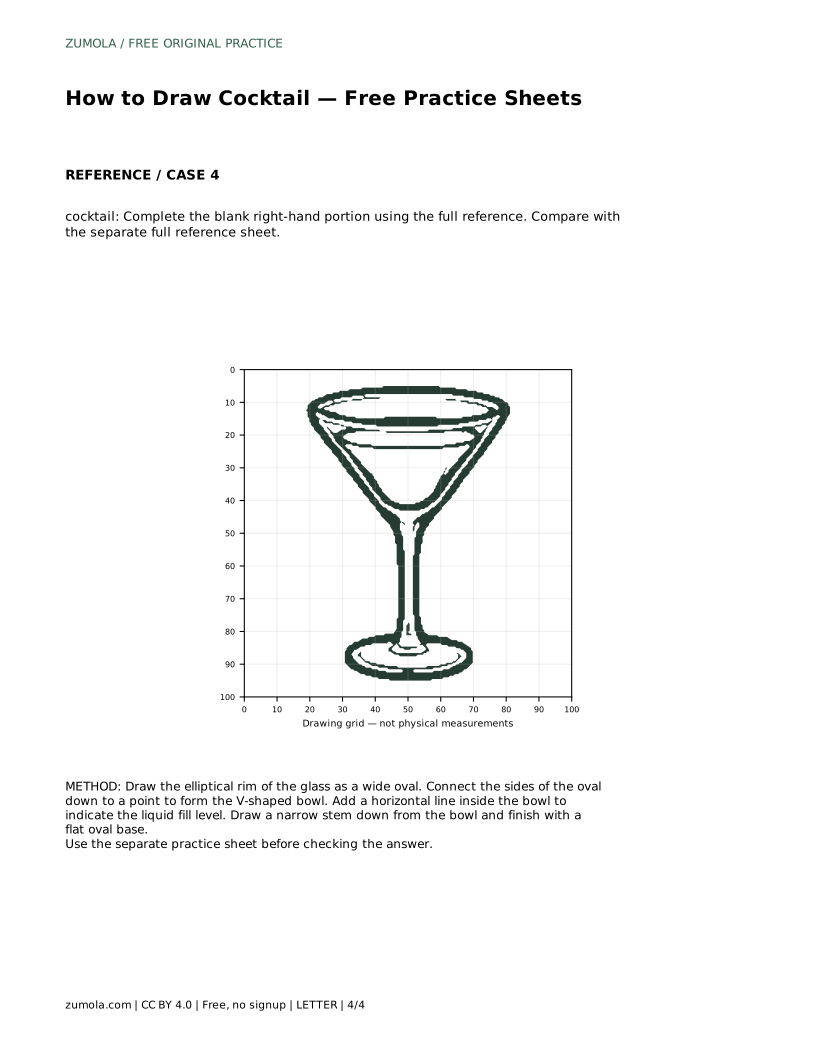
A cocktail glass is easy to recognise once you understand its few key parts: a wide elliptical rim, sides that taper to a point, a liquid line inside the bowl, a narrow stem and a flat oval base. This page explains how those parts fit together and how to practise them on free printable sheets. Each sheet asks you to compare your drawing with a separate full reference, so you can judge proportions and visible features rather than chase a pixel-perfect copy.
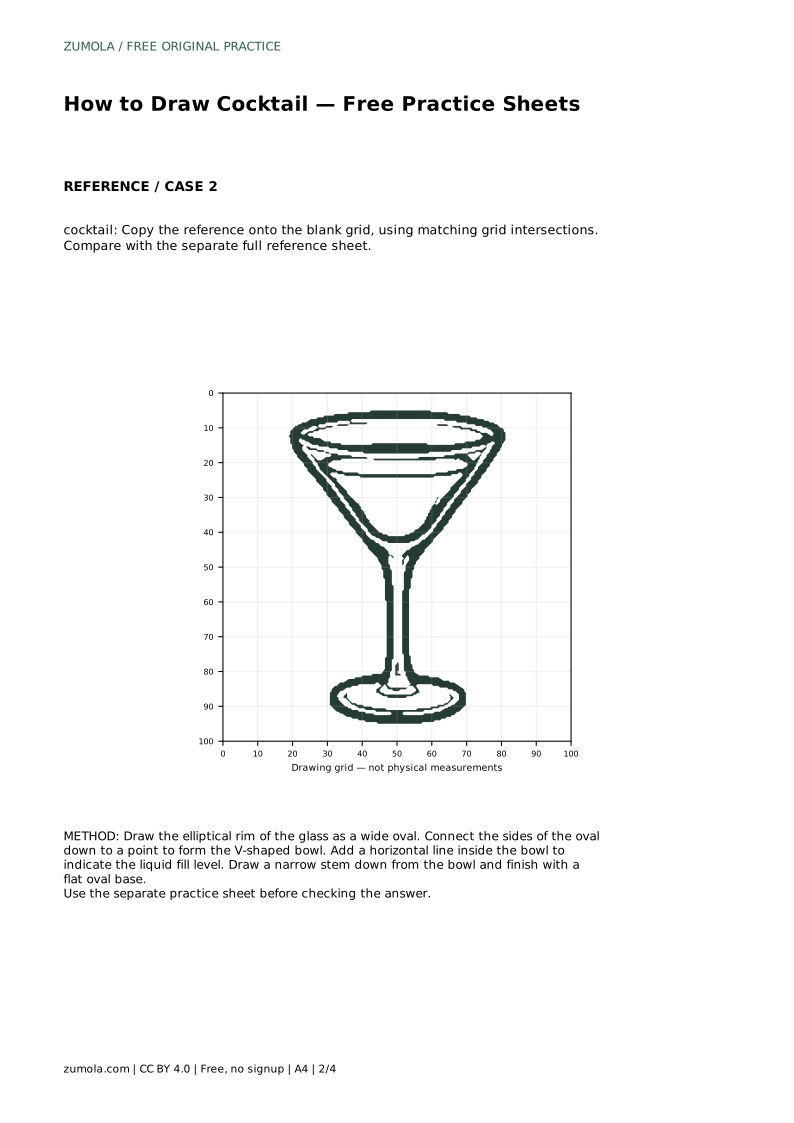
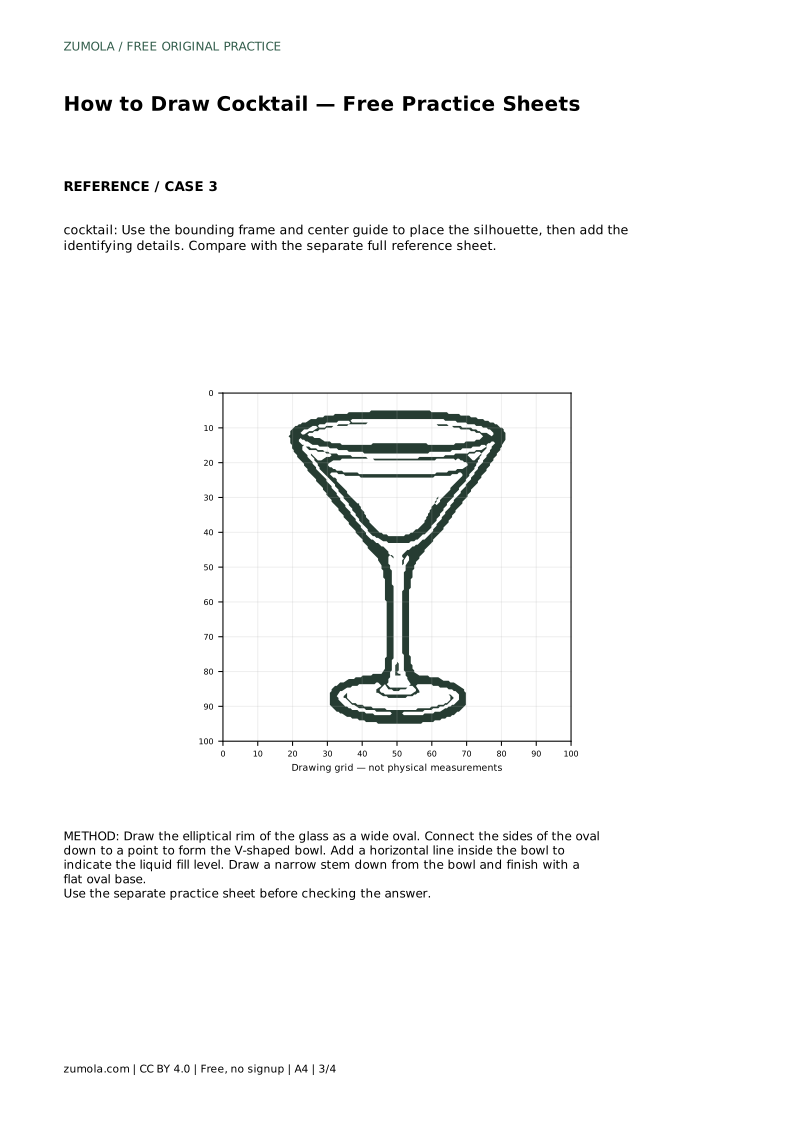
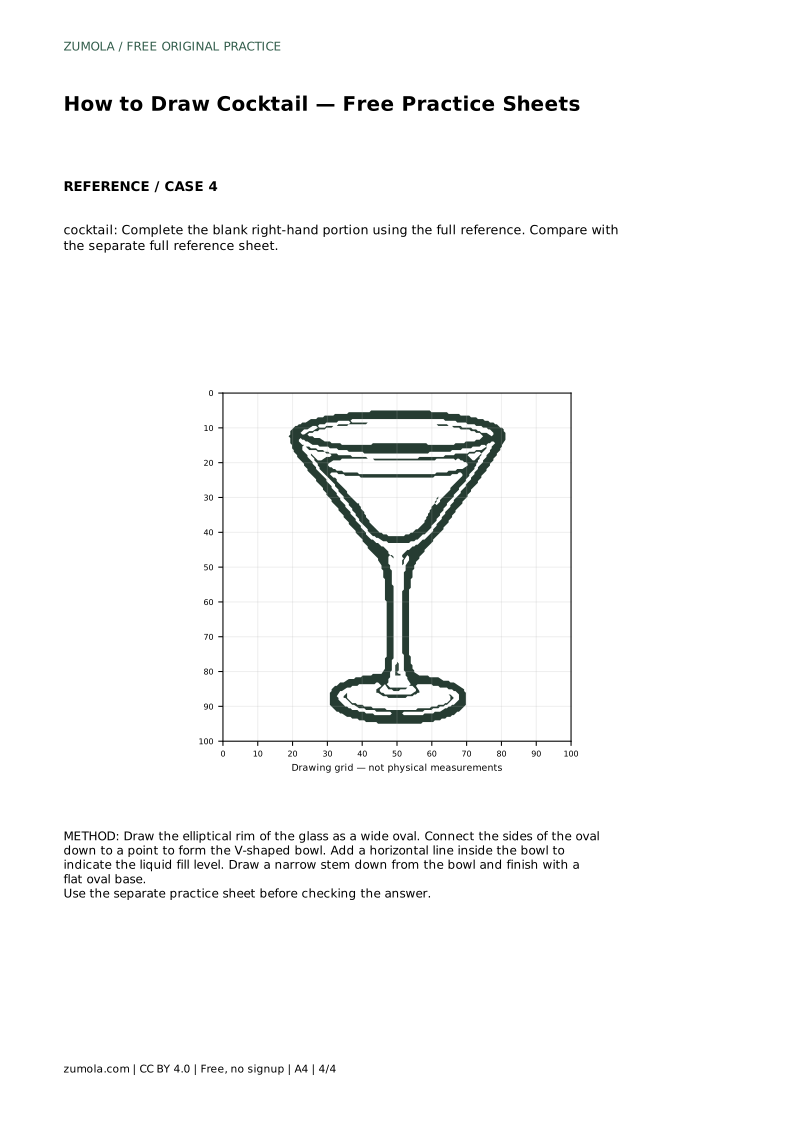
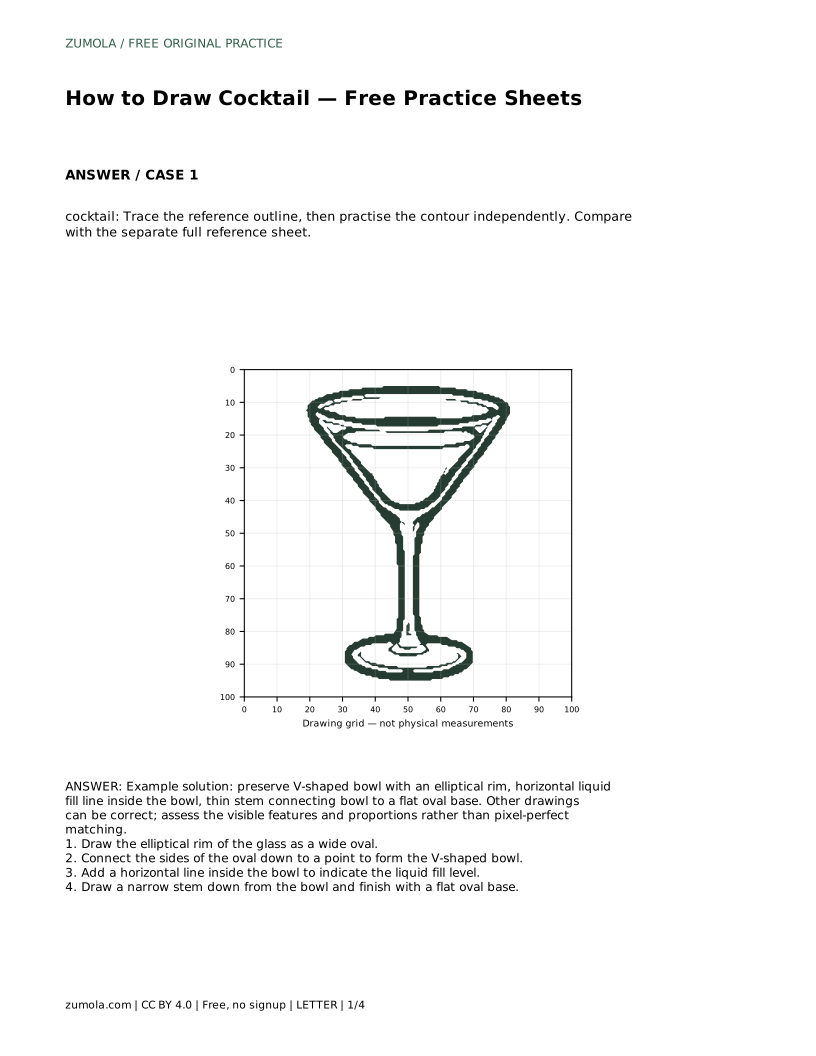
A cocktail glass is drawn as a set of connected shapes, not as one outline. The rim is an ellipse because you see the circular opening at a slight angle. The bowl is a V shape whose top edge is that ellipse. The liquid line sits horizontally inside the bowl, below the rim. The stem is a narrow vertical shape joining the bottom point of the bowl to a flat oval base.
Keep the geometry consistent. The widest part of the glass is the rim, the bowl narrows steadily to a point, and the stem stays thin. The base is wider than the stem but narrower than the rim. If the bowl looks like a triangle with a straight top, the rim ellipse is missing. If the stem is thick, the glass looks heavy rather than delicate.
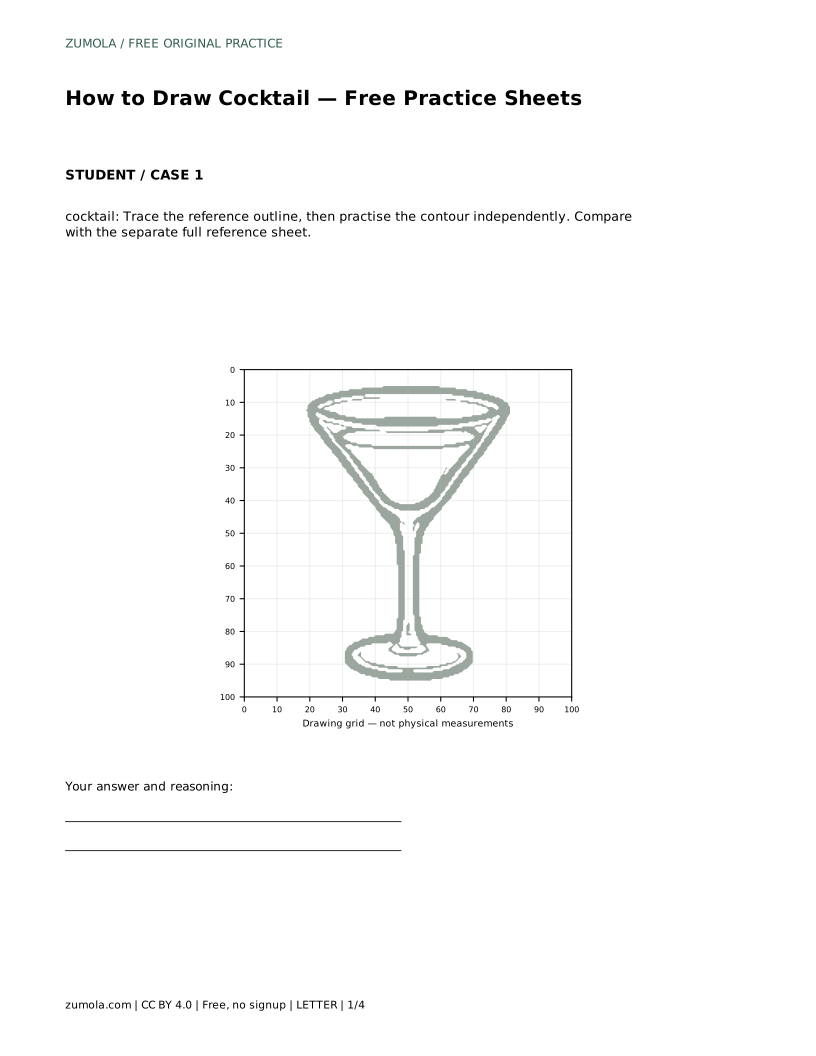
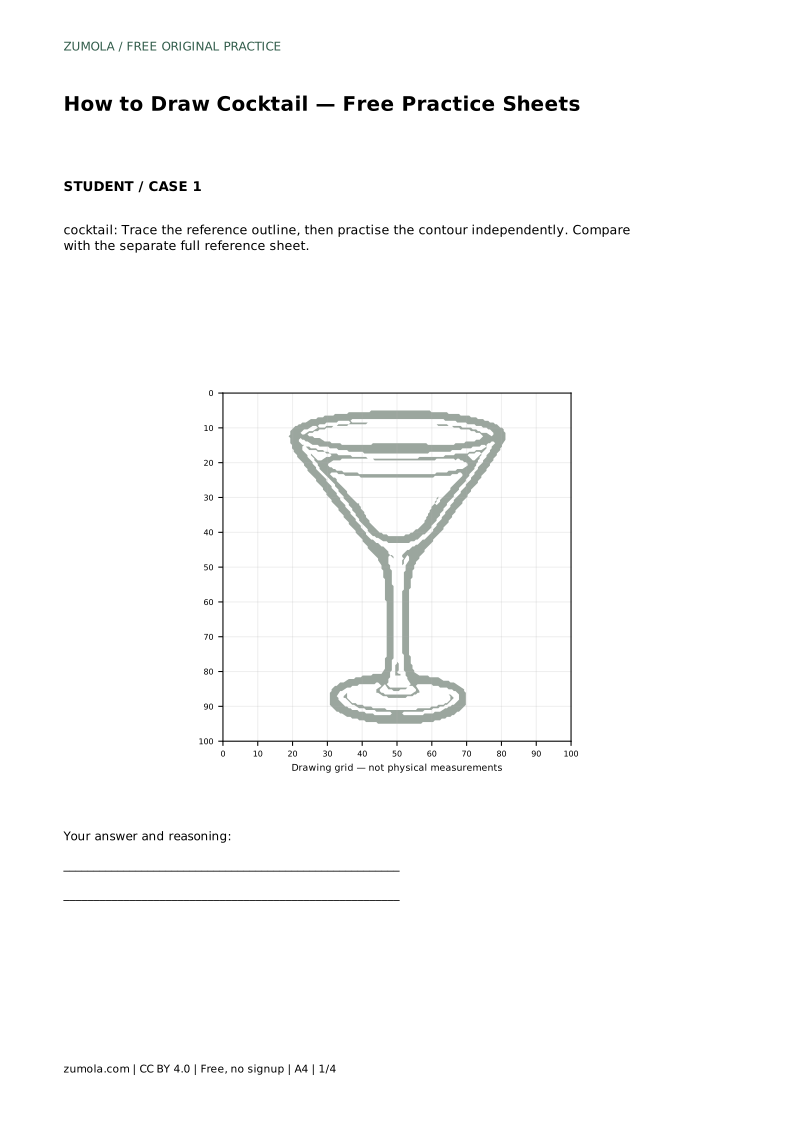
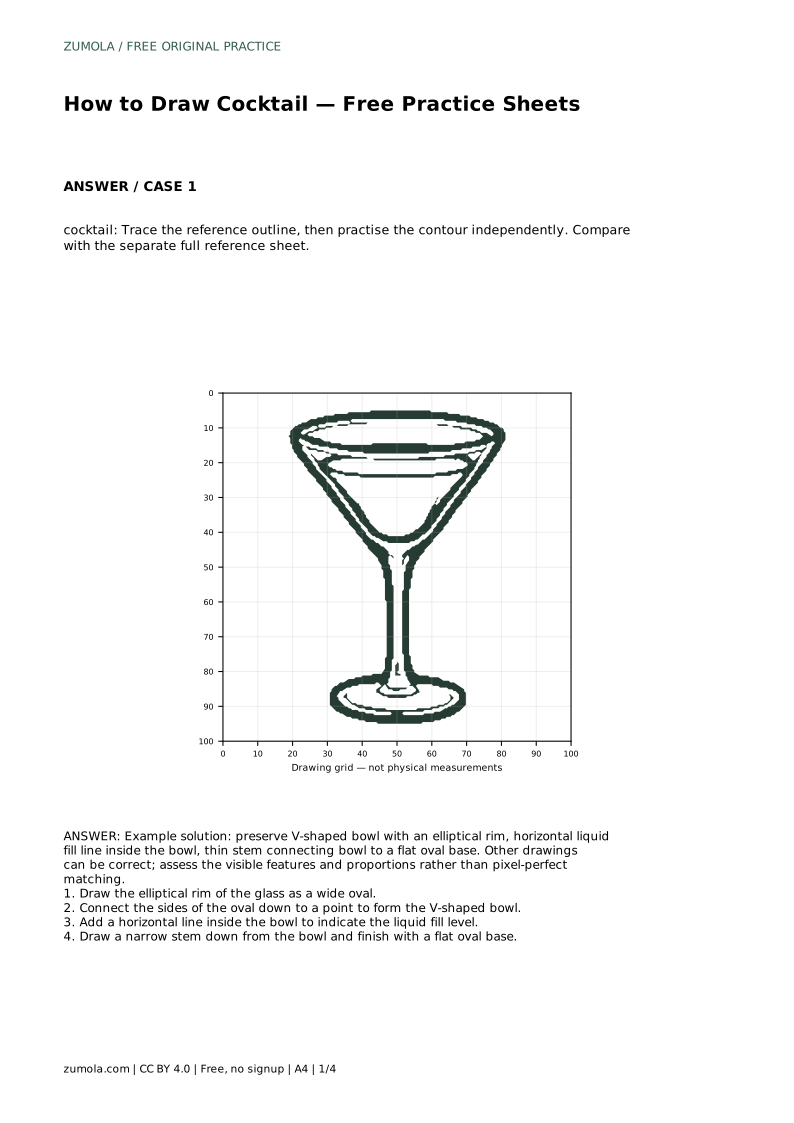
Tracing helps you feel the order of the parts. Place the reference outline in front of you, trace the rim, bowl, liquid line, stem and base, then put the reference aside and draw the same contour independently. Compare your free drawing with the separate full reference sheet and note which part drifted.
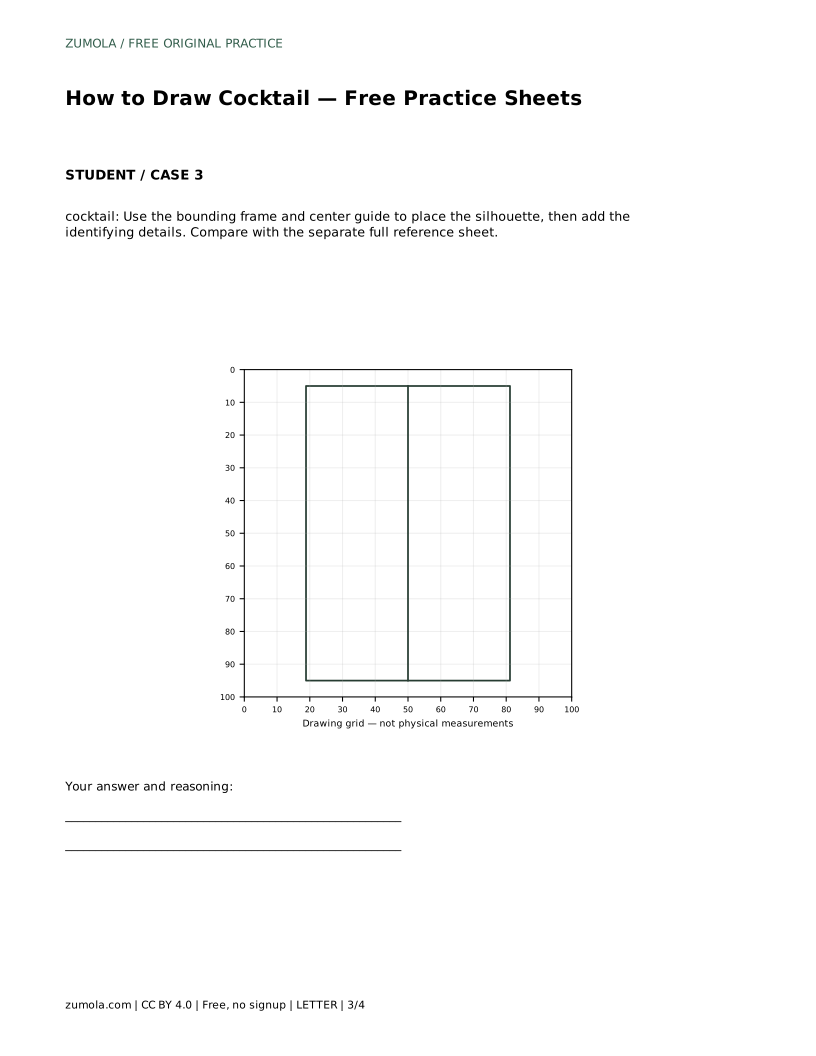
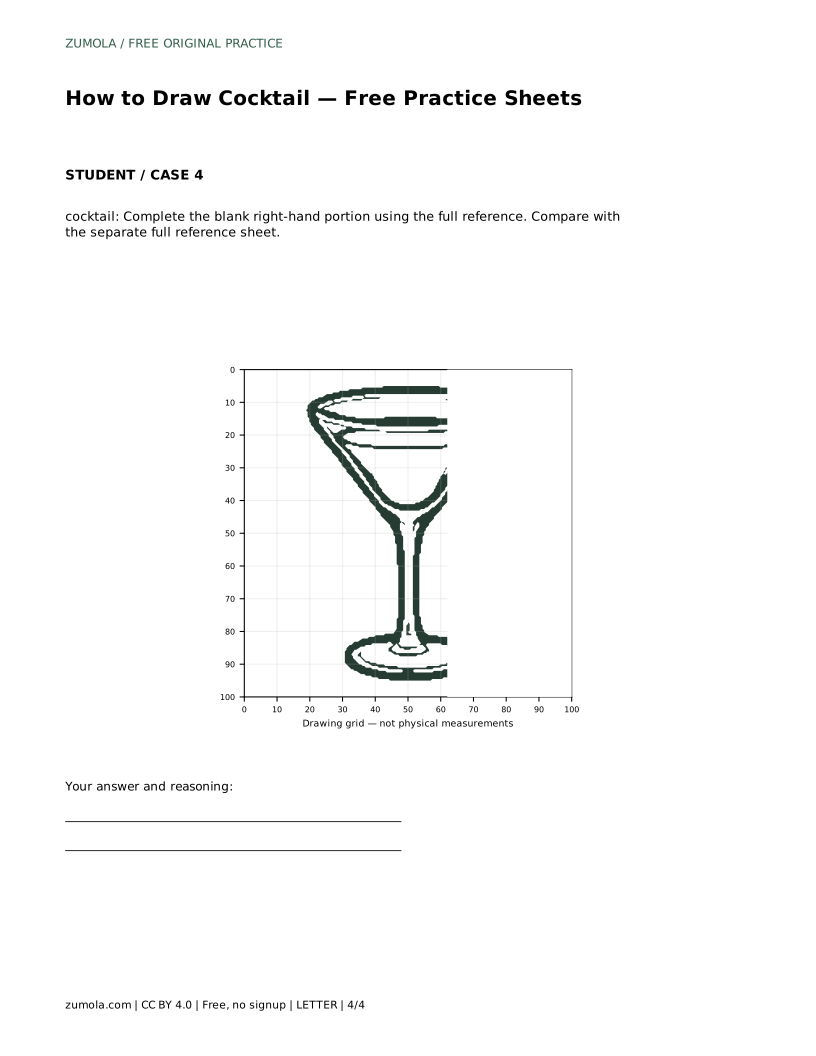
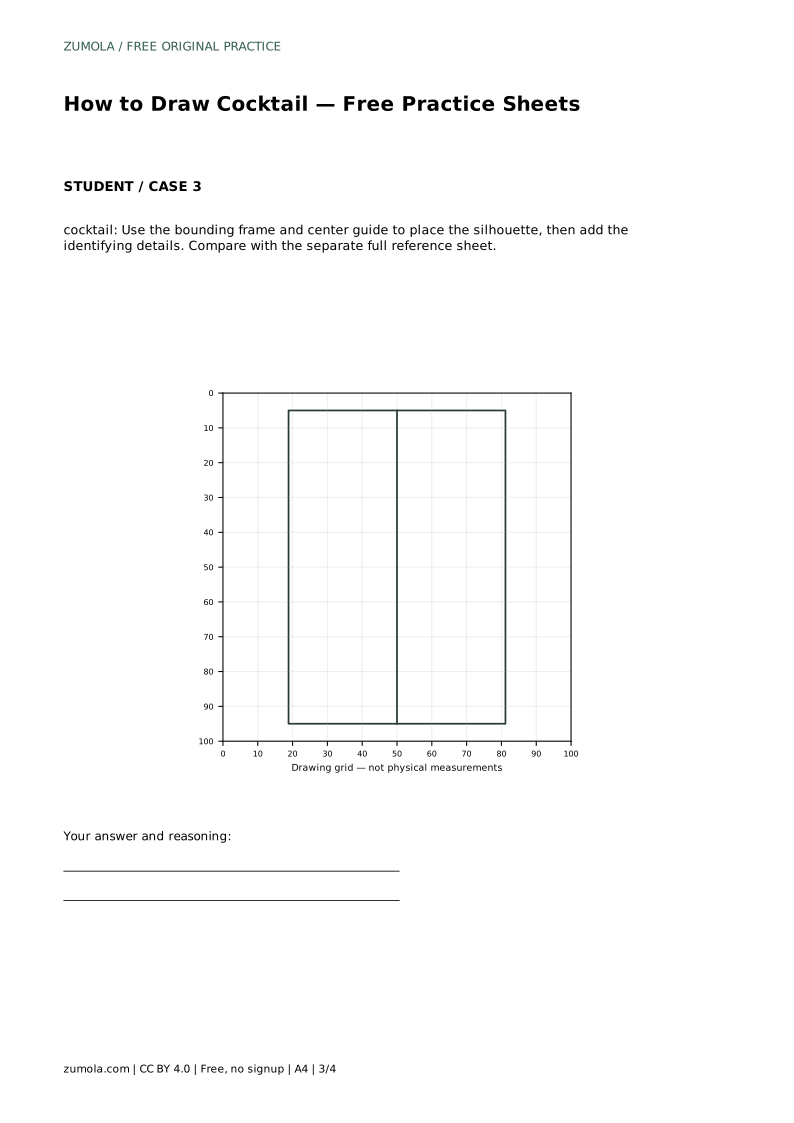
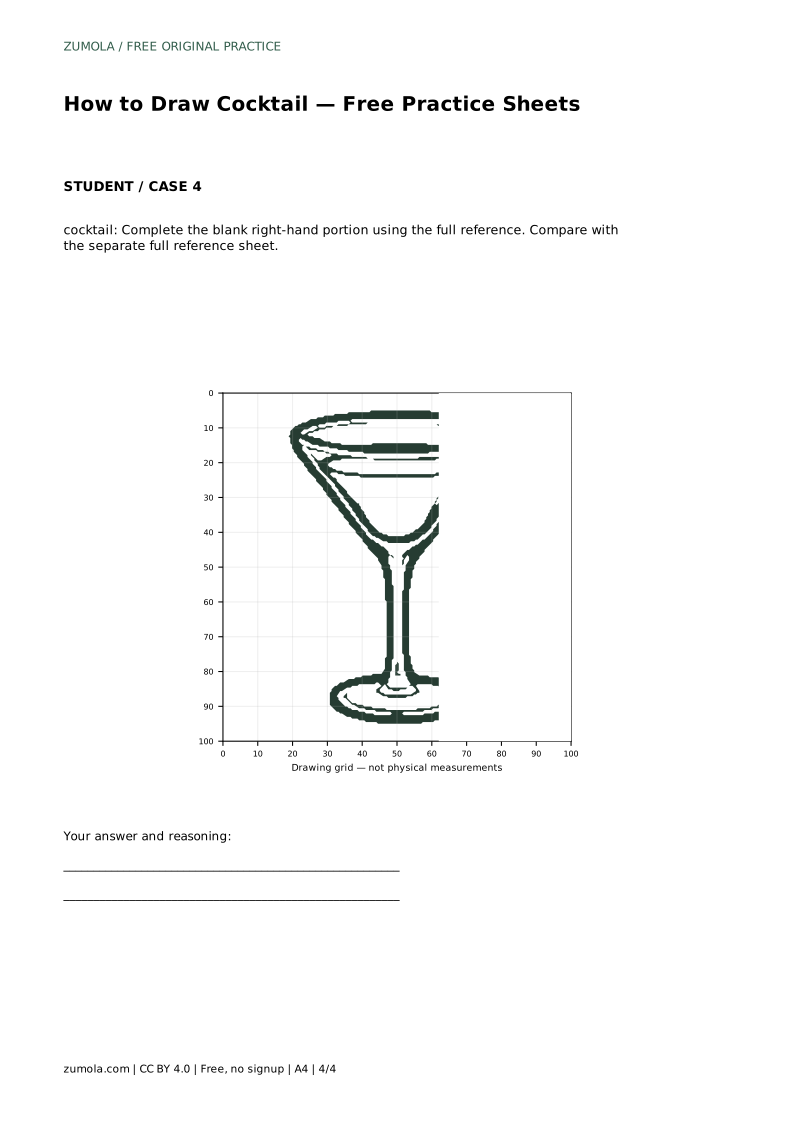
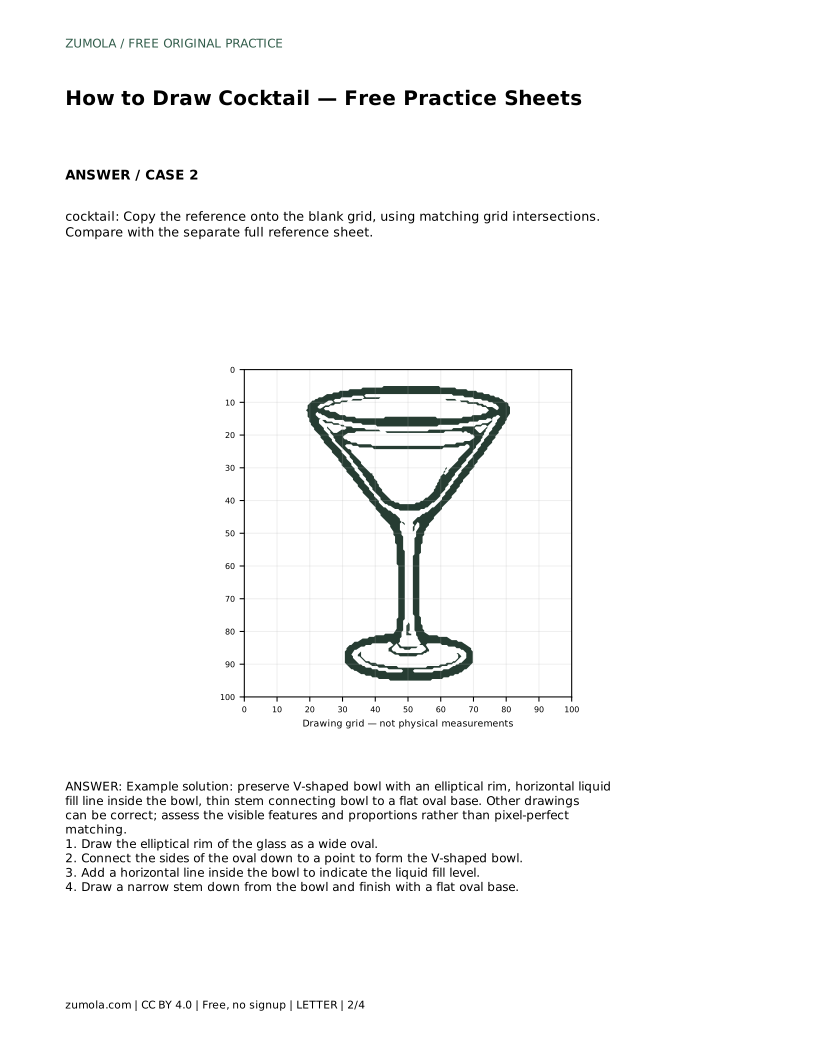
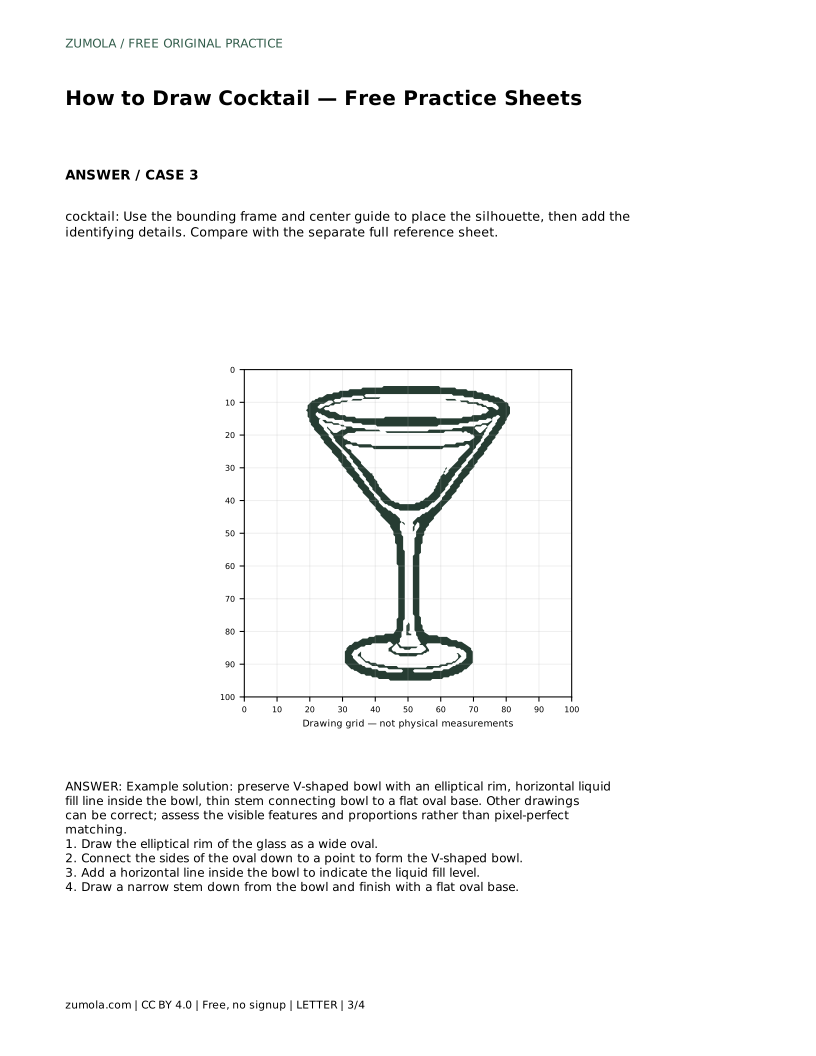
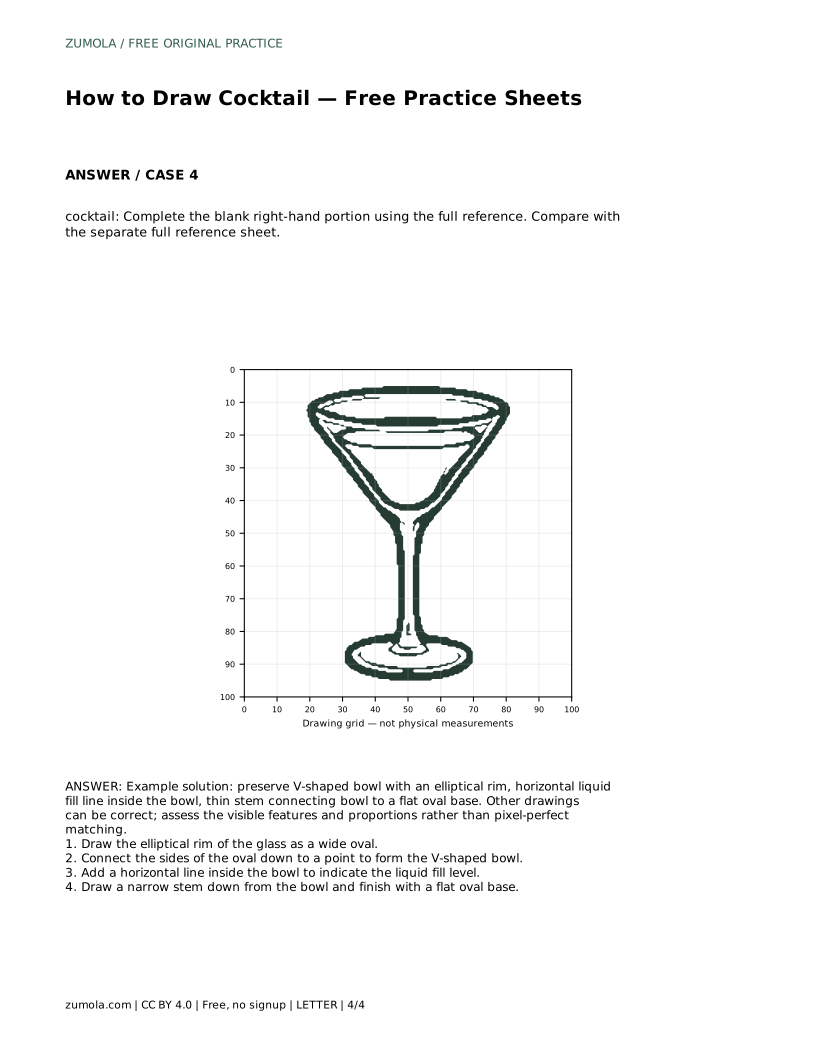
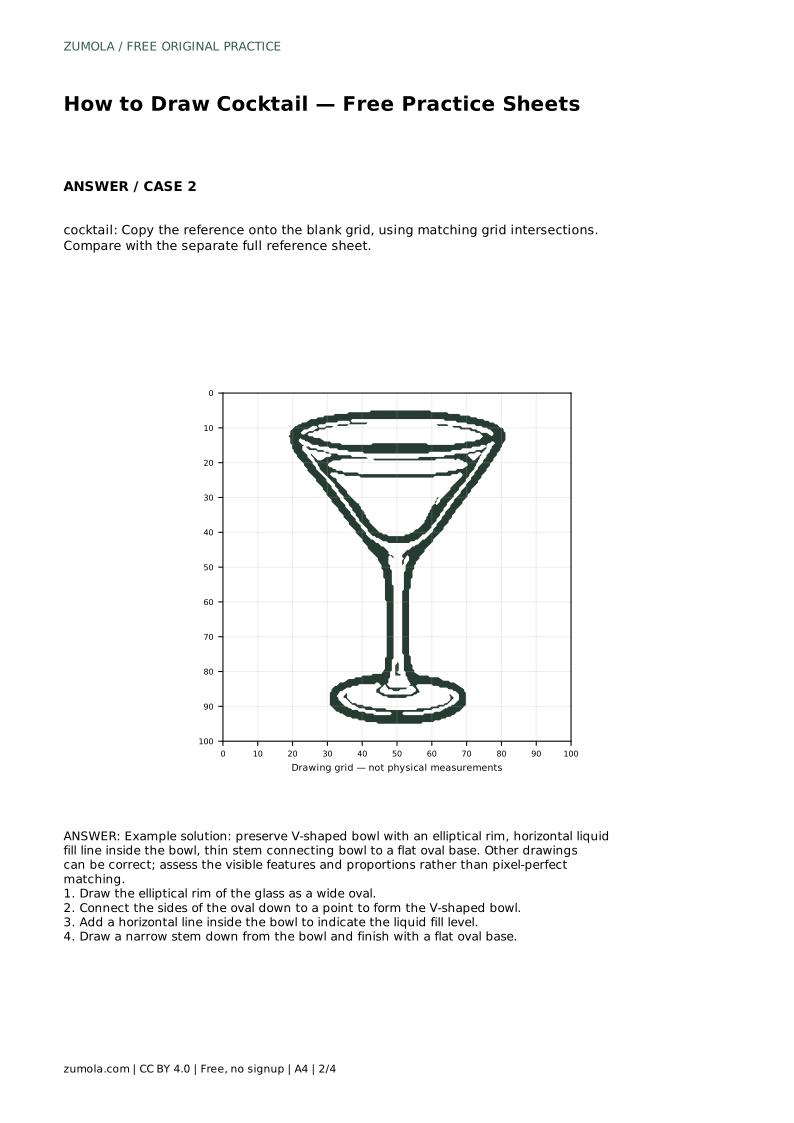
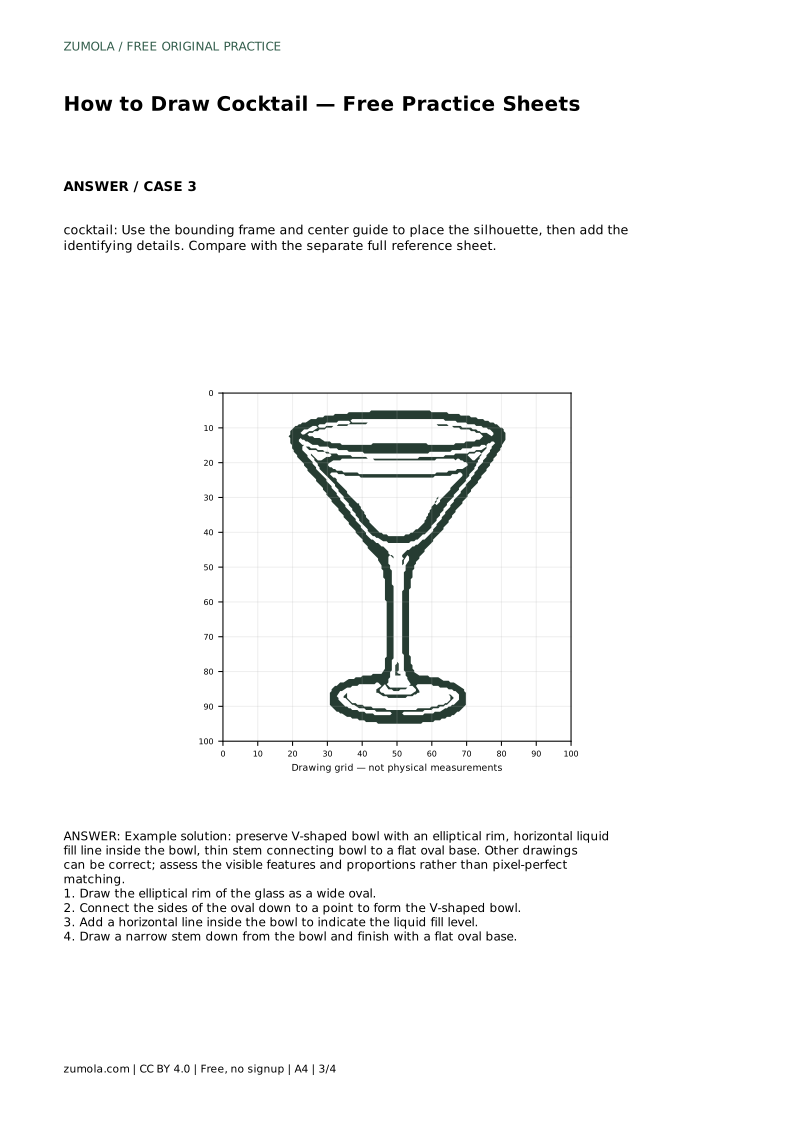
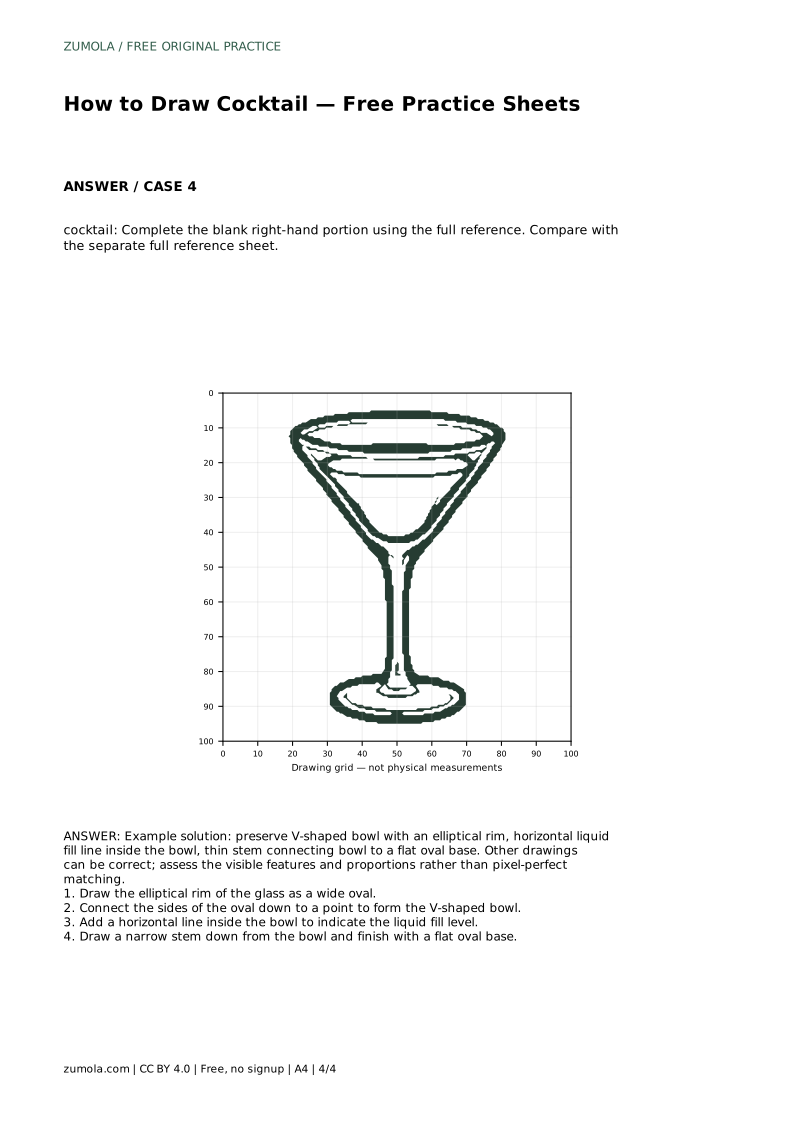
Grid practice builds proportion. Copy the reference onto the blank grid by matching where each feature crosses grid intersections. The rim should span the same number of squares as the reference, and the stem should begin at the same height. Frame practice uses a bounding frame and centre guide to place the silhouette first, then adds the identifying details. The finish-the-drawing sheet gives you the left portion and asks you to complete the right side using the full reference.
Compare your work feature by feature. Check that the rim is an ellipse rather than a straight line, that the bowl sides taper to a single point, that the liquid line is horizontal and inside the bowl, that the stem is narrow, and that the base is a flat oval. Then check proportions: the rim should be the widest element, and the stem should be clearly thinner than the bowl at its top.
Art has multiple valid outcomes. A drawing can be correct even if it is not identical to the reference, as long as the visible features and proportions hold together. Use the rubric below to assess your sheet rather than treating the reference as the only acceptable answer.
Most problems come from one part being drawn out of order. If the rim looks flat, redraw it as an oval before adding the bowl sides. If the bowl looks lopsided, check that both sides start from the ends of the rim ellipse. If the stem looks too thick, compare its width with the bowl at its top. If the base looks round rather than flat, flatten the oval and keep it wider than the stem.
cocktail: Trace the reference outline, then practise the contour independently. Compare with the separate full reference sheet.
Example solution: preserve V-shaped bowl with an elliptical rim, horizontal liquid fill line inside the bowl, thin stem connecting bowl to a flat oval base. Other drawings can be correct; assess the visible features and proportions rather than pixel-perfect matching. Draw the elliptical rim of the glass as a wide oval. Connect the sides of the oval down to a point to form the V-shaped bowl. Add a horizontal line inside the bowl to indicate the liquid fill level. Draw a narrow stem down from the bowl and finish with a flat oval base.
No. Other drawings can be correct. Assess the visible features and proportions rather than pixel-perfect matching.
Draw the elliptical rim first, then the V-shaped bowl sides, then the liquid line, then the stem and flat oval base.
Copy the reference onto the blank grid by matching where each feature crosses grid intersections, then compare with the full reference.
All drawing practice · Free coordinate paper
Original resources · CC BY 4.0 · Free for personal and classroom use with attribution.