Reference diagrams
LETTER · Download PDF
A4 · Download PDF
Free original resources
Learn to draw a waffle with a scalloped outline, raised rim, and square pocket grid. Free printable practice sheets support tracing, grid copying, and completion.
Four original cases, with reference diagrams, practice sheets and worked answers. Everything is free; no signup required.
LETTER · Download PDF
A4 · Download PDF
LETTER · Download PDF
A4 · Download PDF
LETTER · Download PDF
A4 · Download PDF
Use A4 or US Letter to match your printer. Use the stated values and conditions to solve each exercise; diagrams are not physical measuring rulers.
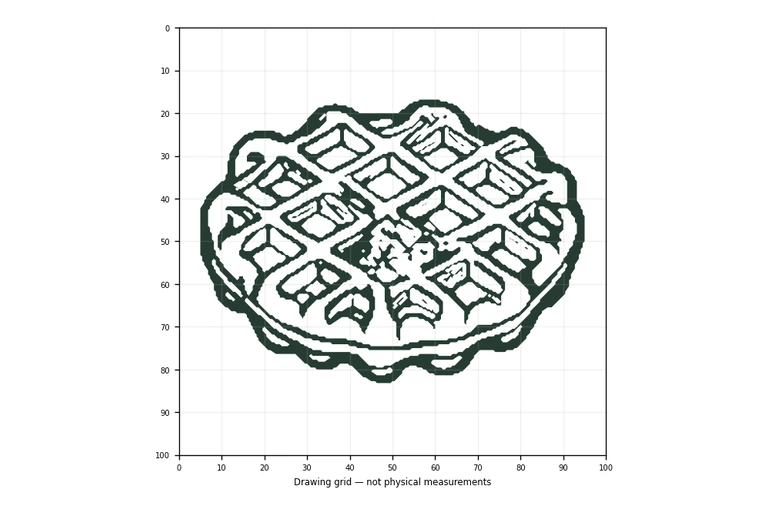
A waffle is easy to recognise but surprisingly demanding to draw well. The shape depends on three linked features: a rounded, scalloped outer edge, a thick raised border that shows the side wall, and a regular grid of square pockets across the interior. This page explains how those features fit together and how to practise them on the free printable sheets. Each sheet offers a different level of support, from tracing to completing a partly drawn waffle, so you can build accuracy before working independently.
Begin with the silhouette rather than the grid. Draw a rounded oval, then soften its edge into gentle scallops, the shallow bumps created where the waffle batter meets the iron. Keep the scallops small and even; large irregular bumps make the waffle look like a cookie. Next, add a parallel line just inside the outline. This inner line represents the raised rim, and the gap between the two lines is the rim's width. Keep that gap consistent all the way around.
To suggest thickness, add a short side wall below the lower edge of the oval. The wall should follow the curve of the outline and stay shallow, because a waffle is a flat object seen at a slight angle. Avoid drawing a deep wall, which would make the waffle look like a cake.
The interior grid is what makes a drawing read as a waffle. Draw intersecting lines across the space inside the rim so they form a set of square pockets. Keep the lines roughly parallel to each other in each direction, and let the grid stop at the inner rim line rather than crossing it. The pockets do not need to be perfectly square, but they should be similar in size; wildly uneven pockets break the pattern.
Where the grid meets the curved rim, the outer pockets will be partly cut off. That is correct and expected. Do not force every pocket to be complete, because the rim naturally trims the edge of the pattern.
A flat grid looks like a net; a waffle needs a little depth. Add short lines inside each pocket, following the direction of the pocket walls, to suggest that the surface dips down. Keep these marks light and consistent. Shading can reinforce the effect: darken the lower and inner edges of the pockets slightly, and leave the raised grid lines lighter.
Use the same approach on the rim. A thin shadow under the inner rim line separates the raised border from the pockets. Keep shading restrained so the grid pattern stays readable.
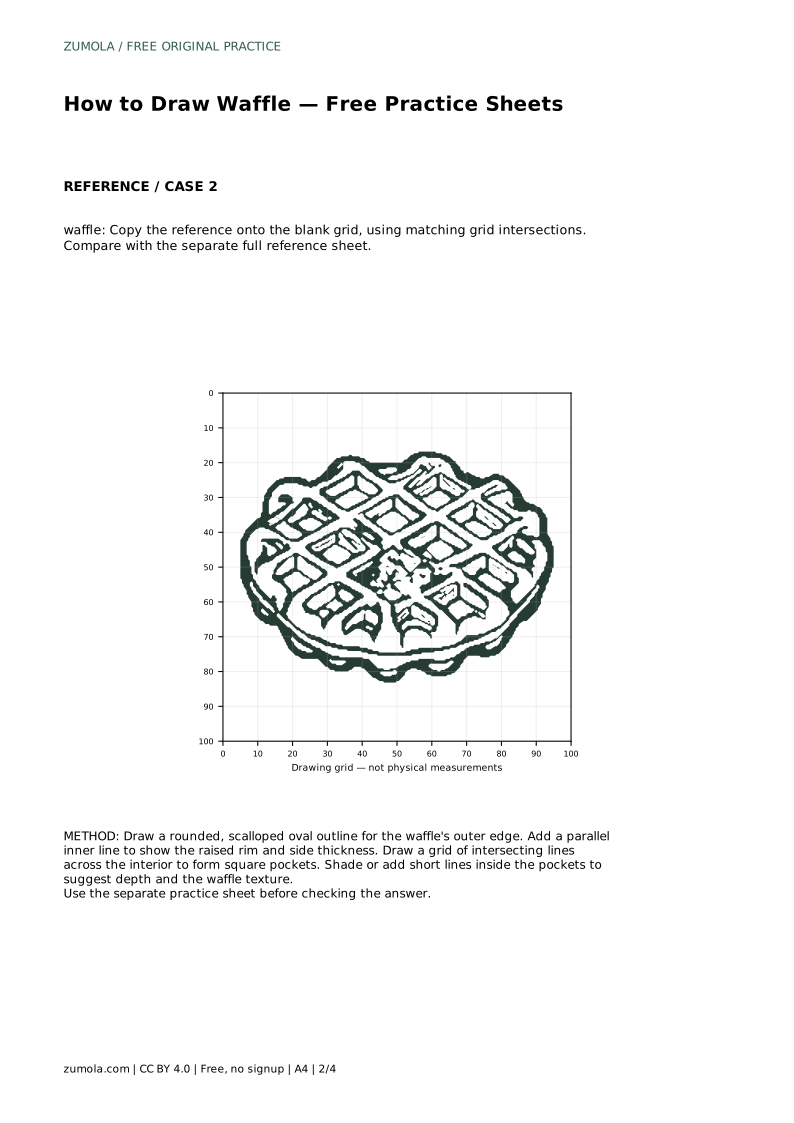
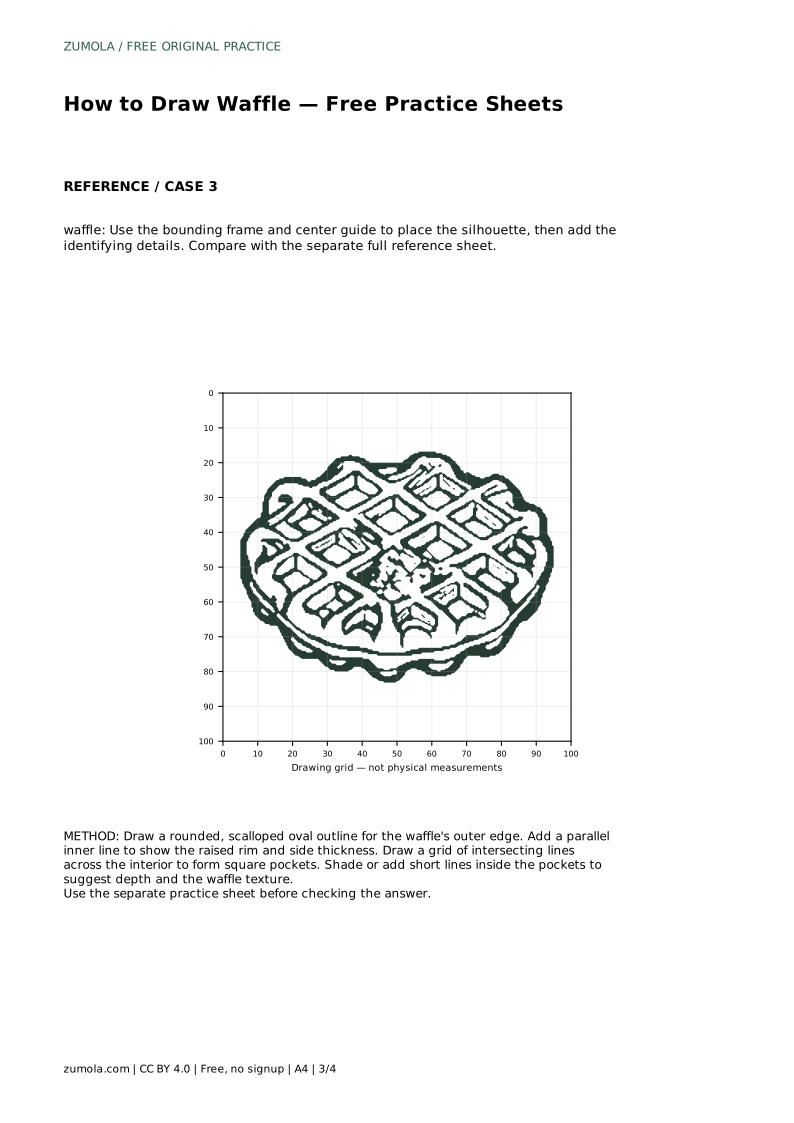
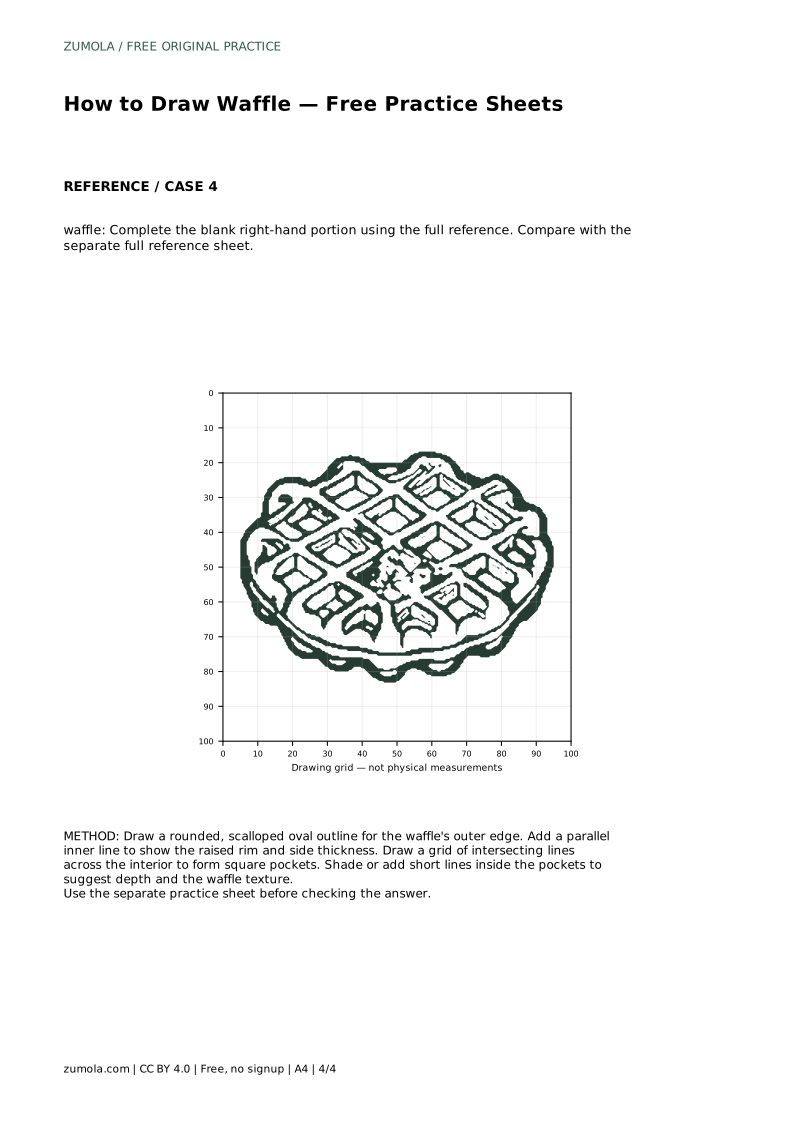
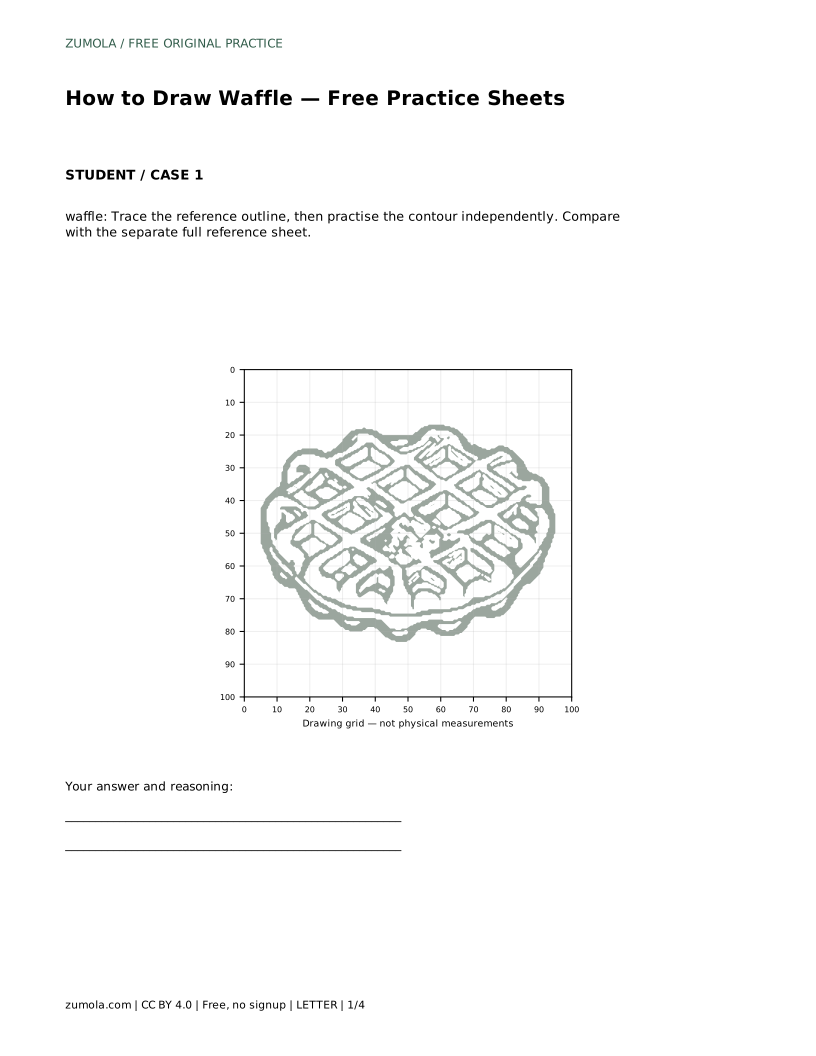
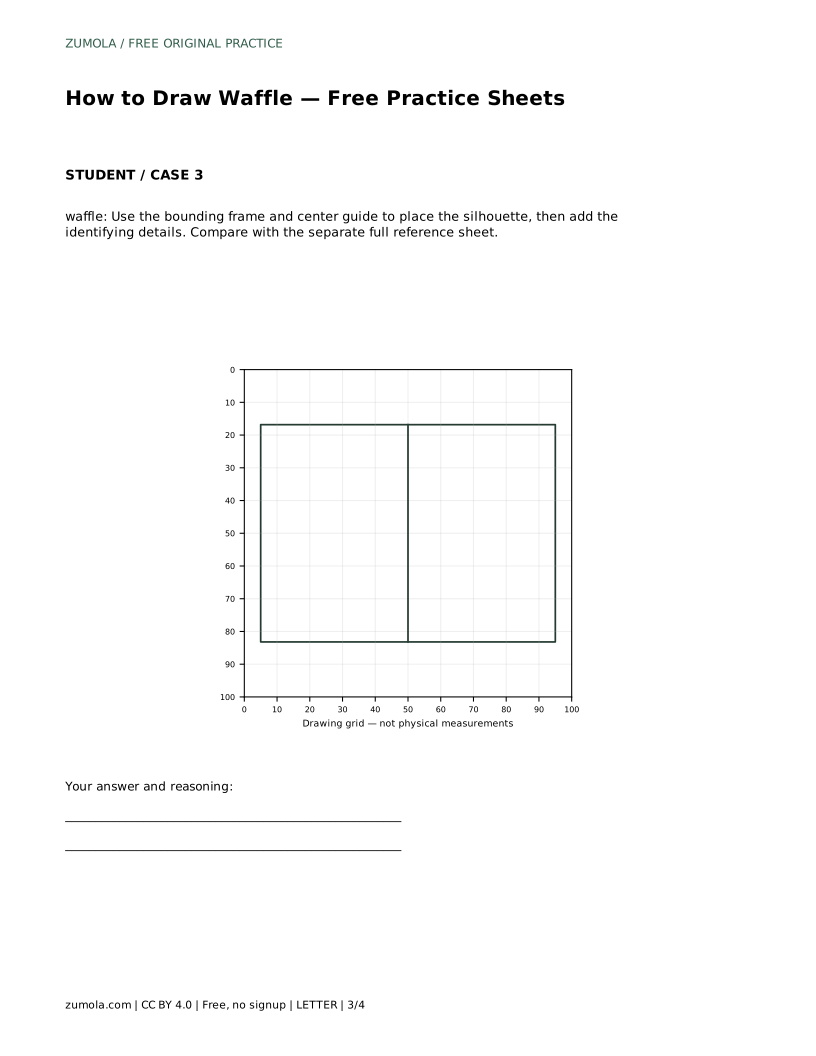
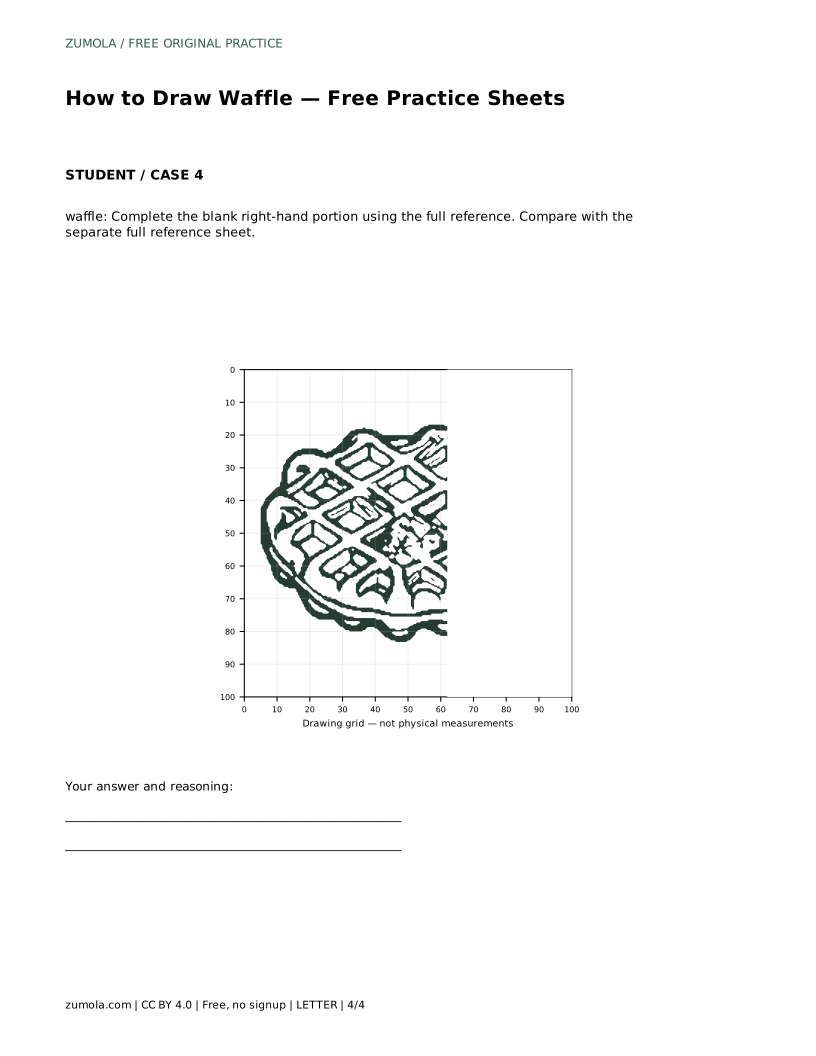
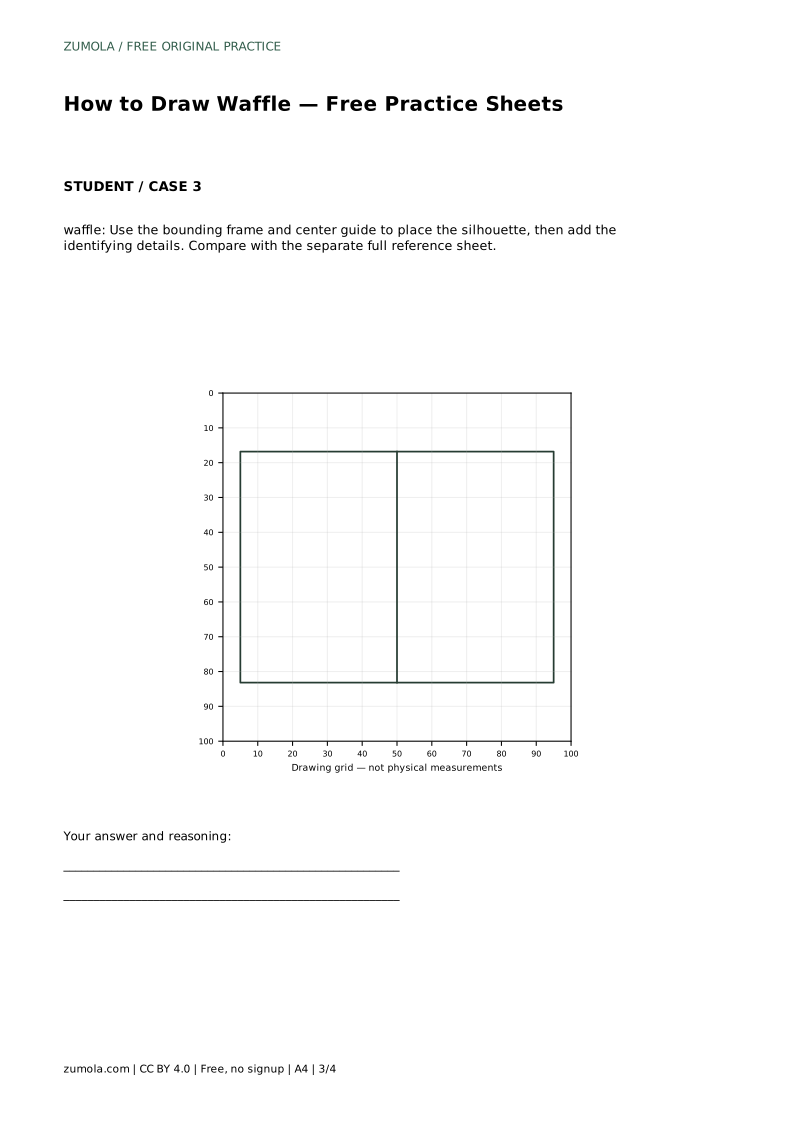
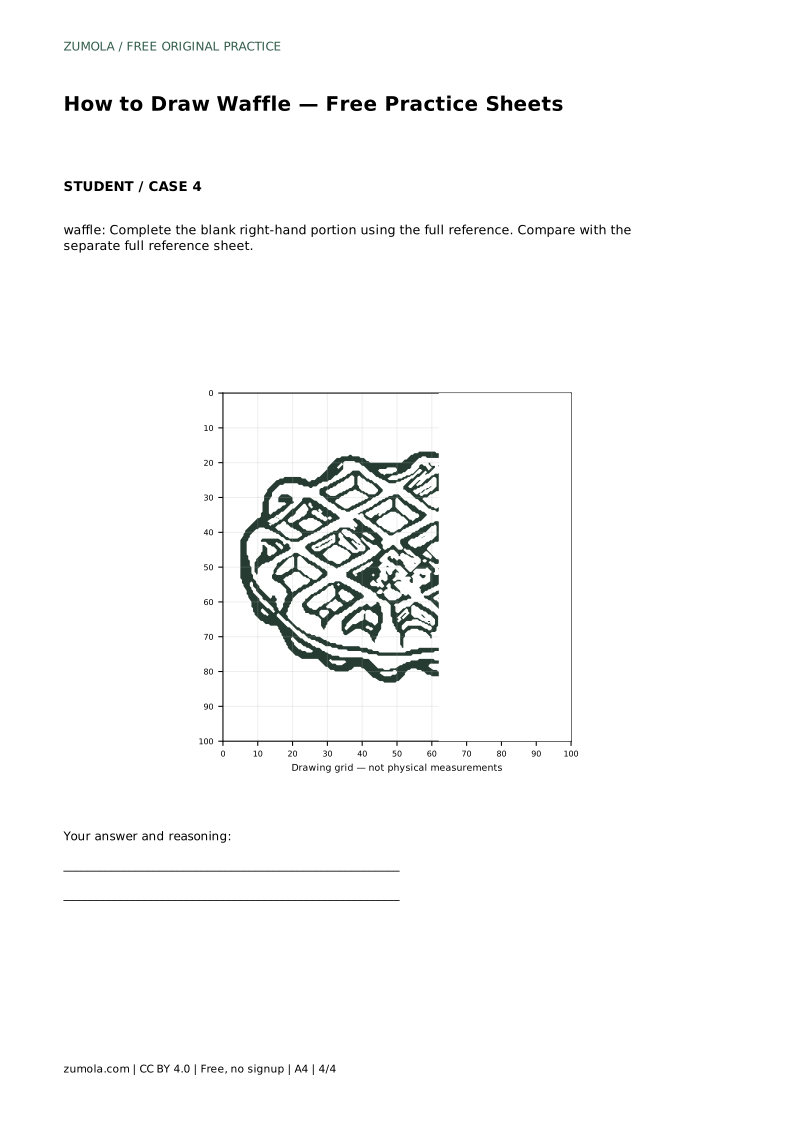
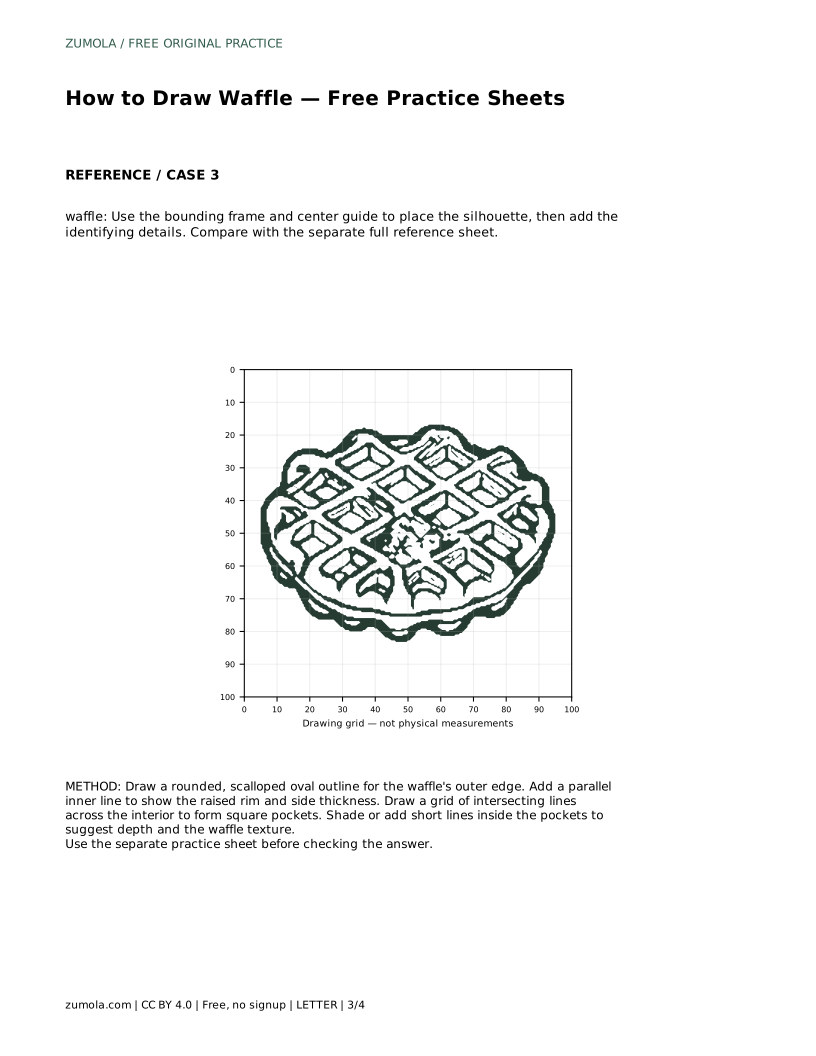
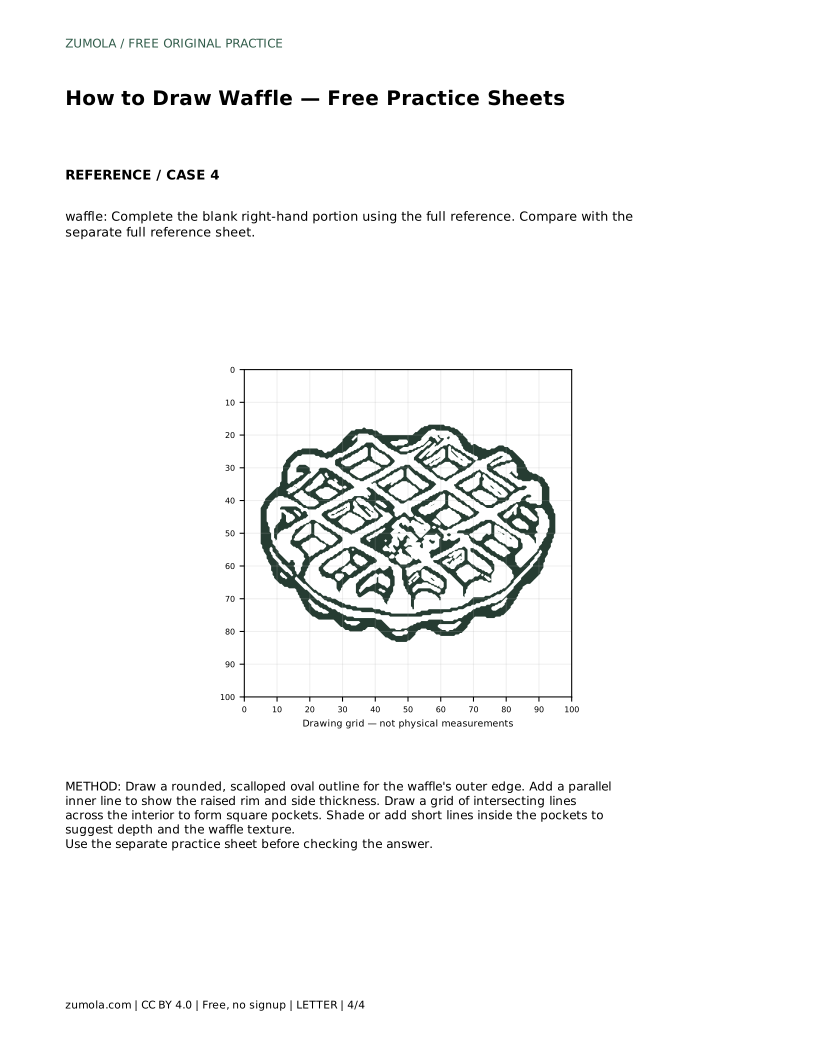
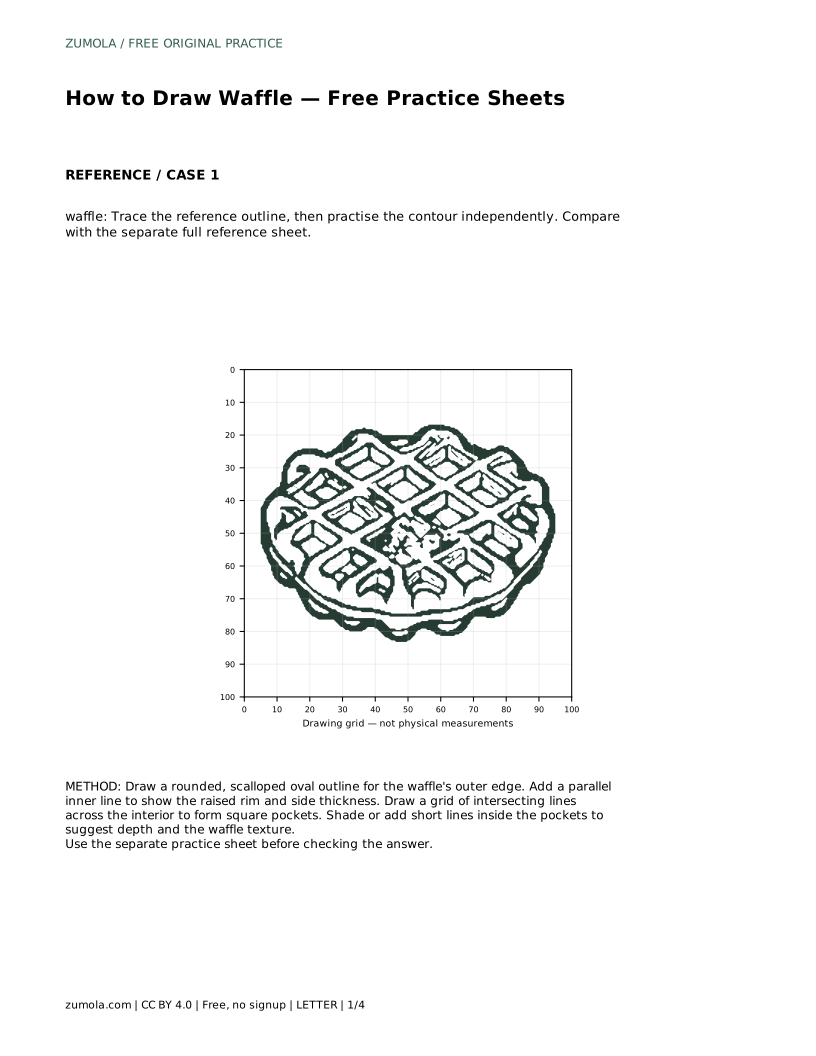
The printable sheets offer four kinds of support. One asks you to trace the reference outline, then practise the contour independently. Another asks you to copy the reference onto a blank grid using matching intersections. A third uses a bounding frame and centre guide to place the silhouette before adding details. The fourth leaves the right-hand portion blank so you complete it from the full reference.
After each attempt, compare your drawing with the separate full reference sheet. Check the scallops, the rim width, the grid regularity, and the side wall. Other drawings can be correct, so assess the visible features and proportions rather than expecting a pixel-perfect match.
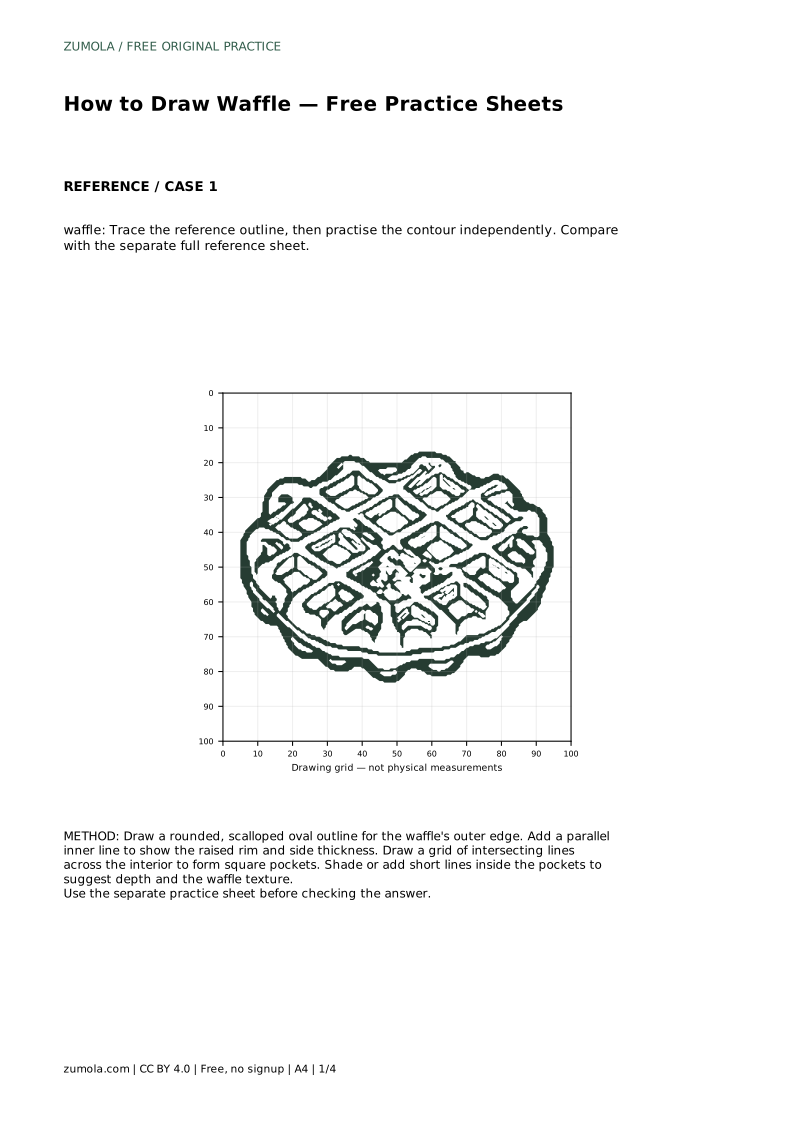
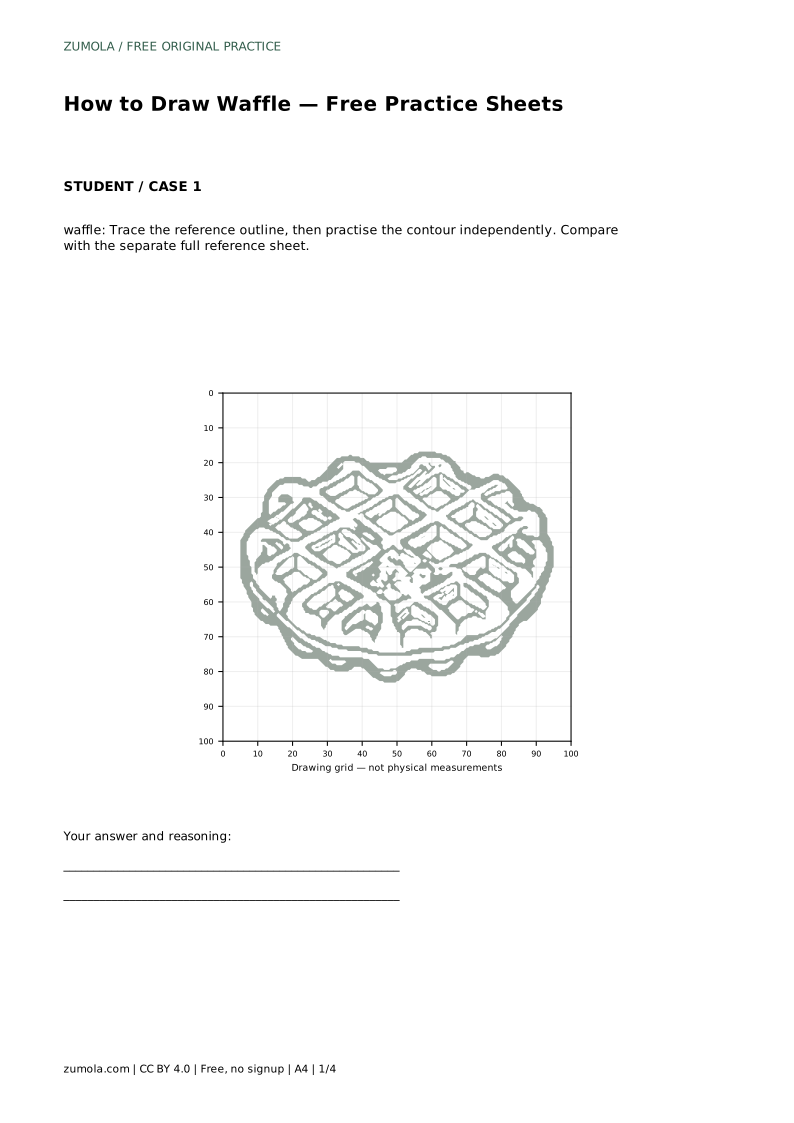
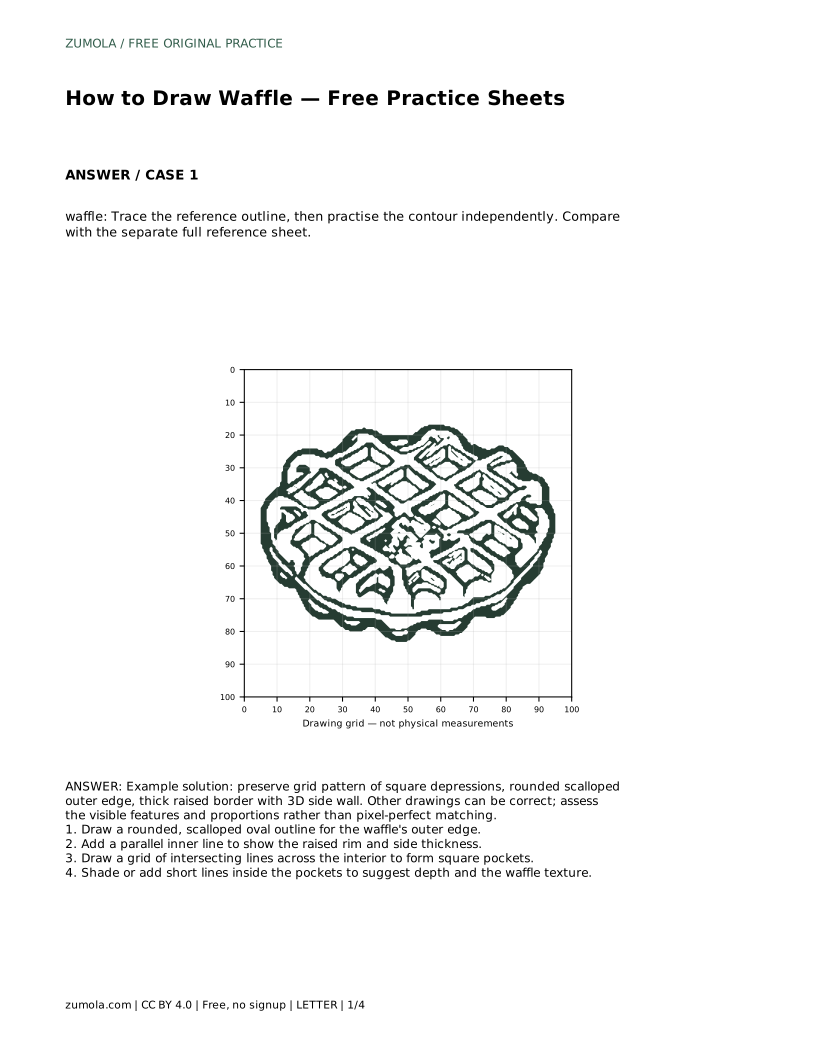
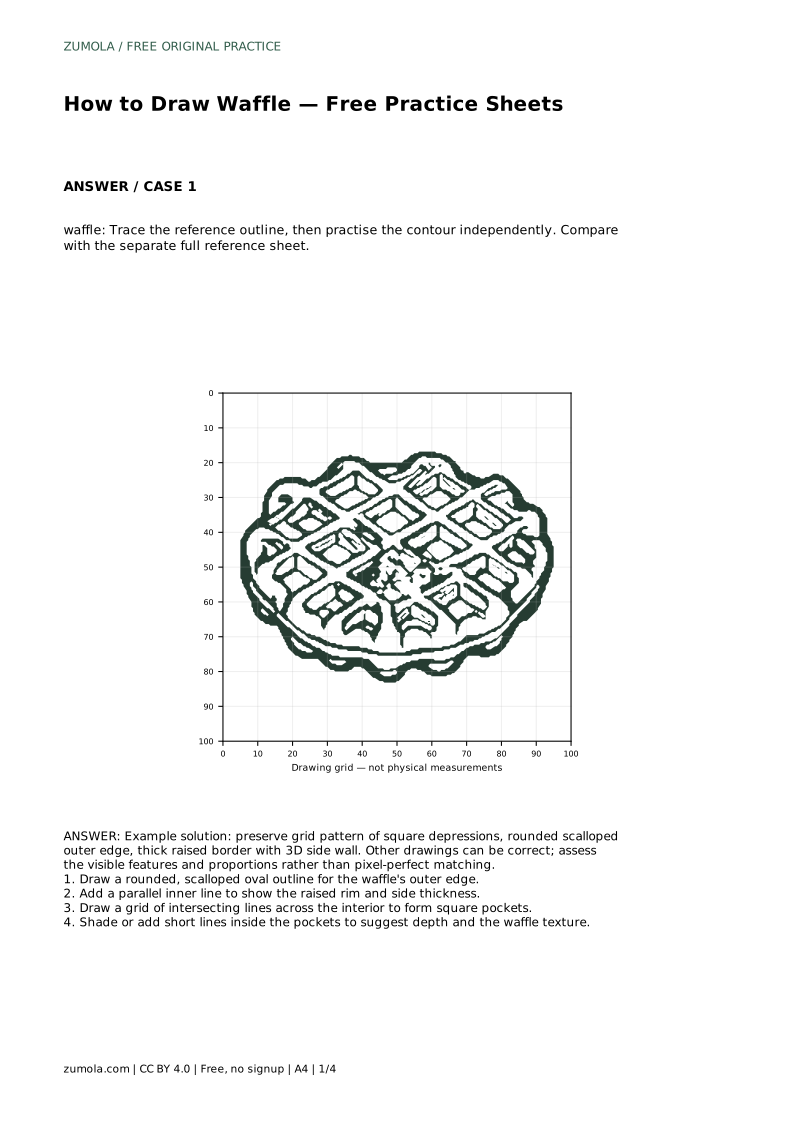
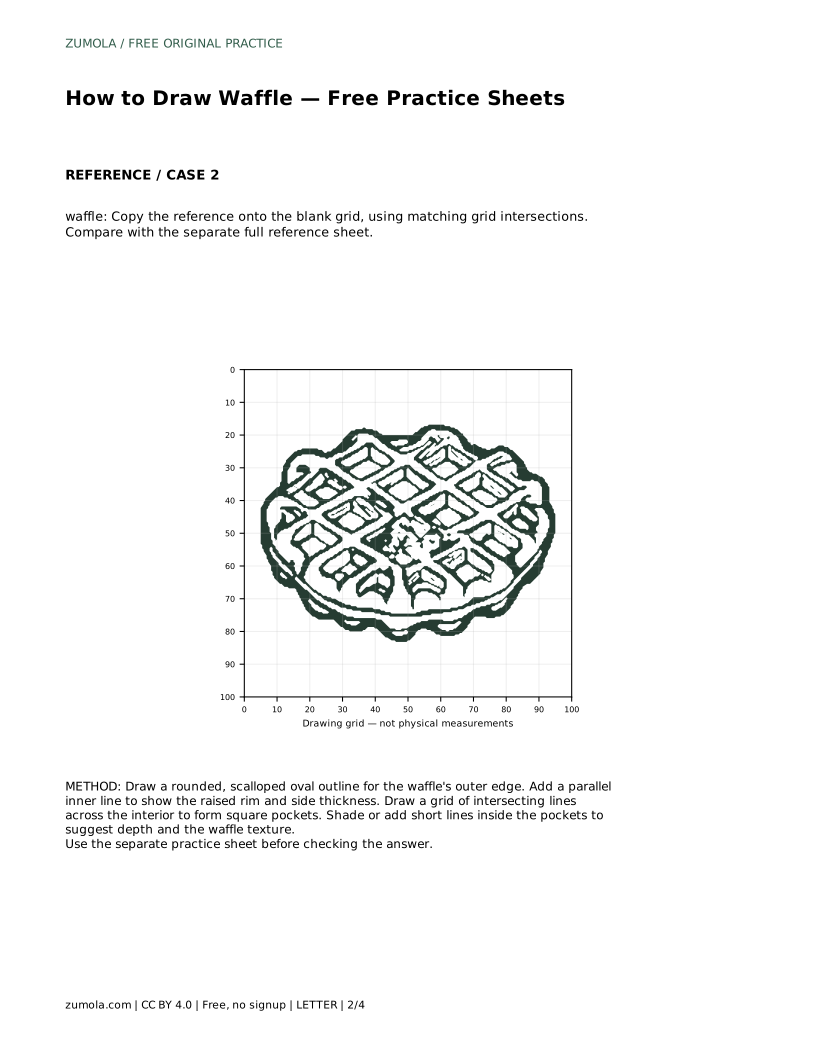
waffle: Trace the reference outline, then practise the contour independently. Compare with the separate full reference sheet.
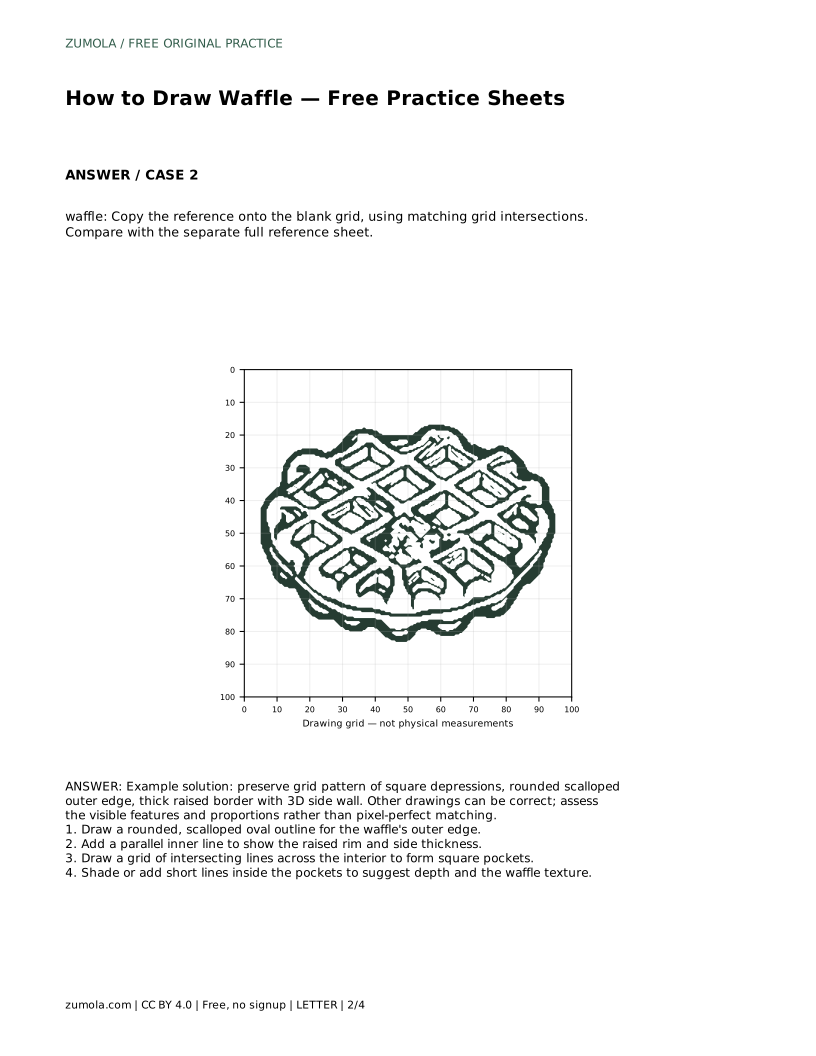
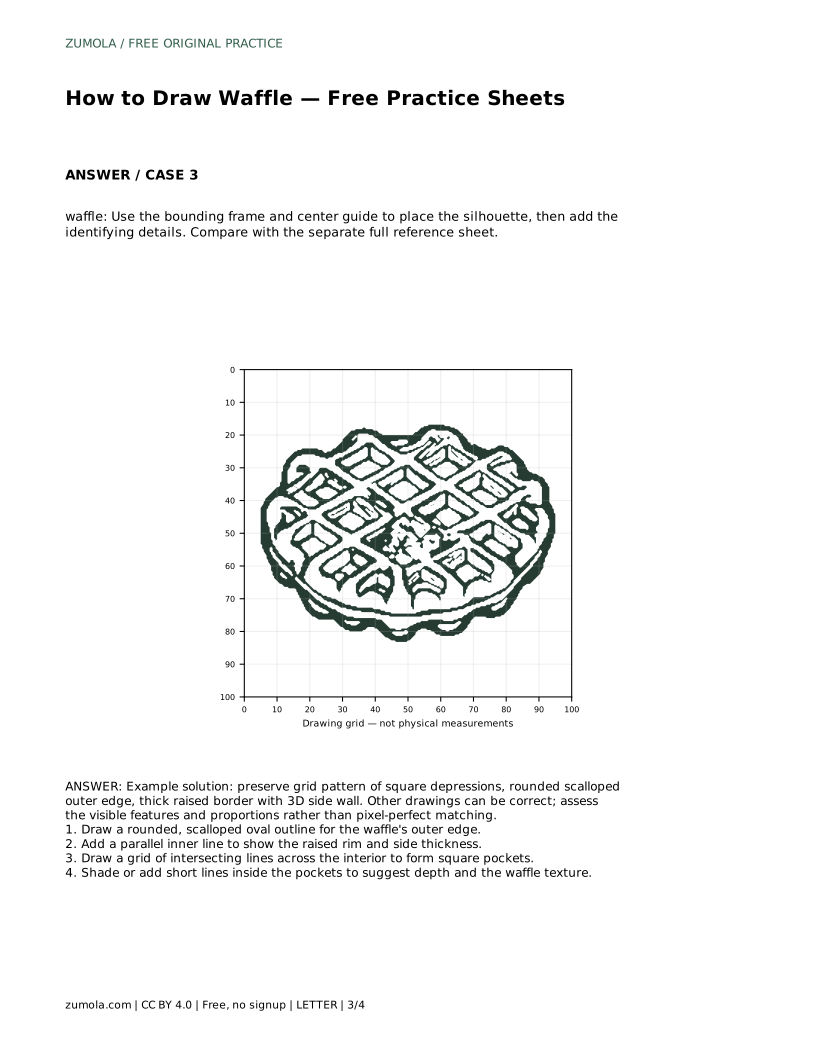
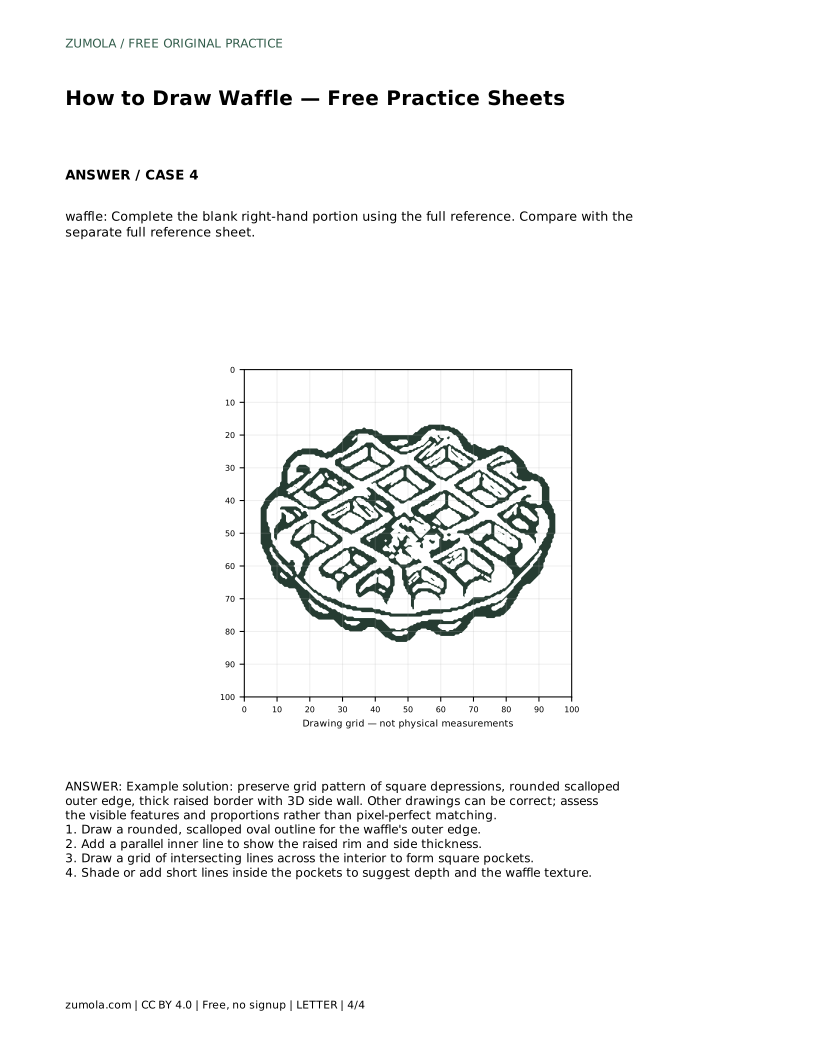
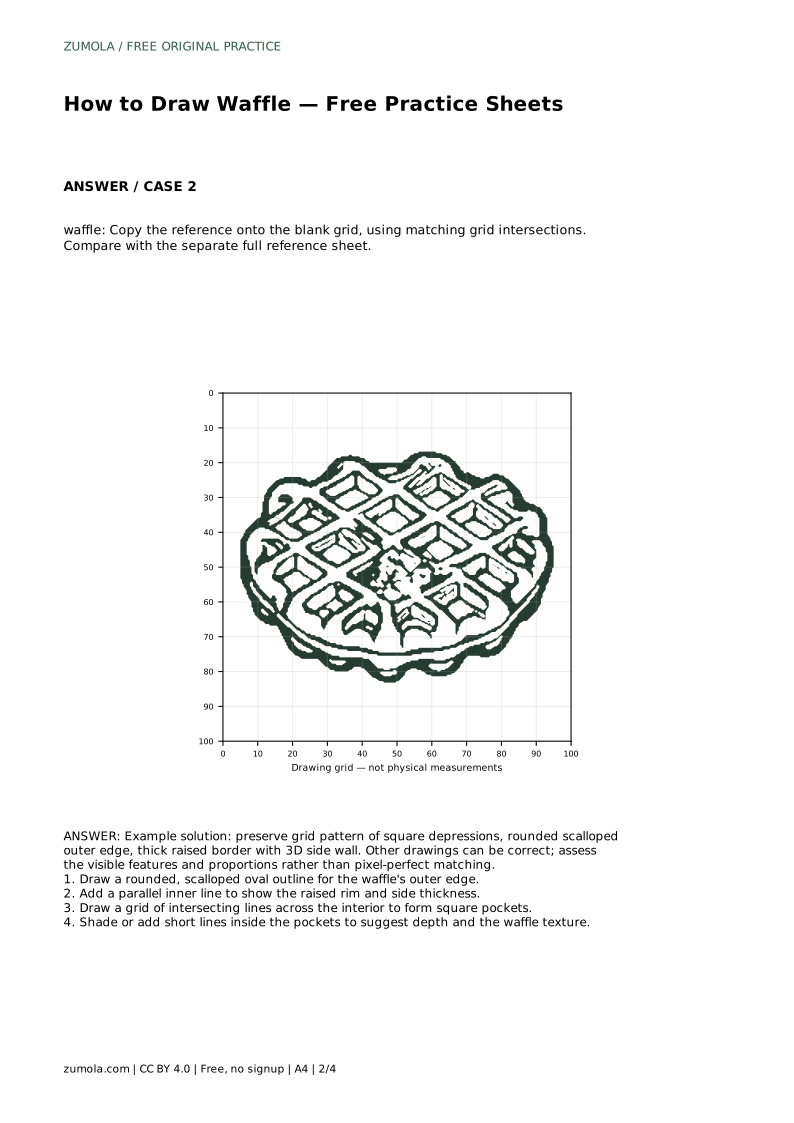
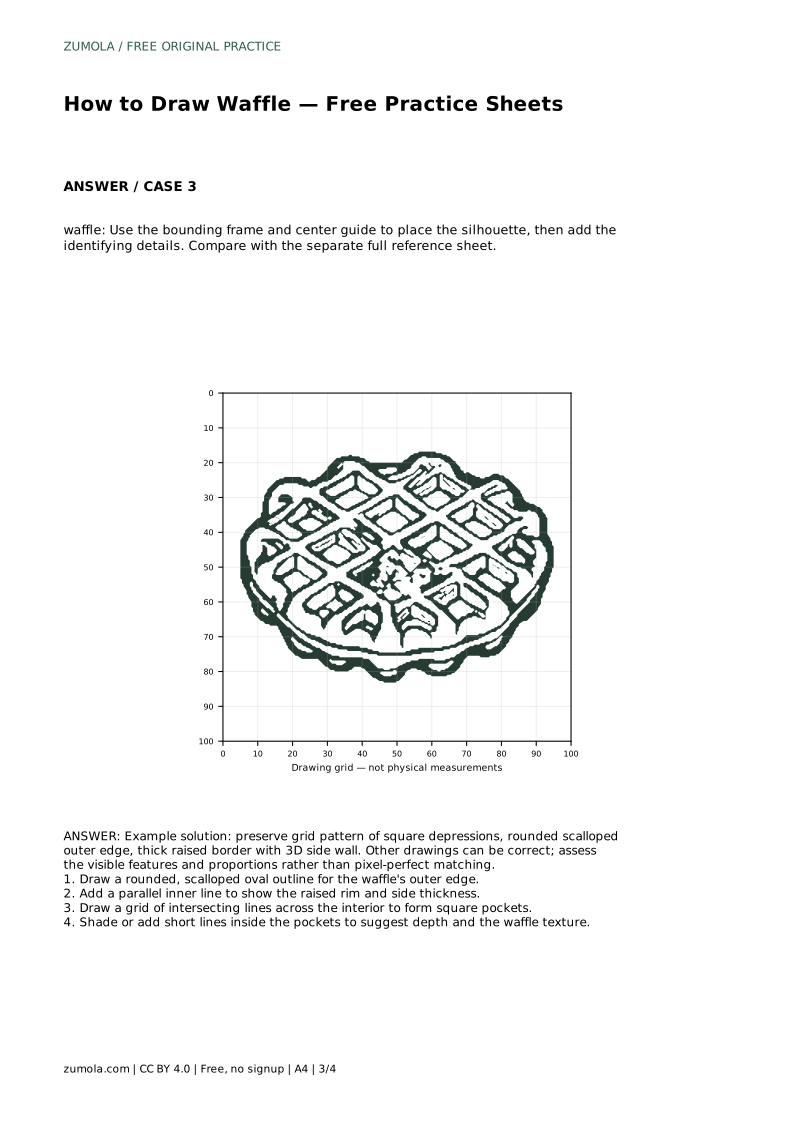
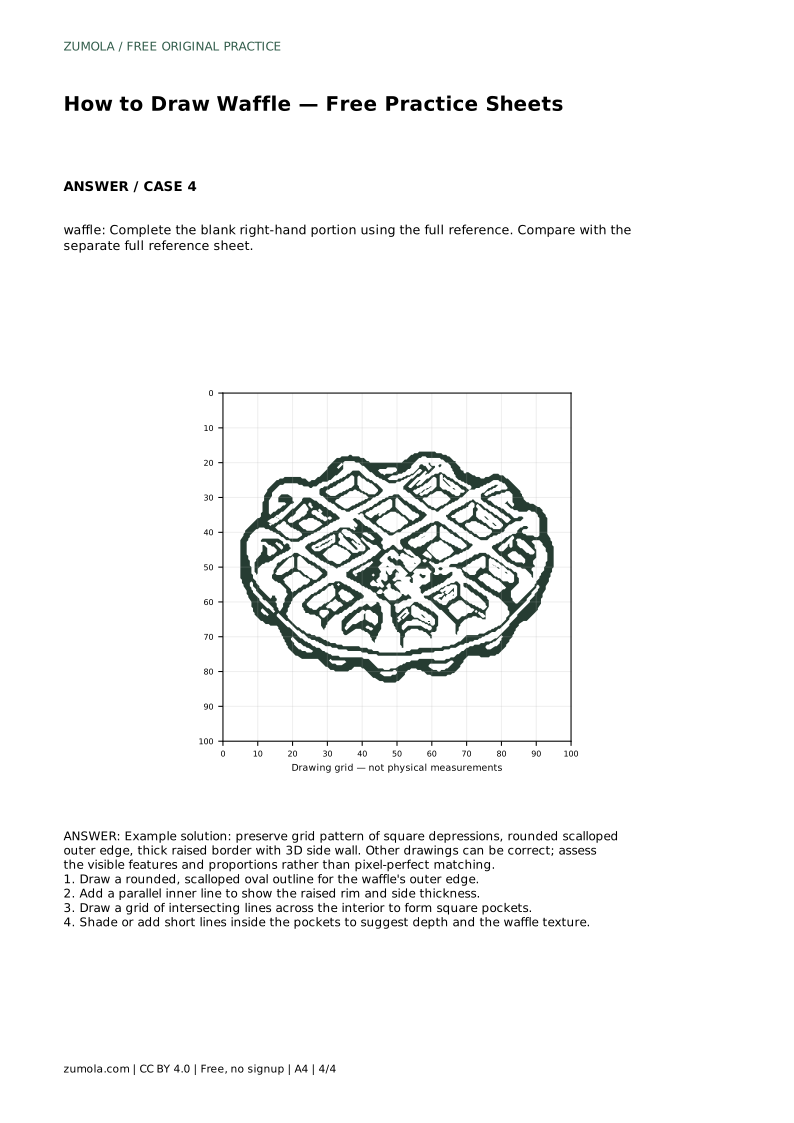
Example solution: preserve grid pattern of square depressions, rounded scalloped outer edge, thick raised border with 3D side wall. Other drawings can be correct; assess the visible features and proportions rather than pixel-perfect matching. Draw a rounded, scalloped oval outline for the waffle's outer edge. Add a parallel inner line to show the raised rim and side thickness. Draw a grid of intersecting lines across the interior to form square pockets. Shade or add short lines inside the pockets to suggest depth and the waffle texture.
No. They should be similar in size and roughly square, but slight variation looks natural. The important thing is a regular, readable grid.
The curved rim cuts across the grid, so pockets near the edge are partly hidden. That is a normal part of the shape, not an error.
Compare it with the full reference and check the scalloped edge, rim width, grid regularity, and side wall. Several different drawings can all be correct.
All drawing practice · Free coordinate paper
Original resources · CC BY 4.0 · Free for personal and classroom use with attribution.