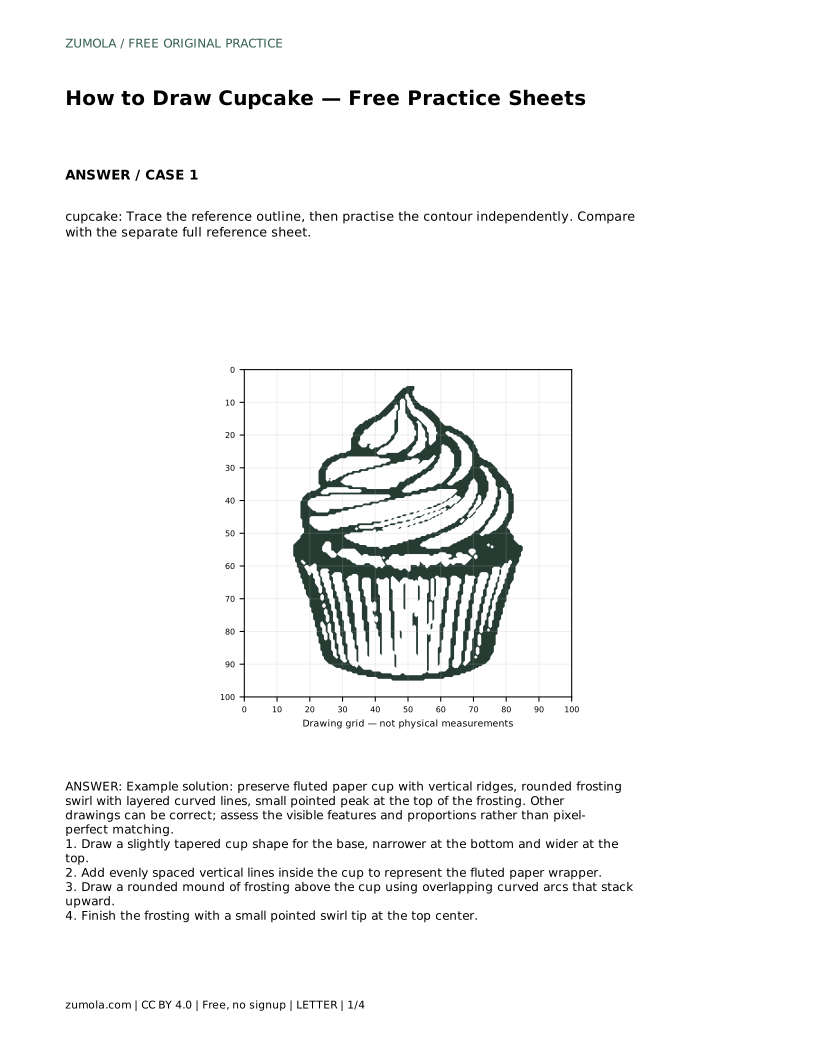
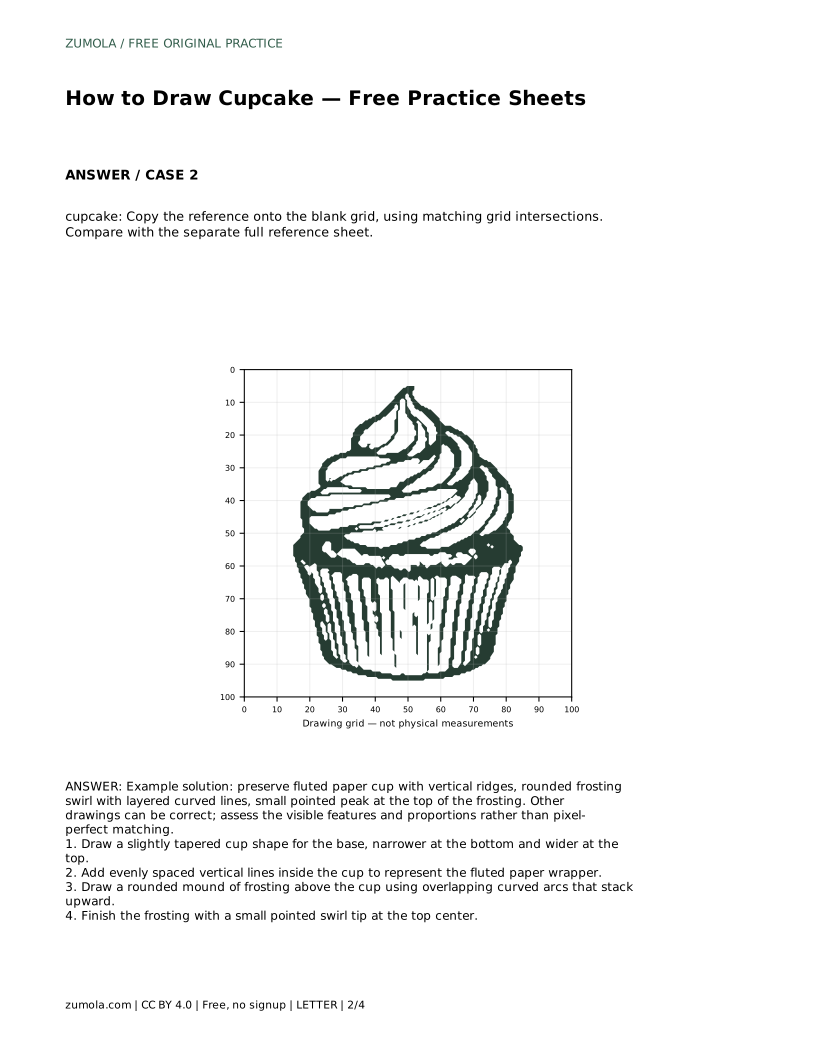
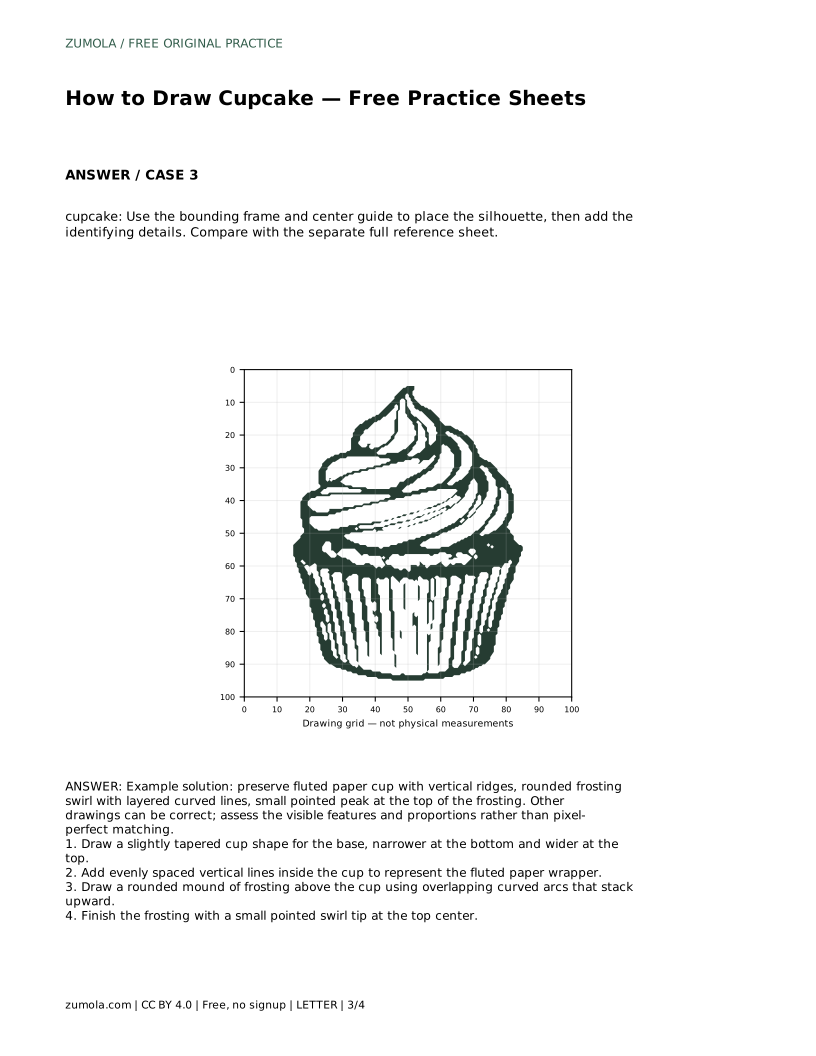
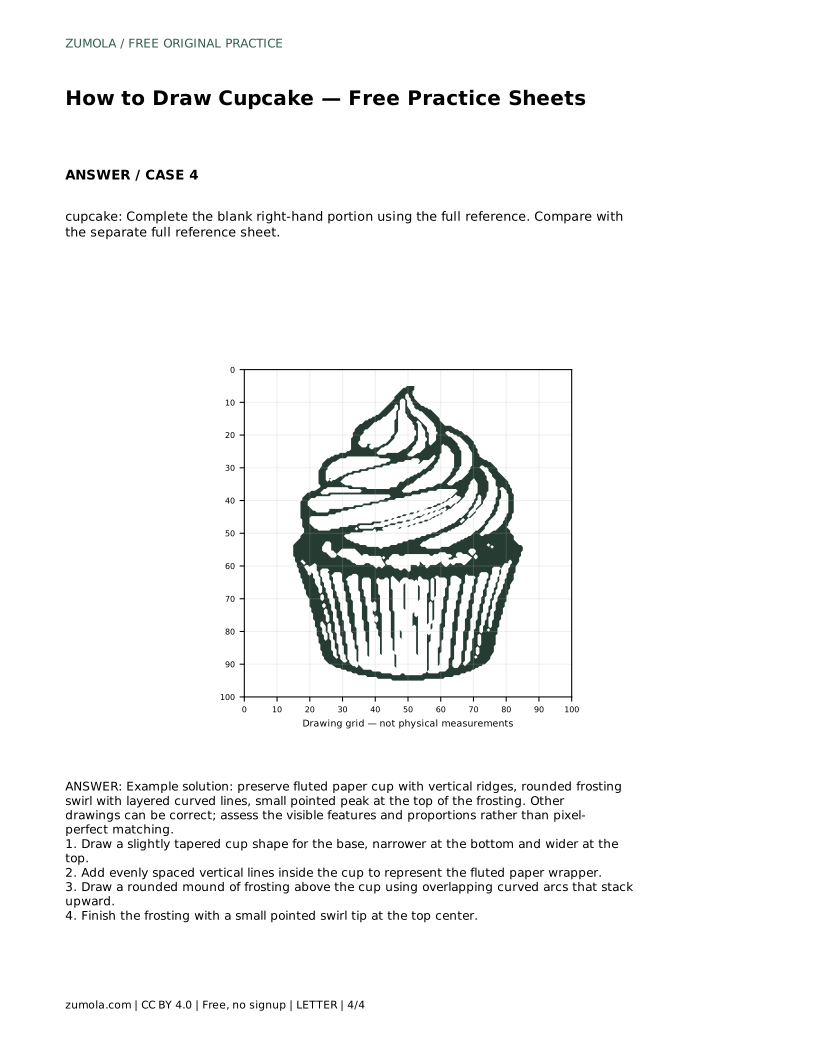
Reference diagrams
LETTER · Download PDF
A4 · Download PDF
Free original resources
Learn to draw a realistic cupcake with a tapered fluted paper cup, layered frosting swirl, and pointed tip. Practice sheets support tracing, grids, and completion.
Four original cases, with reference diagrams, practice sheets and worked answers. Everything is free; no signup required.
LETTER · Download PDF
A4 · Download PDF
LETTER · Download PDF
A4 · Download PDF
LETTER · Download PDF
A4 · Download PDF
Use A4 or US Letter to match your printer. Use the stated values and conditions to solve each exercise; diagrams are not physical measuring rulers.
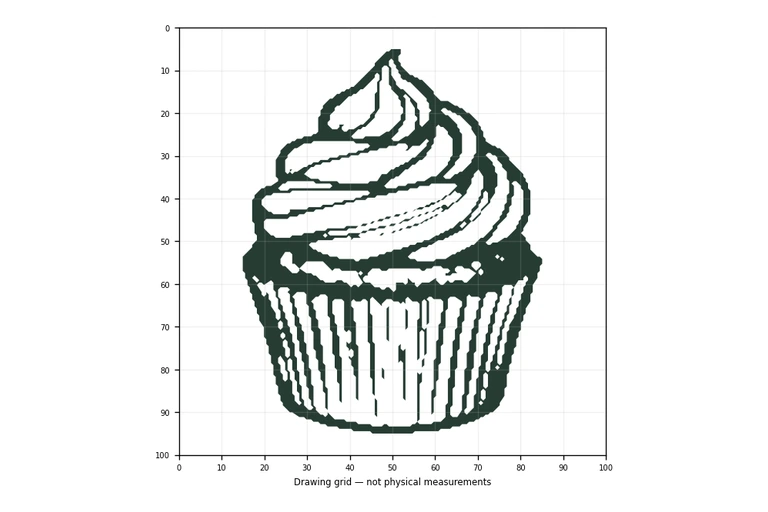
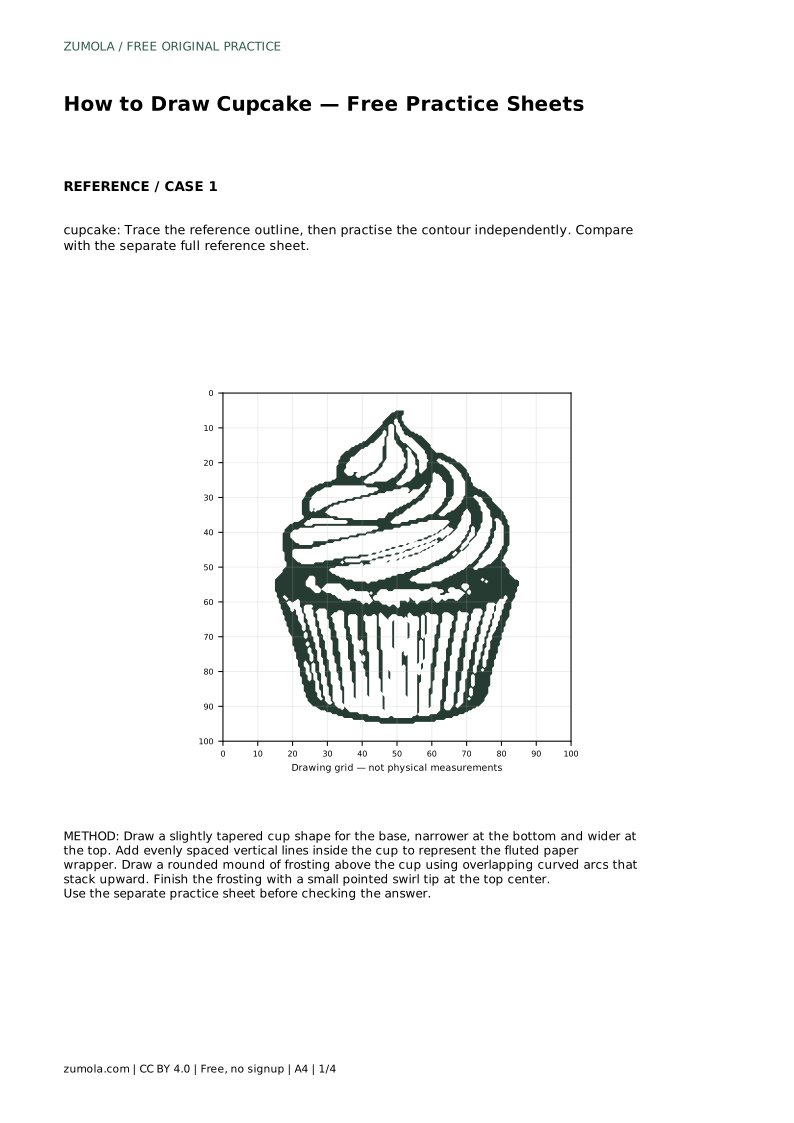
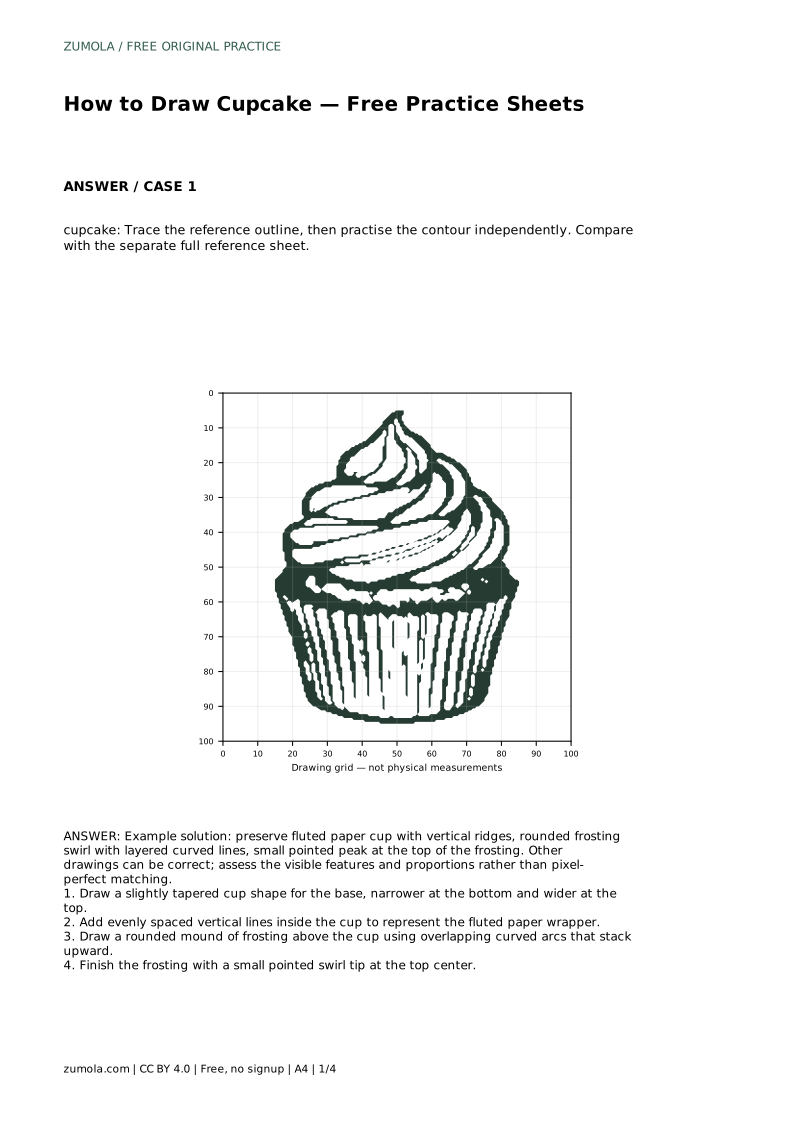
A realistic cupcake drawing depends on two connected shapes: a paper cup that tapers slightly inward toward the bottom, and a frosting mound that stacks in overlapping curves above it. This page explains how to build those shapes in order, then use the practice sheets to strengthen the same skills. Tracing, grid copying, guided placement, and partial completion each ask for a different kind of attention, so treat them as separate exercises rather than one repeated task.
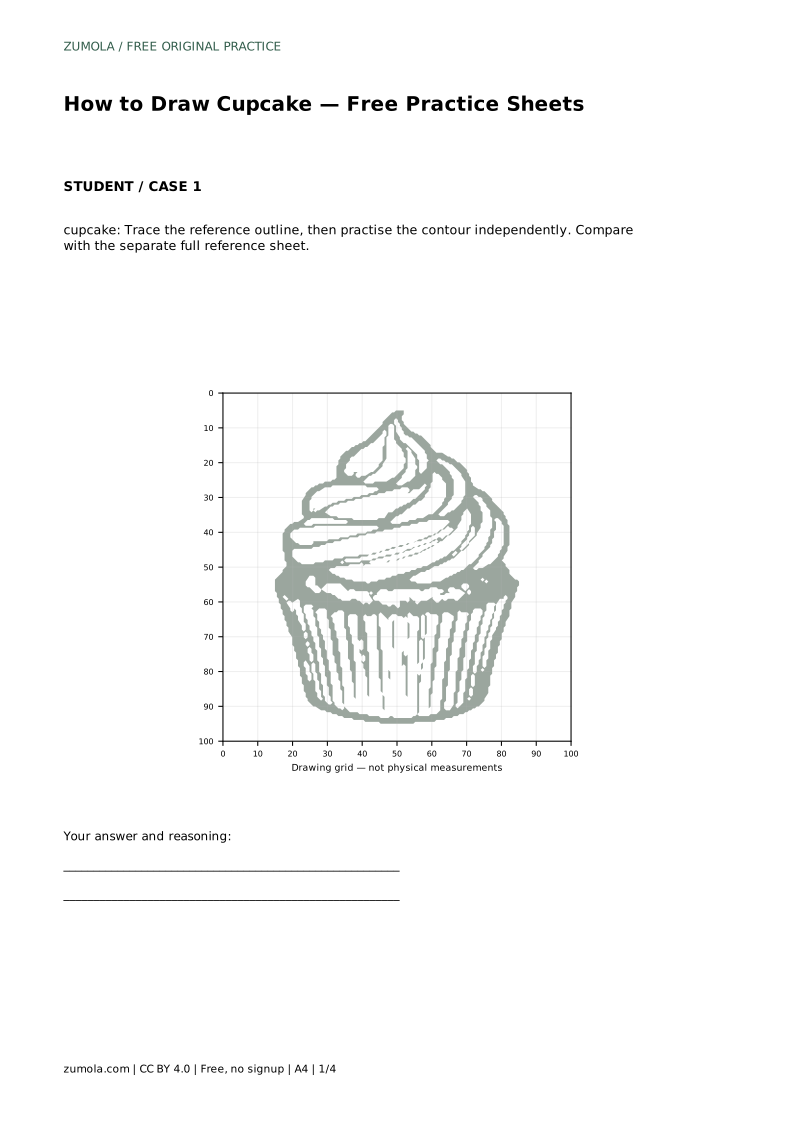
Start with the paper wrapper, because it sets the width and ground line for everything above. Draw a cup shape that is narrower at the bottom and wider at the top. The sides should taper gently rather than flare sharply, and the bottom edge should stay close to horizontal so the cupcake appears to sit on a surface.
Inside the cup, add evenly spaced vertical lines to suggest the fluted paper ridges. Keep the spacing consistent and let each line follow the taper of the cup sides rather than running perfectly straight up. These ridges are the main visual cue that separates a cupcake wrapper from a plain cylinder.
The frosting sits directly on the upper rim of the cup and should be wider than the cup at its base, then narrow as it rises. Build the mound from overlapping curved arcs that stack upward, each arc sitting slightly above and inside the one below. Overlap matters: separate arcs read as stacked swirls, while one smooth dome reads as icing spread flat.
Finish with a small pointed swirl tip at the top center. The tip should connect to the final arc rather than float above it. Keep the peak modest, since an oversized point makes the frosting look stiff instead of soft.
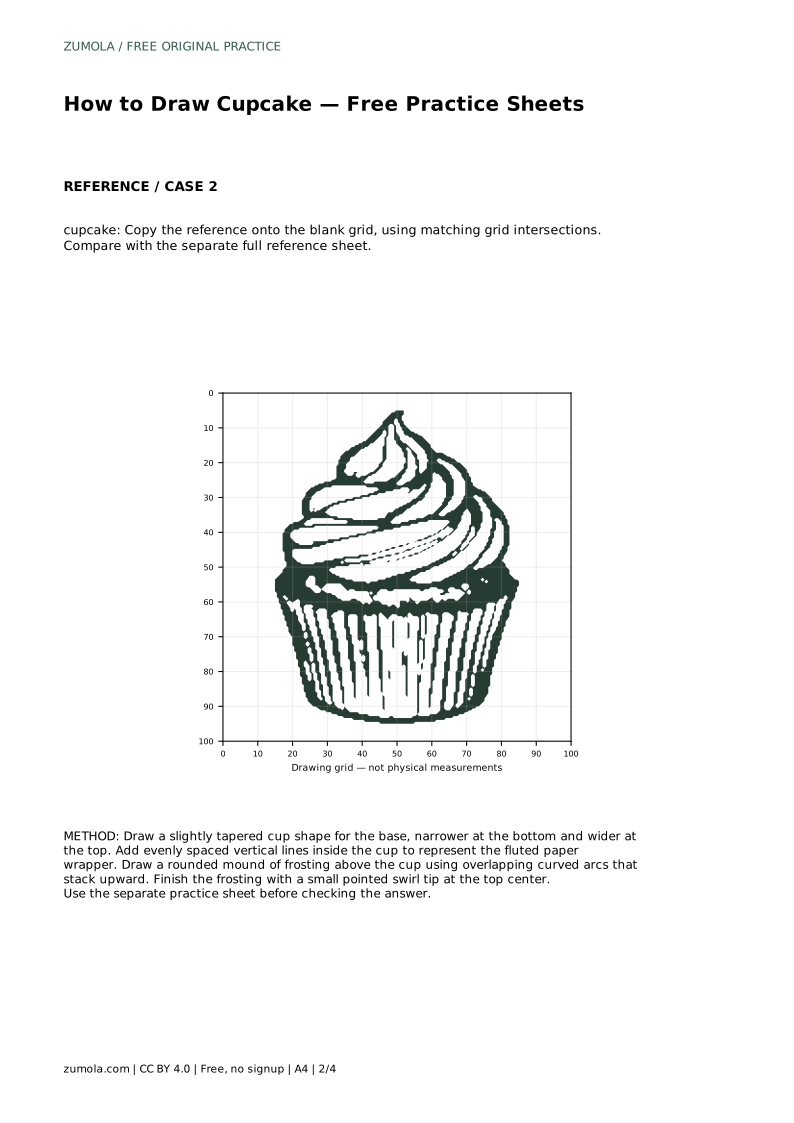
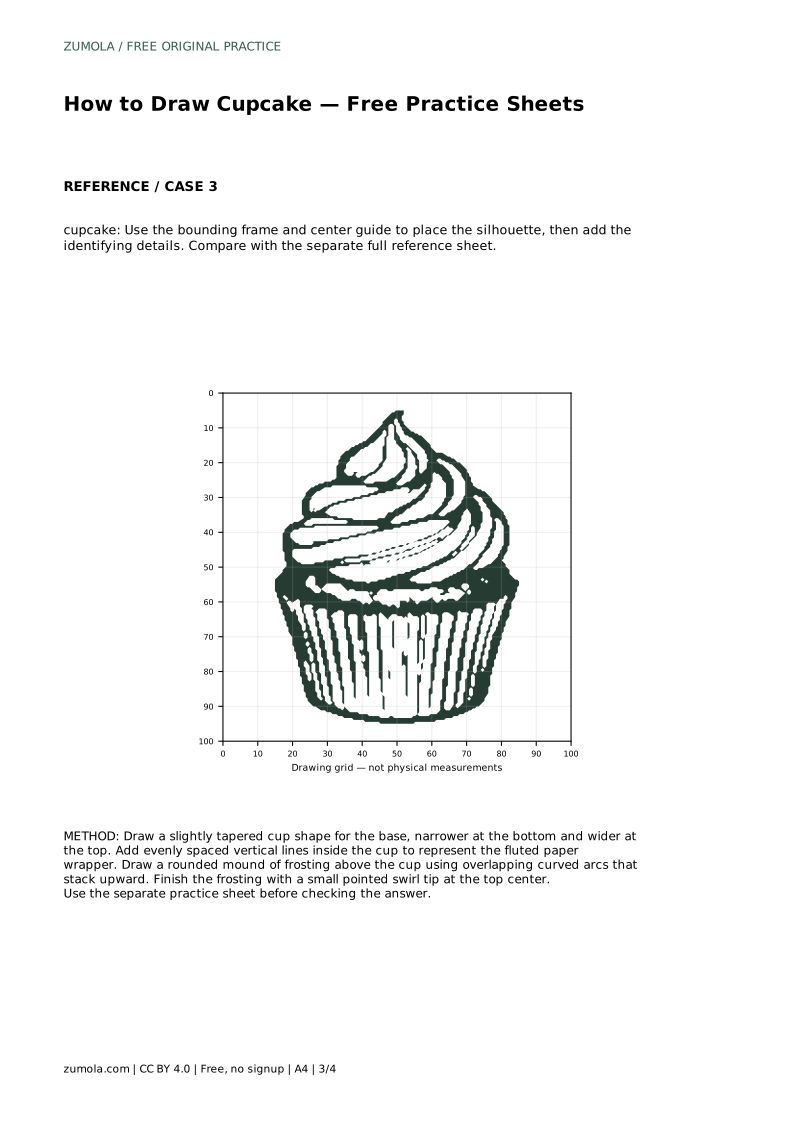
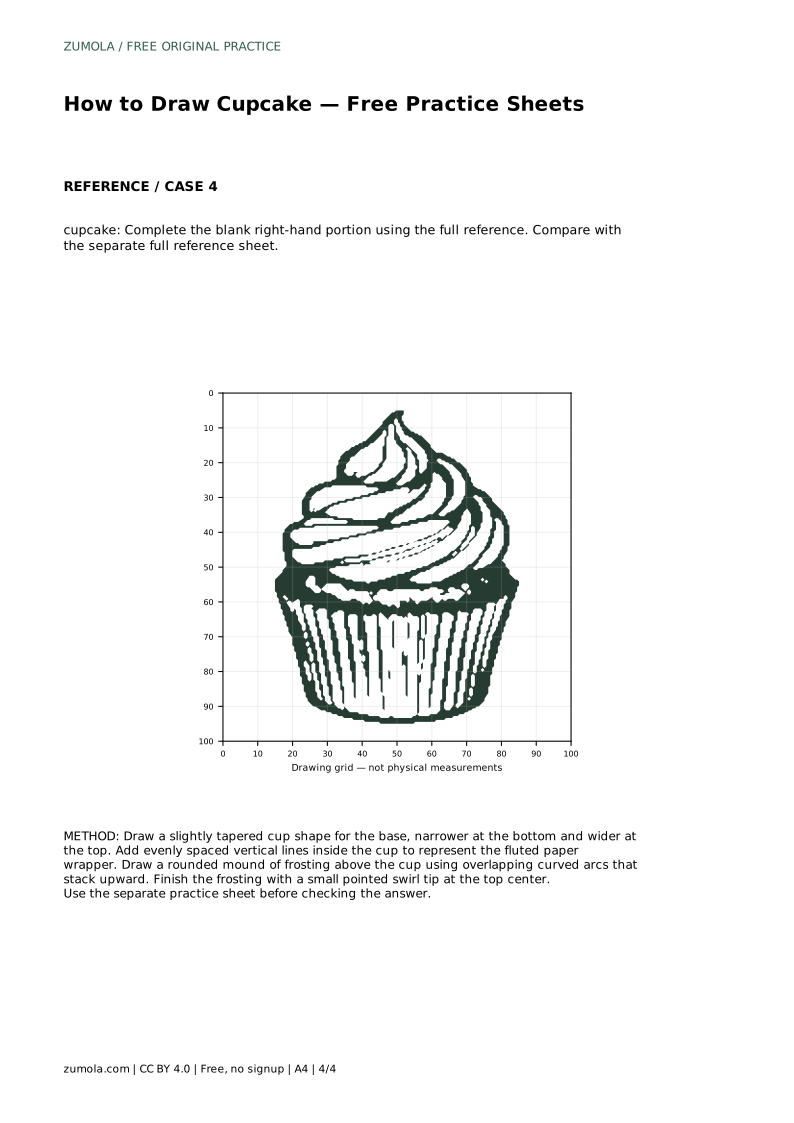
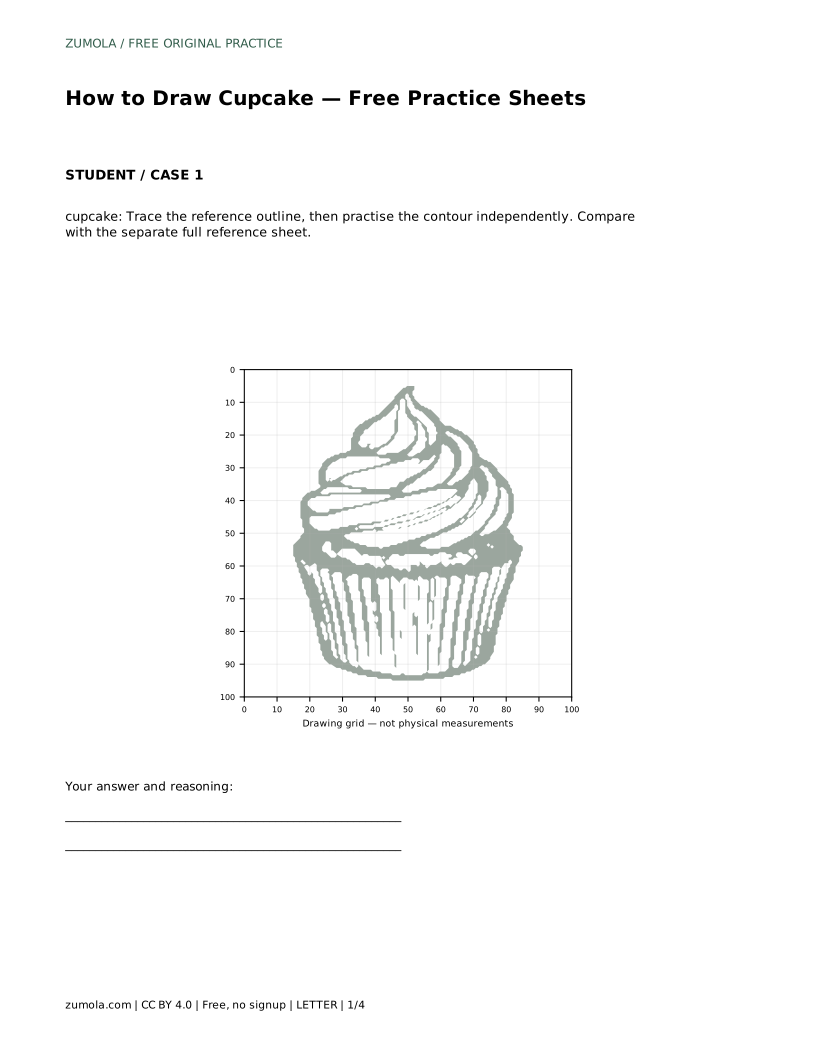
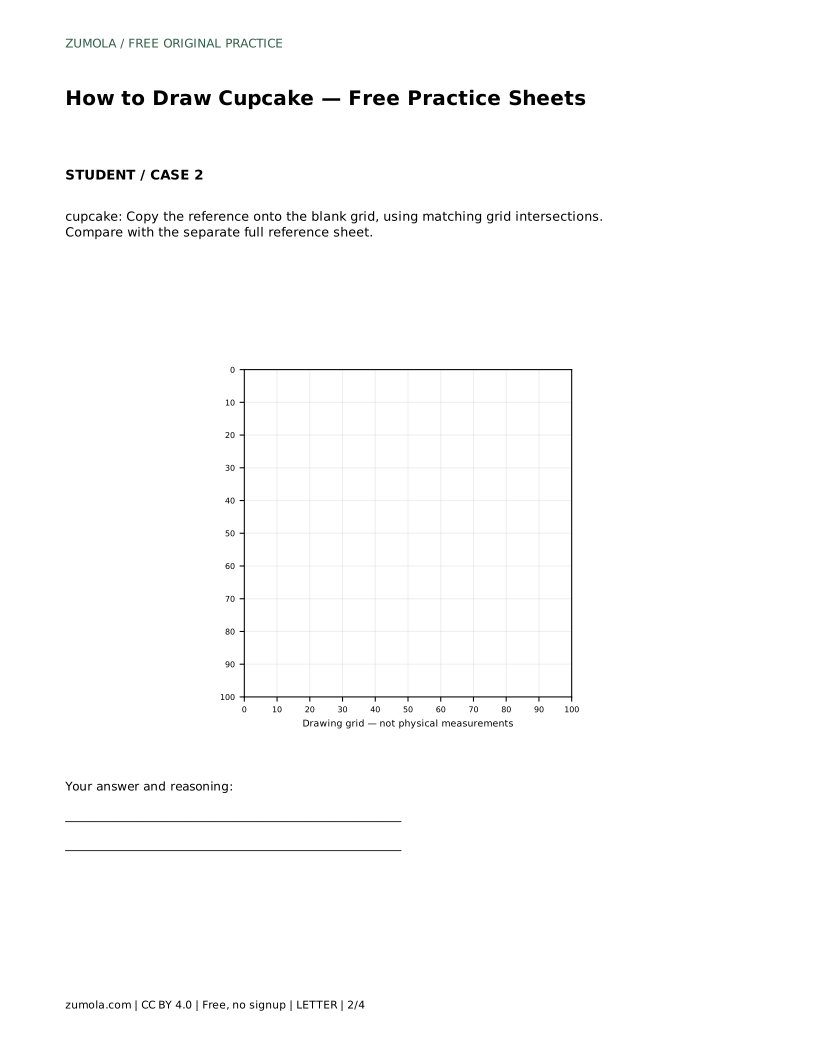
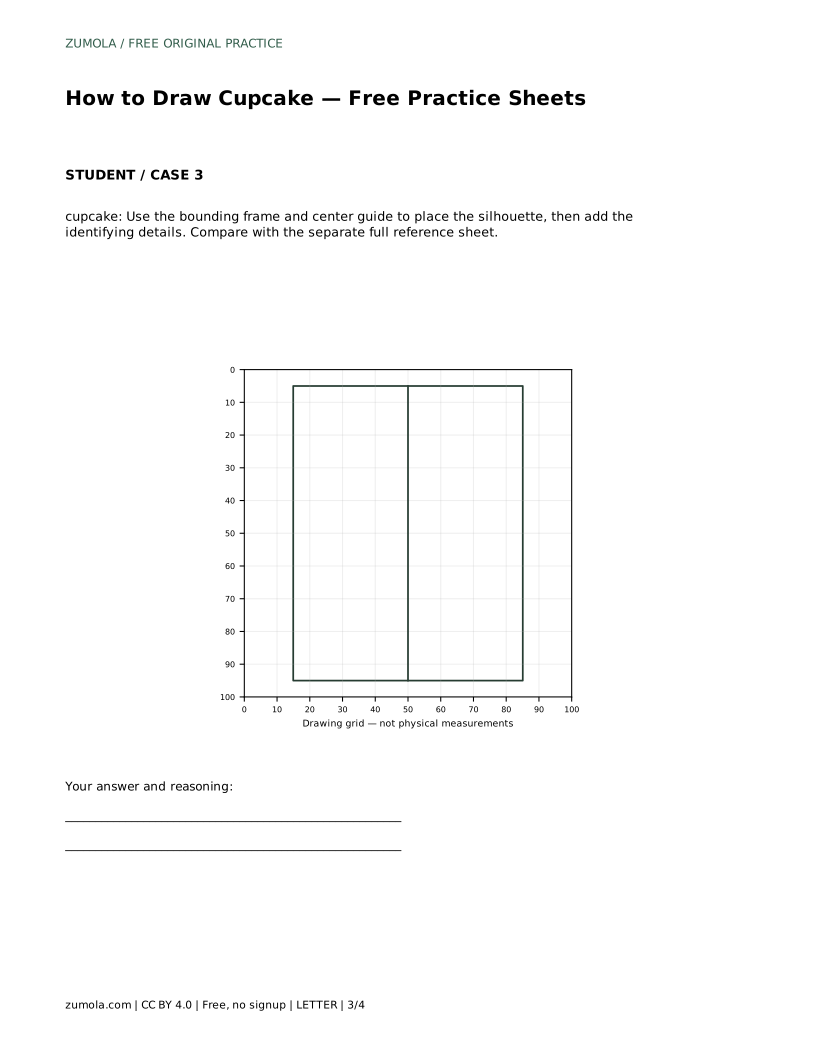
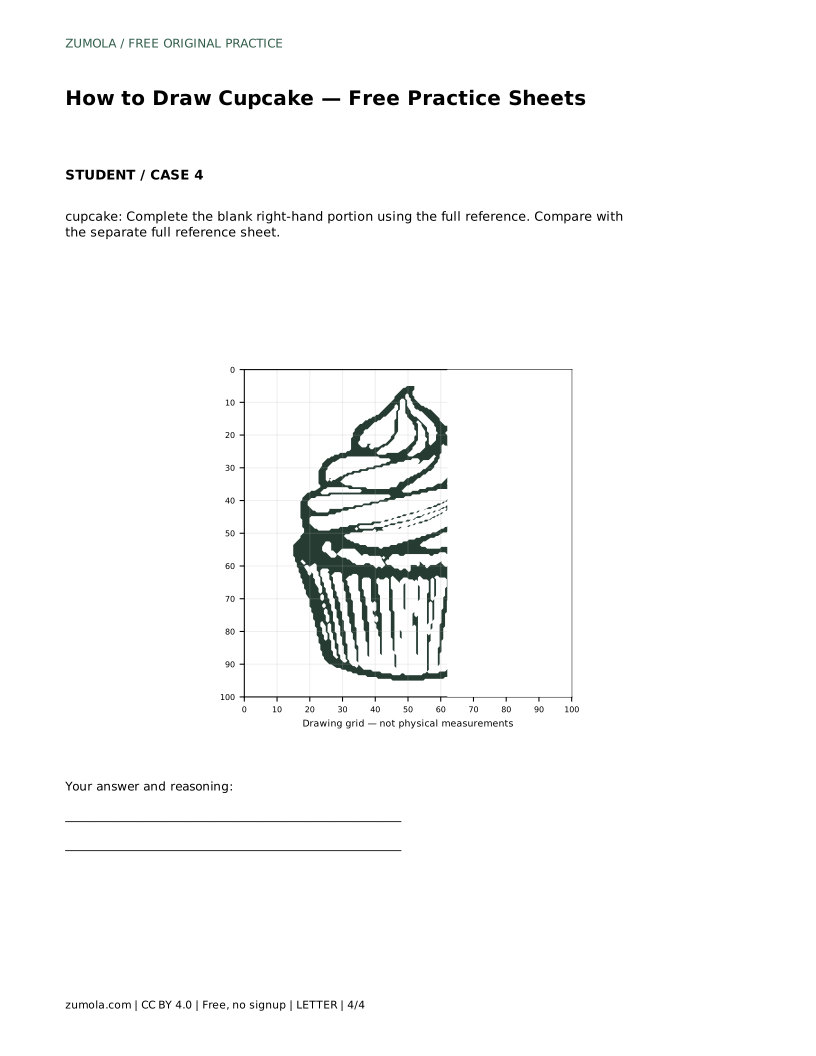
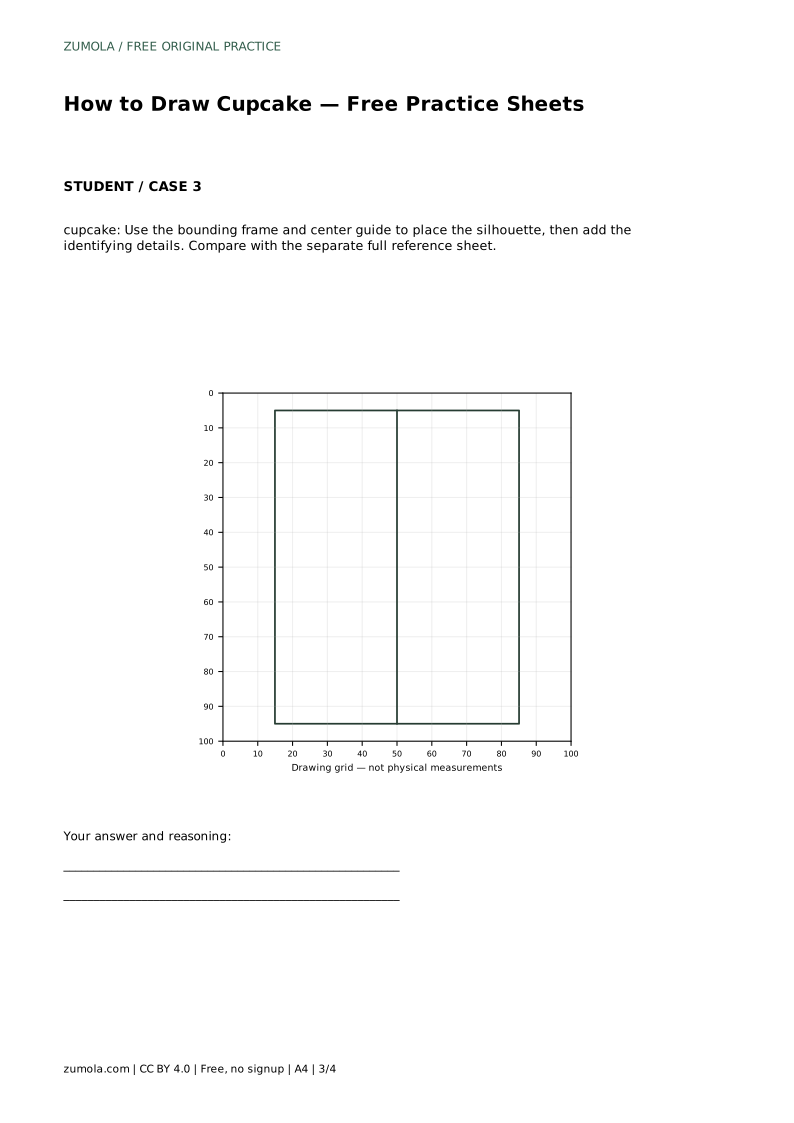
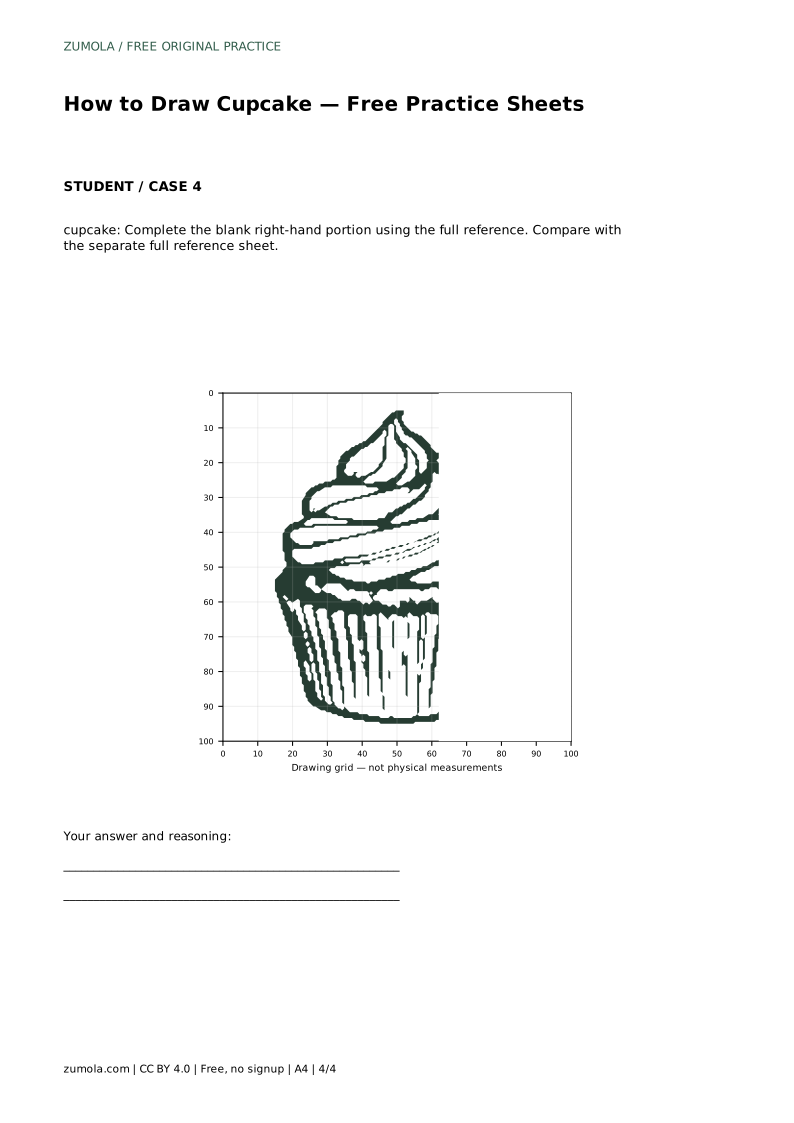
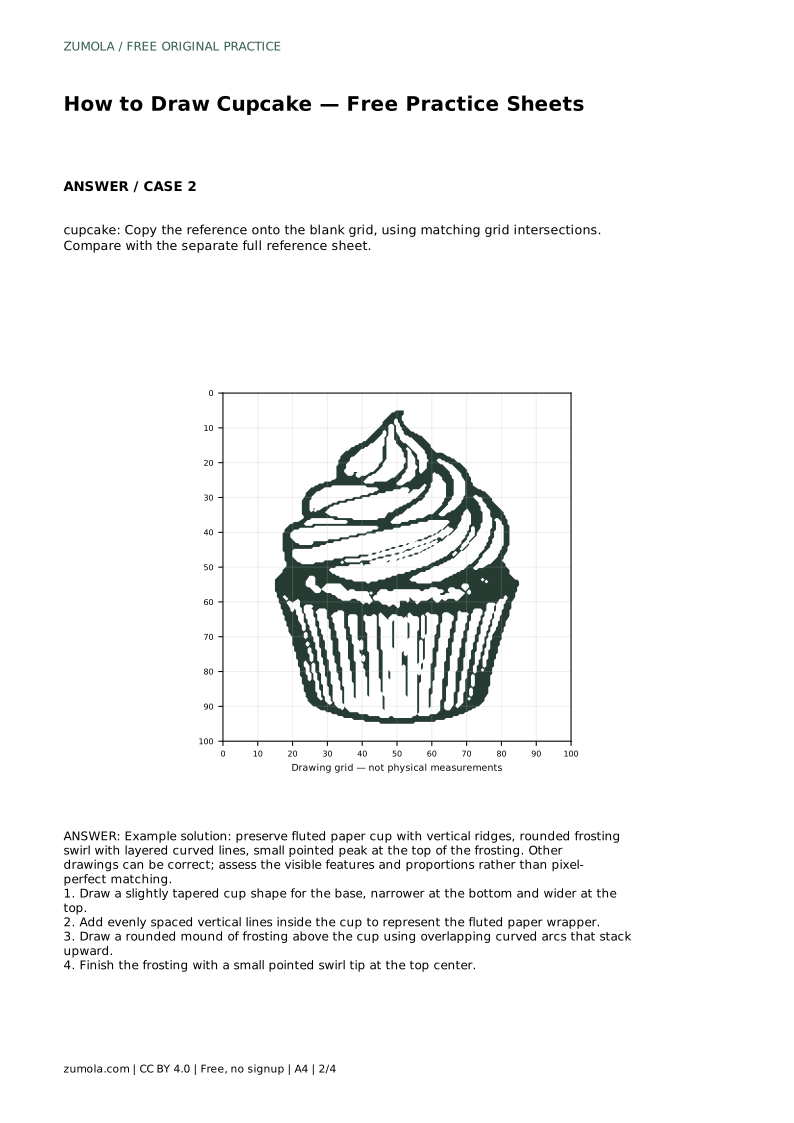
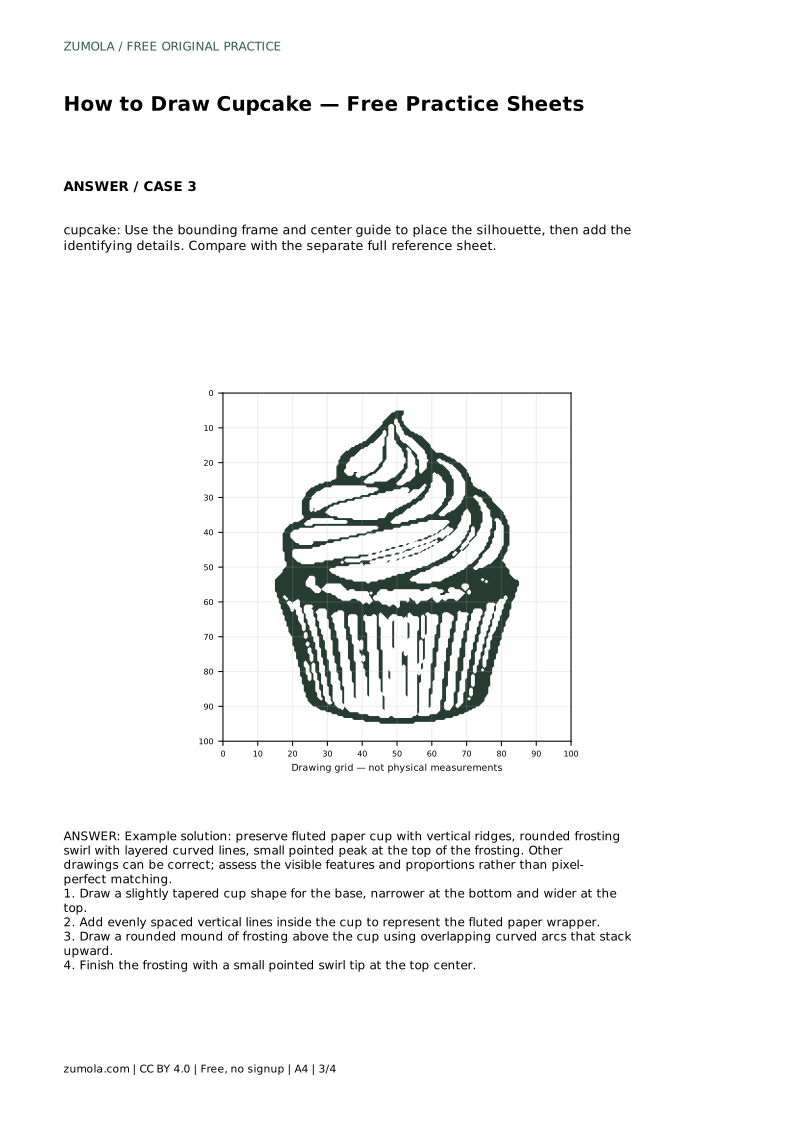
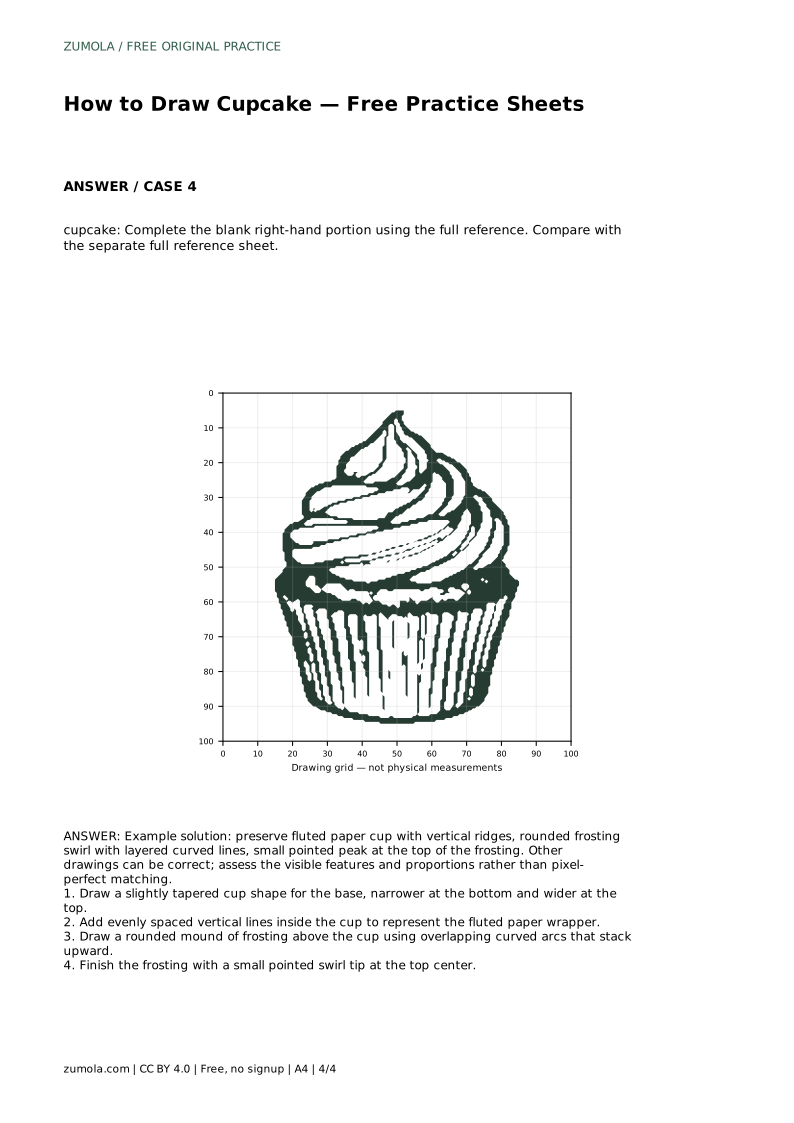
The tracing sheet asks you to follow the reference outline first, then repeat the contour without it. The grid sheet asks you to match intersections so proportions stay consistent. The bounding frame and center guide sheet asks you to place the silhouette before adding details. The partial sheet asks you to complete the blank right-hand portion using the full reference.
After each attempt, compare your drawing with the separate full reference sheet. Check the taper of the cup, the spacing of the ridges, the number of visible frosting layers, and the position of the peak. Drawings will differ, and that is expected; judge whether the identifying features and proportions are present.
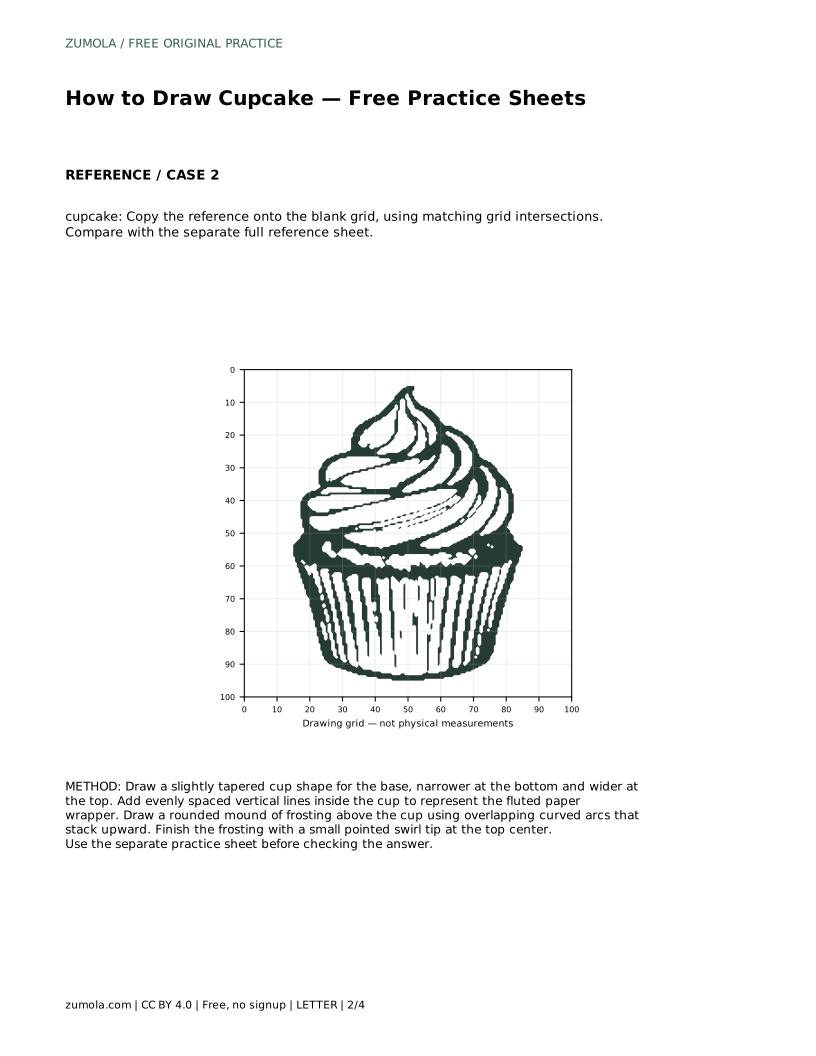
cupcake: Trace the reference outline, then practise the contour independently. Compare with the separate full reference sheet.
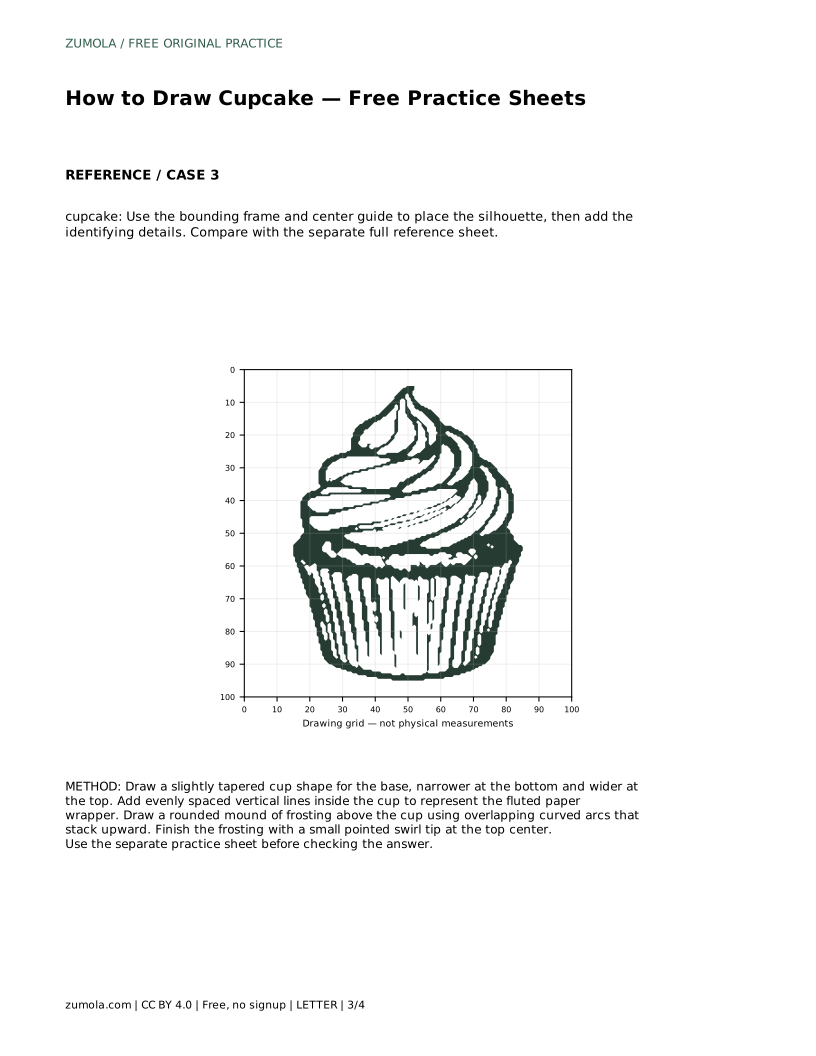
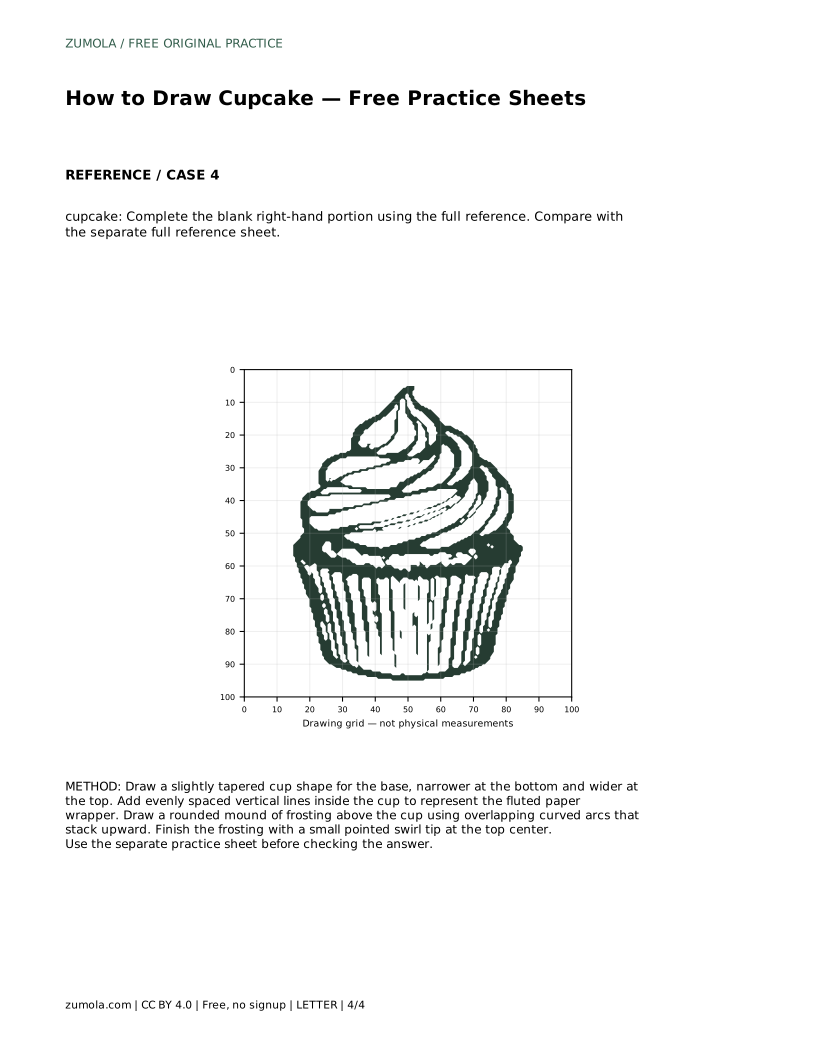
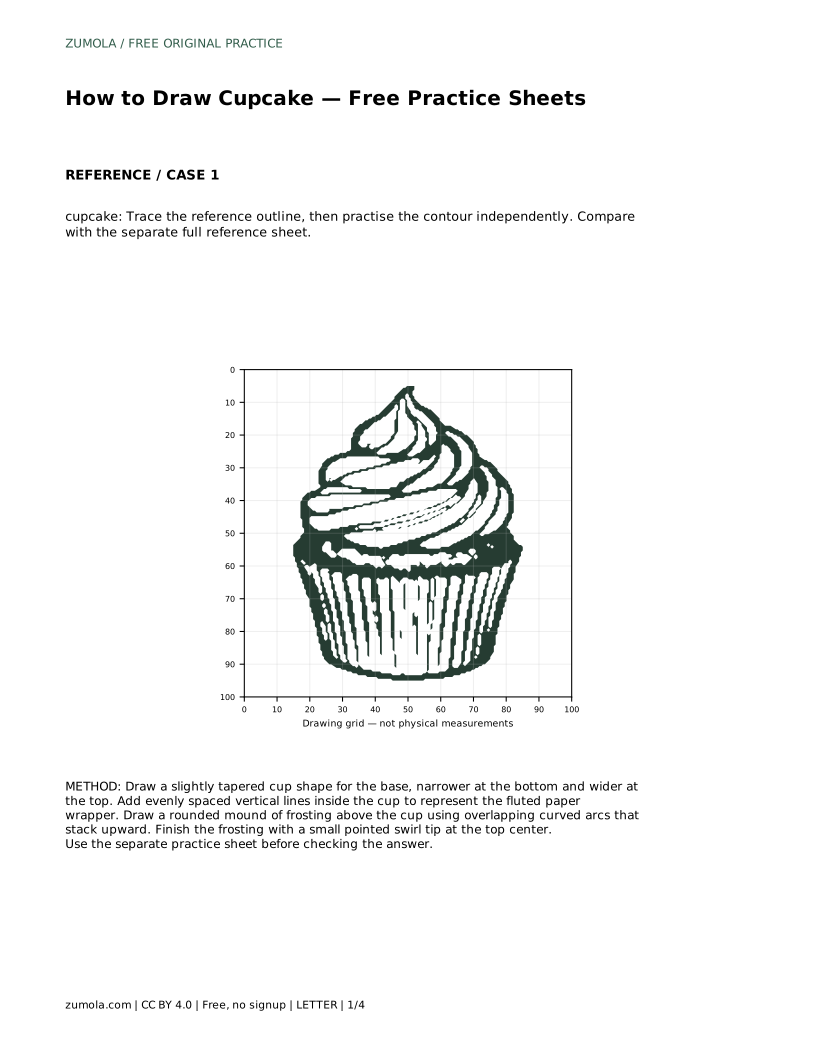
Example solution: preserve fluted paper cup with vertical ridges, rounded frosting swirl with layered curved lines, small pointed peak at the top of the frosting. Other drawings can be correct; assess the visible features and proportions rather than pixel-perfect matching. Draw a slightly tapered cup shape for the base, narrower at the bottom and wider at the top. Add evenly spaced vertical lines inside the cup to represent the fluted paper wrapper. Draw a rounded mound of frosting above the cup using overlapping curved arcs that stack upward. Finish the frosting with a small pointed swirl tip at the top center.
No. Multiple drawings can be correct. Assess whether the fluted cup, layered swirl, and pointed peak are visible and proportionally placed.
There is no fixed count. Use evenly spaced lines that follow the cup's taper, and keep the spacing consistent across the wrapper.
Compare with the full reference sheet and review the cup taper, ridge spacing, frosting layers, and peak position rather than pixel-perfect matching.
All drawing practice · Free coordinate paper
Original resources · CC BY 4.0 · Free for personal and classroom use with attribution.