Reference diagrams
LETTER · Download PDF
A4 · Download PDF
Free original resources
Learn to draw a bratwurst by building a curved capsule body, tied ends, and diagonal score marks. Includes tracing, grid, and frame practice guidance.
Four original cases, with reference diagrams, practice sheets and worked answers. Everything is free; no signup required.
LETTER · Download PDF
A4 · Download PDF
LETTER · Download PDF
A4 · Download PDF
LETTER · Download PDF
A4 · Download PDF
Use A4 or US Letter to match your printer. Use the stated values and conditions to solve each exercise; diagrams are not physical measuring rulers.
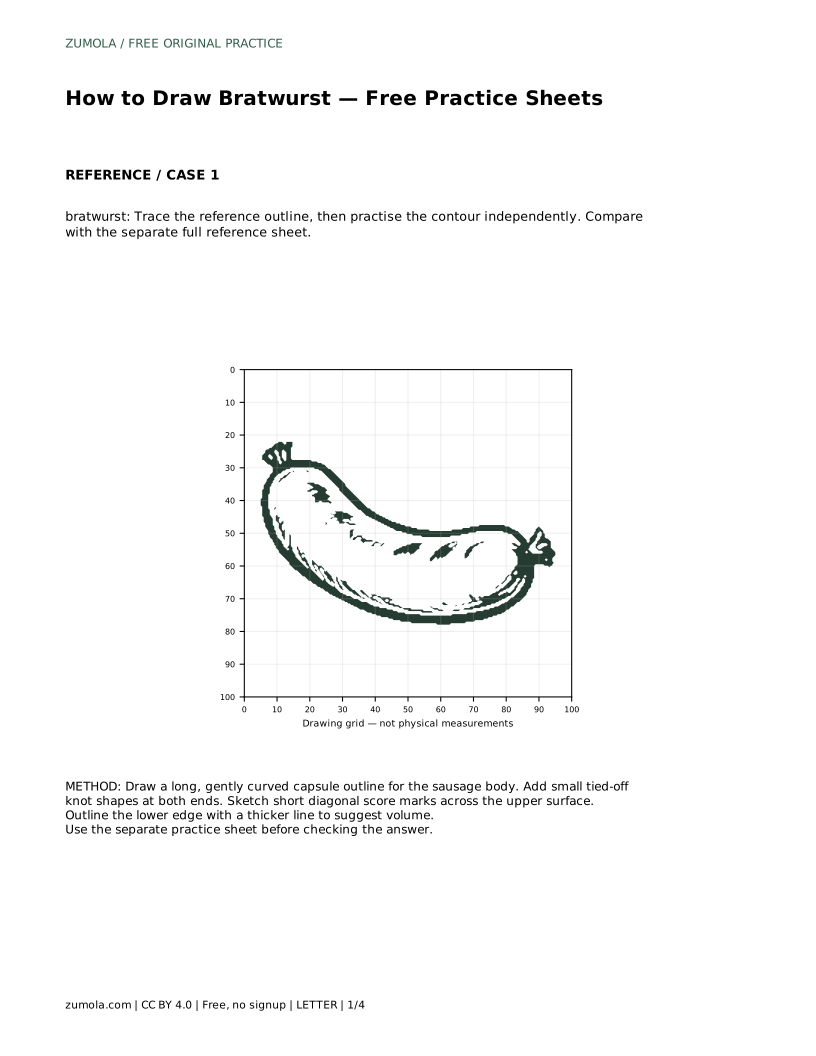
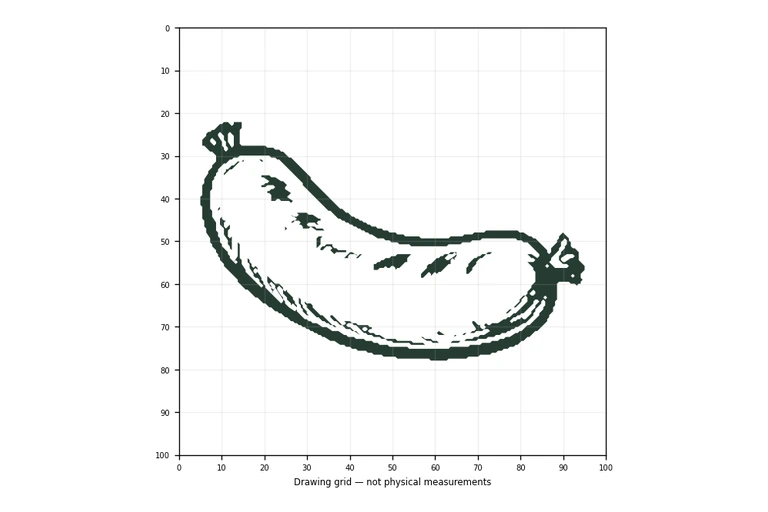
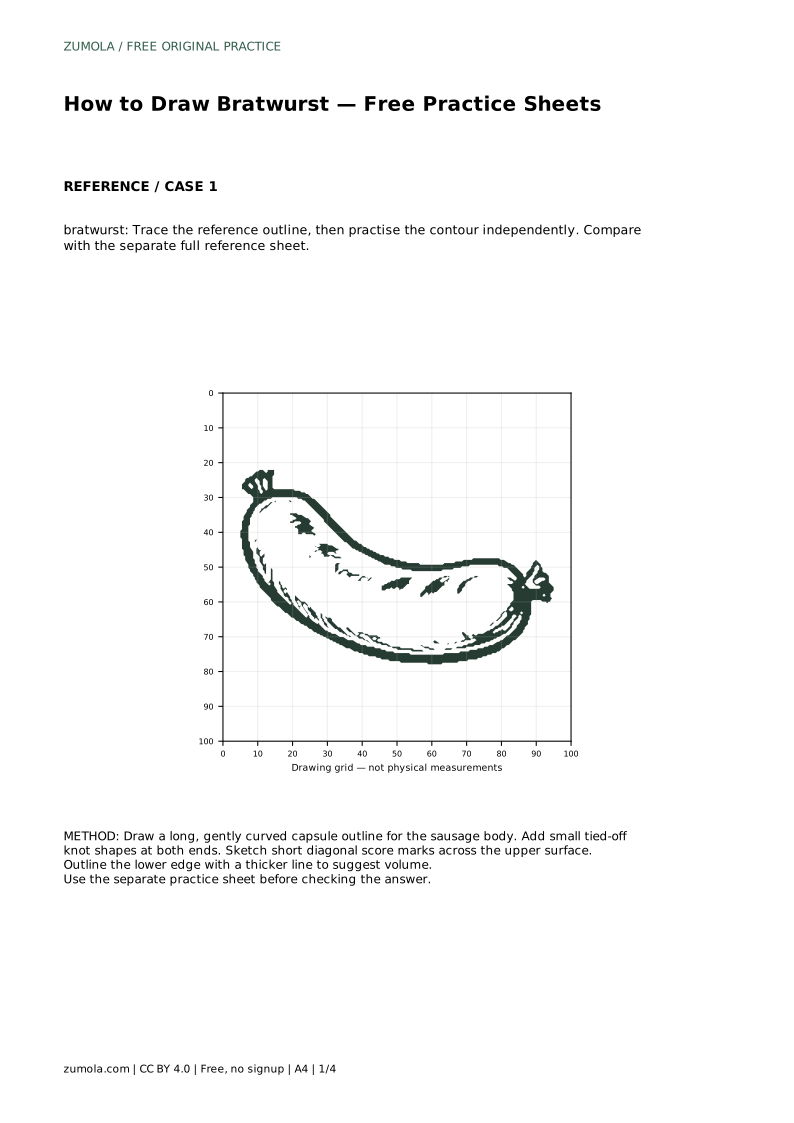
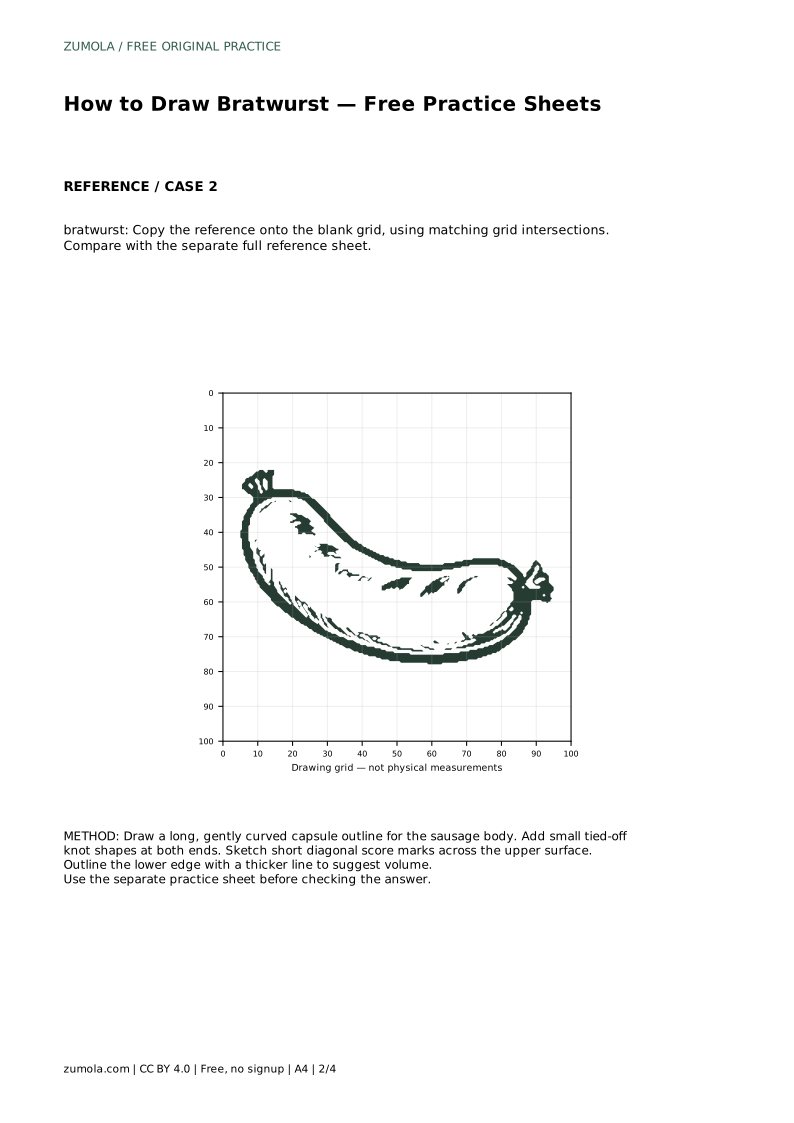
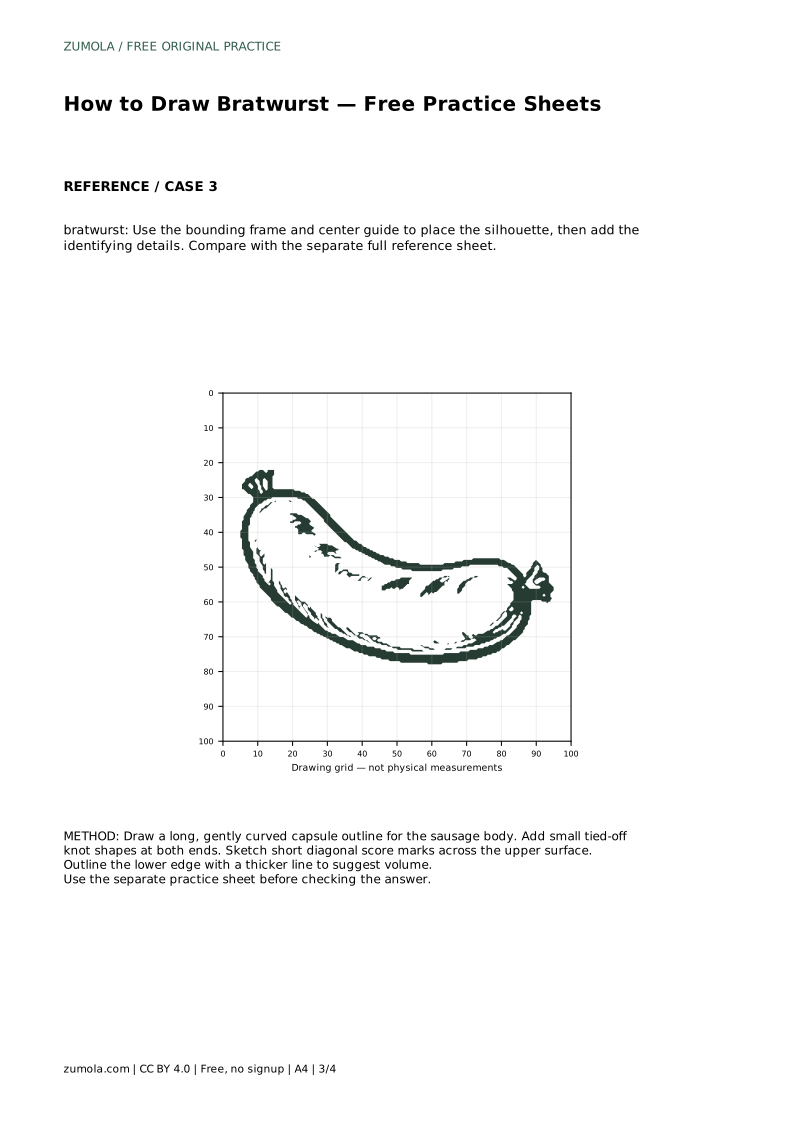
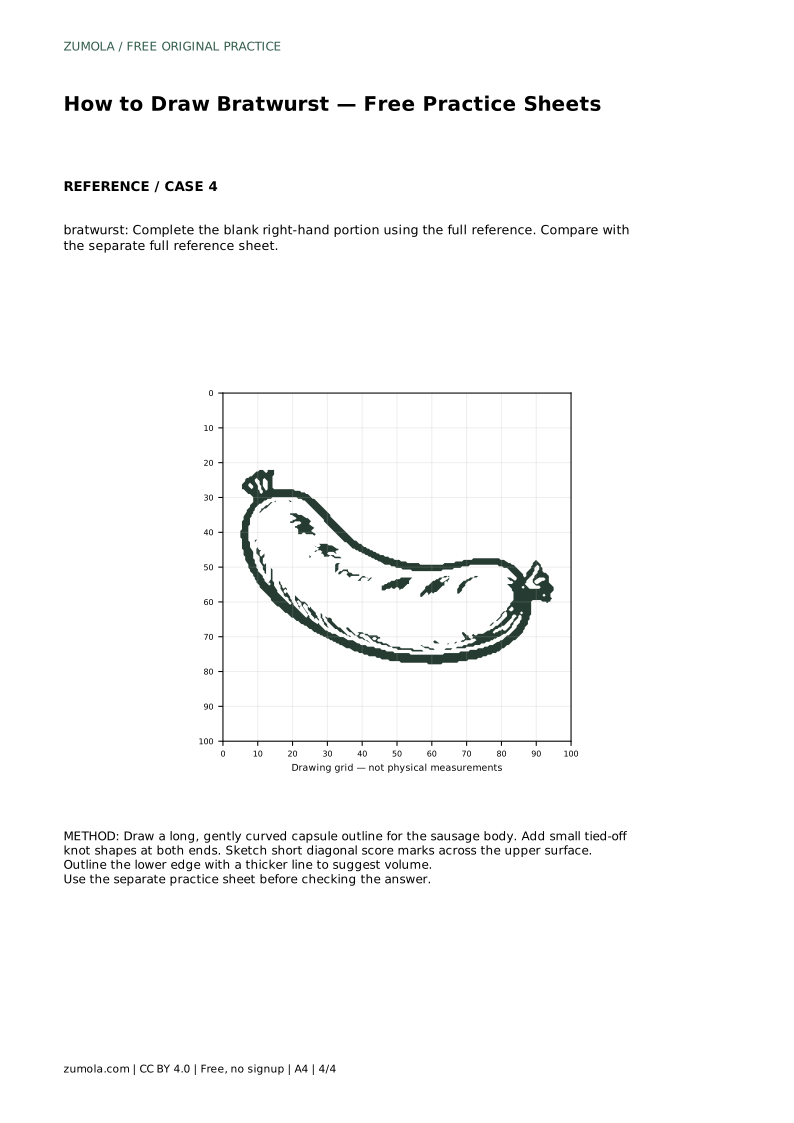
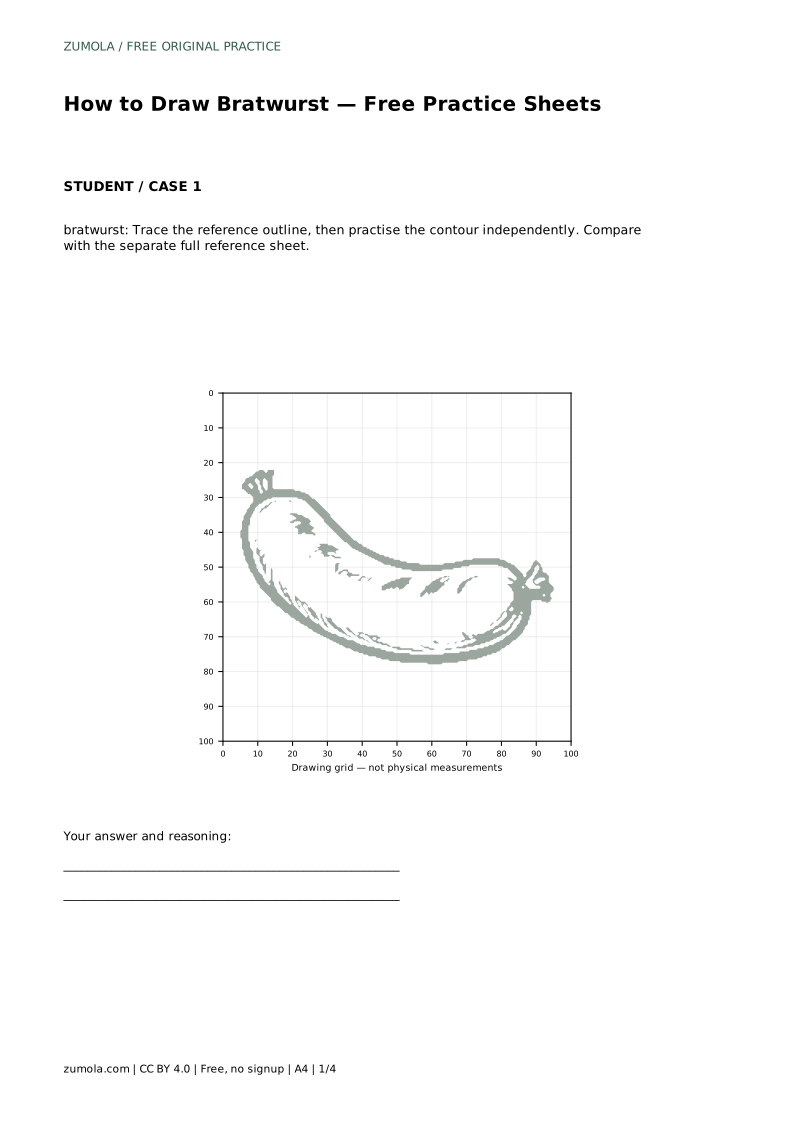
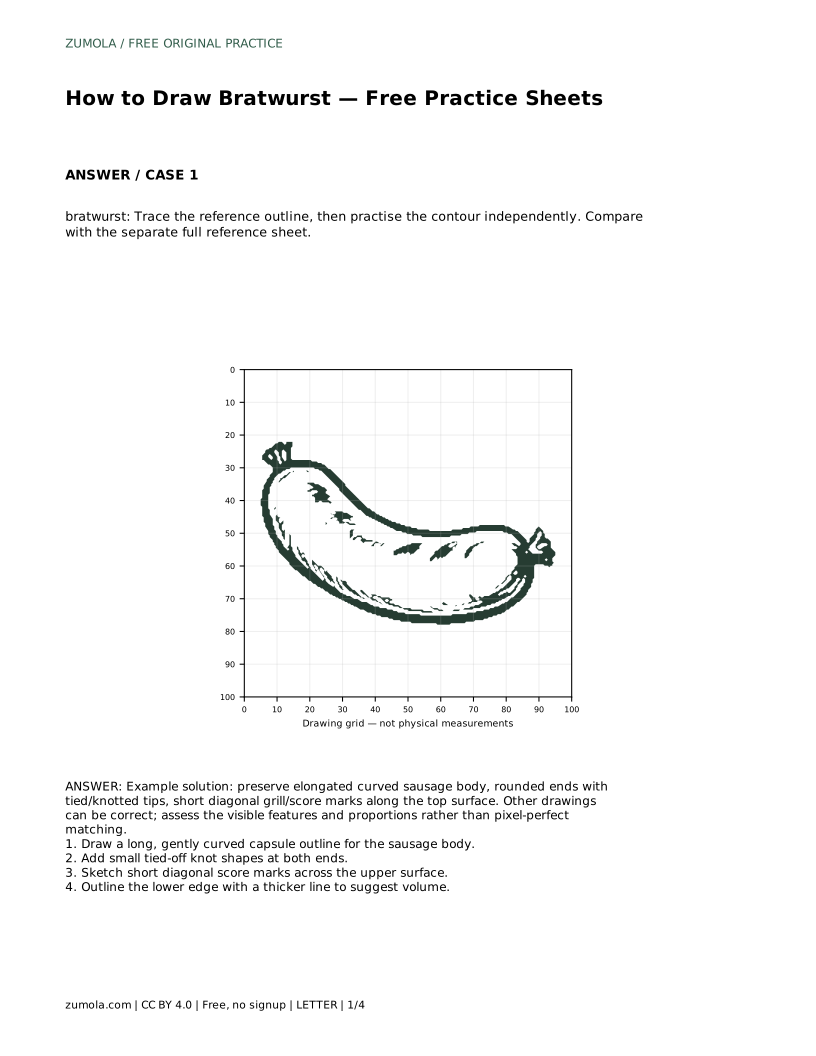
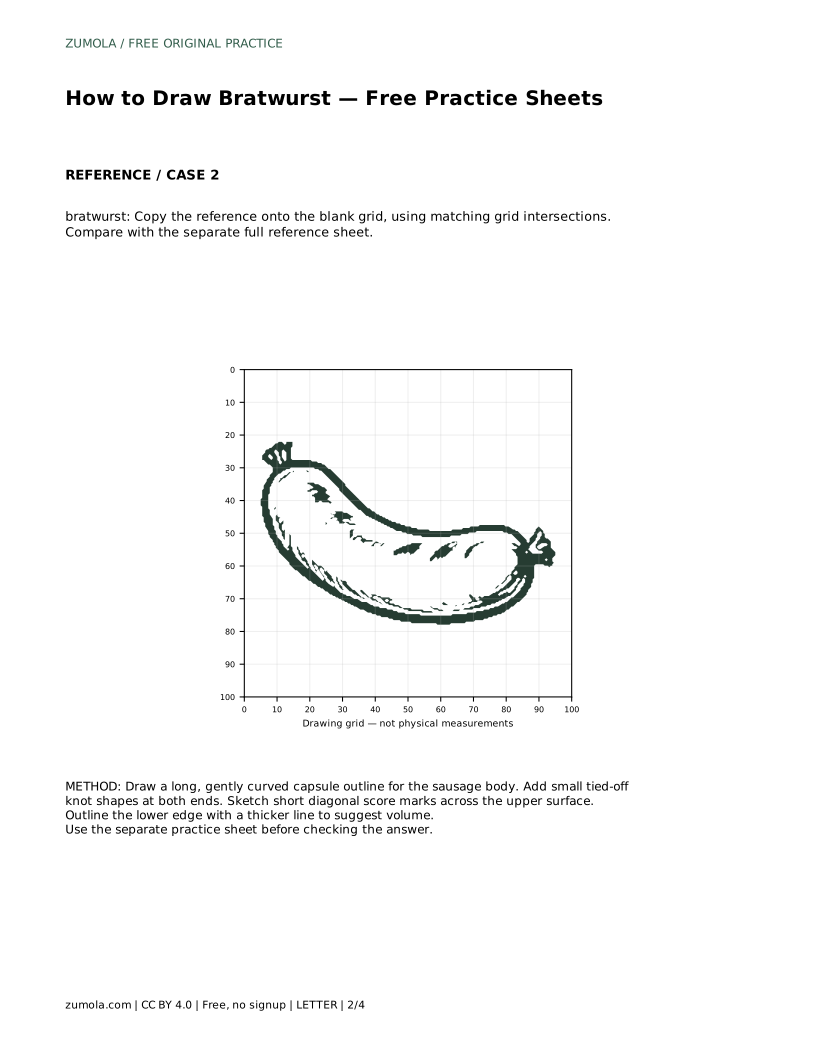
A bratwurst drawing is mostly a study in one long, gentle curve. The body is an elongated capsule, slightly bent, with small tied or knotted tips at each end and short diagonal marks across the upper surface. This page explains how to read those features, how to practise them with tracing and grid sheets, and how to judge your own result fairly, since several drawings can all be correct.
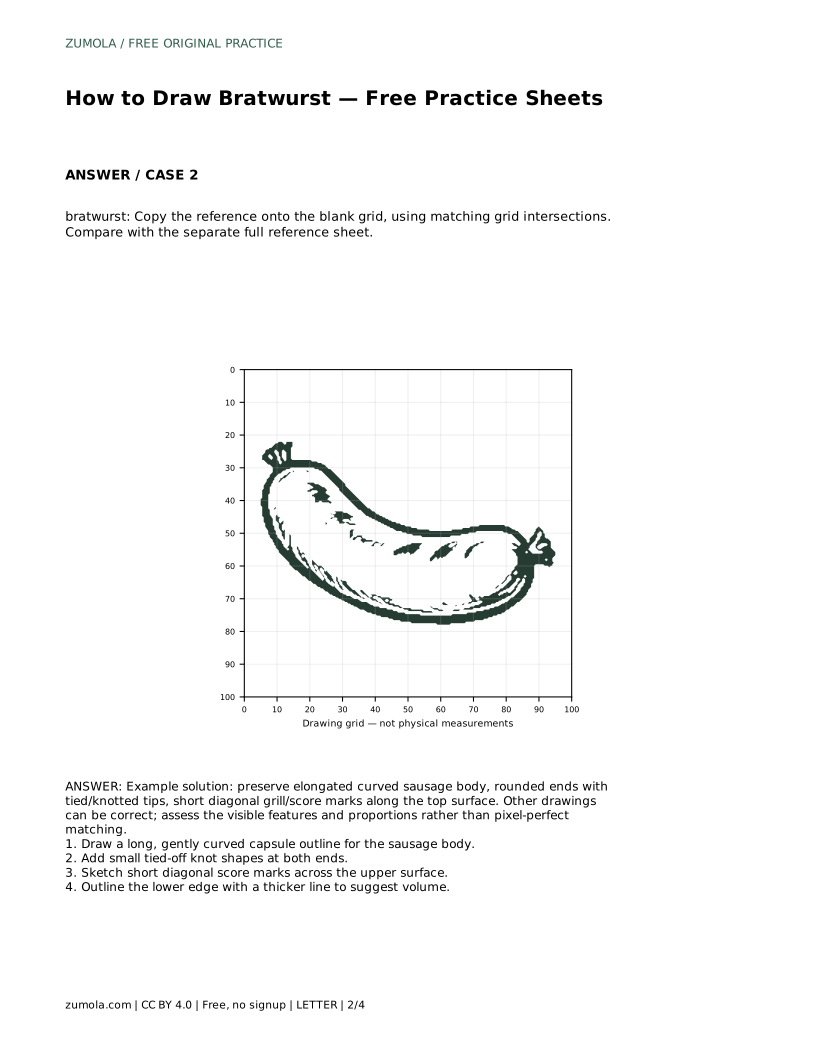
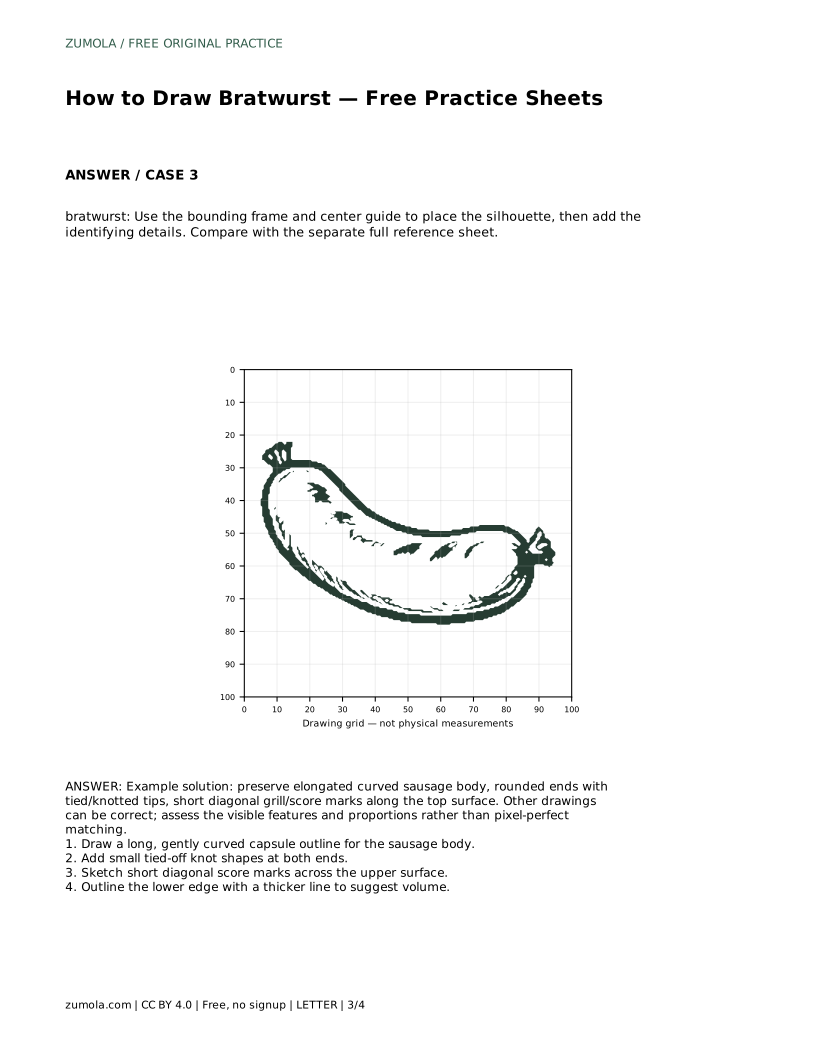
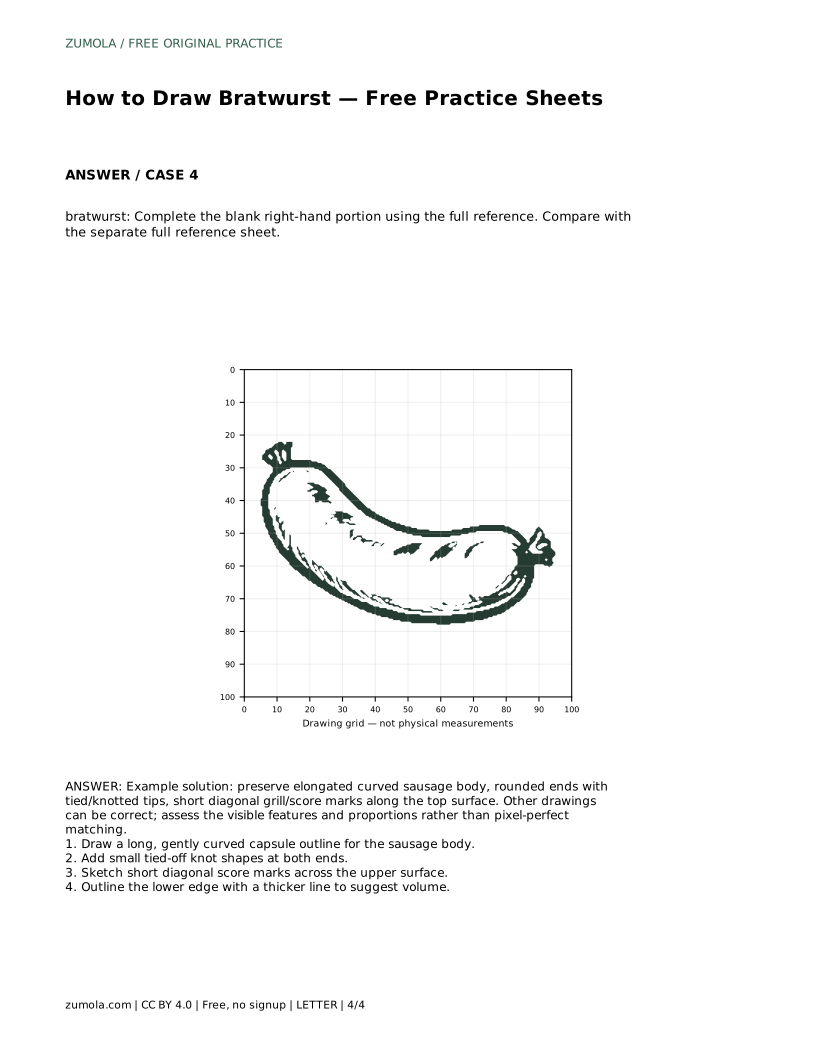
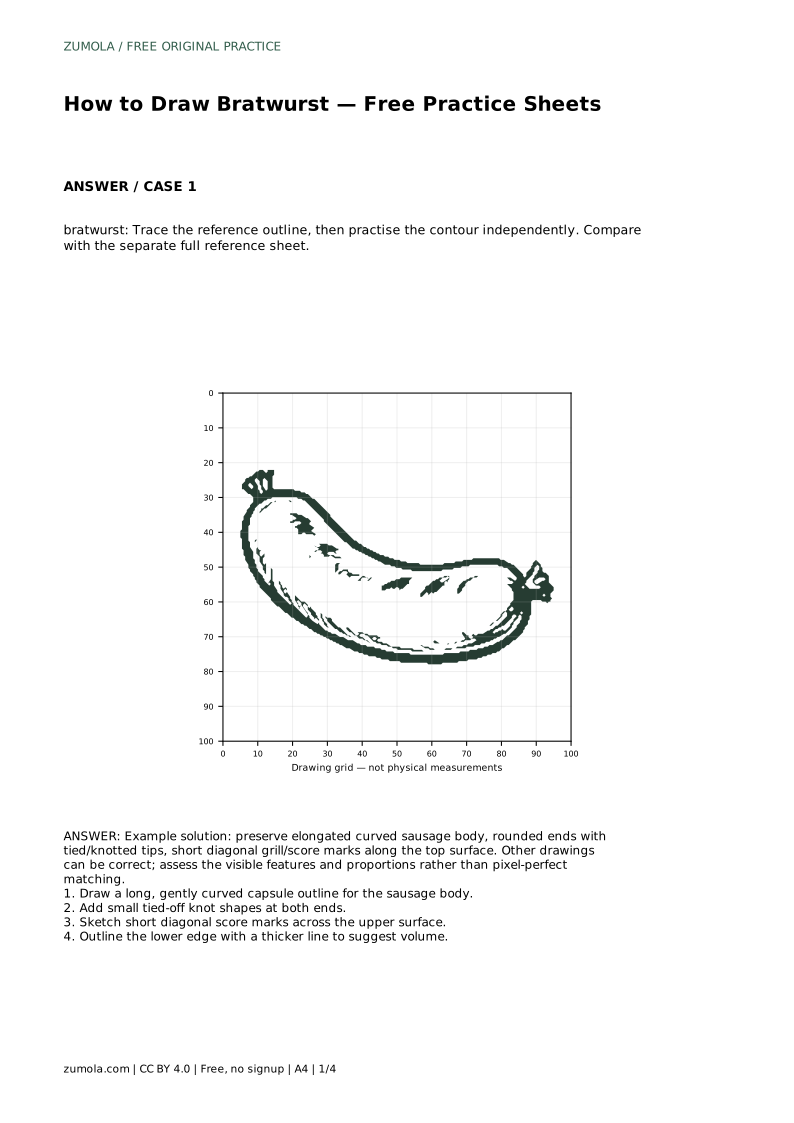
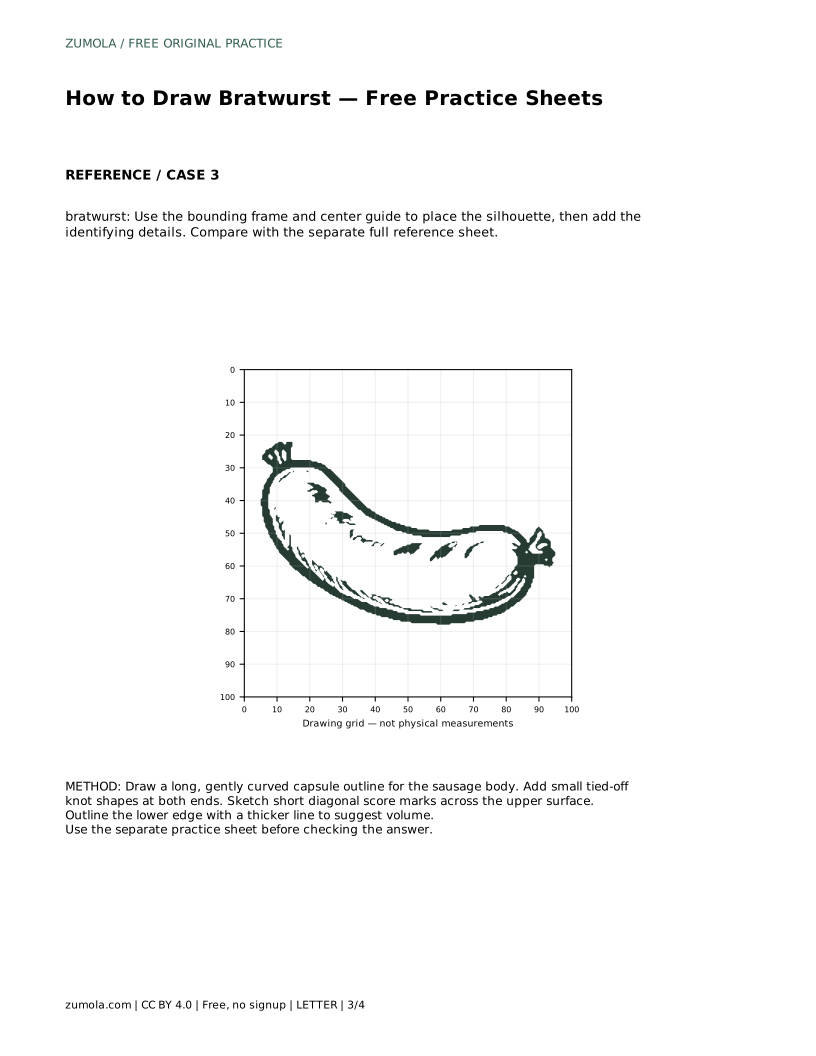
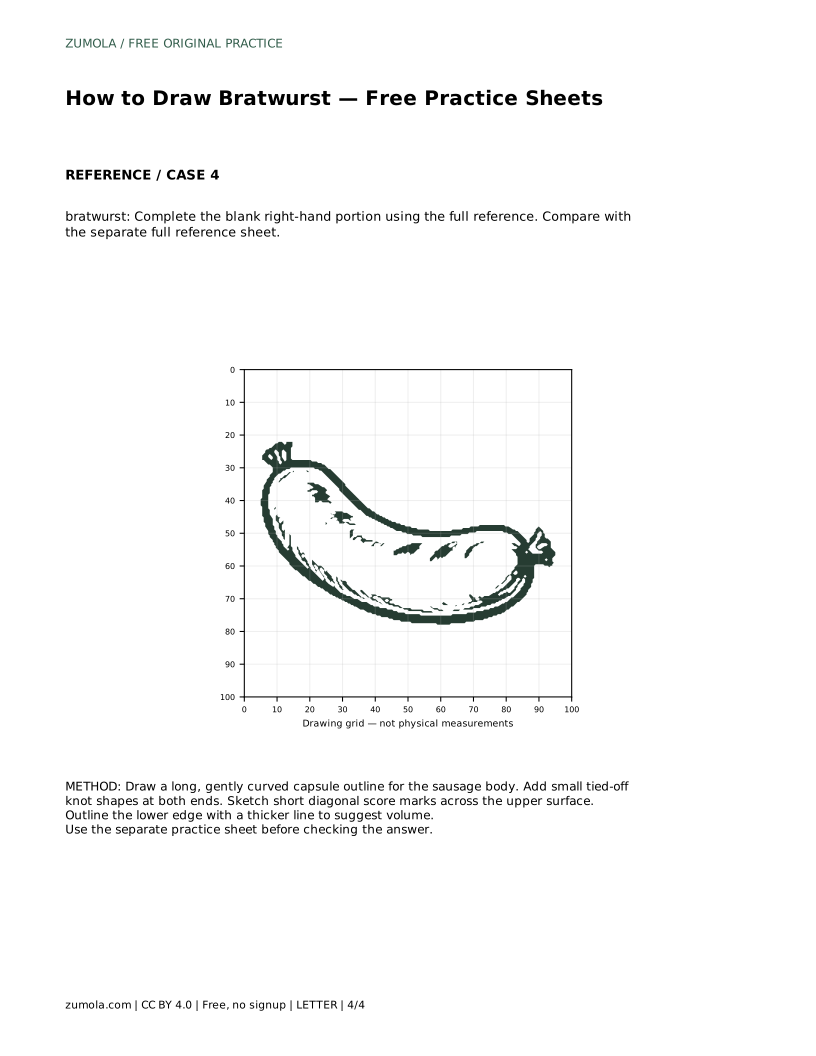
Look at the reference and separate the sausage into three parts: the main body, the two end knots, and the surface marks. The body is longer than it is wide and curves gently rather than bending sharply. The ends are rounded, not pointed, and each carries a small tied shape that sits slightly narrower than the body. The score marks are short diagonal lines across the top surface, spaced along the length.
Proportion matters more than exactness. Compare the body length to its width, and check that the curve stays shallow. If the body looks like a banana or a straight cylinder, adjust before adding detail.
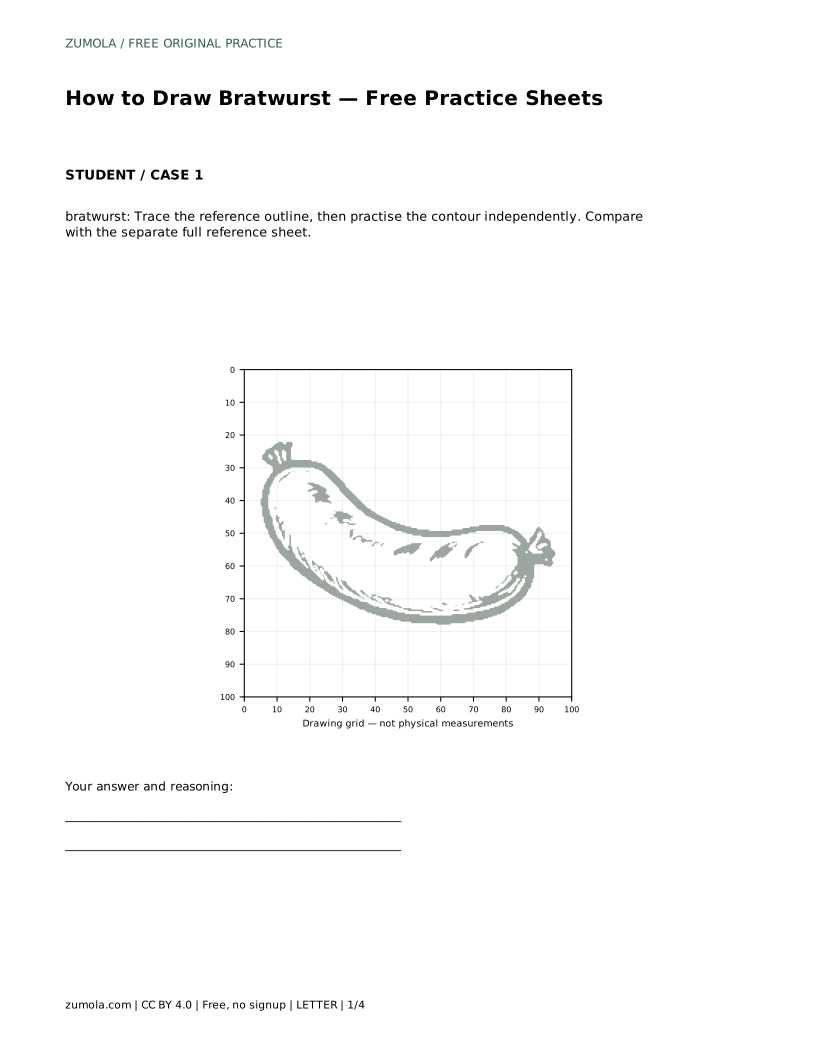
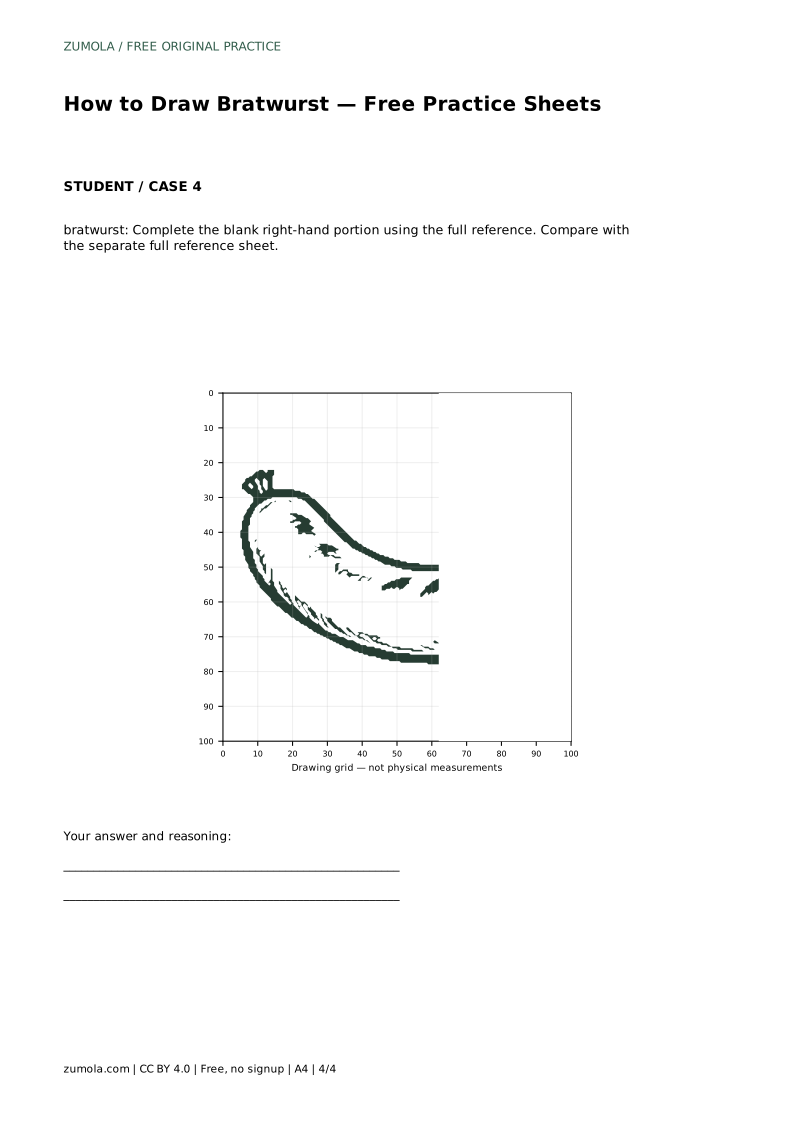
Tracing the reference outline first lets you feel the curve and the end shapes. Once the traced line feels familiar, cover the reference or move to a blank area and draw the same contour from memory. Then compare your independent drawing with the separate full reference sheet.
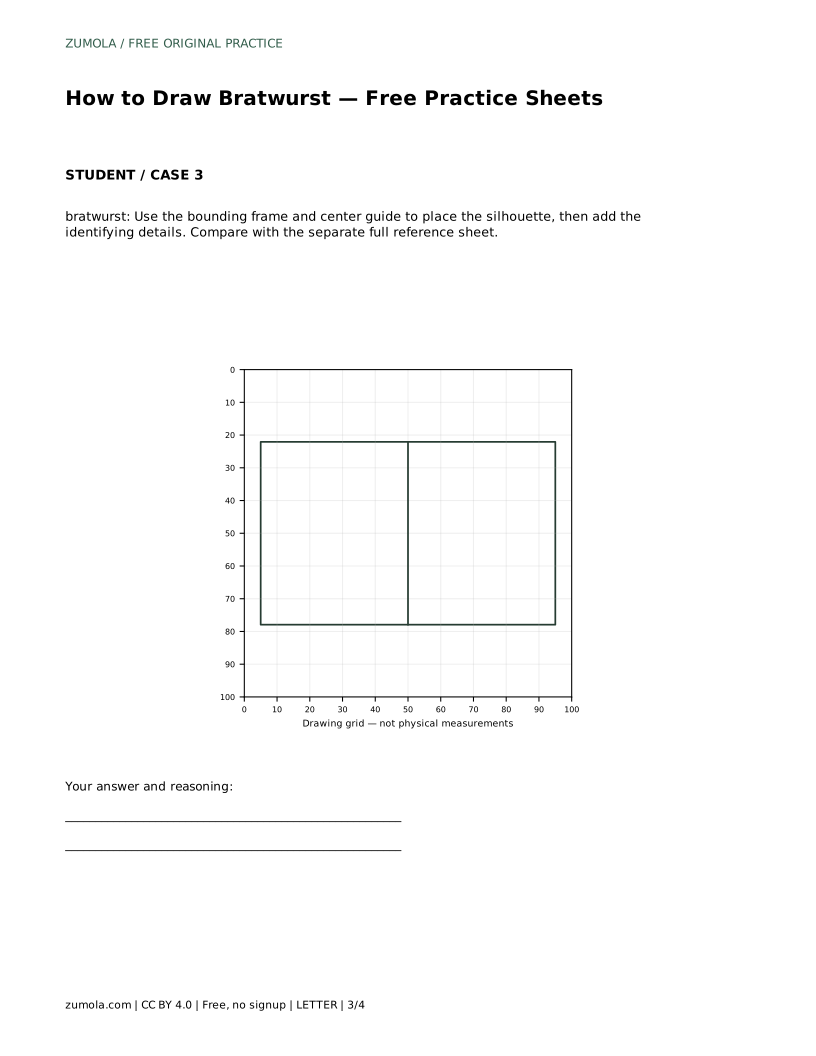
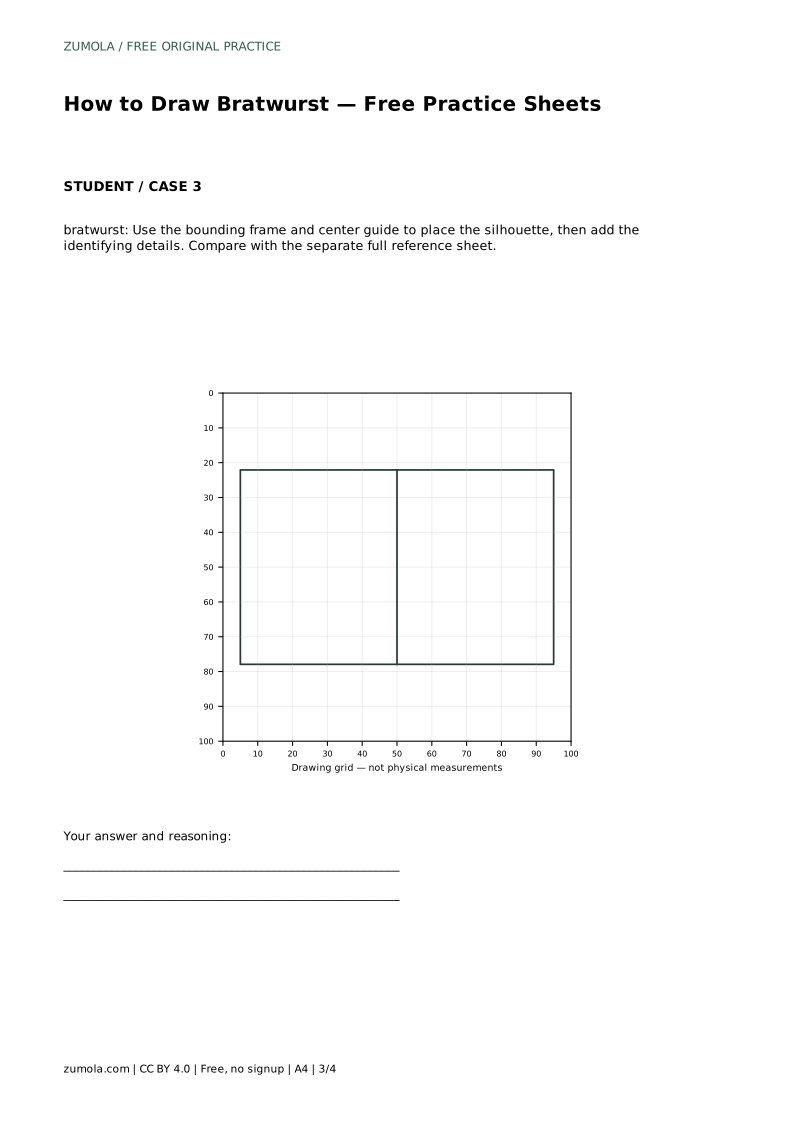
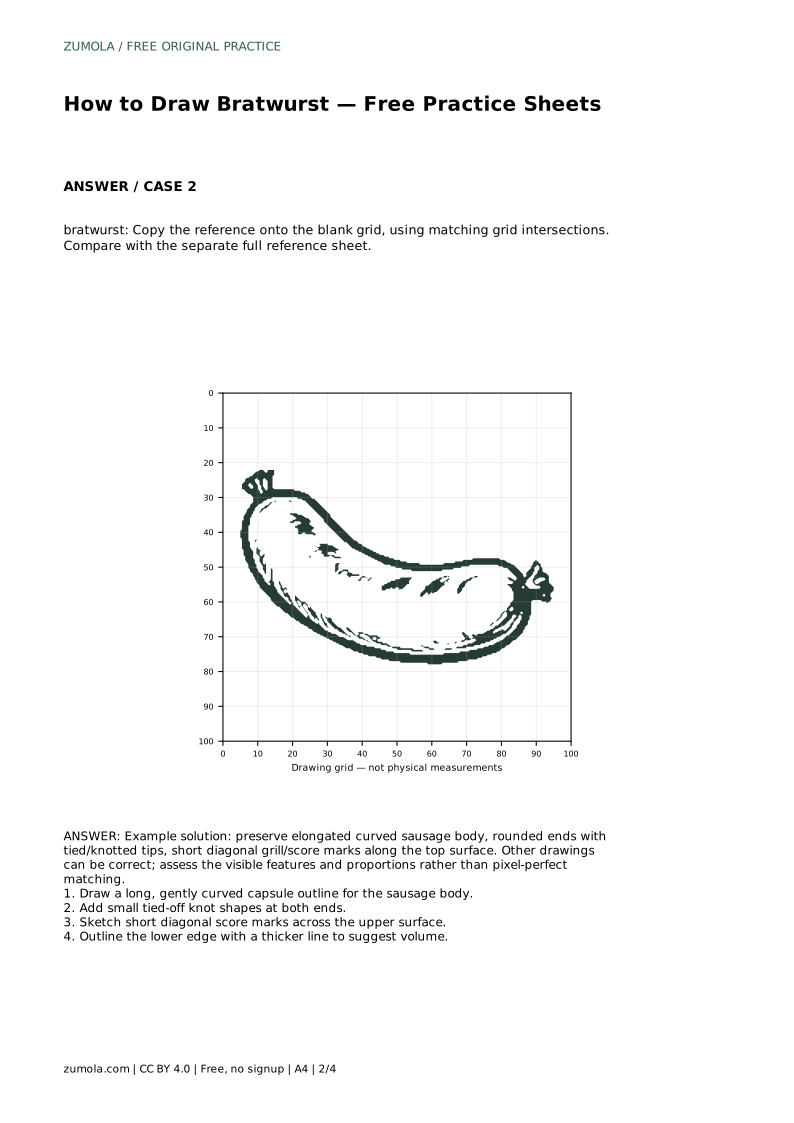
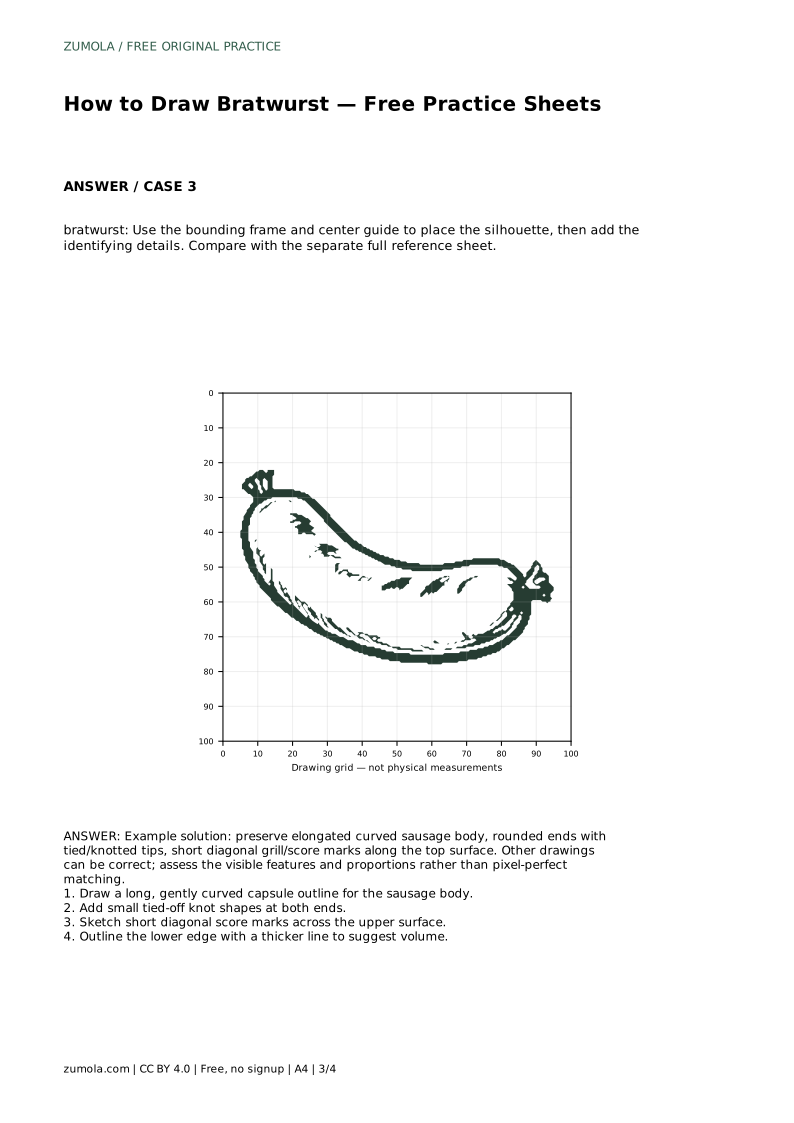
The grid version works differently: copy the reference onto the blank grid by matching where the outline crosses grid intersections. This trains placement and proportion rather than freehand flow. The bounding frame and center guide version asks you to place the silhouette inside the frame first, then add knots and score marks once the body sits correctly.
The score marks should stay short and diagonal, following the direction of the upper surface rather than cutting across the whole body. Keep them evenly spaced but not mechanical. A slightly thicker line along the lower edge suggests the sausage resting on a surface and gives the flat outline some weight.
Keep the knots simple: a small rounded shape with a short tie line is enough. Avoid turning them into detailed bows or loops, which changes the character of the drawing.
Because art has multiple valid outcomes, compare your drawing against visible features rather than a single correct image. Ask whether the body is elongated and gently curved, whether both ends are rounded with tied tips, and whether the diagonal score marks appear along the top. Proportions can vary slightly and still read correctly.
bratwurst: Trace the reference outline, then practise the contour independently. Compare with the separate full reference sheet.
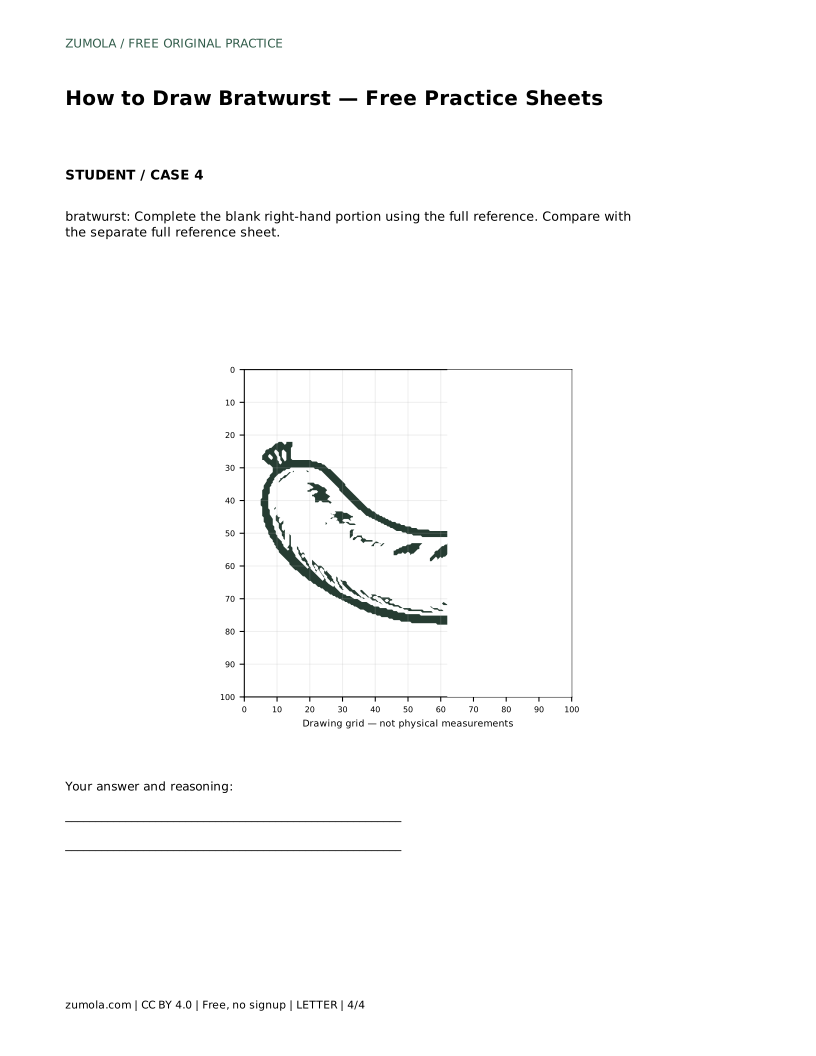
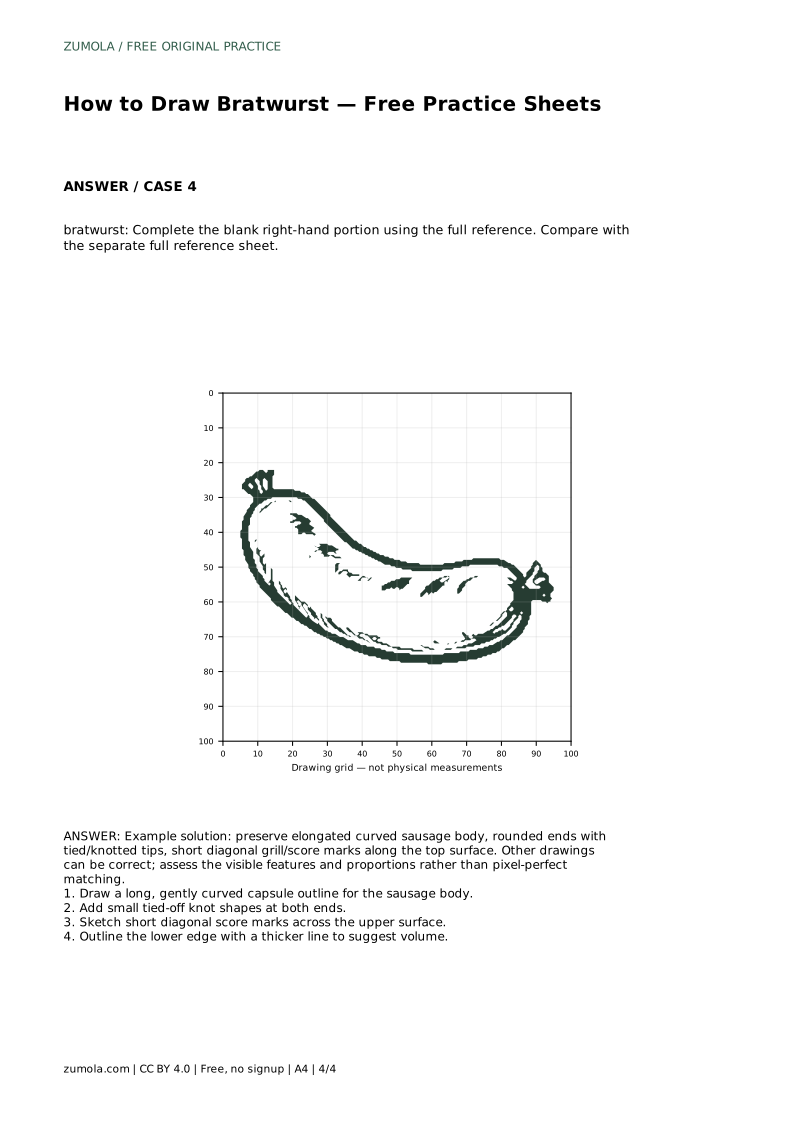
Example solution: preserve elongated curved sausage body, rounded ends with tied/knotted tips, short diagonal grill/score marks along the top surface. Other drawings can be correct; assess the visible features and proportions rather than pixel-perfect matching. Draw a long, gently curved capsule outline for the sausage body. Add small tied-off knot shapes at both ends. Sketch short diagonal score marks across the upper surface. Outline the lower edge with a thicker line to suggest volume.
No. Several drawings can be correct. Check the elongated curved body, rounded tied ends, and diagonal score marks rather than pixel-perfect matching.
The grid sheet trains placement by matching intersections. The frame and center guide sheet trains silhouette placement inside a boundary before details are added.
There is no fixed number. Keep them short, diagonal, evenly spaced, and on the upper surface only.
All drawing practice · Free coordinate paper
Original resources · CC BY 4.0 · Free for personal and classroom use with attribution.