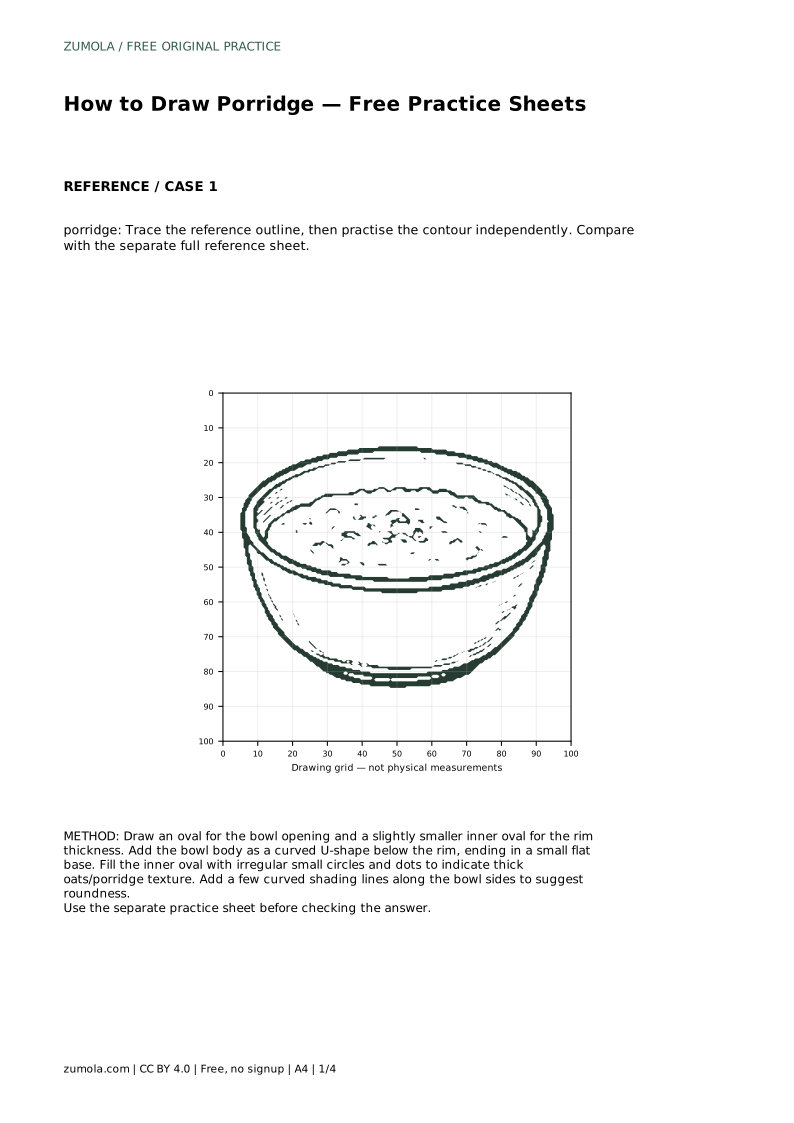
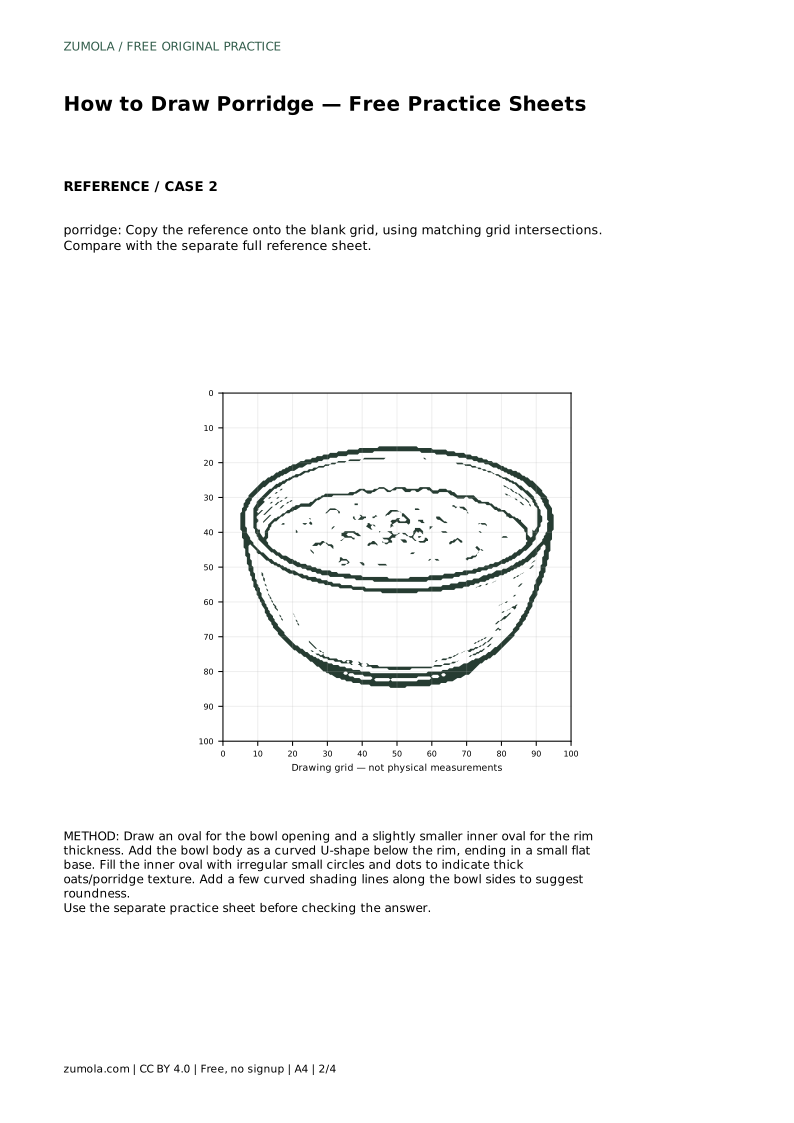
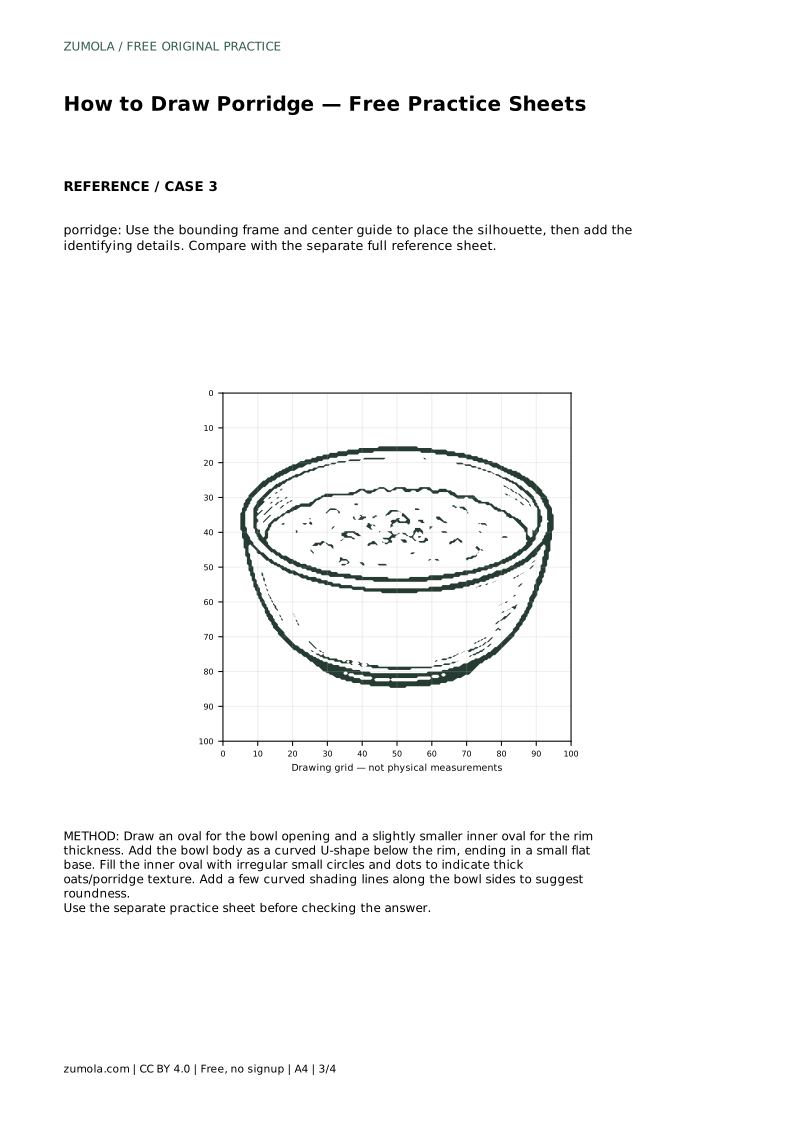
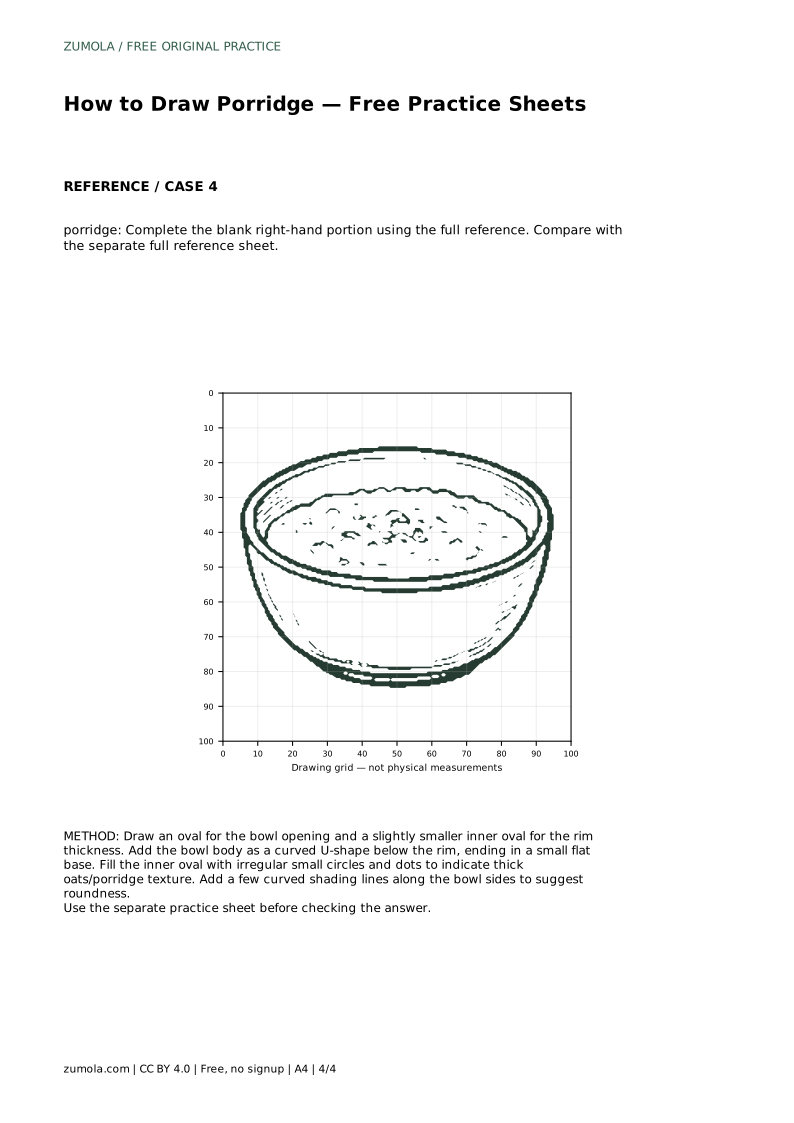
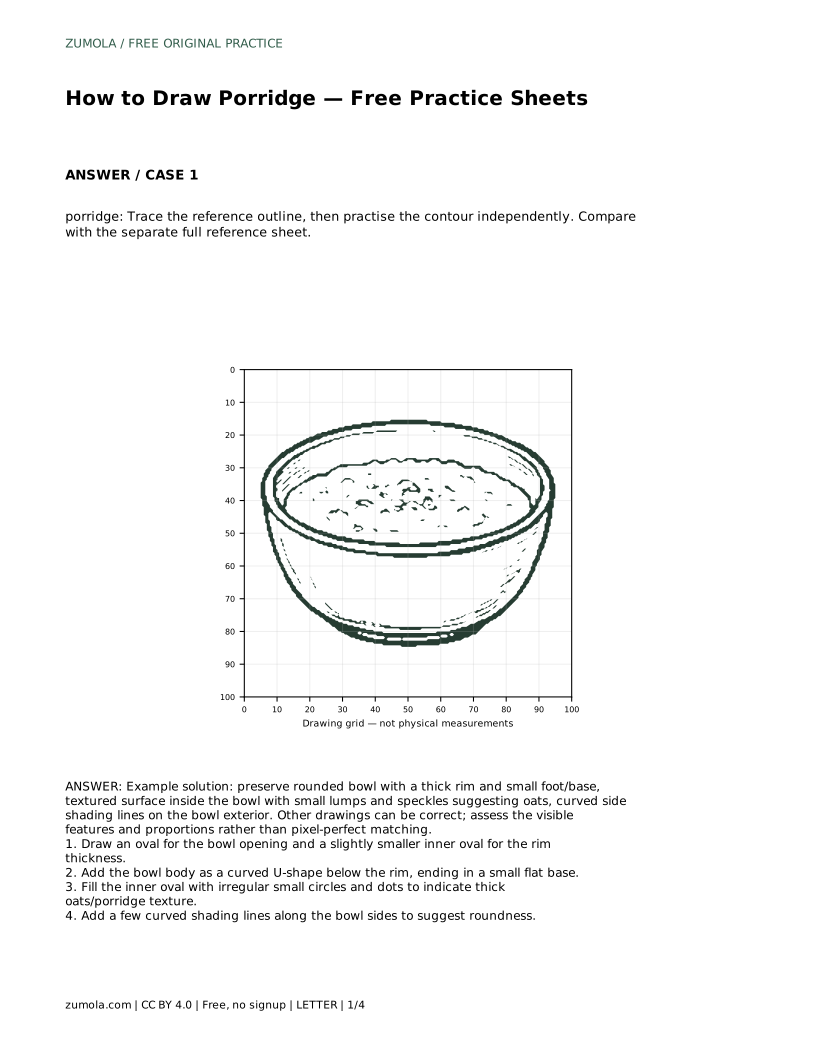
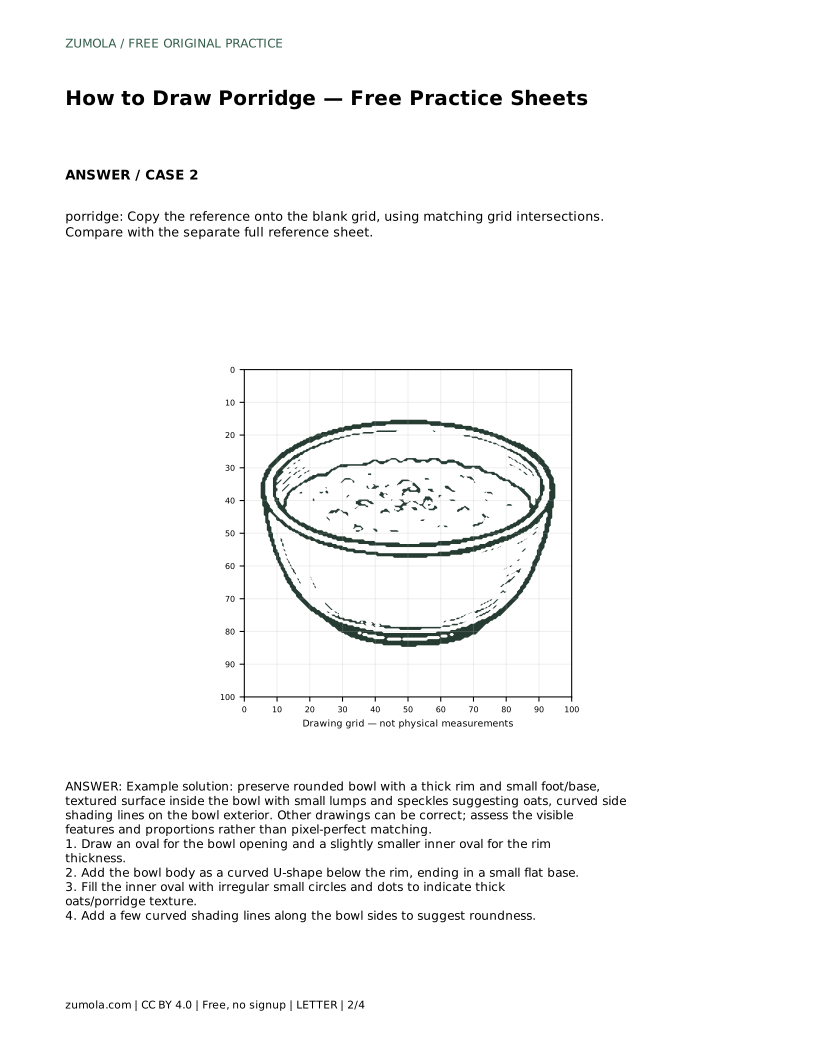
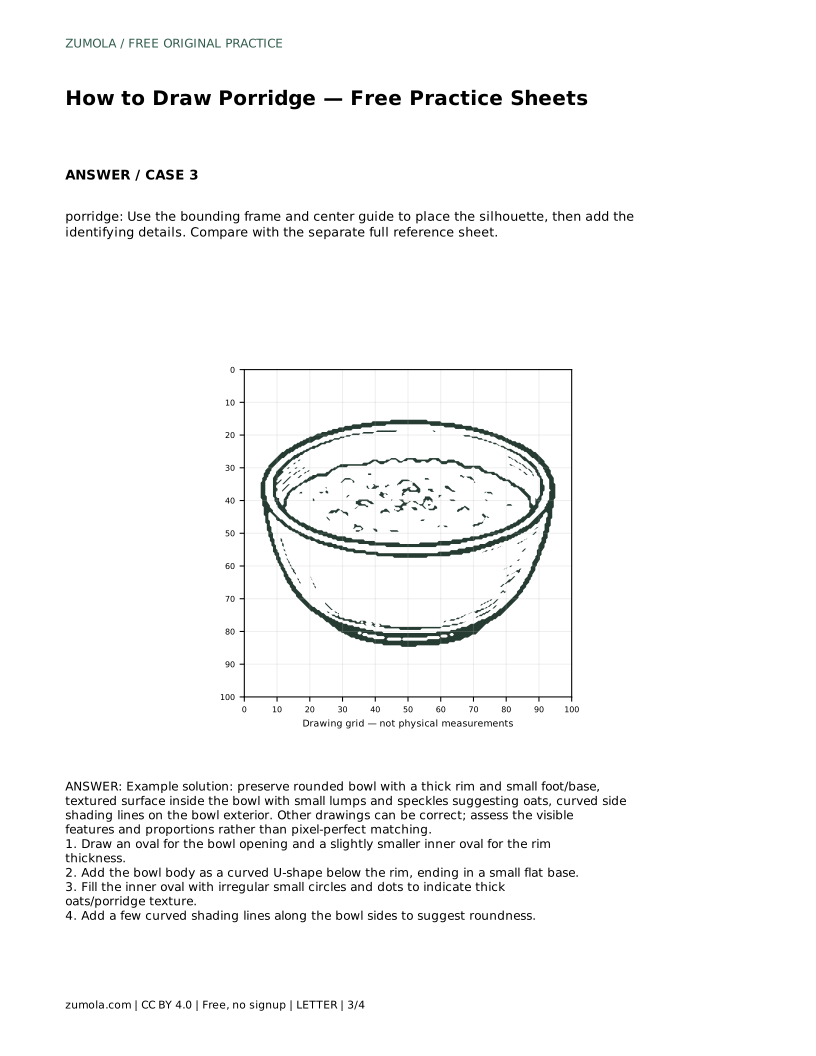
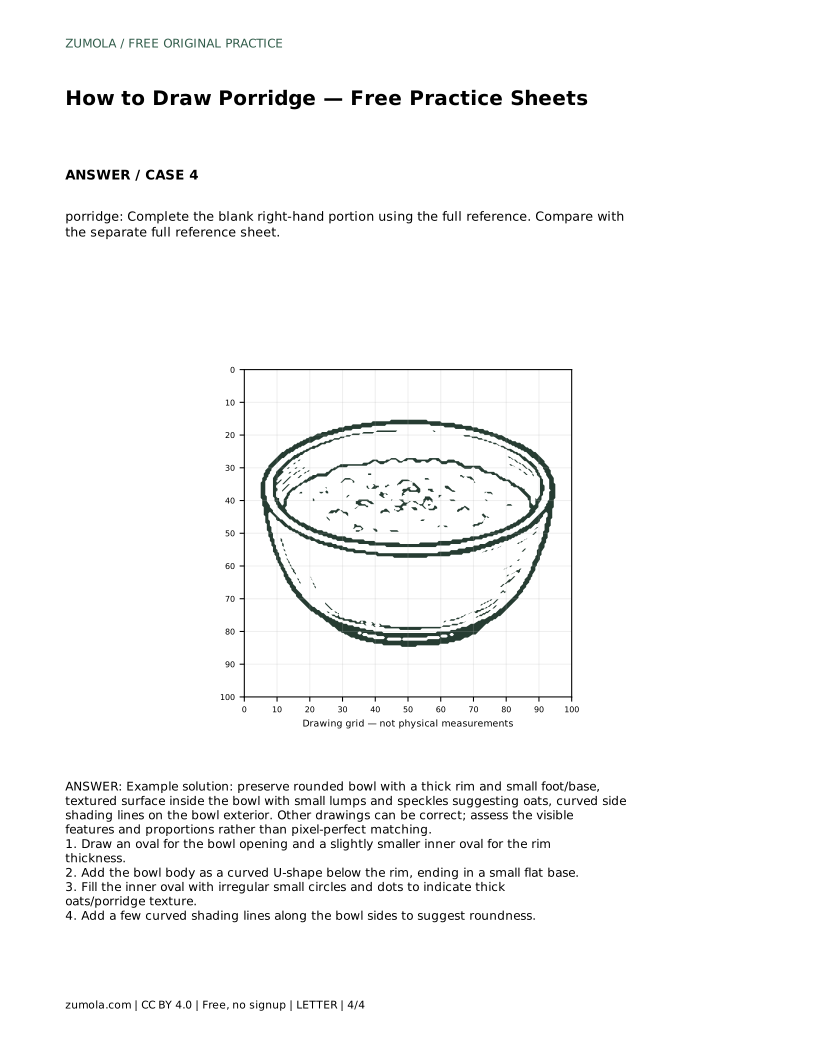
Reference diagrams
LETTER · Download PDF
A4 · Download PDF
Free original resources
Learn to draw a bowl of porridge with a rounded bowl, thick rim, small base and lumpy oat texture. Includes tracing, grid and partial-reference practice guidance.
Four original cases, with reference diagrams, practice sheets and worked answers. Everything is free; no signup required.
LETTER · Download PDF
A4 · Download PDF
LETTER · Download PDF
A4 · Download PDF
LETTER · Download PDF
A4 · Download PDF
Use A4 or US Letter to match your printer. Use the stated values and conditions to solve each exercise; diagrams are not physical measuring rulers.
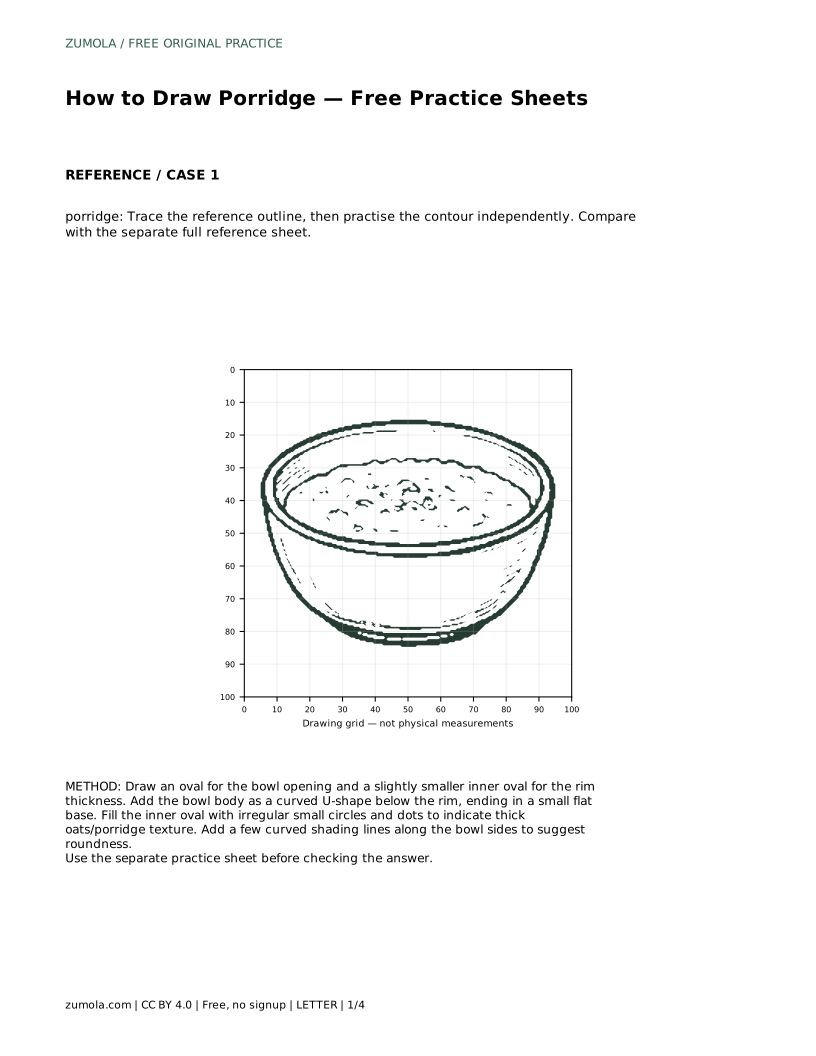
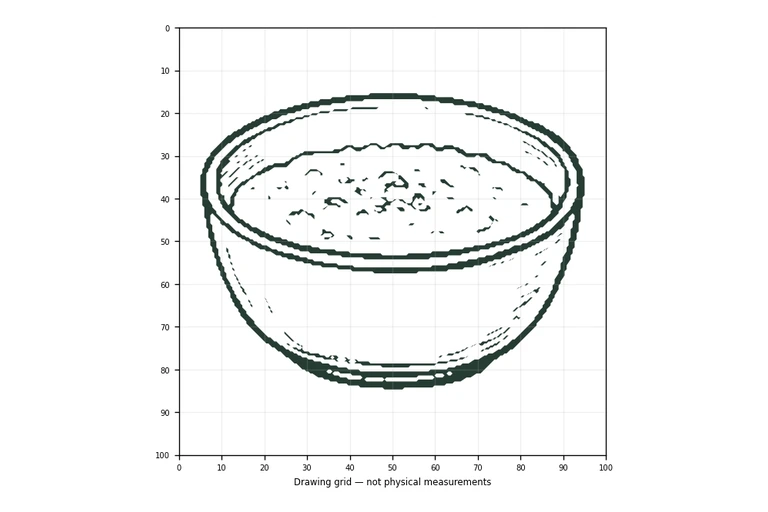
Drawing porridge is mostly a lesson in shape order: the bowl opening first, the rim thickness second, the bowl body third, and the oat texture last. Because porridge is thick and lumpy rather than smooth, the surface needs small irregular marks instead of a flat fill. This page explains a reliable sequence you can repeat across tracing, grid-copy and partial-reference sheets, and it explains what to check when your drawing differs from the reference.
Start with the opening of the bowl as an oval. The oval sets the width and the tilt of the bowl, so place it before anything else. Inside that oval, draw a slightly smaller oval to show the thickness of the rim. The gap between the two ovals is the rim itself, and keeping that gap even is what makes the bowl read as a solid object rather than a flat circle.
From the outer oval, continue downward with a curved U-shape for the bowl body. Bring the two sides inward near the bottom and finish with a small flat base, often called a foot. The base should be narrower than the widest part of the bowl. If the body bulges wider than the opening, the bowl will look unstable; if the base is as wide as the rim, it will look like a cylinder.
Porridge sits in the bowl as a soft mass. Fill the inner oval with small irregular circles, short dashes and dots, varying their size so the surface looks uneven. Keep the marks inside the inner oval, since anything beyond it would spill over the rim. A few slightly larger lumps near the center suggest thickness, while finer speckles around them suggest oats.
Avoid drawing a smooth, glossy surface with long horizontal lines; that reads as soup or milk. Also avoid covering the whole inner oval with one dense scribble, which hides the individual lumps. Leave small gaps so the texture stays legible.
Add a few curved lines along the sides of the bowl body, following its curve from rim to base. These lines suggest the rounded surface catching light. Keep them short and spaced apart rather than running them straight down, which would flatten the bowl. A small curved mark under the rim can suggest a shadow where the rim overhangs the body.
The base deserves a little attention too. A short horizontal line or a small shaded band at the foot helps the bowl sit on a surface. Do not add a long cast shadow unless the reference shows one, because the practice sheets focus on the object itself.
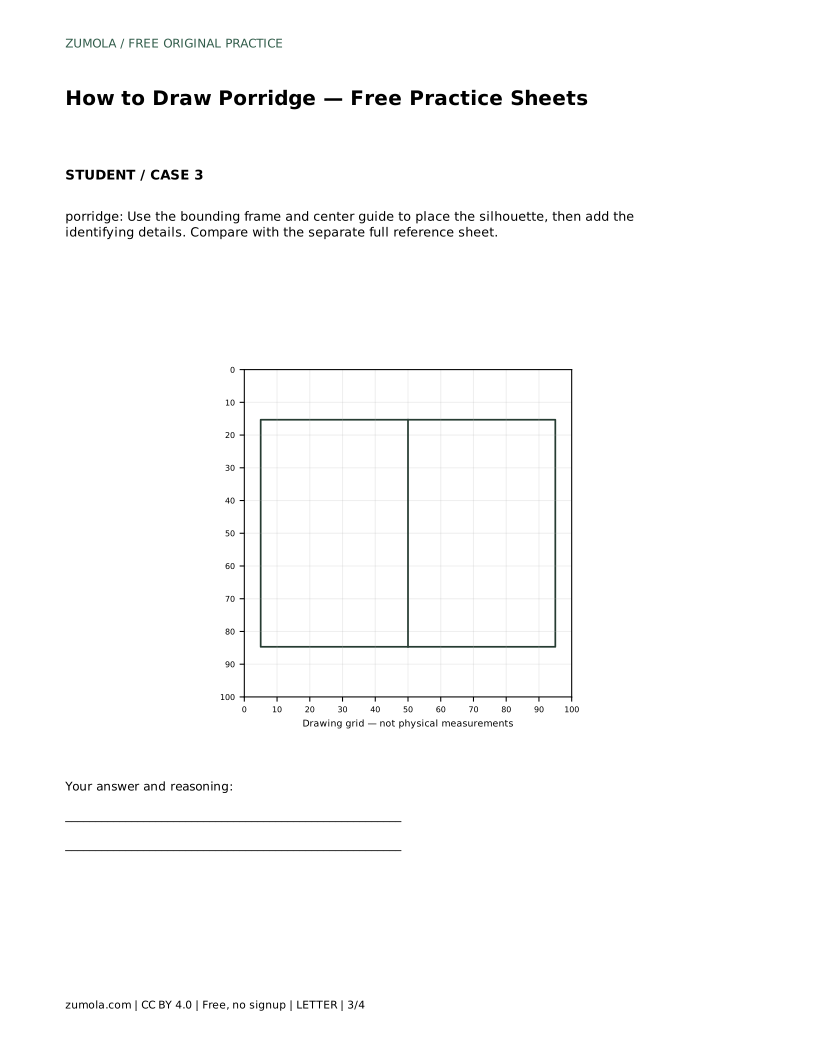
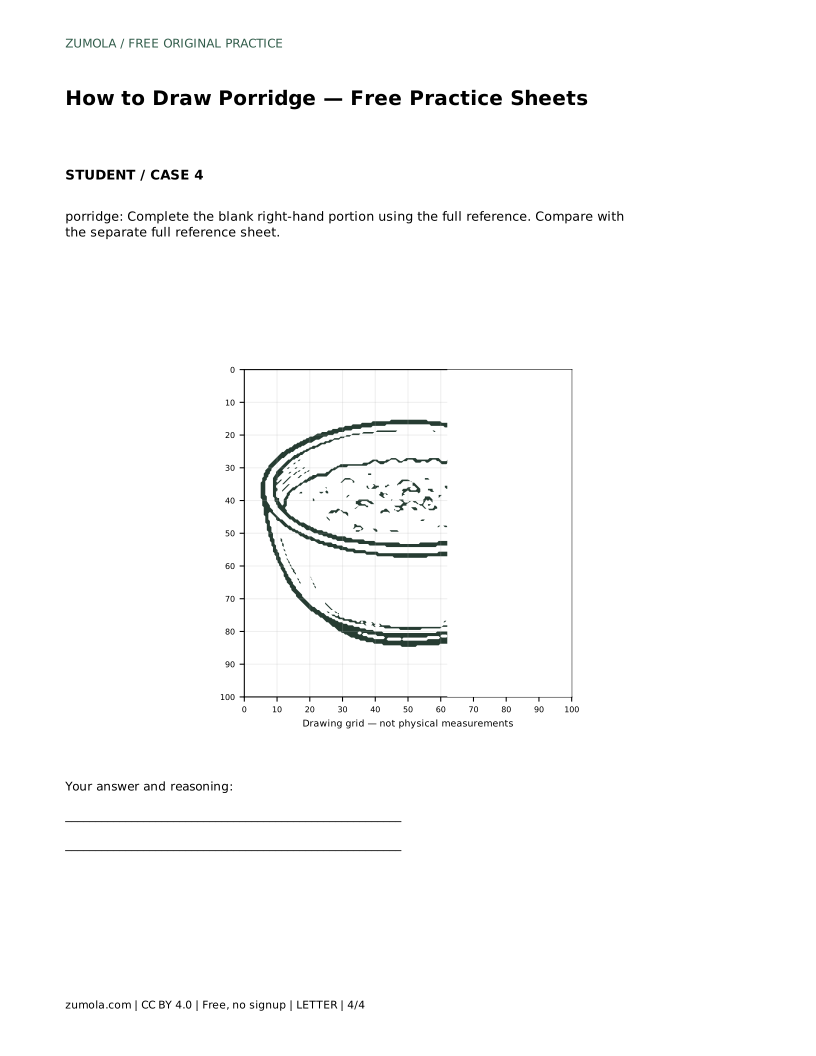
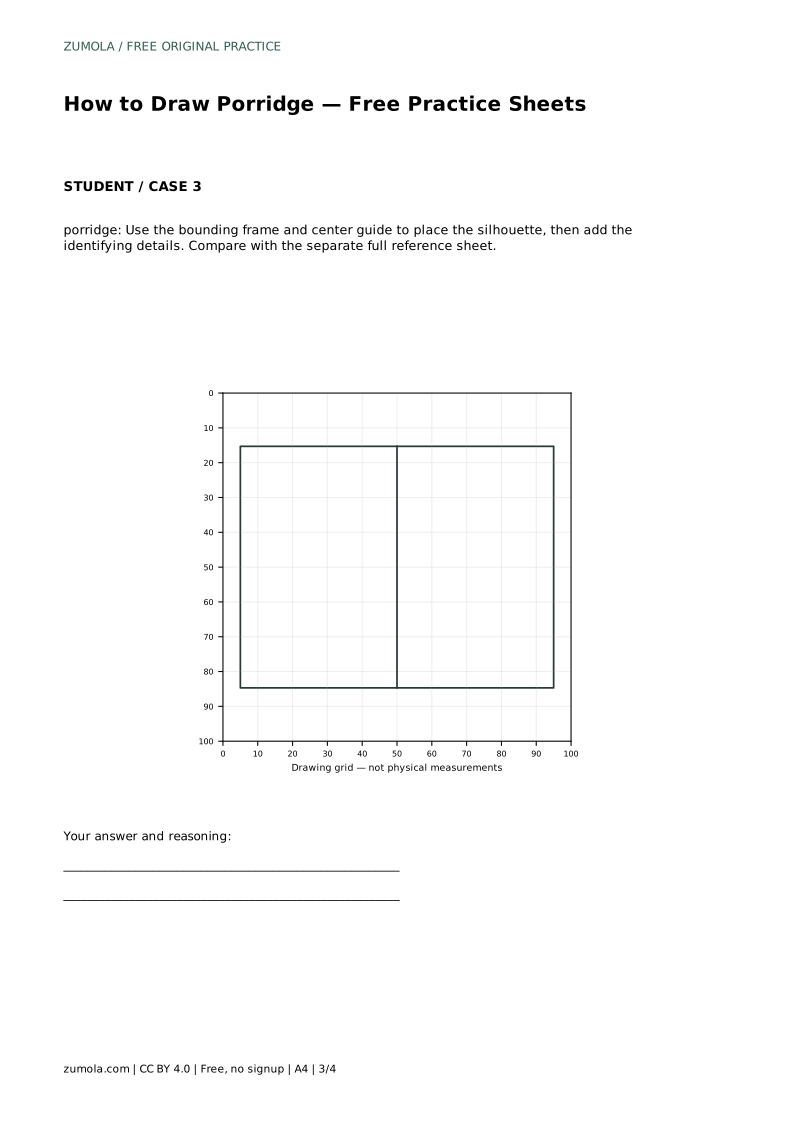
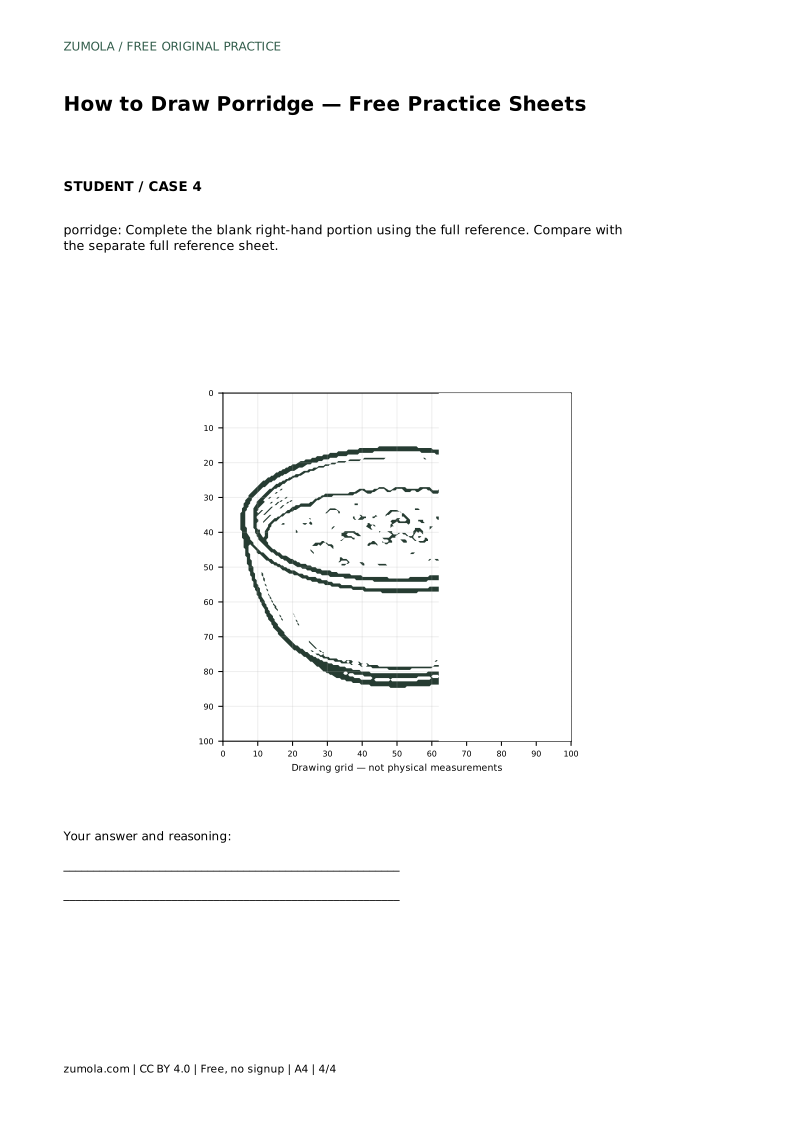
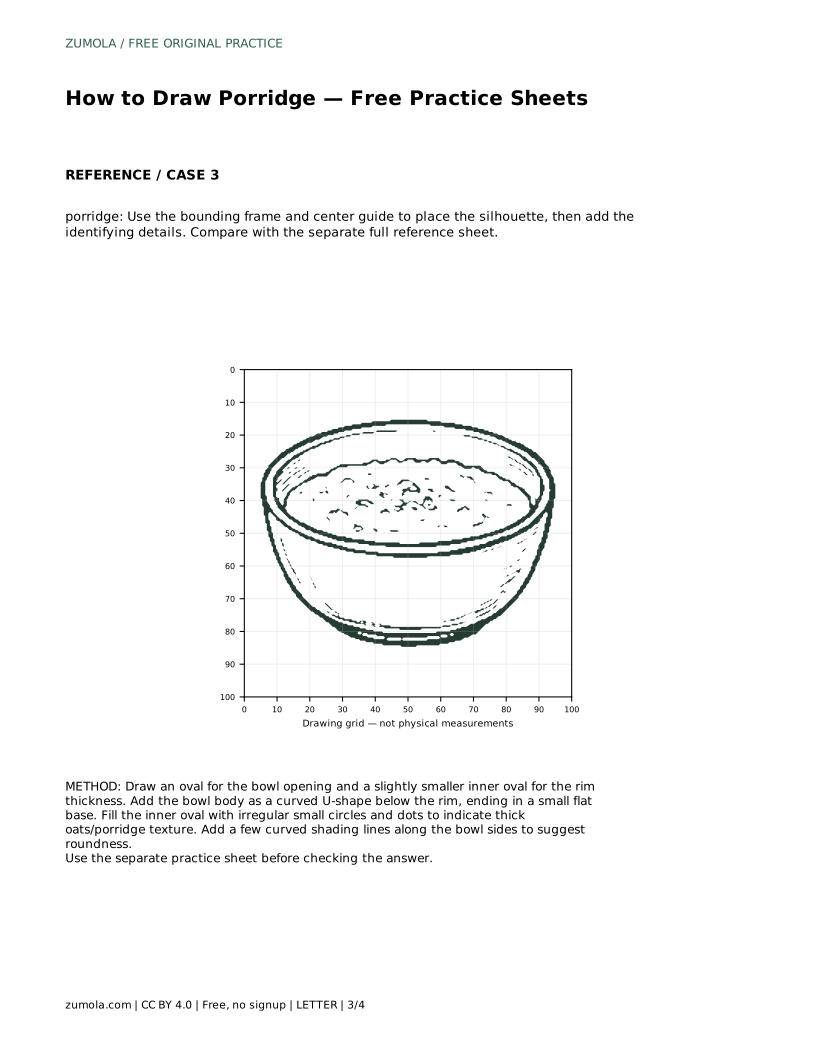
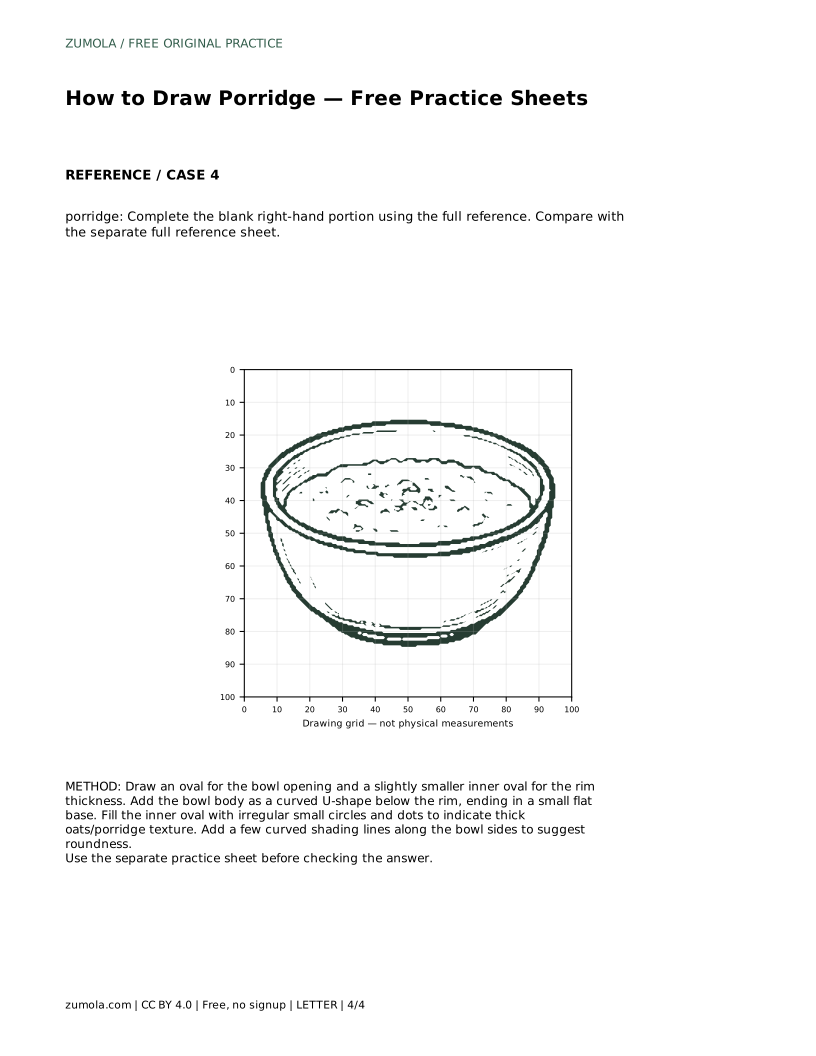
The tracing sheet asks you to follow the reference outline first, then repeat the contour on your own. The grid sheet asks you to copy the drawing by matching grid intersections, which helps with proportion. The bounding-frame sheet gives you a center guide for placing the silhouette before adding details. The partial-reference sheet gives you the left portion and asks you to complete the right side.
In every format, compare your finished drawing with the separate full reference sheet rather than judging from memory. Check the rim thickness, the width of the base and the density of the oat texture. Small differences in these features are normal, and more than one drawing can be correct.
A useful check is to look at the drawing from a short distance. The bowl should read as a rounded container with a visible rim and a small base, and the surface should read as thick and lumpy. If the rim disappears, the inner oval is probably too close to the outer one. If the texture looks flat, the marks are probably too uniform in size.
Most problems come from drawing details before the main shape is settled. If the bowl looks tilted or lopsided, redraw the outer oval and check that its left and right halves match. If the porridge looks like it is floating, check that the texture sits inside the inner oval and that the rim is drawn around it. If the bowl looks flat, add curved side lines rather than straight ones.
Keep your first attempt and compare it with your second. Adjusting one feature at a time, such as the base width or the rim gap, makes it easier to see which change improved the drawing.
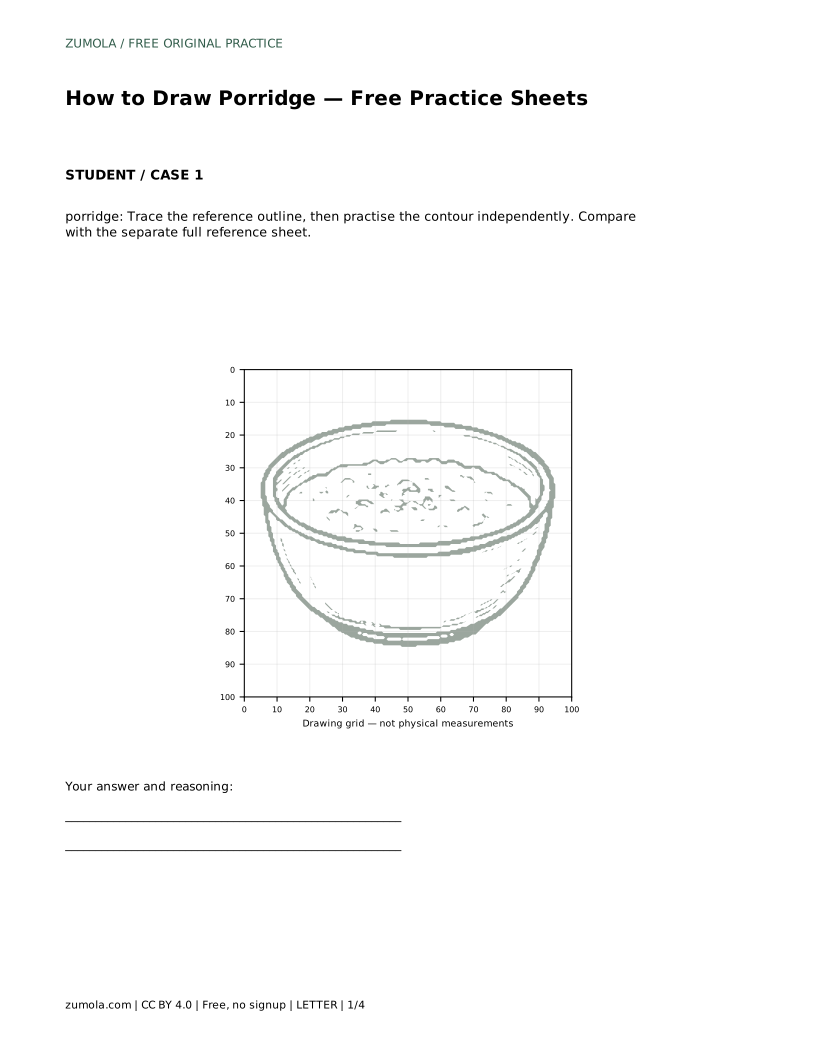
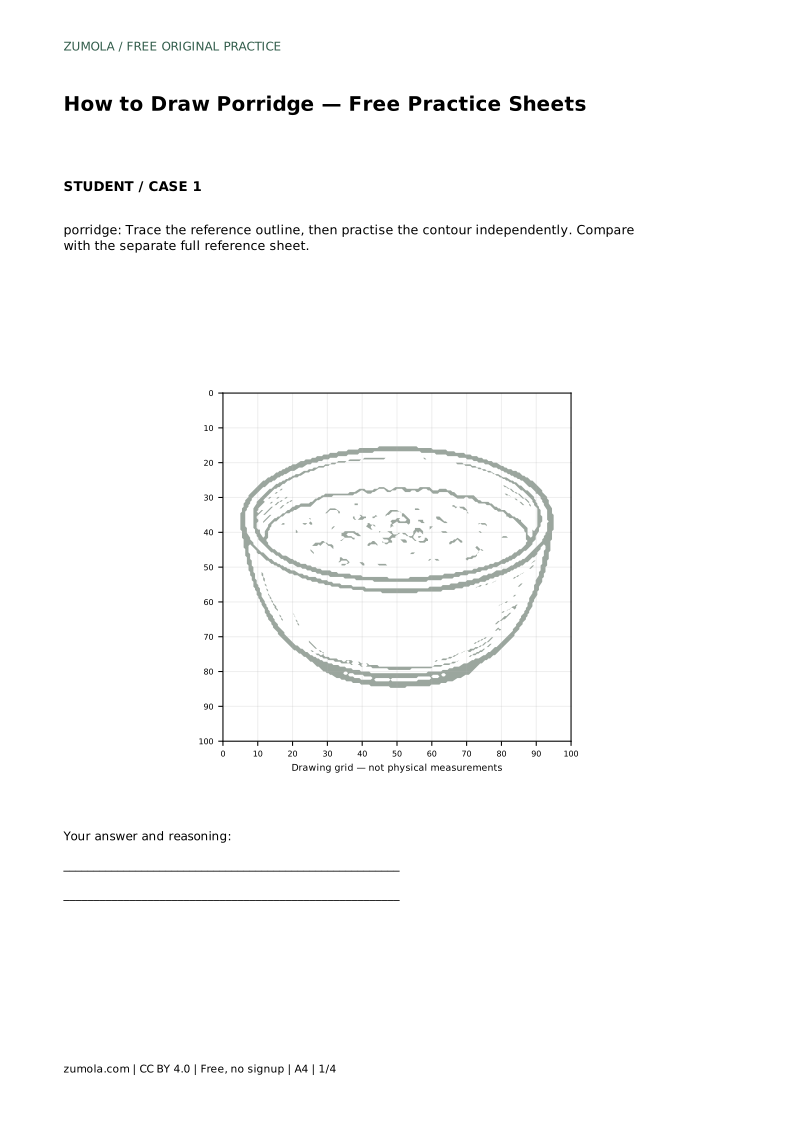
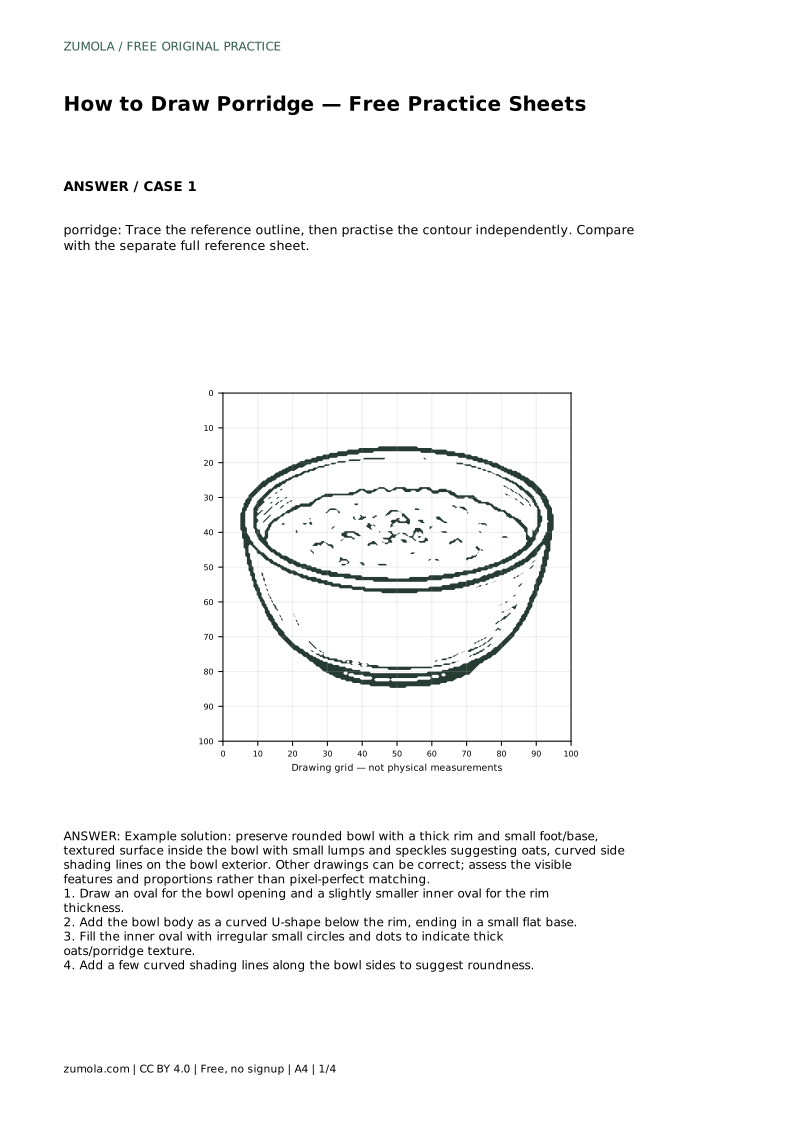
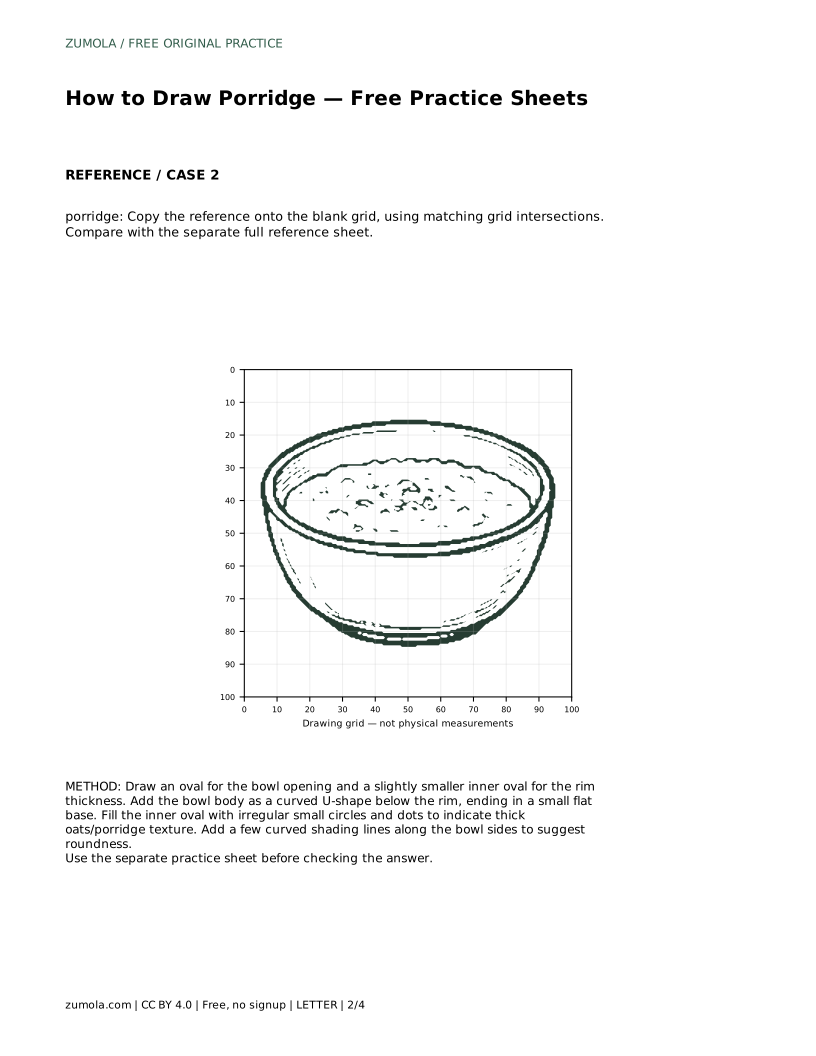
porridge: Trace the reference outline, then practise the contour independently. Compare with the separate full reference sheet.
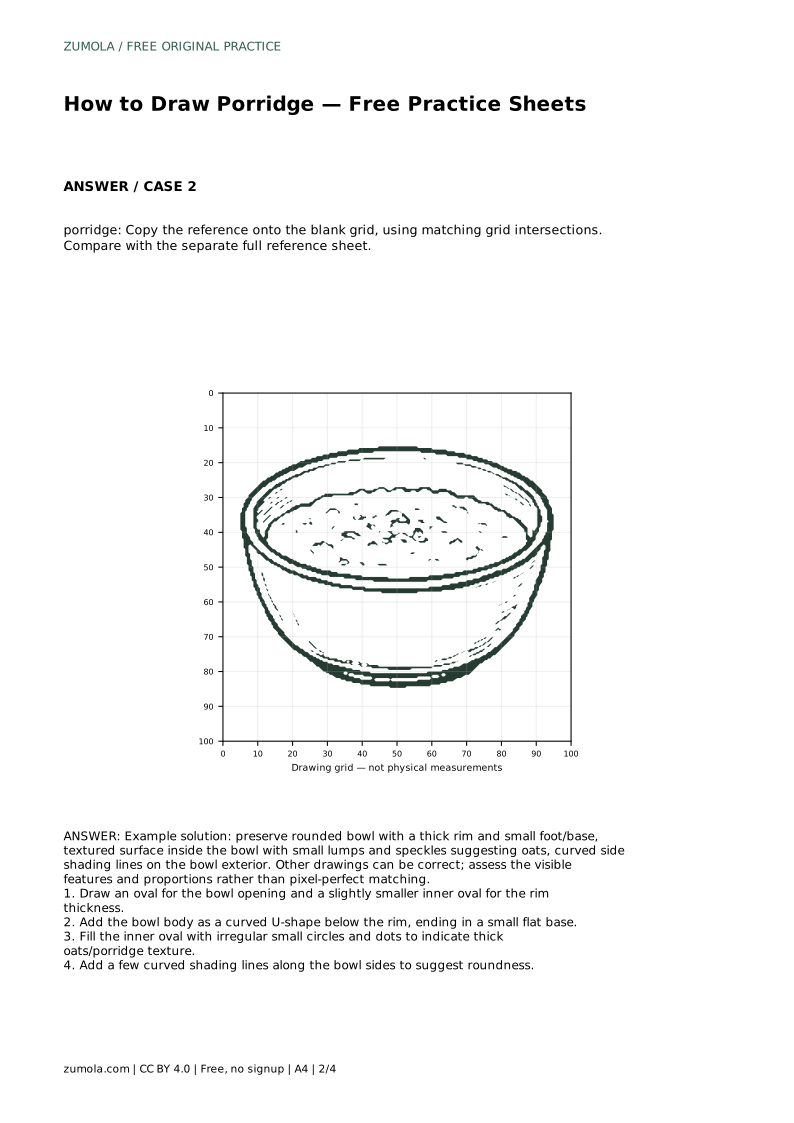
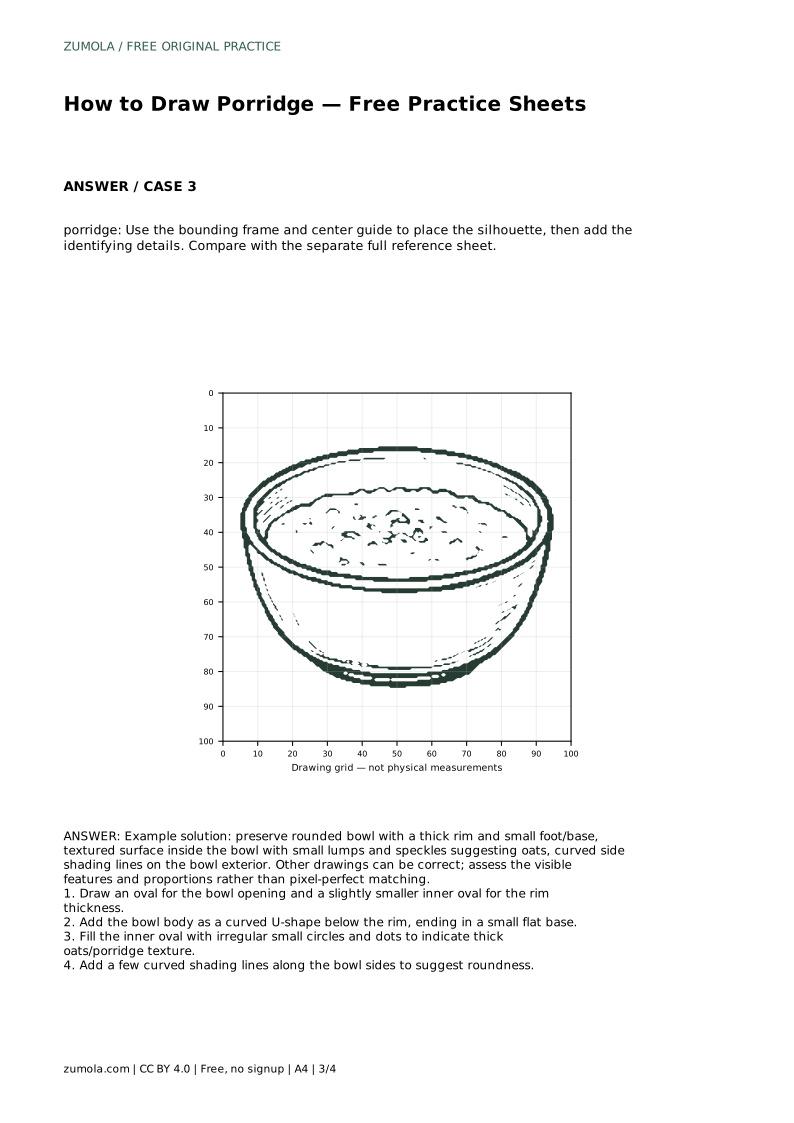
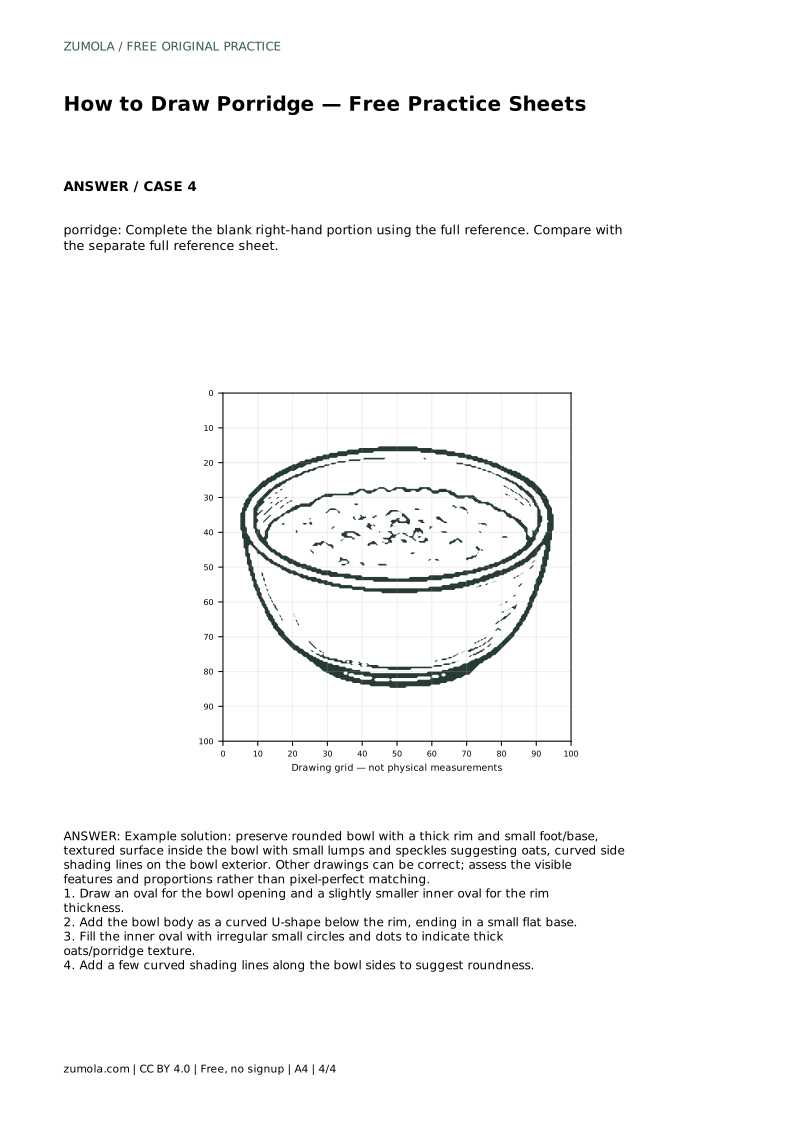
Example solution: preserve rounded bowl with a thick rim and small foot/base, textured surface inside the bowl with small lumps and speckles suggesting oats, curved side shading lines on the bowl exterior. Other drawings can be correct; assess the visible features and proportions rather than pixel-perfect matching. Draw an oval for the bowl opening and a slightly smaller inner oval for the rim thickness. Add the bowl body as a curved U-shape below the rim, ending in a small flat base. Fill the inner oval with irregular small circles and dots to indicate thick oats/porridge texture. Add a few curved shading lines along the bowl sides to suggest roundness.
No. The reference shows one valid arrangement of lumps and speckles. Assess whether your surface looks thick and uneven and stays inside the inner oval, rather than matching each mark.
Flat bowls usually lack curved side lines. Add two or three short curved lines down each side of the bowl body, following its curve, and a small shadow mark beneath the rim.
You can, but it is harder to keep the texture inside the rim. Drawing the outer oval and inner oval first gives the texture a clear boundary to stay within.
All drawing practice · Free coordinate paper
Original resources · CC BY 4.0 · Free for personal and classroom use with attribution.