Reference diagrams
LETTER · Download PDF
A4 · Download PDF
Free original resources
Learn to draw a pumpkin bread loaf with a domed top, tapered sides, and a central crease. Trace, grid, and frame practice methods build contour confidence.
Four original cases, with reference diagrams, practice sheets and worked answers. Everything is free; no signup required.
LETTER · Download PDF
A4 · Download PDF
LETTER · Download PDF
A4 · Download PDF
LETTER · Download PDF
A4 · Download PDF
Use A4 or US Letter to match your printer. Use the stated values and conditions to solve each exercise; diagrams are not physical measuring rulers.
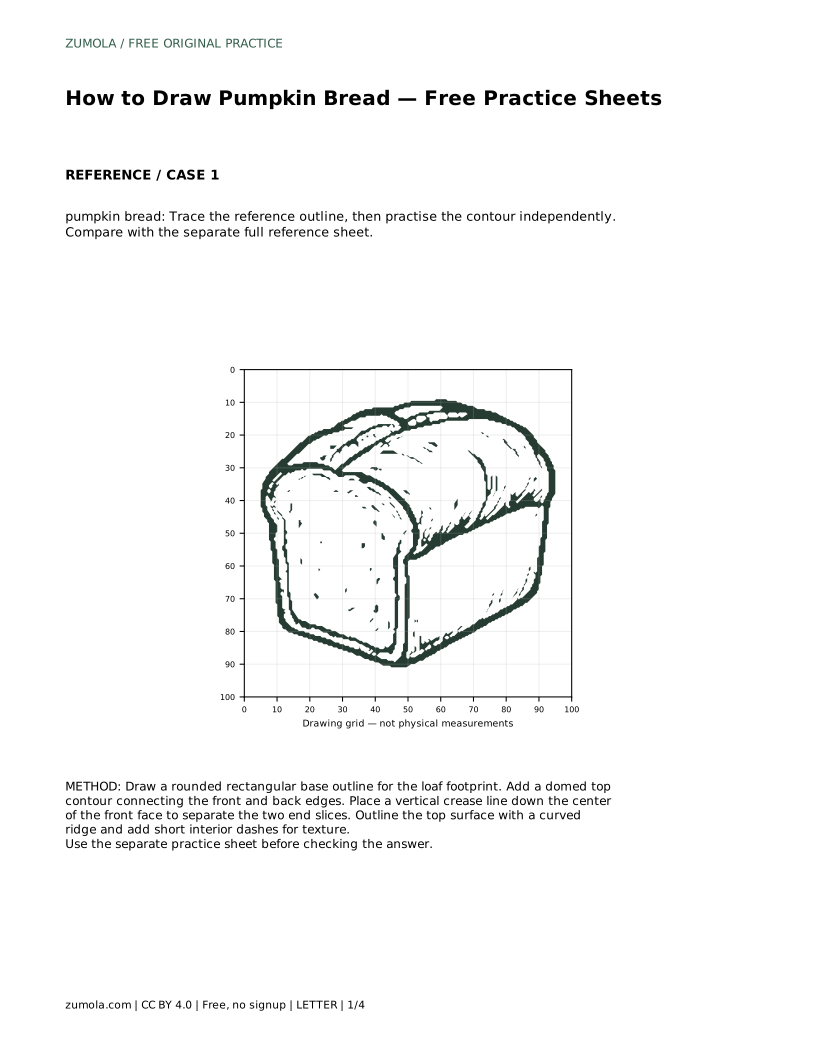
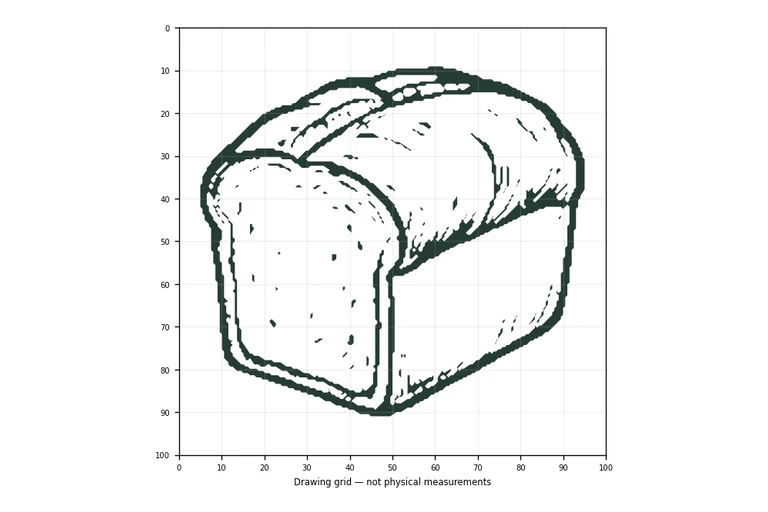
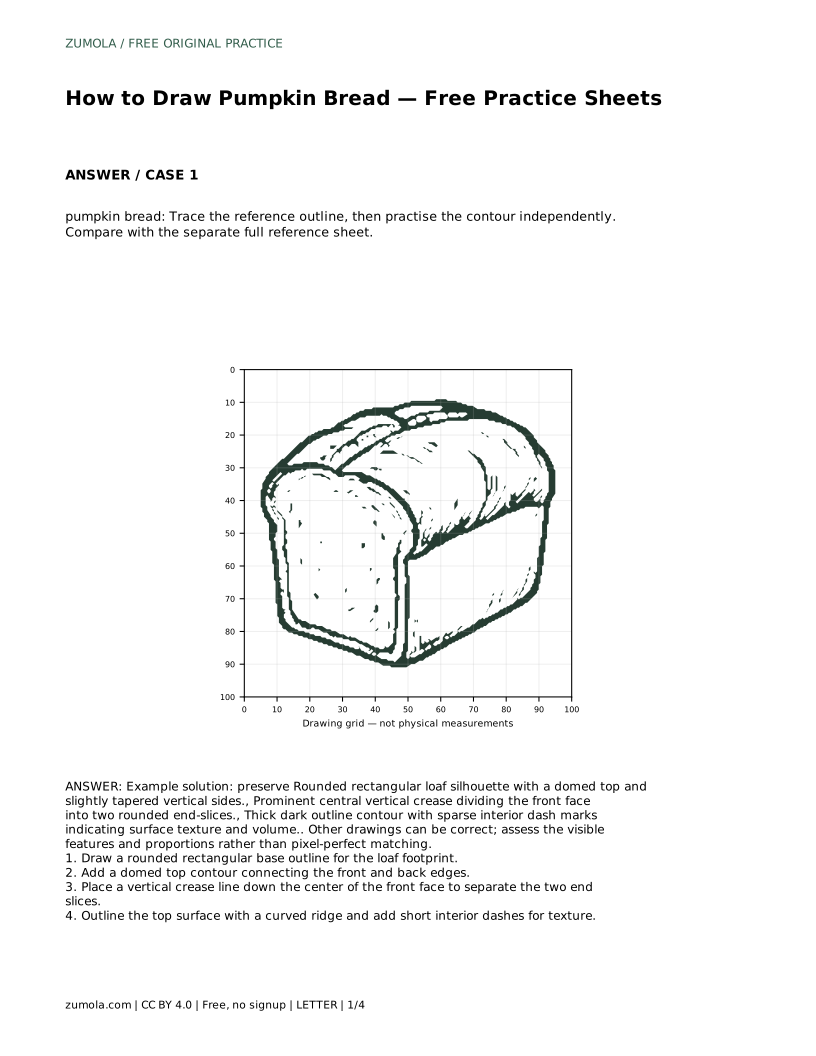
Drawing pumpkin bread is a contour exercise: a rounded rectangular loaf, a domed top, slightly tapered sides, and a central vertical crease that separates two end slices. This page explains how to read those features, how to practise them with tracing, grid, frame, and partial-reference sheets, and how to judge your own drawing fairly. Art has many valid outcomes, so compare visible features and proportions rather than expecting a pixel-perfect match.
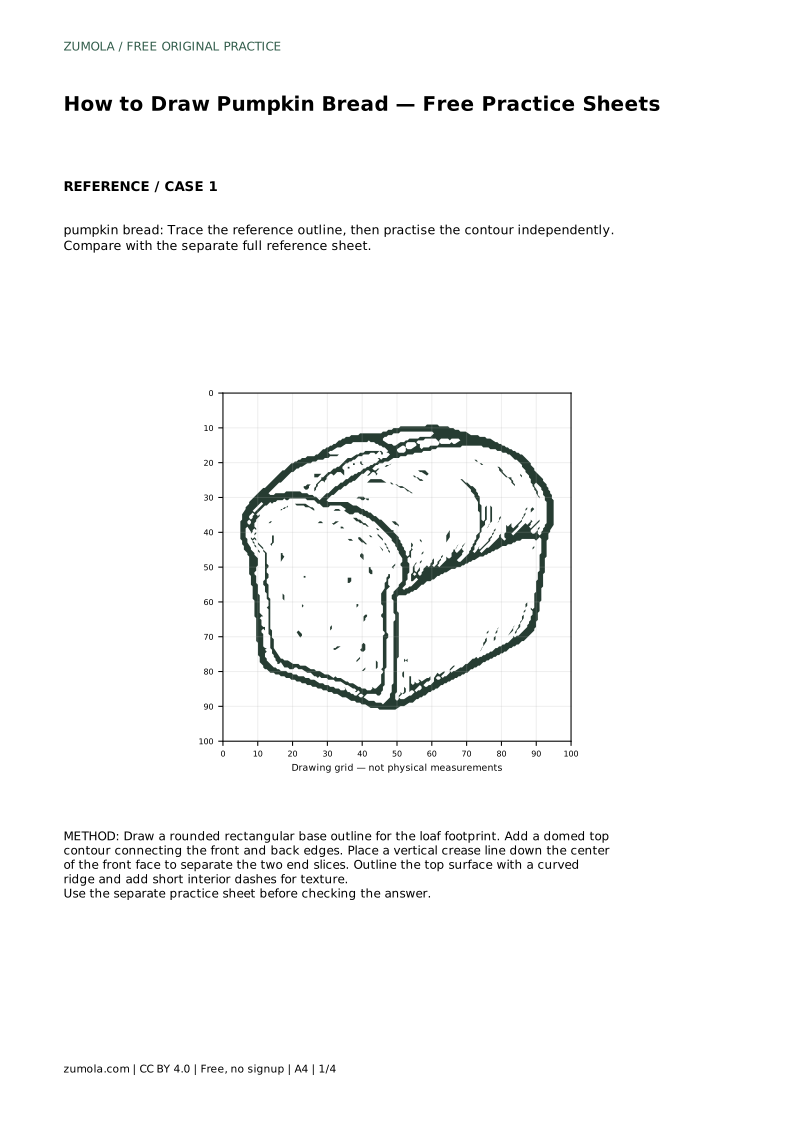
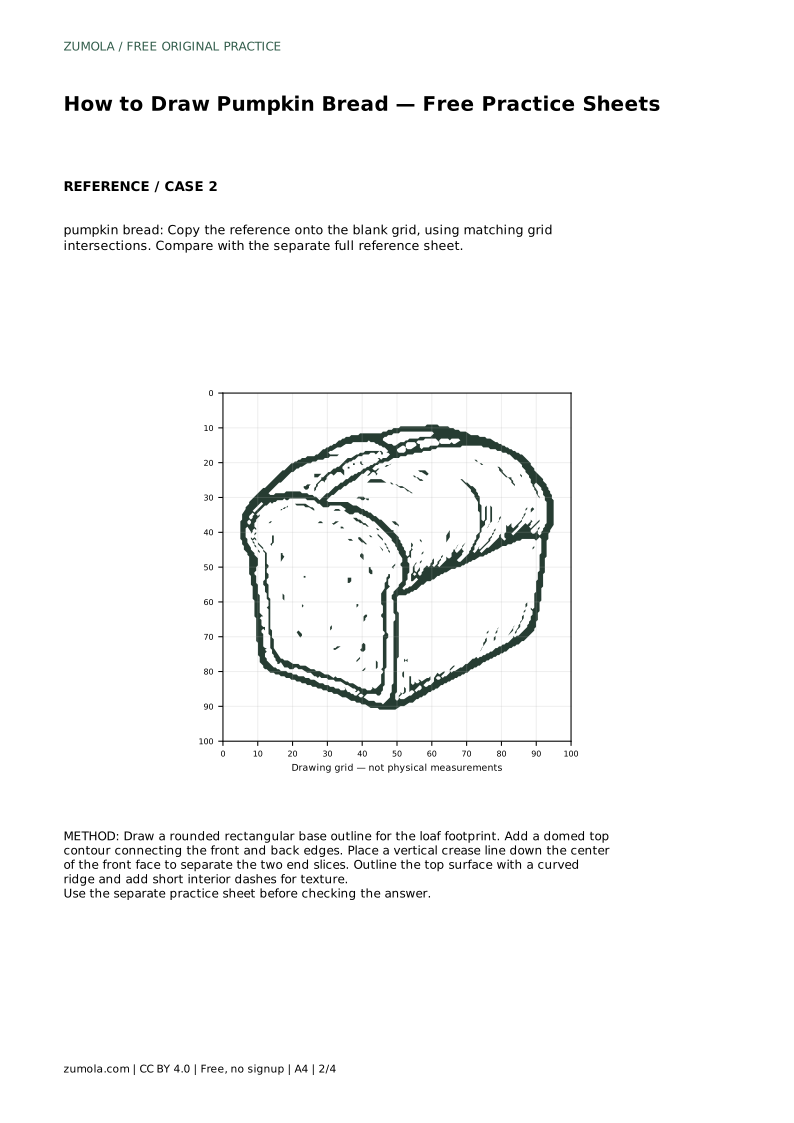
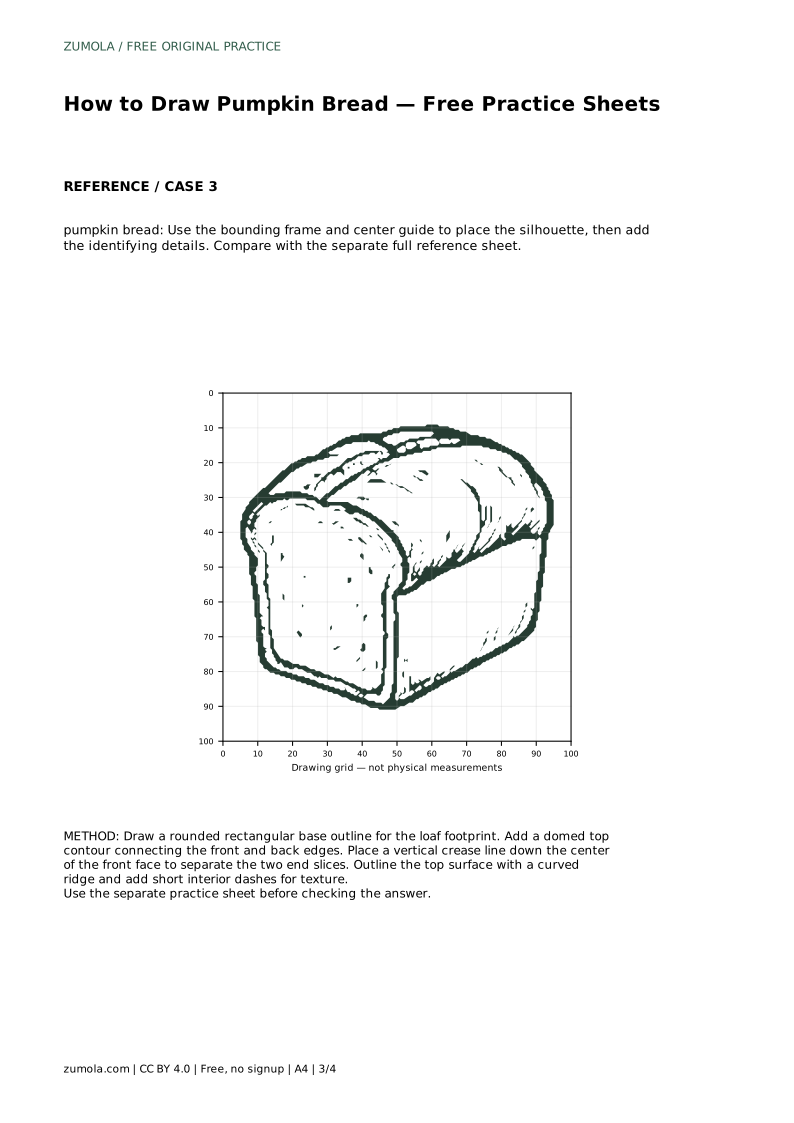
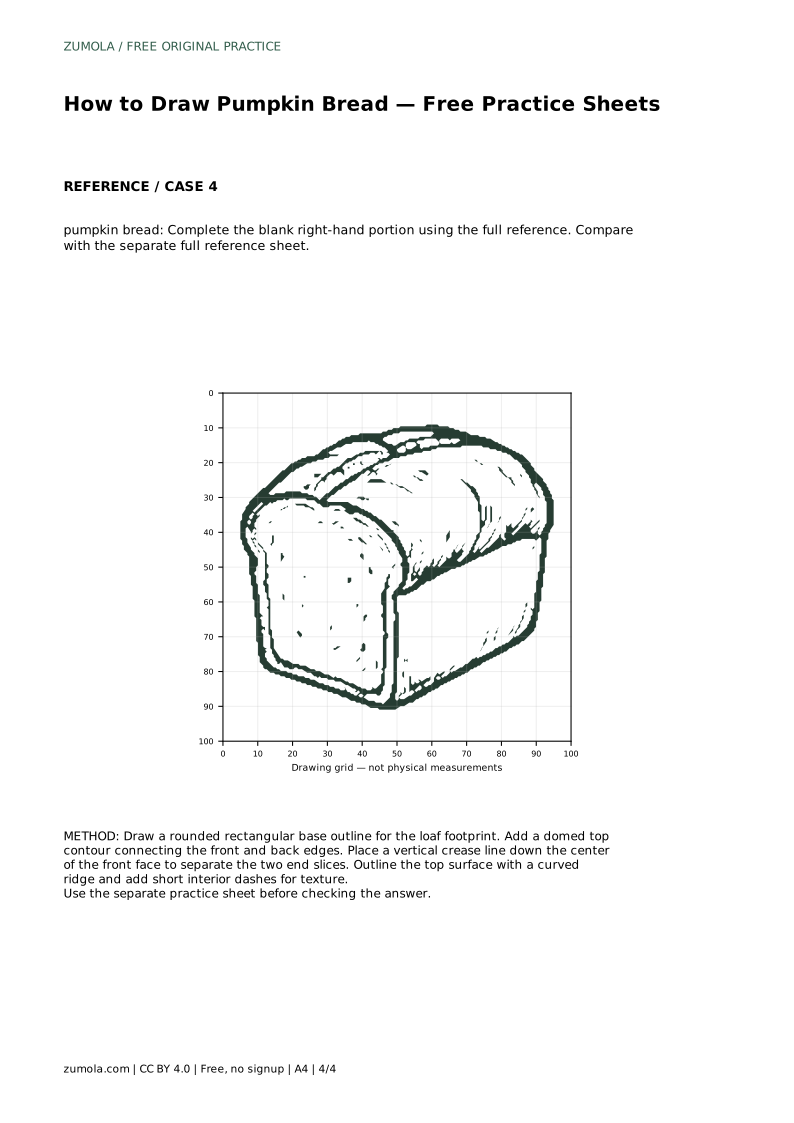
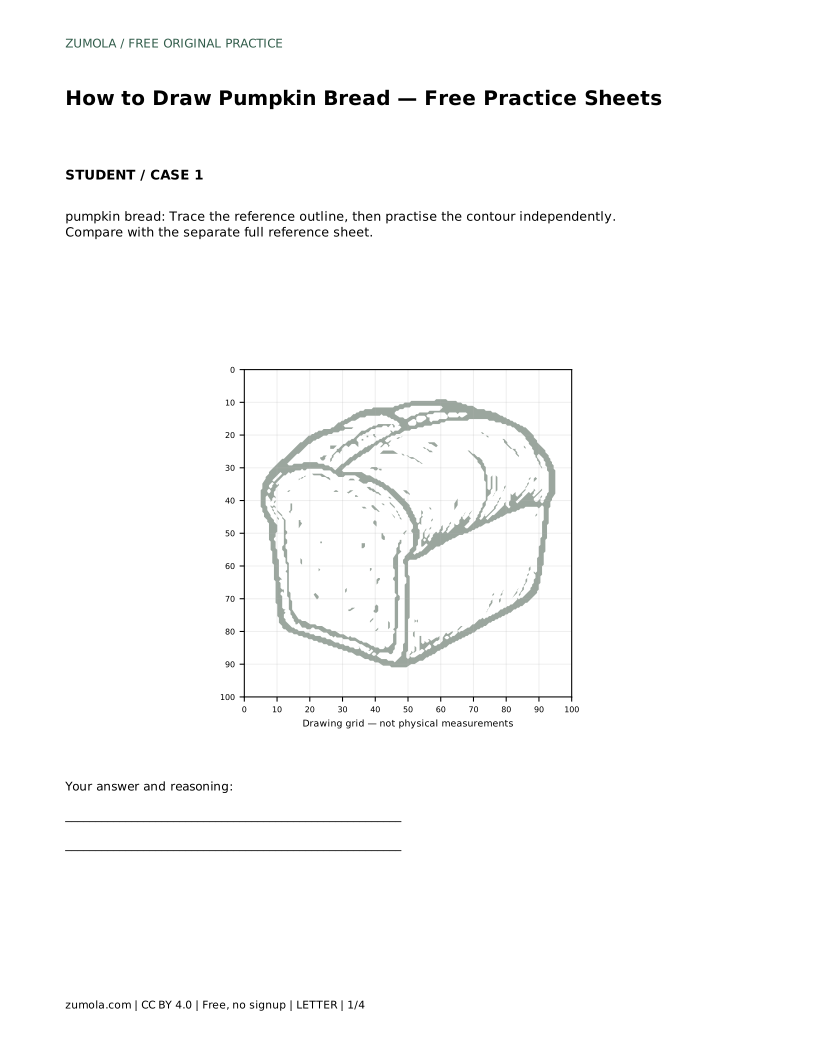
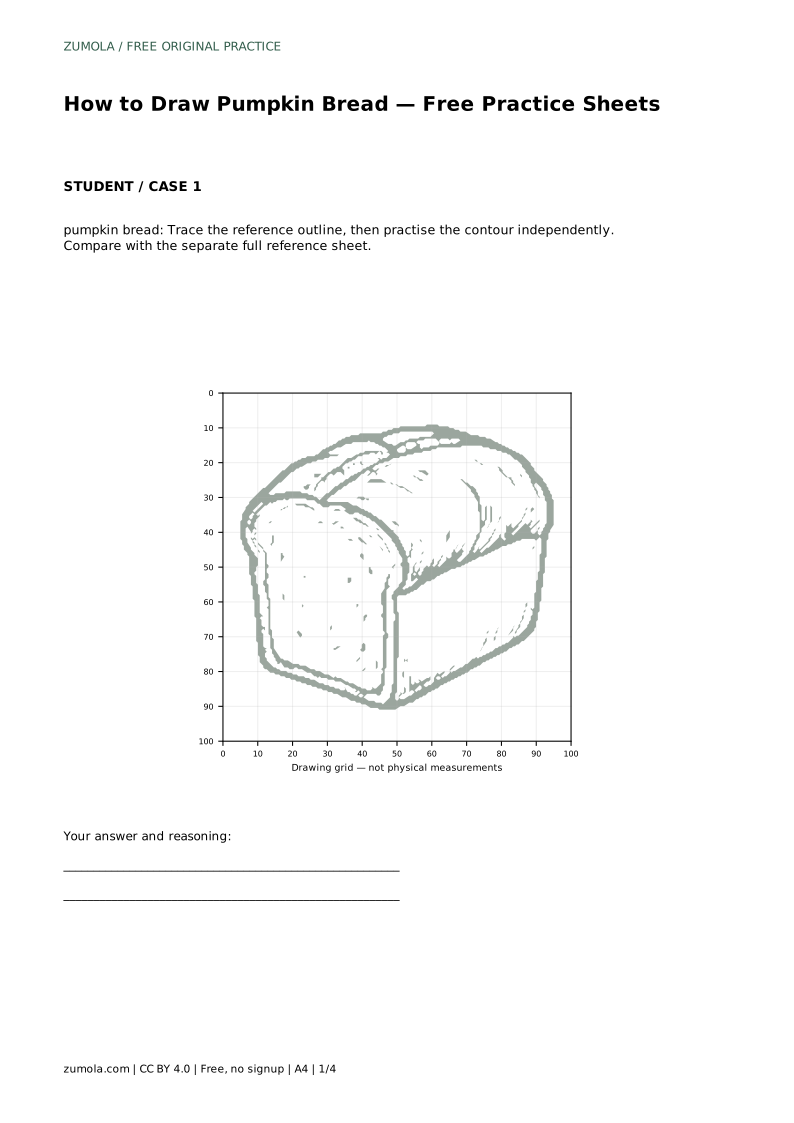
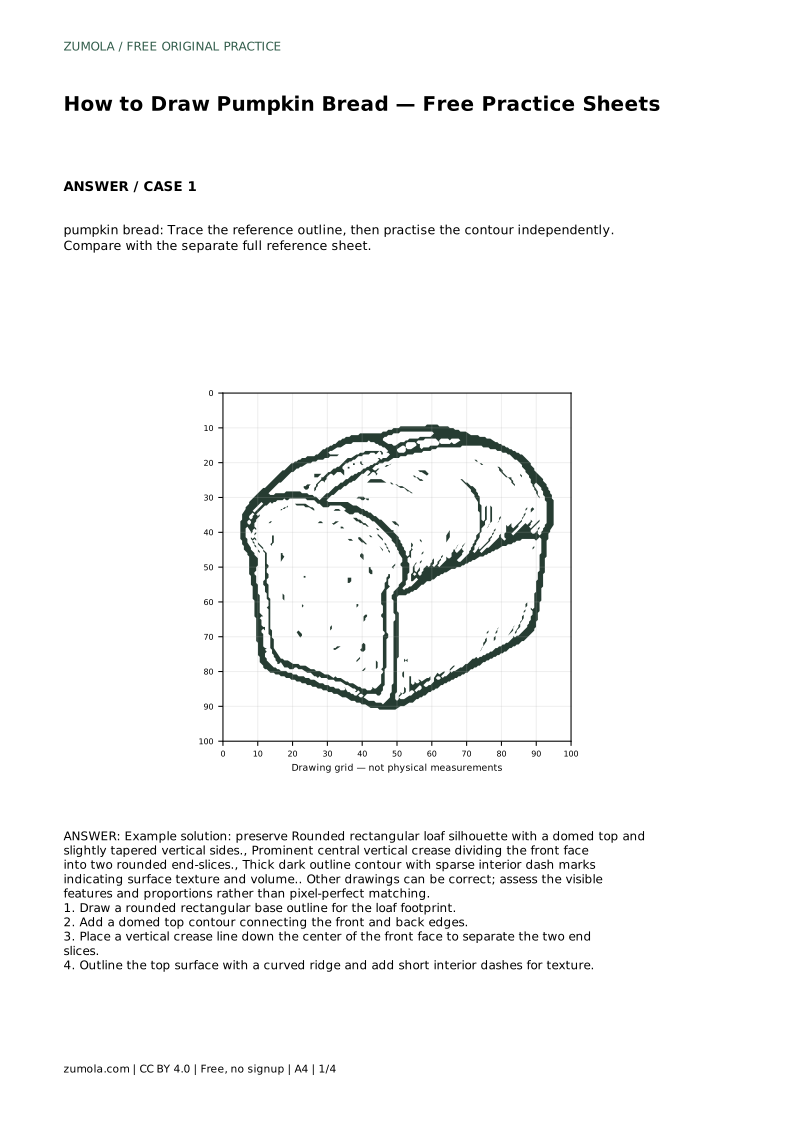
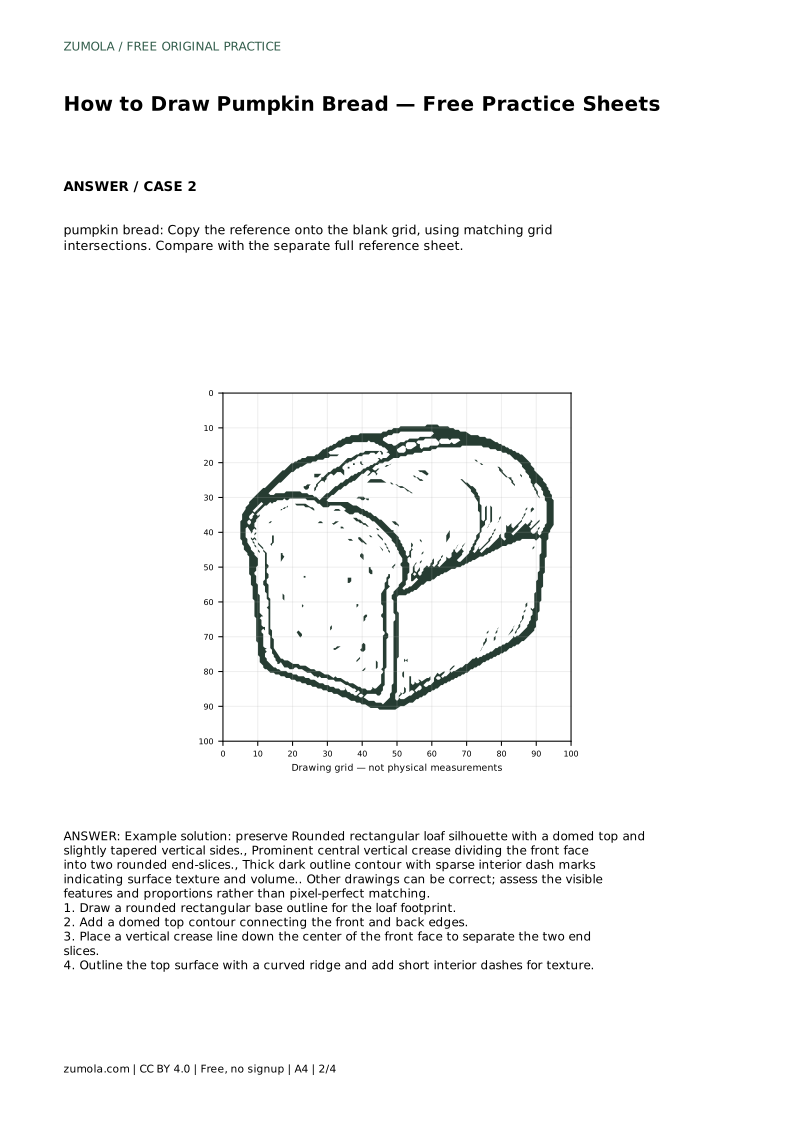
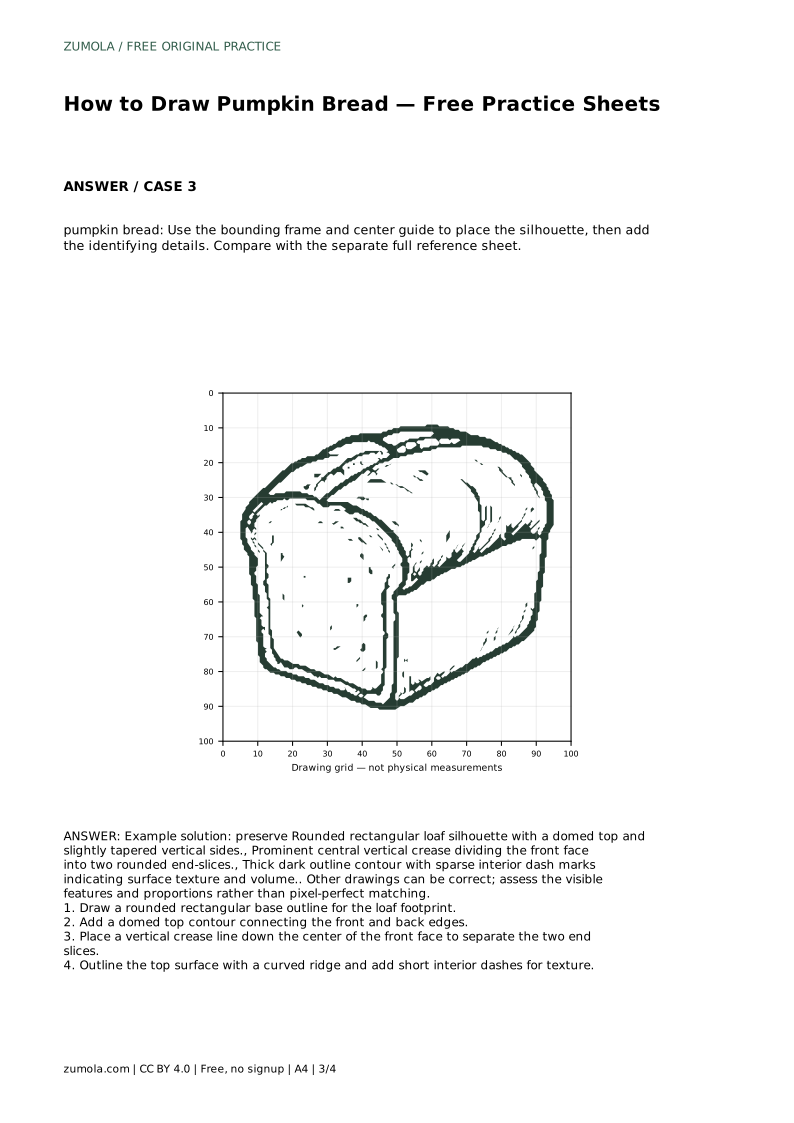
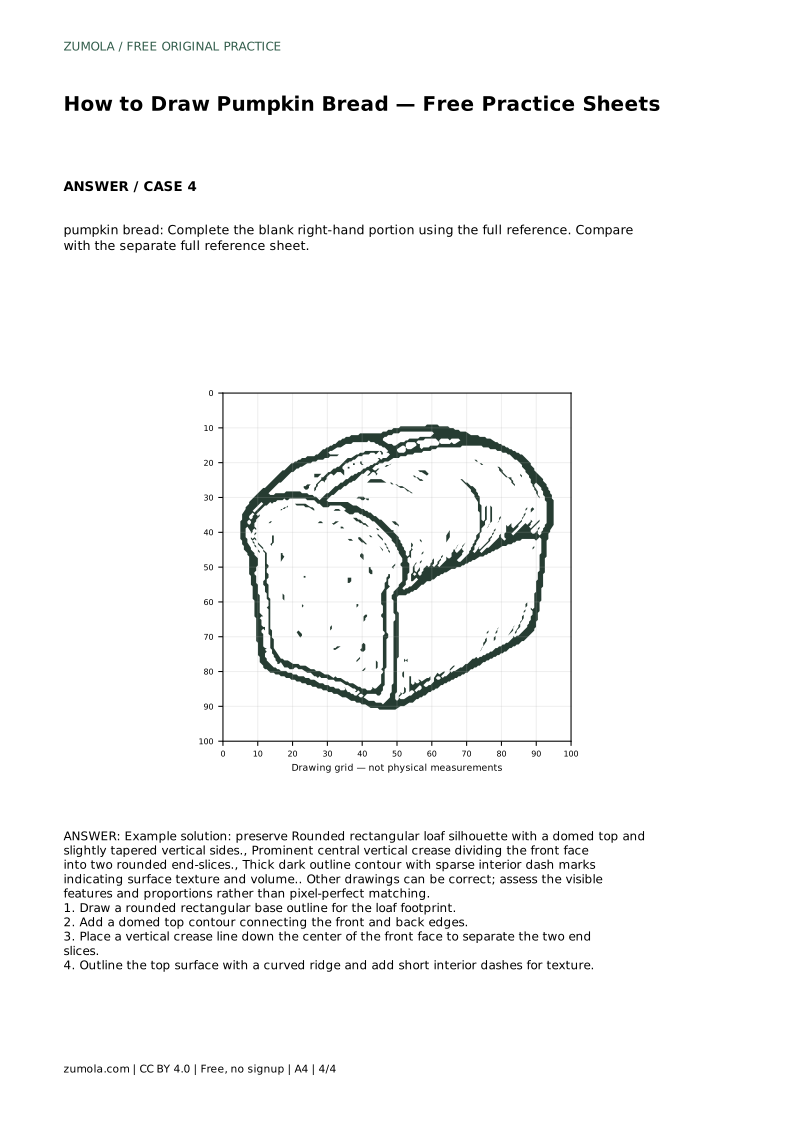
Start by identifying the four features that make the drawing recognisable. First, the silhouette: a rounded rectangular loaf with a domed top and slightly tapered vertical sides, so the base is a little narrower than the upper body. Second, the central vertical crease running down the front face, dividing it into two rounded end-slices. Third, the thick dark outline contour that gives the loaf weight. Fourth, sparse interior dash marks suggesting surface texture and volume.
Look at the reference as a whole before copying any line. Ask where the widest point sits, how much the sides lean inward, and whether the dome is shallow or tall. These proportion decisions matter more than any single stroke.
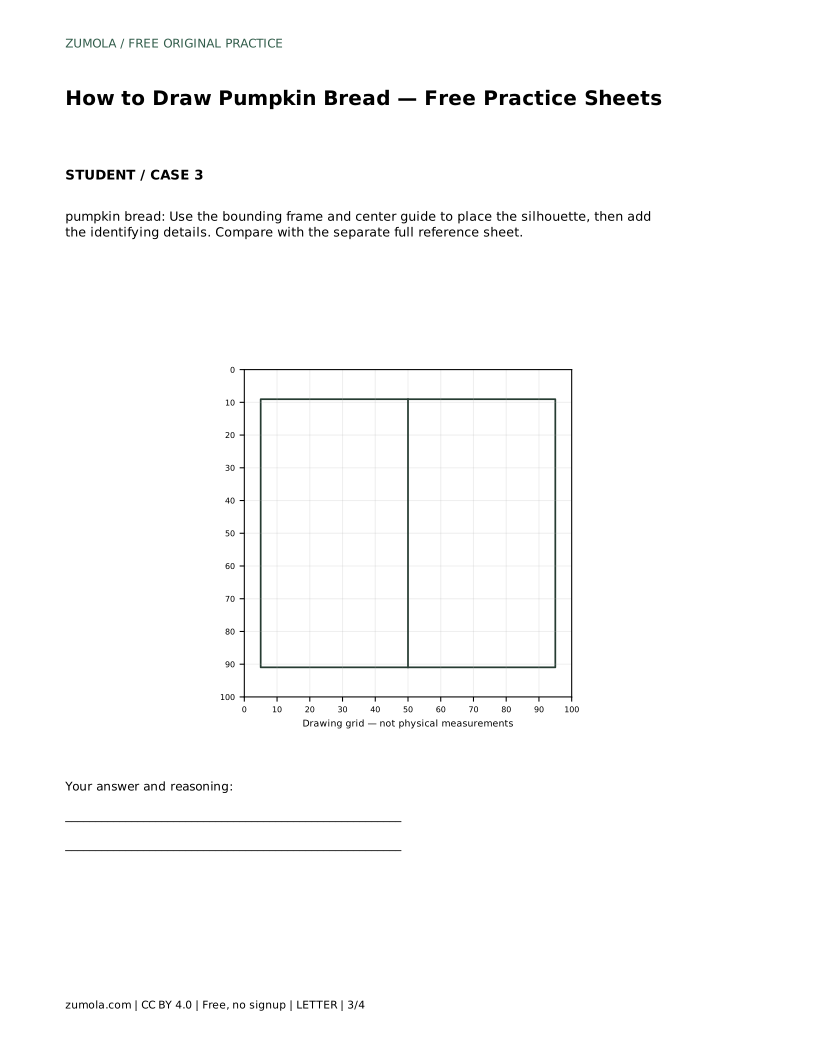
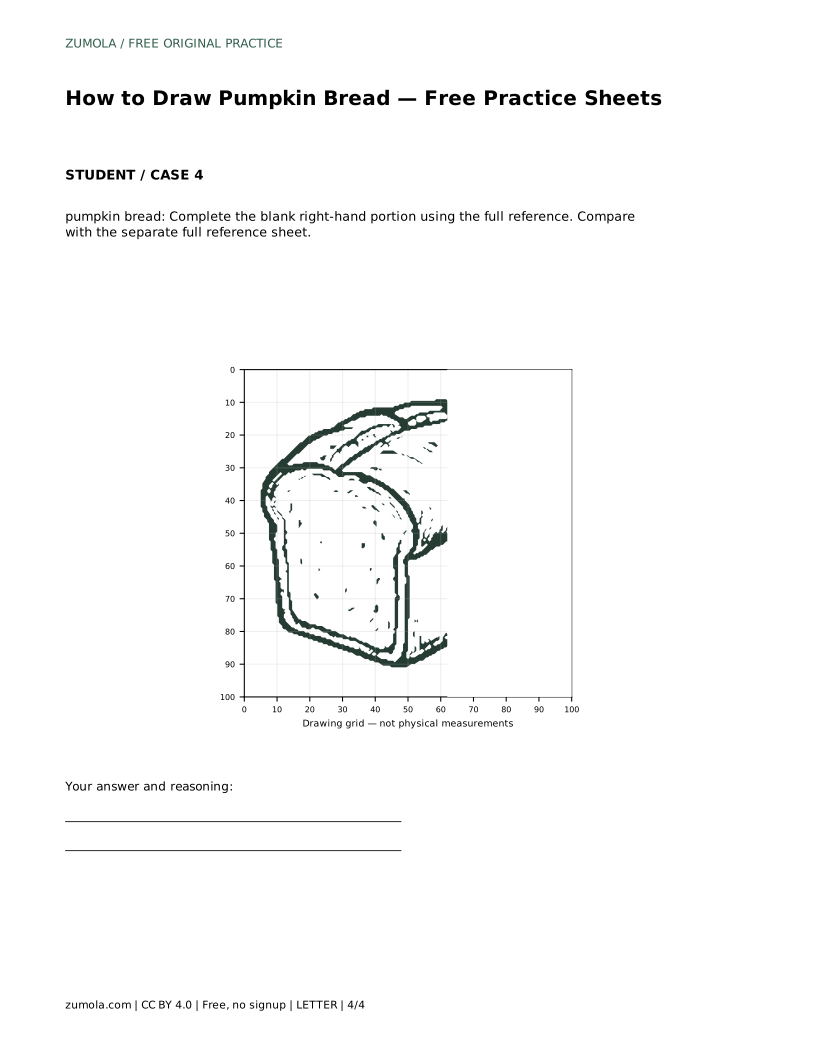
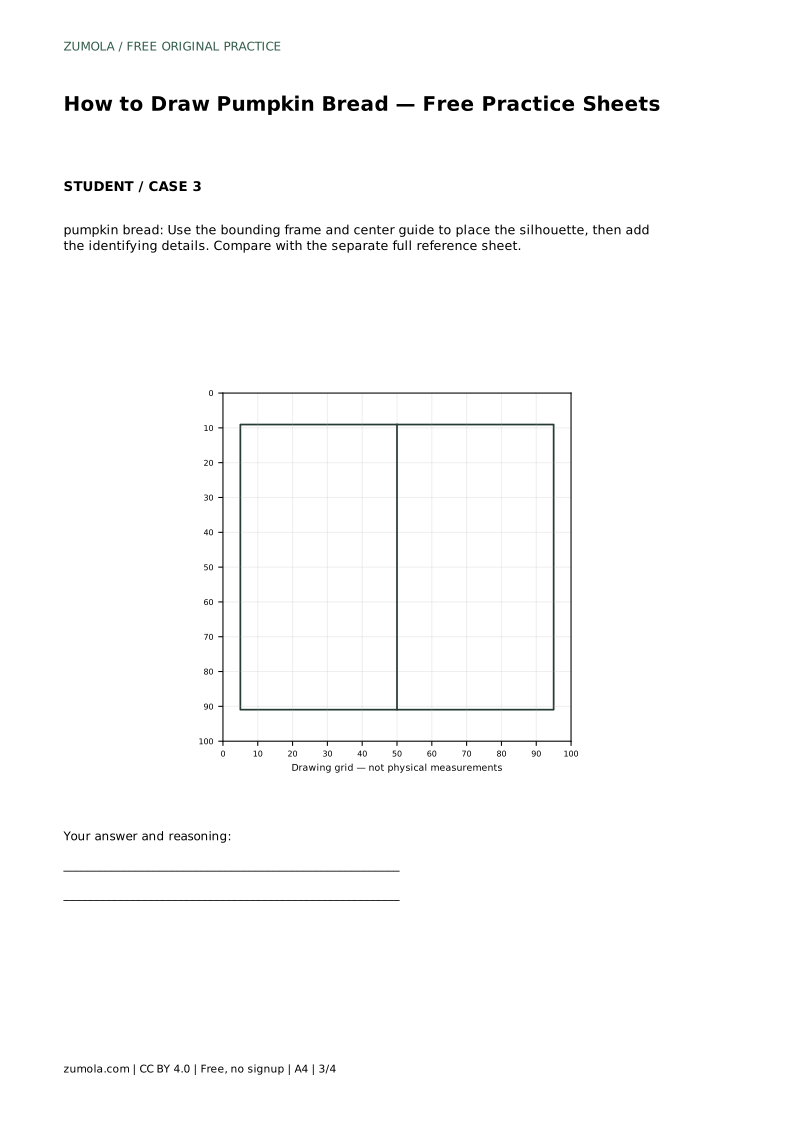
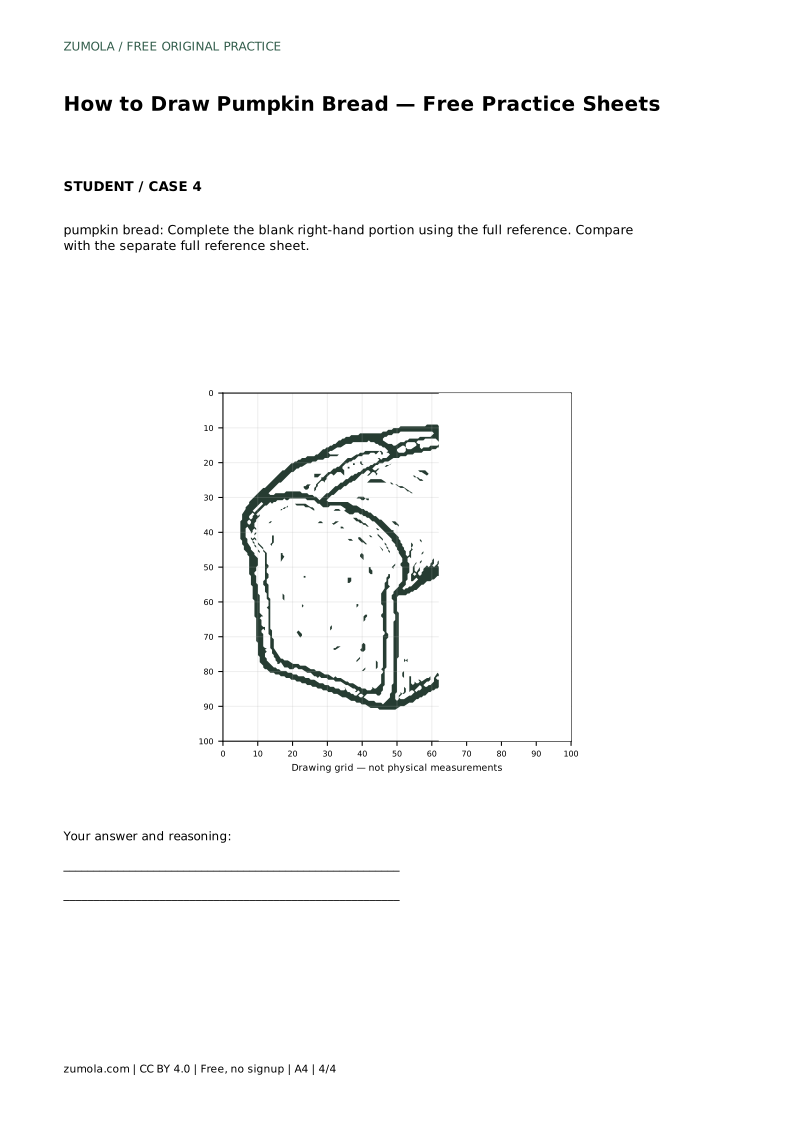
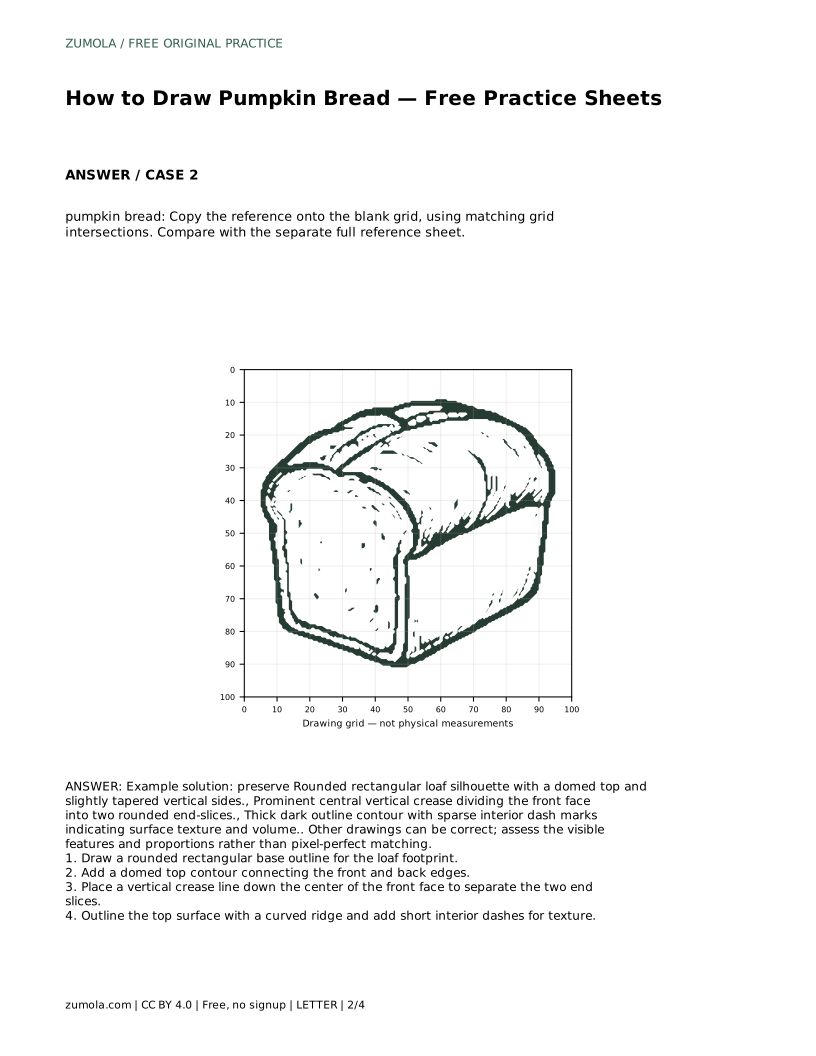
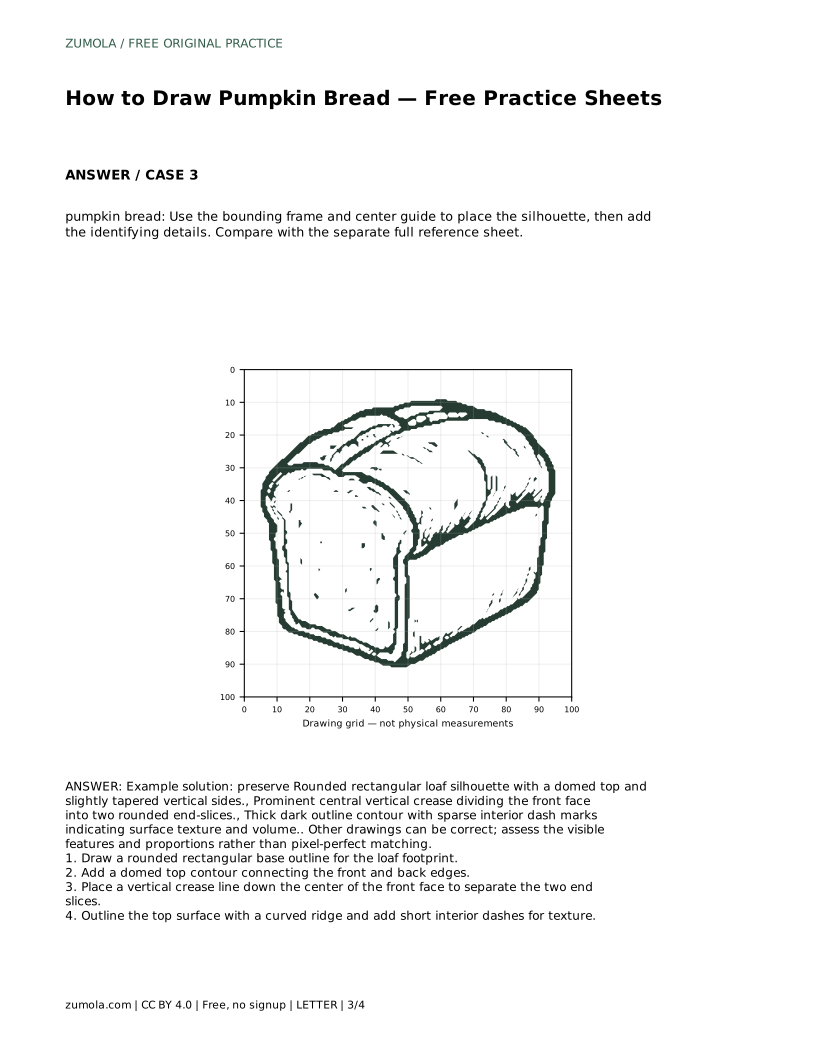
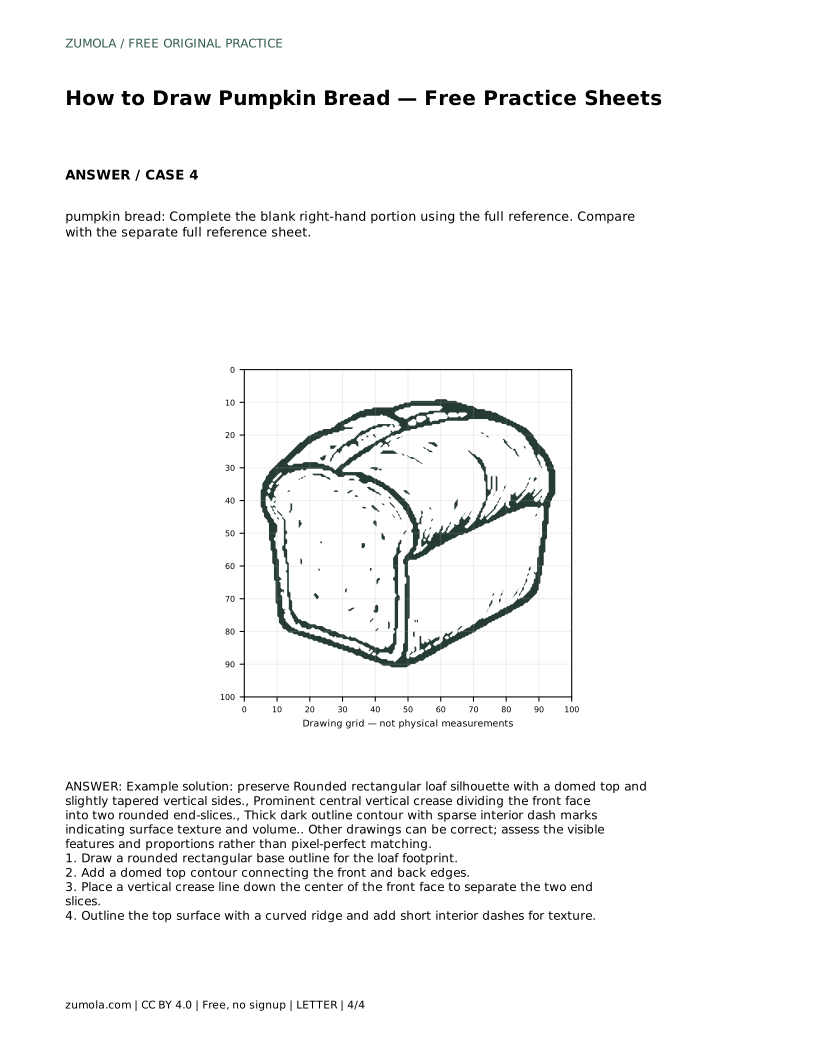
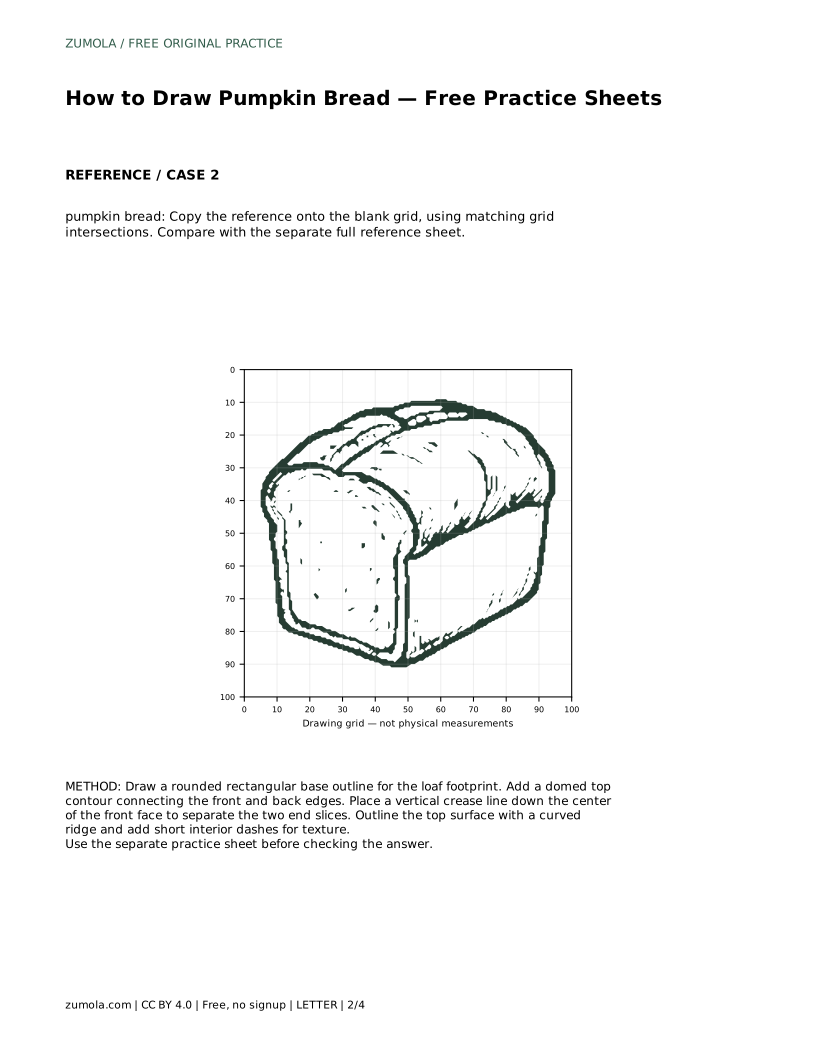
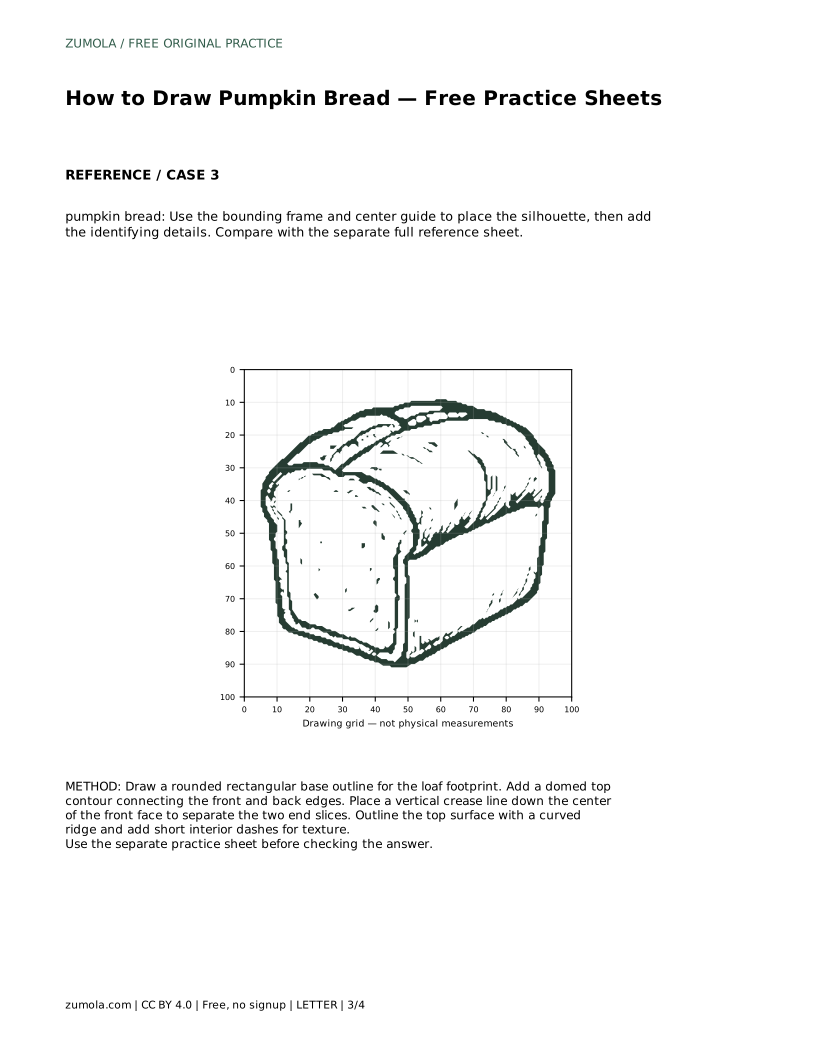
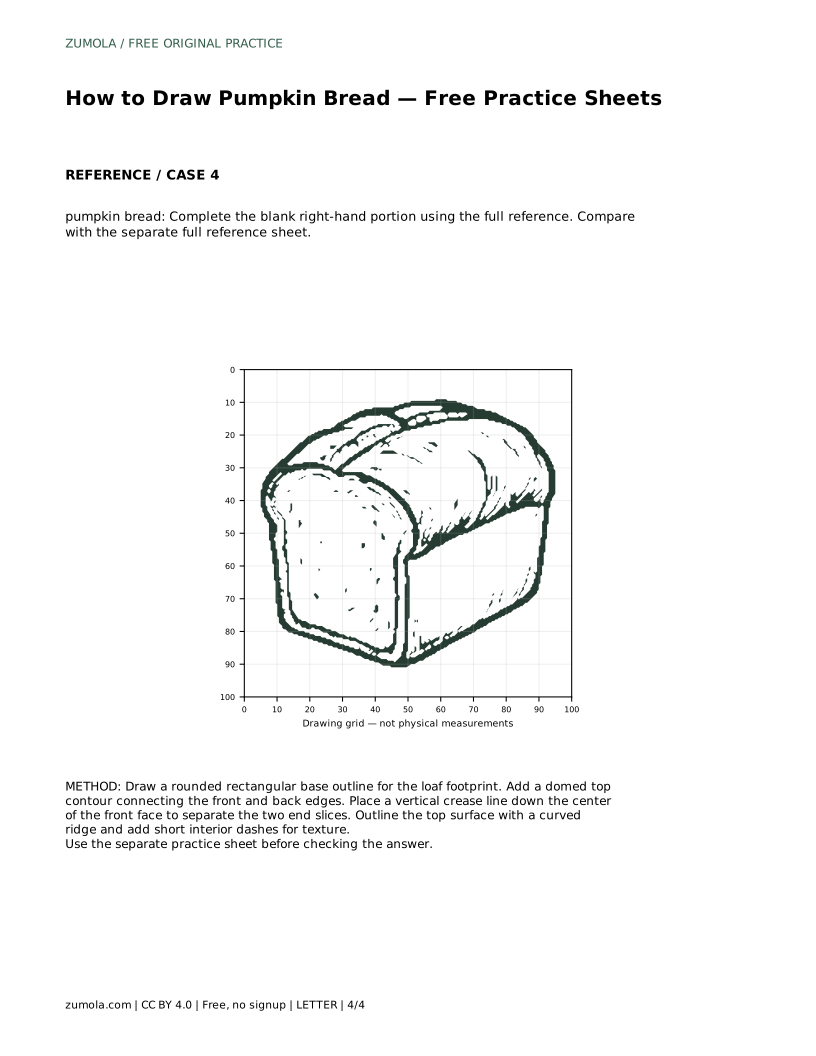
Each practice sheet isolates a different skill. Tracing the reference outline builds familiarity with the contour, then you redraw it independently and compare against the separate full reference sheet. The grid method asks you to copy the reference onto a blank grid, matching grid intersections so proportions transfer square by square. The bounding frame and center guide method places the silhouette first, then adds identifying details inside that frame. The partial-reference method completes a blank right-hand portion using the full reference, which tests whether you can continue a contour accurately.
Use one method per session rather than all four at once. Repetition with a single constraint teaches more than switching constantly.
The central crease is the detail that reads as two end-slices rather than a plain block. Keep it close to vertical, slightly curved if the reference shows it, and stop it short of the outline so it does not slice the loaf in two. The dome should meet the crease smoothly at the top.
Interior dashes should stay sparse. A few short marks along the top ridge and front face suggest baked texture; too many turn the surface busy and flatten the volume. Keep the outer contour thicker than the interior marks so the silhouette stays dominant.
Compare your finished drawing with the reference by listing features rather than hunting for differences. Does the silhouette read as a rounded rectangular loaf? Is the top domed? Do the sides taper slightly? Is there one clear central crease? Are the interior marks sparse? If a feature is missing or exaggerated, redraw just that part on a fresh sheet.
Because drawing has multiple valid outcomes, a drawing that shifts proportions slightly can still be correct. Judge whether the identifying features are visible and reasonably placed, not whether every curve matches exactly.
pumpkin bread: Trace the reference outline, then practise the contour independently. Compare with the separate full reference sheet.
Example solution: preserve Rounded rectangular loaf silhouette with a domed top and slightly tapered vertical sides., Prominent central vertical crease dividing the front face into two rounded end-slices., Thick dark outline contour with sparse interior dash marks indicating surface texture and volume.. Other drawings can be correct; assess the visible features and proportions rather than pixel-perfect matching. Draw a rounded rectangular base outline for the loaf footprint. Add a domed top contour connecting the front and back edges. Place a vertical crease line down the center of the front face to separate the two end slices. Outline the top surface with a curved ridge and add short interior dashes for texture.
No. Drawing has multiple valid outcomes. Check that the domed top, tapered sides, central crease, and sparse texture are visible and reasonably proportioned.
Begin with tracing to learn the contour, then move to the grid or frame method for independent placement. Use the partial sheet once the full silhouette feels familiar.
Keep the outer contour noticeably heavier than the interior dash marks so the loaf silhouette stays clear.
All drawing practice · Free coordinate paper
Original resources · CC BY 4.0 · Free for personal and classroom use with attribution.