Reference diagrams
LETTER · Download PDF
A4 · Download PDF
Free original resources
Learn to draw a champagne flute with a tall U-shaped bowl, liquid line, thin stem, and flat oval base. Trace, grid, and complete-the-drawing practice included.
Four original cases, with reference diagrams, practice sheets and worked answers. Everything is free; no signup required.
LETTER · Download PDF
A4 · Download PDF
LETTER · Download PDF
A4 · Download PDF
LETTER · Download PDF
A4 · Download PDF
Use A4 or US Letter to match your printer. Use the stated values and conditions to solve each exercise; diagrams are not physical measuring rulers.
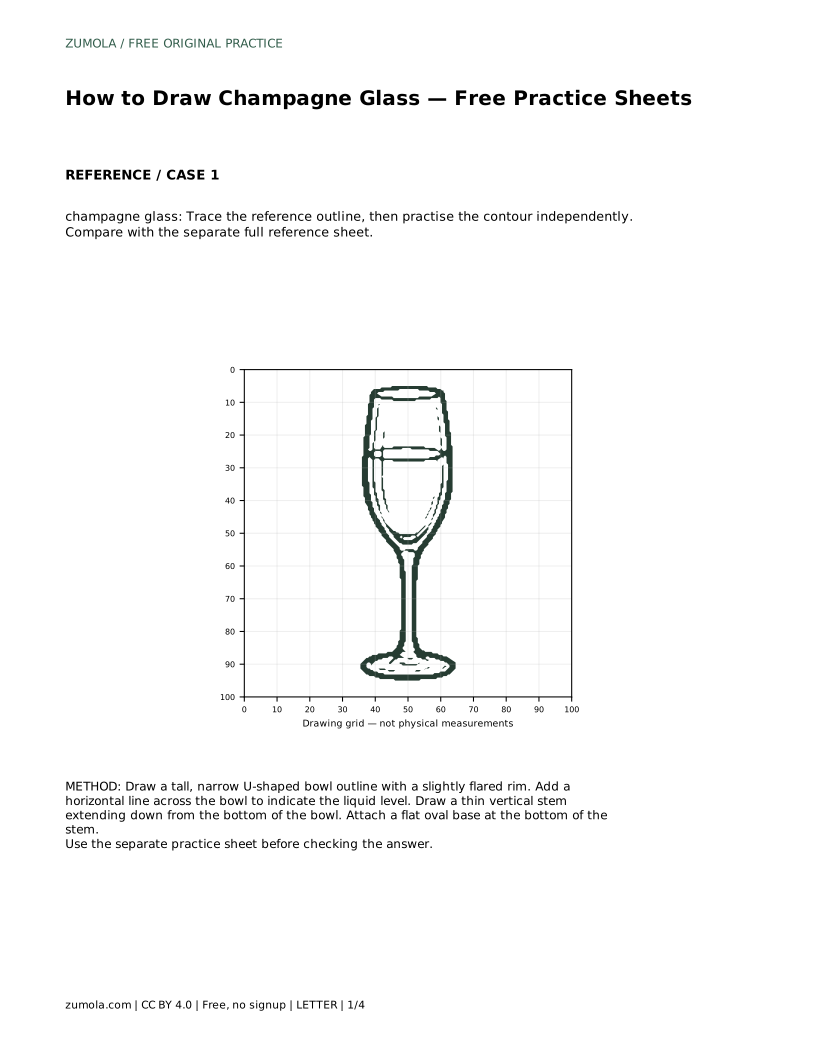
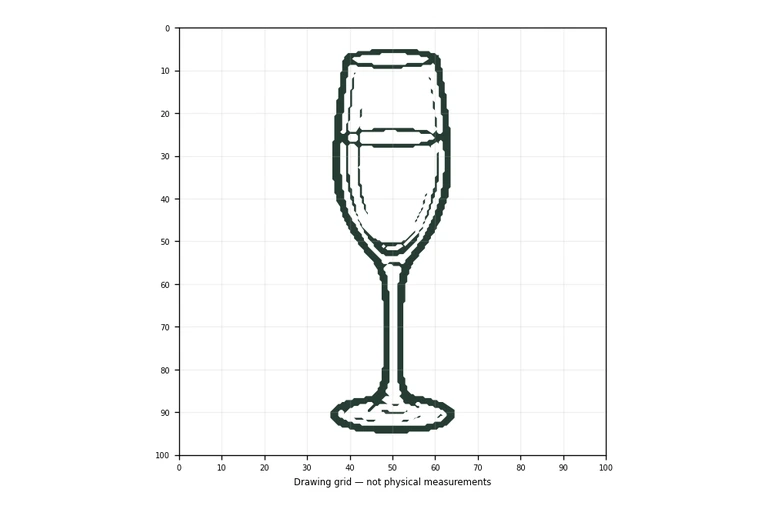
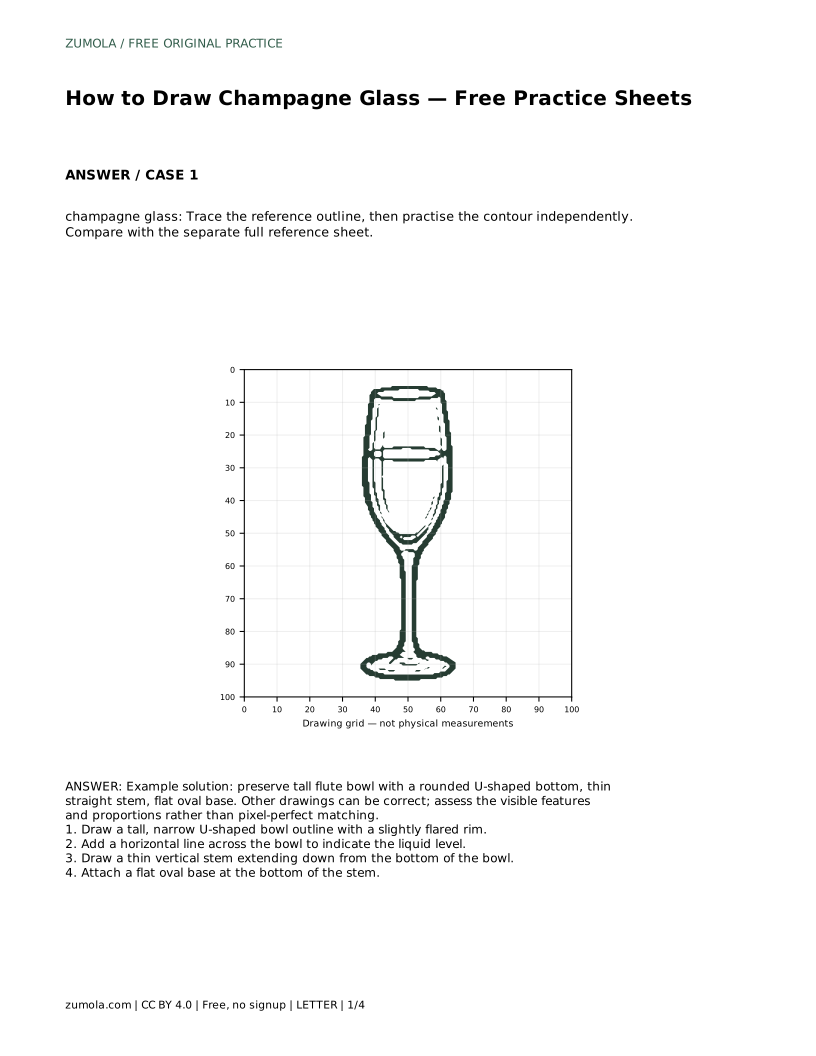
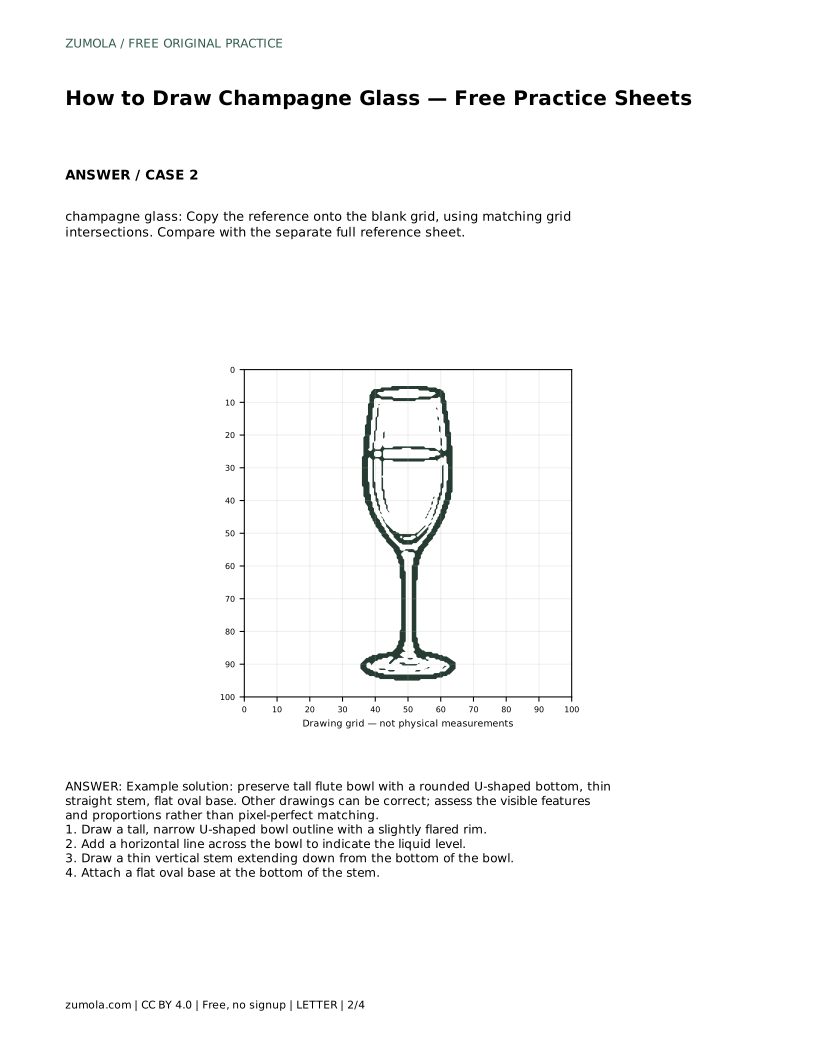
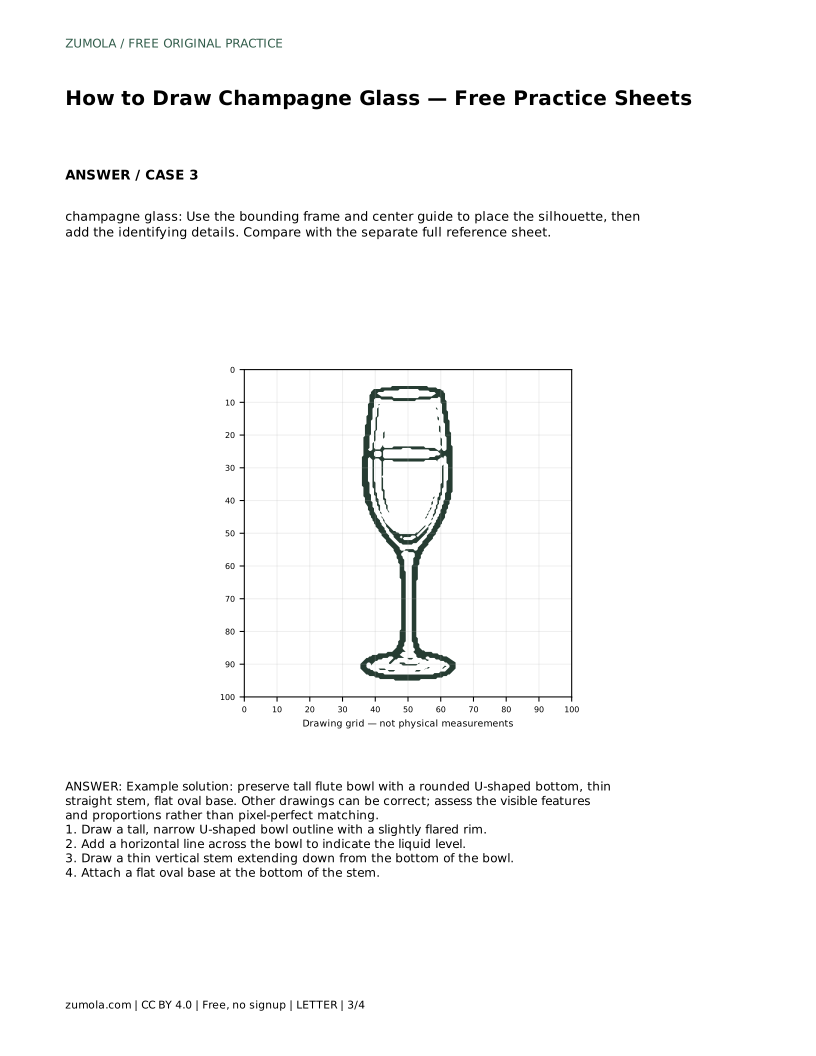
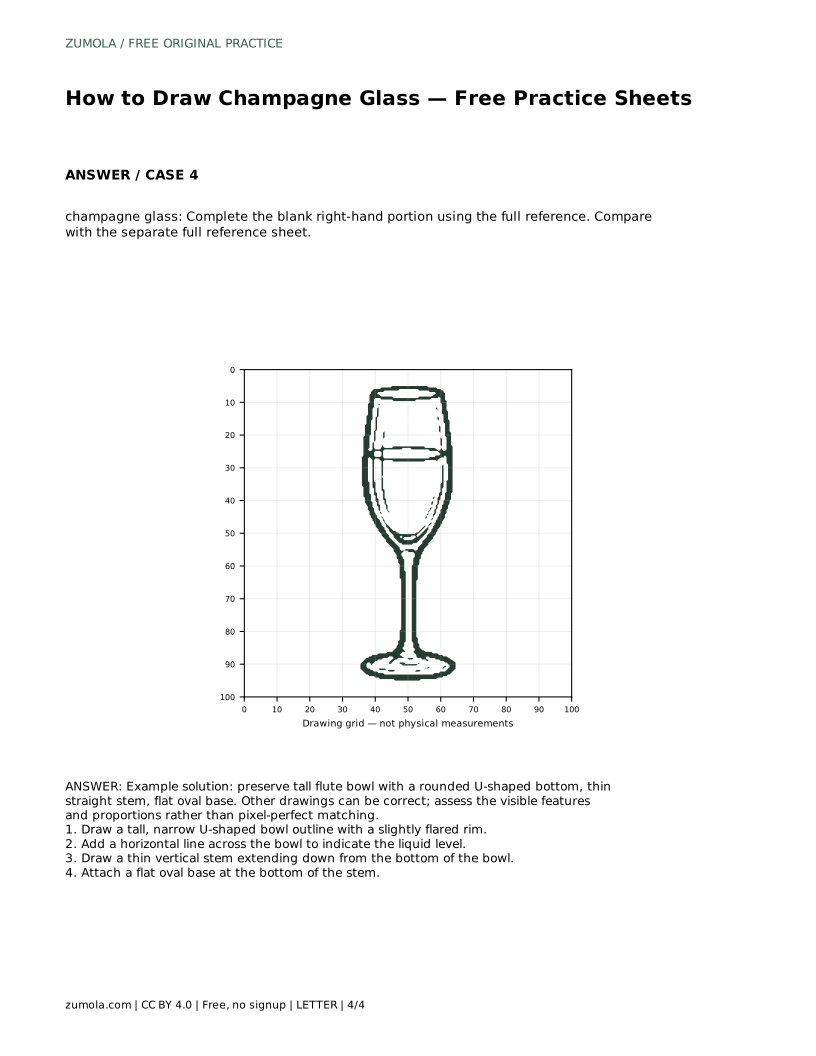
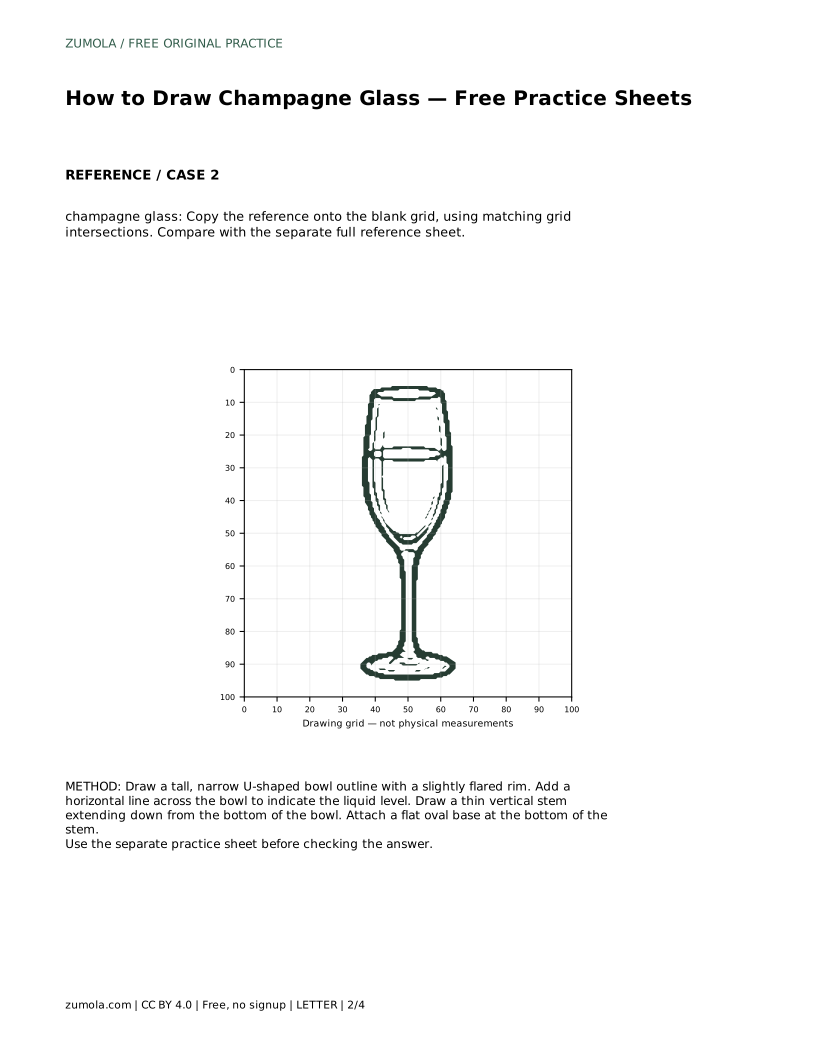
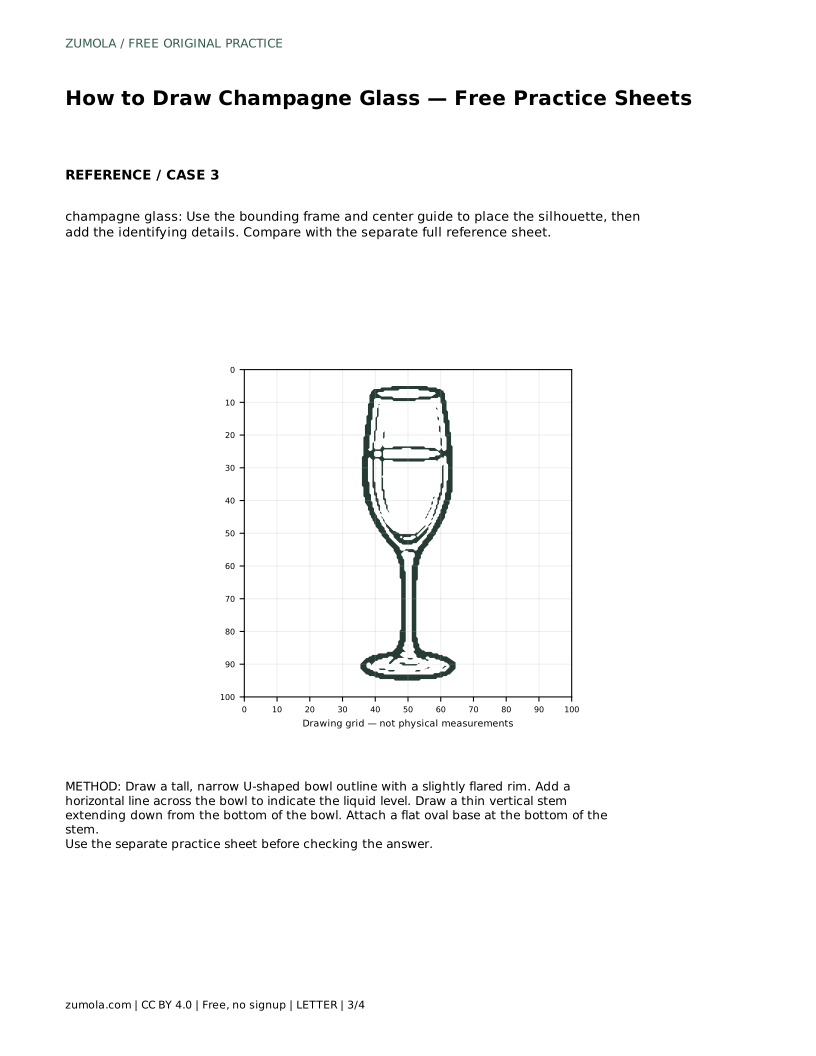
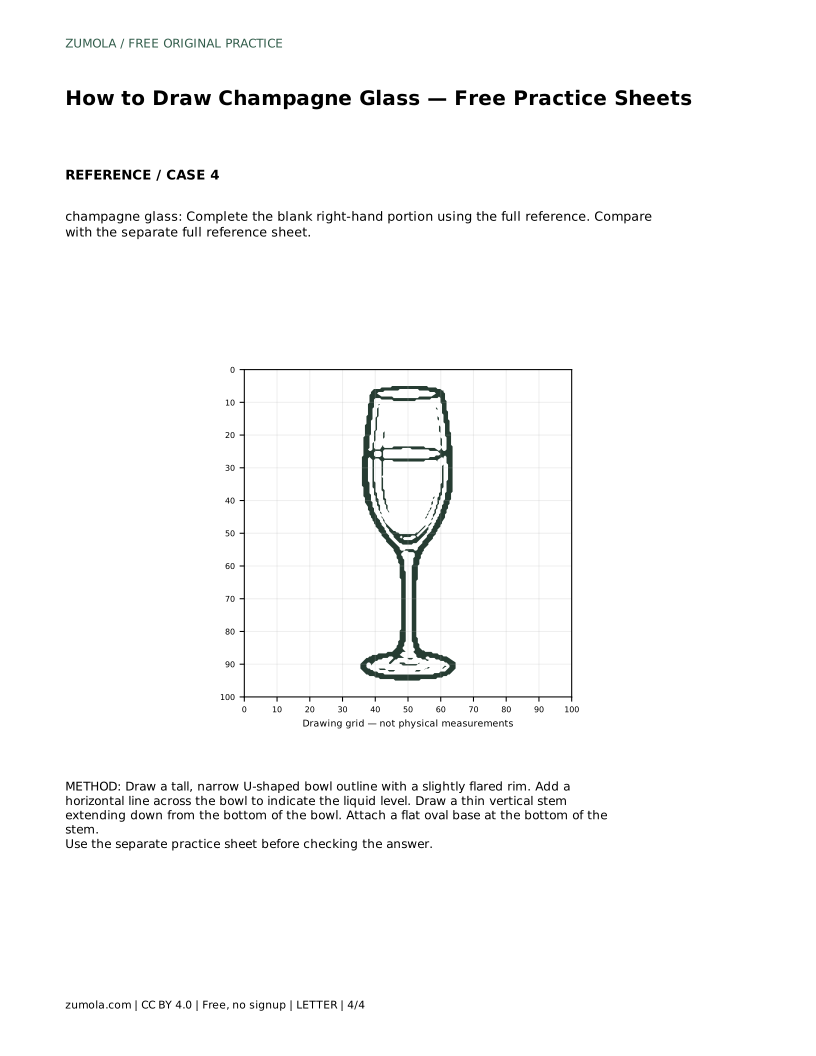
A champagne glass is a useful drawing subject because its shape is simple but its proportions are easy to get wrong. The bowl is tall and narrow, the stem is thin and straight, and the base is a flat oval. This page explains how to build the silhouette in order, how to place the liquid line, and how to check your drawing against a reference. The practice sheets give you several ways to work: tracing, copying onto a grid, using a bounding frame and center guide, and completing a partly drawn version.
Begin at the top of the glass. Draw a tall, narrow U-shaped bowl outline with a slightly flared rim. The sides should rise mostly straight, then curve inward at the bottom to form a rounded U. Keep the bowl noticeably taller than it is wide; a short, wide bowl reads as a wine glass rather than a flute.
Once the bowl outline is in place, add a horizontal line across the bowl to indicate the liquid level. Place it partway up the bowl, not at the rim and not at the very bottom. This line is a detail, so keep it light until the outer contour looks right.
The stem extends down from the lowest point of the bowl. Draw it as a thin vertical line, or as two close parallel lines if you want visible thickness. It should meet the bowl at the center, not off to one side. A stem that drifts sideways makes the whole glass look unstable.
The base is a flat oval at the bottom of the stem. Draw it wider than the stem but narrower than the bowl's widest point. Keep the oval shallow so it reads as a flat disc seen at a slight angle. Check that the stem meets the oval near its center.
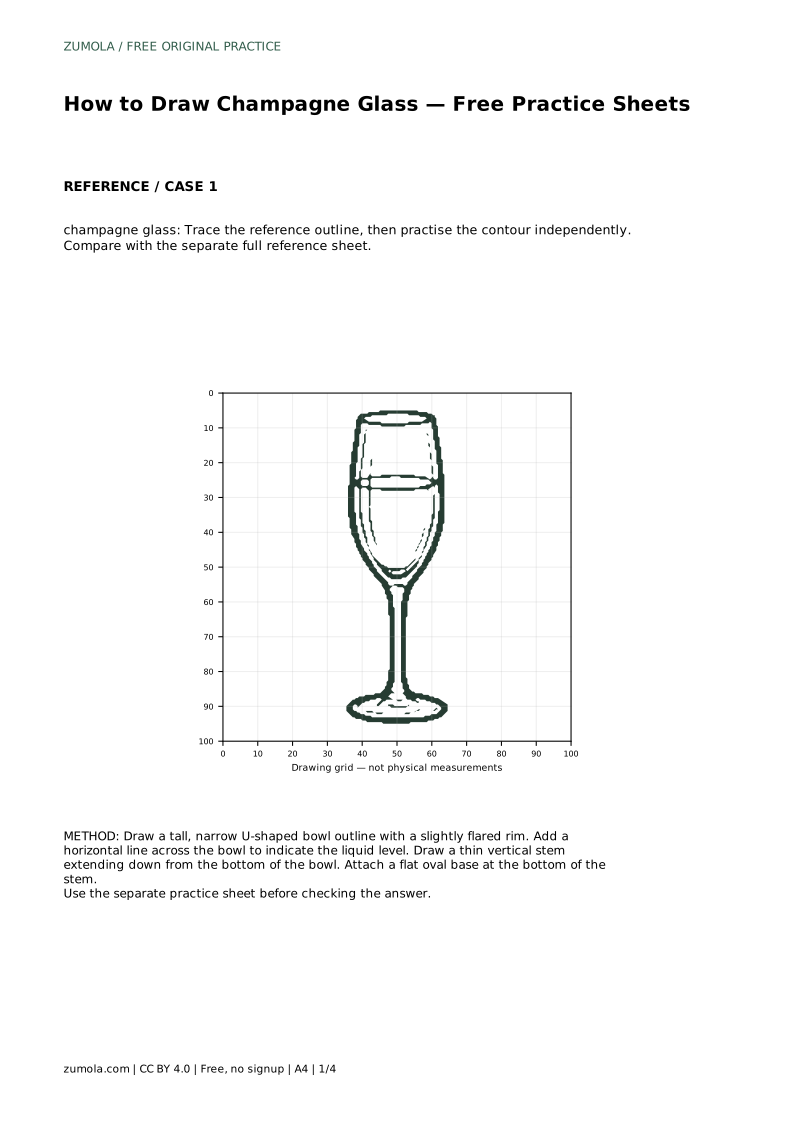
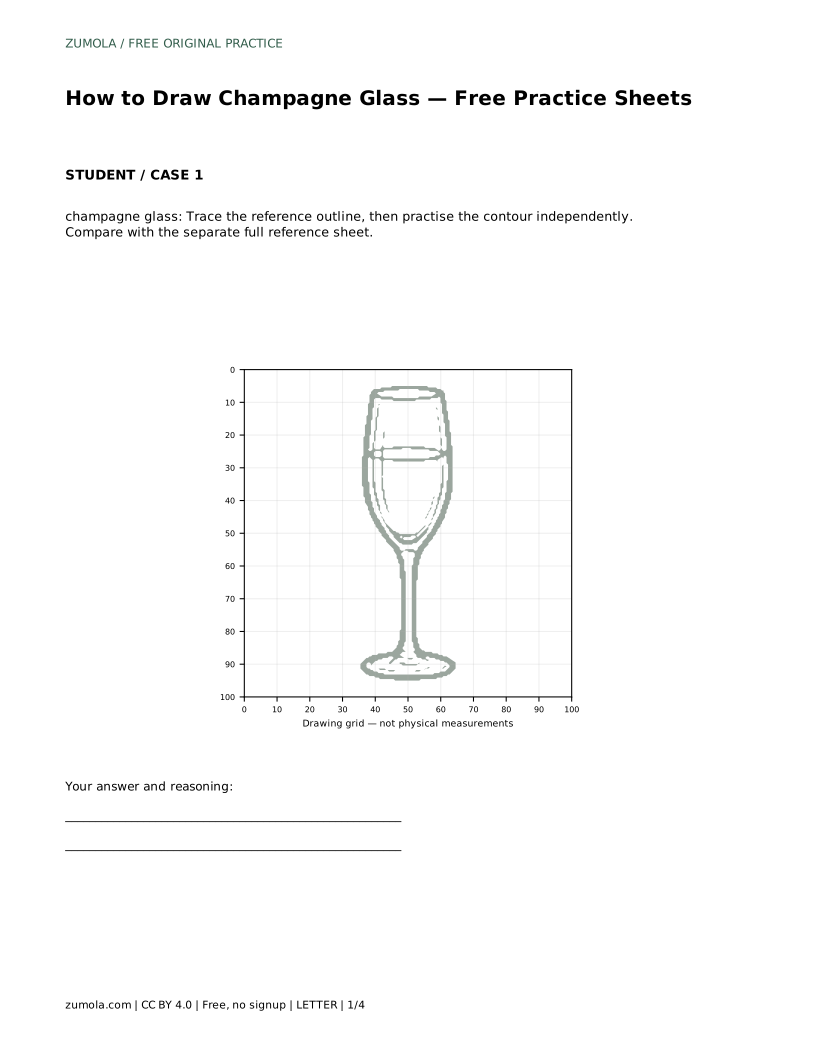
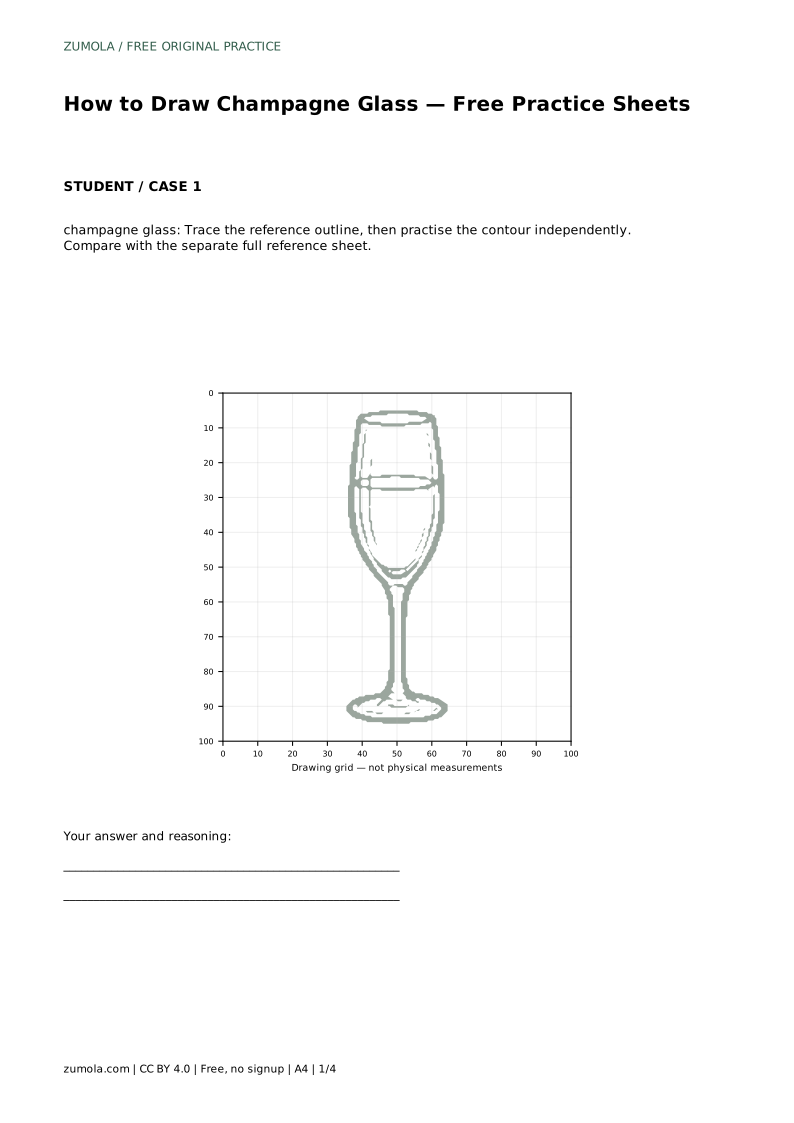
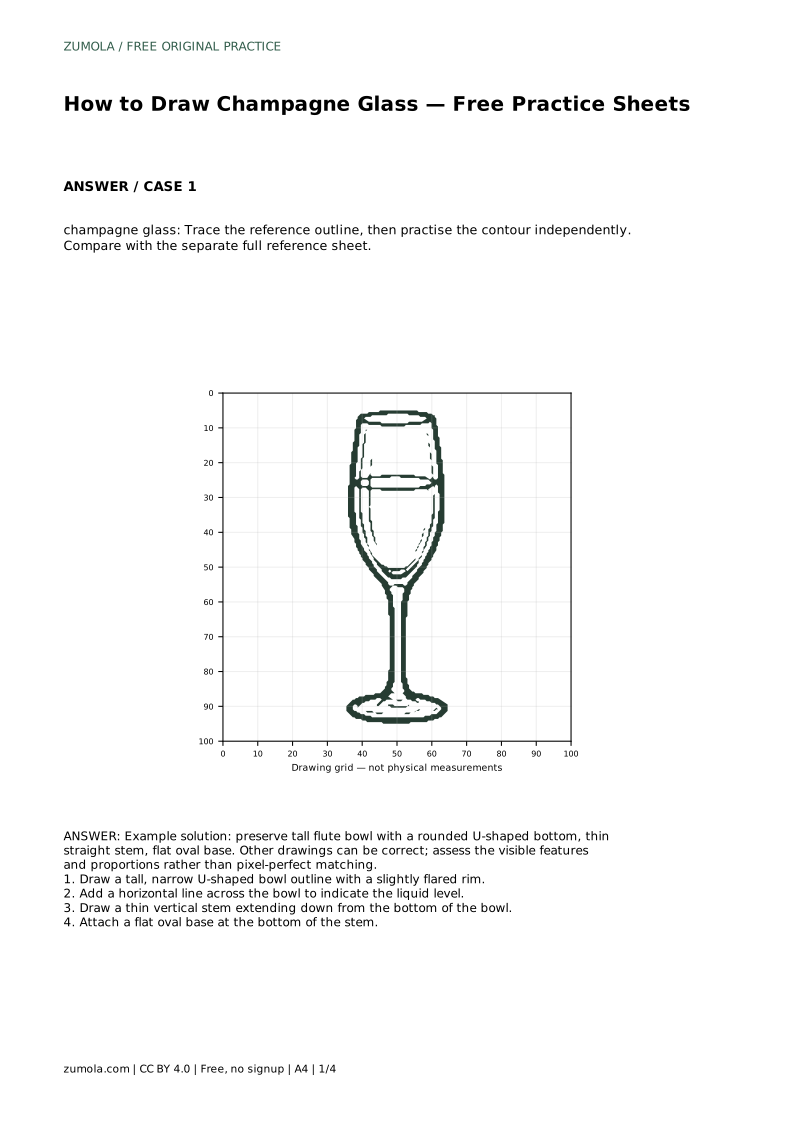
The trace sheet asks you to follow the reference outline first, then practise the contour independently. Compare your freehand attempt with the separate full reference sheet rather than with your traced line.
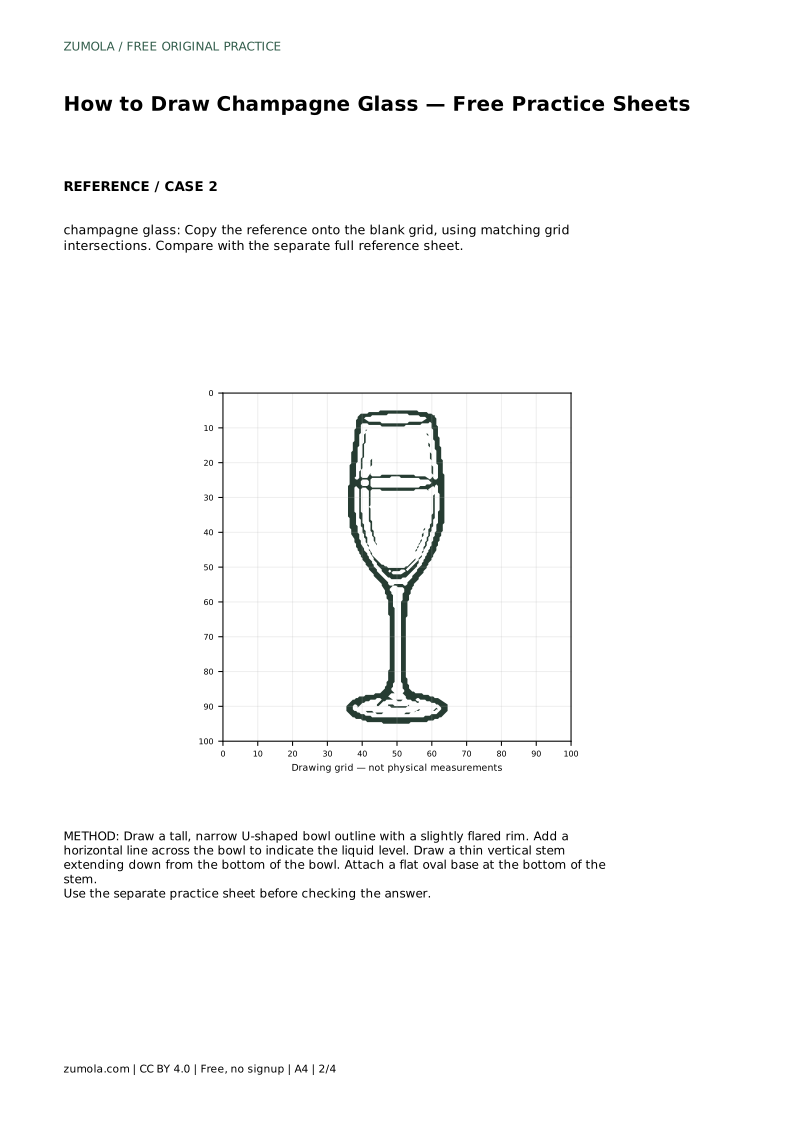
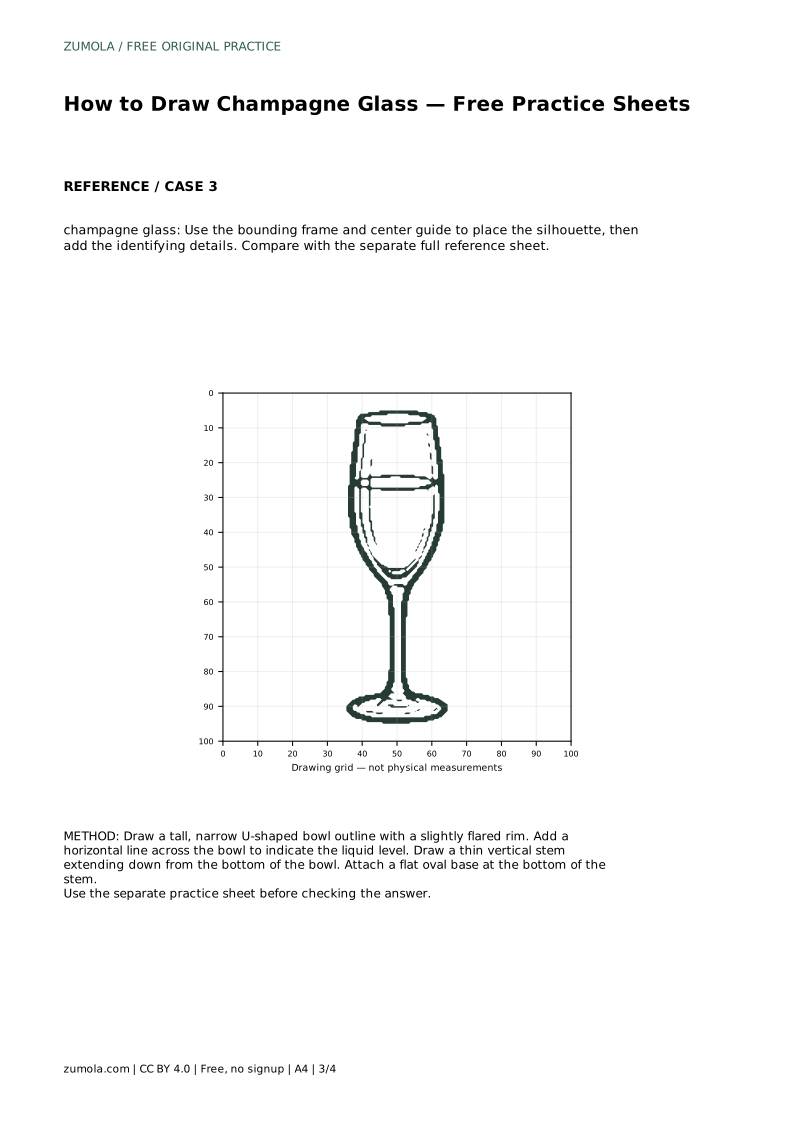
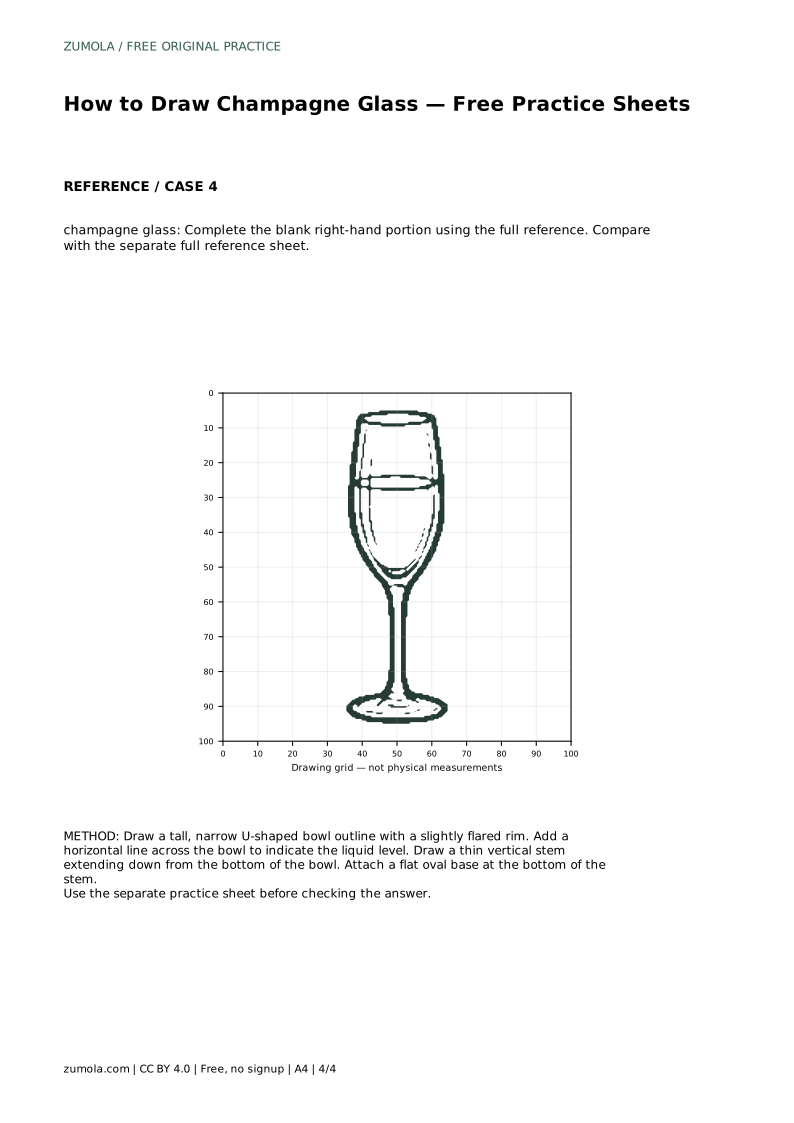
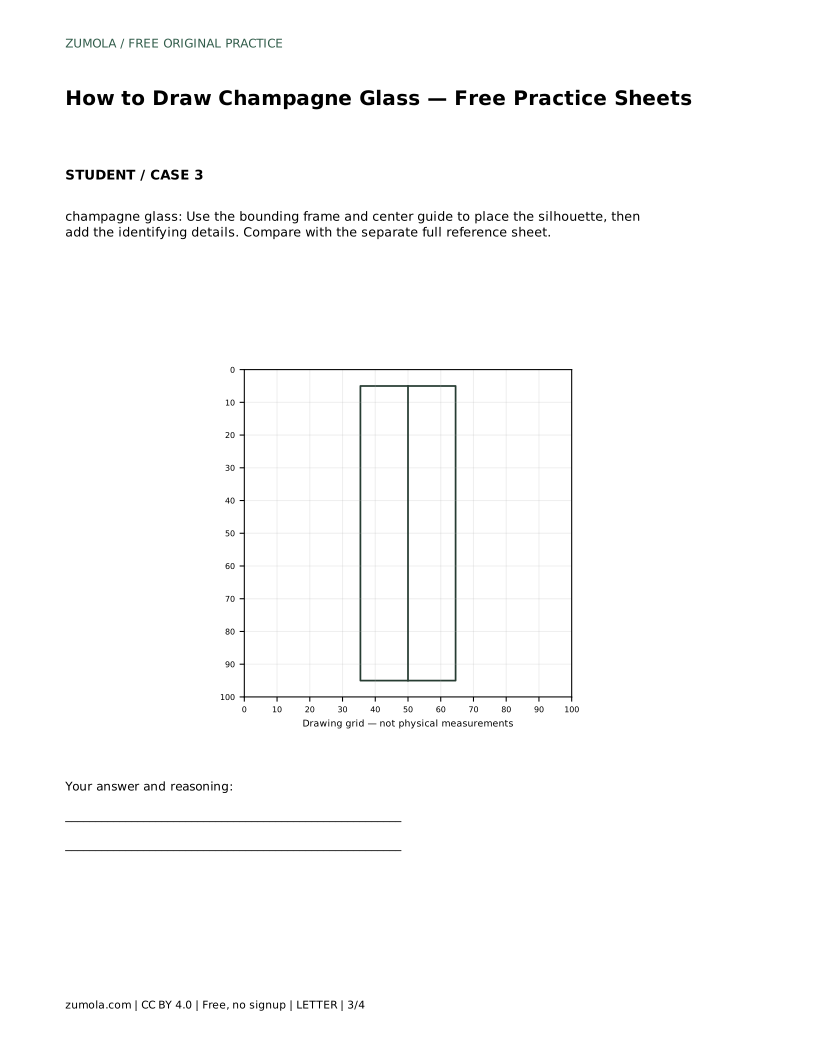
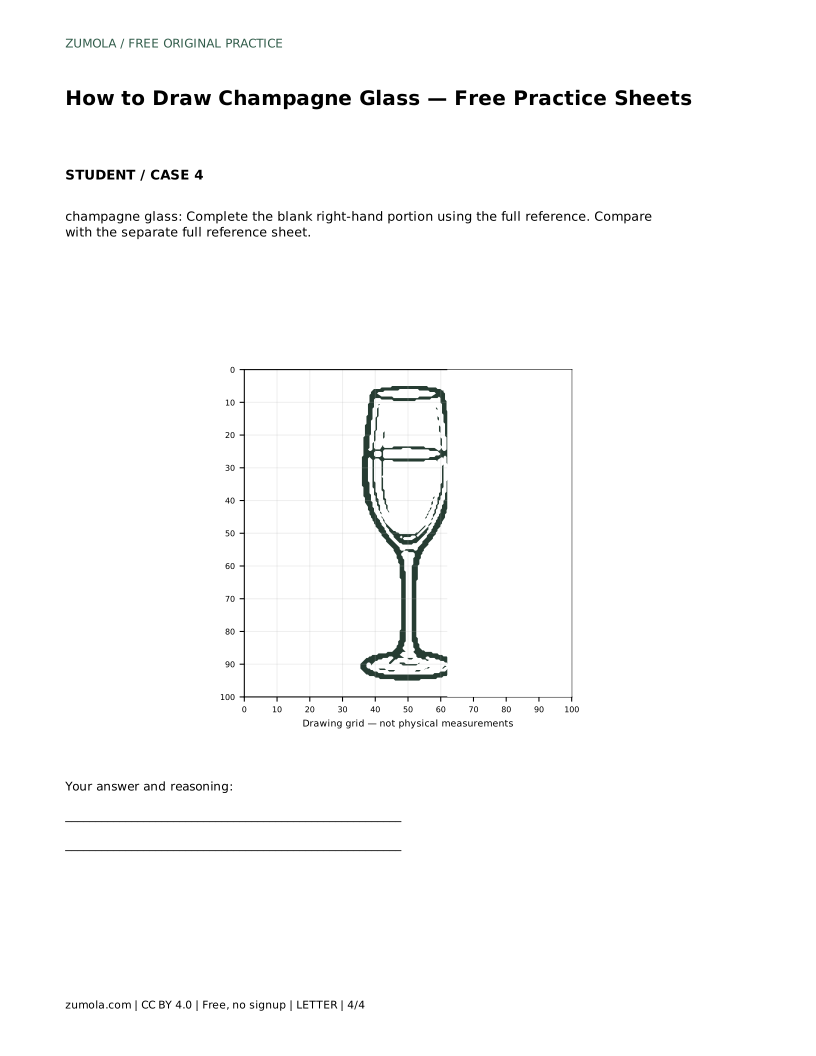
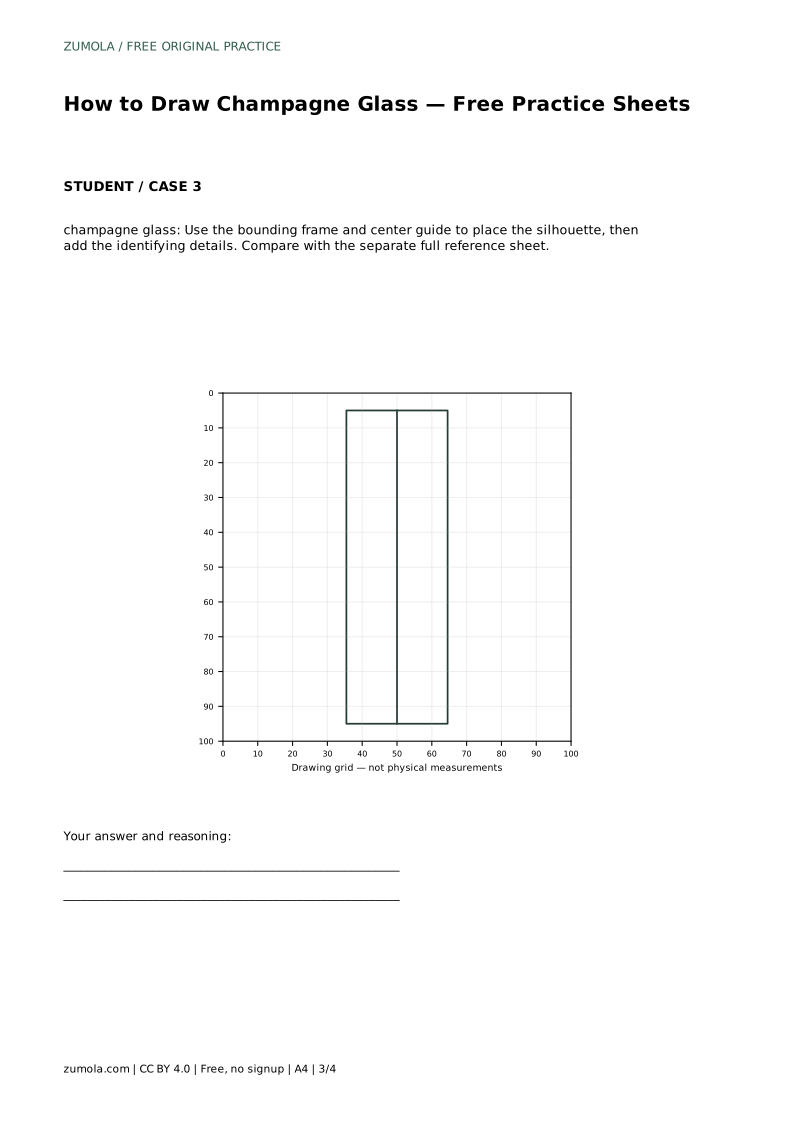
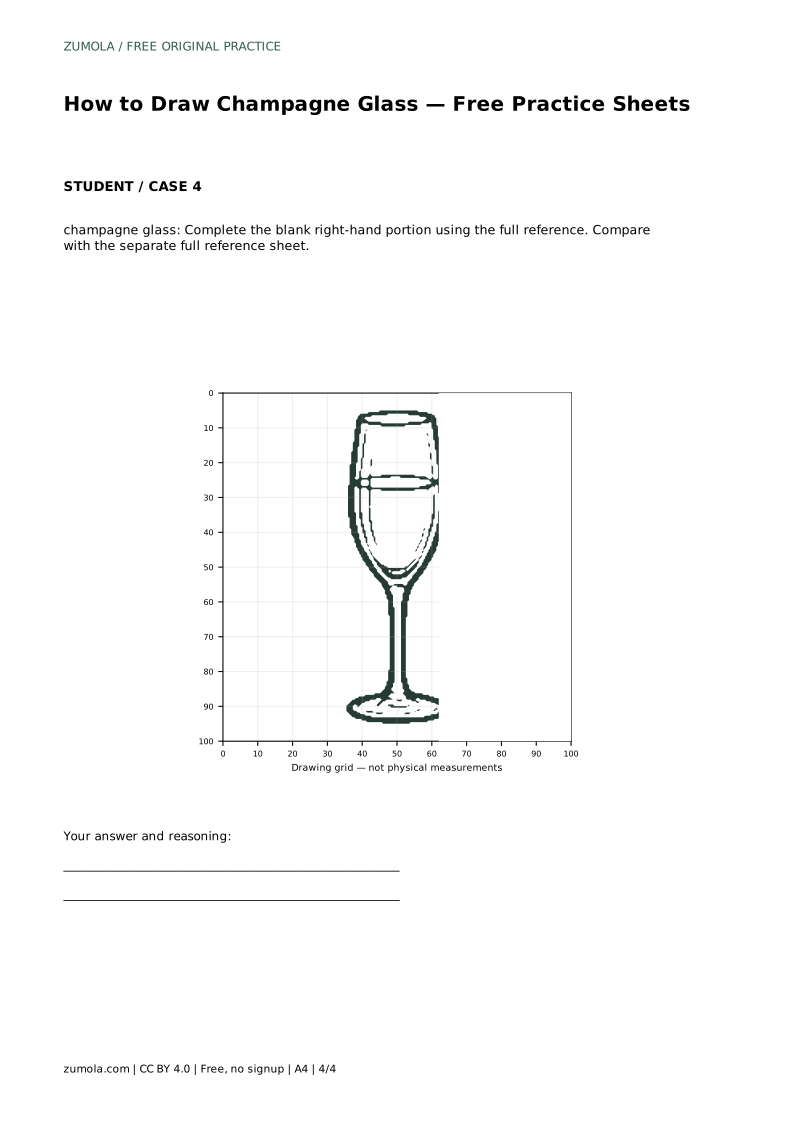
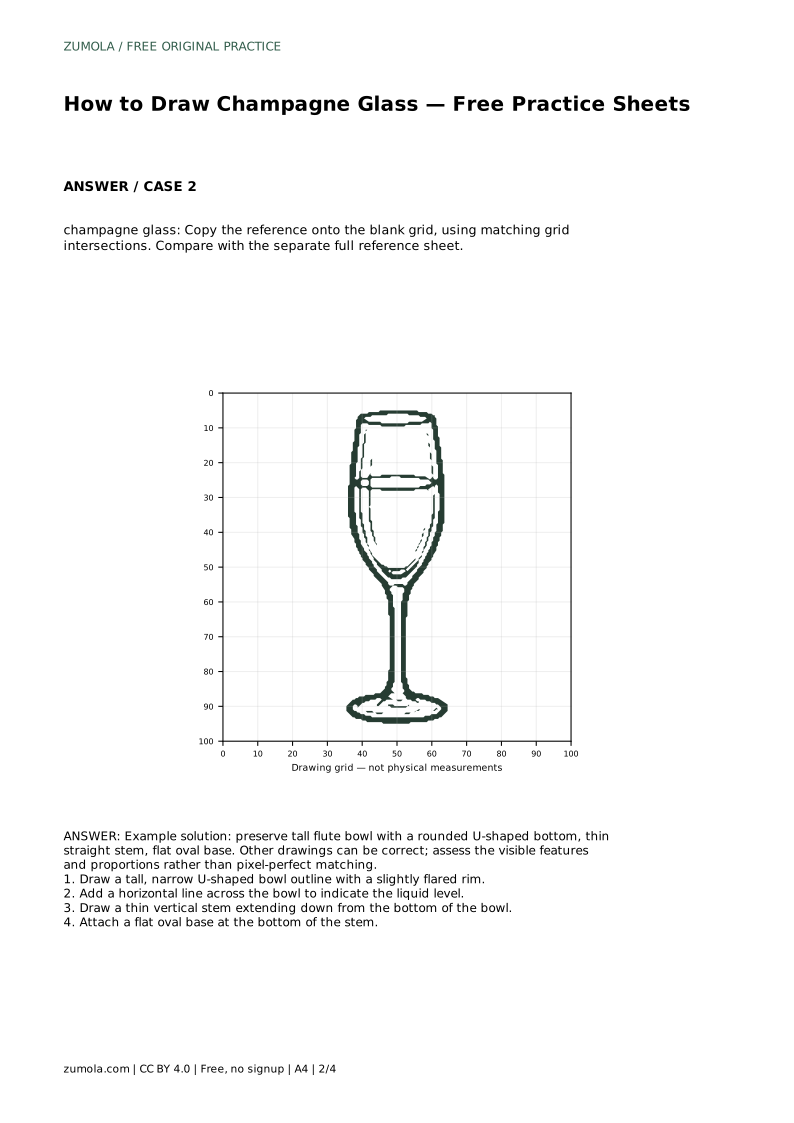
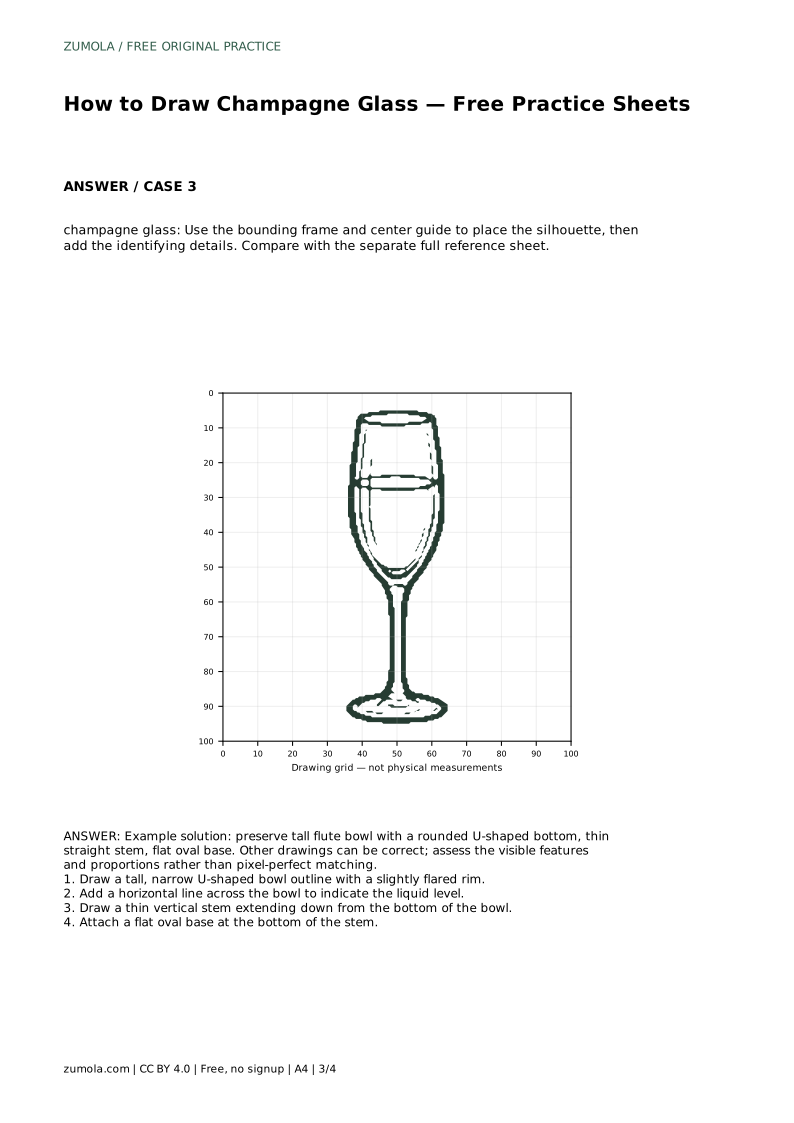
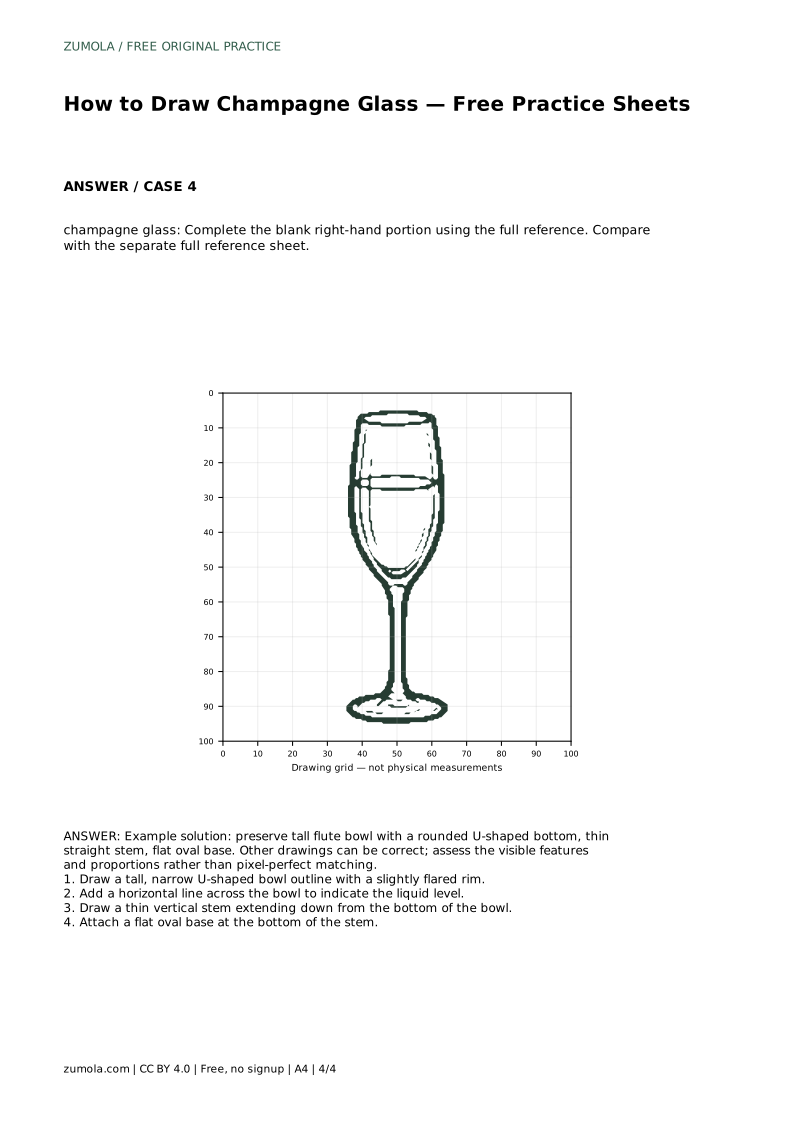
The grid sheet asks you to copy the reference onto a blank grid using matching grid intersections. Work one intersection at a time and let the grid carry the proportions. The bounding-frame sheet gives you a frame and center guide to place the silhouette before adding details. The completion sheet shows the left portion of the drawing and asks you to finish the blank right-hand portion using the full reference.
Compare your drawing with the reference by looking at features, not by chasing a pixel-perfect match. Ask whether the bowl is tall and narrow, whether its bottom is a rounded U, whether the stem is thin and straight, and whether the base is a flat oval. Different line weights and slight curve changes can still produce a correct champagne glass.
If something looks off, measure proportions by eye: the bowl should take up roughly the upper half of the total height, and the stem and base together the lower half. Adjust the part that breaks that balance rather than redrawing everything.
champagne glass: Trace the reference outline, then practise the contour independently. Compare with the separate full reference sheet.
Example solution: preserve tall flute bowl with a rounded U-shaped bottom, thin straight stem, flat oval base. Other drawings can be correct; assess the visible features and proportions rather than pixel-perfect matching. Draw a tall, narrow U-shaped bowl outline with a slightly flared rim. Add a horizontal line across the bowl to indicate the liquid level. Draw a thin vertical stem extending down from the bottom of the bowl. Attach a flat oval base at the bottom of the stem.
No. Place it partway up the bowl so the empty space above it remains visible.
Yes. The liquid line is an identifying detail, but the bowl, stem, and base carry the shape.
Check the visible features and proportions: tall narrow bowl, rounded U bottom, thin straight stem, flat oval base. Slight differences in line and curve are acceptable.
All drawing practice · Free coordinate paper
Original resources · CC BY 4.0 · Free for personal and classroom use with attribution.