Reference diagrams
LETTER · Download PDF
A4 · Download PDF
Free original resources
Learn to draw a firefighter helmet by building the wide curved brim, raised dome crown, central ridge, and front badge, then checking proportions against a reference.
Four original cases, with reference diagrams, practice sheets and worked answers. Everything is free; no signup required.
LETTER · Download PDF
A4 · Download PDF
LETTER · Download PDF
A4 · Download PDF
LETTER · Download PDF
A4 · Download PDF
Use A4 or US Letter to match your printer. Use the stated values and conditions to solve each exercise; diagrams are not physical measuring rulers.
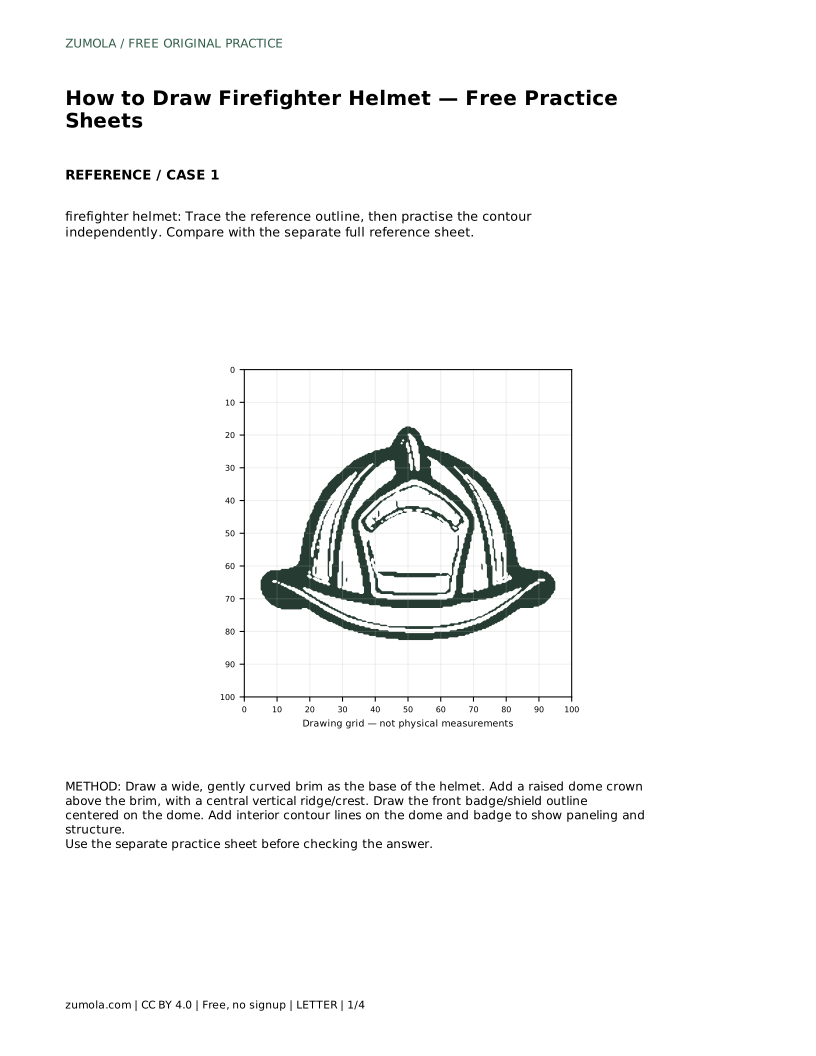
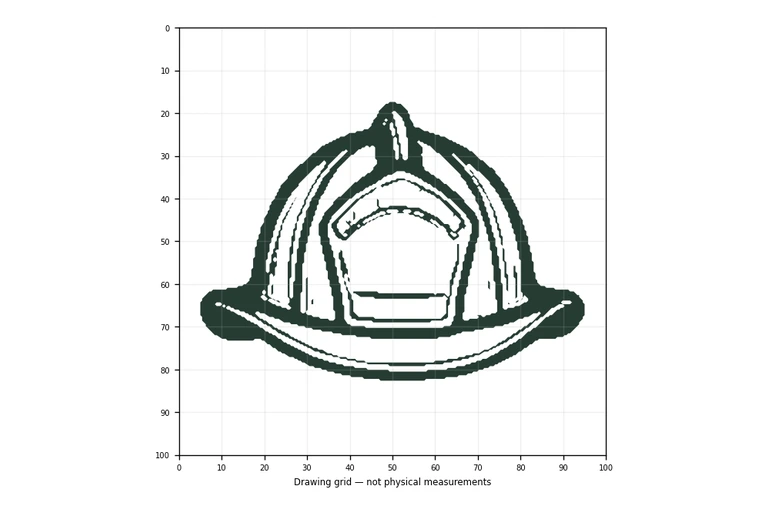
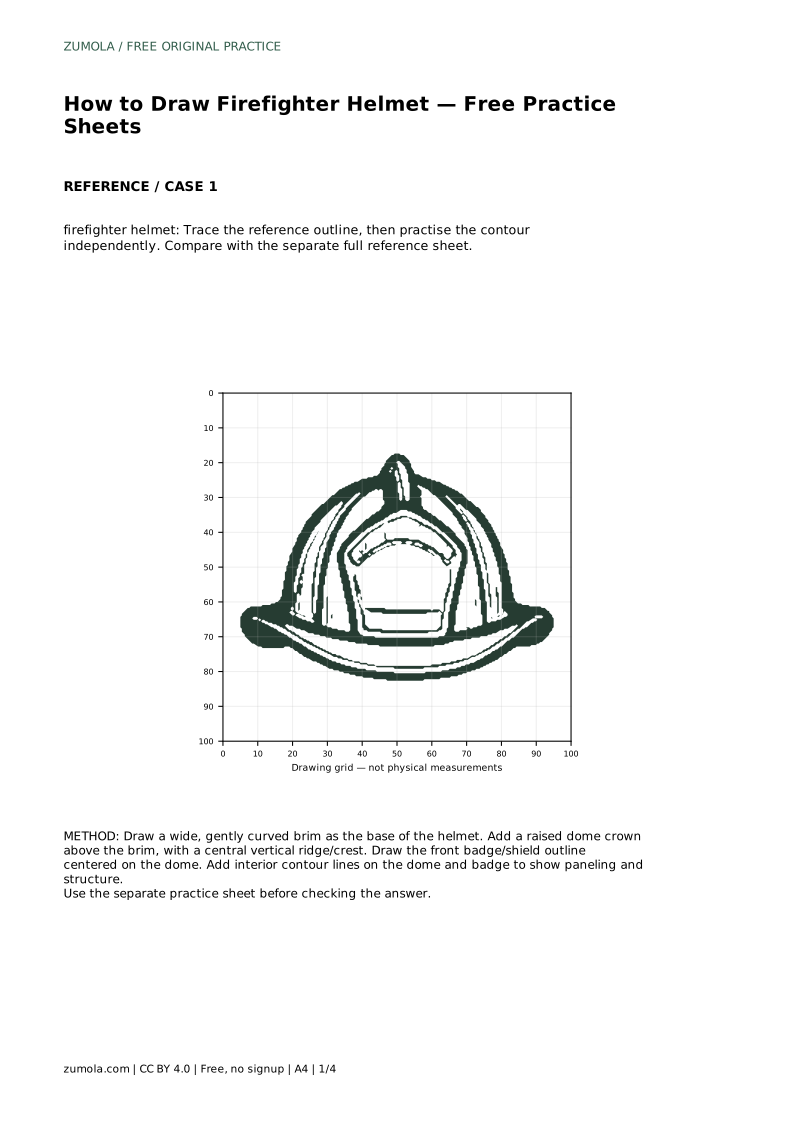
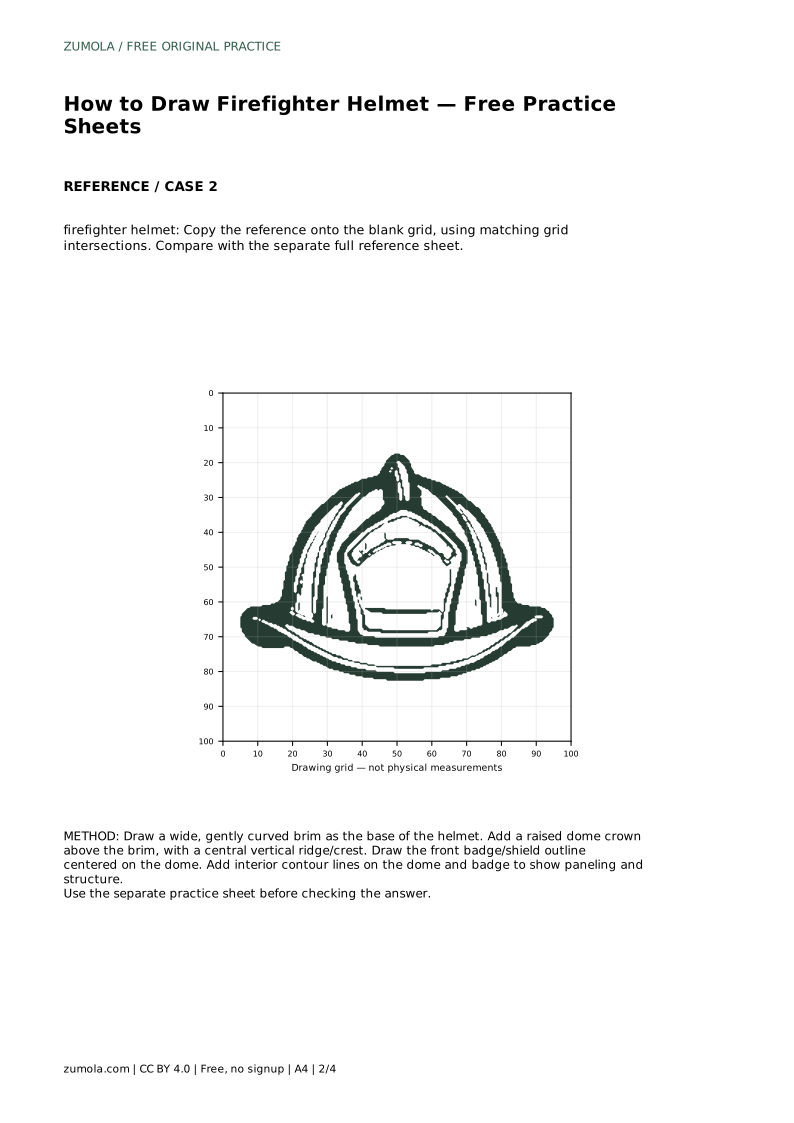
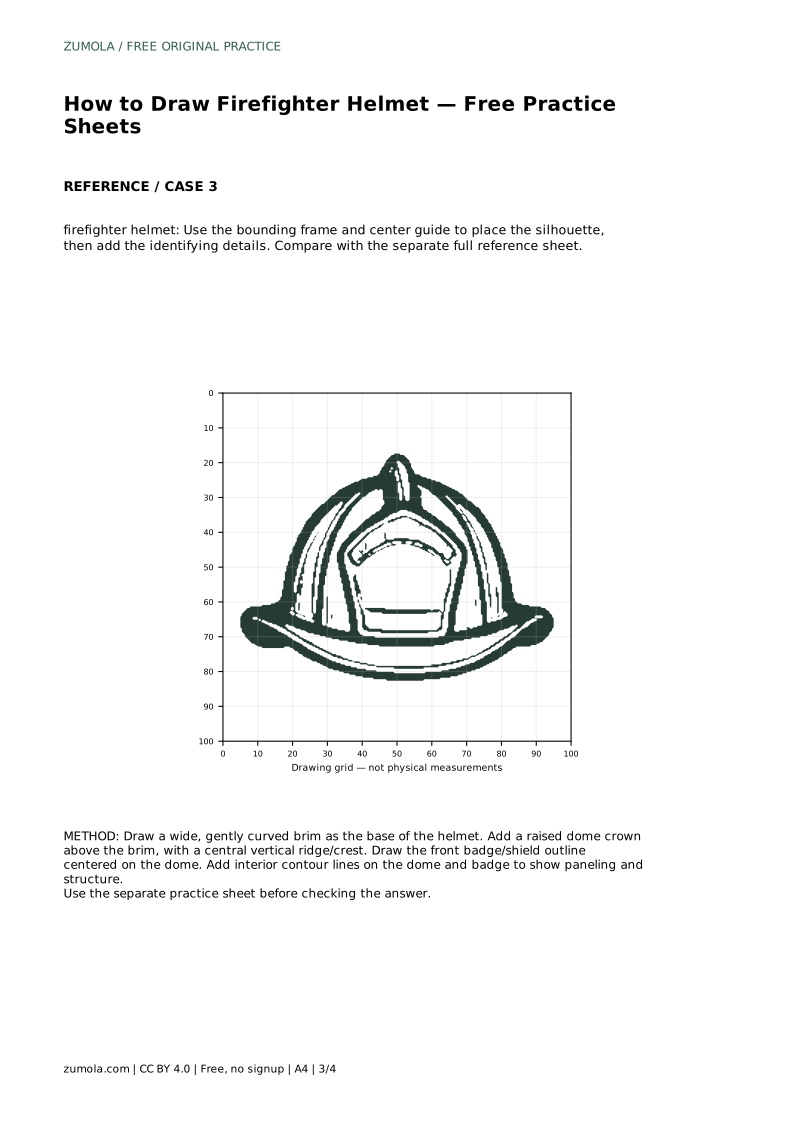
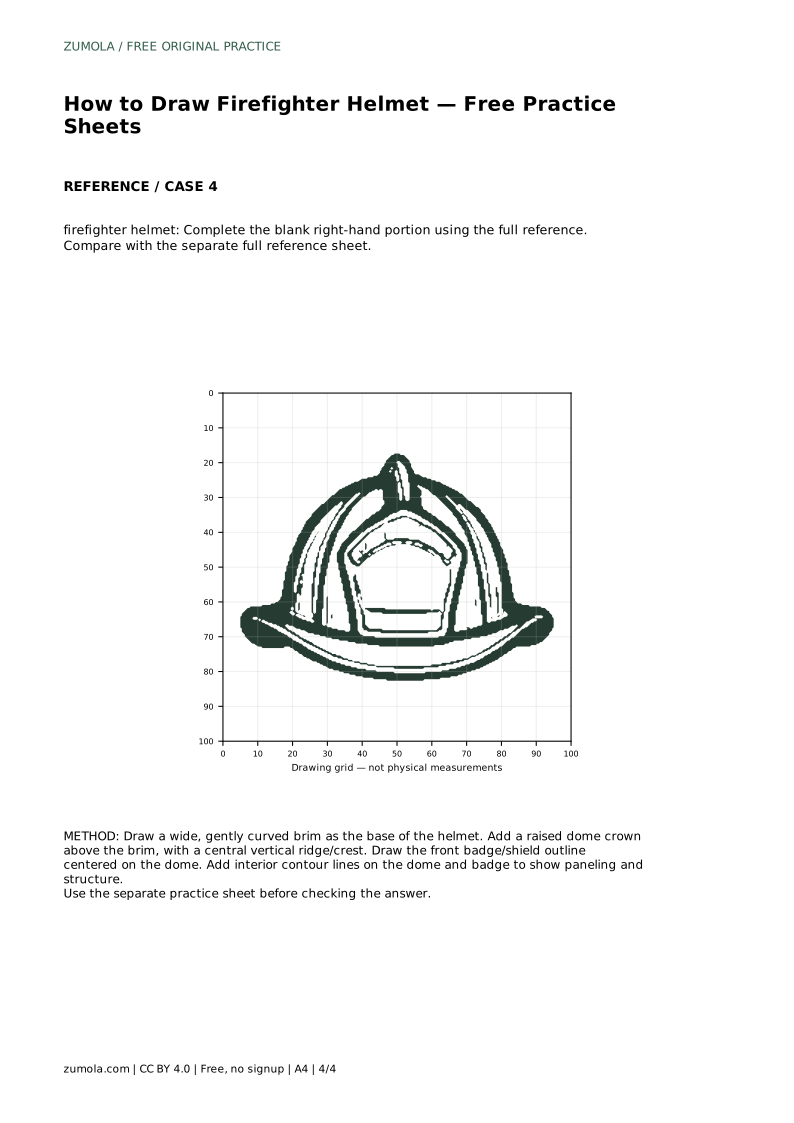
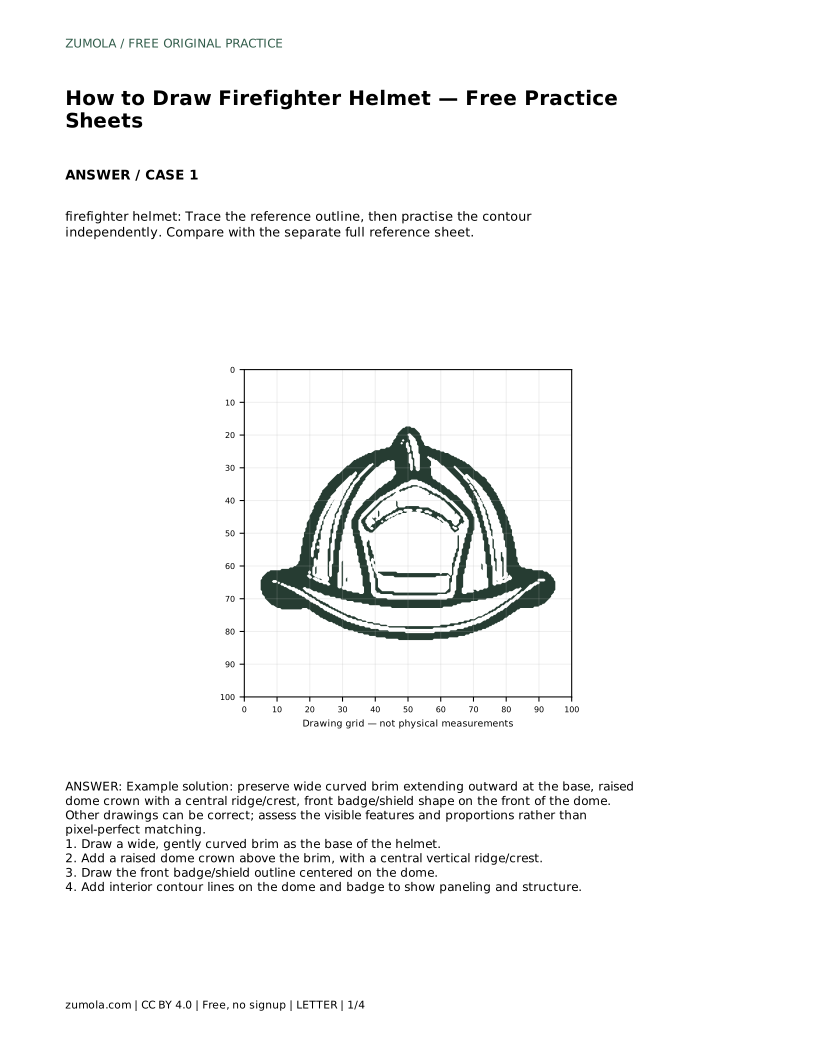
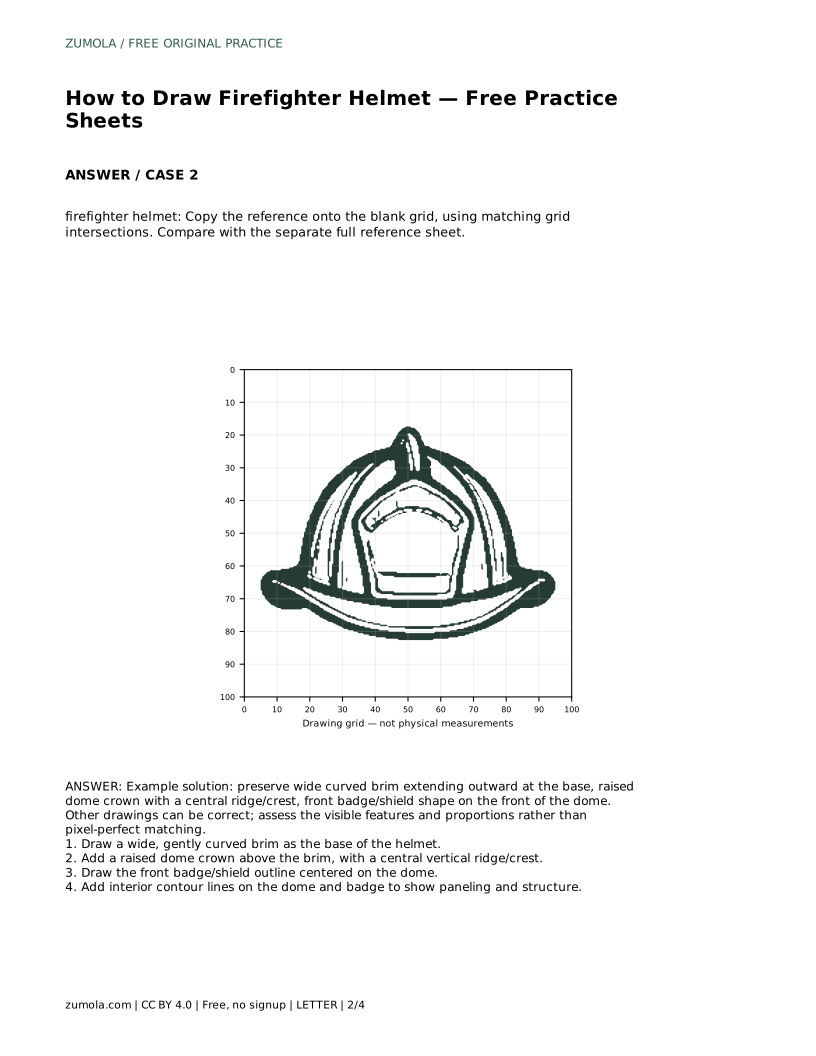
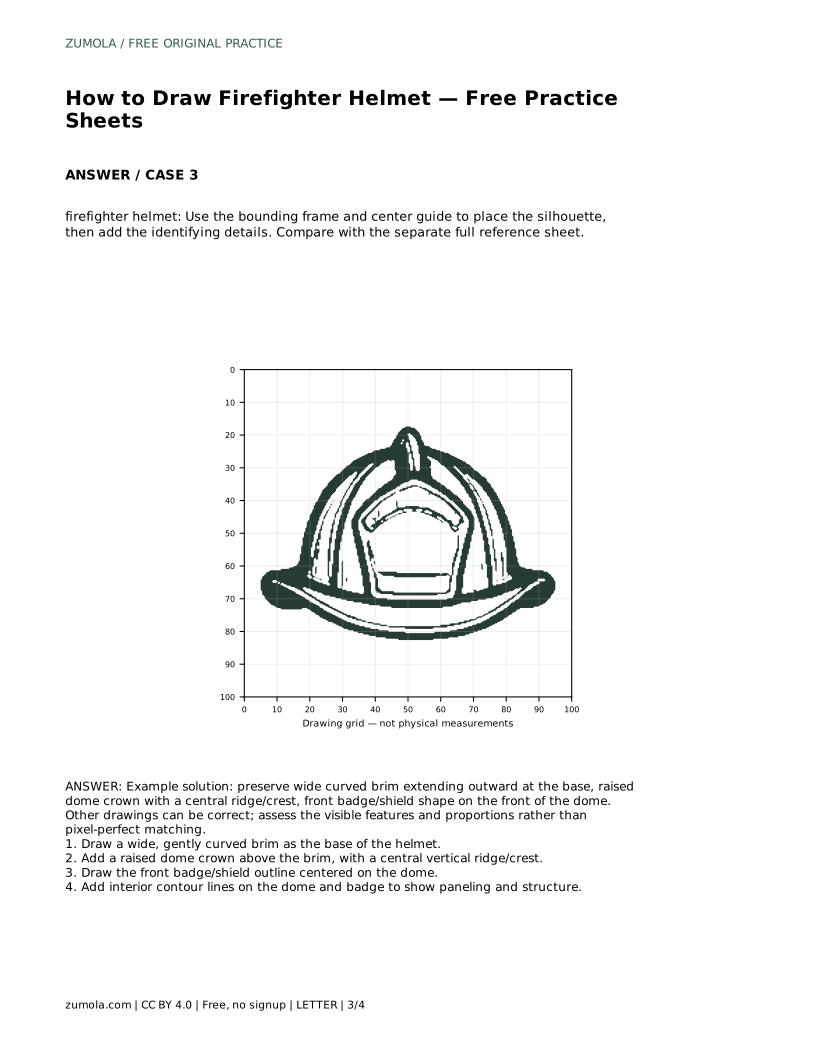
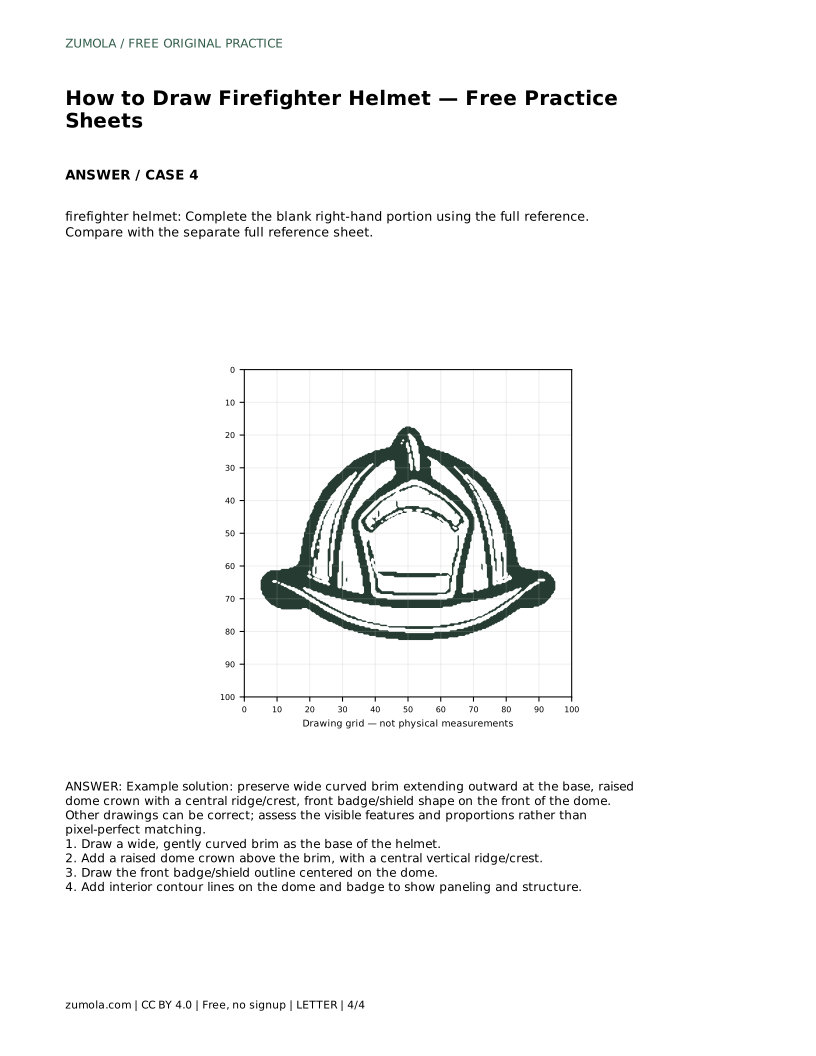
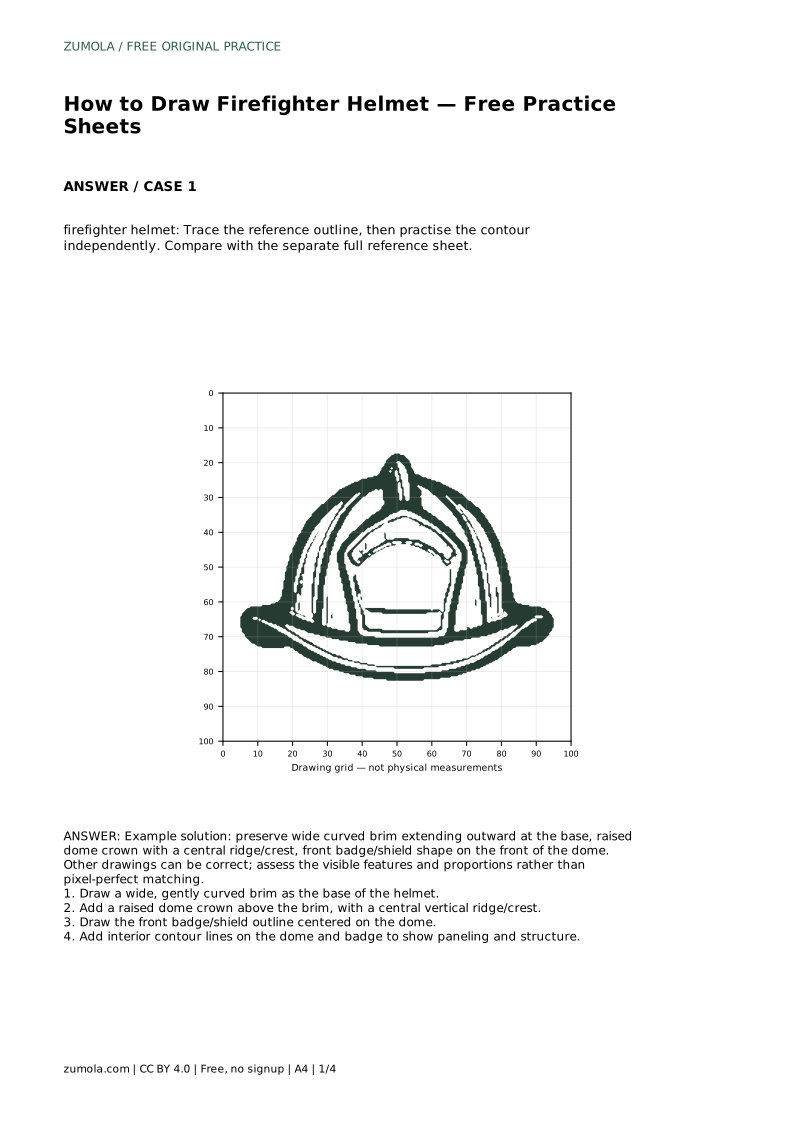
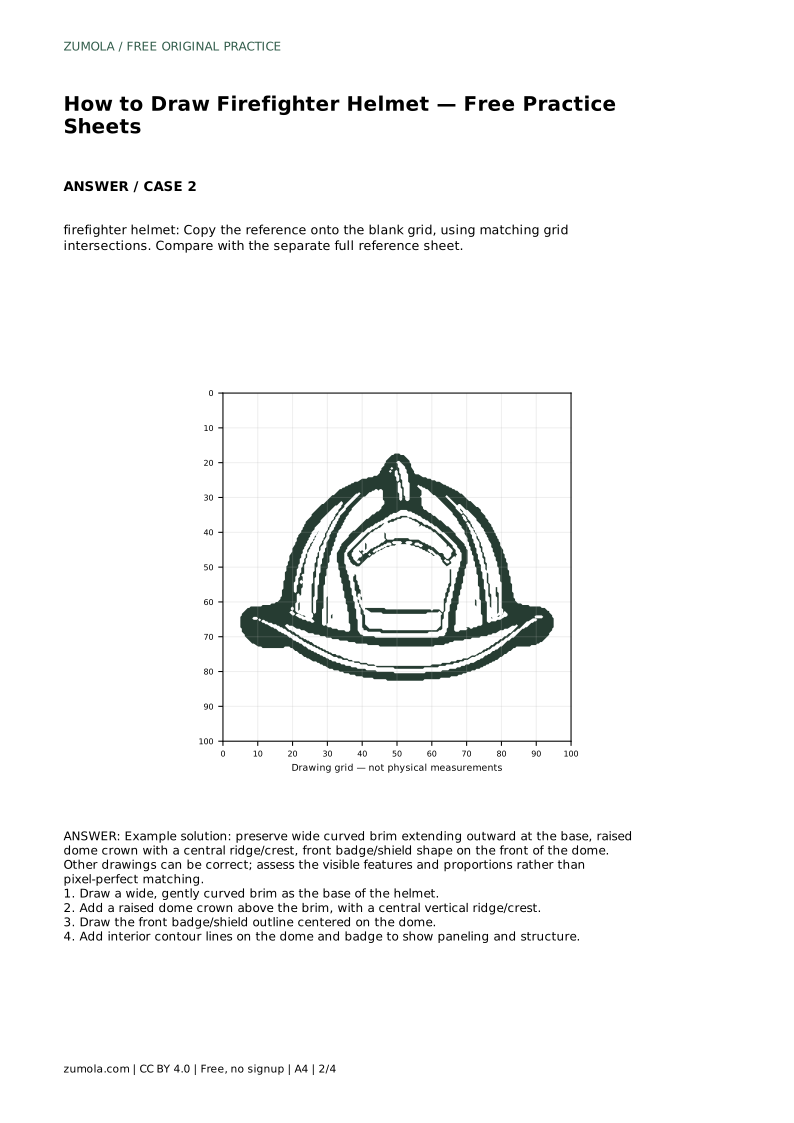
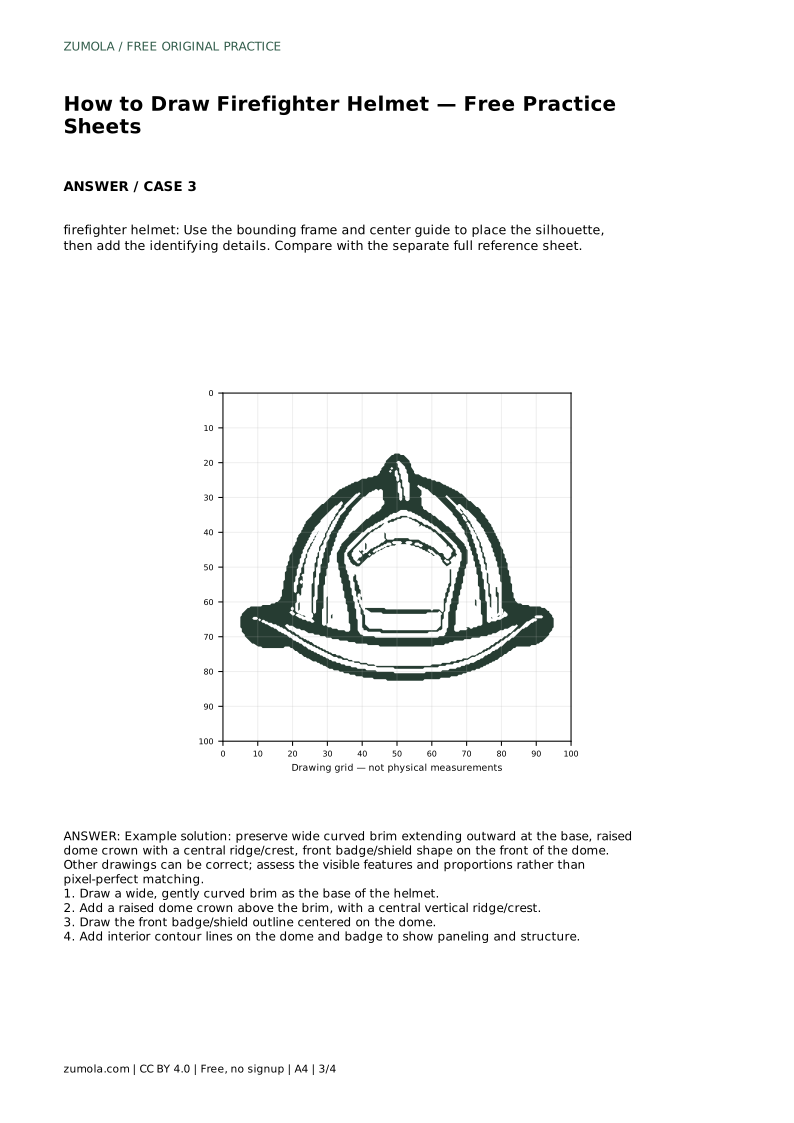
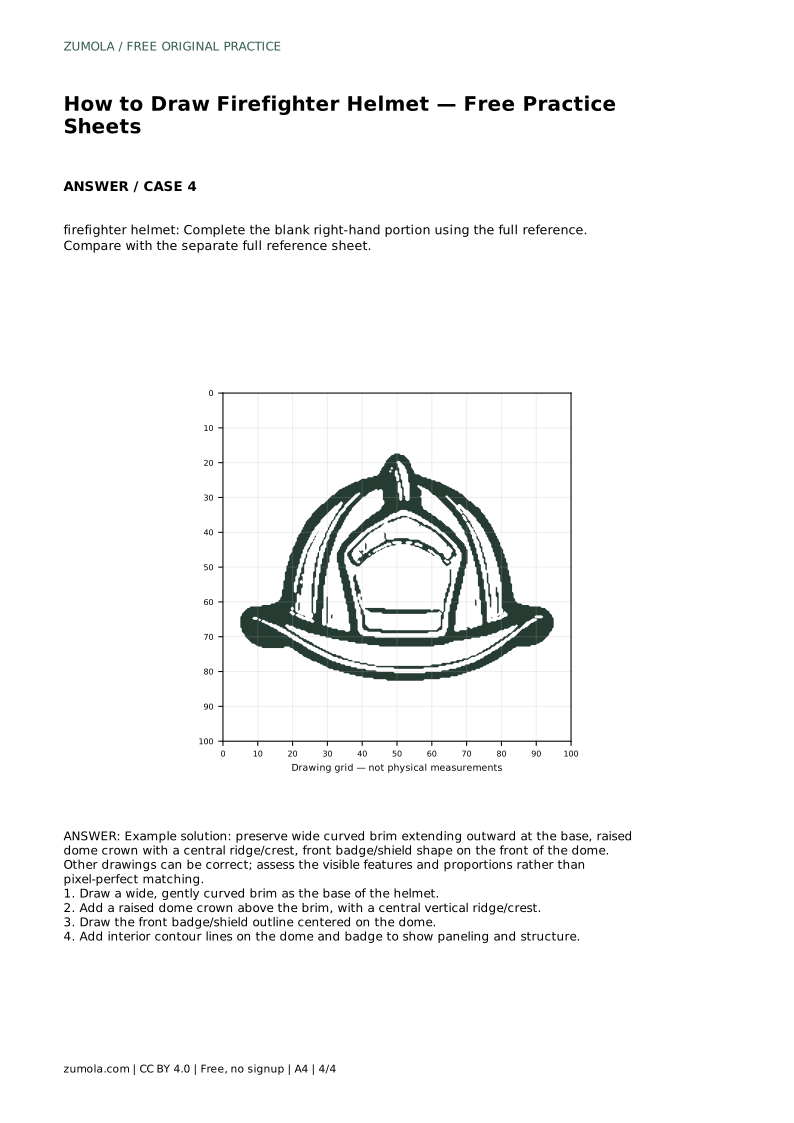
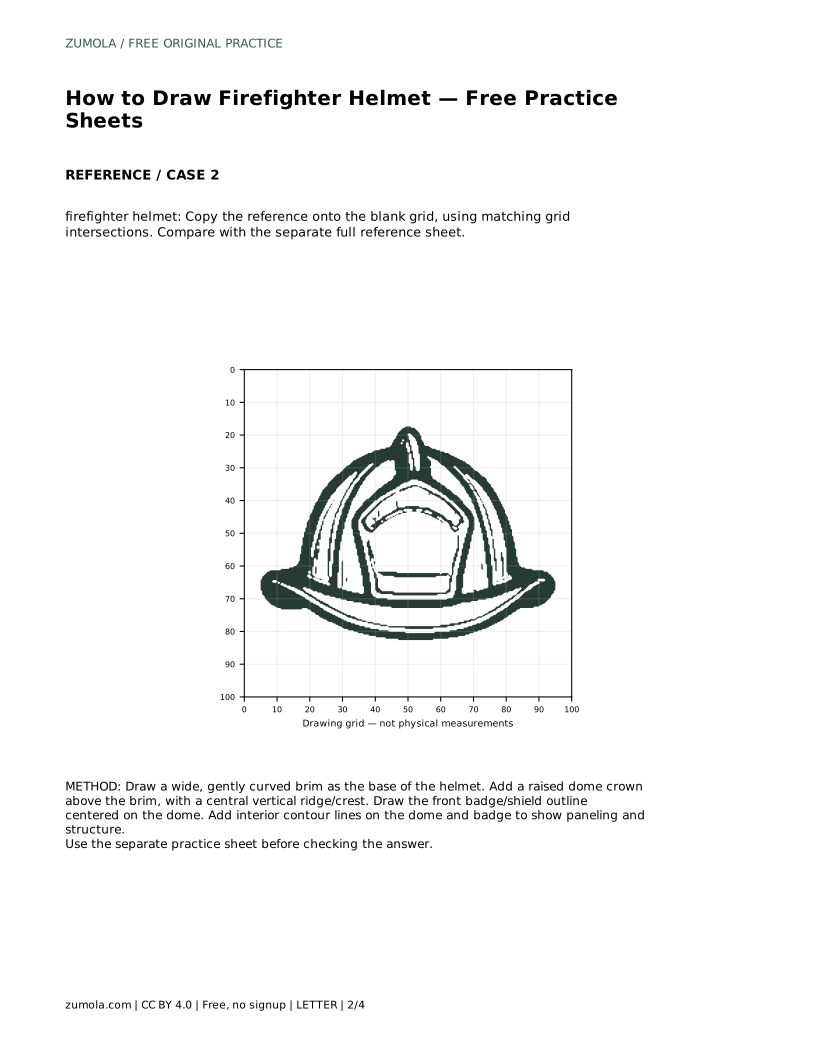
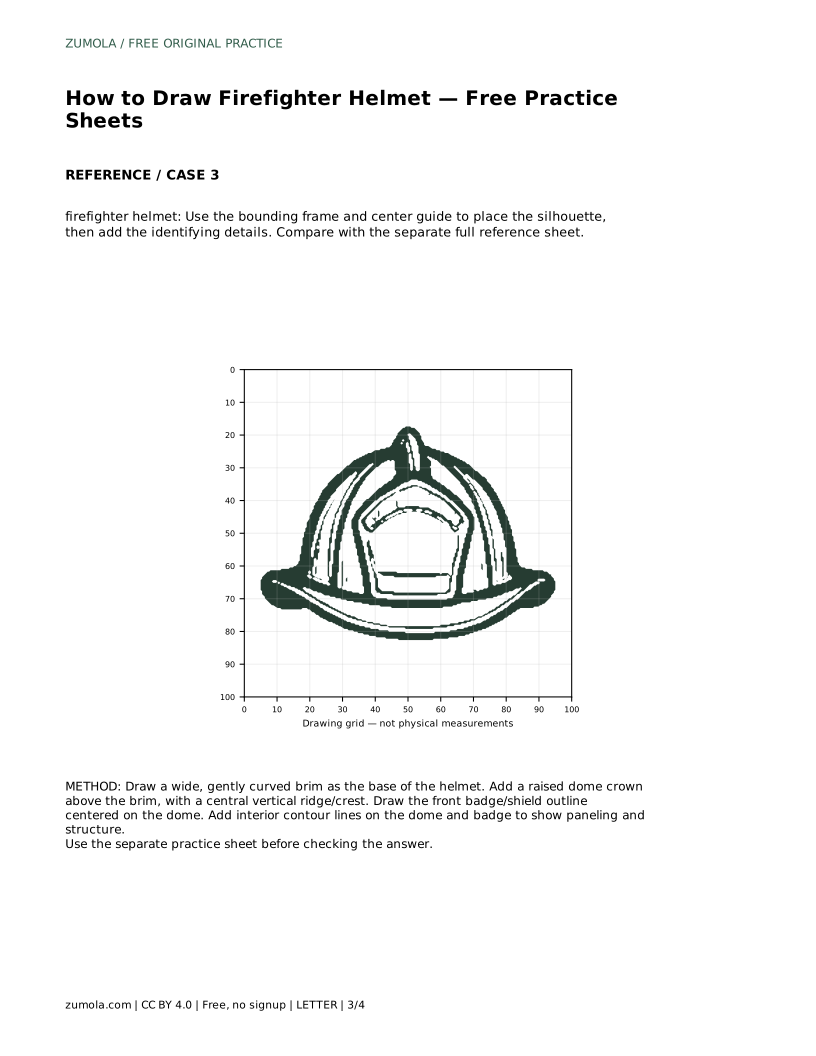
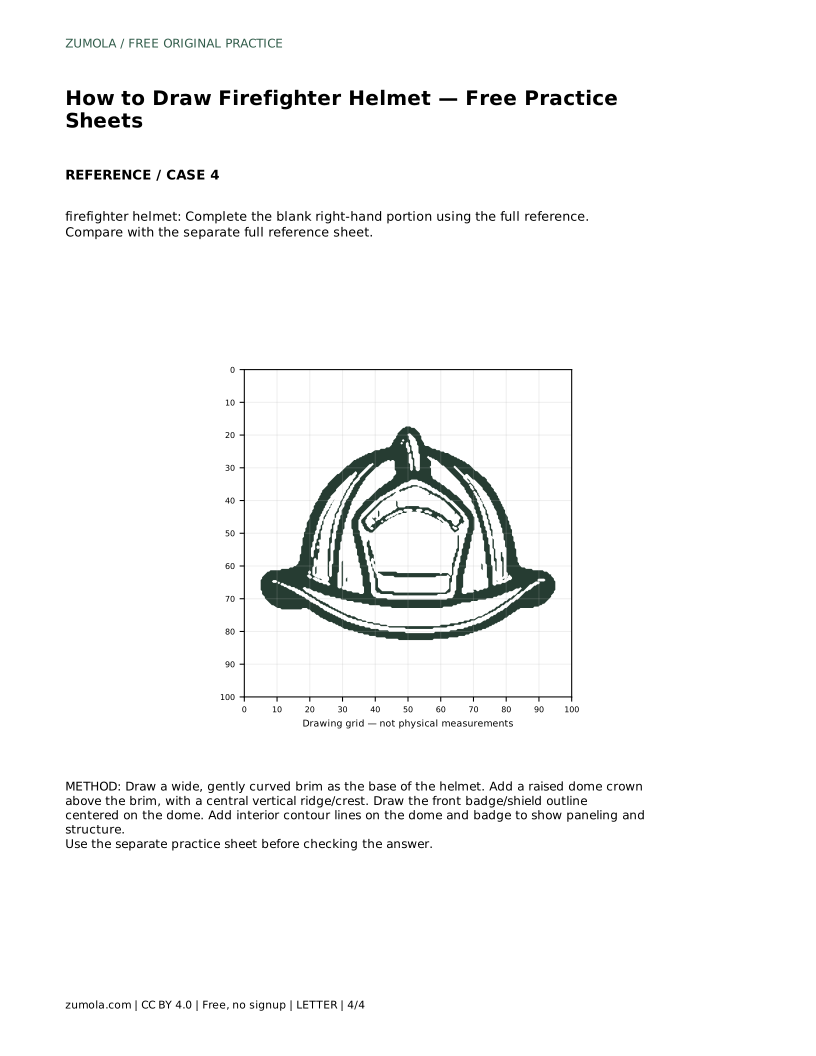
A firefighter helmet is easy to recognise because of three shapes working together: a wide brim that spreads outward at the base, a raised dome crown above it, and a badge or shield centred on the front of the dome. This page explains how to build those shapes in order, how to use tracing, grid, and partial-reference practice sheets, and how to judge your drawing by visible features rather than exact copying.
Start with the brim, because it sets the helmet's width and gives you a stable base for everything above. Draw a wide, gently curved line that extends outward on both sides rather than a narrow band. The brim should look like it could sit across a head, so keep its curve shallow and even.
Next, add the raised dome crown above the brim. The dome rises from the brim and narrows toward the top. Add a central vertical ridge or crest running over the dome; this ridge is one of the features that makes the helmet read as firefighter gear rather than a generic hat.
Finally, draw the front badge or shield outline centred on the dome. Keep it symmetrical about the central ridge unless your reference shows otherwise. Interior contour lines on the dome and badge show paneling and structure, but add them last so they do not distract you while the main silhouette is still being placed.
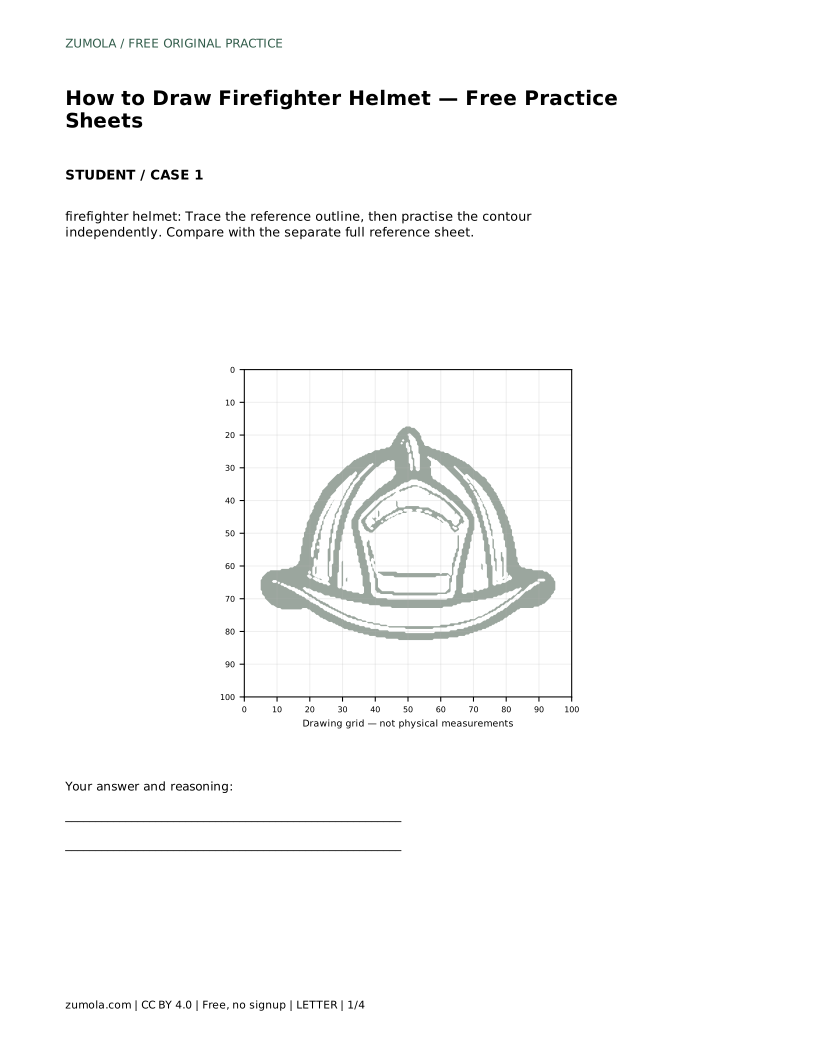
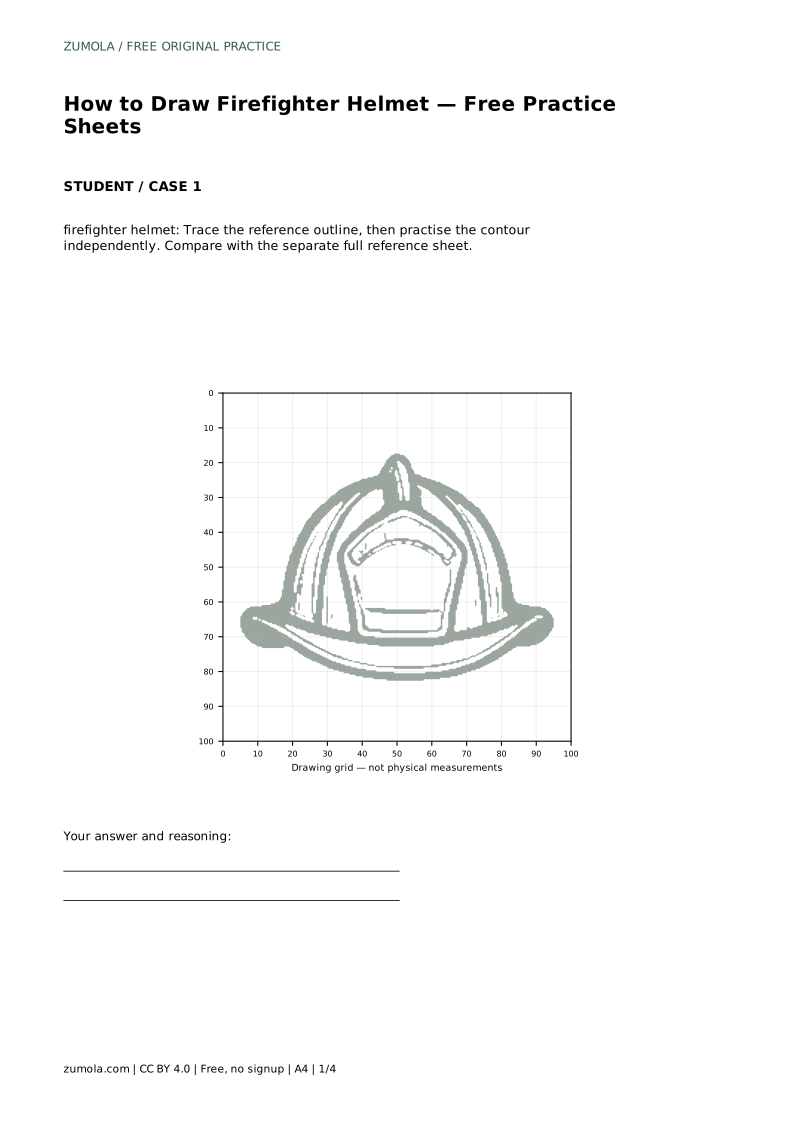
The tracing sheet asks you to follow the reference outline first, then practise the contour independently on the same page. Tracing teaches the sequence of the shapes; the independent attempt shows whether you can reproduce them without the guide underneath.
The grid sheet asks you to copy the reference onto a blank grid using matching grid intersections. Work one intersection at a time and check where the brim edge, dome top, and badge corners fall relative to the grid lines. This method is useful for catching proportion errors early.
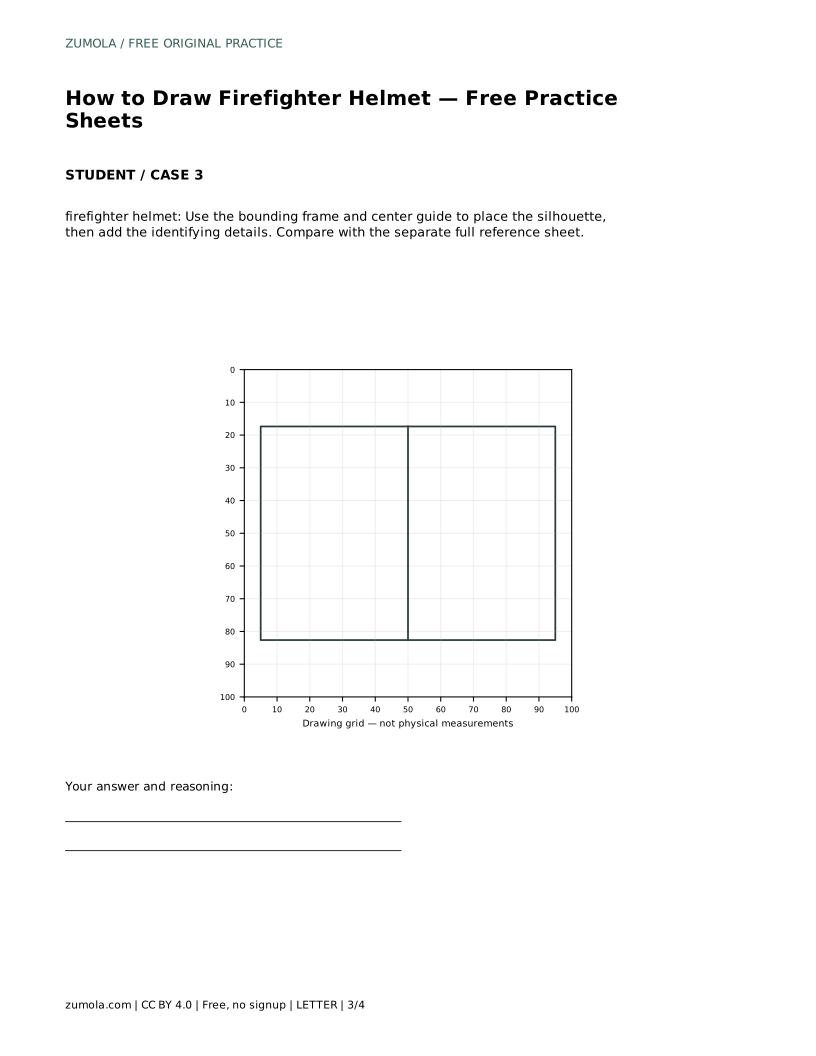
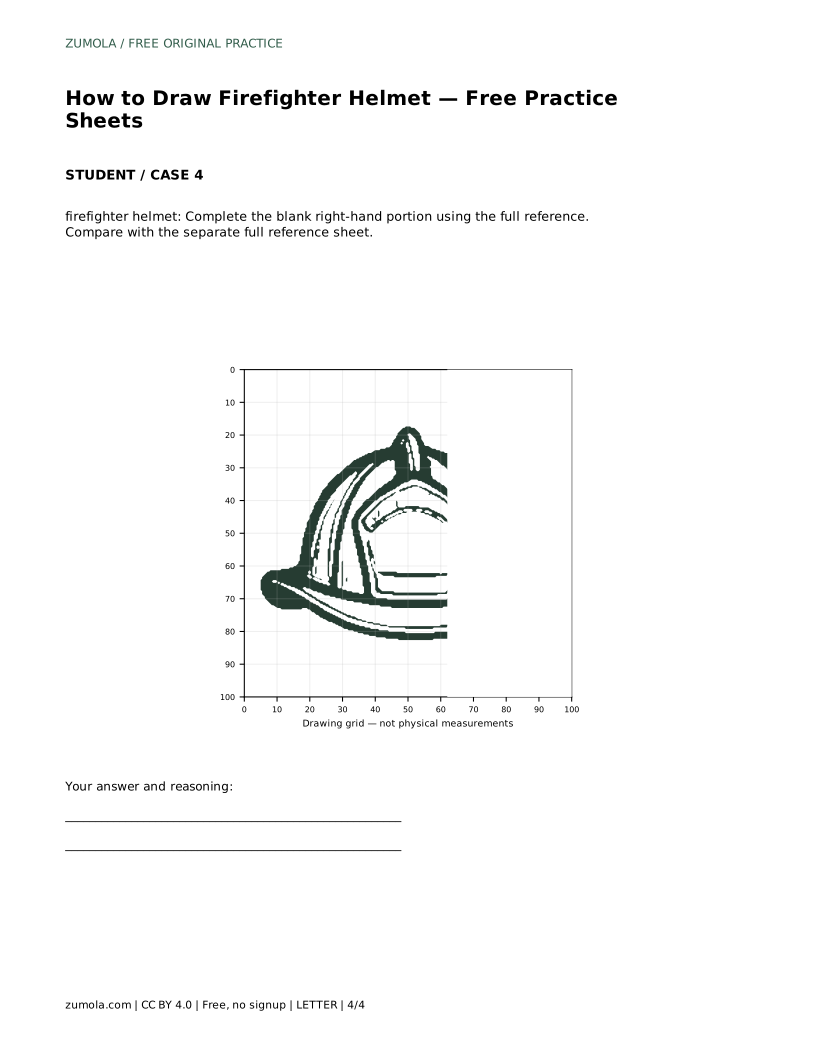
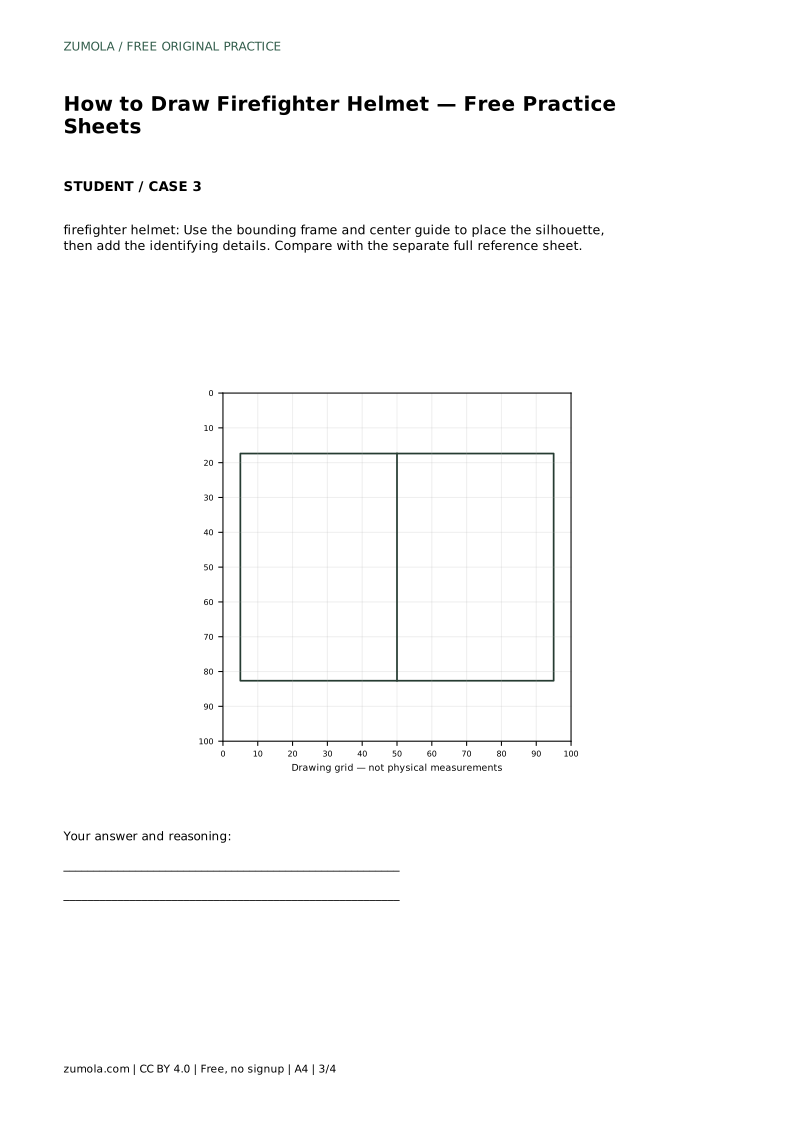
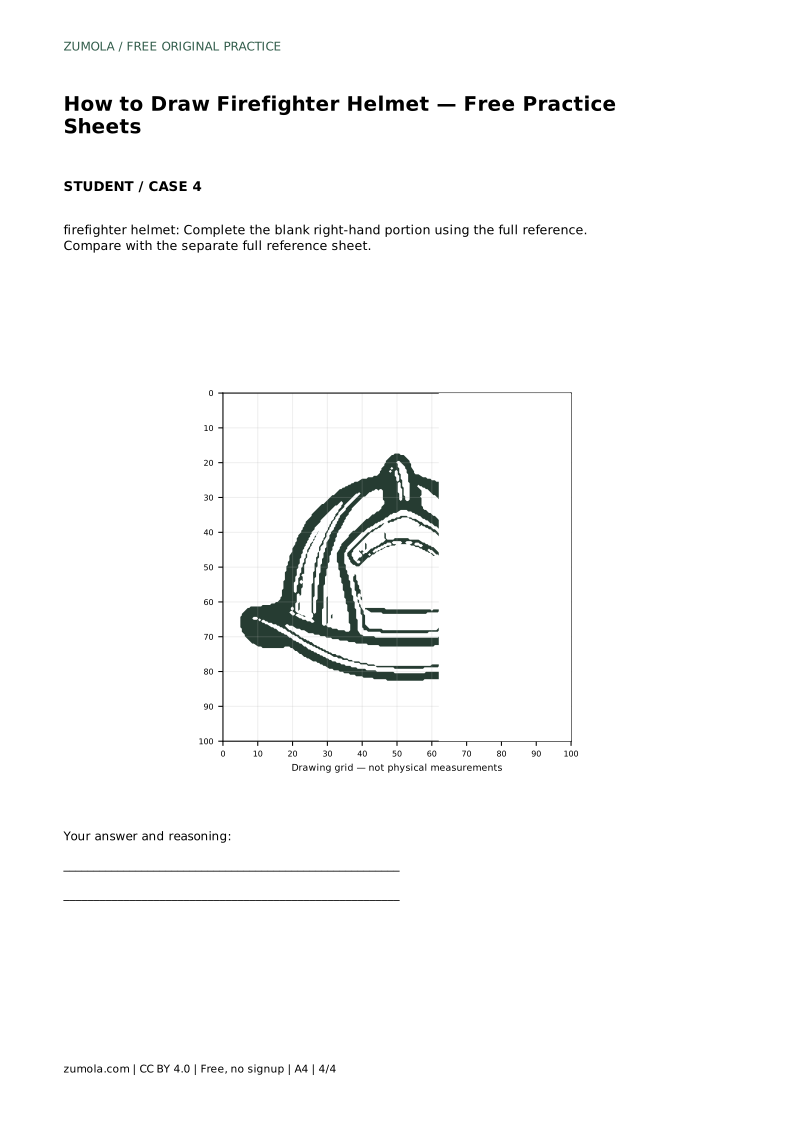
The bounding-frame sheet gives you a frame and centre guide to place the silhouette before adding identifying details. The partial-reference sheet gives you the full reference beside a blank right-hand portion, so you complete the missing side. In every format, compare your finished drawing with the separate full reference sheet rather than with your own earlier lines.
Helmet drawings have many valid outcomes. A slightly wider brim or a taller dome can still be correct if the identifying features are present and the proportions hold together. Check that the brim extends outward at the base, the dome rises above it, the central ridge runs over the dome, and the badge sits centred on the front.
Use the rubric below to assess visible features and proportions rather than pixel-perfect matching. If one feature is missing, redraw that part on a fresh attempt instead of patching the whole drawing.
firefighter helmet: Trace the reference outline, then practise the contour independently. Compare with the separate full reference sheet.
Example solution: preserve wide curved brim extending outward at the base, raised dome crown with a central ridge/crest, front badge/shield shape on the front of the dome. Other drawings can be correct; assess the visible features and proportions rather than pixel-perfect matching. Draw a wide, gently curved brim as the base of the helmet. Add a raised dome crown above the brim, with a central vertical ridge/crest. Draw the front badge/shield outline centered on the dome. Add interior contour lines on the dome and badge to show paneling and structure.
No. Other drawings can be correct. Assess the visible features and proportions rather than pixel-perfect matching.
Start with the tracing sheet to learn the shape order, then move to the grid or frame sheet to practise placing the silhouette without tracing.
The wide curved brim, raised dome crown with a central ridge, and a front badge or shield centred on the dome.
All drawing practice · Free coordinate paper
Original resources · CC BY 4.0 · Free for personal and classroom use with attribution.