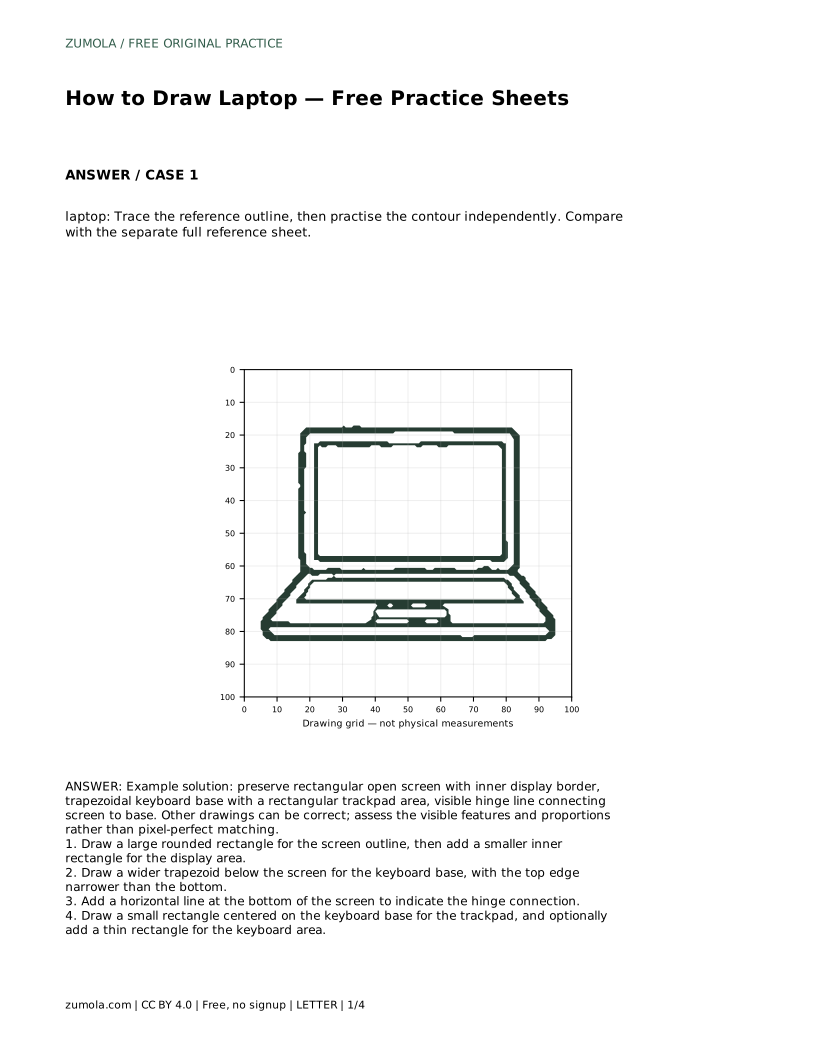
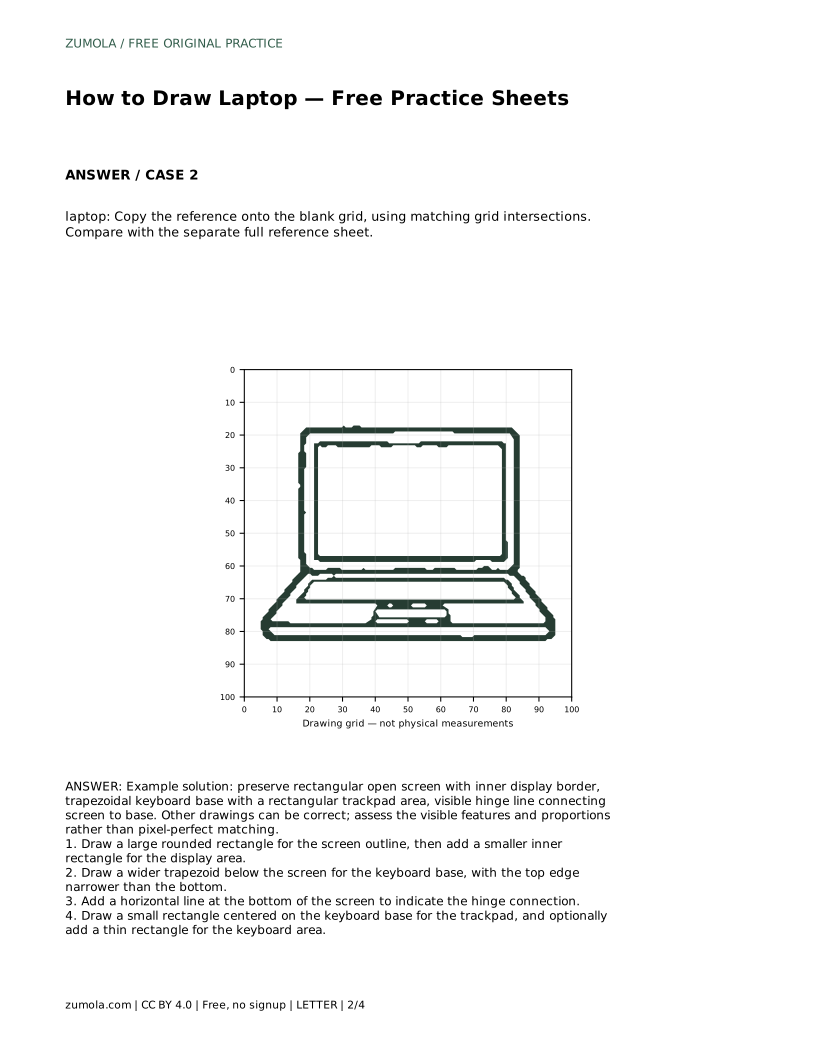
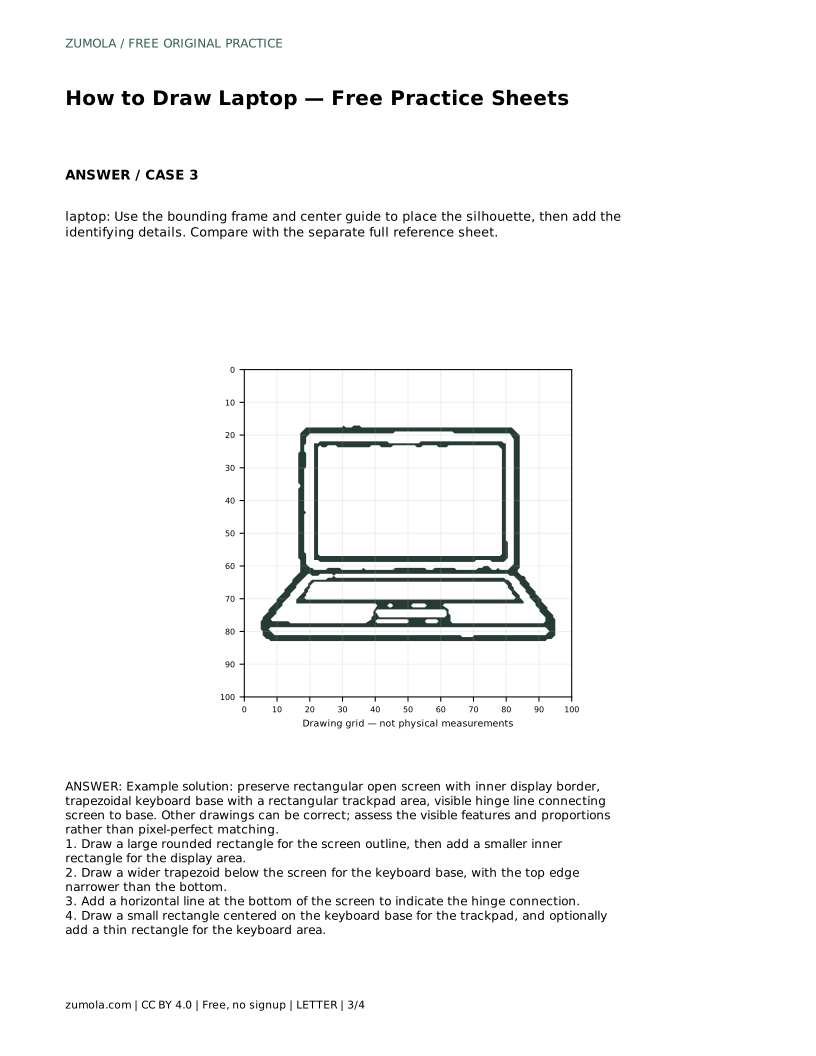
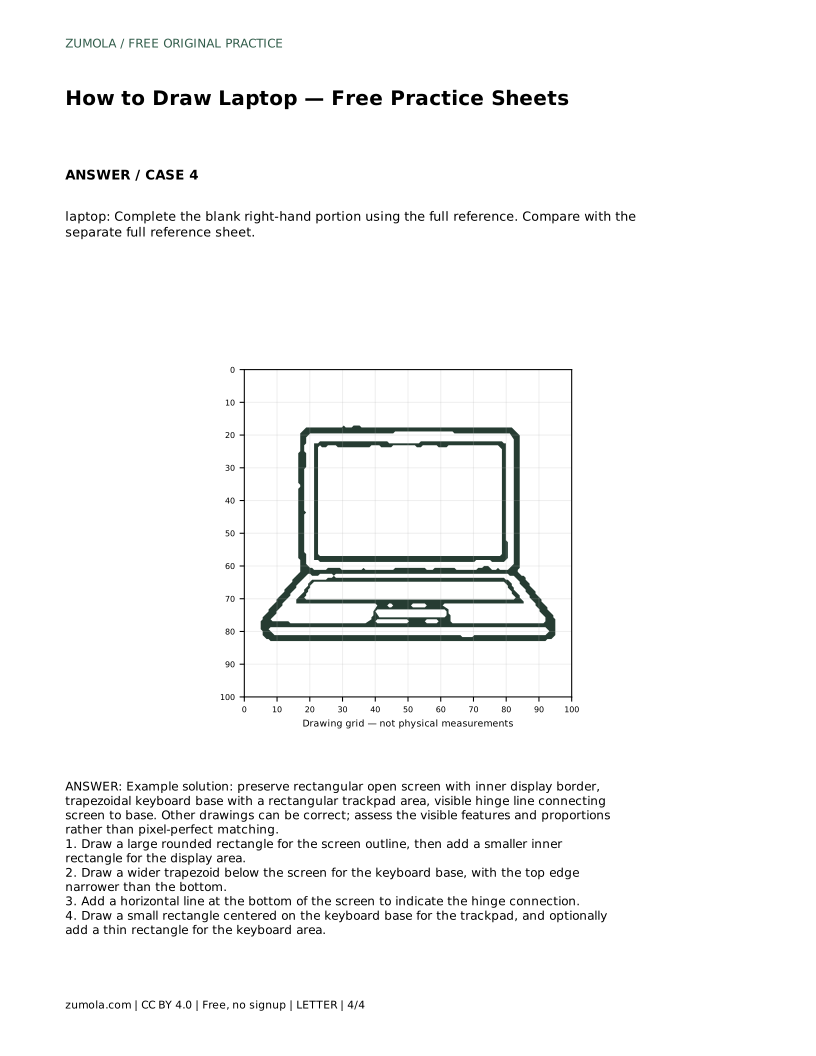
Reference diagrams
LETTER · Download PDF
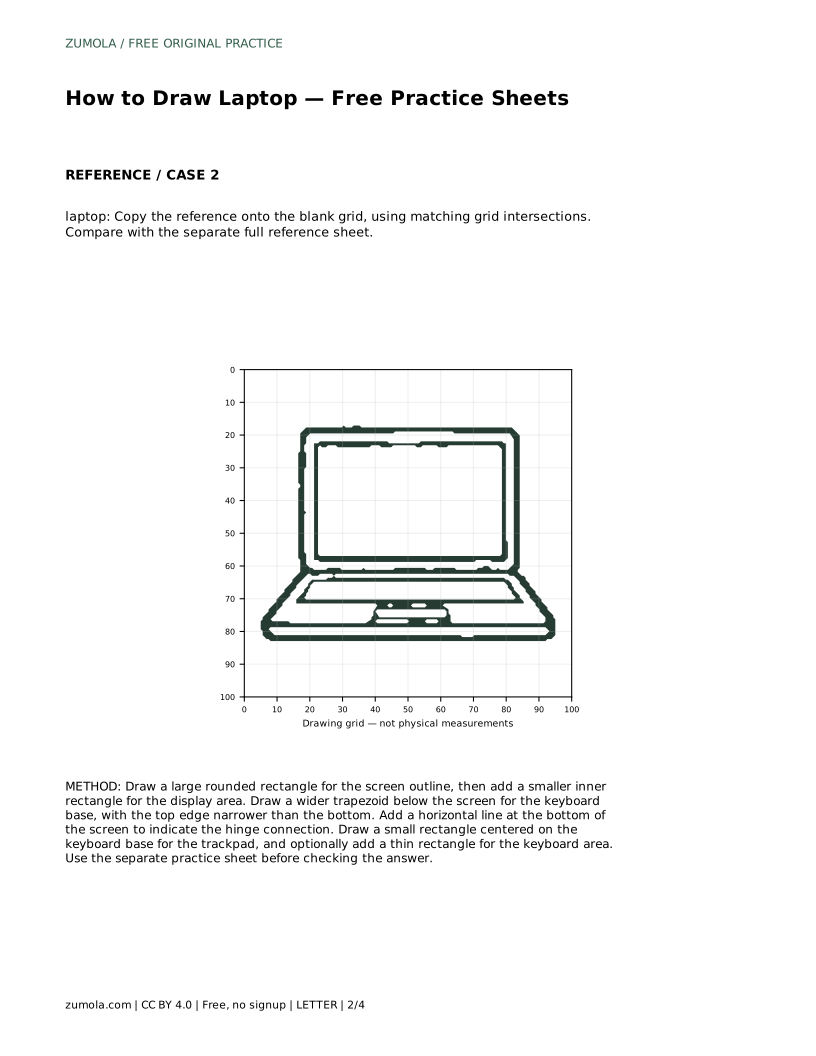
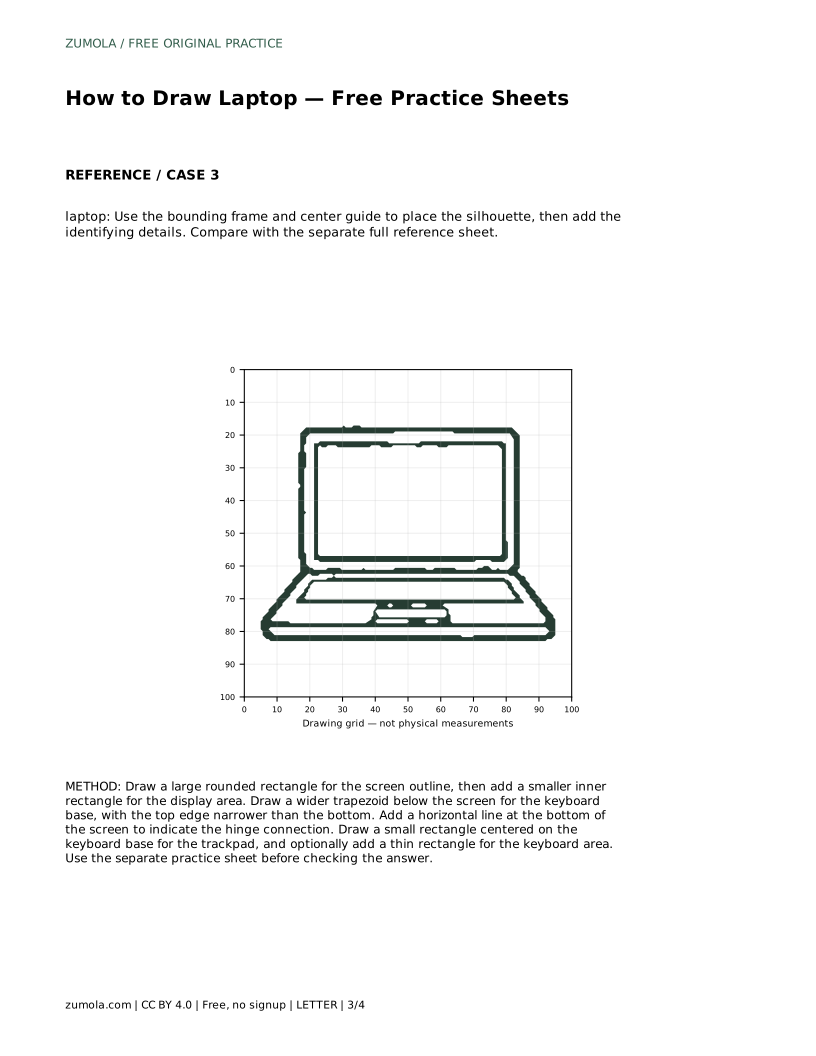
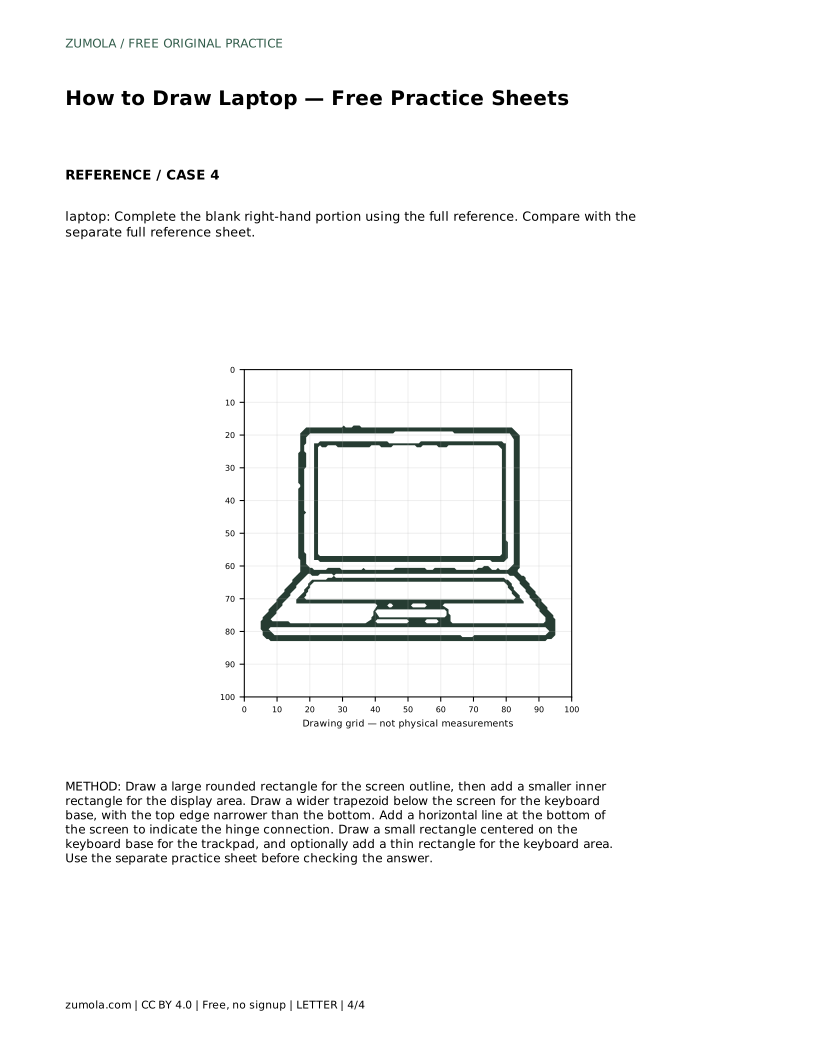
A4 · Download PDF
Free original resources
Learn to draw an open laptop by building the screen, hinge, and keyboard base in order. Free printable practice sheets support tracing, grids, and independent drawing.
Four original cases, with reference diagrams, practice sheets and worked answers. Everything is free; no signup required.
LETTER · Download PDF
A4 · Download PDF
LETTER · Download PDF
A4 · Download PDF
LETTER · Download PDF
A4 · Download PDF
Use A4 or US Letter to match your printer. Use the stated values and conditions to solve each exercise; diagrams are not physical measuring rulers.
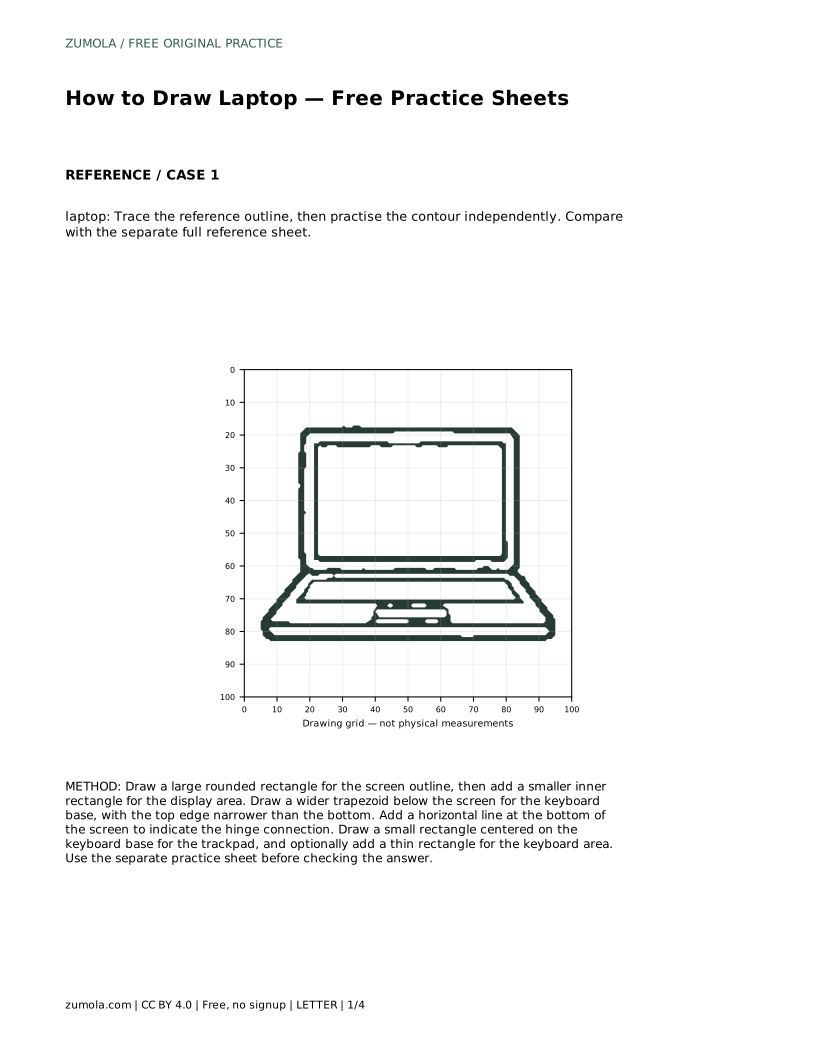
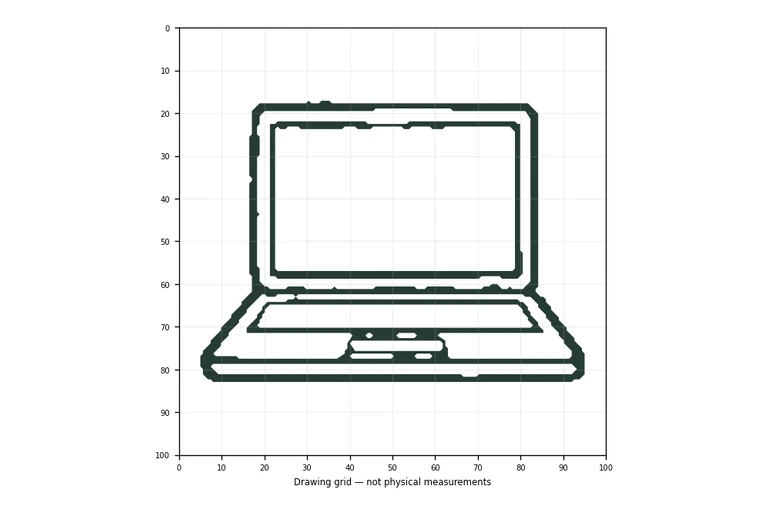
An open laptop is mostly straight edges and careful proportions, which makes it a friendly subject for beginners. The trick is to build it in layers: screen outline first, then the inner display border, then the keyboard base, then the hinge and trackpad. This page explains that order and shows how the printable practice sheets let you trace, copy onto a grid, or draw from a center guide.
Most beginners draw the keyboard first because it feels like the main part of a laptop. That usually causes trouble, because the screen sets the overall height and width of the drawing. Begin with a large rounded rectangle for the screen outline. Keep the corners gently rounded rather than sharp, and check that the rectangle is wider than it is tall.
Inside that outline, add a smaller rectangle for the display area. Leave a narrow, even border on all four sides so the screen reads as a frame around the display. If the border is uneven, the laptop will look tilted even when the outer rectangle is straight.
The keyboard base sits below the screen and appears wider at the front than at the back. Draw a trapezoid whose top edge is narrower than its bottom edge, and center it under the screen. The top edge should roughly match the width of the screen so the two parts feel connected.
Inside the base, place a small rectangle centered near the front edge for the trackpad. You can also add a thin rectangle for the keyboard area, but keep it simple: a few horizontal lines are enough to suggest keys without drawing every one.
A horizontal line at the bottom of the screen shows where the screen meets the base. This hinge line is what makes the drawing read as an open laptop rather than two separate shapes. Keep it straight and place it just above the top edge of the trapezoid.
Once the hinge is in place, step back and compare the proportions. The screen and base should feel balanced, and the trackpad should sit centered rather than drifting to one side.
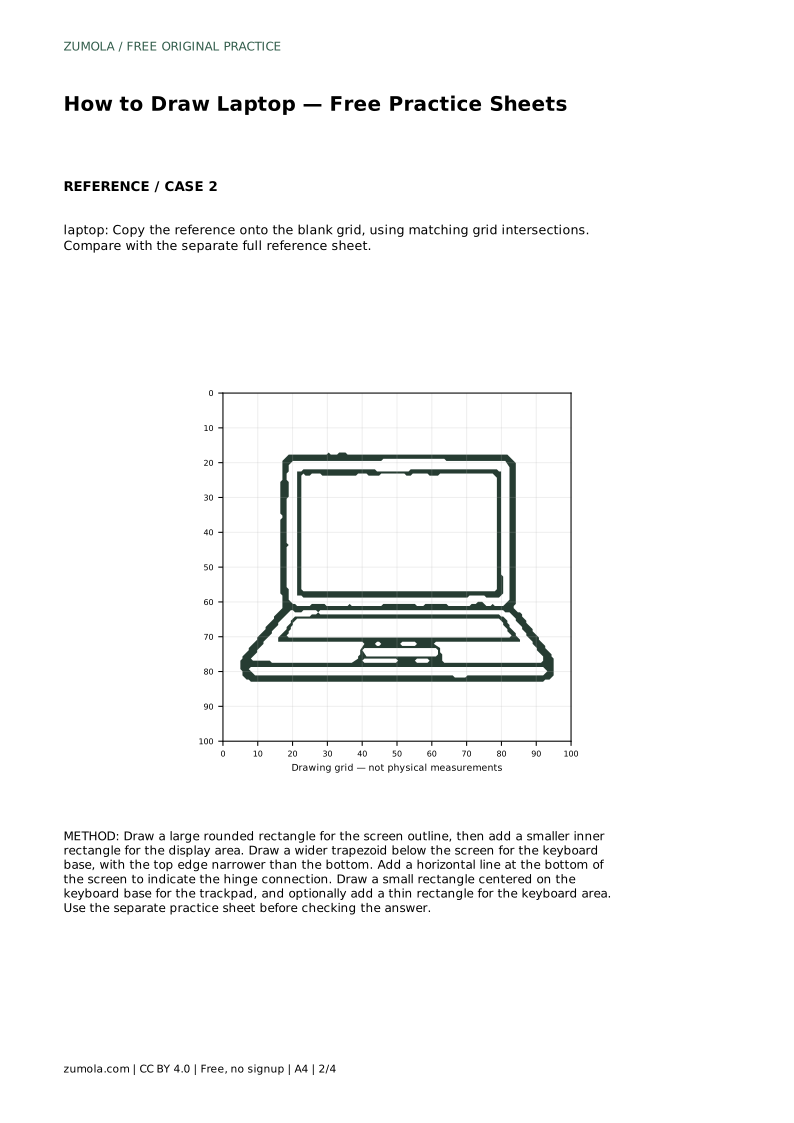
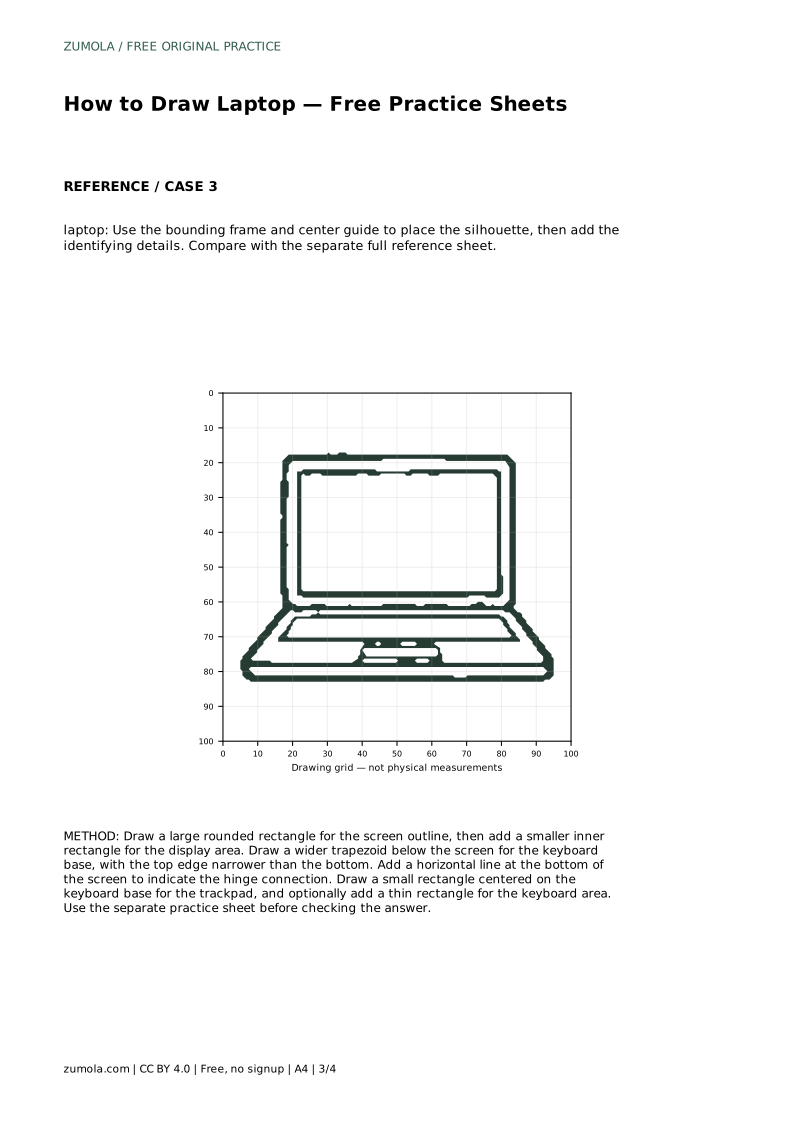
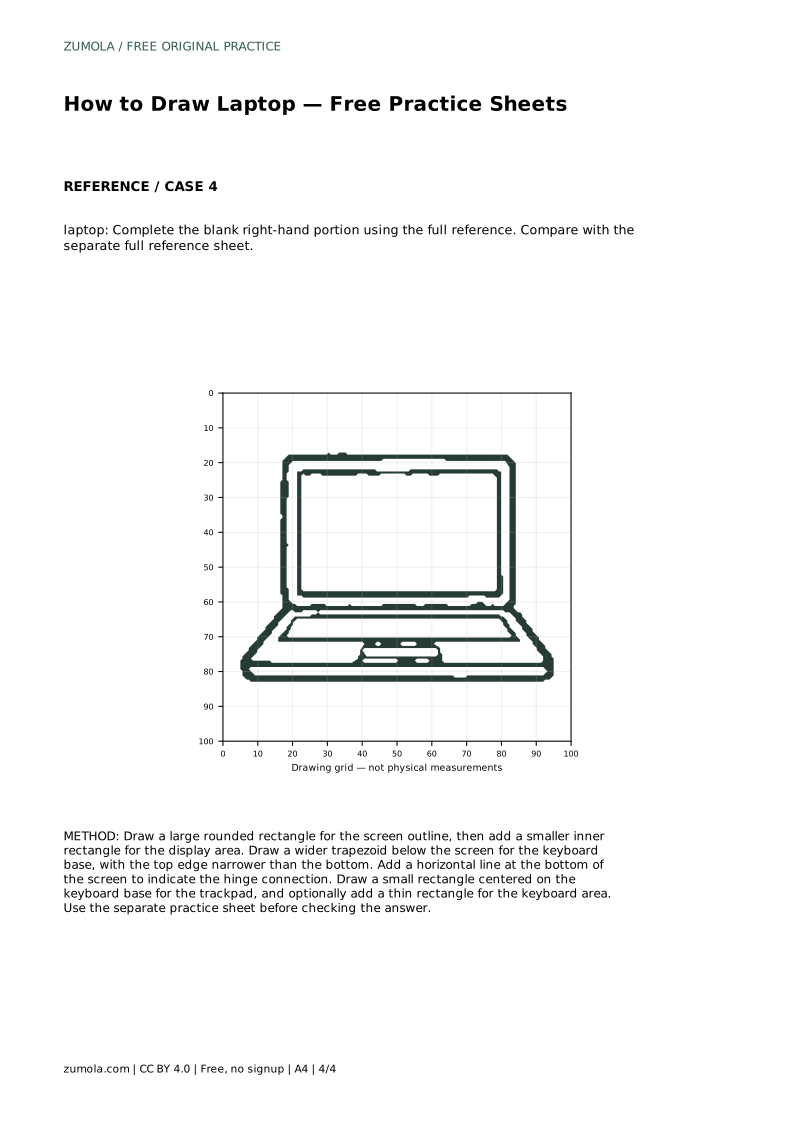
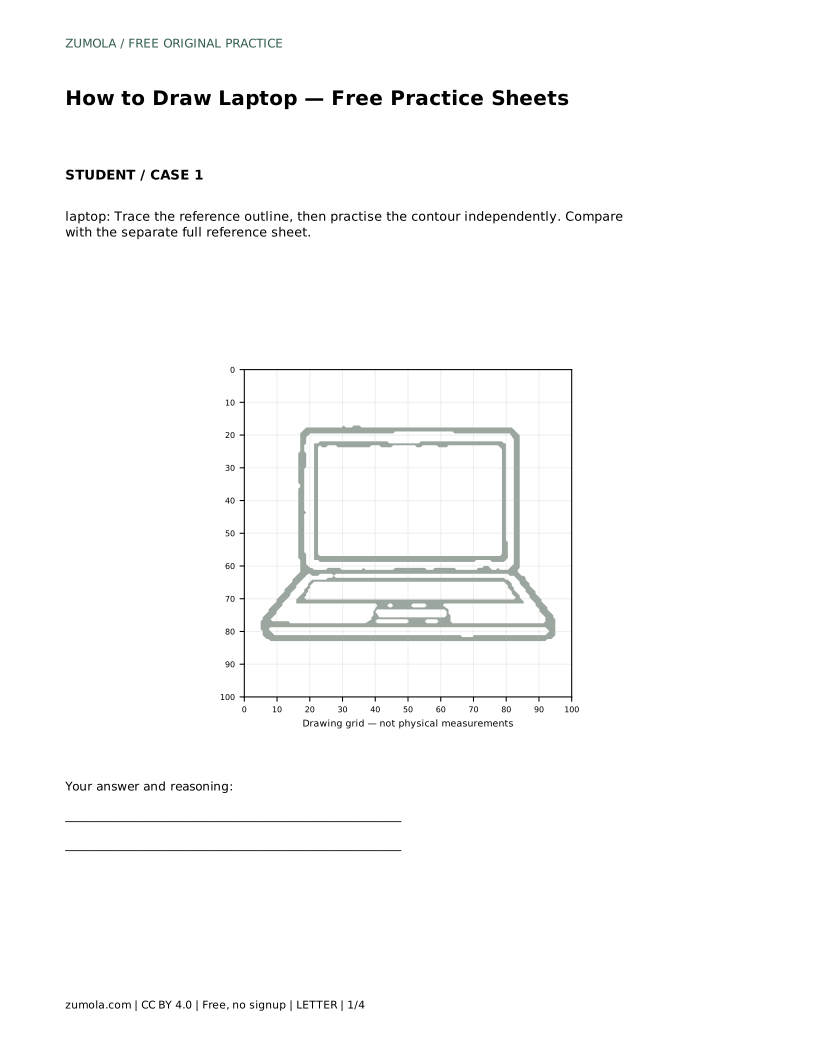
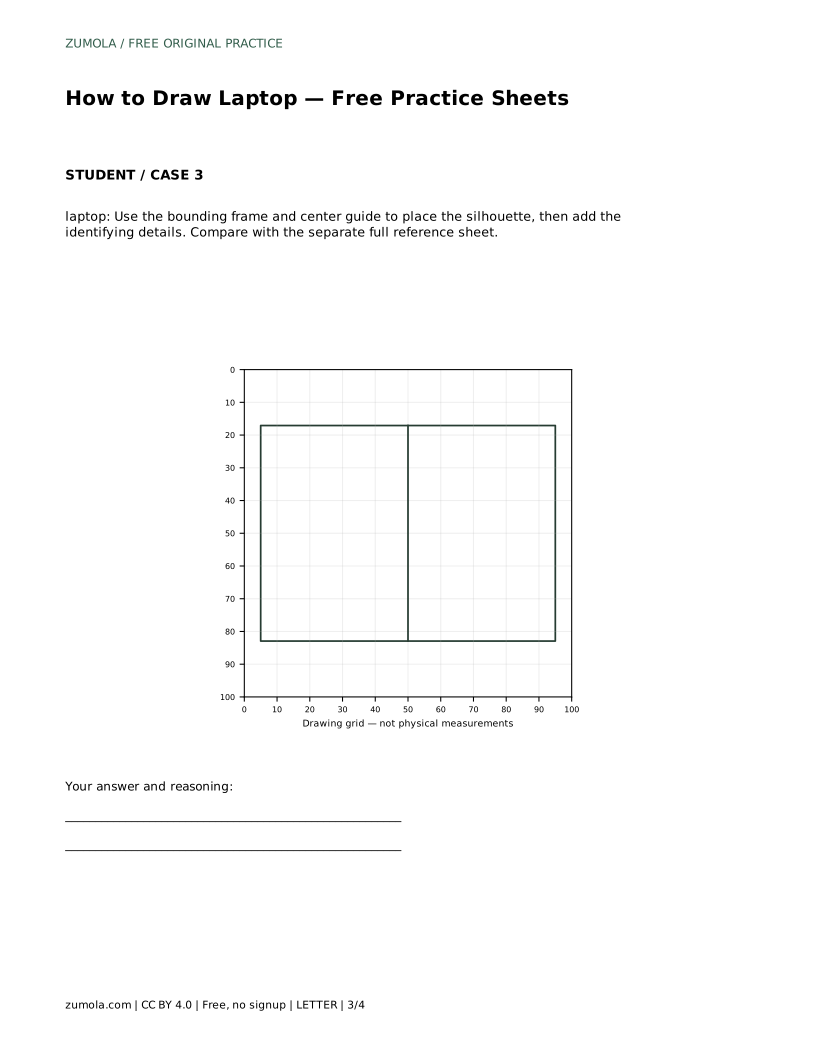
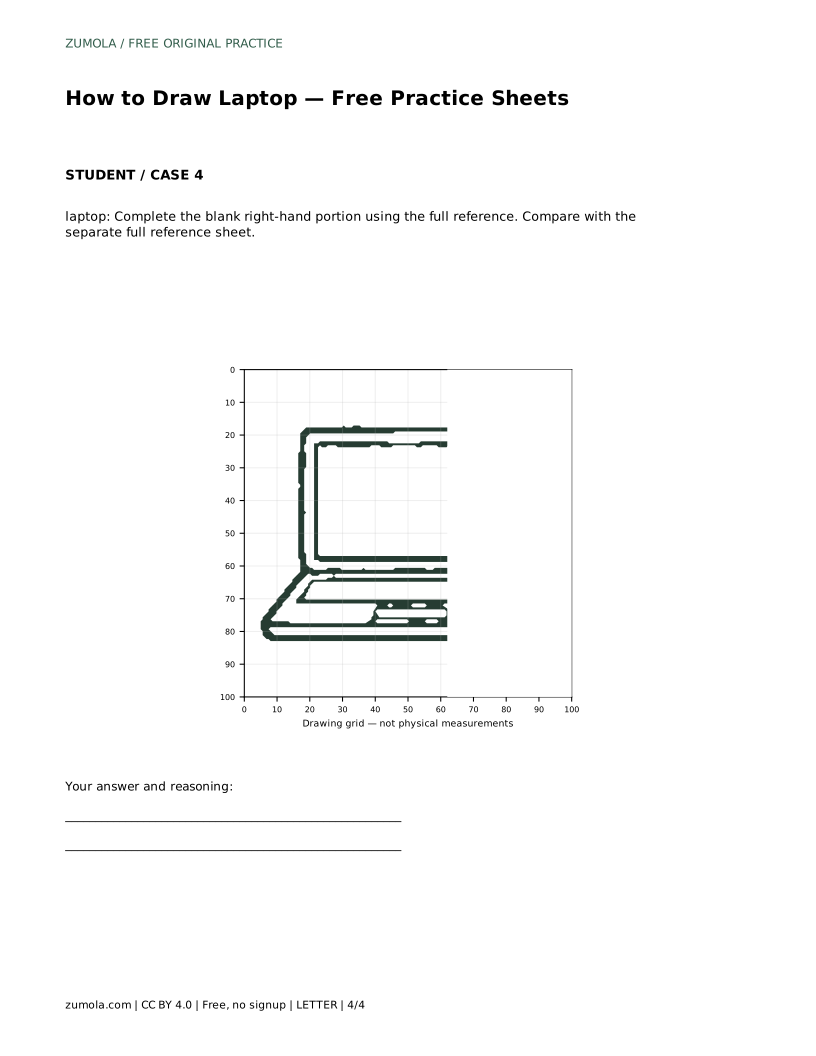
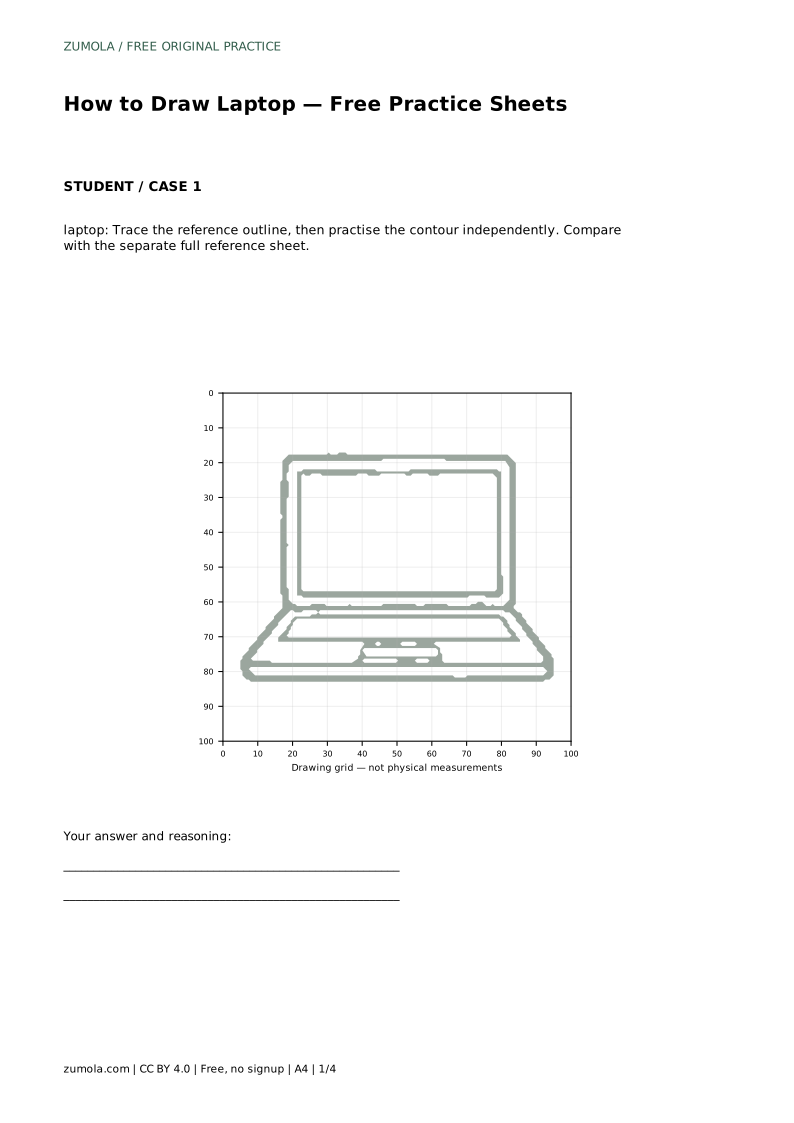
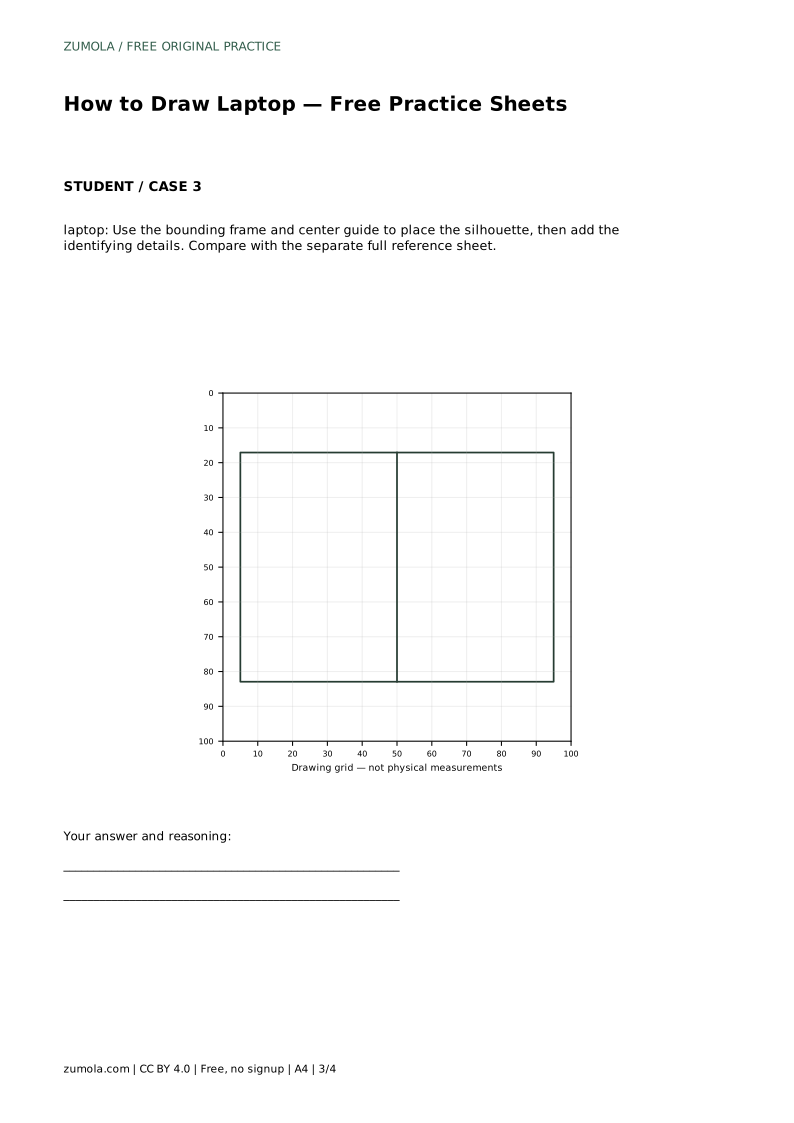
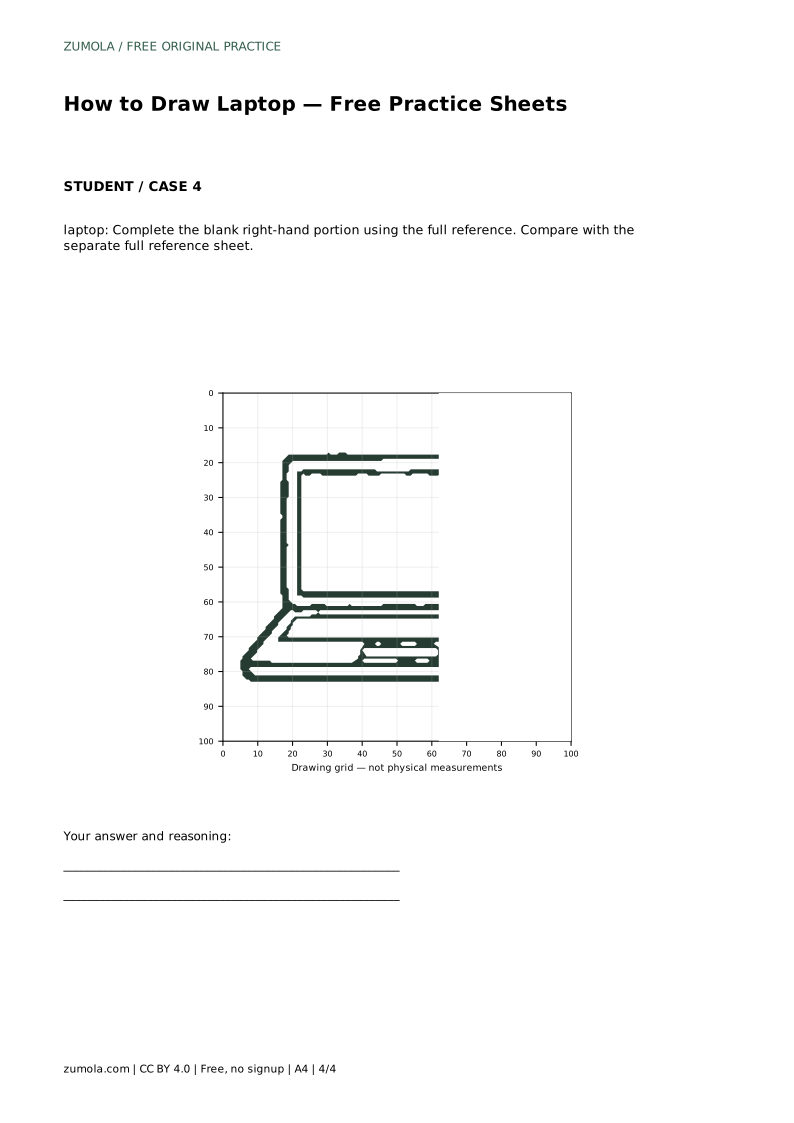
The printable sheets offer different levels of support. One sheet lets you trace the reference outline, then practise the contour independently. Another asks you to copy the reference onto a blank grid using matching grid intersections. A third uses a bounding frame and center guide to help you place the silhouette before adding details. A fourth leaves the right-hand portion blank so you can complete it from the full reference.
Each sheet is paired with a separate full reference sheet for comparison. Because drawings of a laptop can vary, judge your work by whether the key features are present and proportionate, not by pixel-perfect matching.
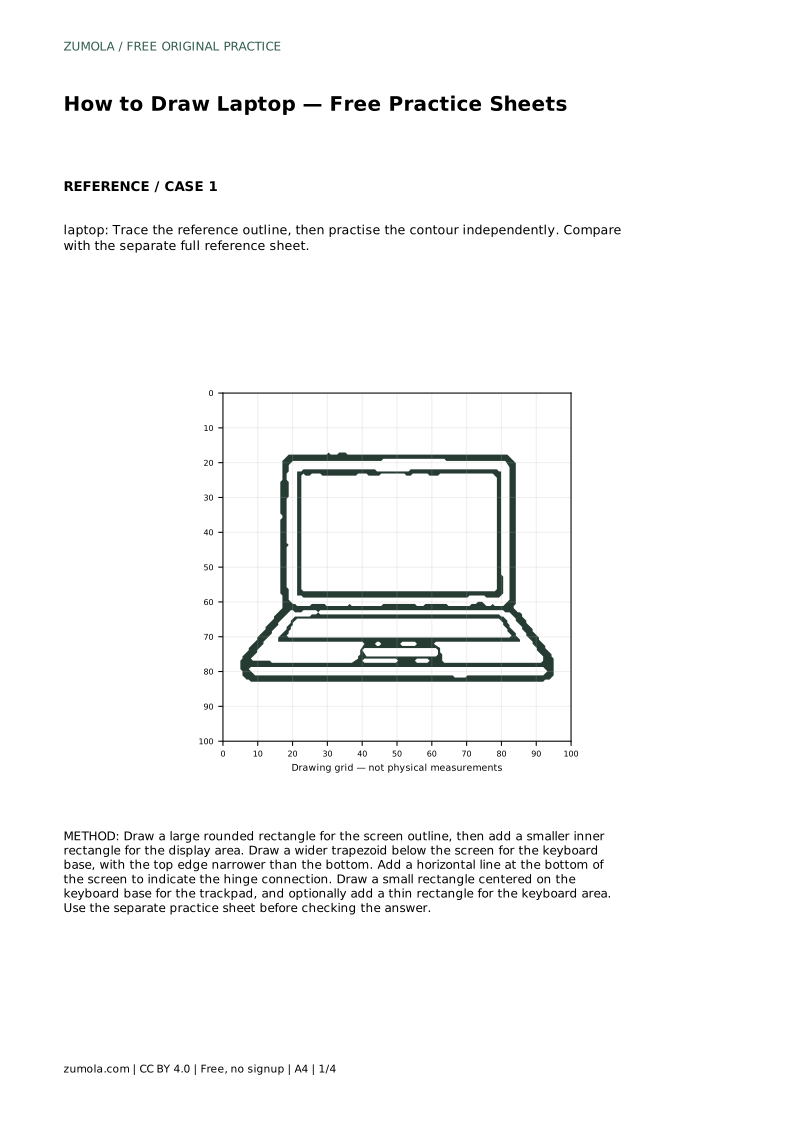
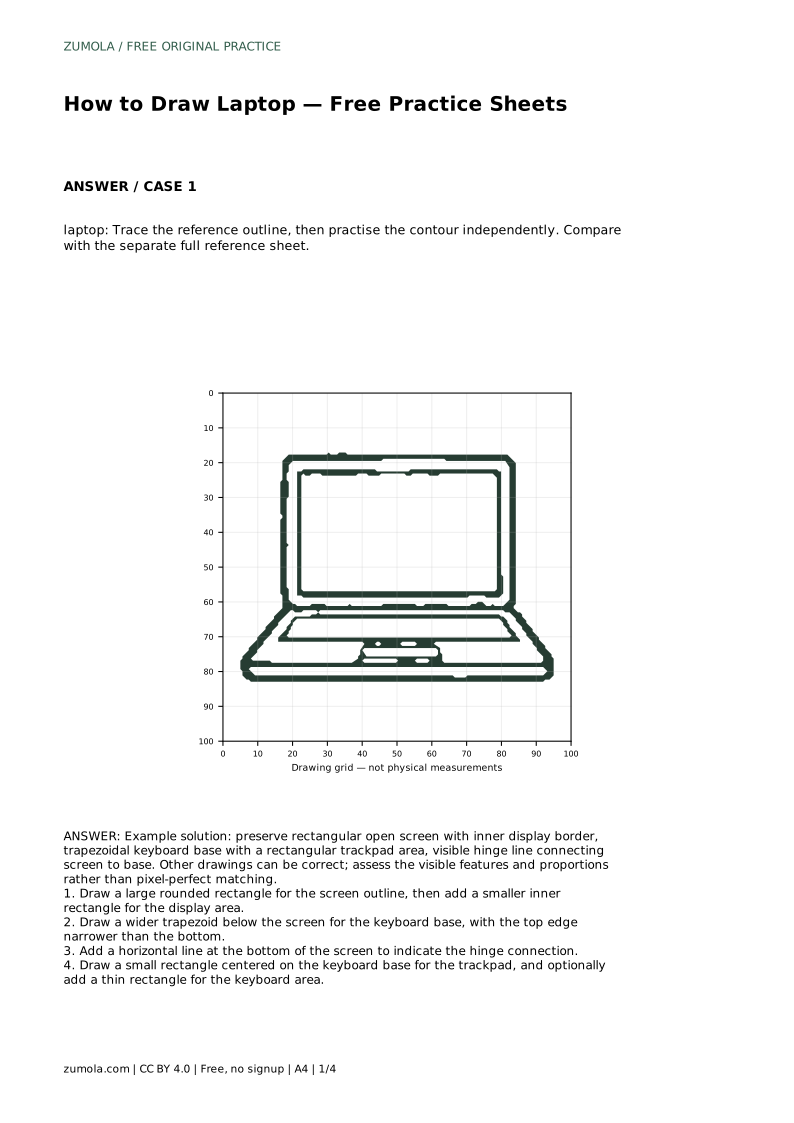
laptop: Trace the reference outline, then practise the contour independently. Compare with the separate full reference sheet.
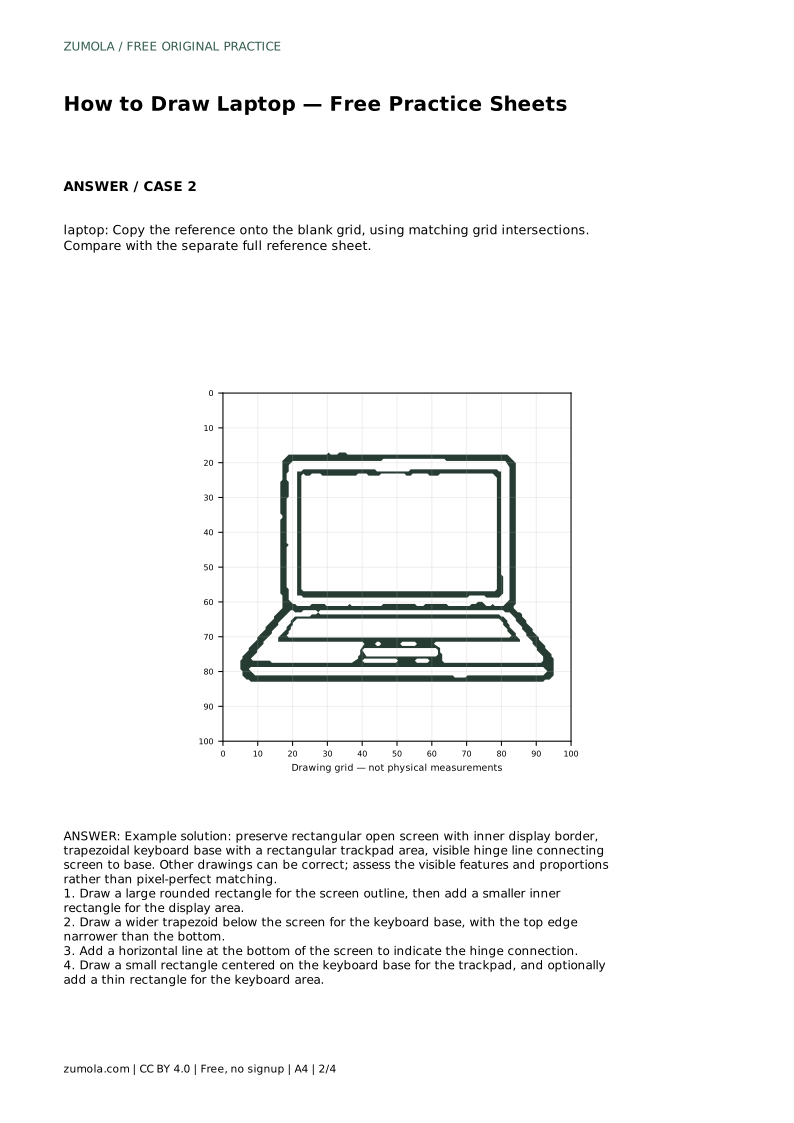
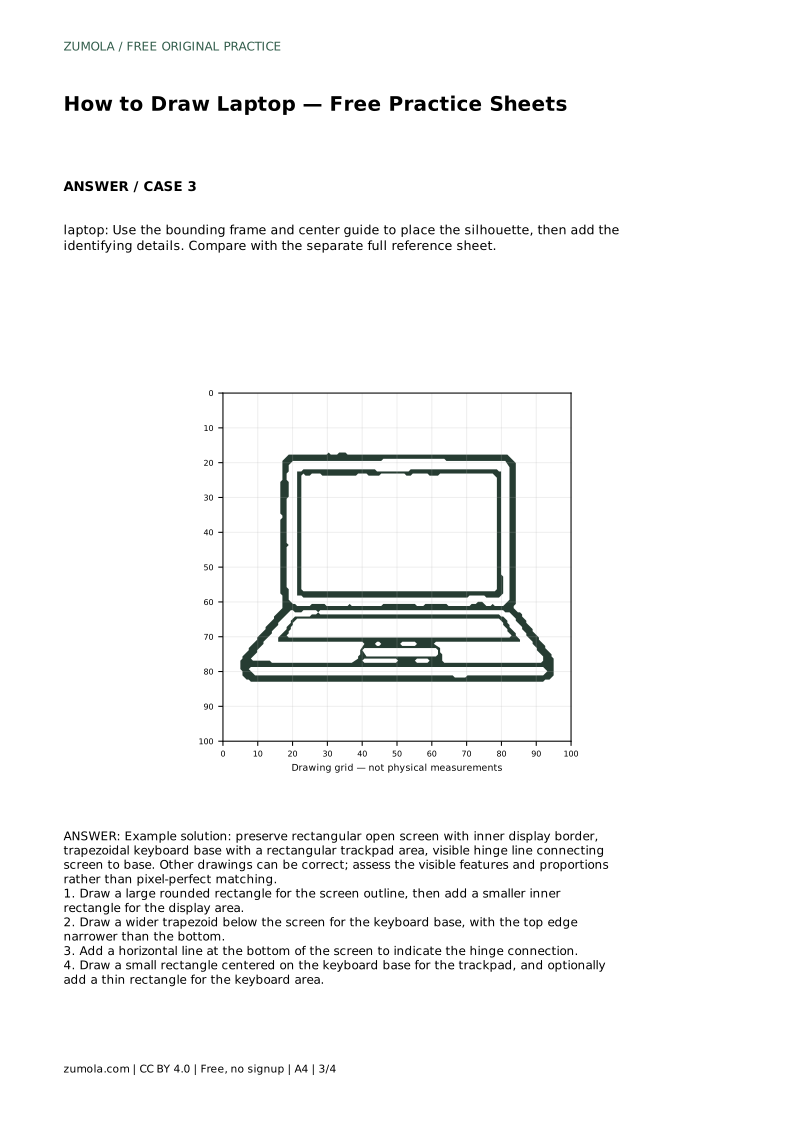
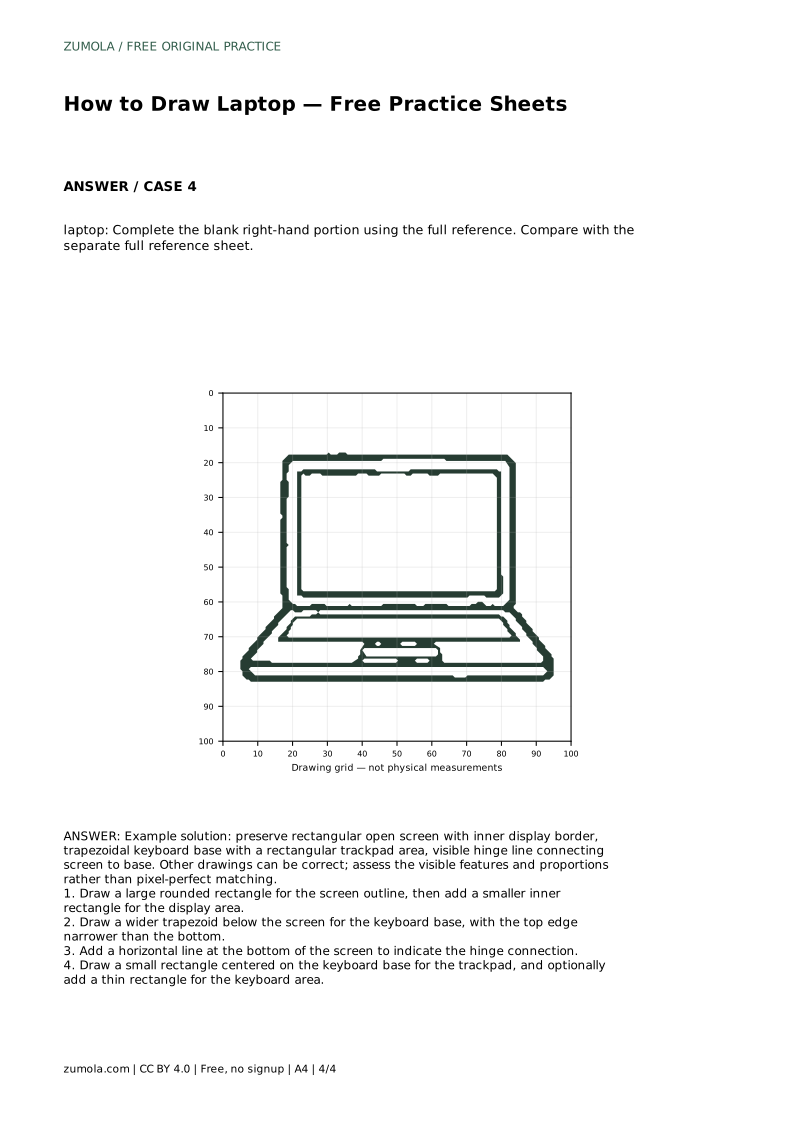
Example solution: preserve rectangular open screen with inner display border, trapezoidal keyboard base with a rectangular trackpad area, visible hinge line connecting screen to base. Other drawings can be correct; assess the visible features and proportions rather than pixel-perfect matching. Draw a large rounded rectangle for the screen outline, then add a smaller inner rectangle for the display area. Draw a wider trapezoid below the screen for the keyboard base, with the top edge narrower than the bottom. Add a horizontal line at the bottom of the screen to indicate the hinge connection. Draw a small rectangle centered on the keyboard base for the trackpad, and optionally add a thin rectangle for the keyboard area.
No. A thin rectangle for the keyboard area, or a few horizontal lines, is enough to suggest keys. The overall shape matters more than individual keys.
An uneven border around the display or a hinge line that is not horizontal usually causes this. Check that the inner rectangle has an even border and the hinge is straight.
Yes. The grid sheet helps you place the outline by matching intersections, which makes proportions easier to control before you draw independently.
All drawing practice · Free coordinate paper
Original resources · CC BY 4.0 · Free for personal and classroom use with attribution.