Reference diagrams
LETTER · Download PDF
A4 · Download PDF
Free original resources
Learn to draw a trampoline with an open elliptical mat, a spring ring, and four legs. Trace, grid, and complete-the-drawing practice sheets support careful observation.
Four original cases, with reference diagrams, practice sheets and worked answers. Everything is free; no signup required.
LETTER · Download PDF
A4 · Download PDF
LETTER · Download PDF
A4 · Download PDF
LETTER · Download PDF
A4 · Download PDF
Use A4 or US Letter to match your printer. Use the stated values and conditions to solve each exercise; diagrams are not physical measuring rulers.
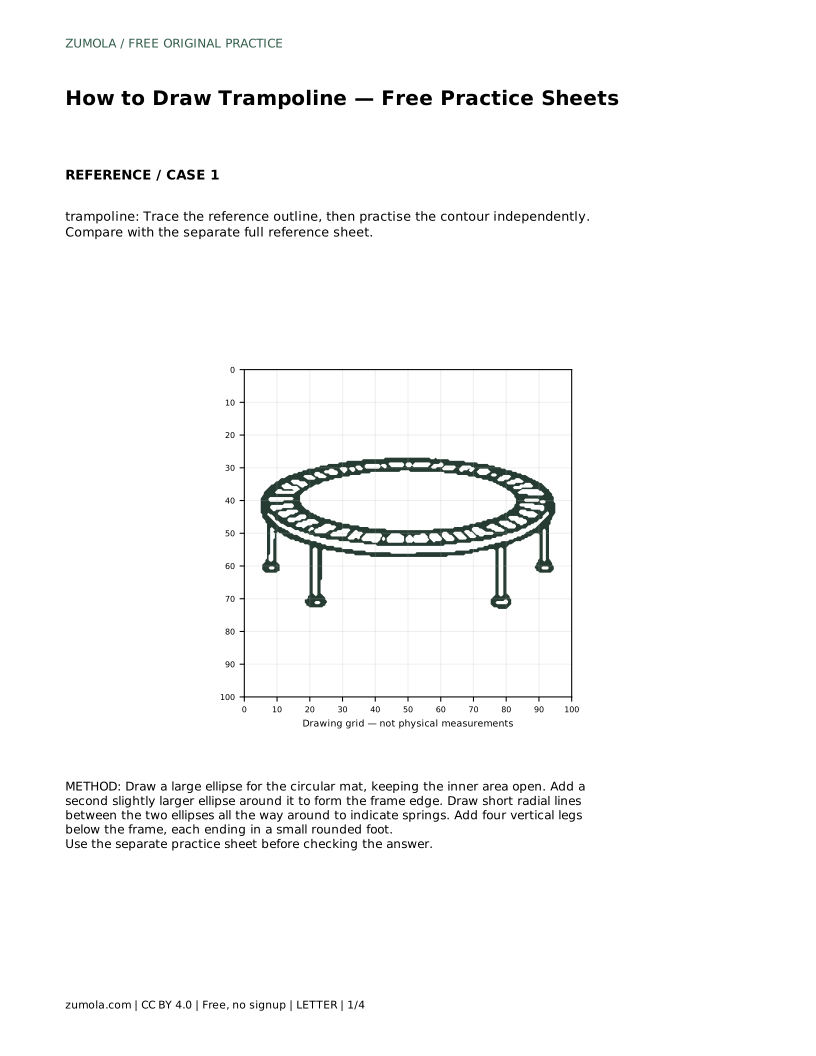
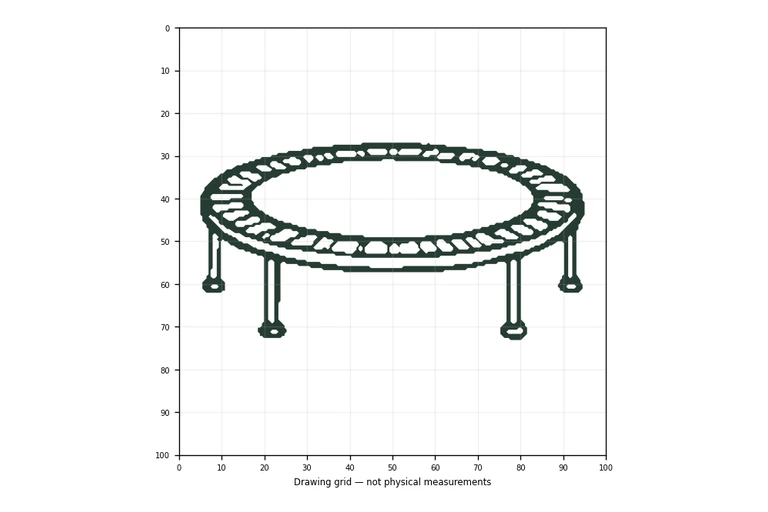
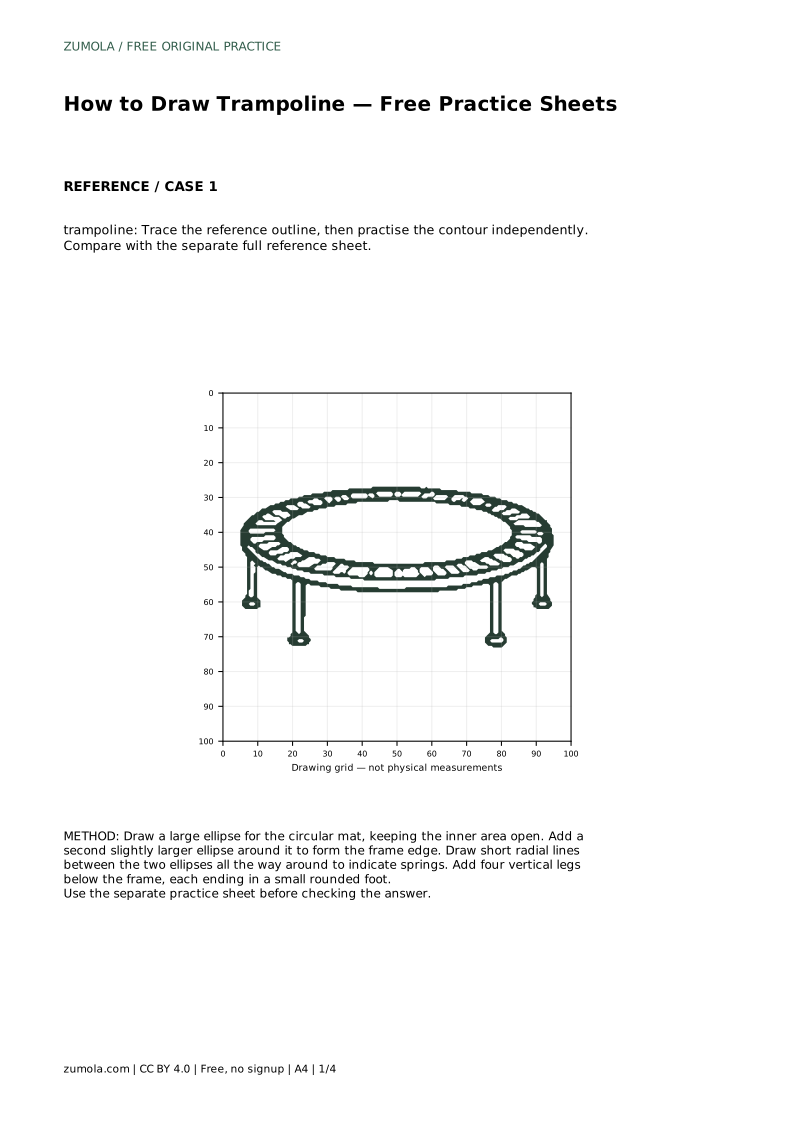
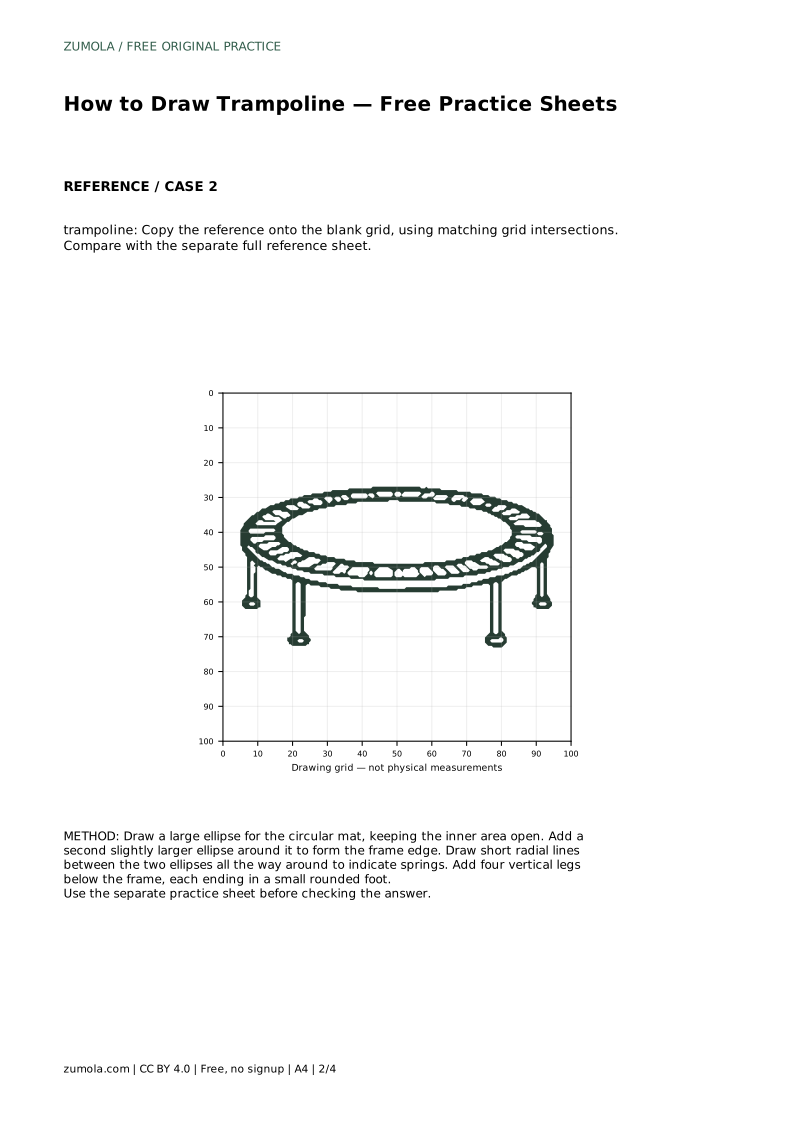
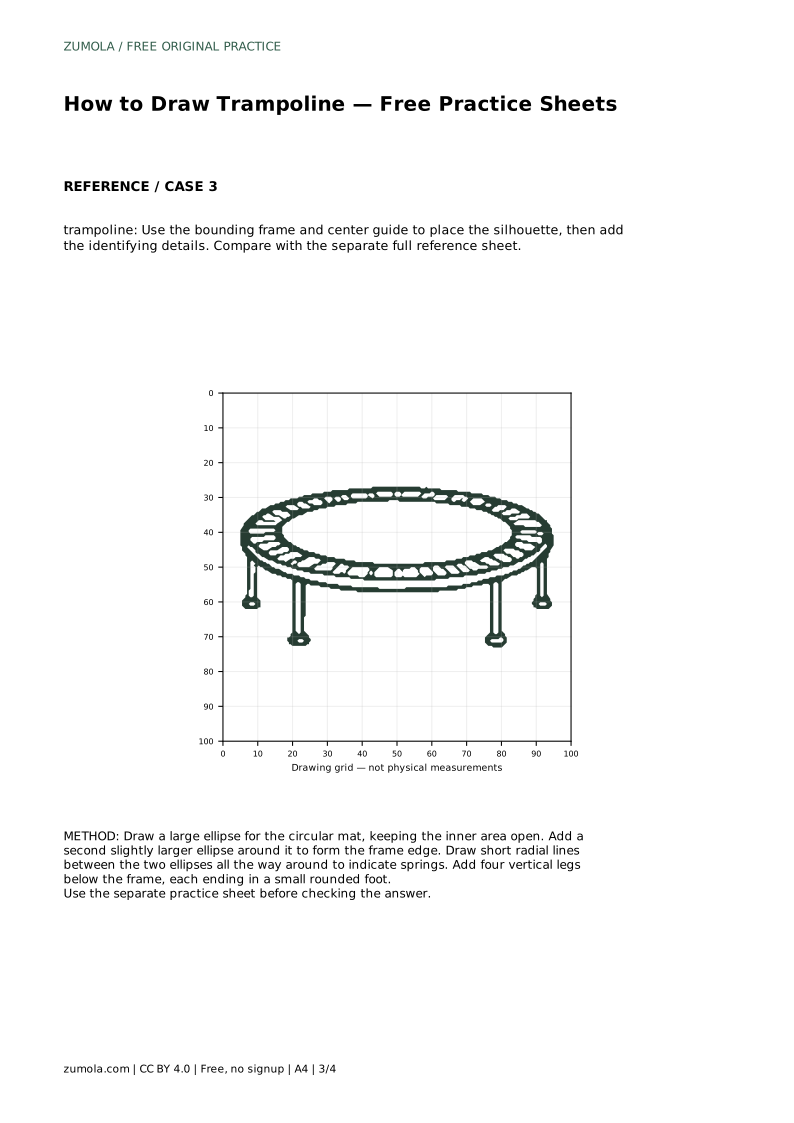
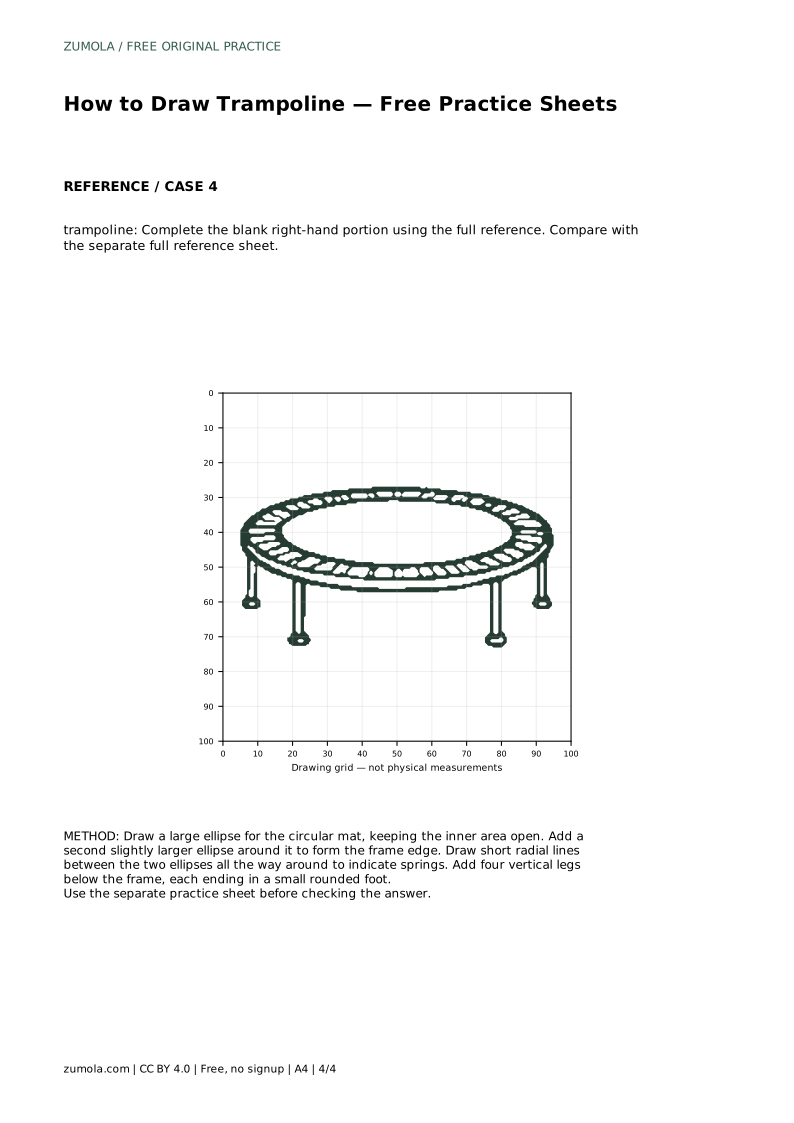
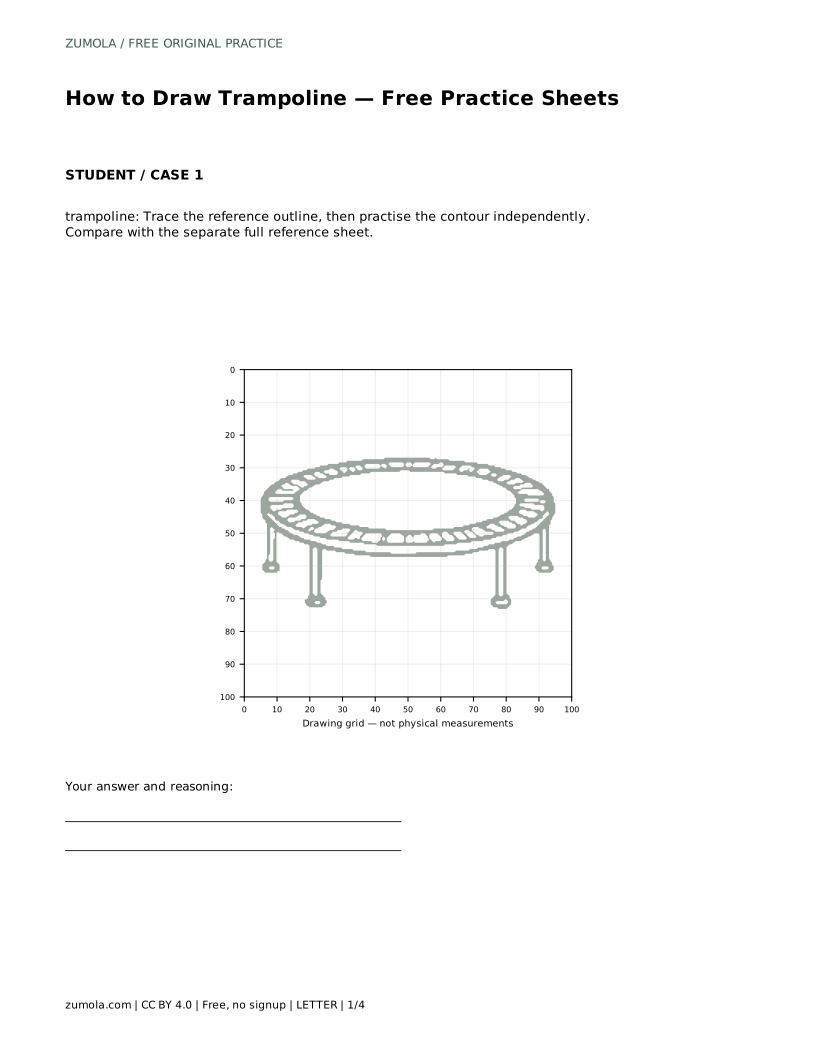
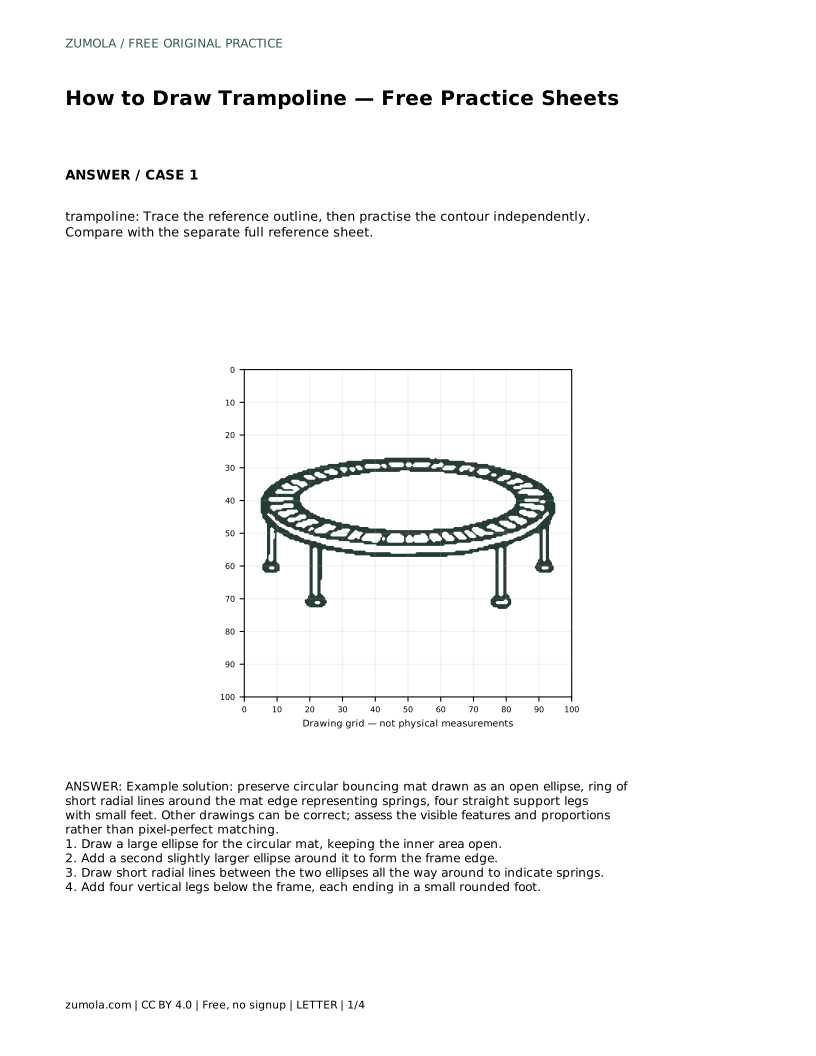
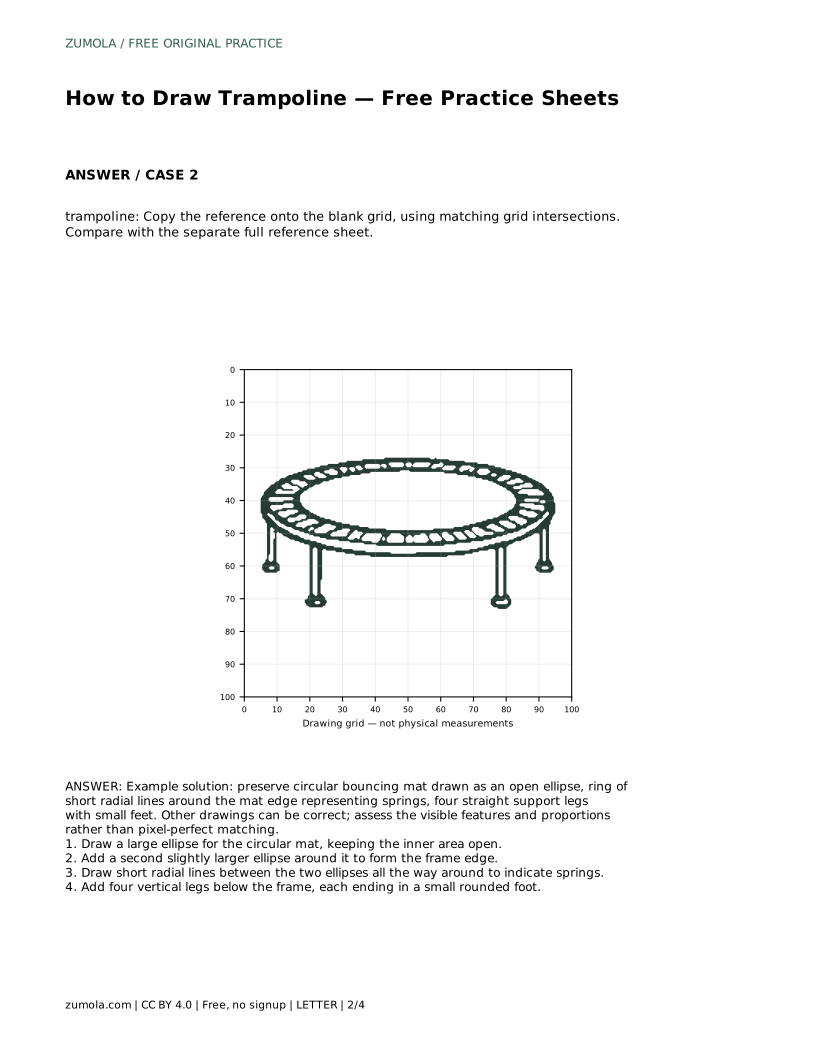
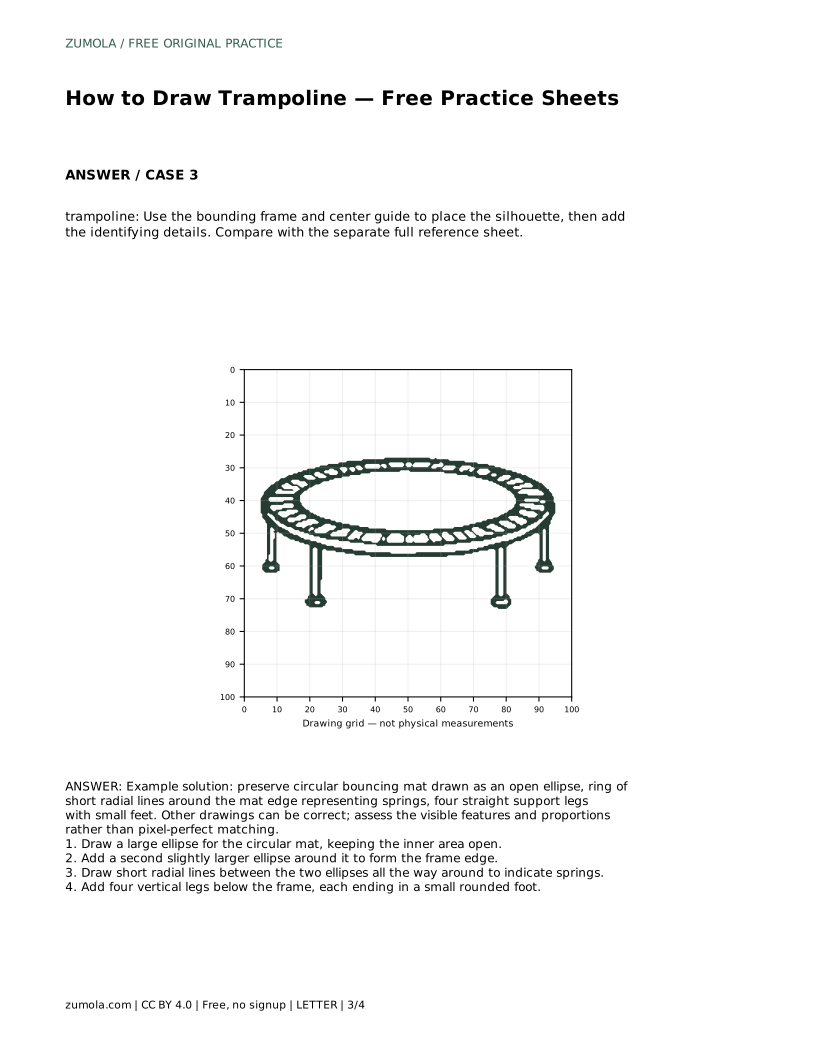
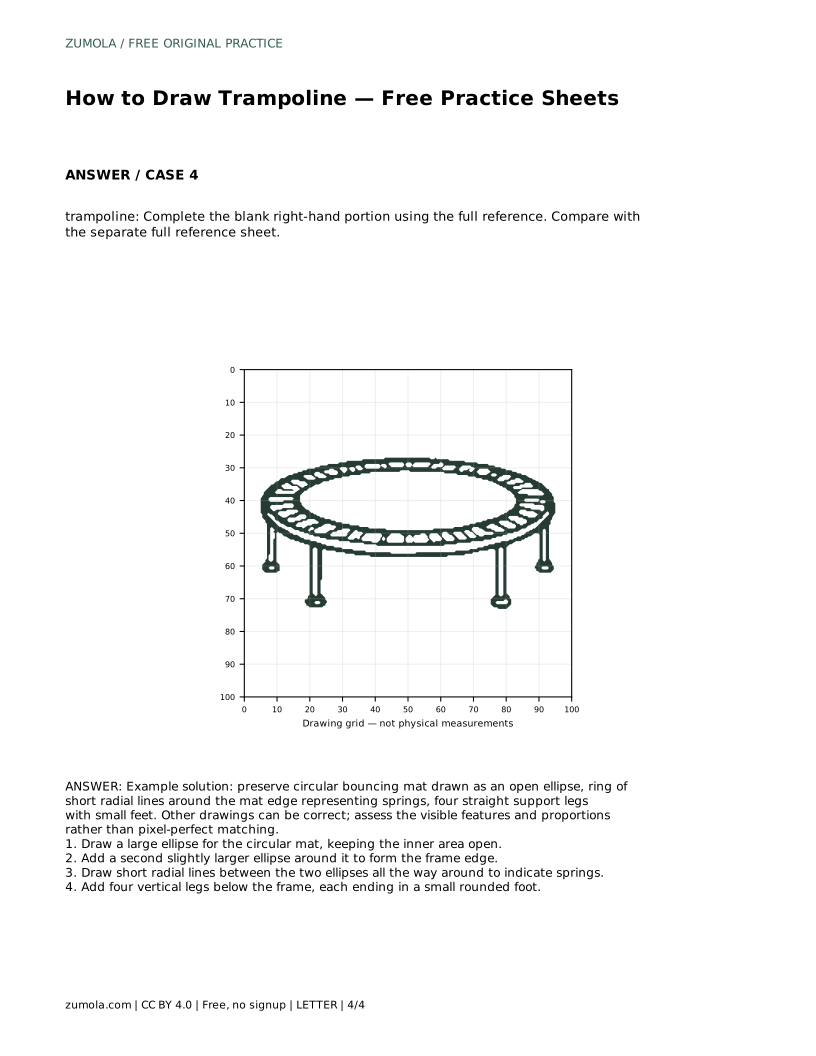
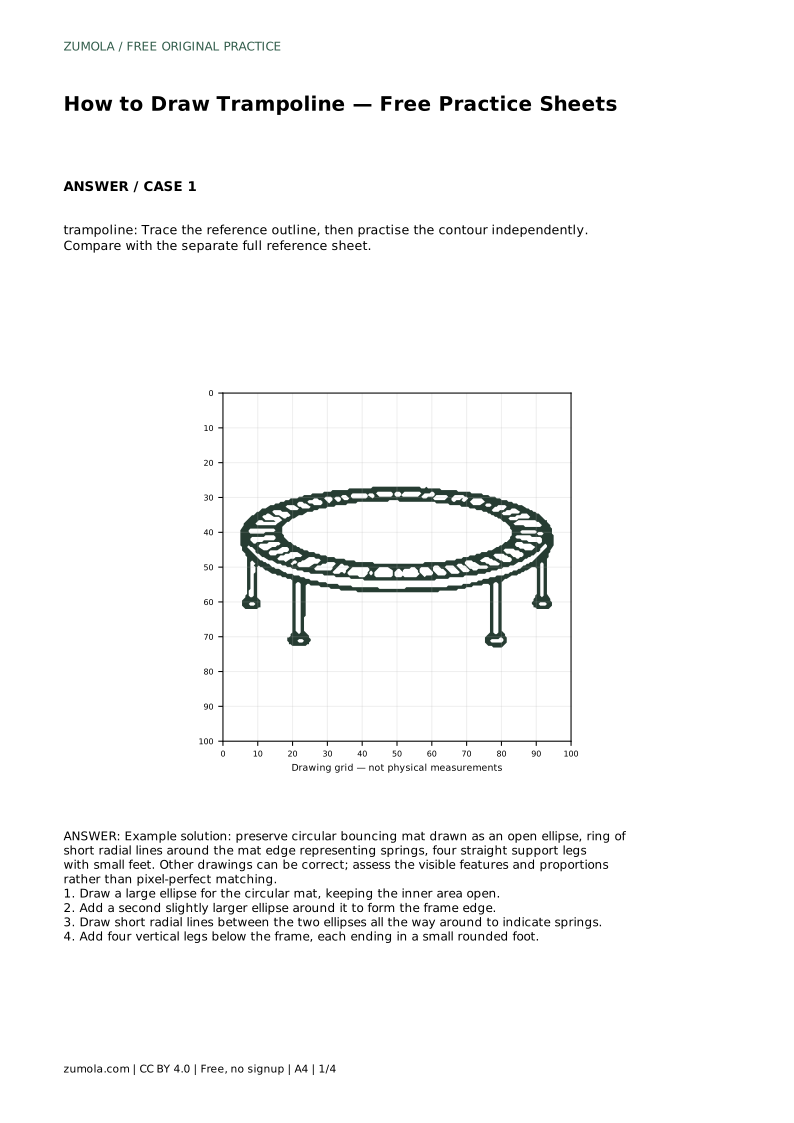
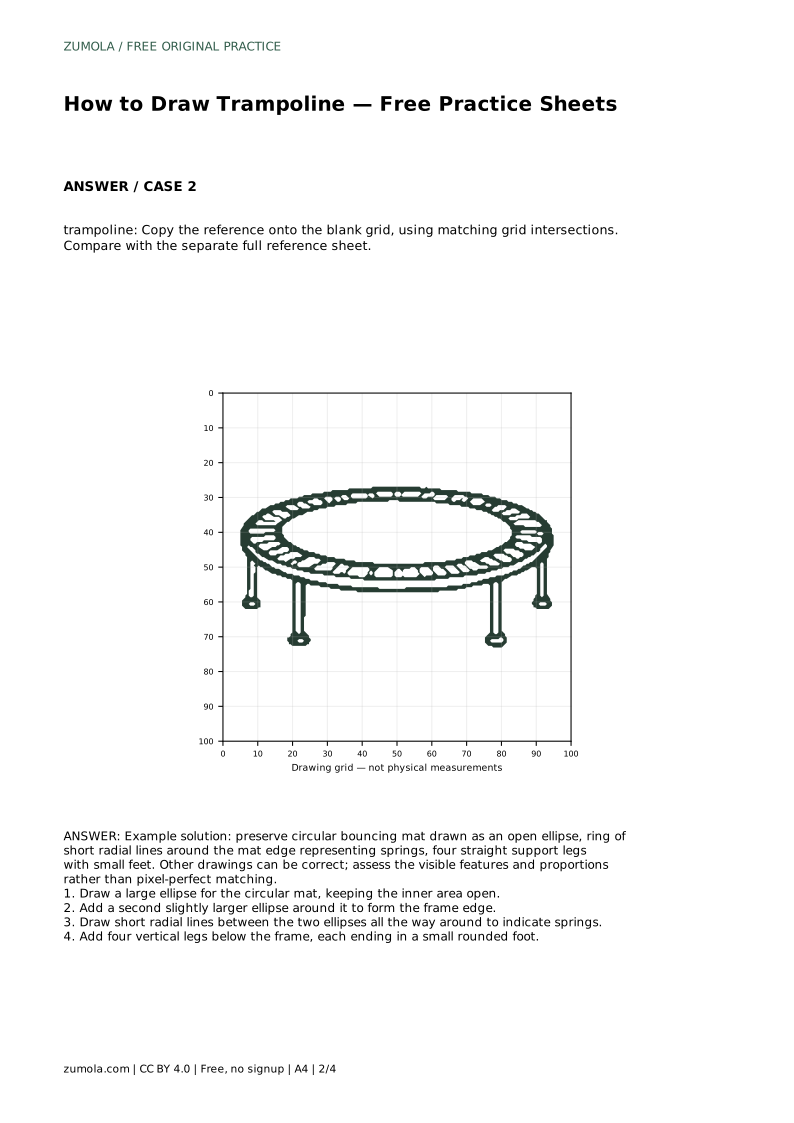
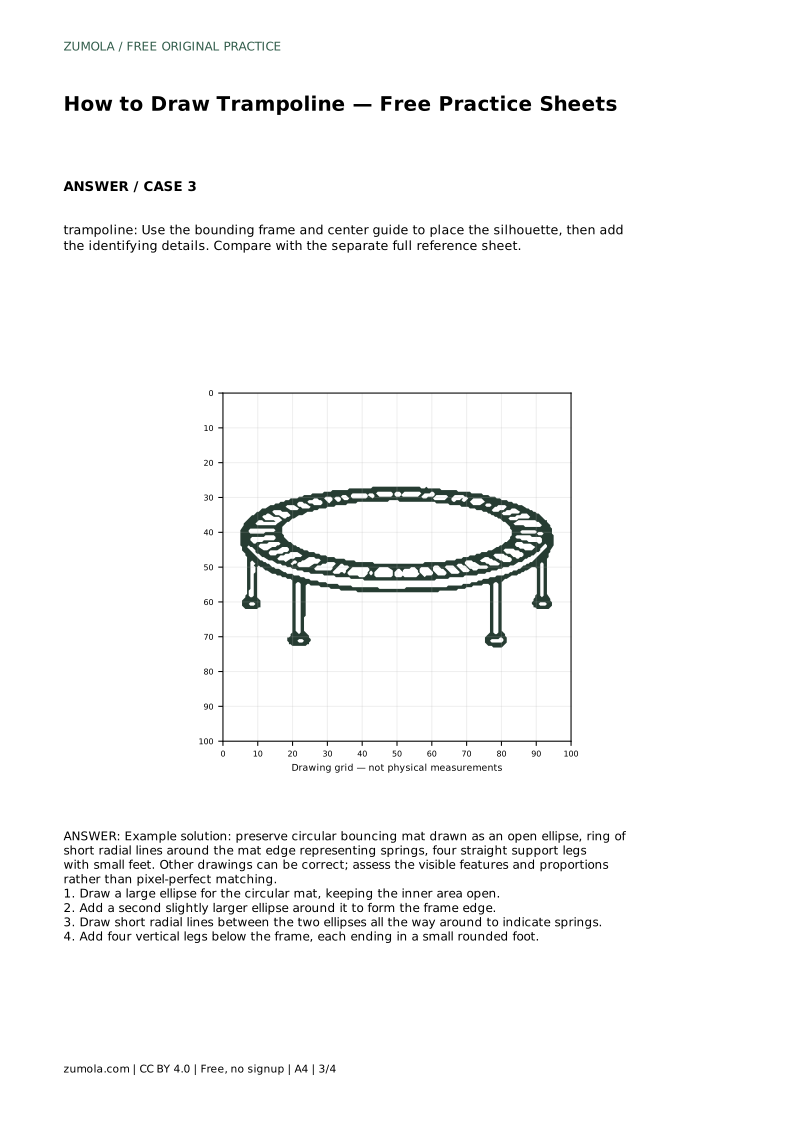
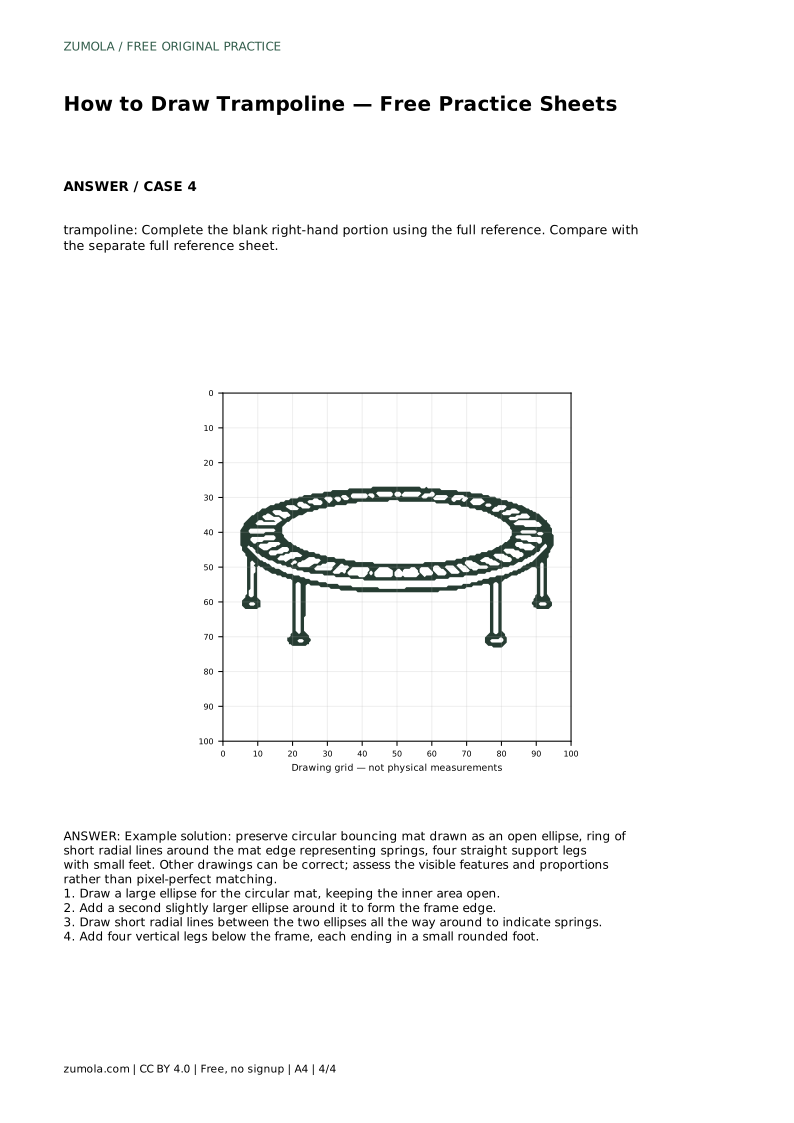
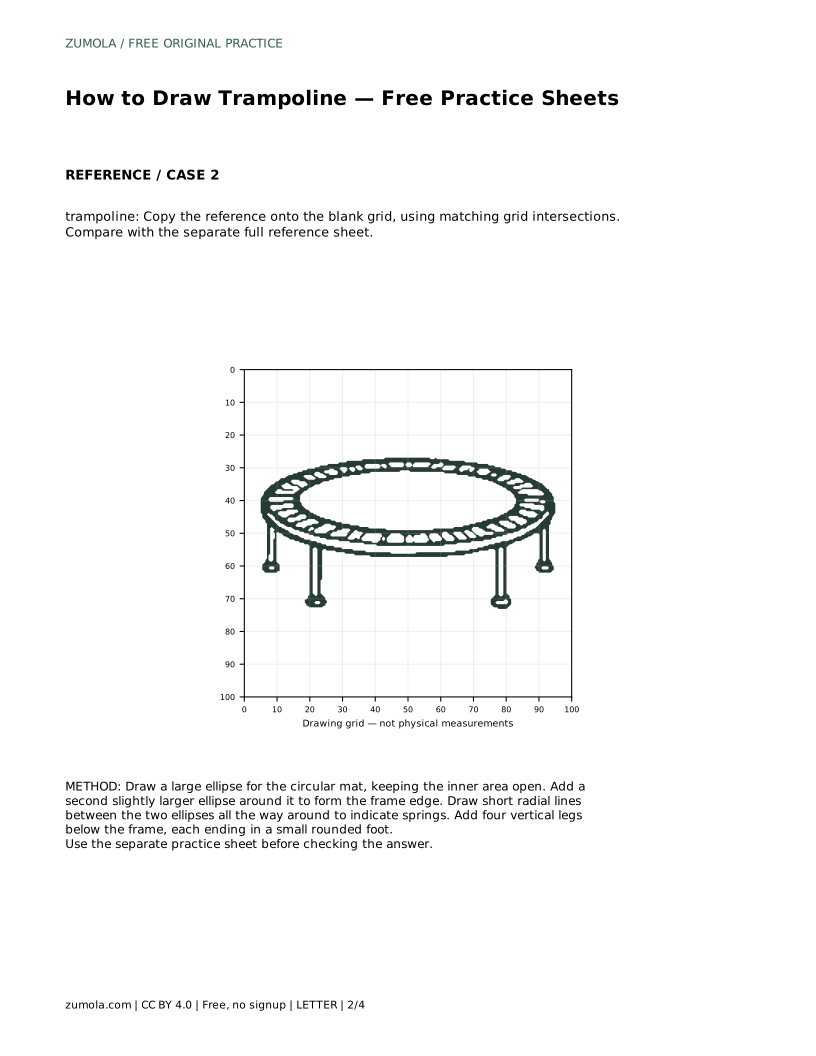
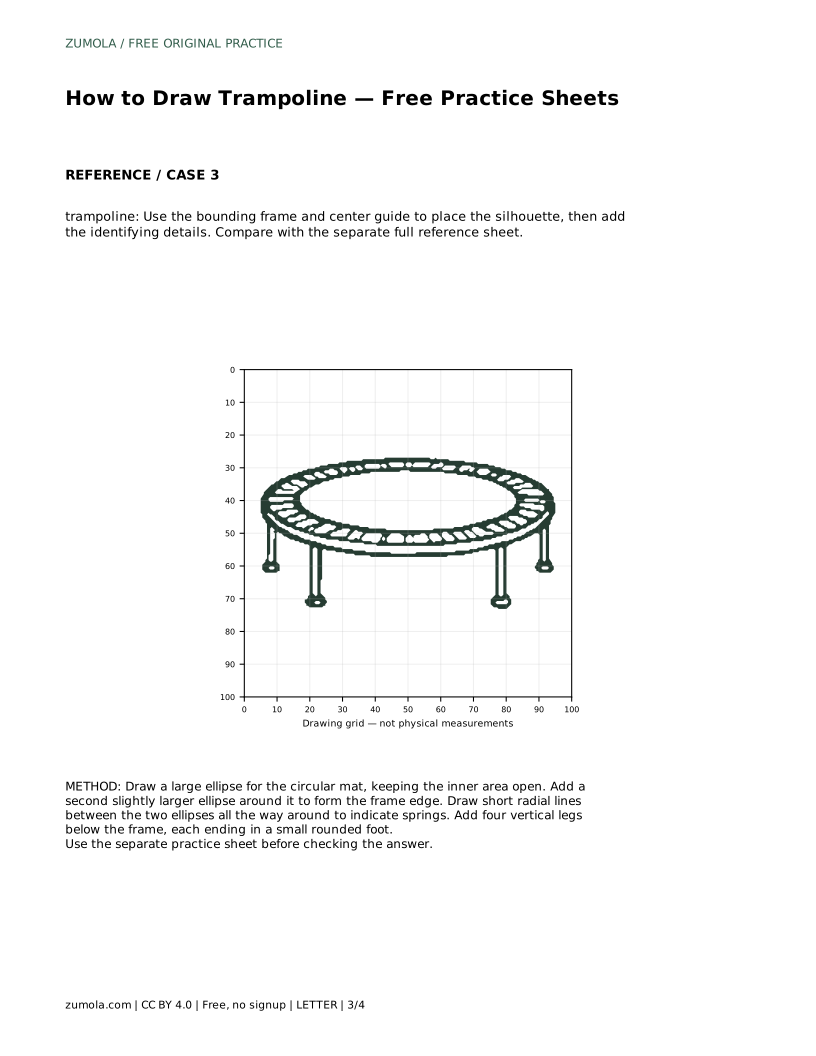
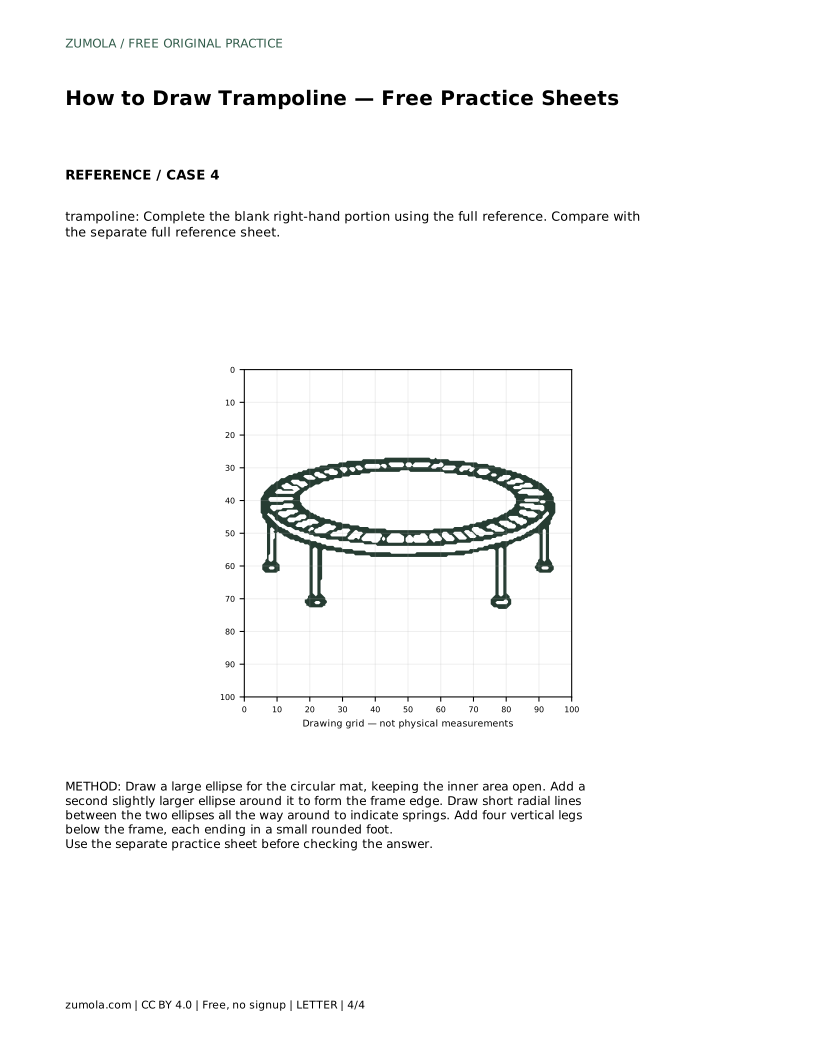
A drawing of a trampoline depends on a few clear shapes working together: a wide, open ellipse for the bouncing mat, a slightly larger ellipse for the frame, a ring of short radial lines for the springs, and four straight legs with small feet. This page explains how those parts fit and how to practise them on trace, grid, and partial-reference sheets. The goal is accurate observation and proportion, not a pixel-perfect copy.
Start with the mat, because it sets the width of everything else. A circular mat seen from slightly above looks like an ellipse, not a perfect circle. Keep the inside of that ellipse open so the mat reads as a surface rather than a solid disc. Then add a second, slightly larger ellipse around the first. The gap between the two ellipses becomes the frame edge where the springs attach.
Next, draw short radial lines in that gap, spaced around the whole edge. Each line should point outward from the mat toward the frame, like spokes on a wheel. Keep them short and fairly even; they represent springs, not long cables. Finally, add four vertical legs below the frame, each ending in a small rounded foot. Space the legs so the trampoline looks balanced rather than tilted.
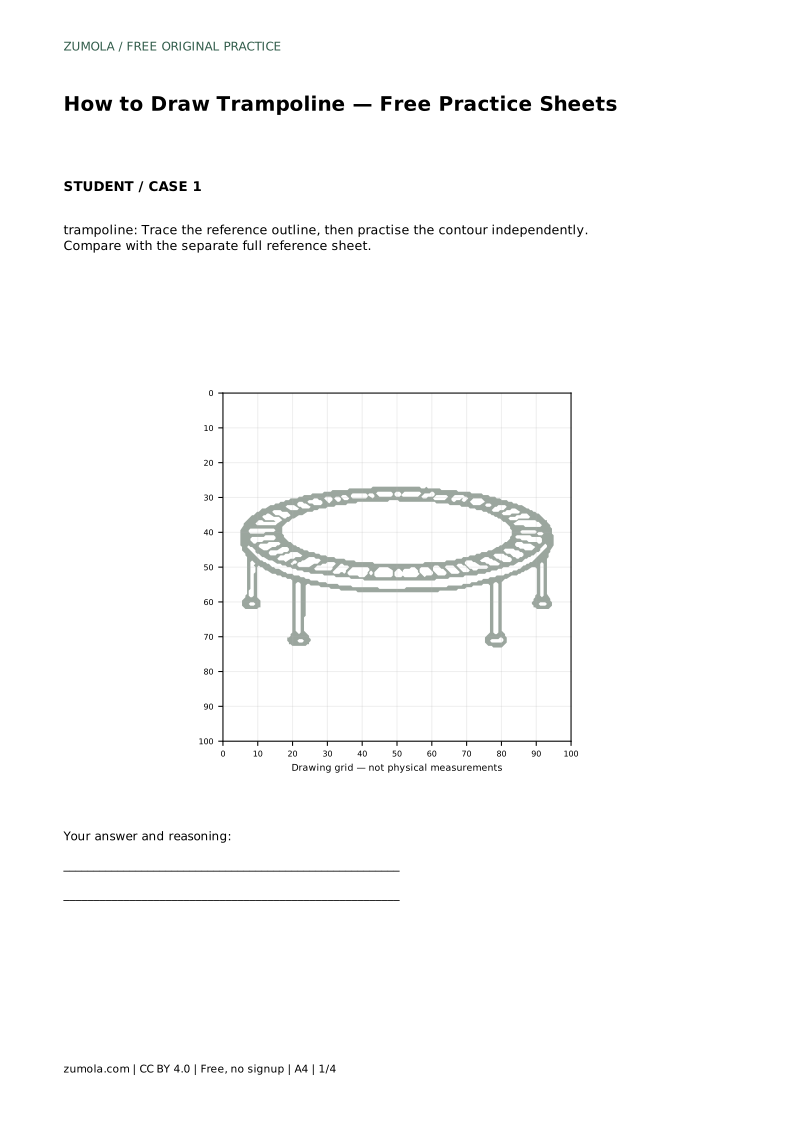
The trace sheet asks you to follow the reference outline first, then repeat the contour on your own. Tracing builds the hand motion; the independent attempt tests whether you can recall the shape order. Compare your result with the separate full reference sheet rather than judging it from memory.
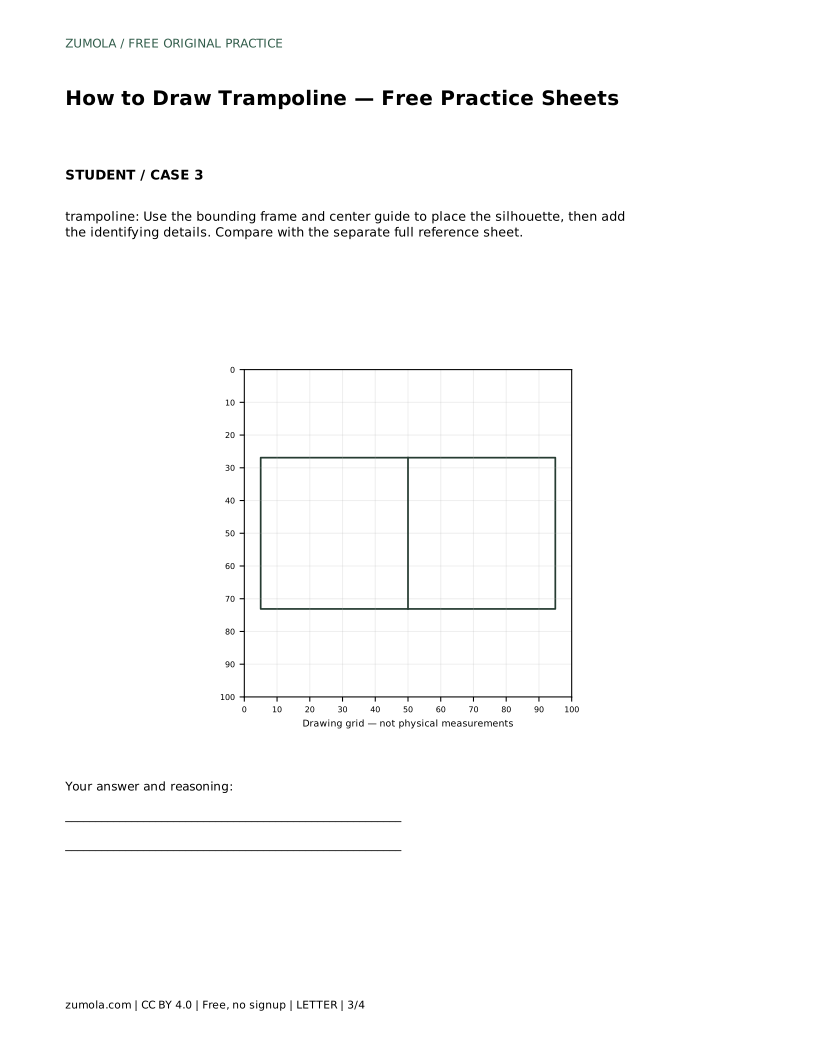
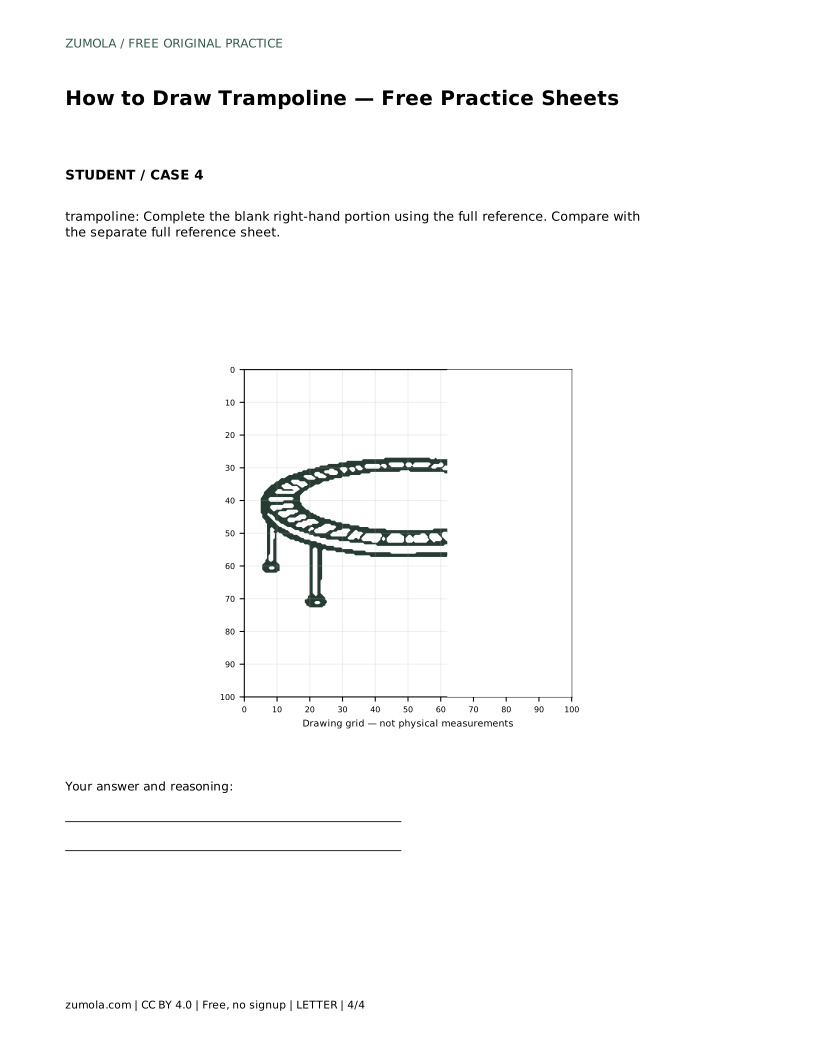
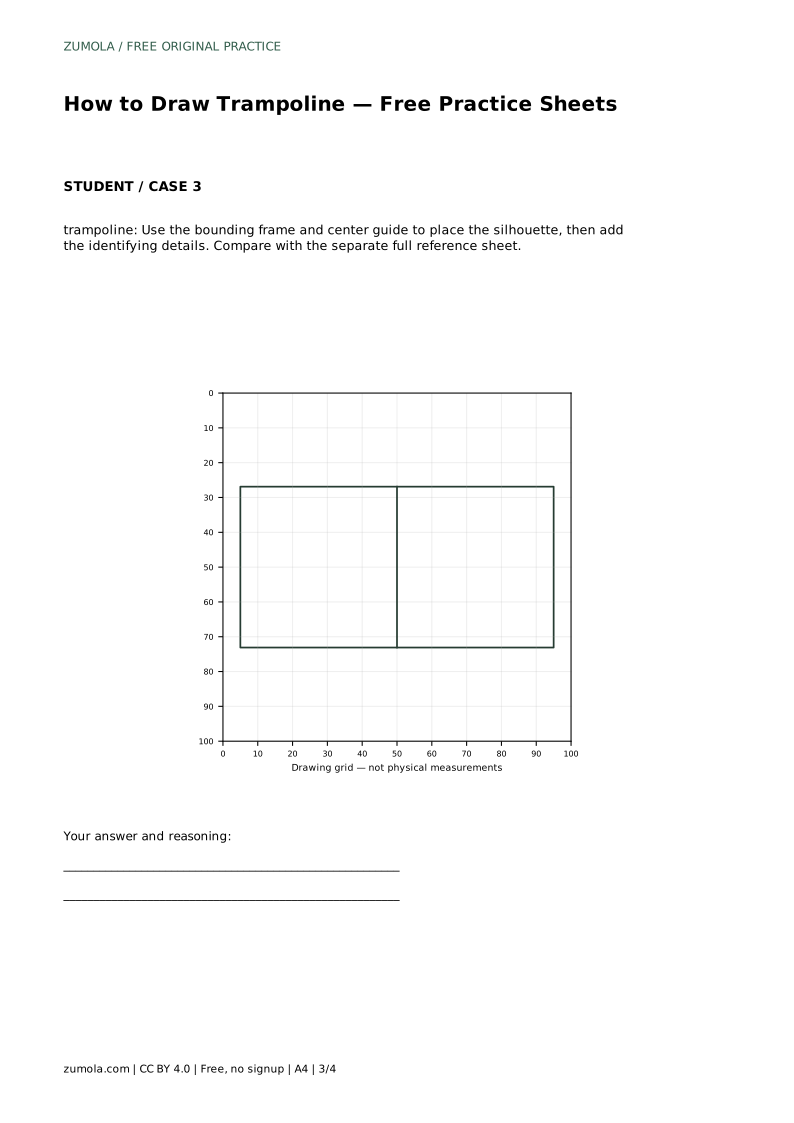
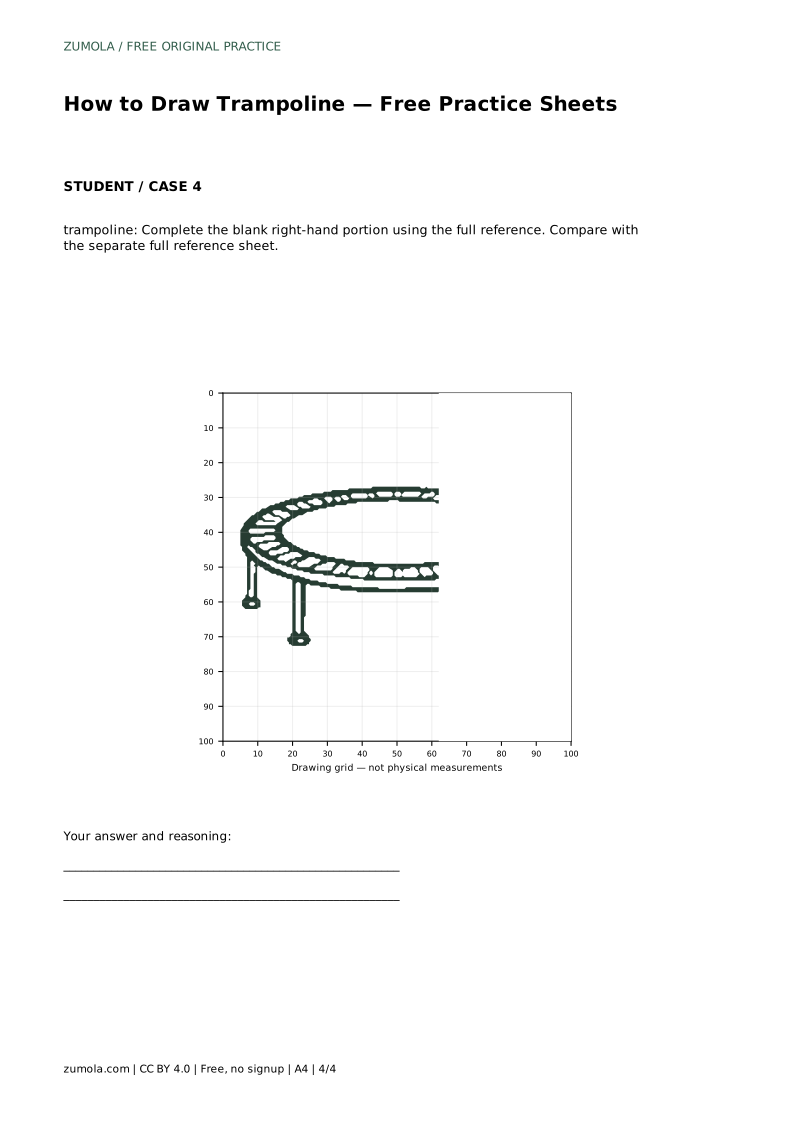
The grid sheet asks you to copy the reference onto a blank grid using matching intersections. Use the grid to check where the mat's widest point sits, how far the frame extends, and where each leg meets the frame. The bounding-frame and center-guide sheet helps you place the silhouette before adding details. The complete-the-drawing sheet gives you the full reference and a blank right-hand portion; finish the missing side by matching the visible proportions.
A convincing trampoline keeps the mat wide and shallow, the frame ring even in width, and the legs roughly equal in length. If the mat looks too tall, flatten the ellipse. If the springs bunch up on one side, redistribute the radial lines. If one leg is much longer, shorten it so the feet sit at a similar level.
Art has multiple valid outcomes. A drawing can differ from the reference and still be correct if the visible features and proportions hold together. Assess the open mat, the frame ring, the spring lines, and the four feet rather than demanding an exact match.
Prompt: Trace the reference outline, then practise the contour independently. Compare with the separate full reference sheet. A correct result preserves the circular bouncing mat drawn as an open ellipse, a ring of short radial lines around the mat edge representing springs, and four straight support legs with small feet. Other drawings can be correct; assess the visible features and proportions rather than pixel-perfect matching.
trampoline: Trace the reference outline, then practise the contour independently. Compare with the separate full reference sheet.
Example solution: preserve circular bouncing mat drawn as an open ellipse, ring of short radial lines around the mat edge representing springs, four straight support legs with small feet. Other drawings can be correct; assess the visible features and proportions rather than pixel-perfect matching. Draw a large ellipse for the circular mat, keeping the inner area open. Add a second slightly larger ellipse around it to form the frame edge. Draw short radial lines between the two ellipses all the way around to indicate springs. Add four vertical legs below the frame, each ending in a small rounded foot.
Four straight legs below the frame, each ending in a small rounded foot, is a clear and common arrangement for this practice drawing.
They should be short, radial, and spaced around the whole frame edge. Small differences are fine; large gaps or bunched lines weaken the drawing.
That can still be correct. Check the open mat, frame ring, spring lines, and four feet, then judge proportions rather than exact pixel matching.
All drawing practice · Free coordinate paper
Original resources · CC BY 4.0 · Free for personal and classroom use with attribution.