Reference diagrams
LETTER · Download PDF
A4 · Download PDF
Free original resources
Learn to draw a canister-style upright vacuum by building its body, wheels, wand, floor nozzle and ribbed hose, then checking proportions against a reference sheet.
Four original cases, with reference diagrams, practice sheets and worked answers. Everything is free; no signup required.
LETTER · Download PDF
A4 · Download PDF
LETTER · Download PDF
A4 · Download PDF
LETTER · Download PDF
A4 · Download PDF
Use A4 or US Letter to match your printer. Use the stated values and conditions to solve each exercise; diagrams are not physical measuring rulers.
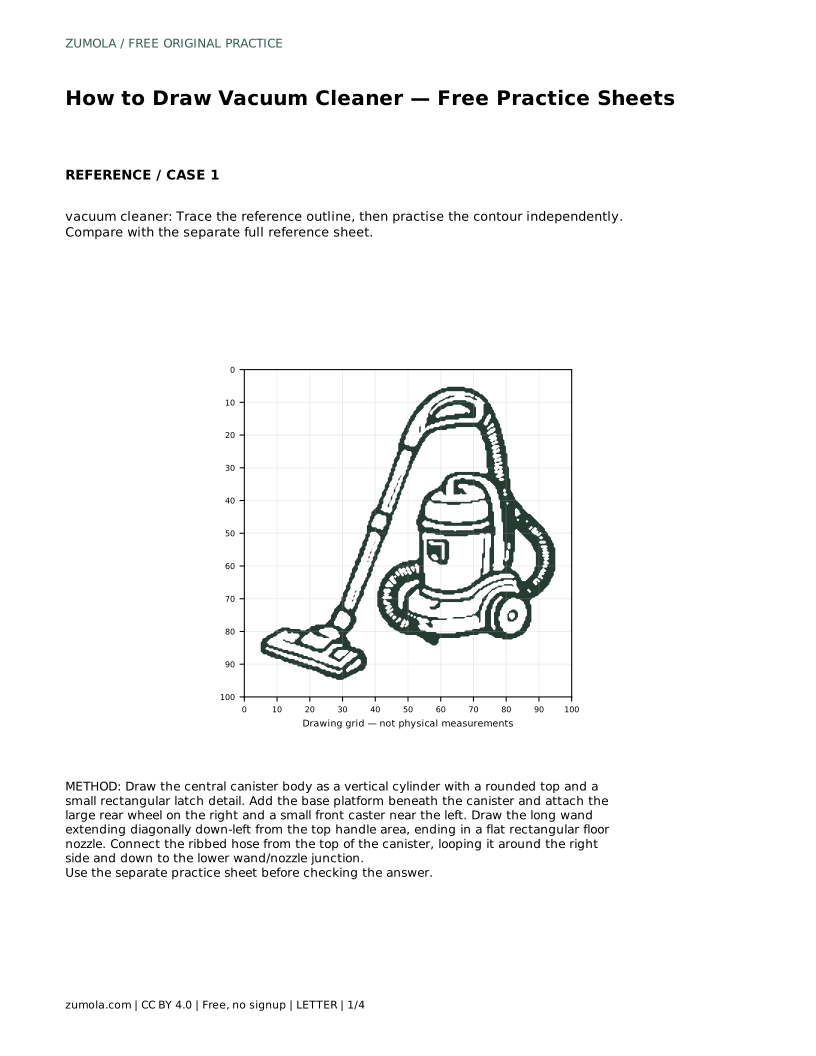
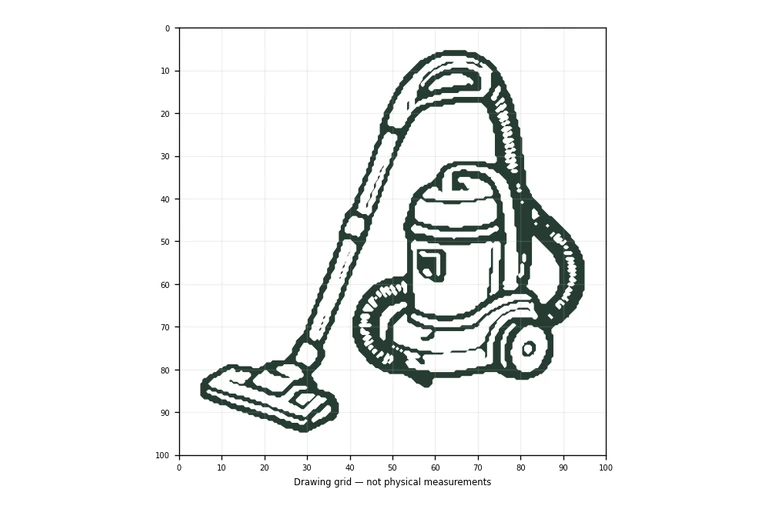
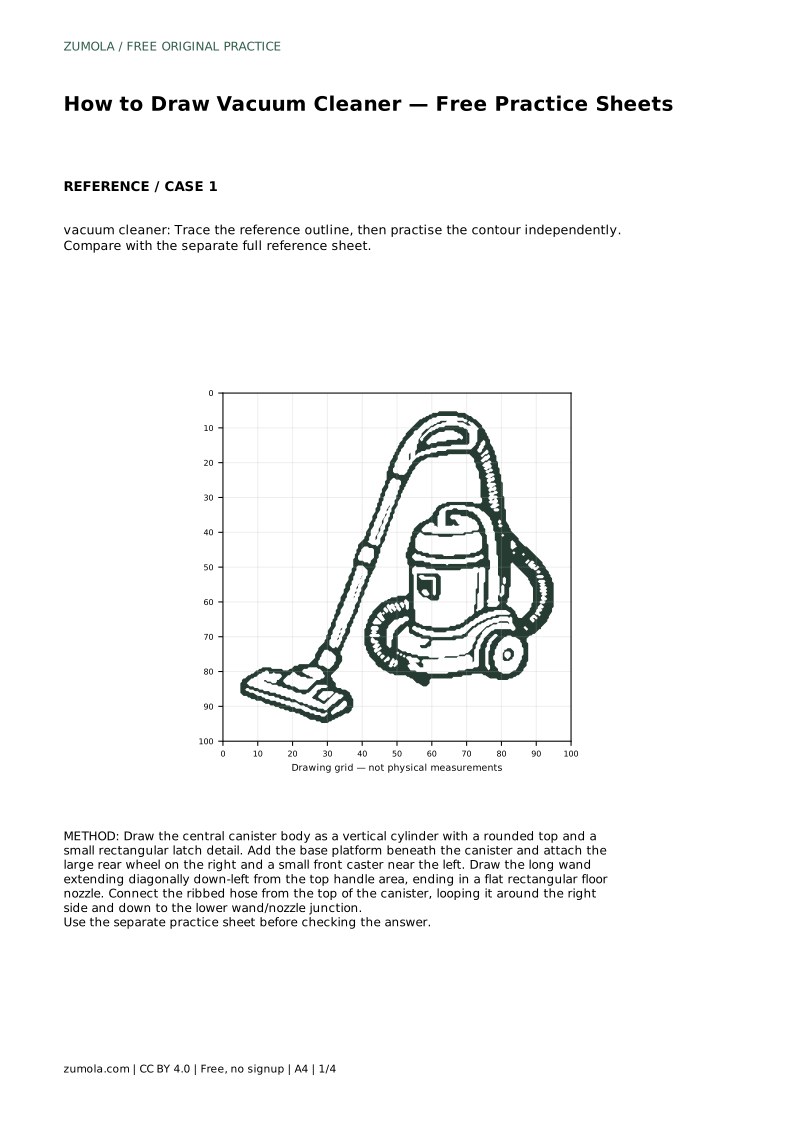
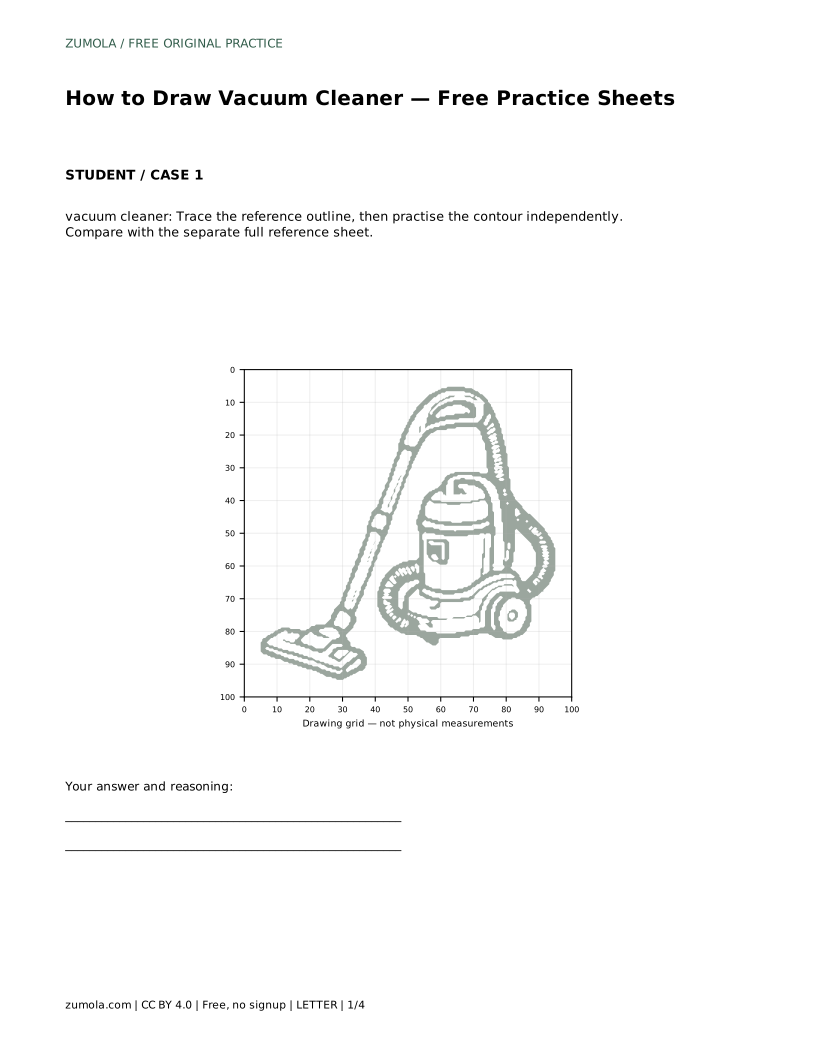
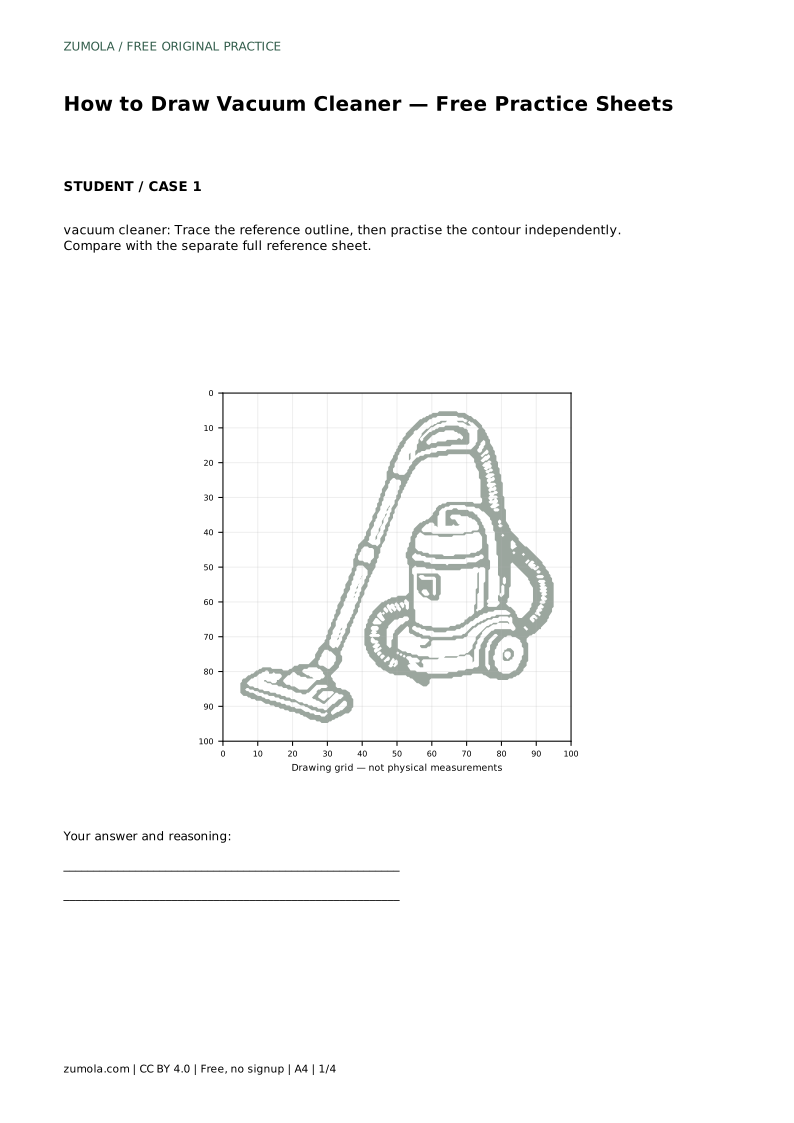
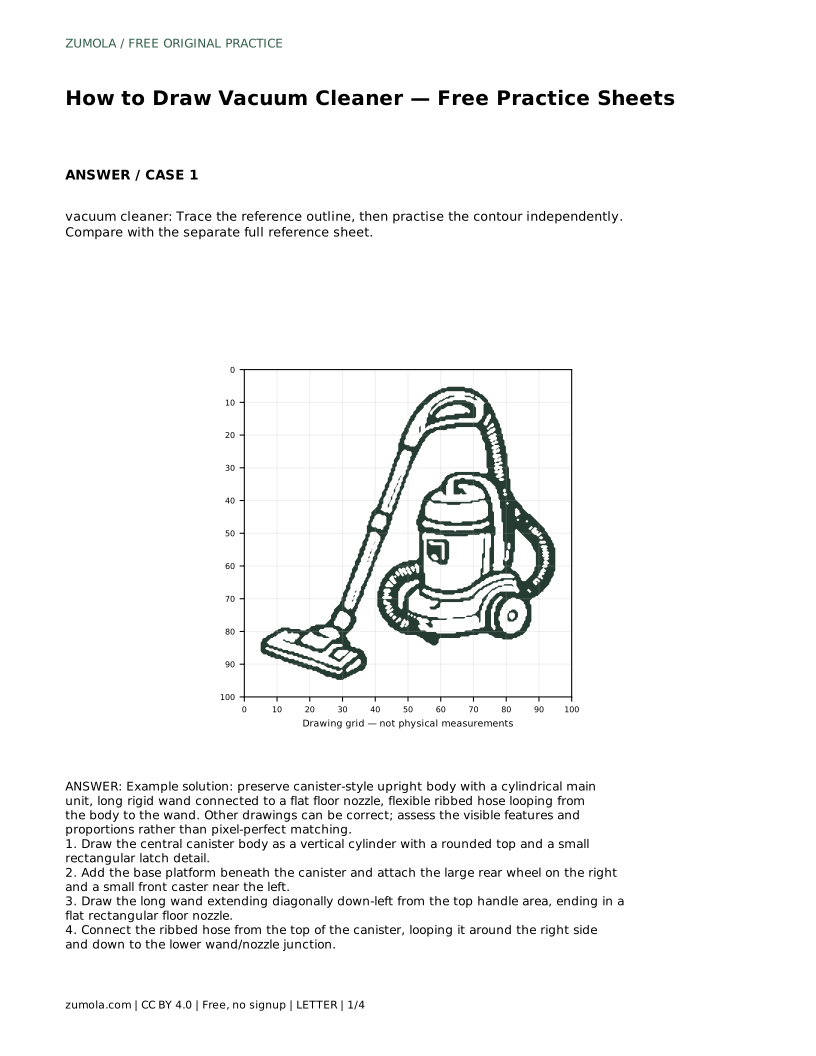
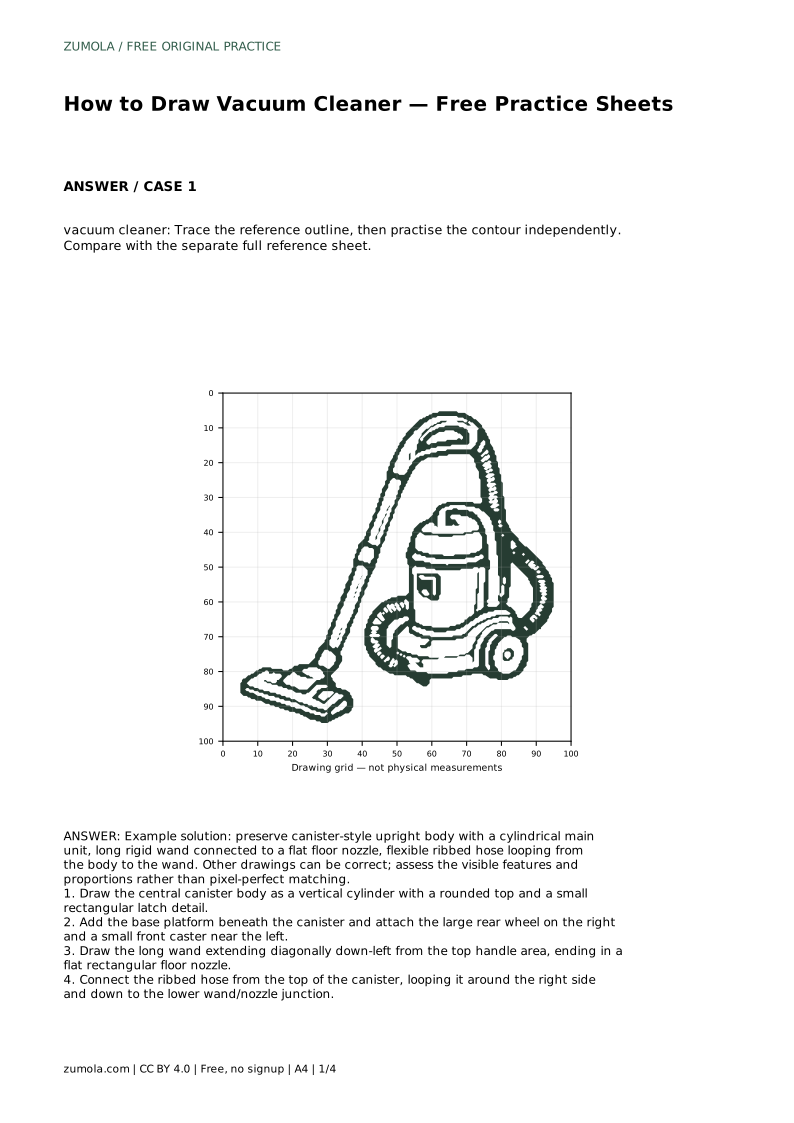
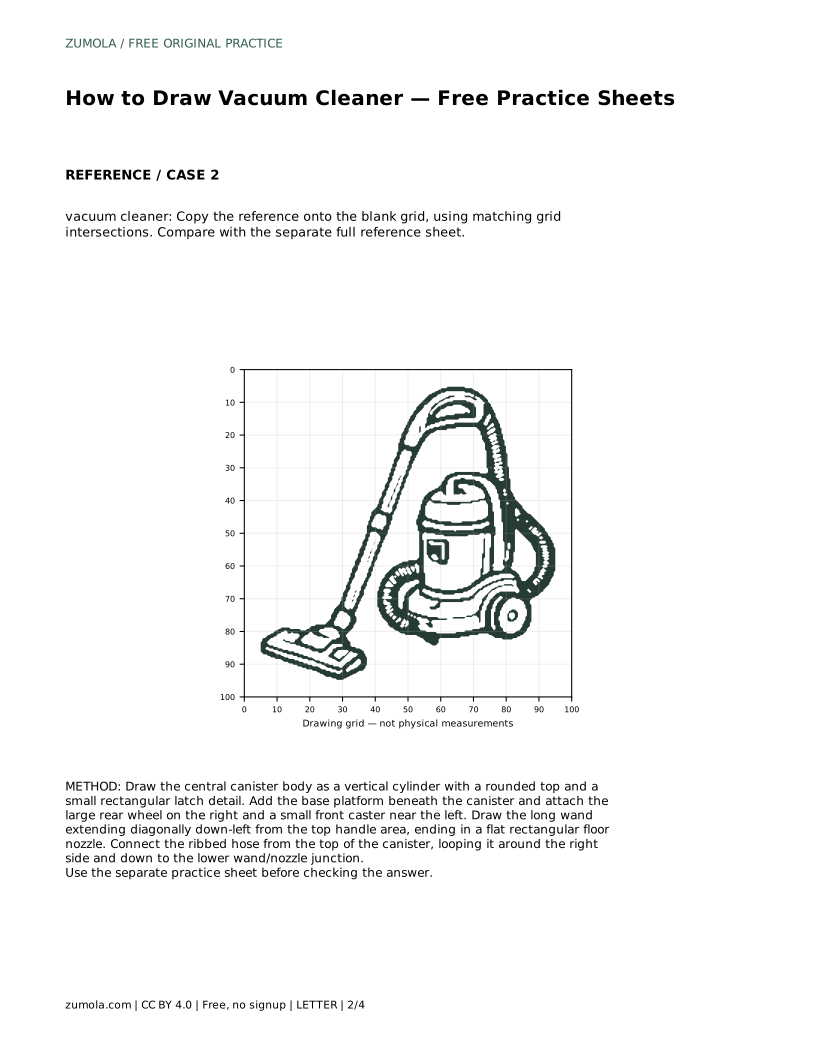
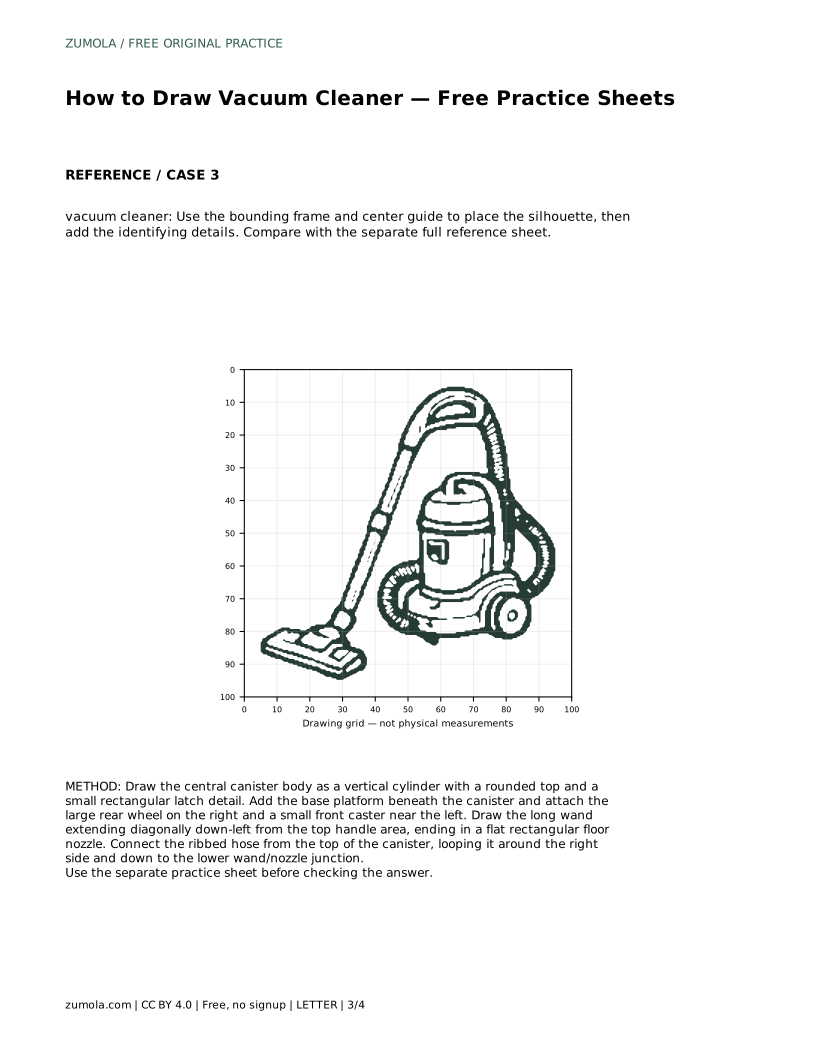
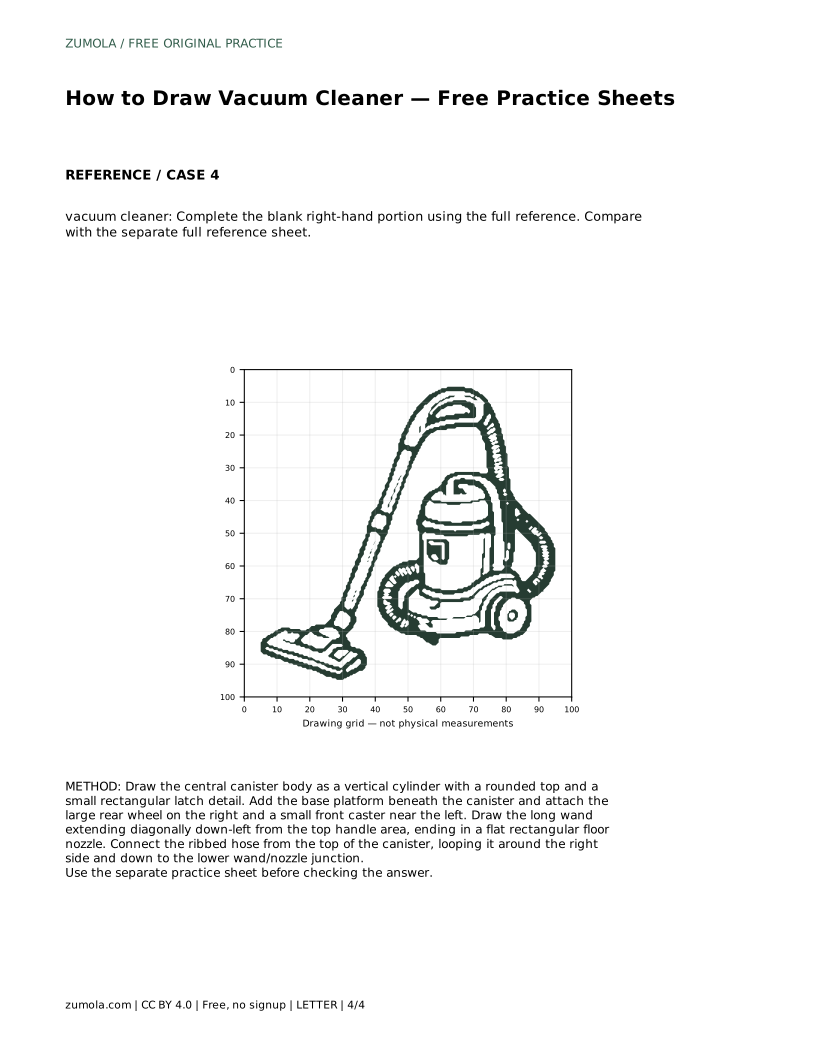
A vacuum cleaner is a good subject for learning how separate parts connect into one believable object. This page focuses on a canister-style upright vacuum: a cylindrical main unit on a base, a large rear wheel and small front caster, a long rigid wand ending in a flat floor nozzle, and a flexible ribbed hose looping from the body to the wand. You will trace the outline first, then draw the contour independently and compare your work with the full reference sheet.
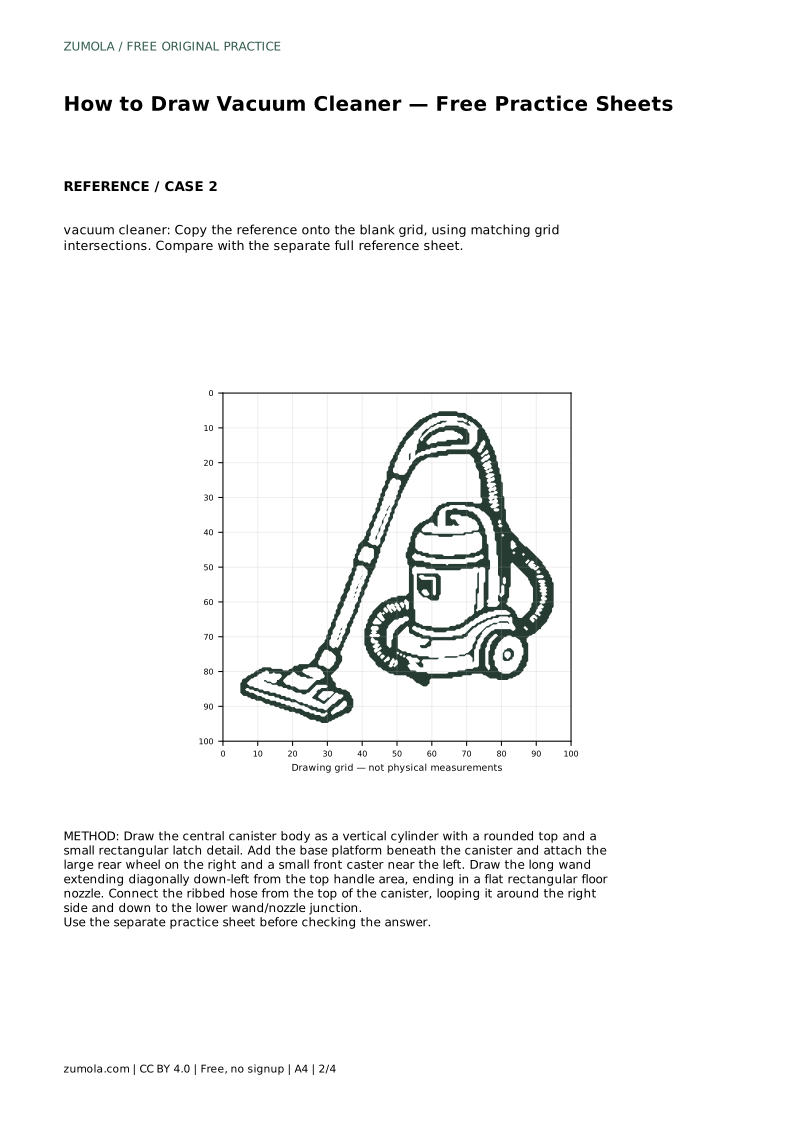
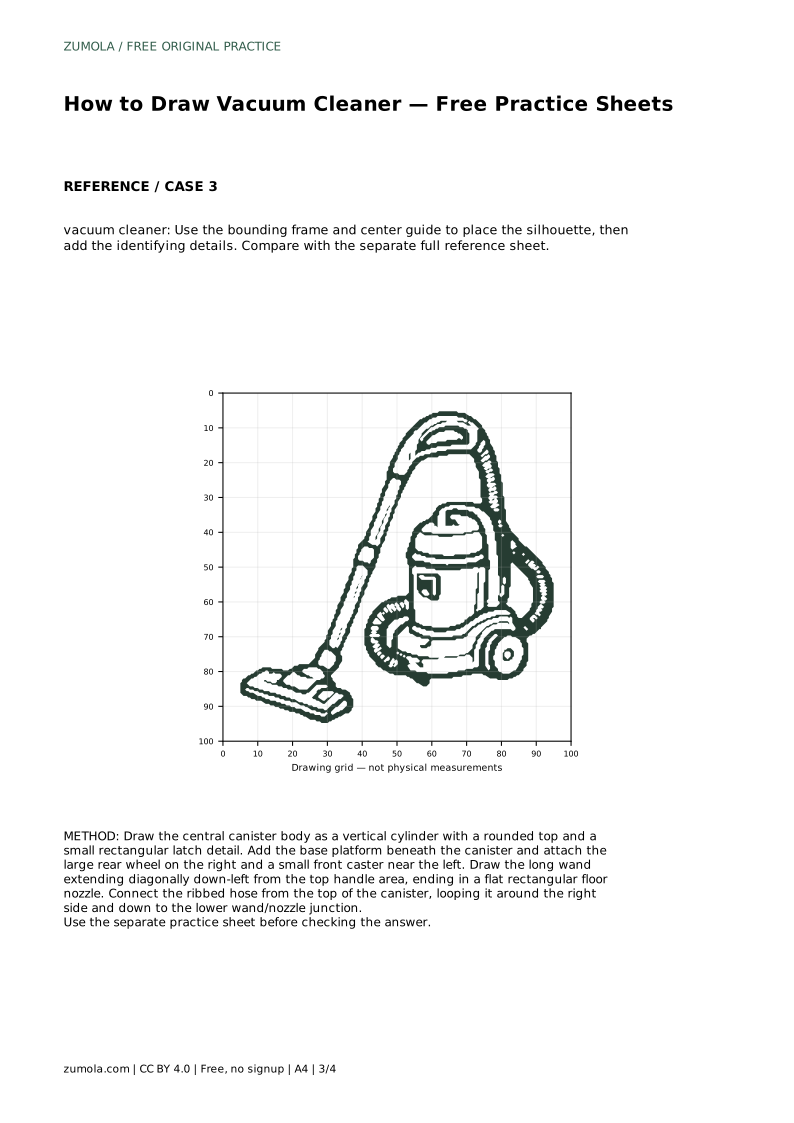
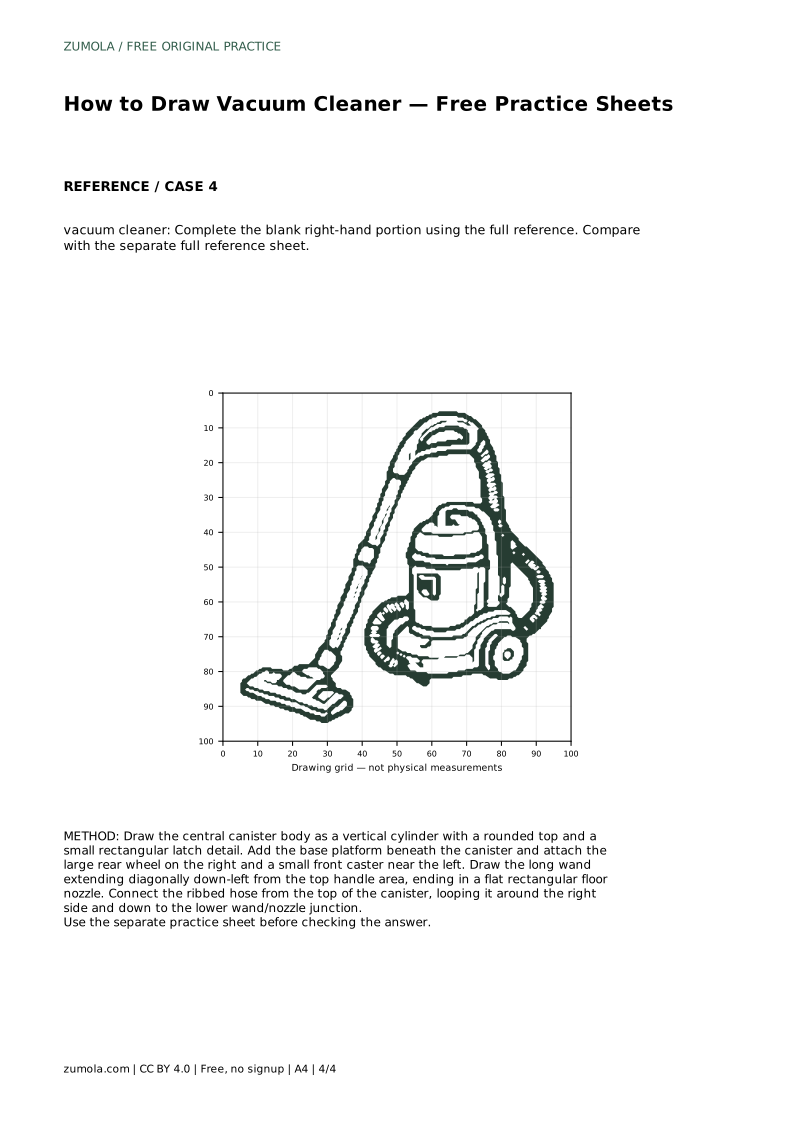
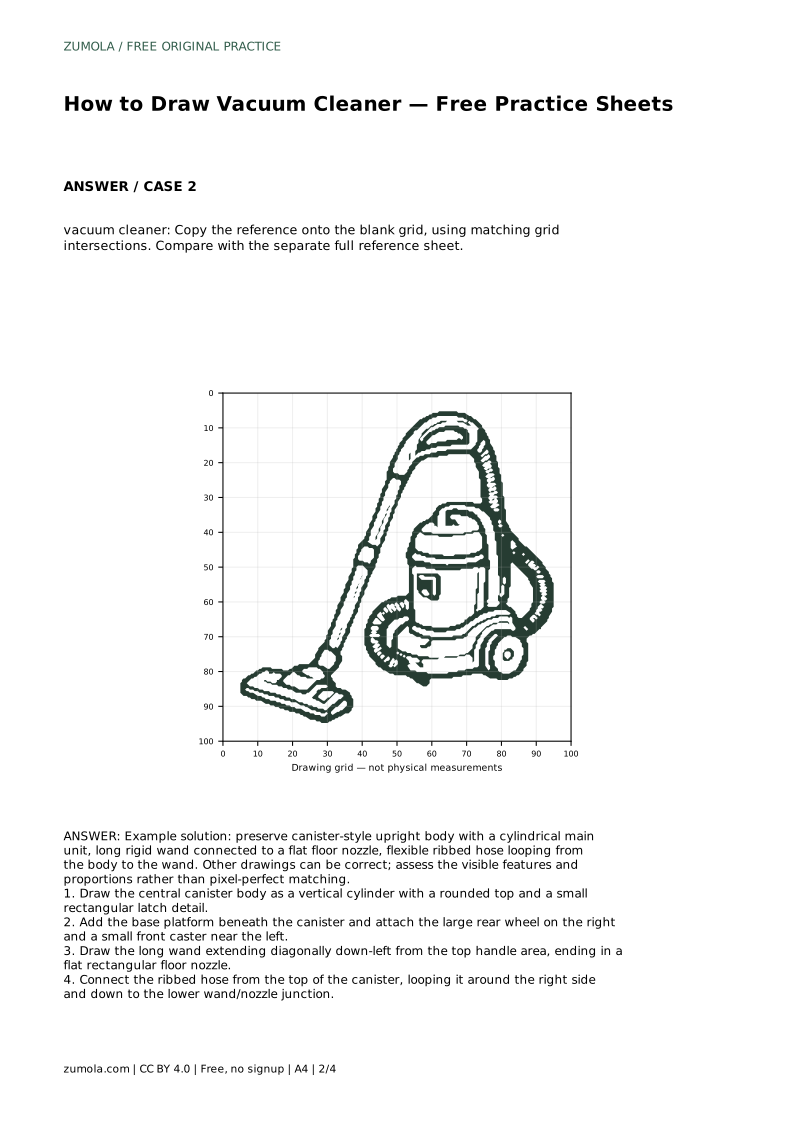
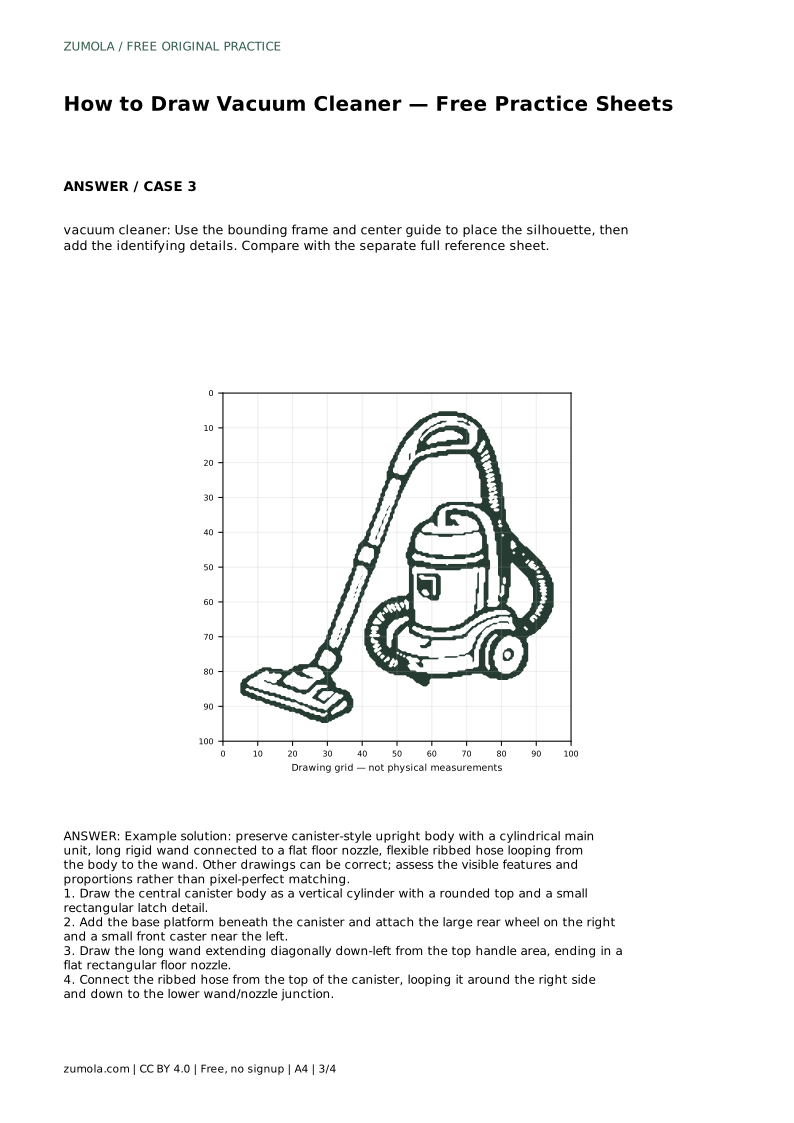
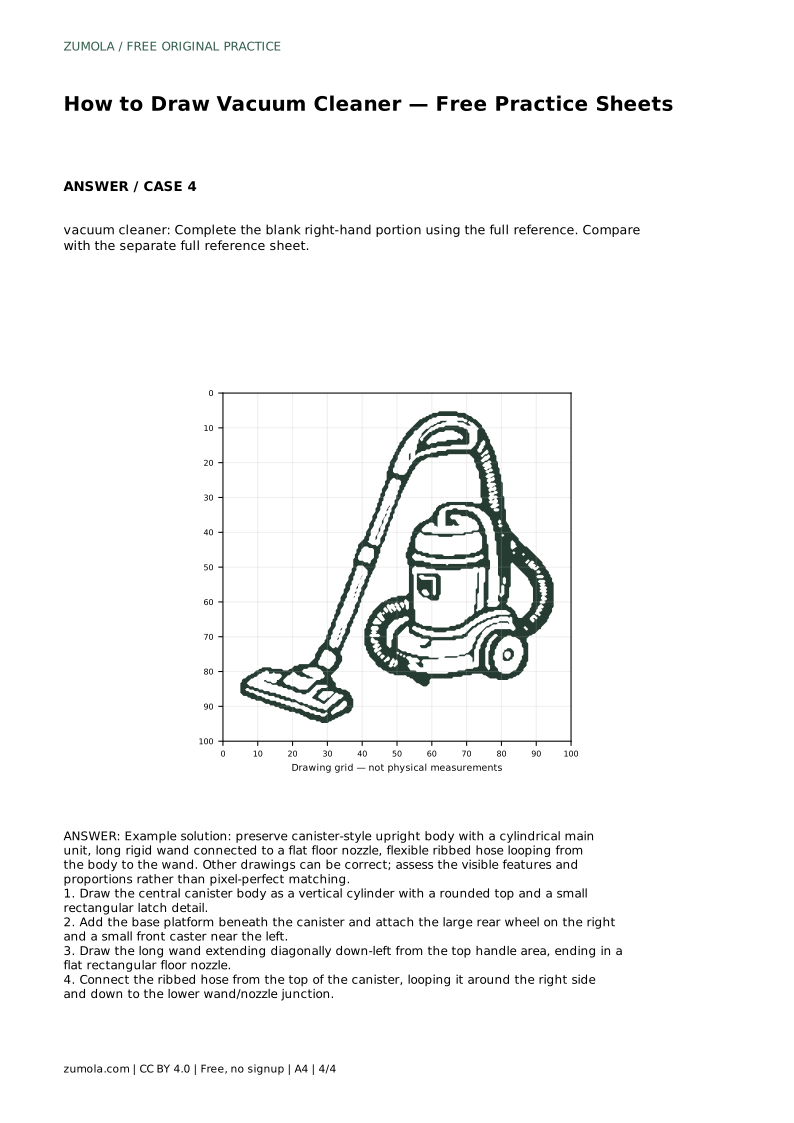
Before drawing, study the reference and name each visible part: the vertical canister body with its rounded top and small rectangular latch, the base platform beneath it, the large rear wheel on the right, the small front caster near the left, the long wand running diagonally down-left from the handle area, the flat rectangular floor nozzle, and the ribbed hose looping around the right side.
Treat the drawing as a set of relationships rather than a single outline. The wand and nozzle form one rigid line; the hose is a separate flexible curve that joins the body to the lower wand or nozzle junction. Keeping those connections clear matters more than matching every pixel.
Start by tracing the reference outline to learn where the parts meet. Pay attention to the angle of the wand and the width of the floor nozzle, since these set the machine's stance.
Then set the reference aside and redraw the contour from memory. Return to the full reference sheet afterward and compare the silhouette, the wheel positions and the hose loop. Differences are useful information, not failure.
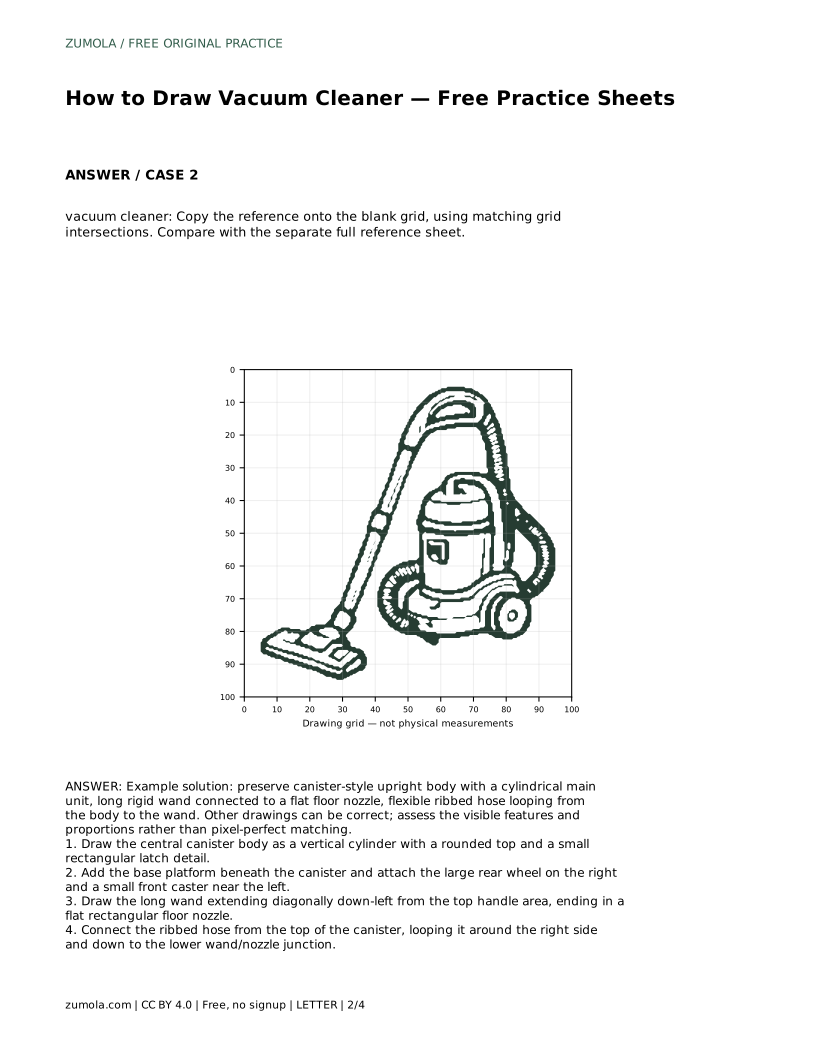
On a blank grid, copy the reference by matching grid intersections. Place the canister body first, then the base and wheels, then the wand and nozzle, and finally the hose. The grid helps you keep the wand angle and hose loop in proportion.
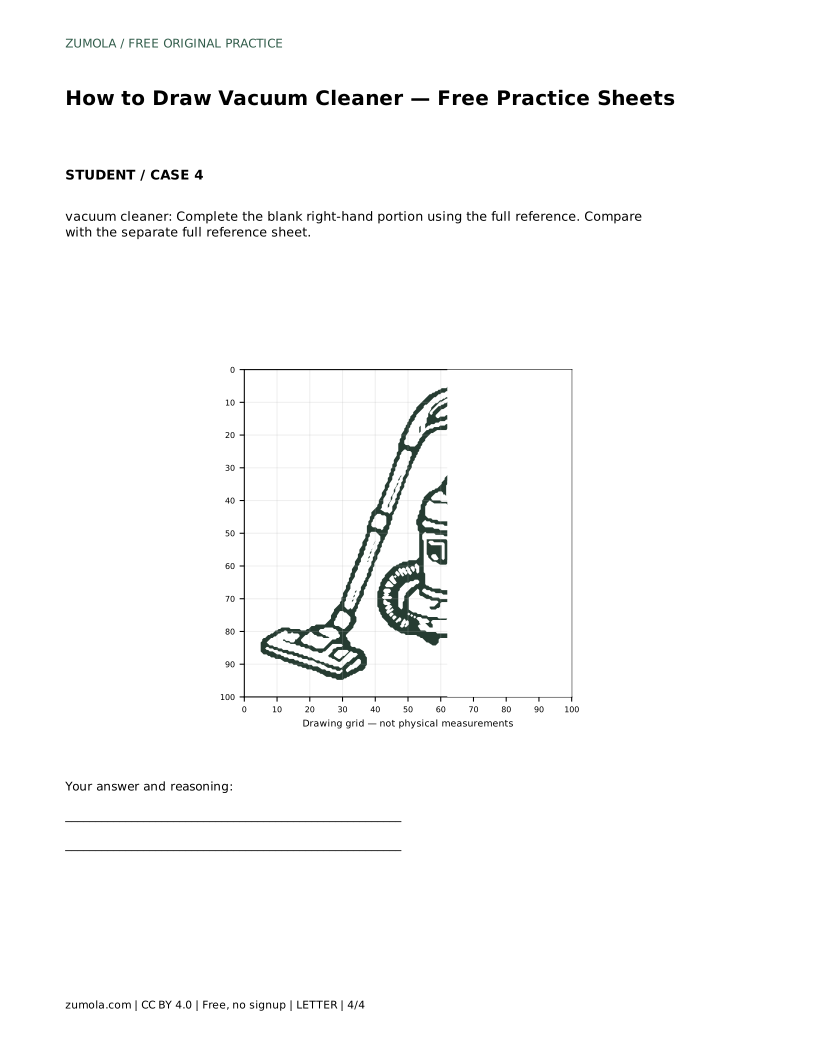
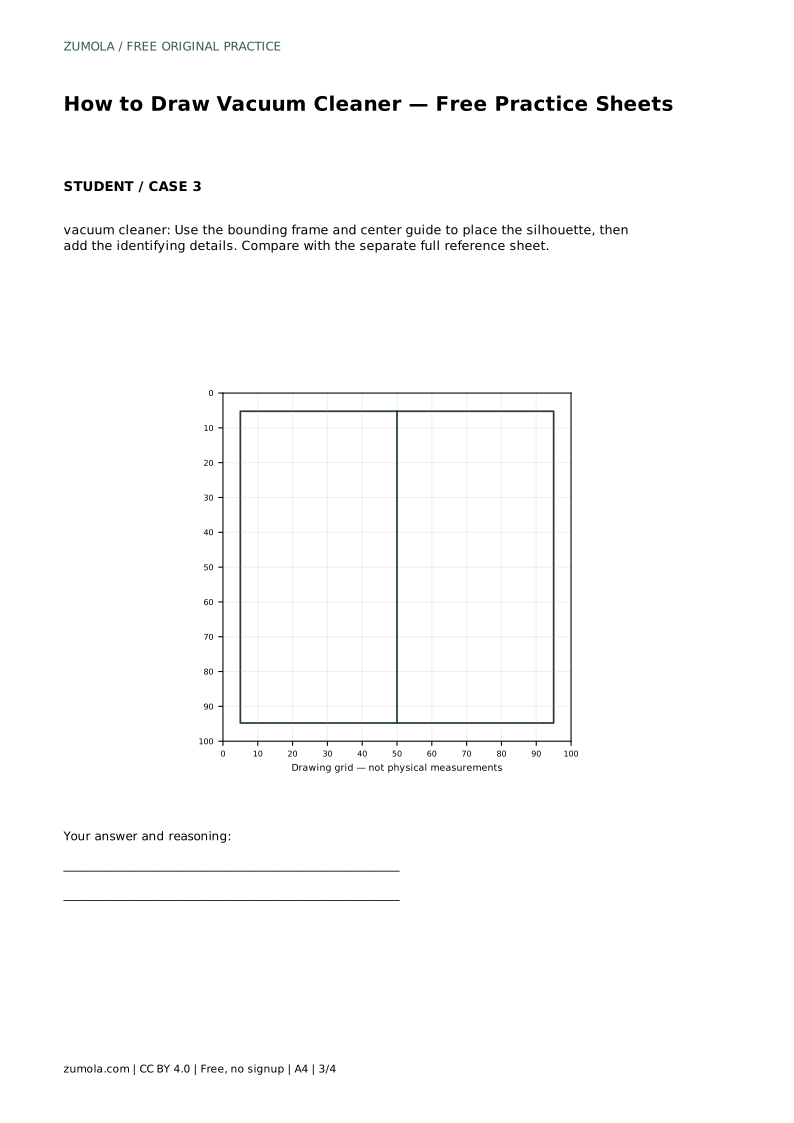
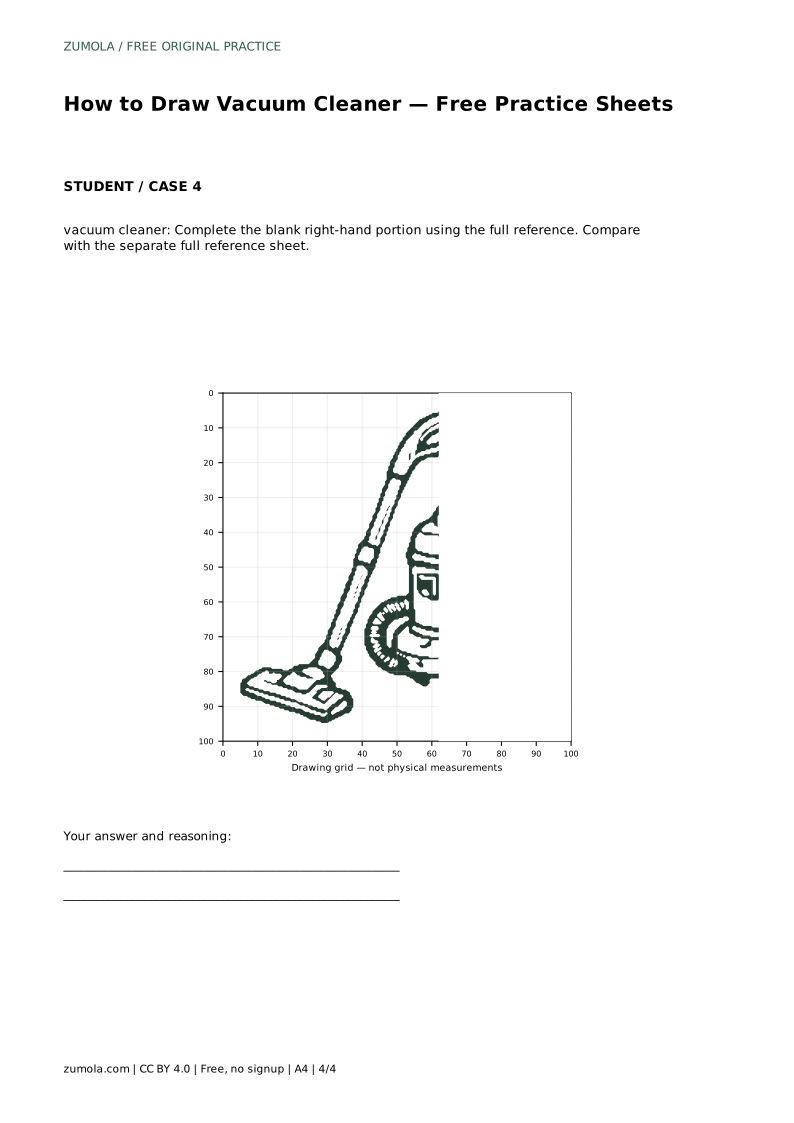
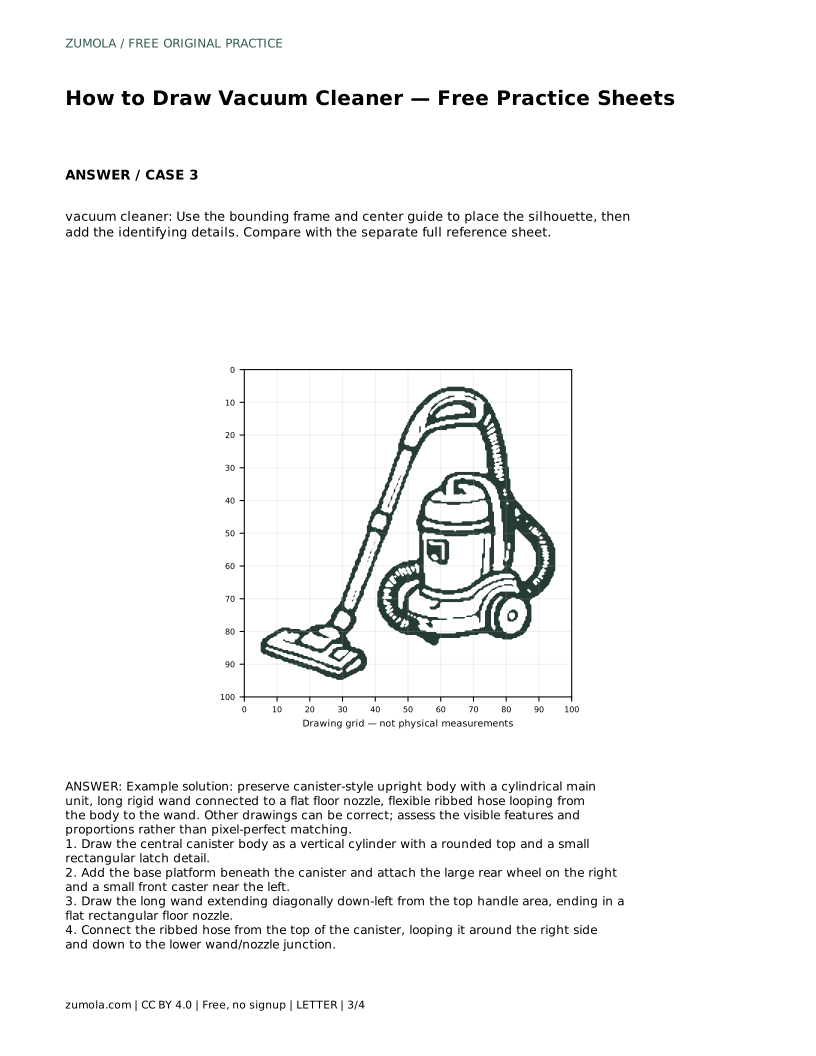
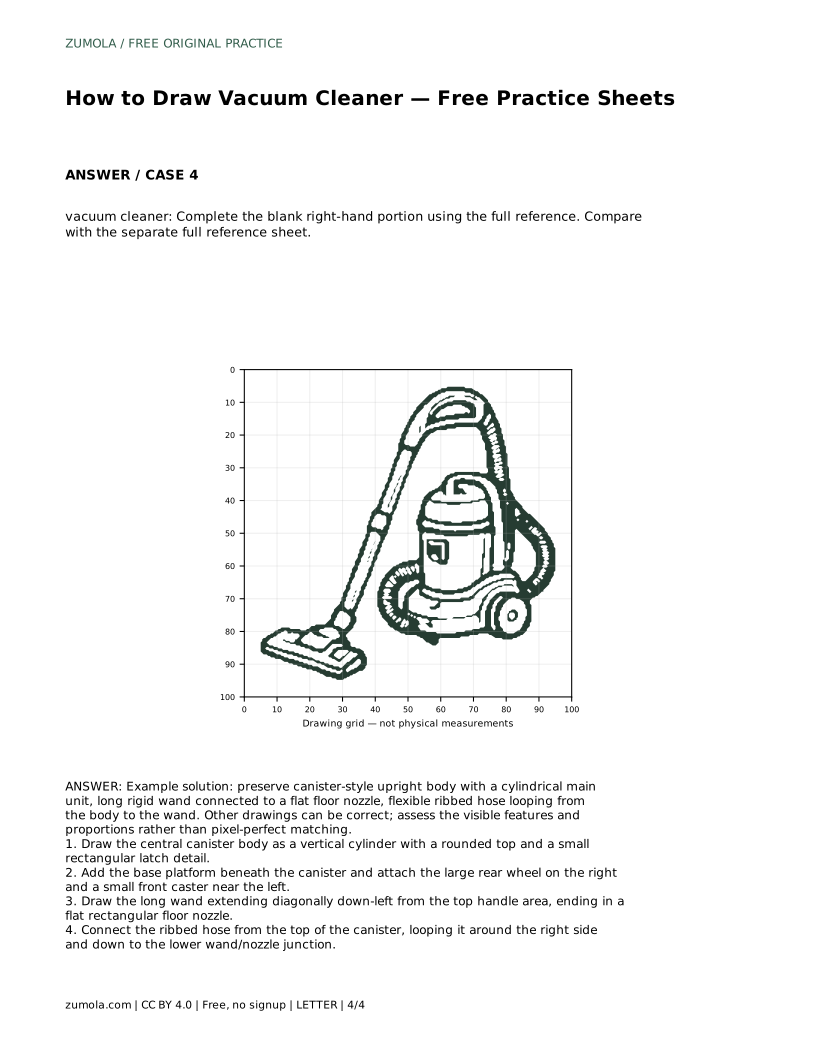
With a bounding frame and center guide, block the overall silhouette before adding identifying details. The frame sets the outer limits; the center guide helps you judge whether the body sits left or right of the middle. Complete a partially blank sheet by using the full reference to finish the missing portion.
The ribbed hose is the most distinctive feature. Draw it as a smooth curve first, then add short cross-lines to suggest ribs. Keep the curve continuous from the canister top to the lower wand junction.
Wheels should sit on a believable ground line. The large rear wheel and small front caster differ in size, and that difference helps the vacuum look stable rather than tilted.
vacuum cleaner: Trace the reference outline, then practise the contour independently. Compare with the separate full reference sheet.
Example solution: preserve canister-style upright body with a cylindrical main unit, long rigid wand connected to a flat floor nozzle, flexible ribbed hose looping from the body to the wand. Other drawings can be correct; assess the visible features and proportions rather than pixel-perfect matching. Draw the central canister body as a vertical cylinder with a rounded top and a small rectangular latch detail. Add the base platform beneath the canister and attach the large rear wheel on the right and a small front caster near the left. Draw the long wand extending diagonally down-left from the top handle area, ending in a flat rectangular floor nozzle. Connect the ribbed hose from the top of the canister, looping it around the right side and down to the lower wand/nozzle junction.
No. Other drawings can be correct. Assess the visible features and proportions rather than pixel-perfect matching.
Compare the silhouette, wheel positions and hose loop with the full reference sheet, then correct the largest differences.
Use the grid intersections or bounding frame to fix the wand's start and end points before drawing the line between them.
All drawing practice · Free coordinate paper
Original resources · CC BY 4.0 · Free for personal and classroom use with attribution.