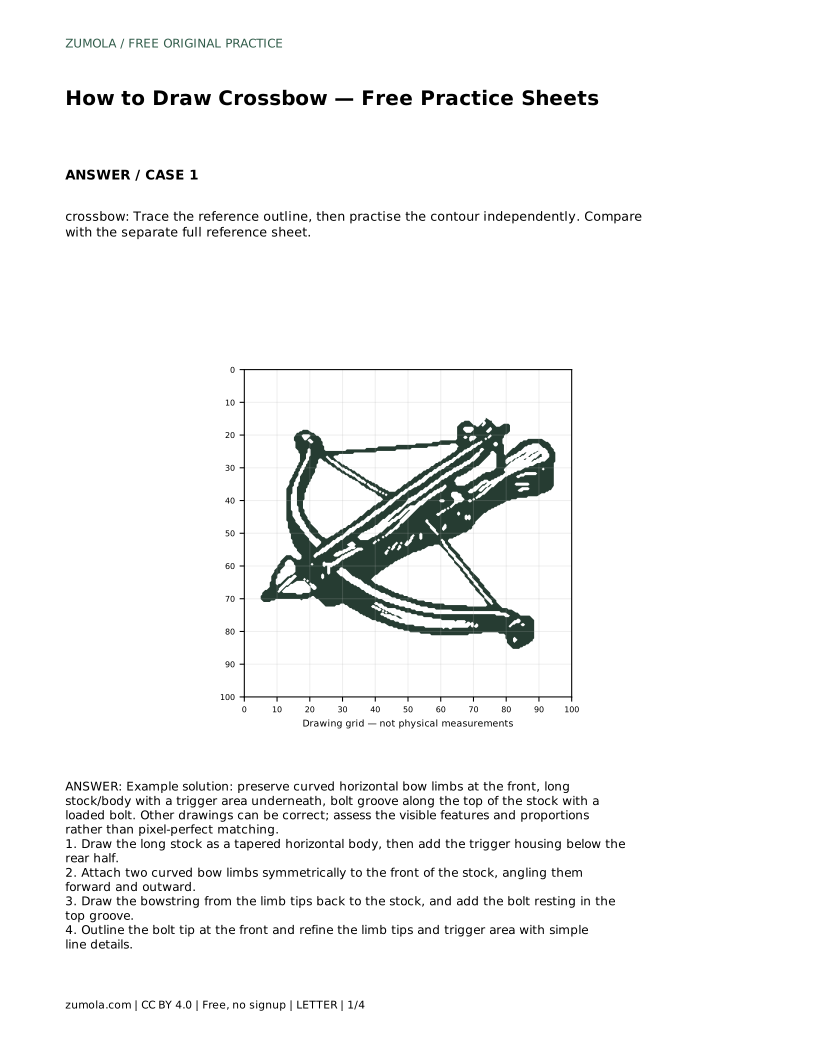
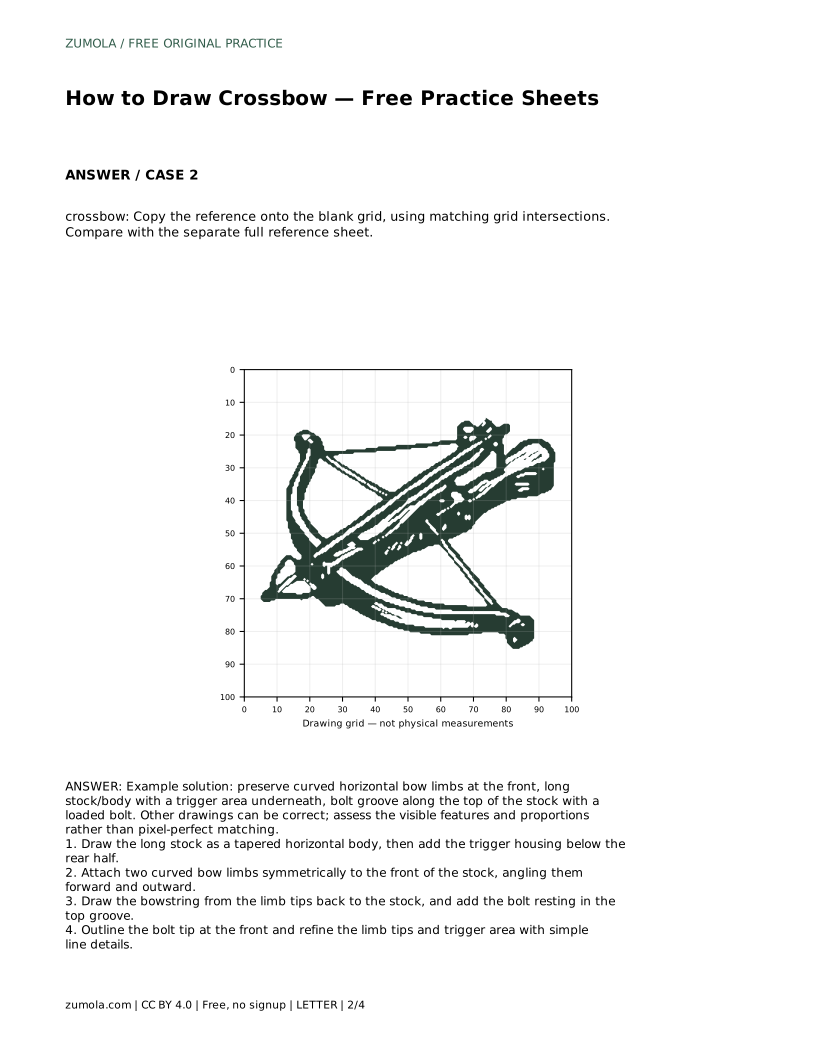
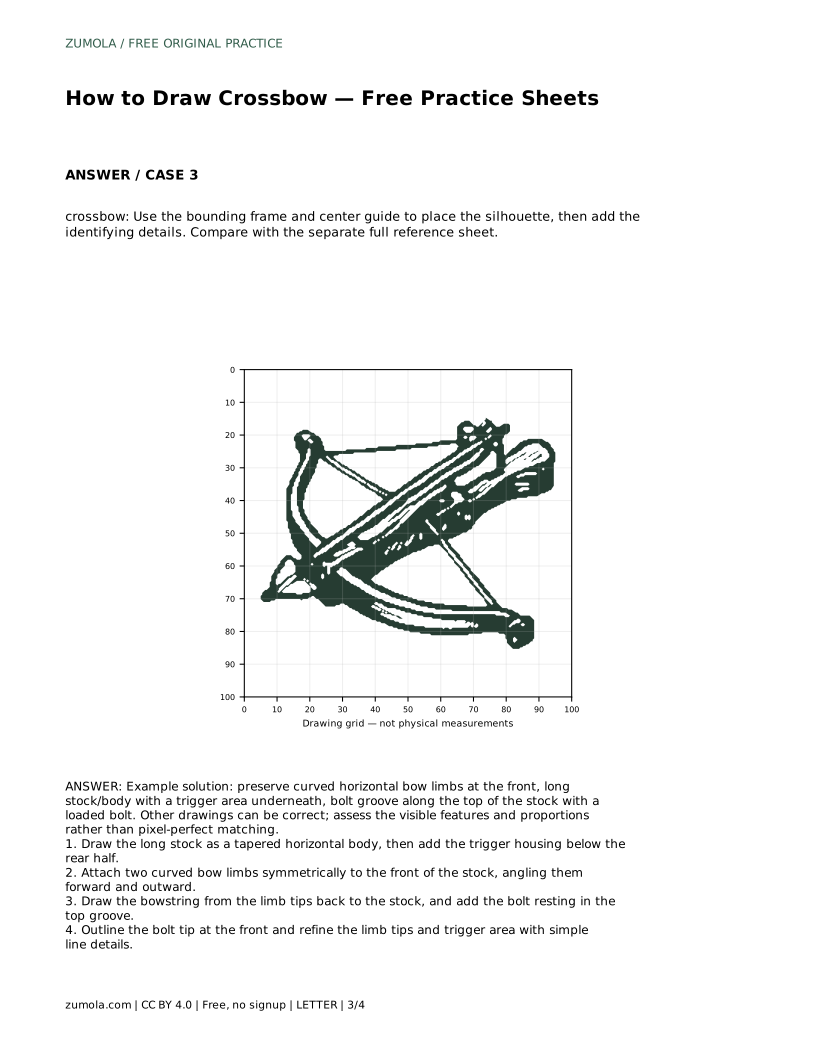
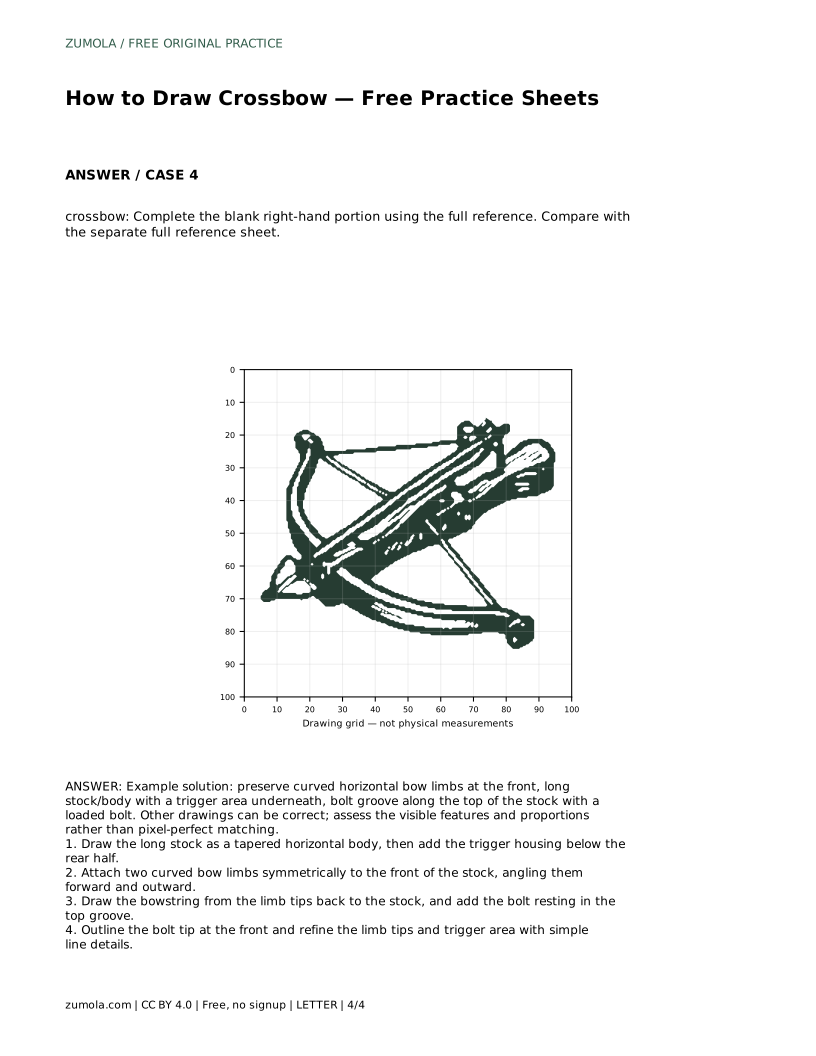
Reference diagrams
LETTER · Download PDF
A4 · Download PDF
Free original resources
Learn to draw a crossbow by building the stock, curved limbs, bowstring, and loaded bolt in order. Free printable practice sheets support tracing, grids, and guided outlines.
Four original cases, with reference diagrams, practice sheets and worked answers. Everything is free; no signup required.
LETTER · Download PDF
A4 · Download PDF
LETTER · Download PDF
A4 · Download PDF
LETTER · Download PDF
A4 · Download PDF
Use A4 or US Letter to match your printer. Use the stated values and conditions to solve each exercise; diagrams are not physical measuring rulers.
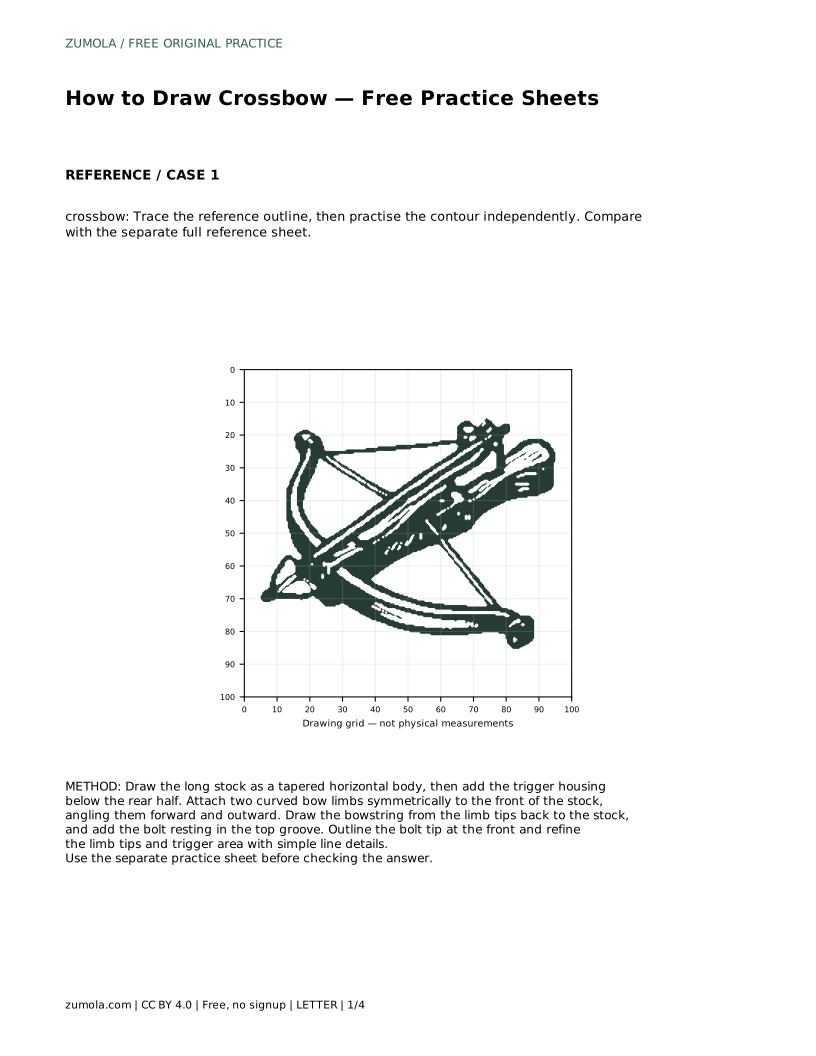
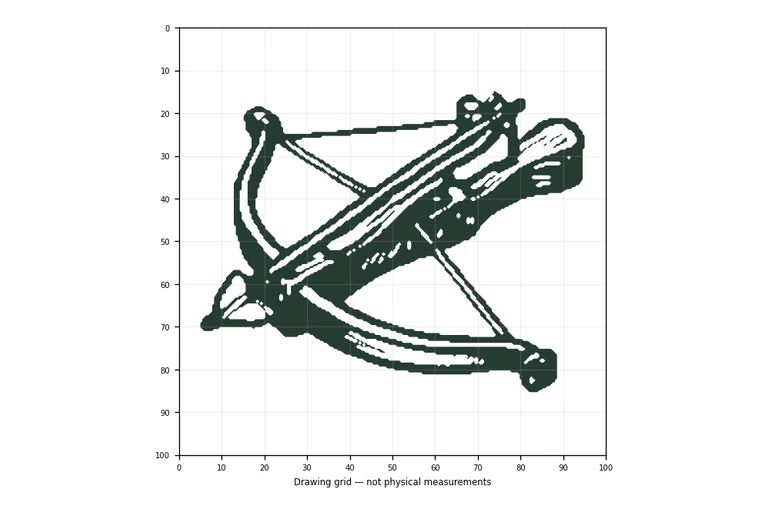
A crossbow is easier to draw when you treat it as a small set of connected parts rather than one complicated outline. The long stock carries the mechanism, two curved limbs sit at the front, the bowstring runs back from the limb tips, and a bolt rests along the top groove. This guide shows a reliable order for placing those parts, then explains how to judge your drawing by visible features and proportions instead of exact matching.
Start with the largest shape, because everything else attaches to it. The stock is a long, tapered horizontal body. Draw it slightly narrower toward the front and a little deeper at the rear, where the trigger housing sits underneath. Keep the top edge fairly straight: that edge becomes the bolt groove.
Next, attach the two bow limbs to the front of the stock. They curve forward and outward, and they should be roughly symmetrical. Think of them as a matched pair rather than two separate decorations. After the limbs are placed, draw the bowstring from one limb tip back to the stock and across to the other tip. Finally, add the bolt resting in the top groove, with its tip projecting beyond the front of the stock.
Work lightly at first. A crossbow has several long lines that cross near the front, and light construction lines are easier to adjust than dark committed ones.
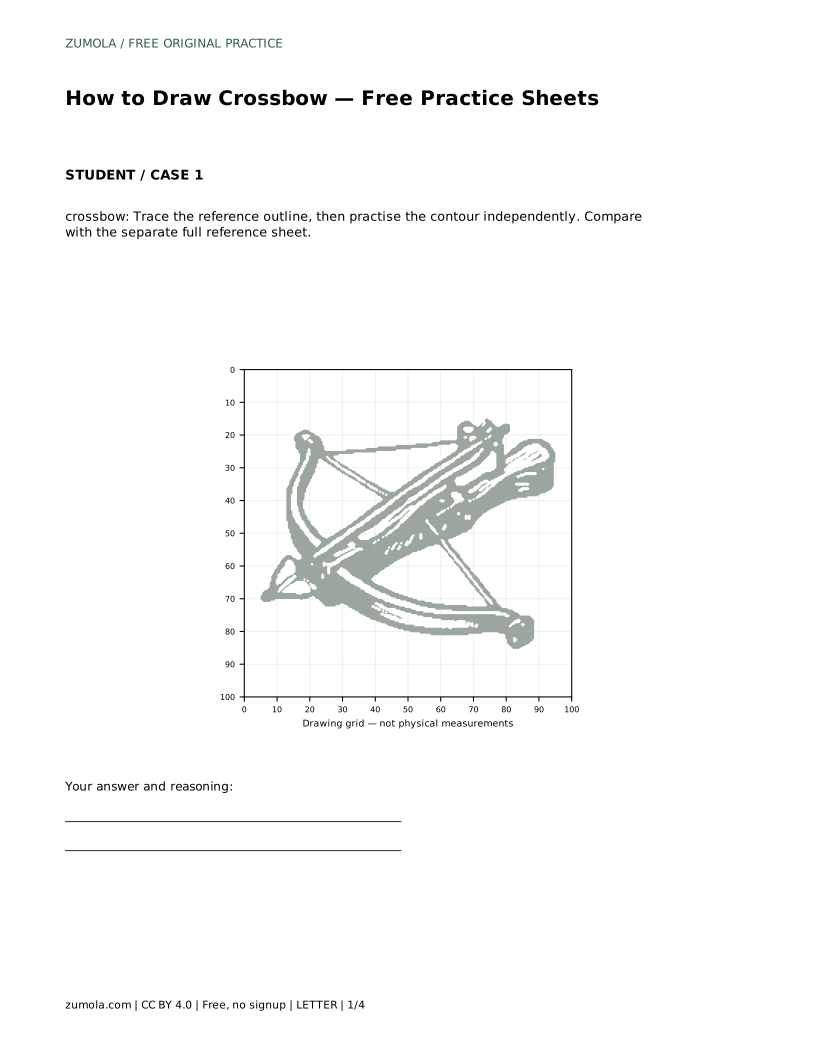
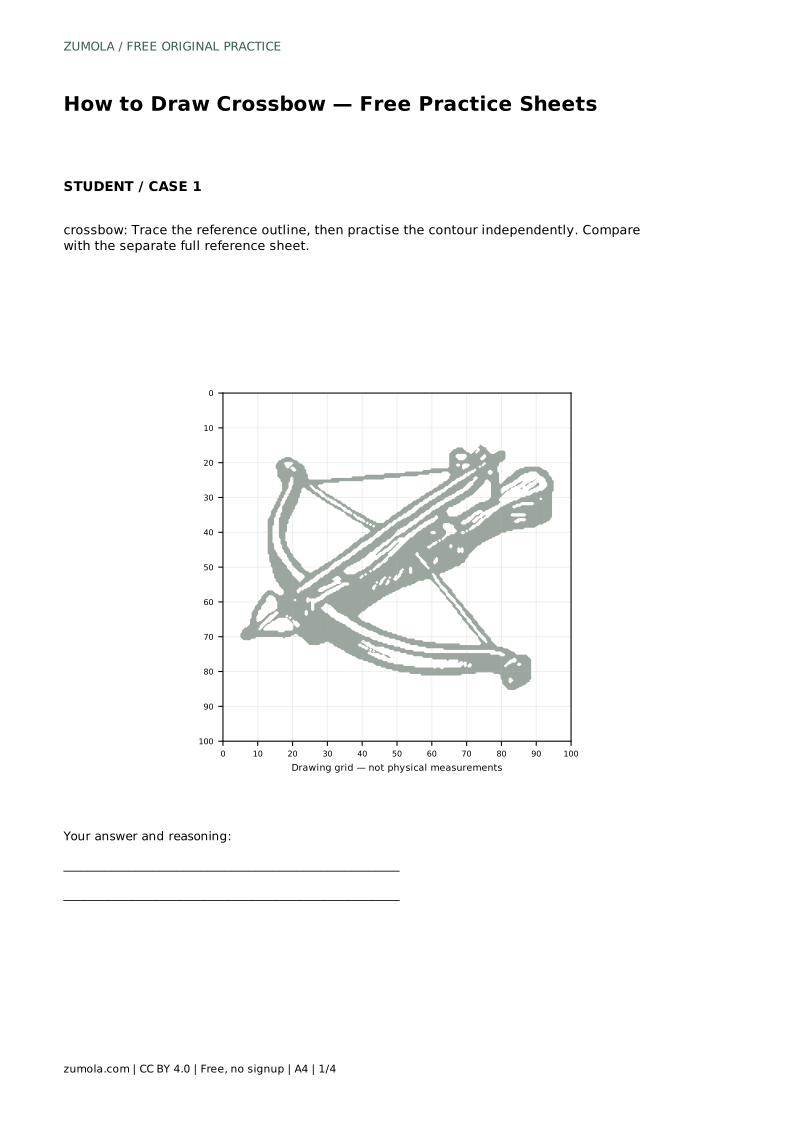
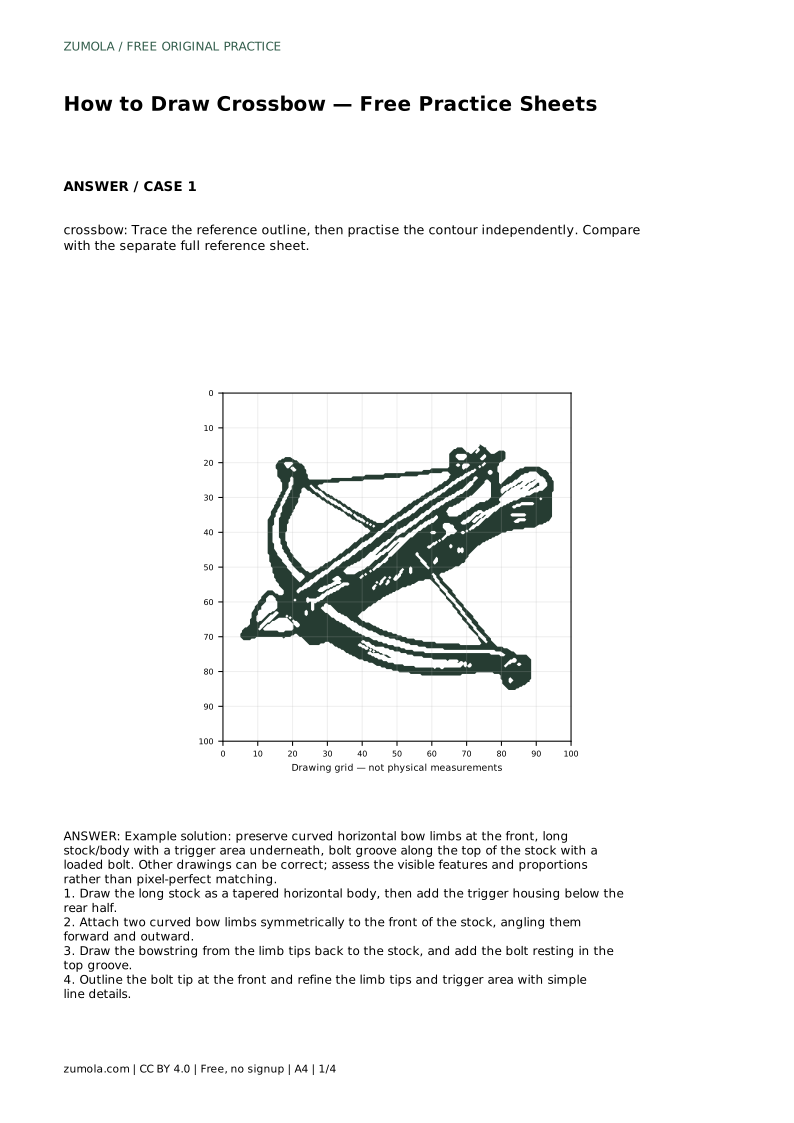
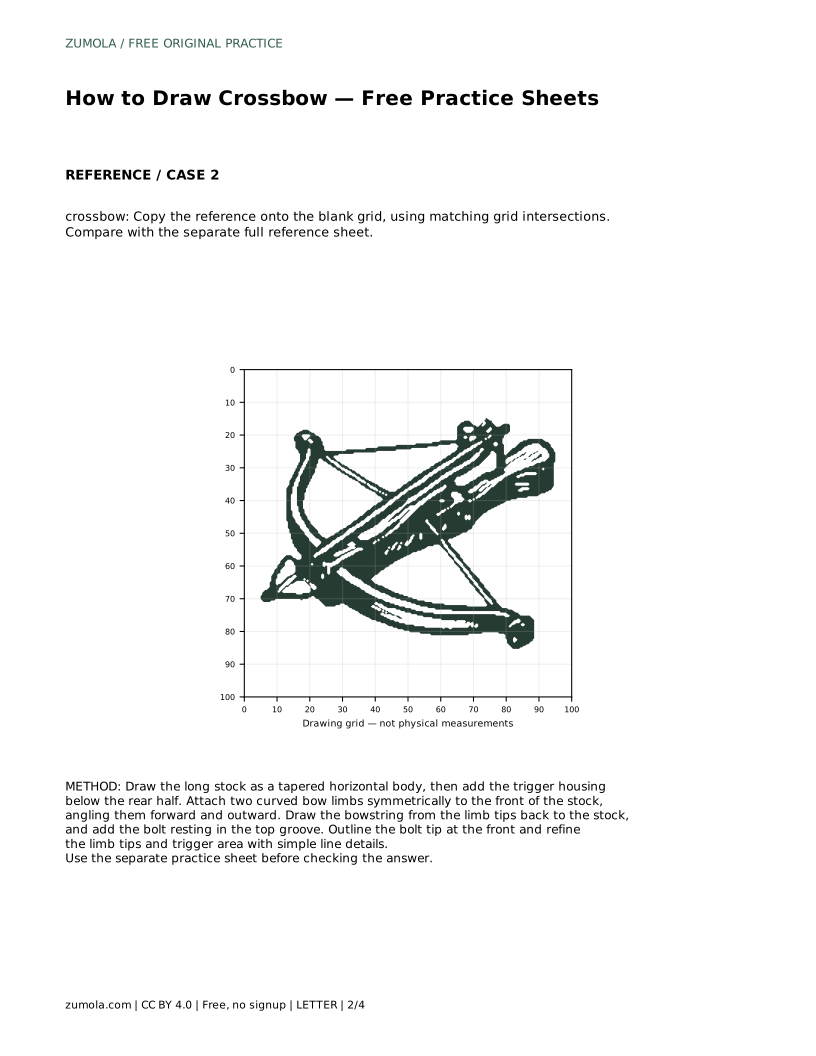
The tracing sheet asks you to follow the reference outline first, then repeat the contour on your own. Tracing teaches the sequence of the shape; the independent attempt shows whether you can reproduce it without support. Compare your free drawing with the separate full reference sheet, not with your traced line.
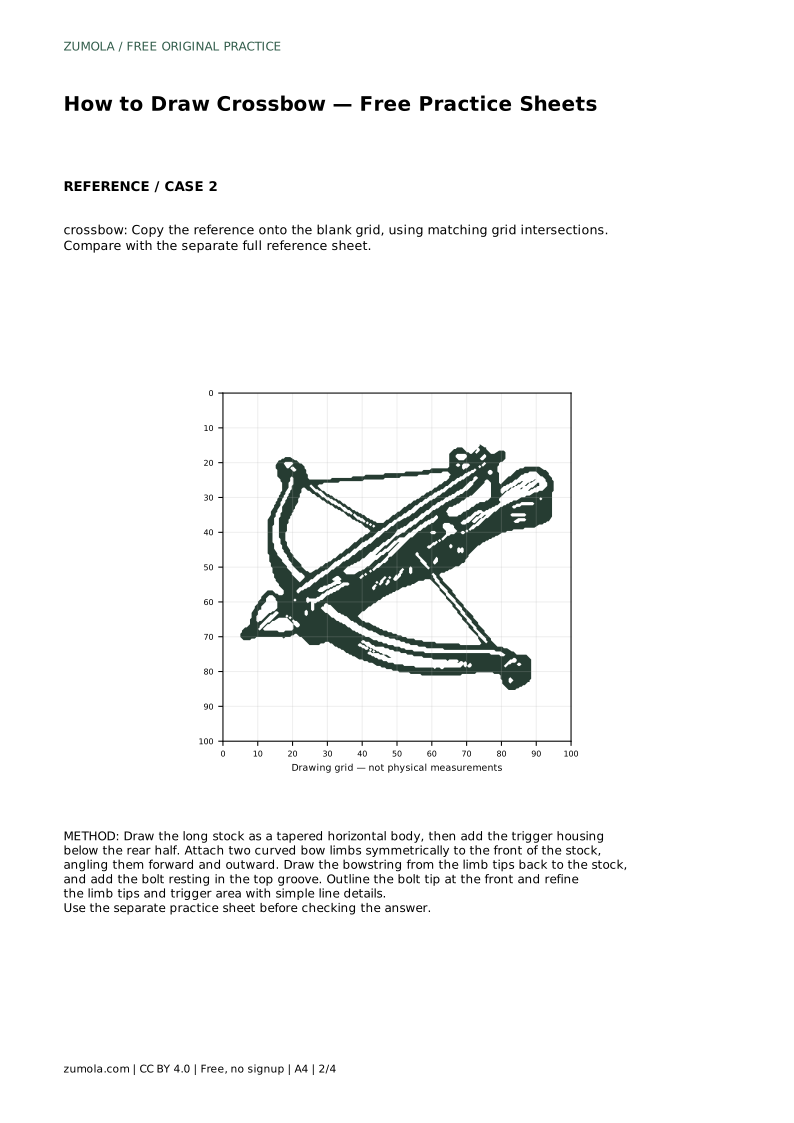
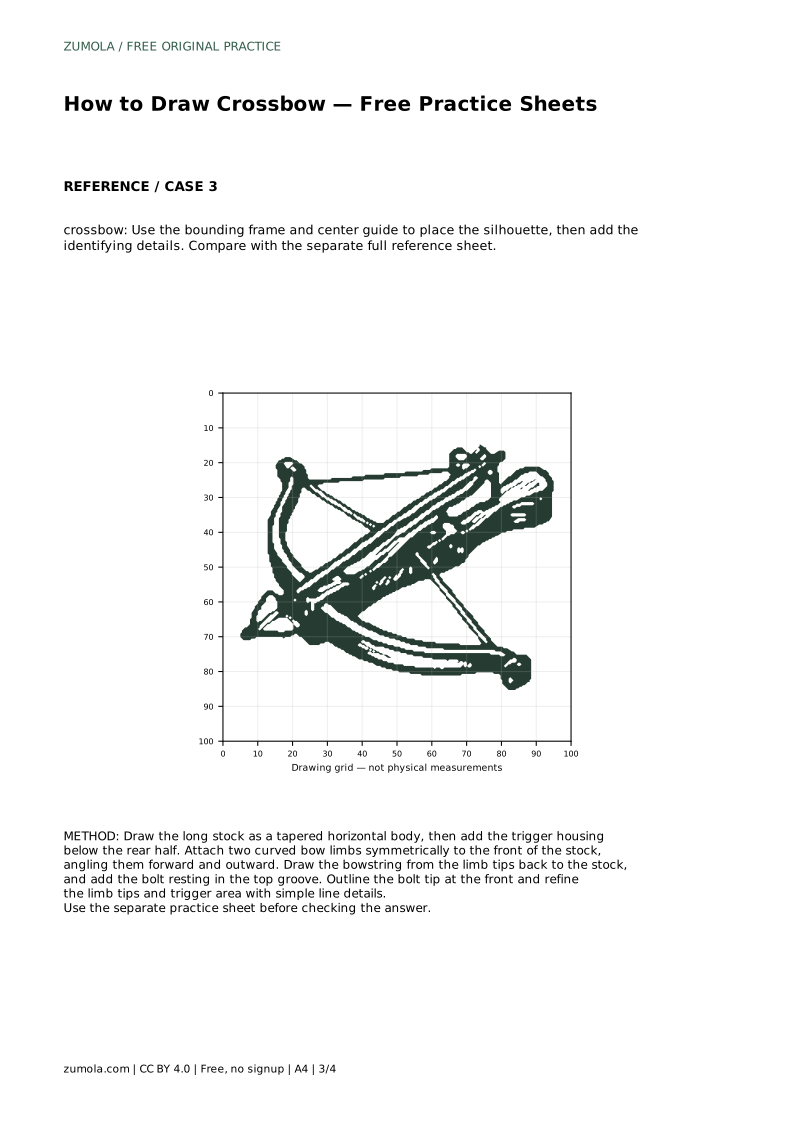
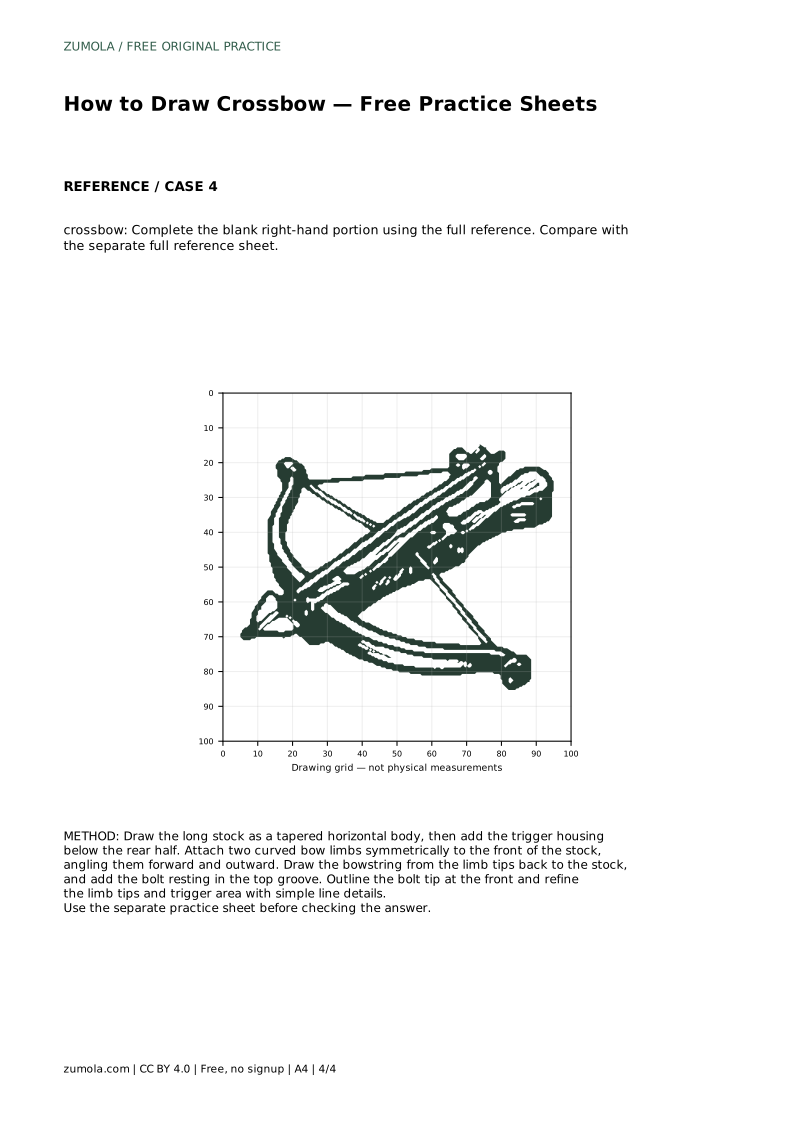
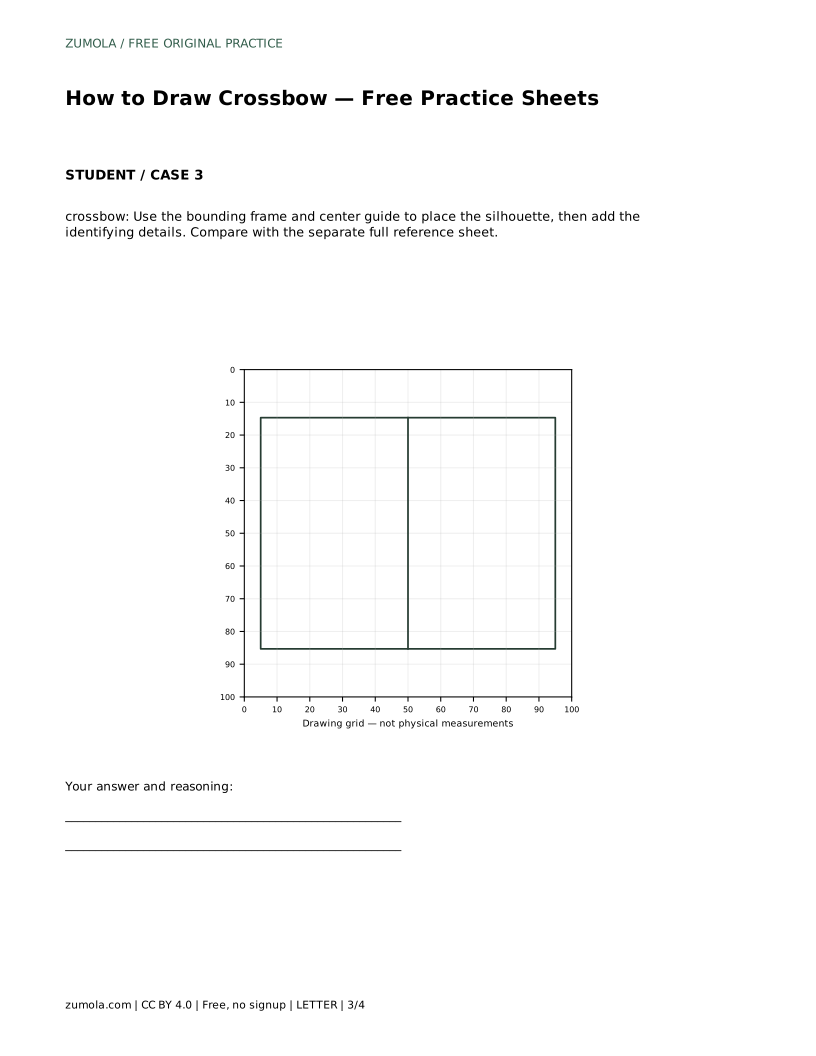
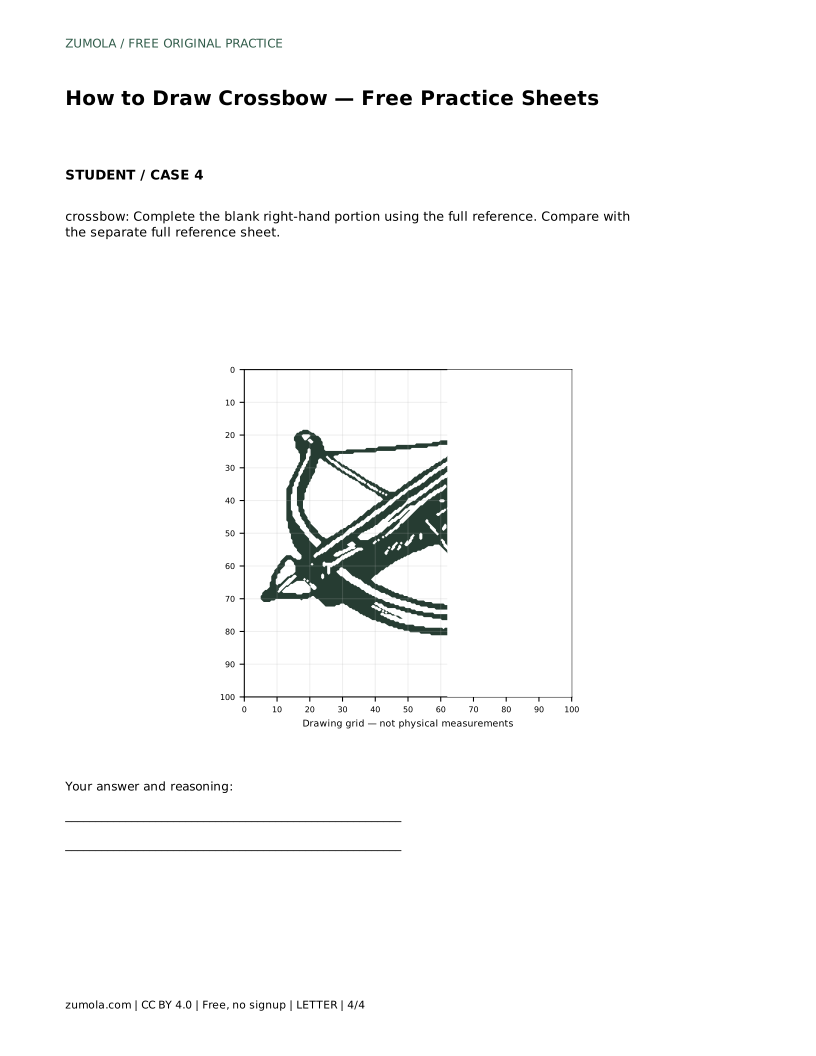
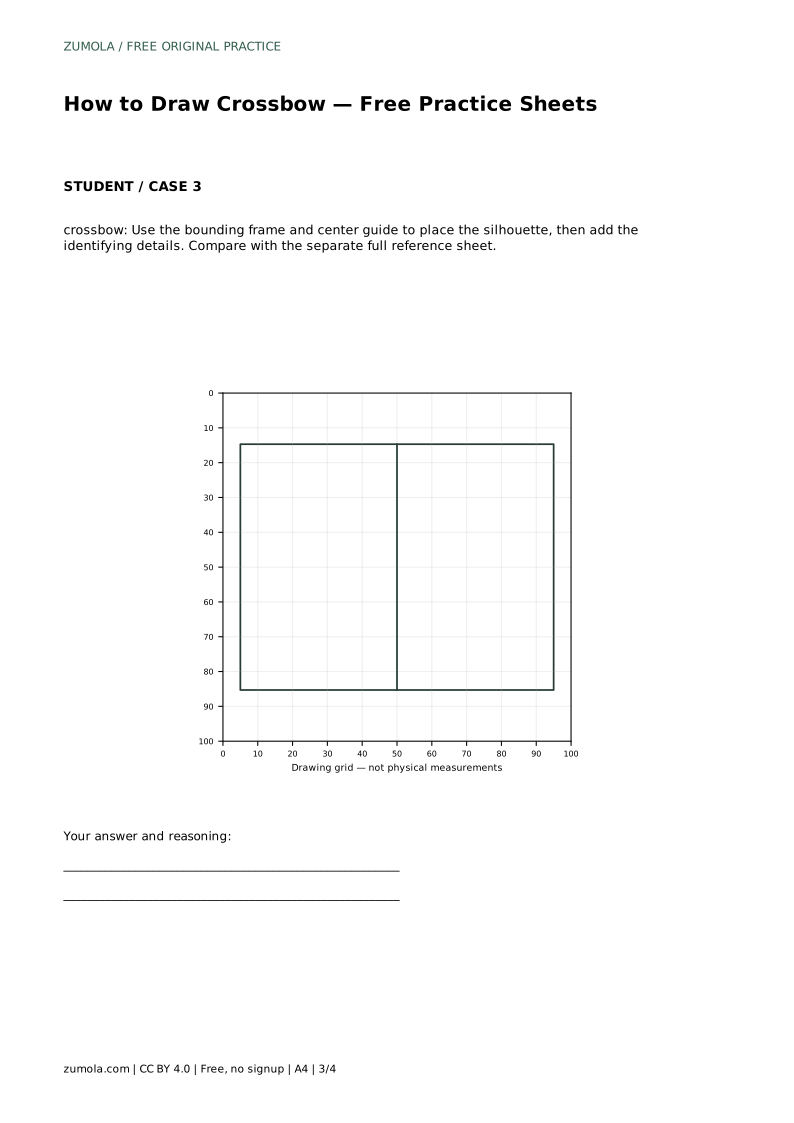
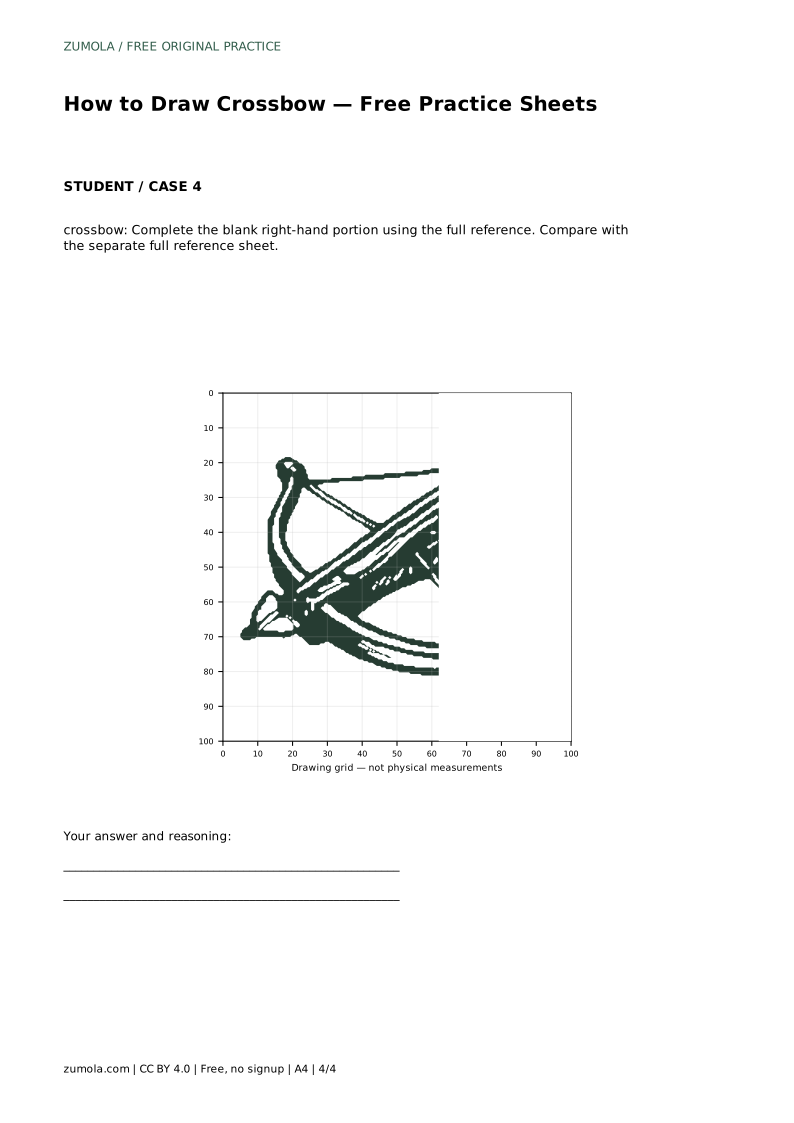
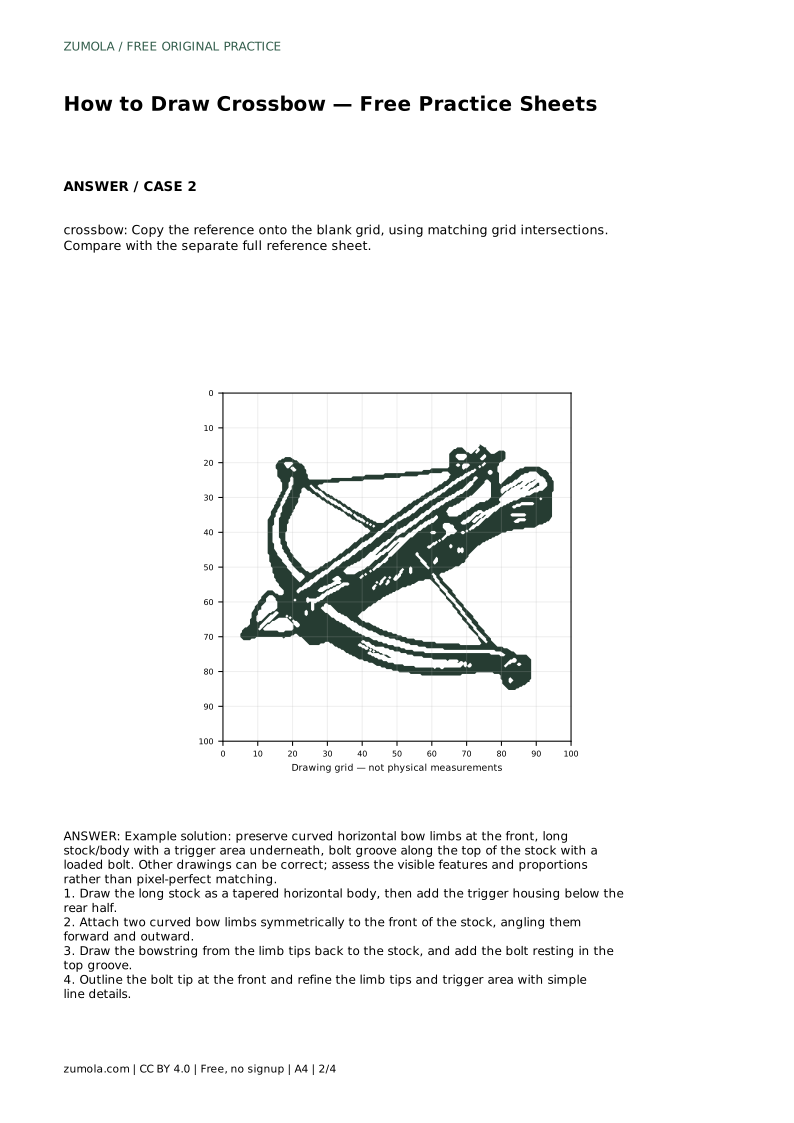
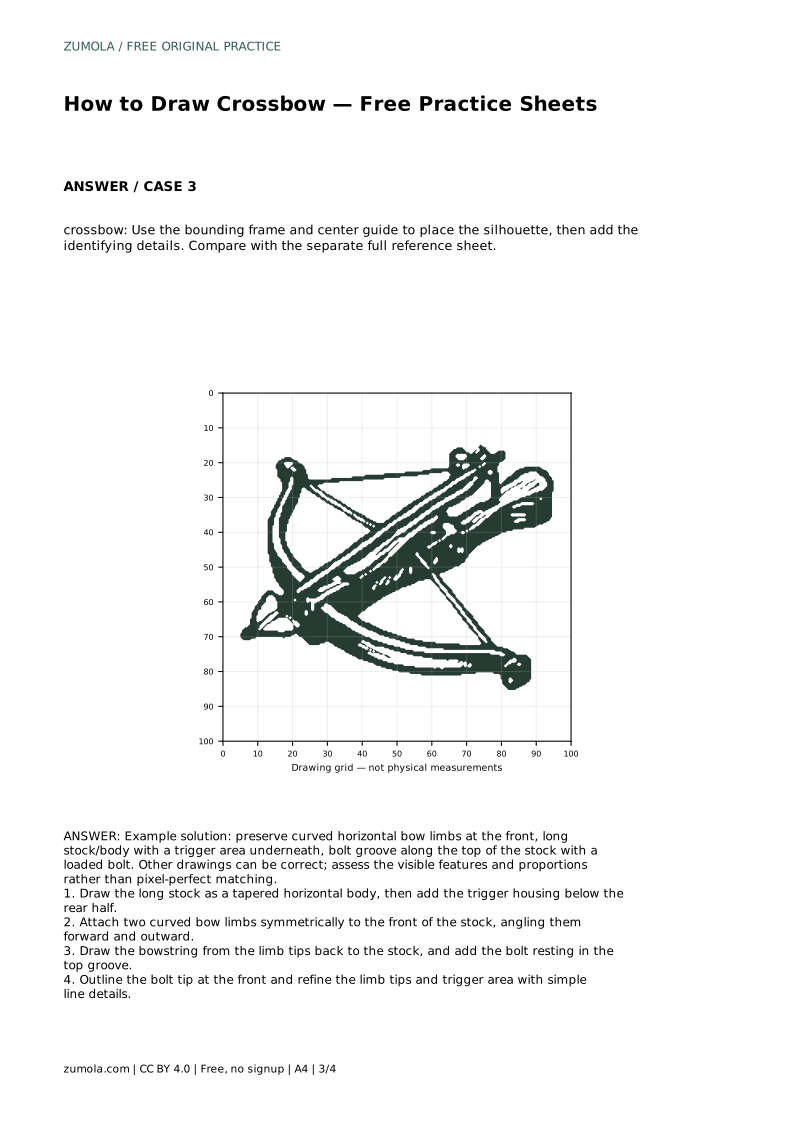
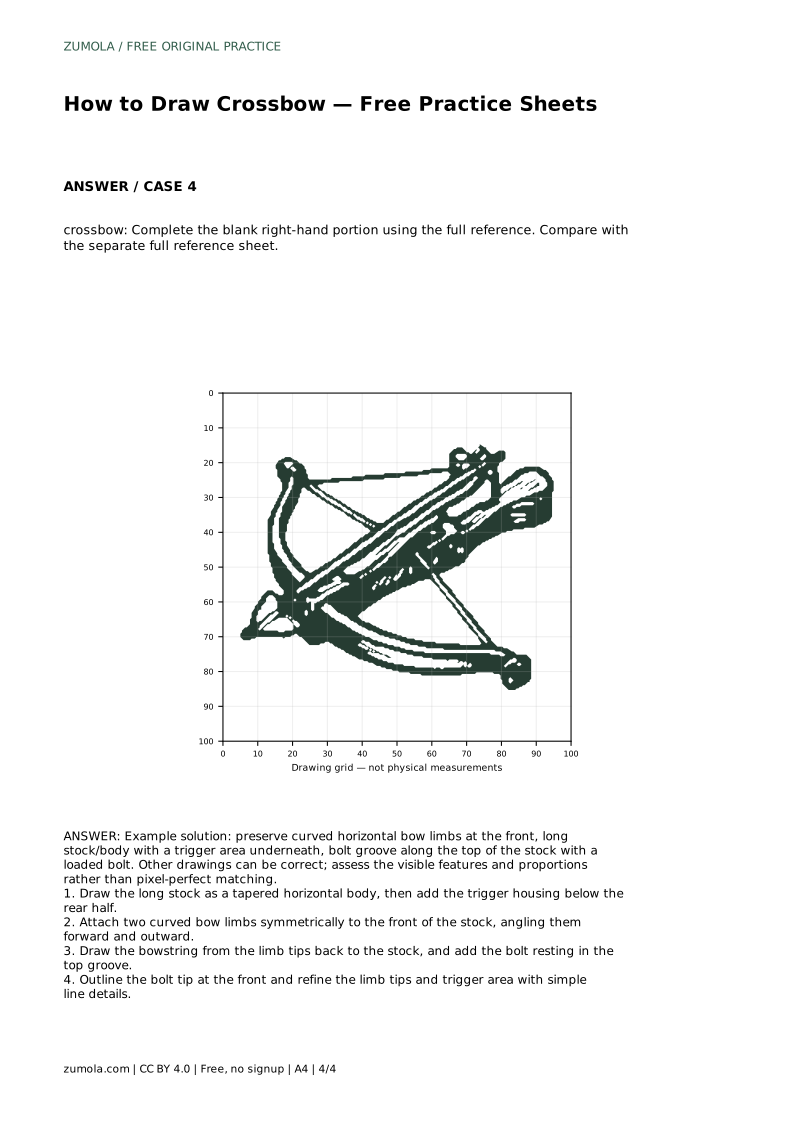
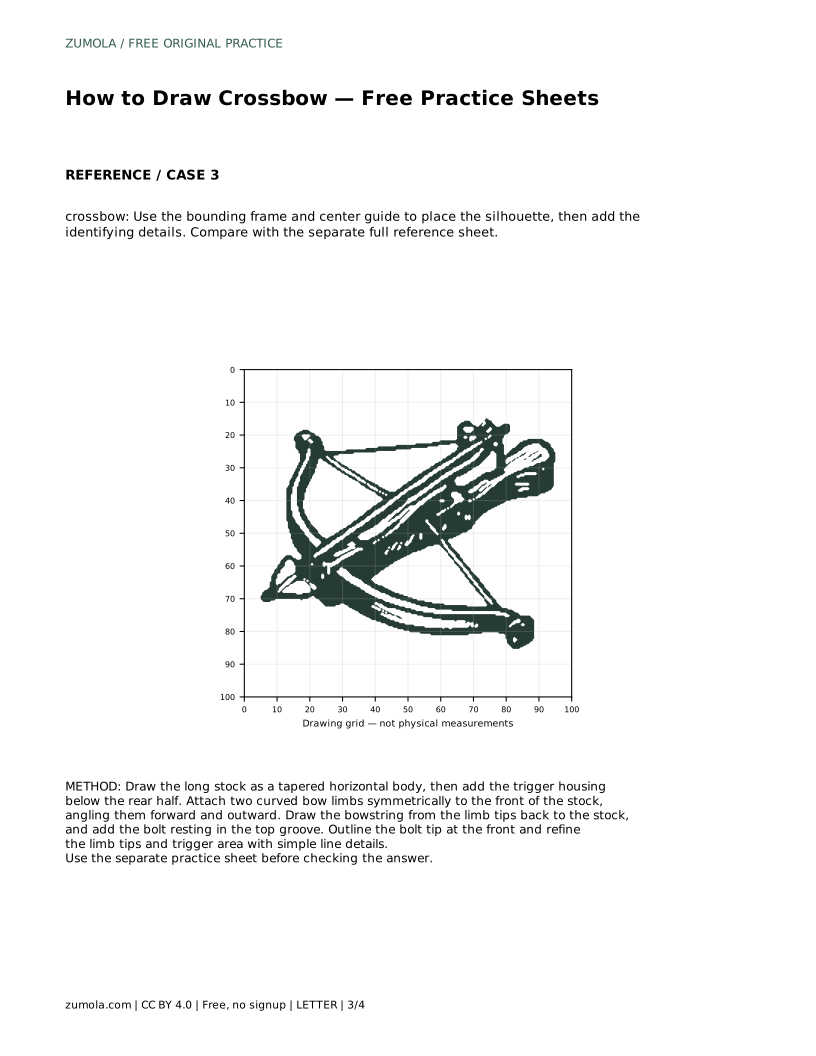
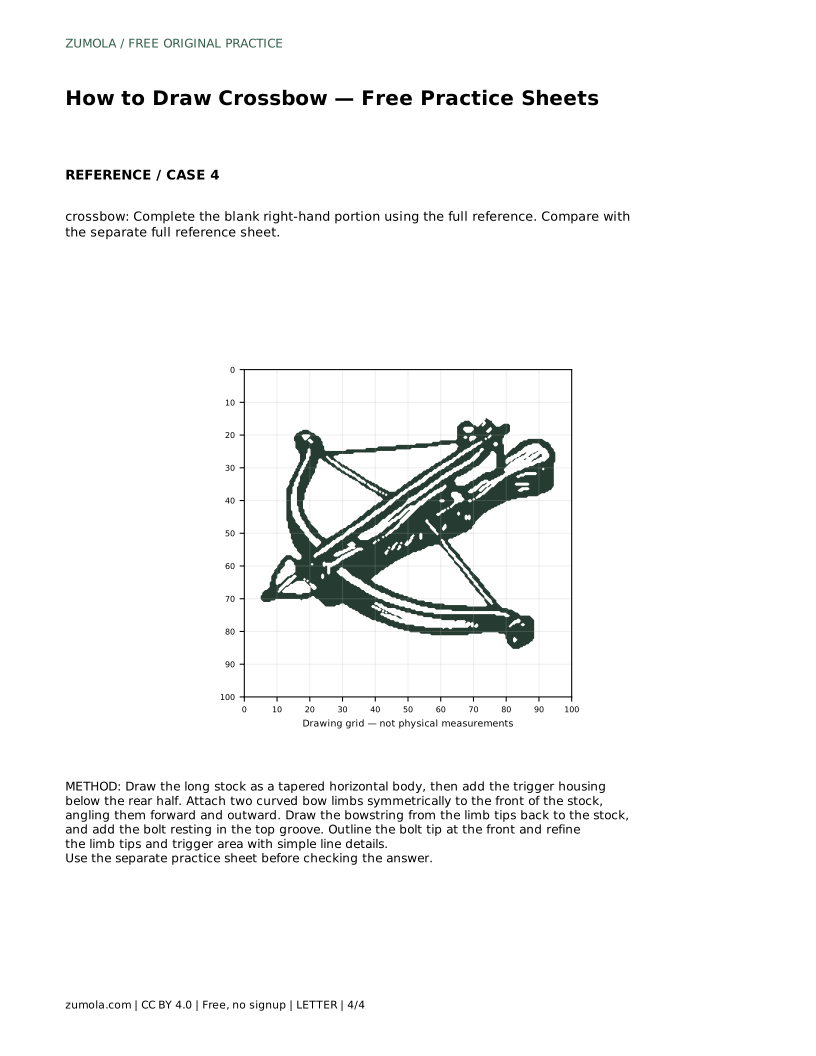
The grid sheet works differently. Copy the reference onto the blank grid by matching where lines cross grid intersections. This is a placement exercise, so check the stock's angle and the limb tips against nearby intersections before adding detail. The bounding-frame sheet gives you an outer limit and a center guide for the silhouette; use them to check that the crossbow sits at a sensible size on the page. The partial sheet asks you to complete the blank right-hand portion from the full reference, which tests whether you can continue proportions you have already established.
A finished crossbow should read clearly at a glance. Check that the limbs curve forward and outward rather than backward, that the string connects both limb tips to the stock area, and that the bolt sits in the groove along the top. The trigger housing should sit below the rear half of the stock, not on top of it.
Proportions matter more than tiny details. The stock should be noticeably longer than the limb span is wide, and the two limbs should look like a matched pair. If one limb is much shorter or flatter, redraw that side before refining the tips. Small line details at the limb ends and trigger area come last, once the main shapes are settled.
Most crossbow drawings go wrong at the front, where the limbs, string, and bolt meet. If that area looks crowded, simplify it: draw the limbs first, leave a gap, then add the string and bolt as separate lines. If the stock looks too short, extend it at the rear rather than stretching the limbs.
Remember that several valid drawings can show the same crossbow. Use the checklist below to assess whether the identifying features are present and reasonably proportioned, rather than expecting a pixel-perfect copy of the reference.
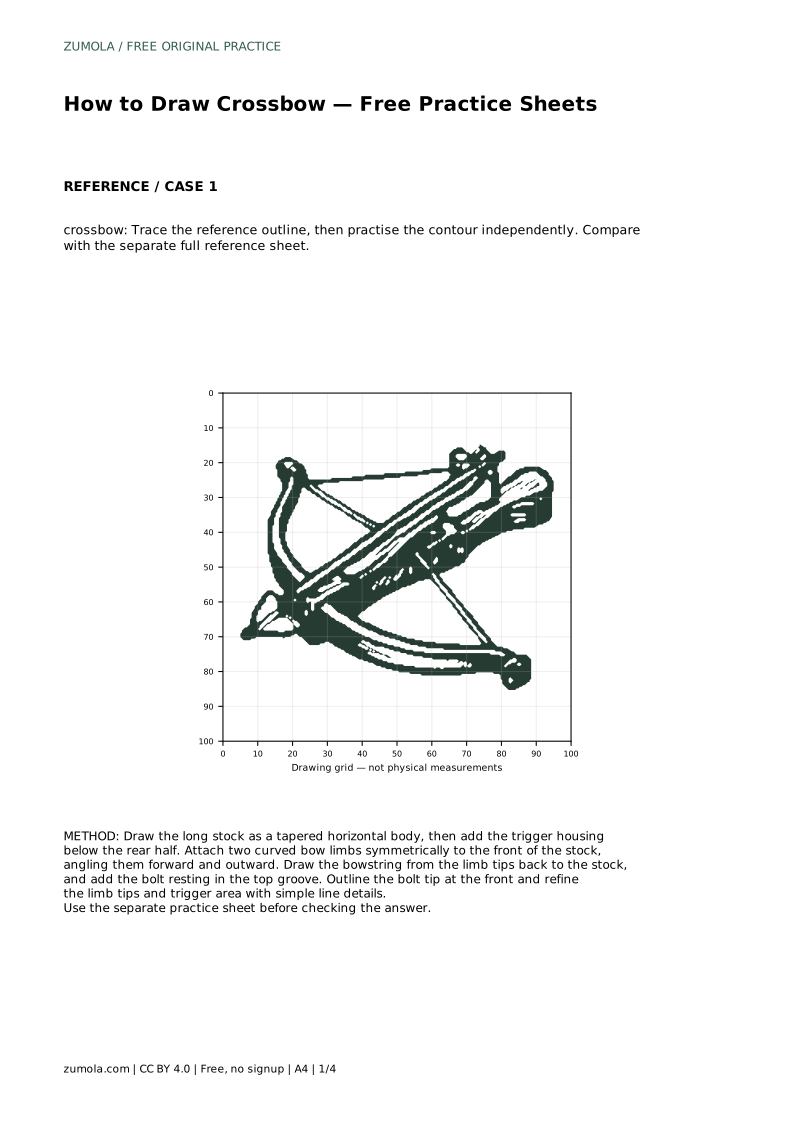
crossbow: Trace the reference outline, then practise the contour independently. Compare with the separate full reference sheet.
Example solution: preserve curved horizontal bow limbs at the front, long stock/body with a trigger area underneath, bolt groove along the top of the stock with a loaded bolt. Other drawings can be correct; assess the visible features and proportions rather than pixel-perfect matching. Draw the long stock as a tapered horizontal body, then add the trigger housing below the rear half. Attach two curved bow limbs symmetrically to the front of the stock, angling them forward and outward. Draw the bowstring from the limb tips back to the stock, and add the bolt resting in the top groove. Outline the bolt tip at the front and refine the limb tips and trigger area with simple line details.
No. A loaded bolt is one clear way to show the top groove, but an empty groove can also be correct if the groove itself is visible and runs along the stock.
Draw a light centerline through the stock and compare each limb tip's distance and angle from it. Adjust the weaker side before adding detail.
Start with tracing if you are new to the shape, then move to the grid or frame sheet for independent placement. The partial sheet is best once you can already draw the full outline.
All drawing practice · Free coordinate paper
Original resources · CC BY 4.0 · Free for personal and classroom use with attribution.