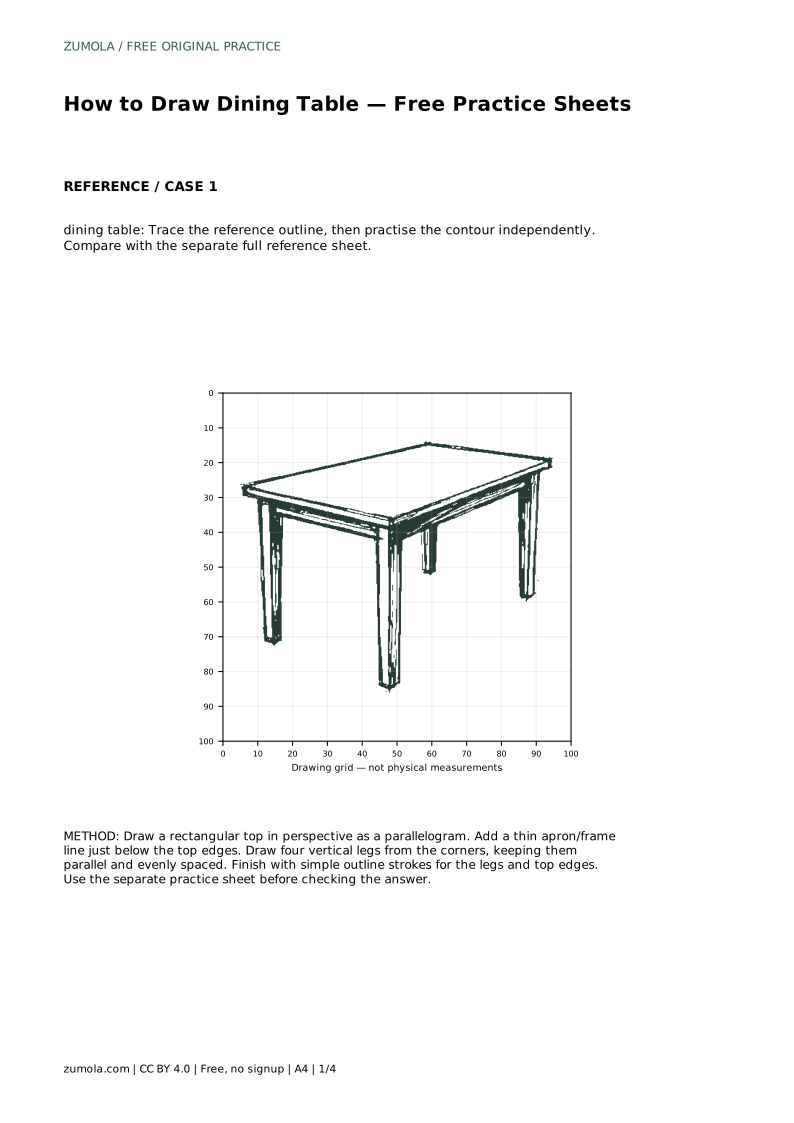
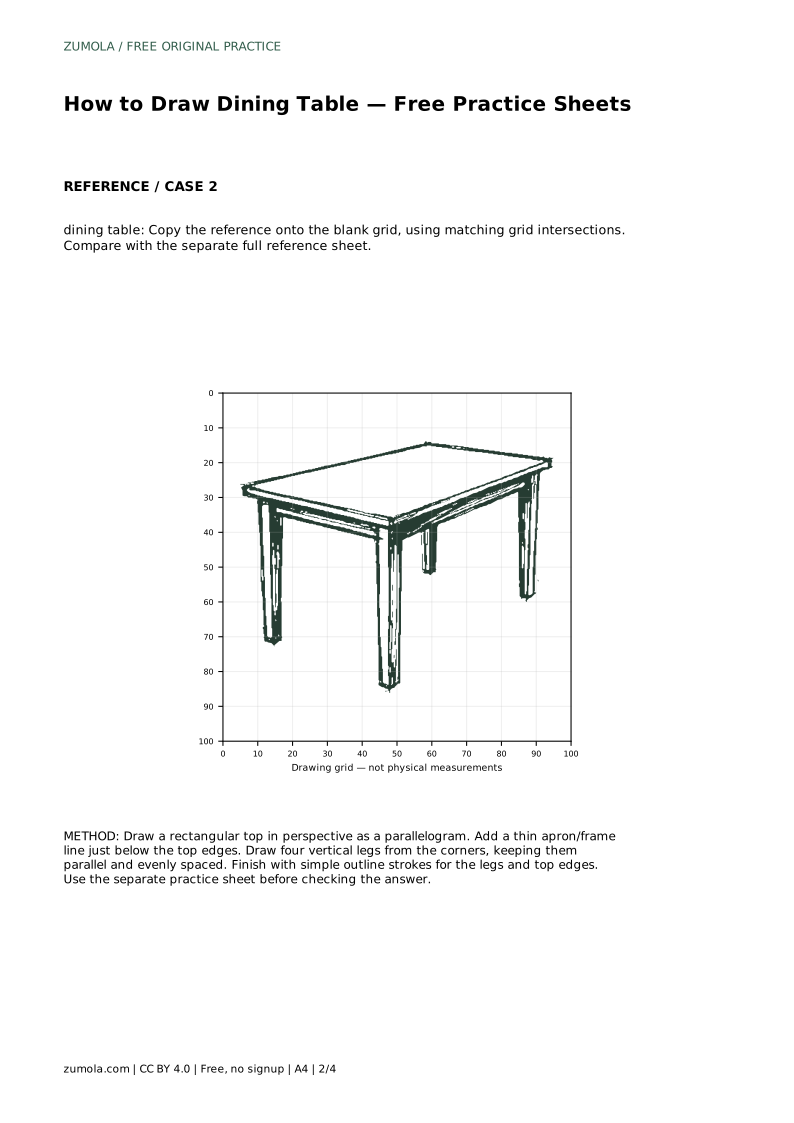
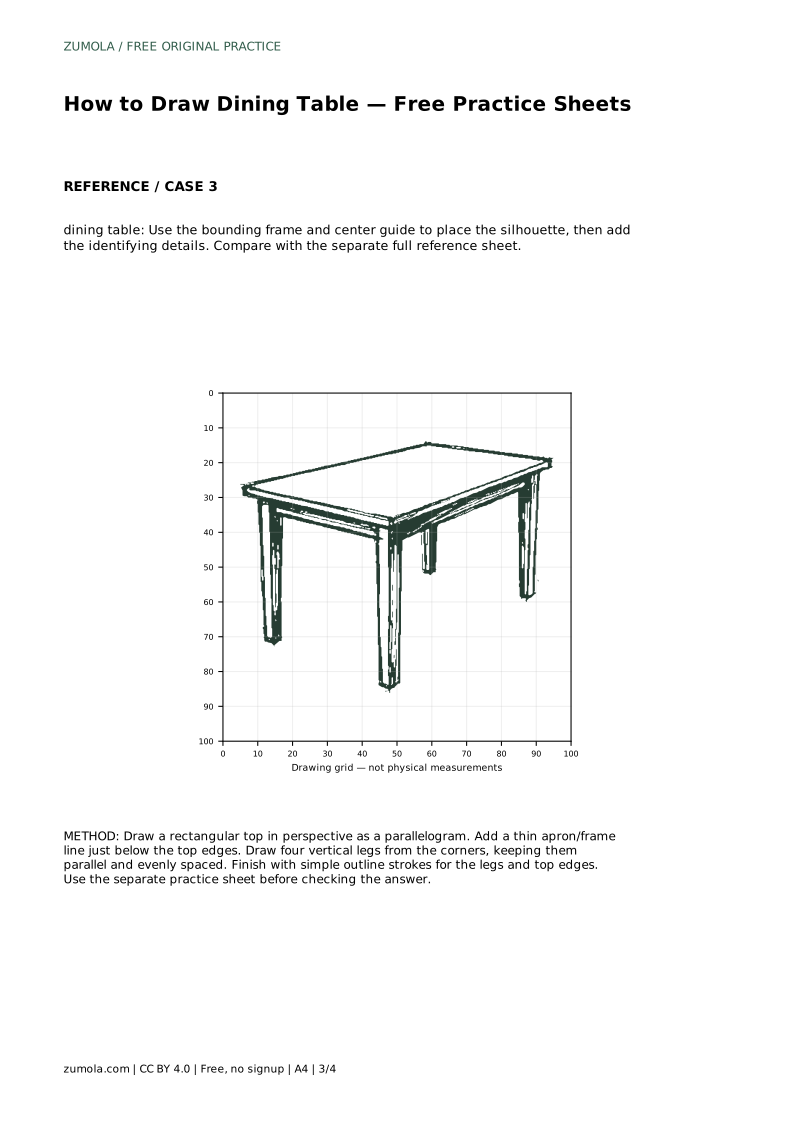
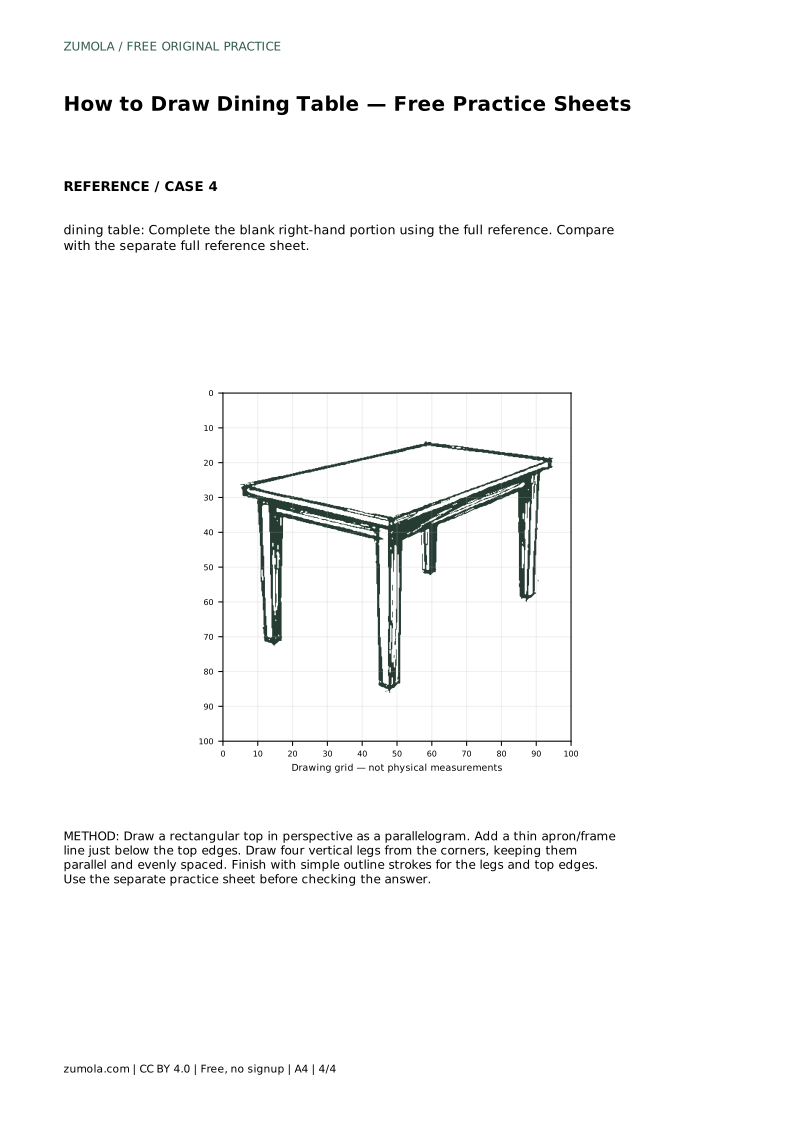
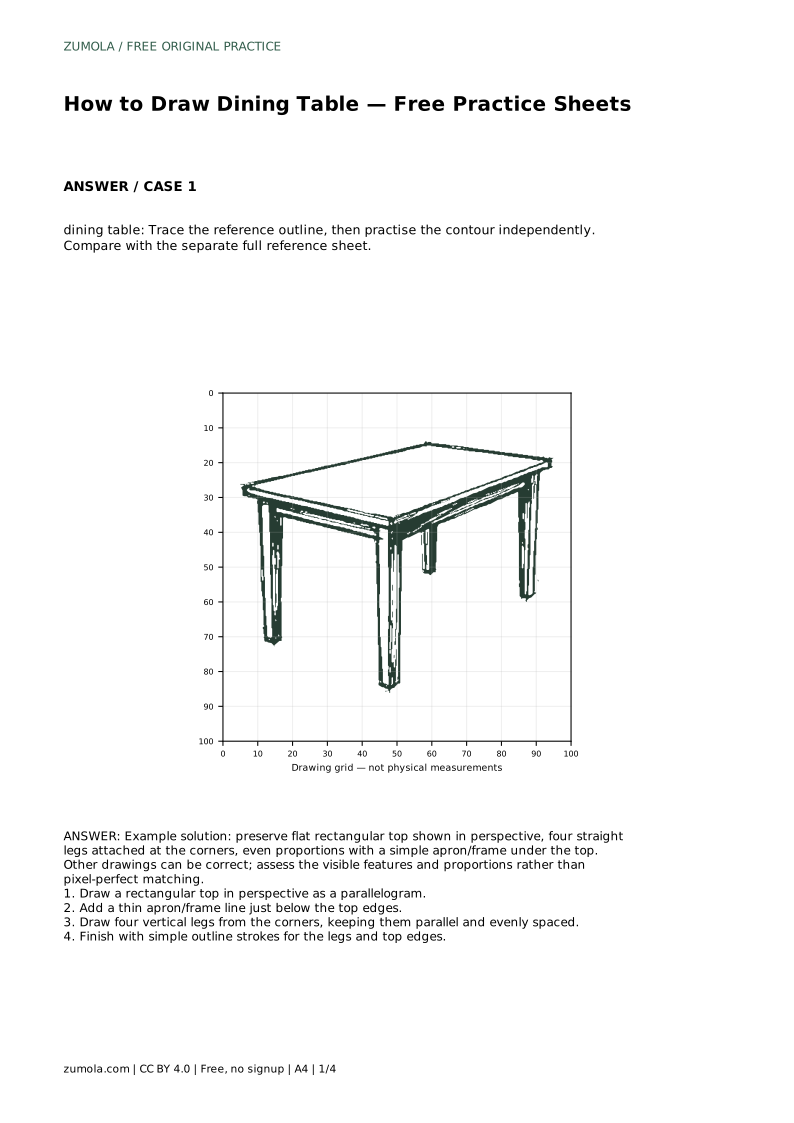
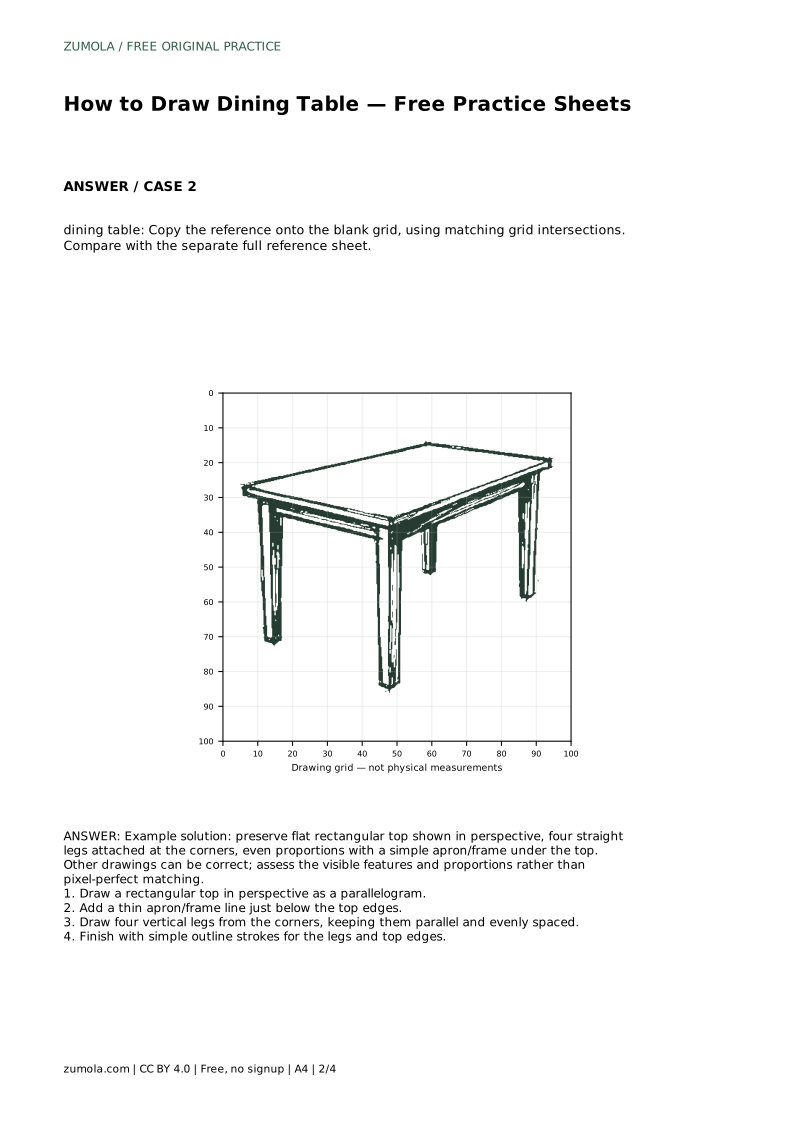
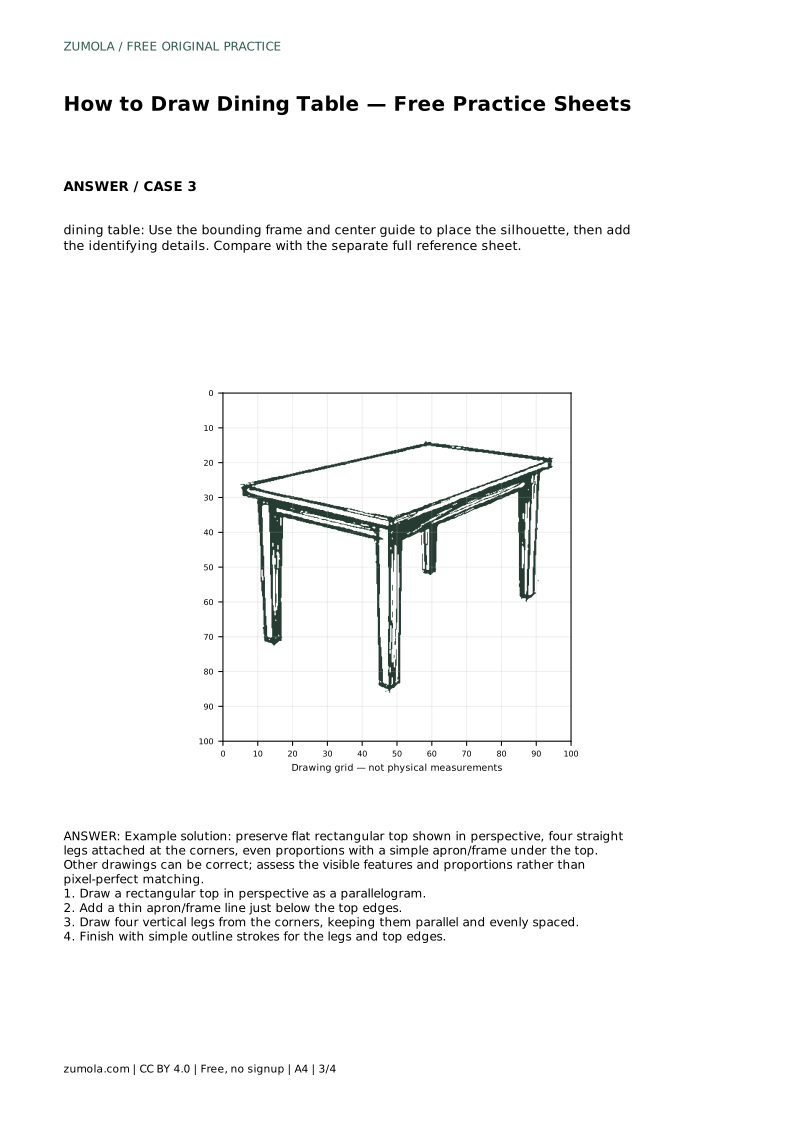
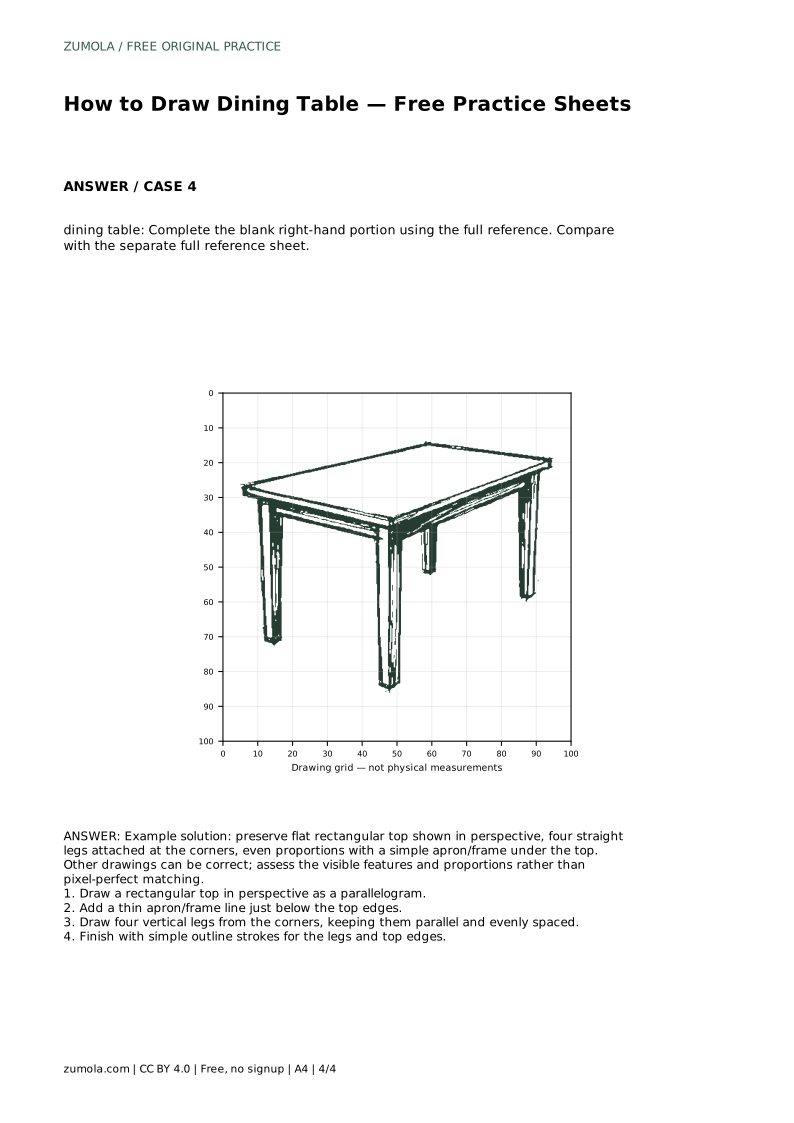
Reference diagrams
LETTER · Download PDF
A4 · Download PDF
Free original resources
Learn to draw a dining table with a flat top in perspective, four corner legs, and a simple apron. Trace, grid, and complete-the-drawing practice included.
Four original cases, with reference diagrams, practice sheets and worked answers. Everything is free; no signup required.
LETTER · Download PDF
A4 · Download PDF
LETTER · Download PDF
A4 · Download PDF
LETTER · Download PDF
A4 · Download PDF
Use A4 or US Letter to match your printer. Use the stated values and conditions to solve each exercise; diagrams are not physical measuring rulers.
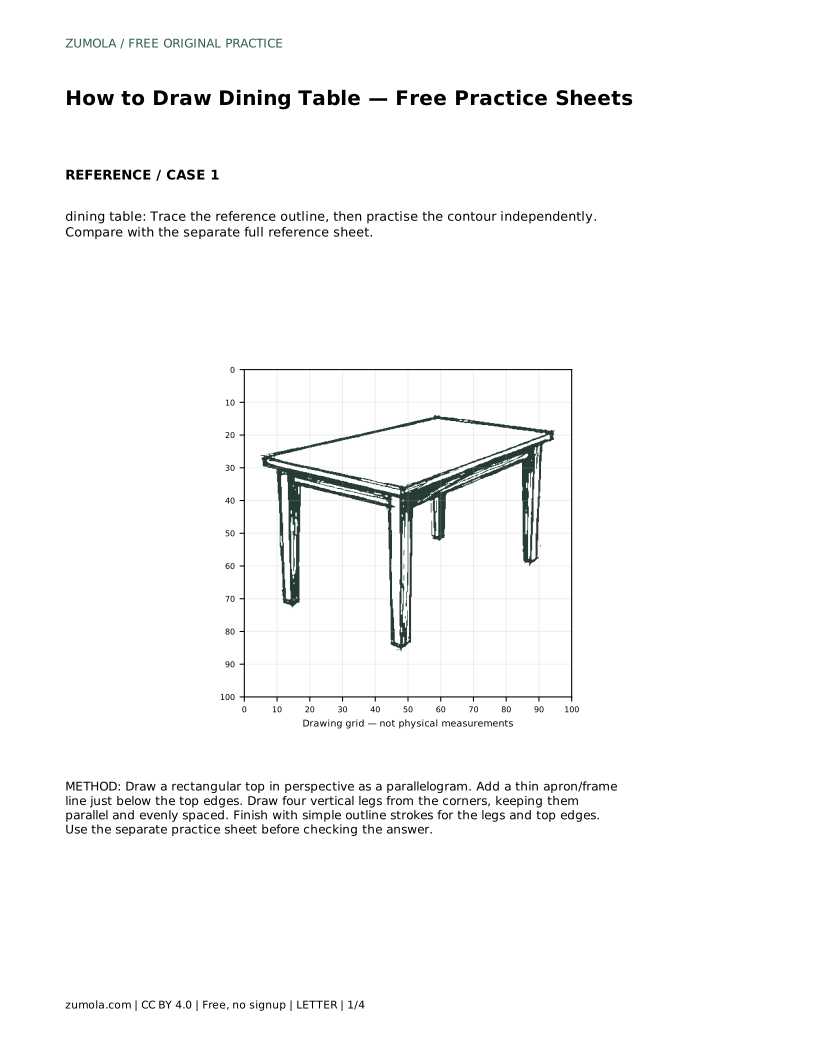
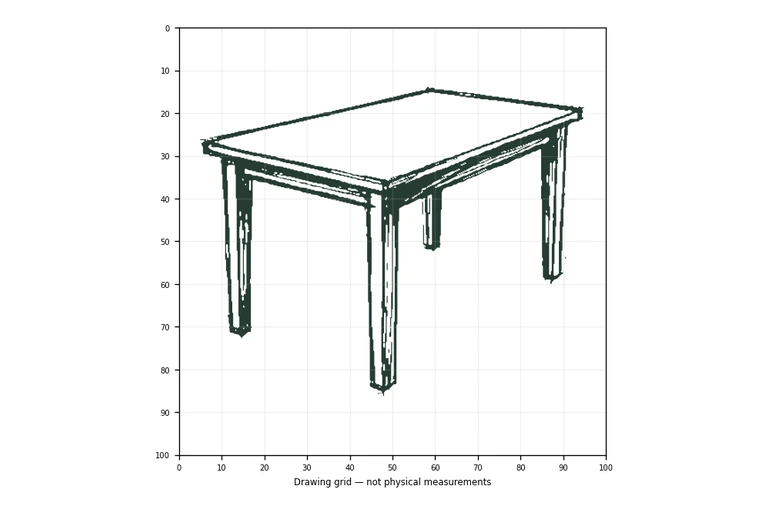
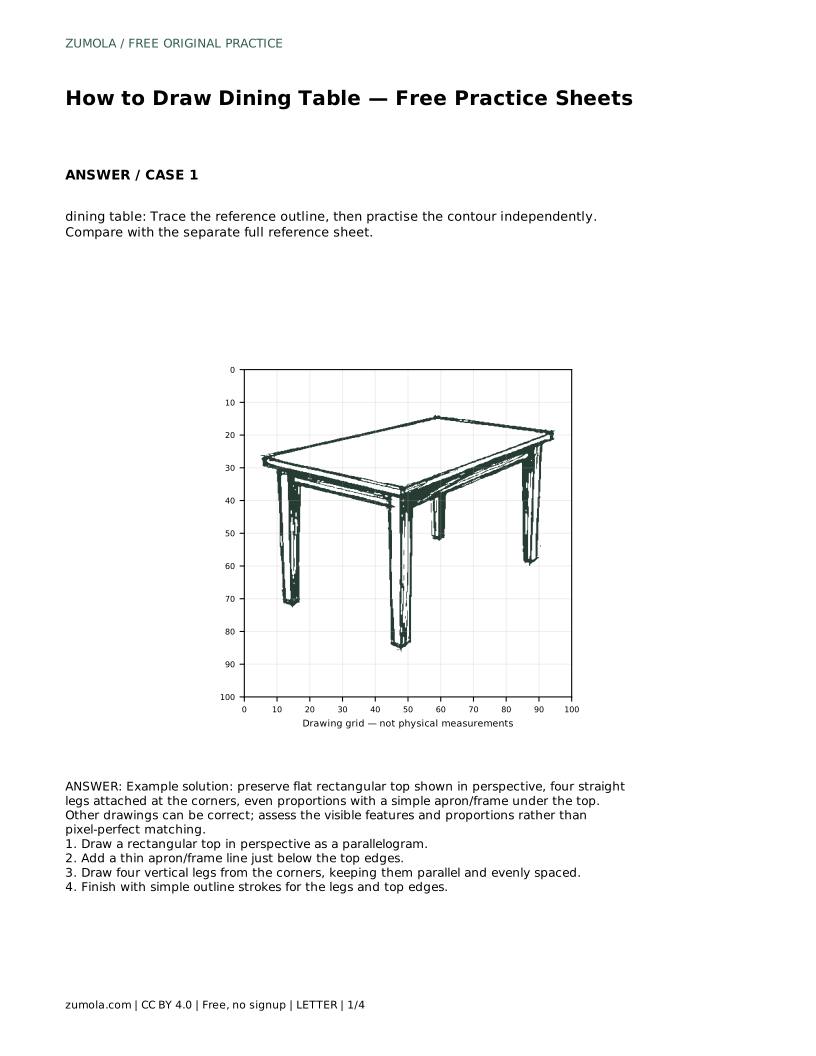
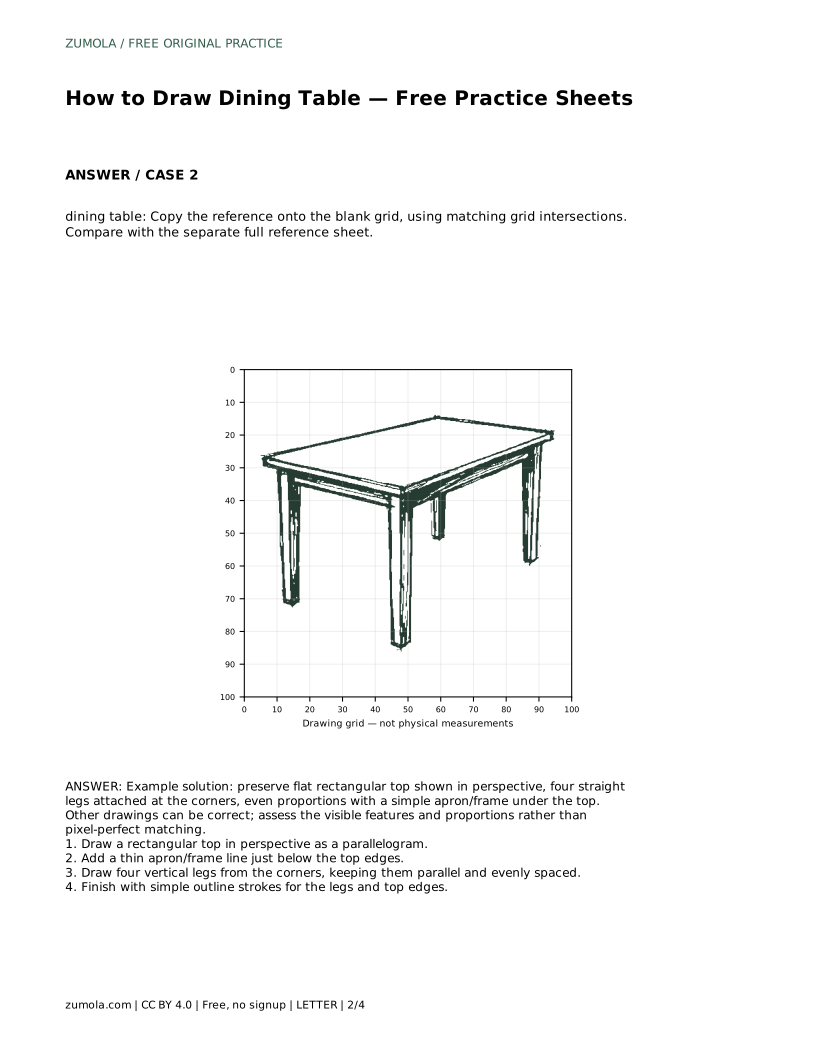
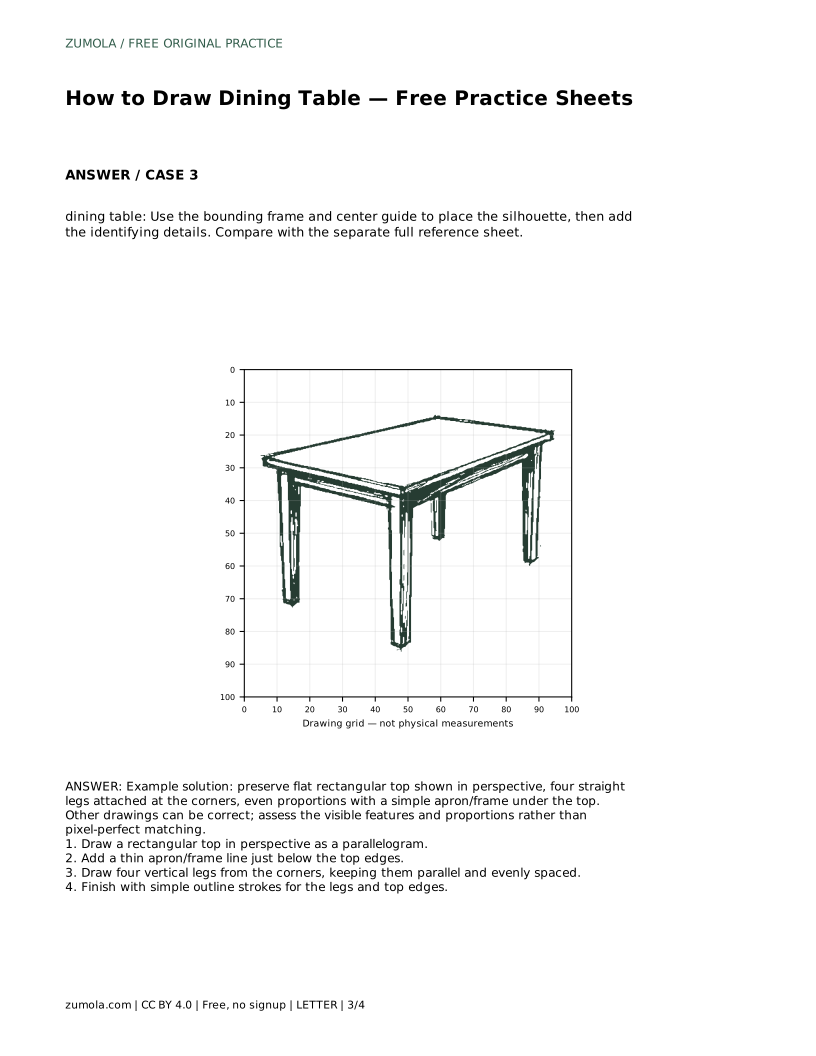
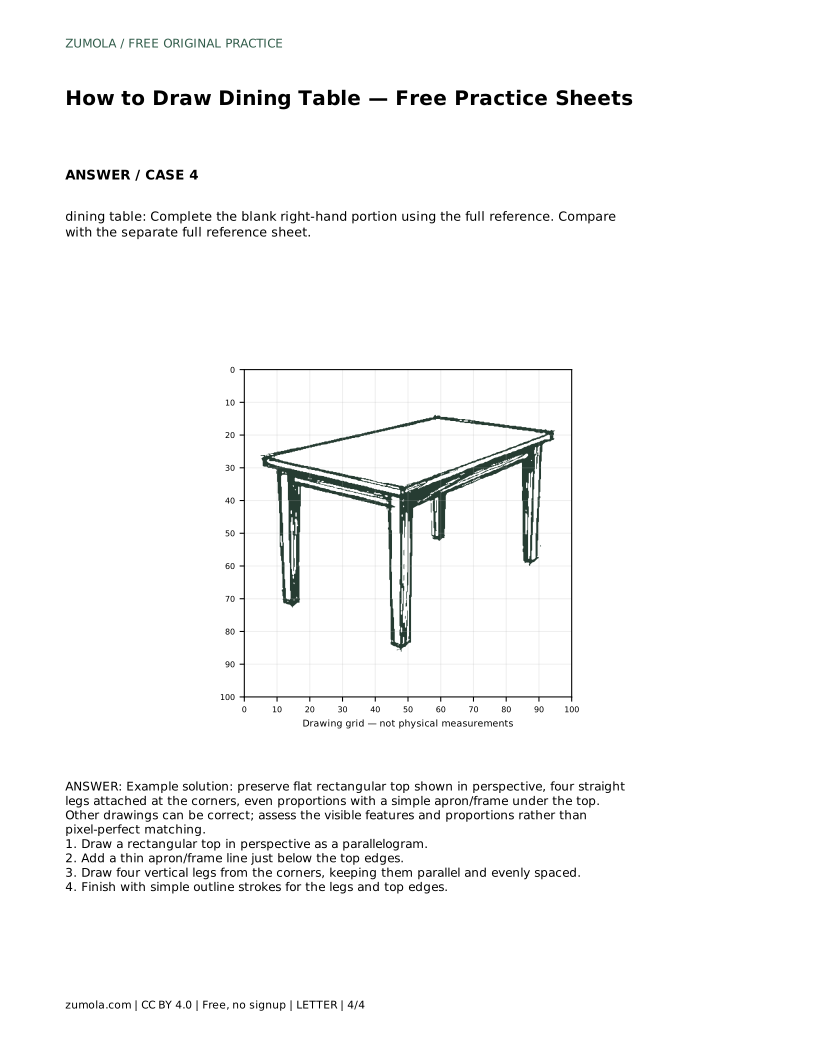
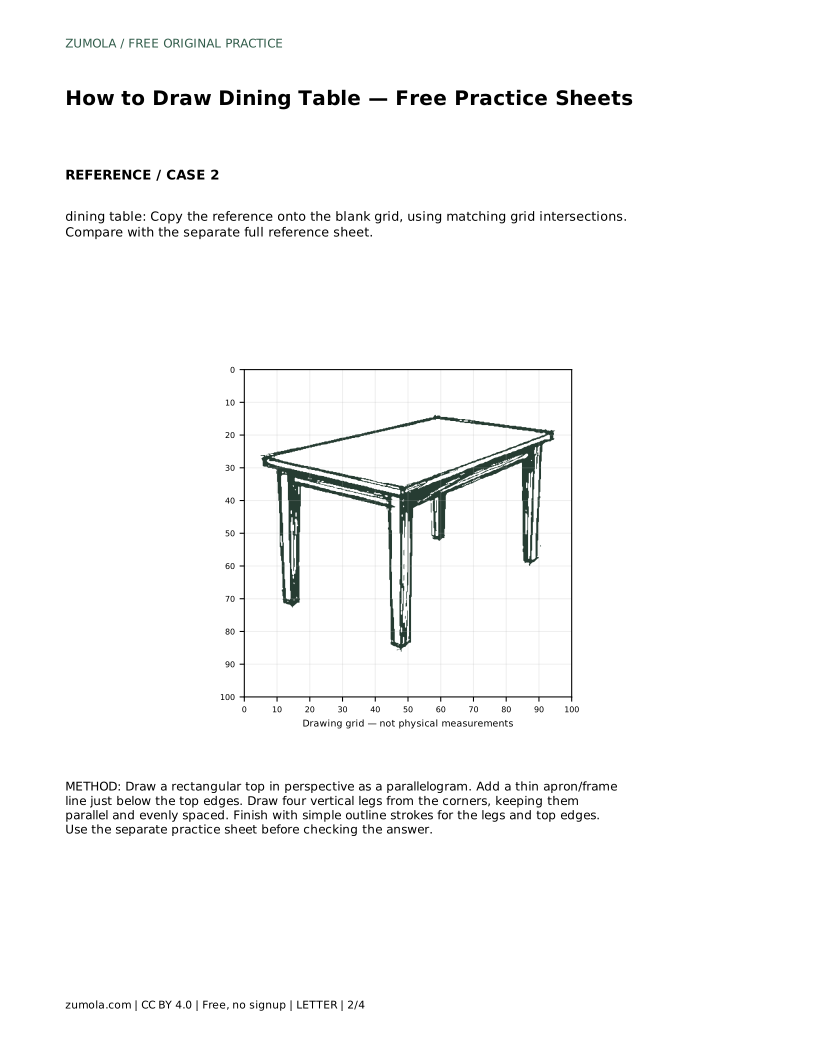
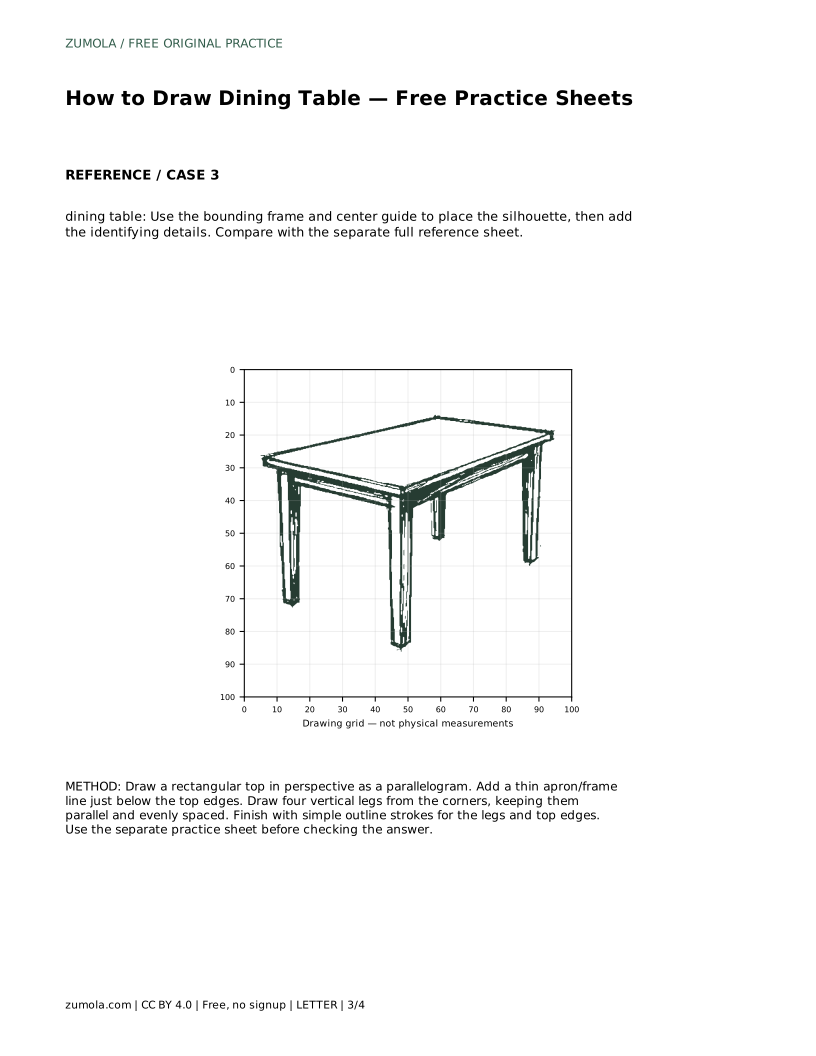
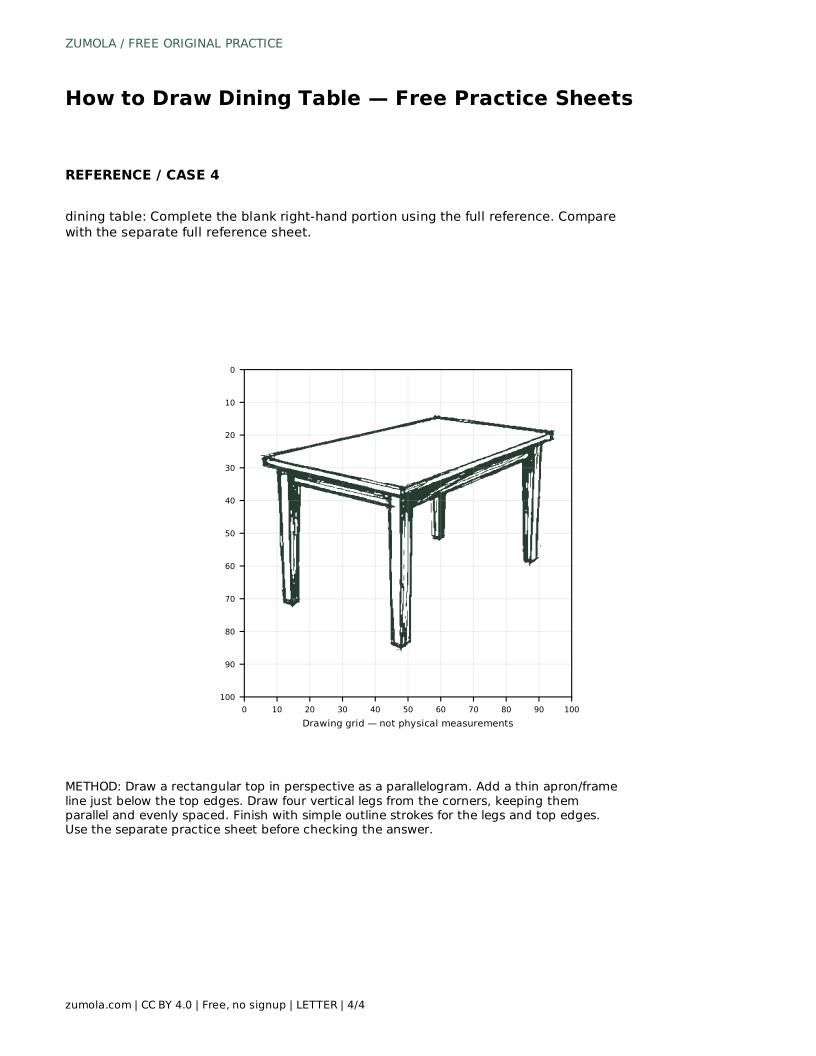
A dining table is a useful subject for learning to draw a flat surface in perspective and to place repeated supports evenly. This page explains the visible features to preserve: a rectangular top shown as a parallelogram, a thin apron just below the top edges, and four straight legs attached at the corners. The practice sheets offer tracing, grid copying, guide placement, and a partial drawing to complete. Because drawings can vary, compare your work with the reference using the rubric rather than expecting an exact match.
Begin by drawing the tabletop as a parallelogram. A parallelogram is a four-sided shape with opposite sides parallel, and it is the standard way to show a horizontal rectangle seen from an angle. Keep the far edge shorter than the near edge, which gives a sense of depth. The two side edges should slant consistently toward a vanishing point, though you do not need to mark that point for a simple table drawing.
Check that opposite sides remain parallel and that the corners are not rounded unless the reference shows rounded corners. The top should look flat, not tilted or twisted. If the tabletop looks like a trapezoid with non-parallel sides, adjust the side edges so they slant at the same angle.
The apron is a thin frame just below the tabletop. Draw a line parallel to each visible top edge, slightly below it, to suggest the apron's thickness. Keep the apron narrow; it should not dominate the tabletop. On a simple table, the apron follows the same perspective as the top.
Draw four vertical legs from the corners of the tabletop. The two near legs start at the near corners and are usually drawn longer because they are closer. The two far legs start at the far corners and are drawn shorter. Keep all legs parallel to each other and evenly spaced. Attach each leg at a corner, not in the middle of an edge. The legs should be straight, not tapered, unless the reference shows otherwise.
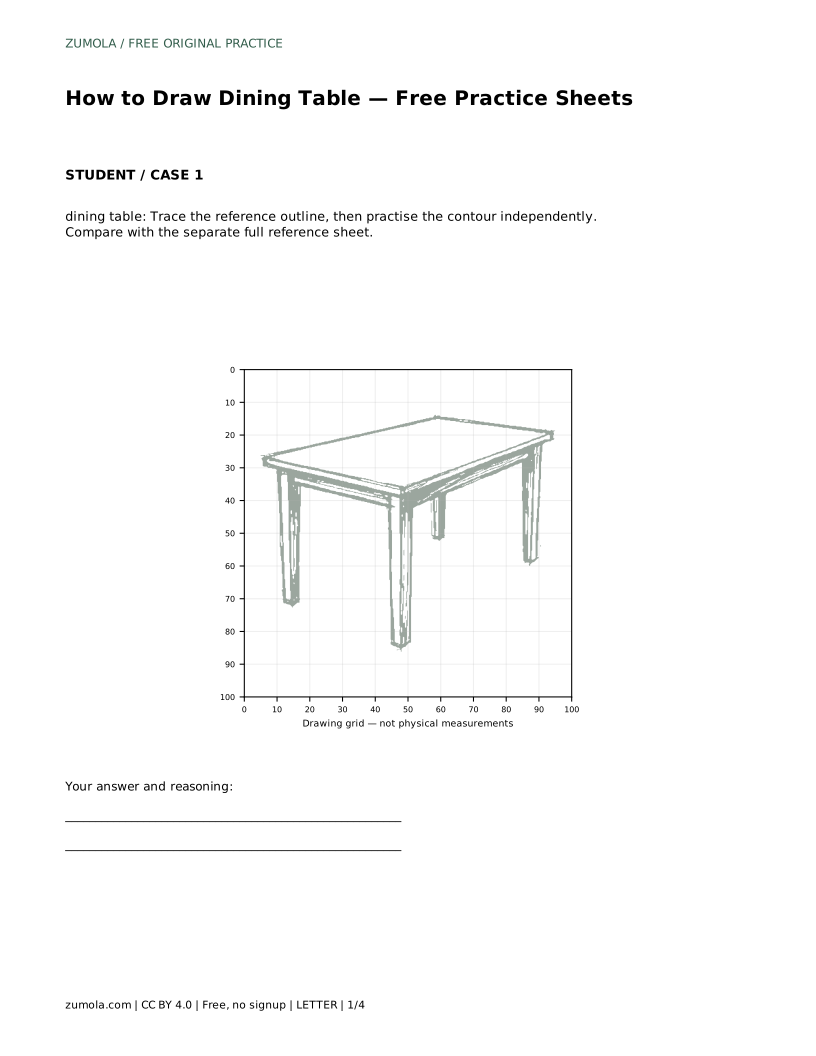
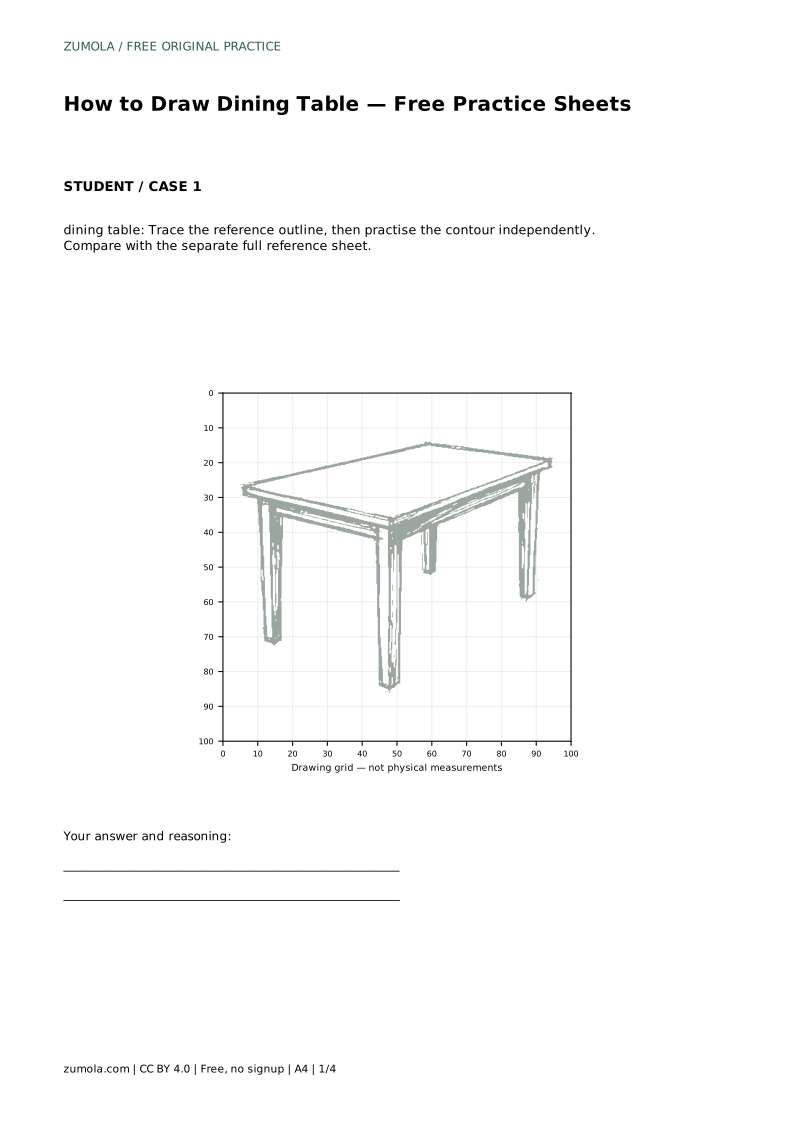
The tracing sheet asks you to follow the reference outline first, then draw the contour independently. Tracing builds familiarity with the shape; the independent attempt tests whether you can reproduce it without guidance. Compare your independent drawing with the separate full reference sheet, not with your traced copy.
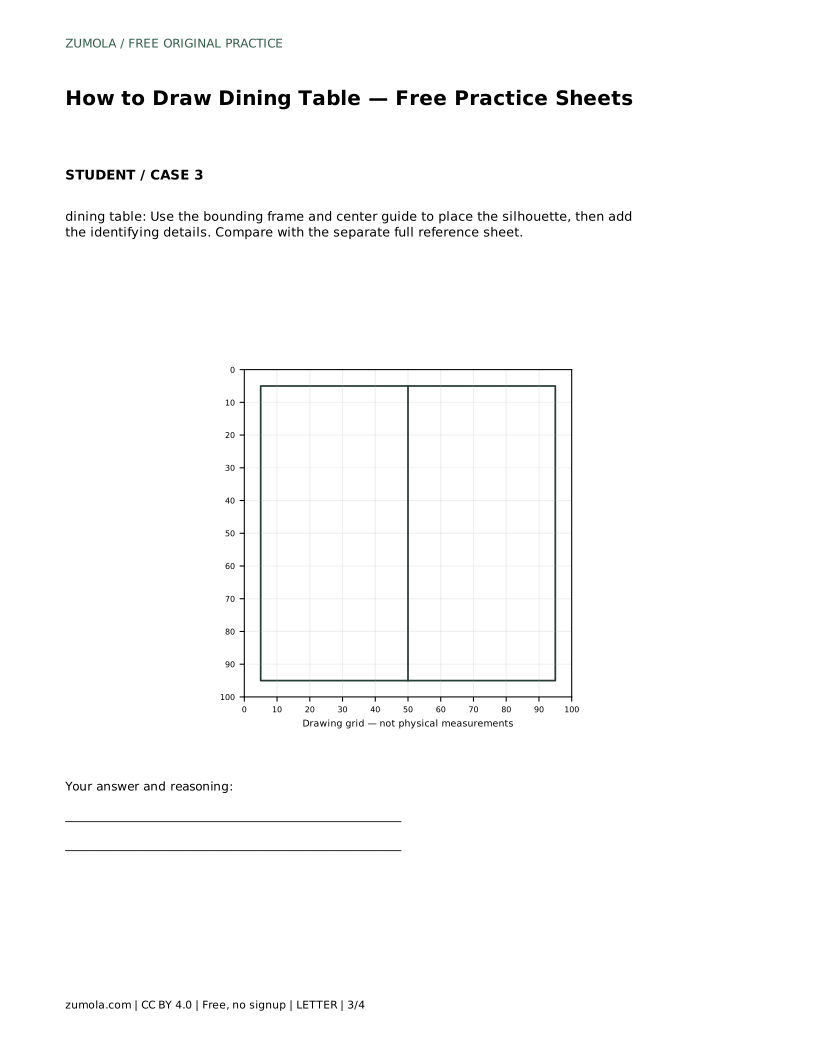
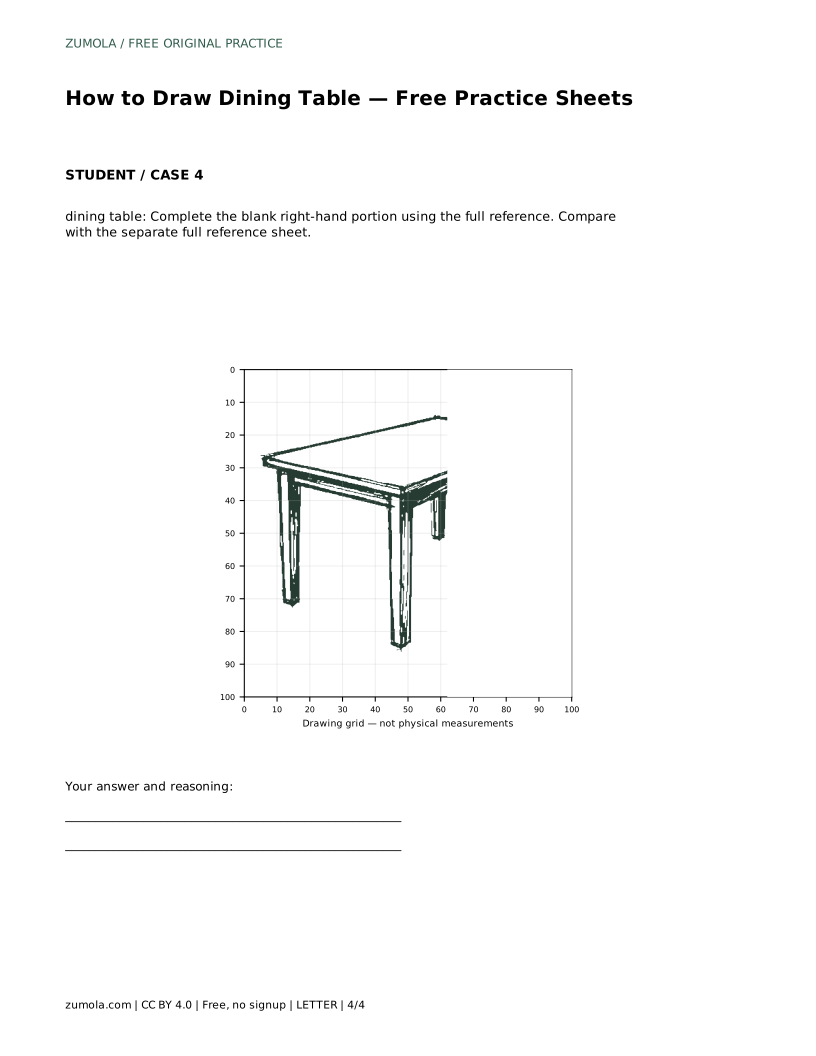
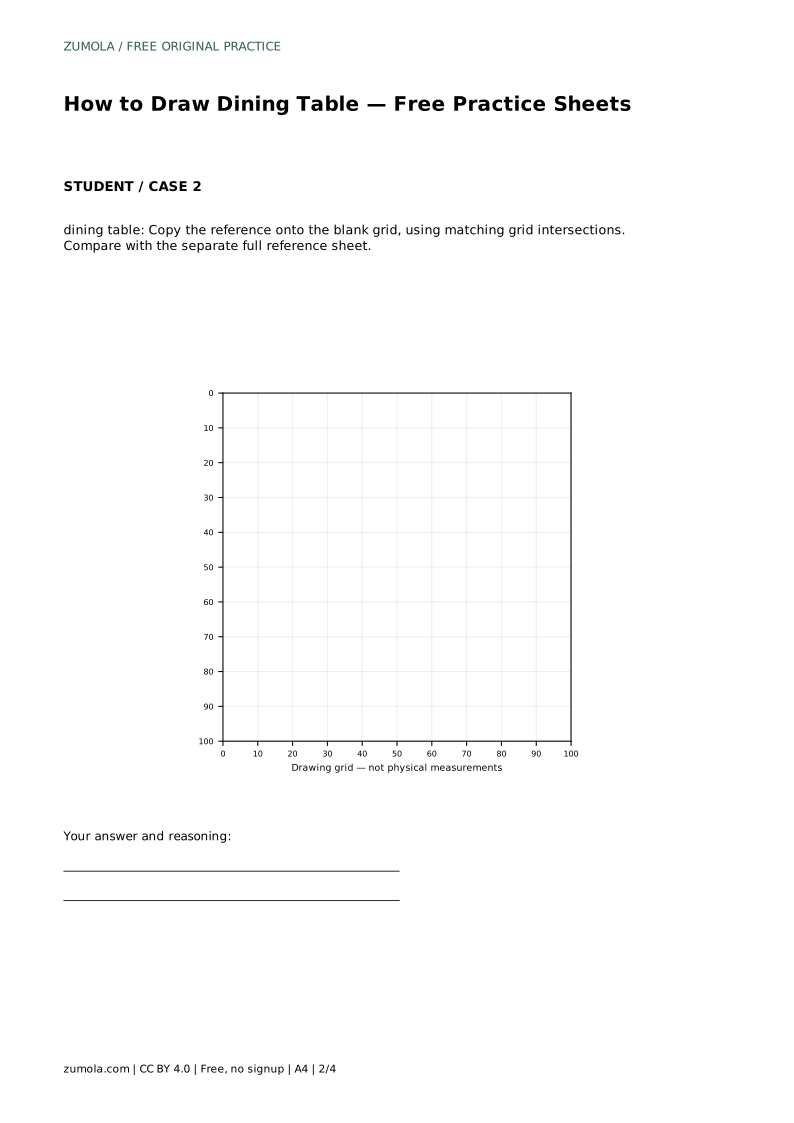
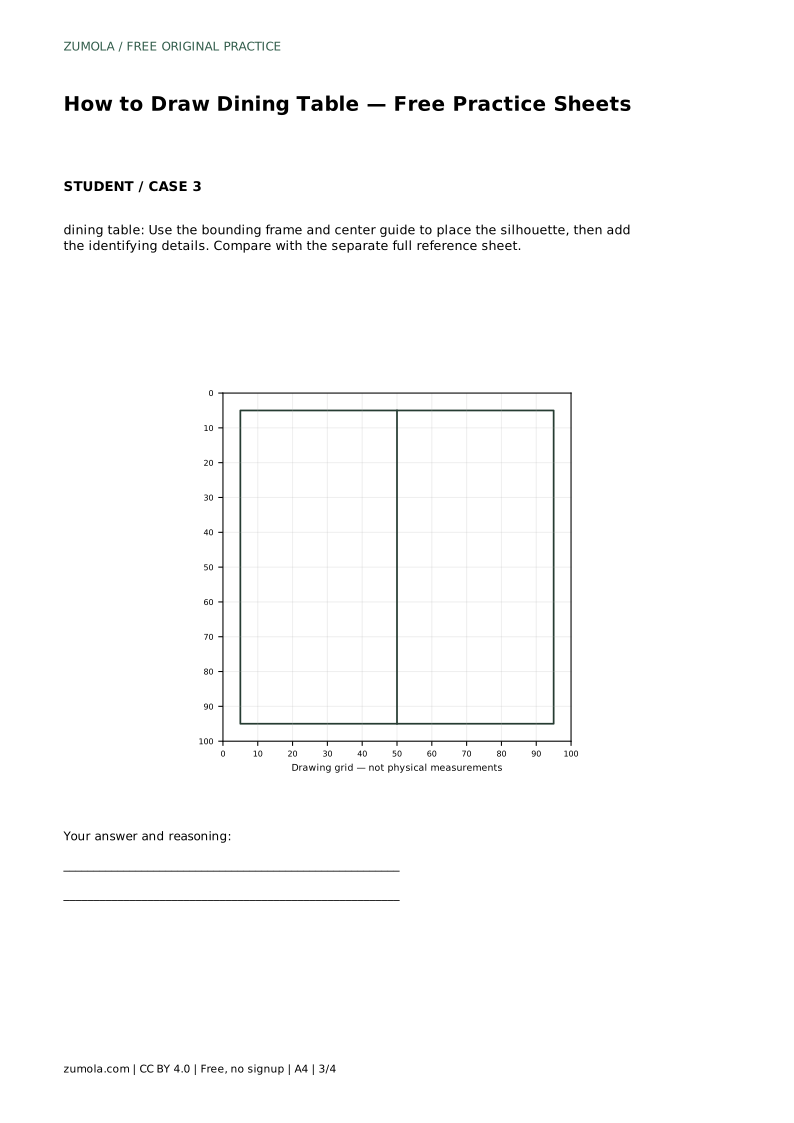
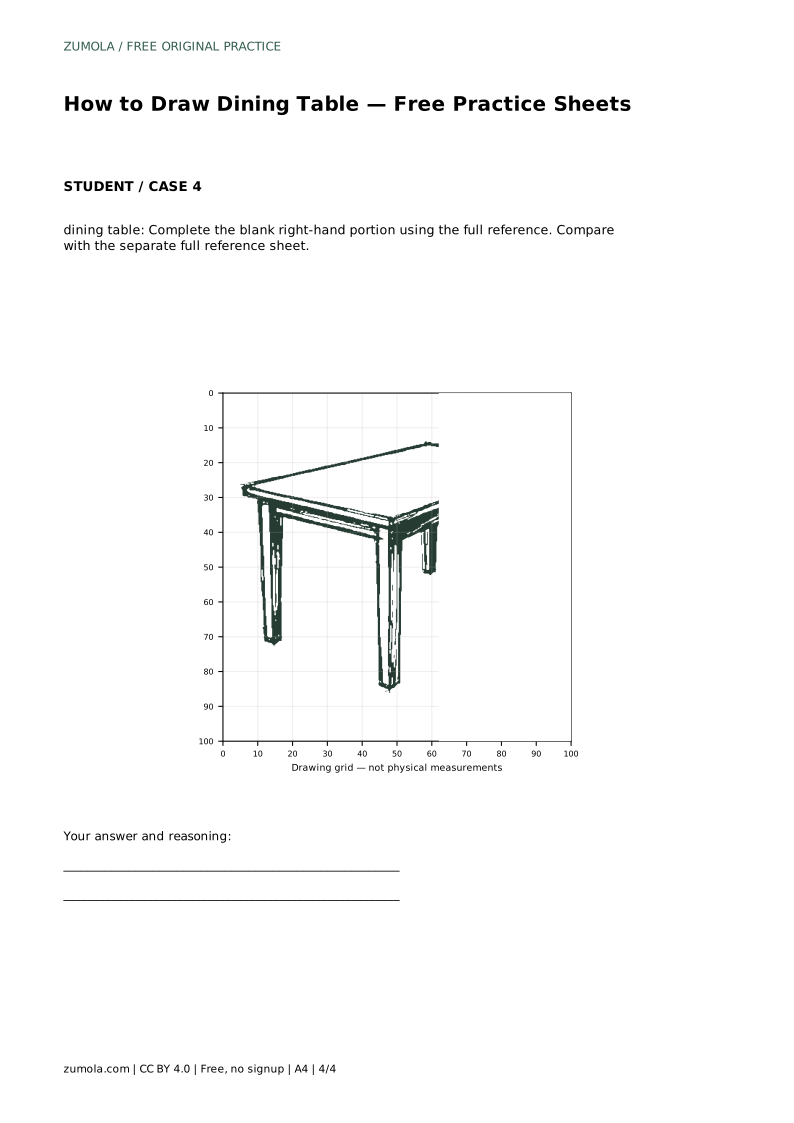
The grid sheet asks you to copy the reference onto a blank grid using matching grid intersections. This helps you place the tabletop corners and leg positions accurately. The guide sheet uses a bounding frame and center guide to place the silhouette before adding details. The partial sheet gives you the left portion and asks you to complete the right side using the full reference. In each case, focus on the tabletop shape, apron line, and four corner legs.
dining table: Trace the reference outline, then practise the contour independently. Compare with the separate full reference sheet.
Example solution: preserve flat rectangular top shown in perspective, four straight legs attached at the corners, even proportions with a simple apron/frame under the top. Other drawings can be correct; assess the visible features and proportions rather than pixel-perfect matching. Draw a rectangular top in perspective as a parallelogram. Add a thin apron/frame line just below the top edges. Draw four vertical legs from the corners, keeping them parallel and evenly spaced. Finish with simple outline strokes for the legs and top edges.
In a simple perspective drawing, the near legs are drawn longer and the far legs shorter to show depth. Keep them parallel and evenly spaced, and match the reference's proportions.
Yes. The practice sheets use one reference view, but a table can be drawn from other angles. The key features remain a flat top in perspective, a thin apron, and four legs at the corners.
Use the rubric: check the tabletop shape, apron line, leg placement, and proportions. Other drawings can be correct even if they do not match the reference exactly.
All drawing practice · Free coordinate paper
Original resources · CC BY 4.0 · Free for personal and classroom use with attribution.