Reference diagrams
LETTER · Download PDF
A4 · Download PDF
Free original resources
Learn to draw loose pajamas with a notched-collar shirt, three buttons, cuffed sleeves and two pant legs. Trace, grid-copy and complete partial sheets.
Four original cases, with reference diagrams, practice sheets and worked answers. Everything is free; no signup required.
LETTER · Download PDF
A4 · Download PDF
LETTER · Download PDF
A4 · Download PDF
LETTER · Download PDF
A4 · Download PDF
Use A4 or US Letter to match your printer. Use the stated values and conditions to solve each exercise; diagrams are not physical measuring rulers.
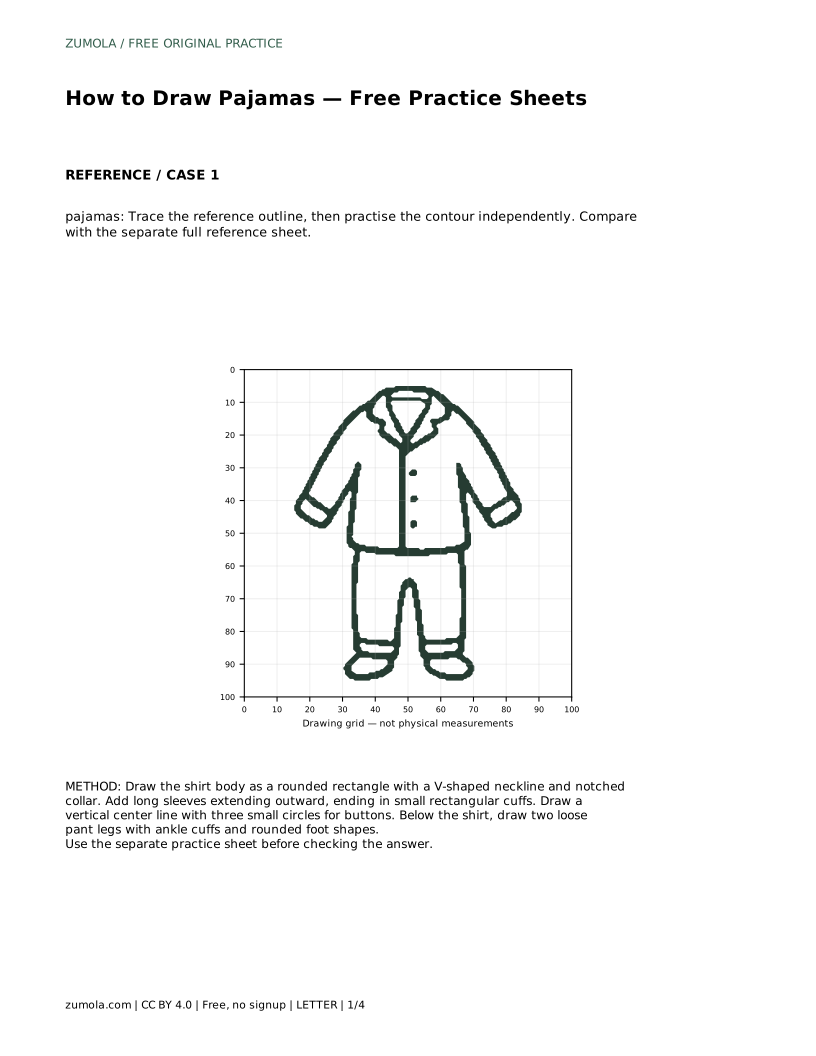
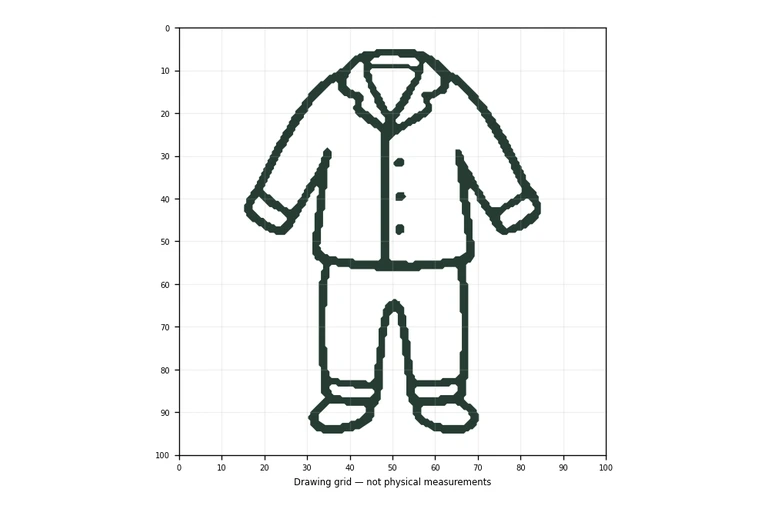
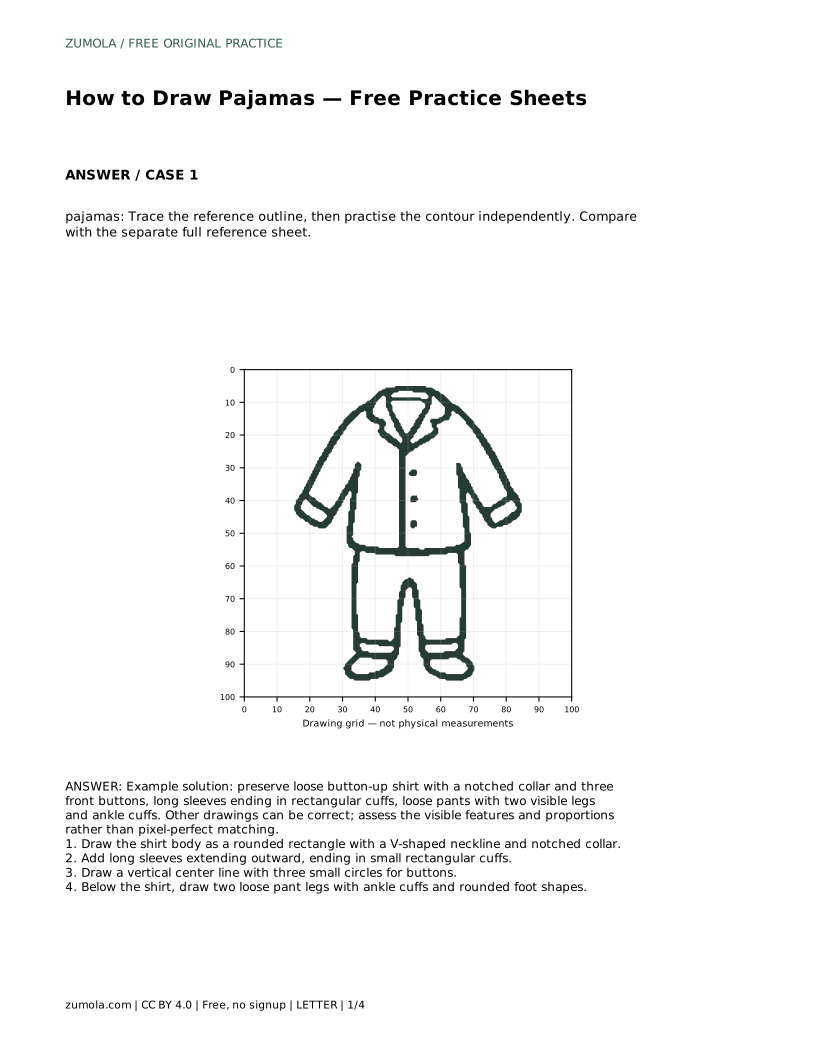
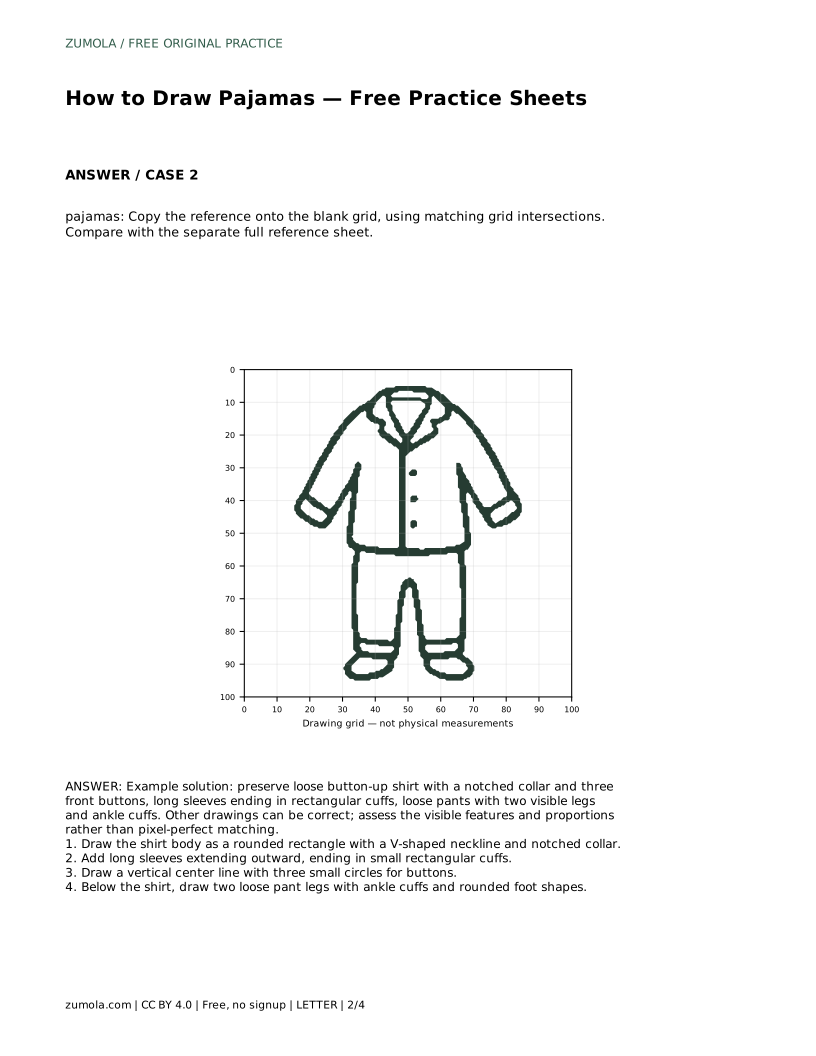
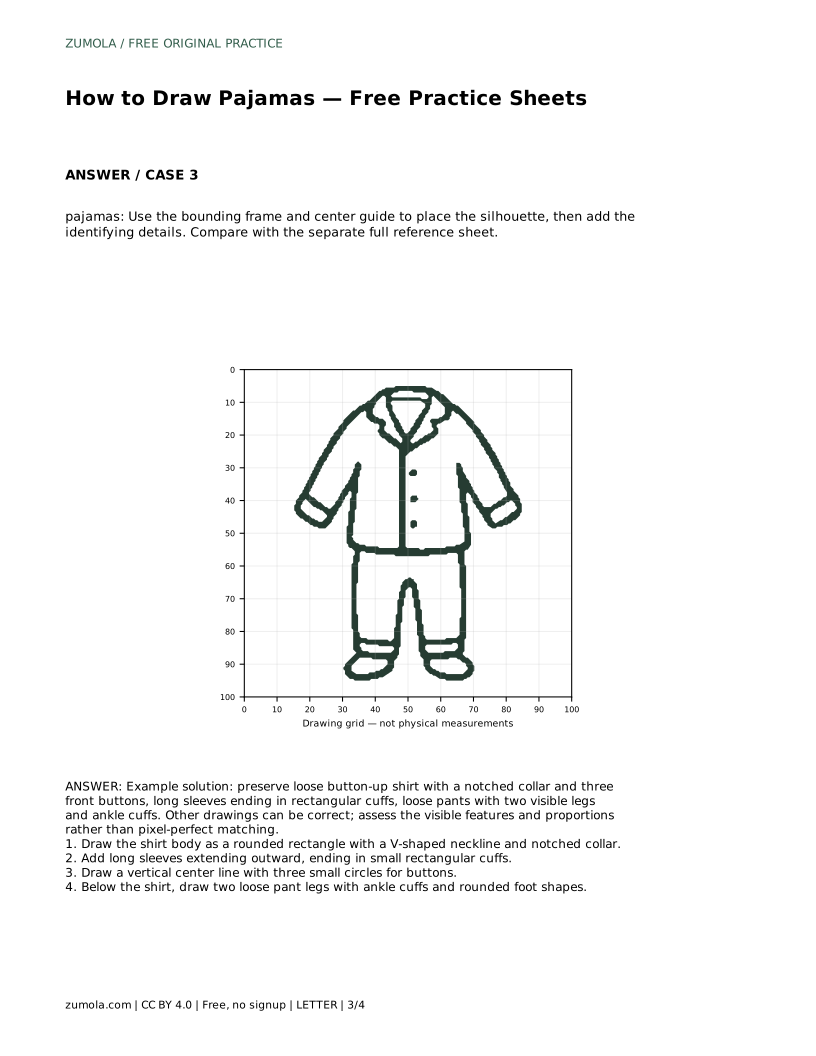
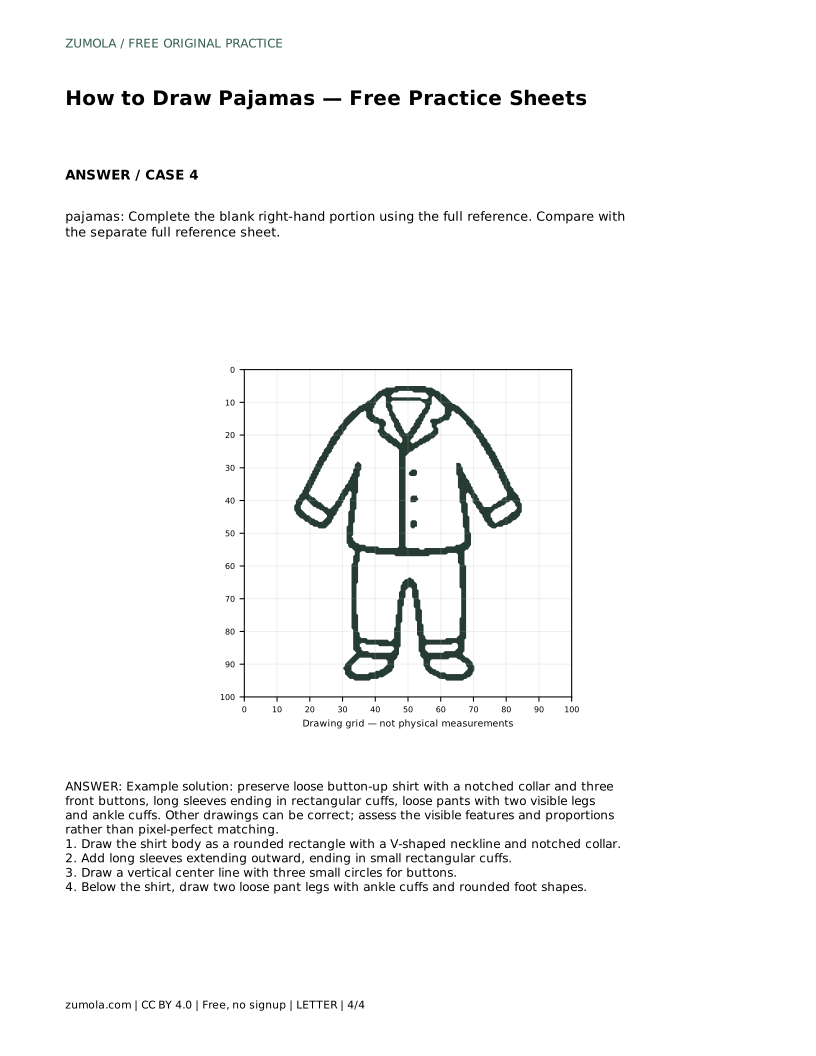
Pajamas are a friendly drawing subject because their shapes are simple but their details are recognizable. A loose button-up top, a notched collar, a row of small buttons, long sleeves with rectangular cuffs, and two roomy pant legs with ankle cuffs give you clear landmarks to place. This page explains how to build that silhouette step by step, then use the practice sheets to trace, copy on a grid, or complete a partial drawing. The goal is not a pixel-perfect match but a drawing that keeps the visible features and sensible proportions.
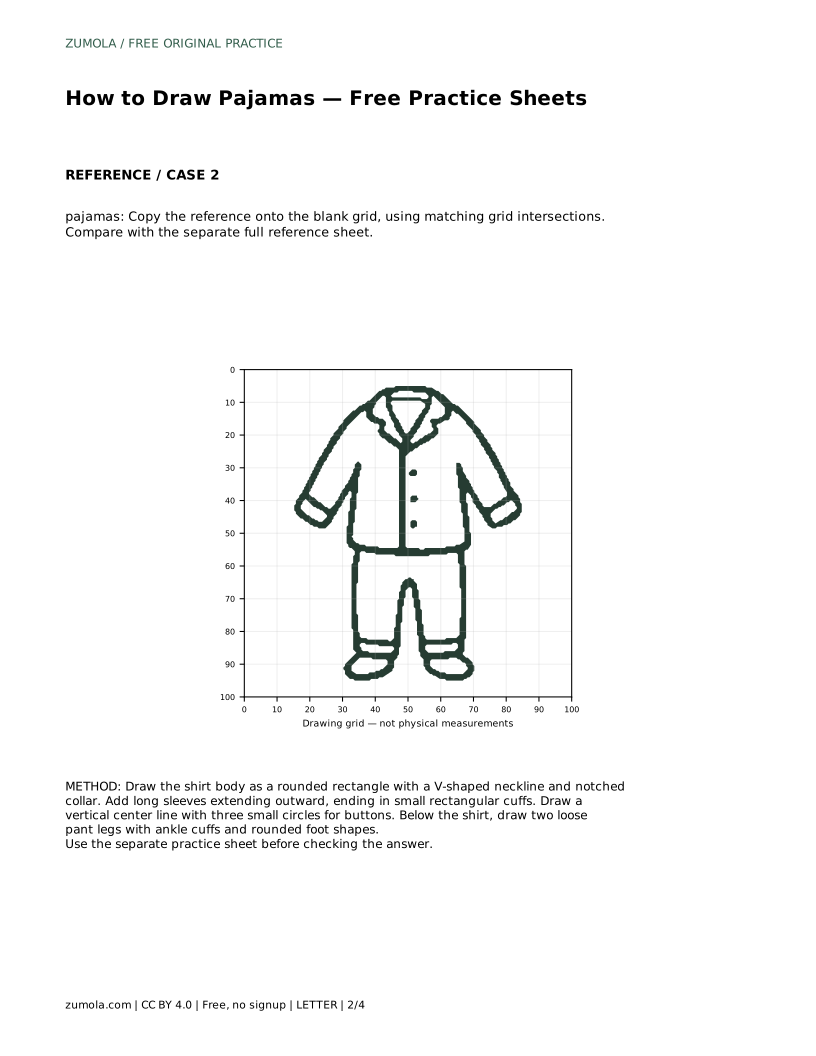
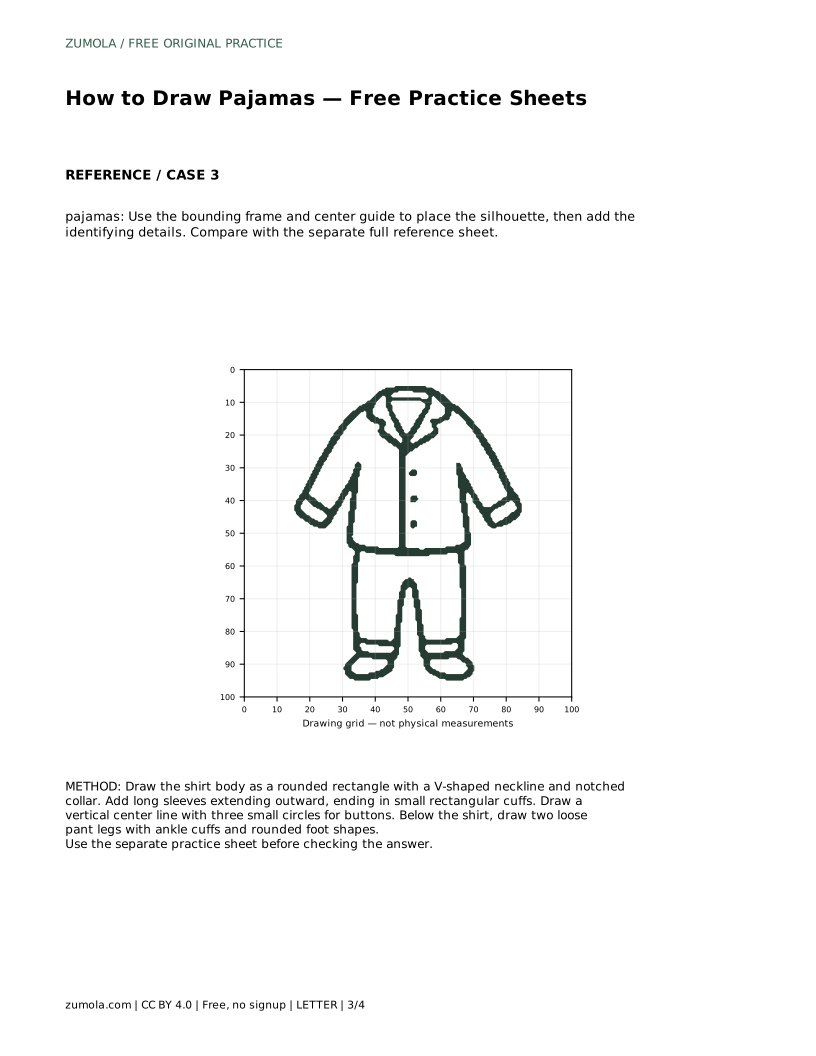
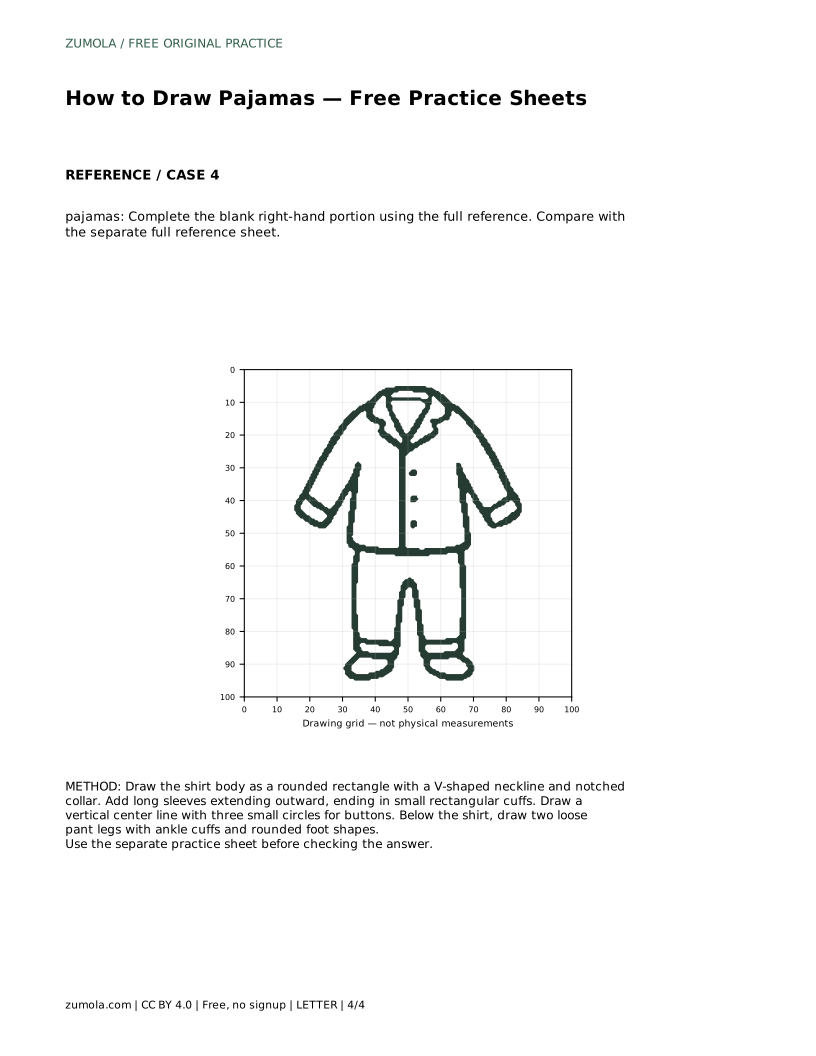
Begin with the largest shape: the shirt body. Draw a rounded rectangle that is slightly wider at the bottom than the shoulders, because pajama tops hang loosely rather than fitting closely. Near the top, cut a shallow V-shaped neckline. From the neckline, add the notched collar as two small angled flaps that meet at the center. The notch is the small gap or step where the collar folds back, and it is the detail that makes the top read as sleepwear rather than a plain T-shirt.
Keep the outline light at this stage. You are placing the body and collar first so the sleeves and buttons have somewhere logical to attach. If the collar looks too large, narrow the flaps rather than shrinking the whole shirt.
Extend long sleeves outward from the shoulder corners. Pajama sleeves are usually loose, so let them taper only slightly. End each sleeve in a small rectangular cuff, drawn as a short band across the sleeve end. These cuffs are a key identifying feature, so make them clearly rectangular rather than rounded.
Next, draw a vertical center line down the front of the shirt from the neckline to the hem. Place three small circles along it for buttons, spaced evenly. Three buttons is enough to suggest a button-up front without cluttering the drawing. Check that the buttons sit on the center line and that the collar flaps frame the top button rather than covering it.
Below the shirt hem, draw two loose pant legs. Leave a small gap between the shirt hem and the top of the pants so the two garments read as separate pieces. Each leg should be roomy, roughly the same width, and end in an ankle cuff drawn as a short band. Finish each leg with a rounded foot shape so the pants read as pajama bottoms rather than trousers.
Keep both legs visible and balanced. If one leg is much longer or wider than the other, adjust before adding detail. The overall silhouette should look relaxed and symmetrical enough to be believable.
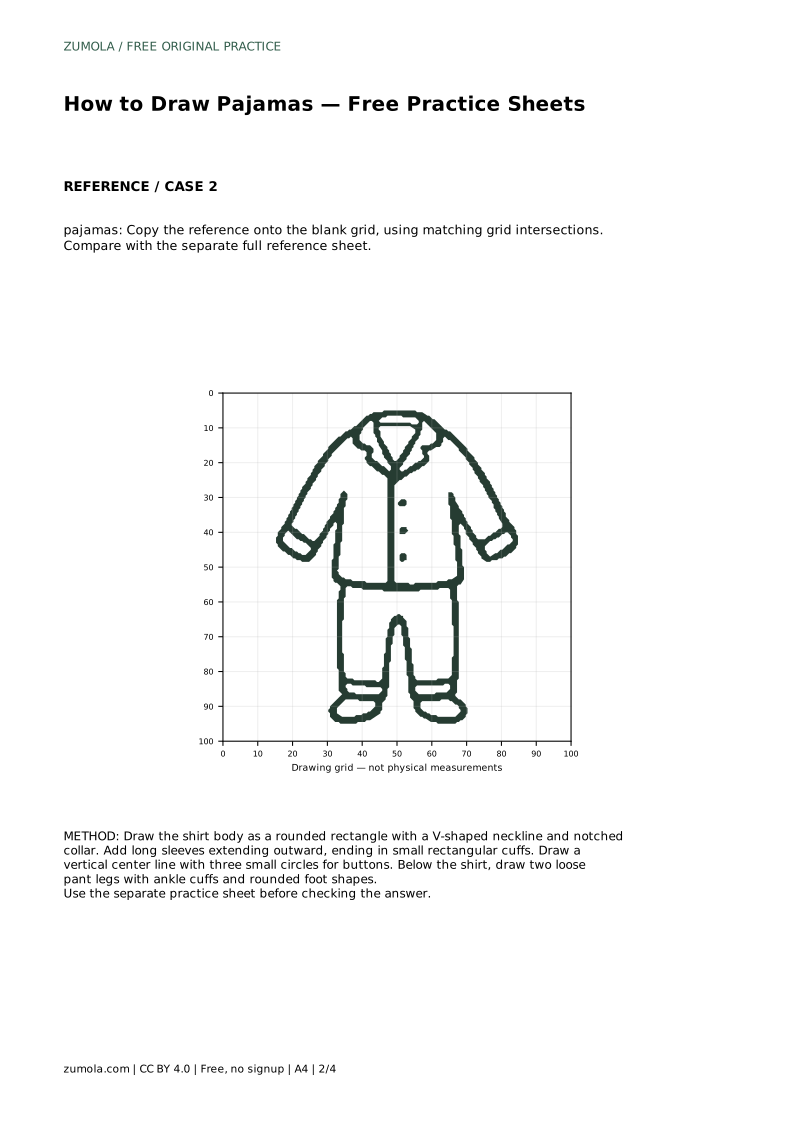
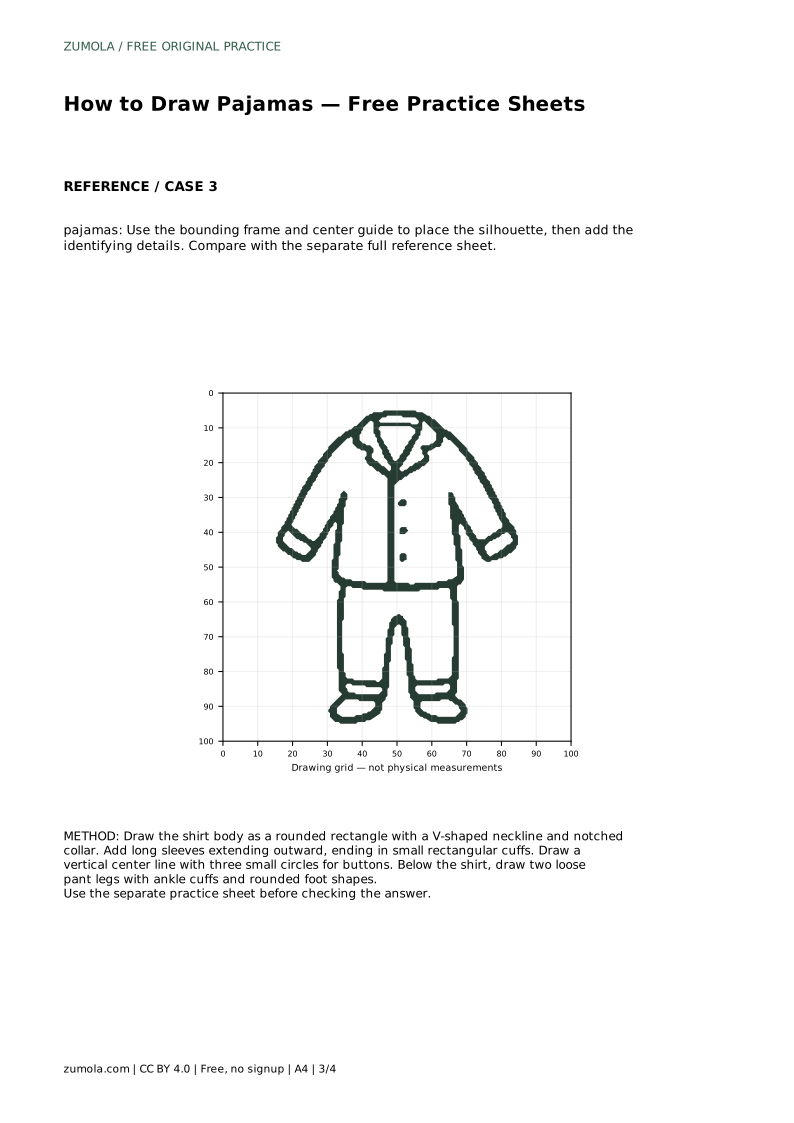
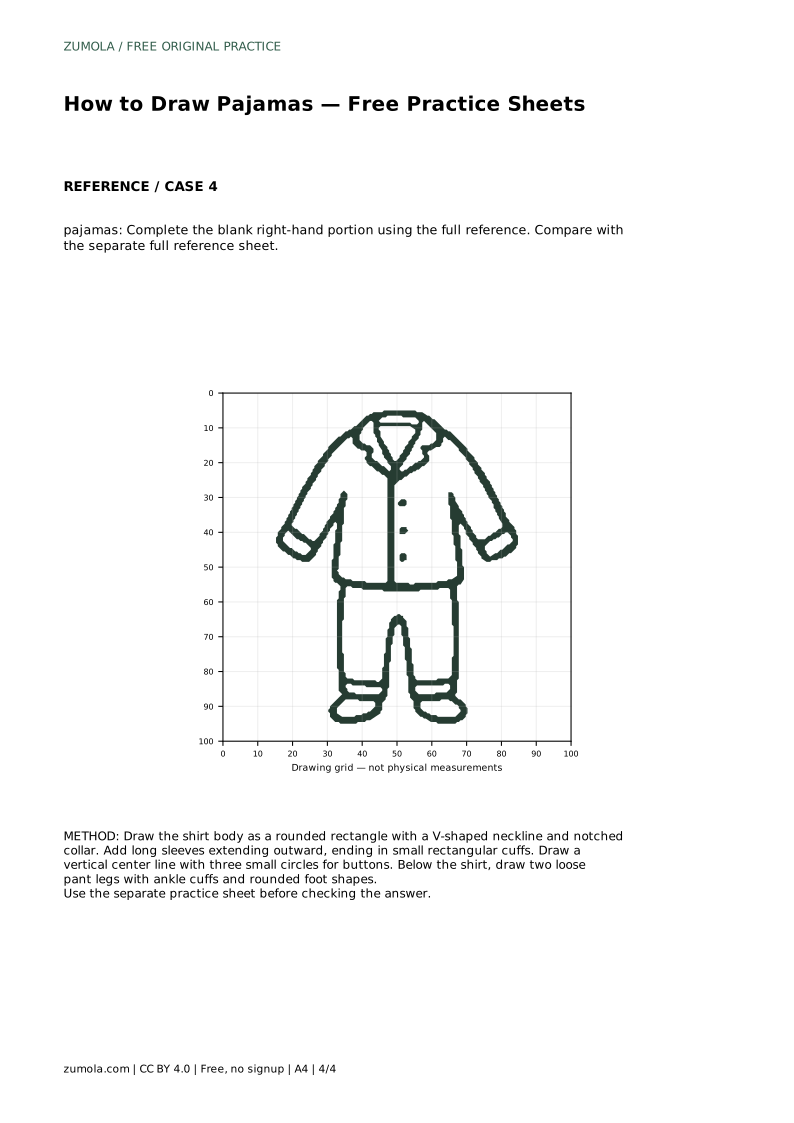
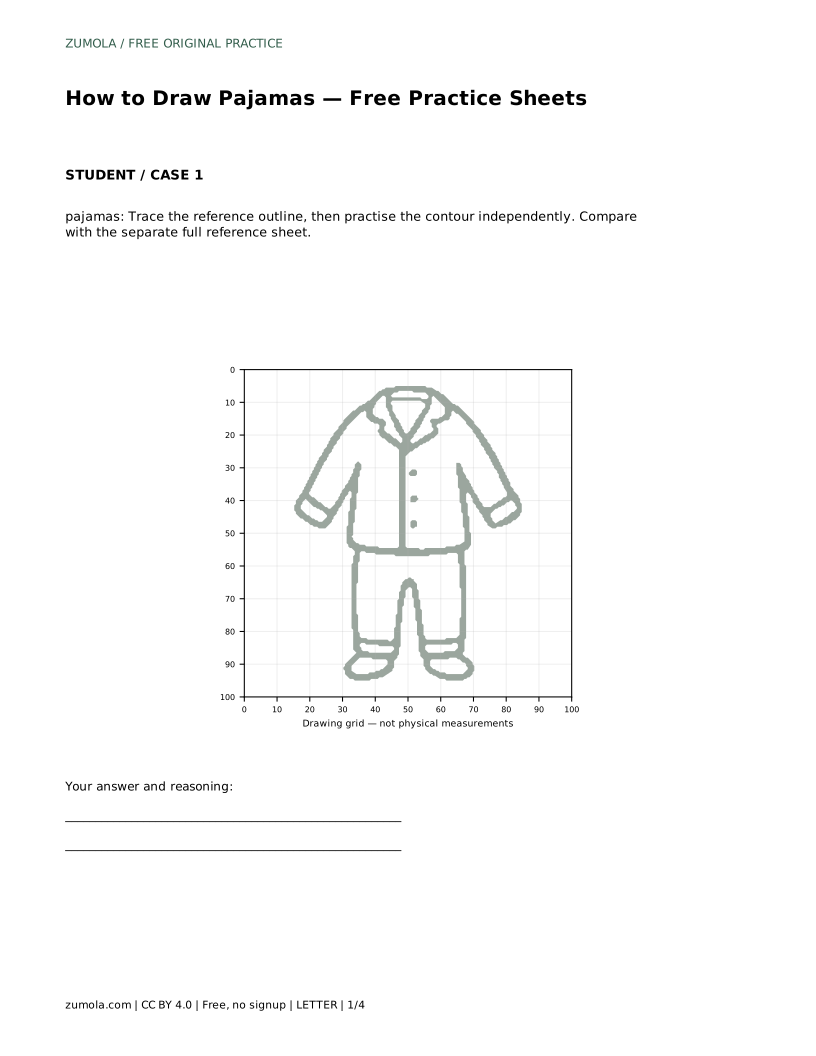
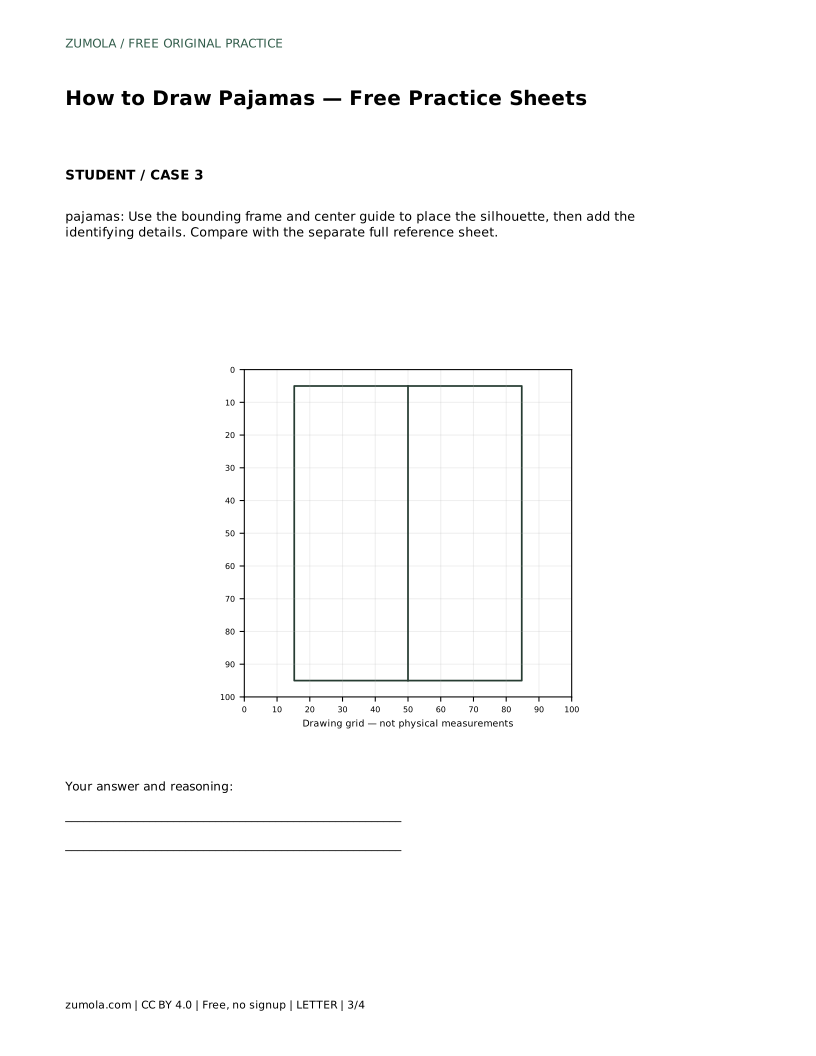
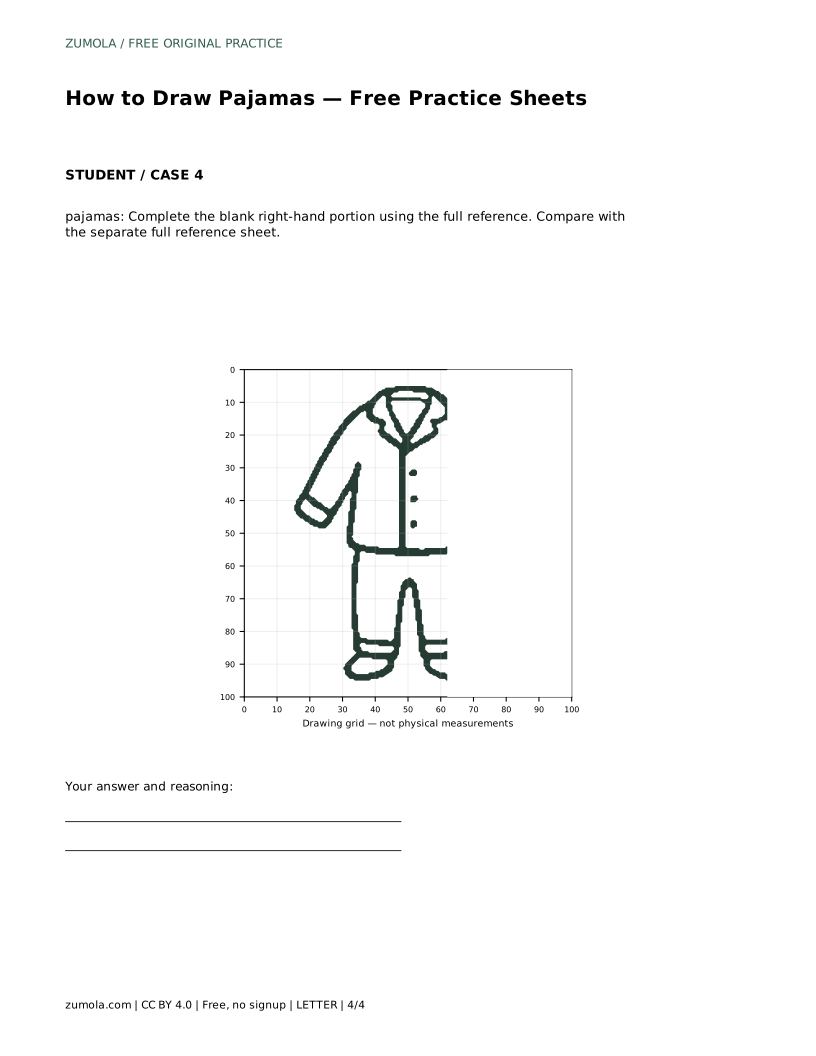
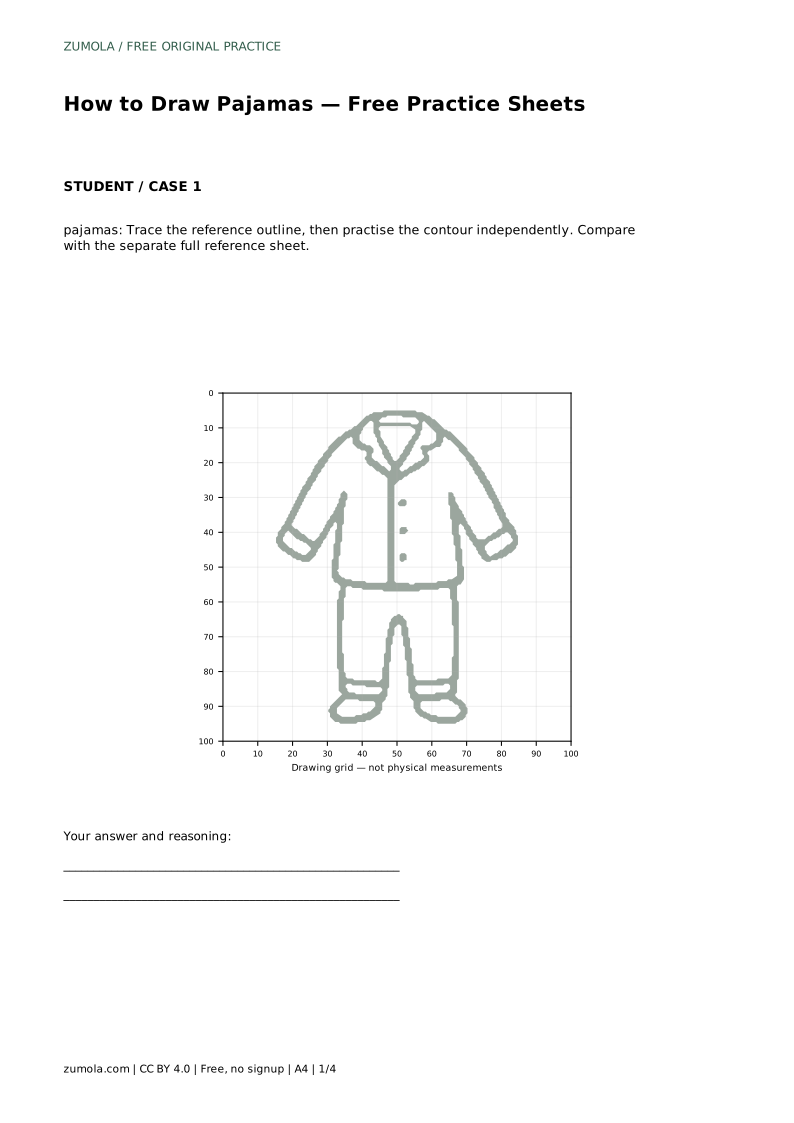
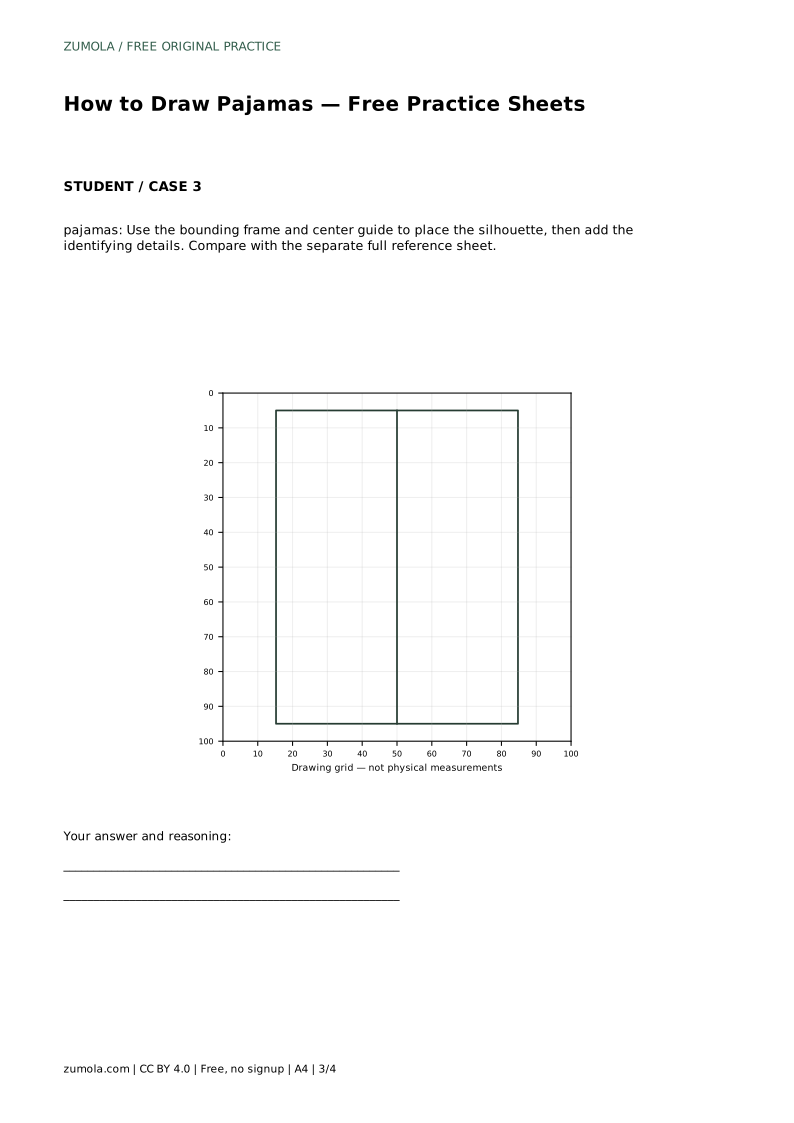
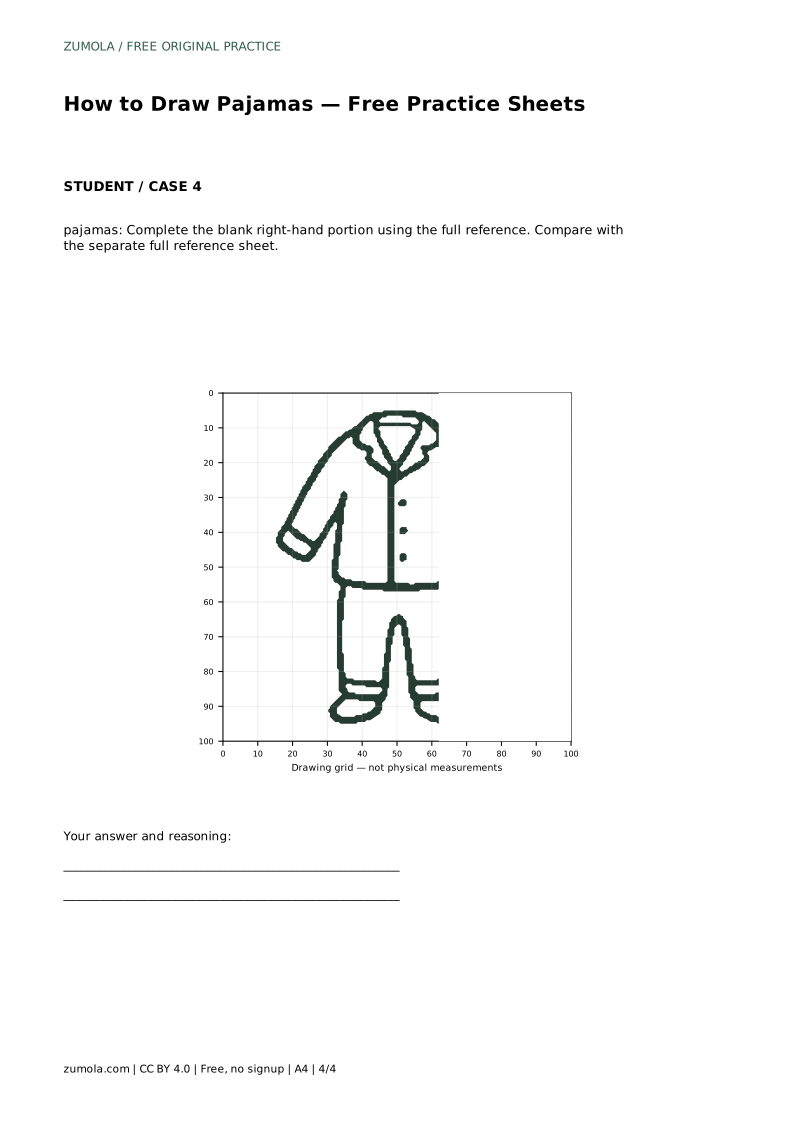
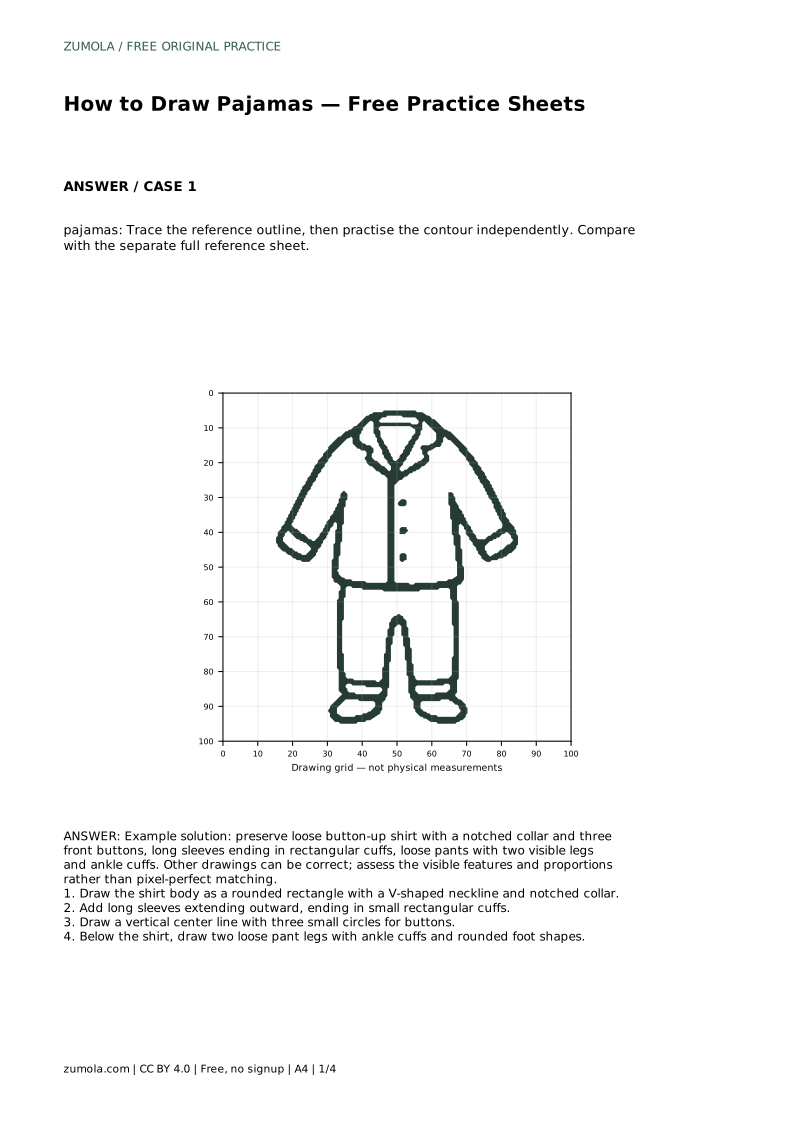
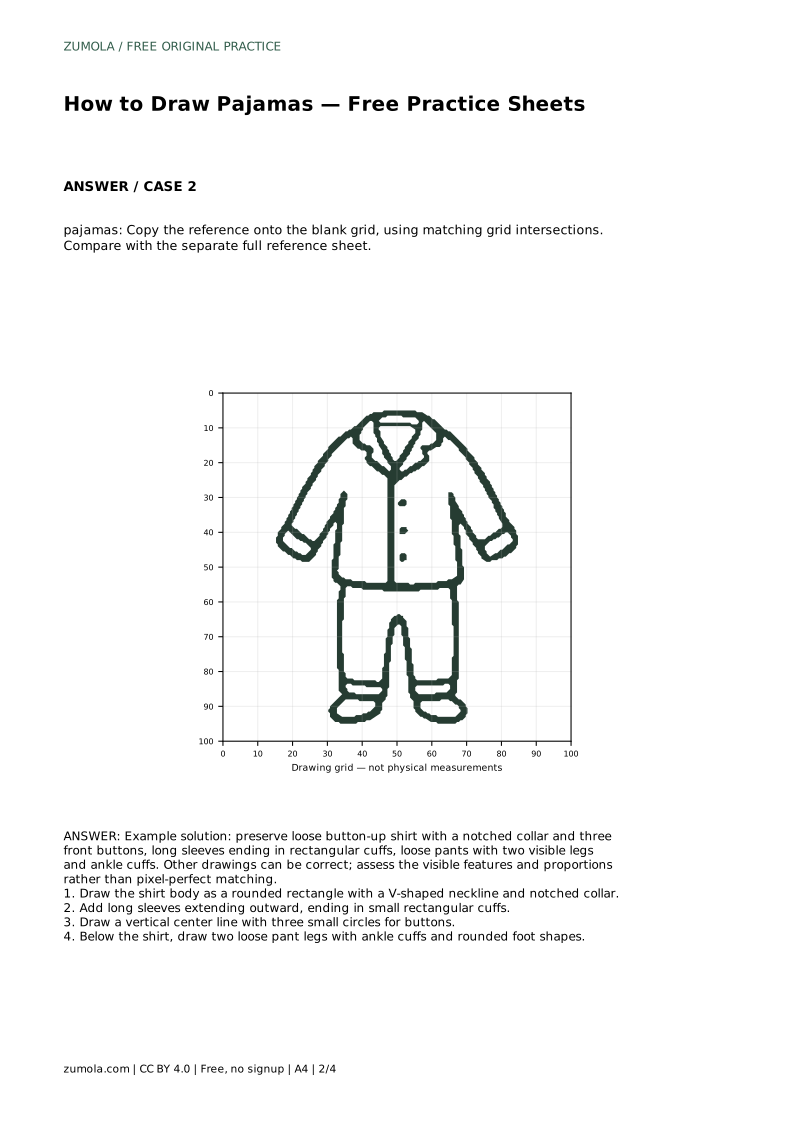
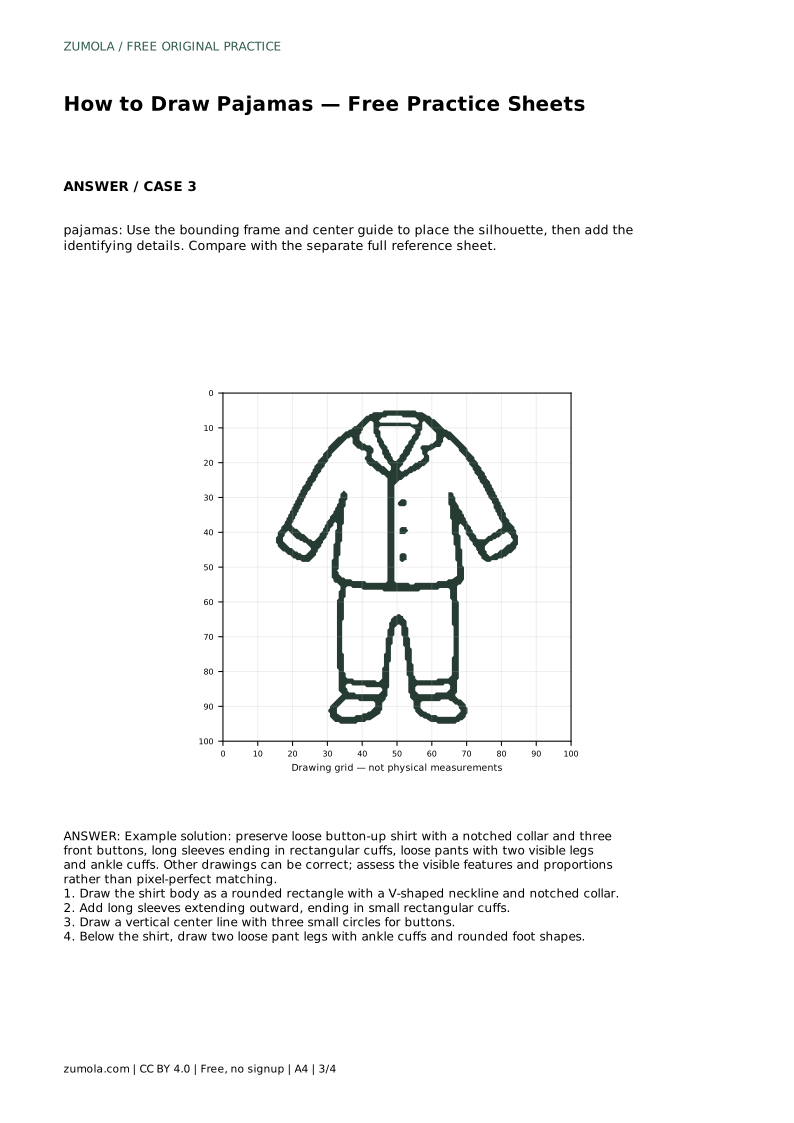
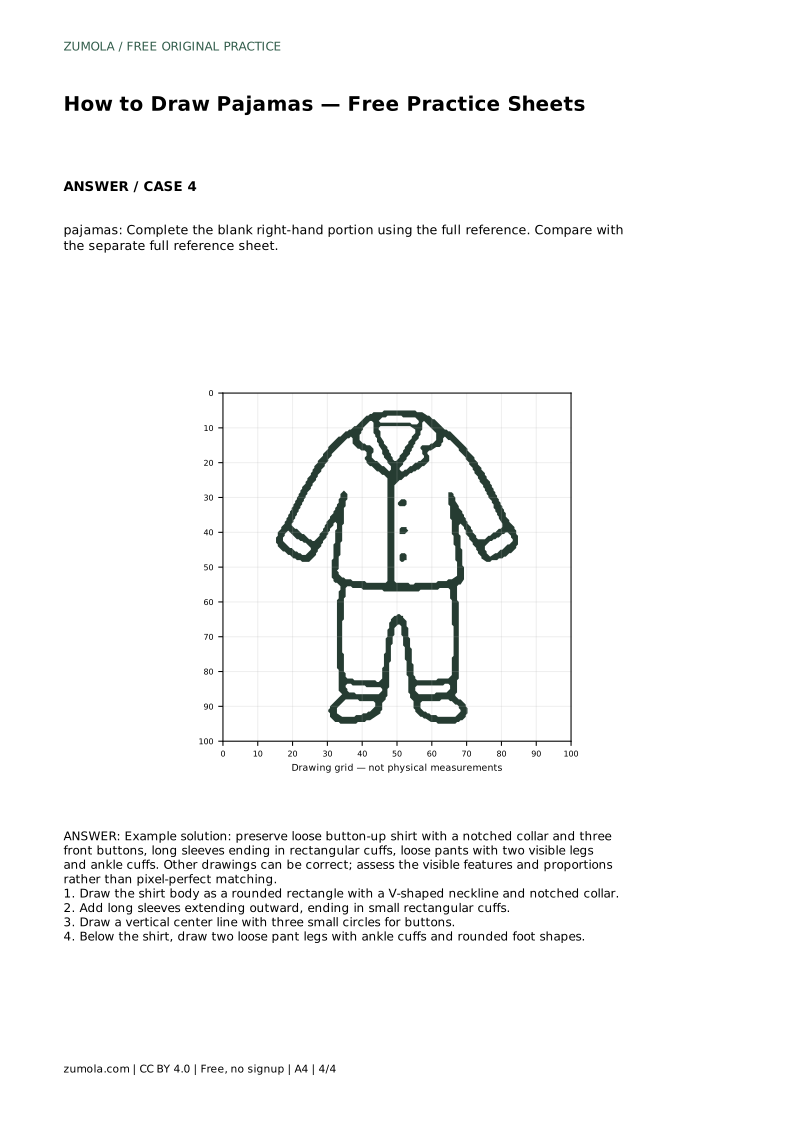
The sheets offer different ways to practise the same subject. On the trace sheet, follow the reference outline first, then try the contour independently on blank space and compare with the separate full reference sheet. On the grid sheet, copy the drawing onto the blank grid by matching grid intersections, which helps you judge proportion. On the bounding-frame sheet, use the frame and center guide to place the silhouette before adding the identifying details. On the partial sheet, complete the blank right-hand portion using the full reference.
Treat the reference as a guide to features, not a target for exact copying. Different line weights, slightly different cuffs, or a wider stance can all be correct. Assess whether the notched collar, three buttons, rectangular sleeve cuffs, two pant legs and ankle cuffs are present and sensibly proportioned.
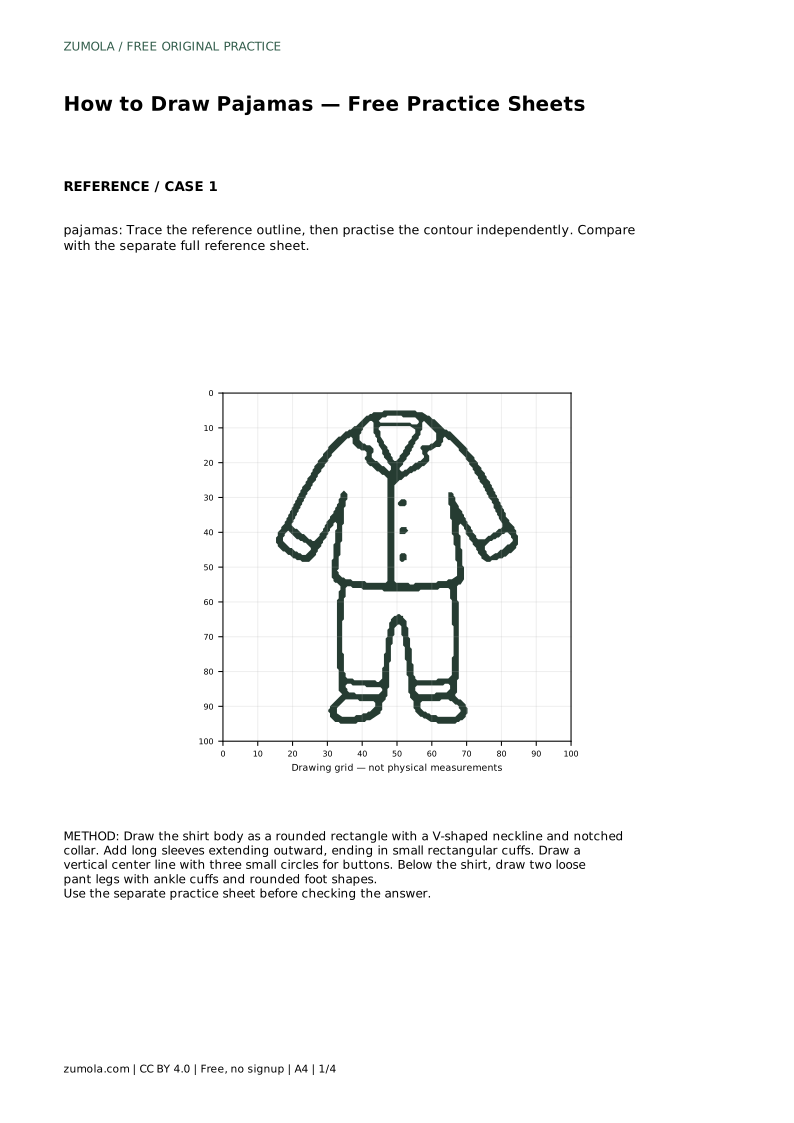
pajamas: Trace the reference outline, then practise the contour independently. Compare with the separate full reference sheet.
Example solution: preserve loose button-up shirt with a notched collar and three front buttons, long sleeves ending in rectangular cuffs, loose pants with two visible legs and ankle cuffs. Other drawings can be correct; assess the visible features and proportions rather than pixel-perfect matching. Draw the shirt body as a rounded rectangle with a V-shaped neckline and notched collar. Add long sleeves extending outward, ending in small rectangular cuffs. Draw a vertical center line with three small circles for buttons. Below the shirt, draw two loose pant legs with ankle cuffs and rounded foot shapes.
No. Use it to check that the key features are present and the proportions are sensible. Slight differences in line weight, stance or cuff shape are fine.
Three small buttons along the center line is enough to suggest a button-up front. More can work, but keep them evenly spaced and on the line.
The notched collar is one of the clearest signals that the top is a button-up pajama shirt rather than a plain tee, so give it a visible notch.
All drawing practice · Free coordinate paper
Original resources · CC BY 4.0 · Free for personal and classroom use with attribution.