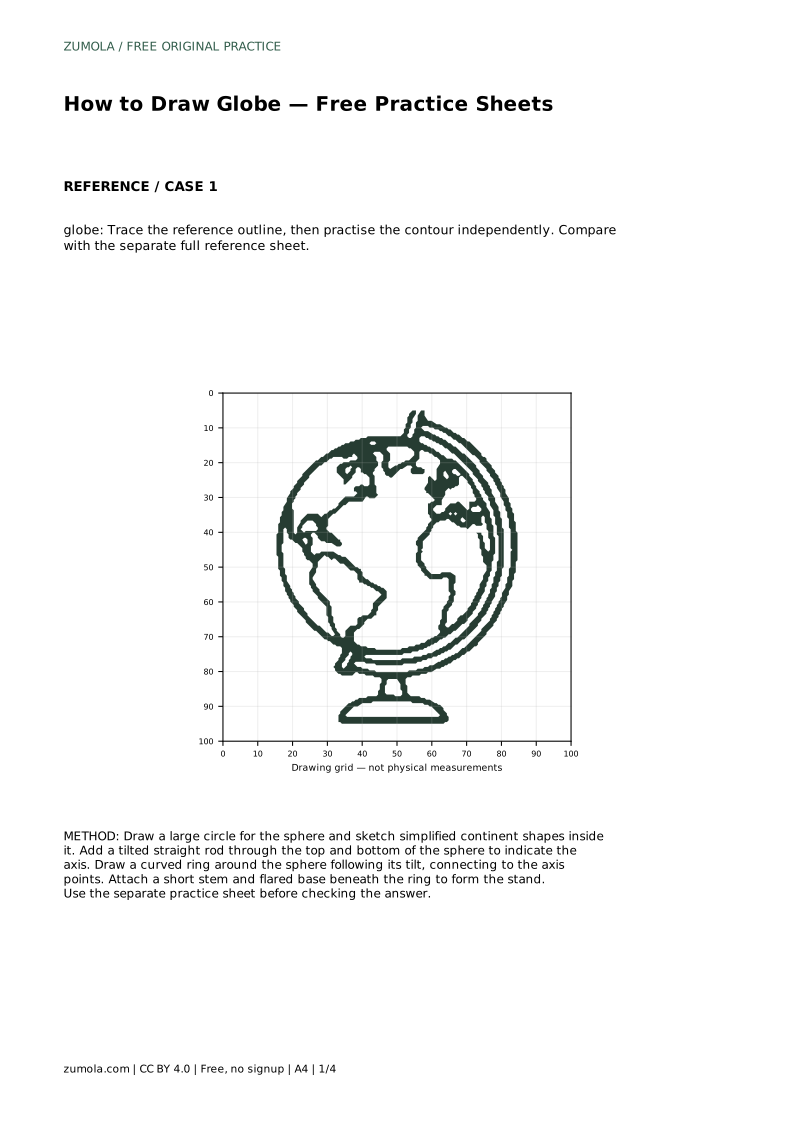
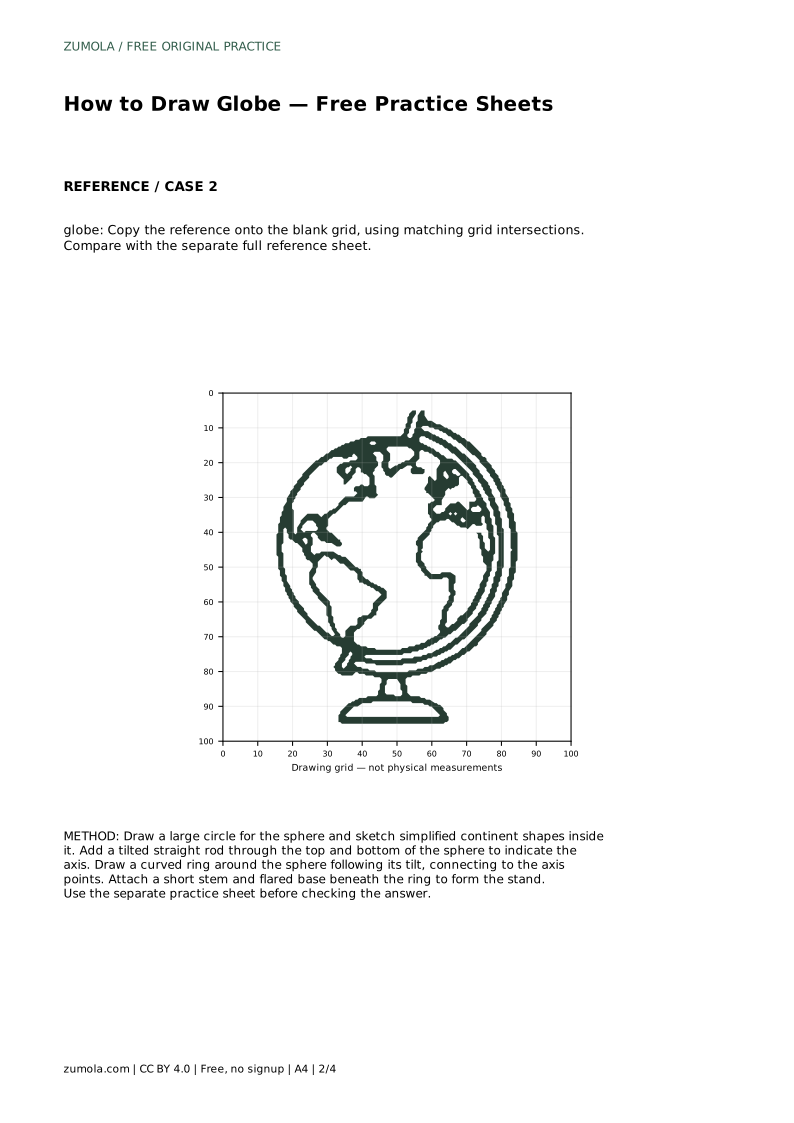
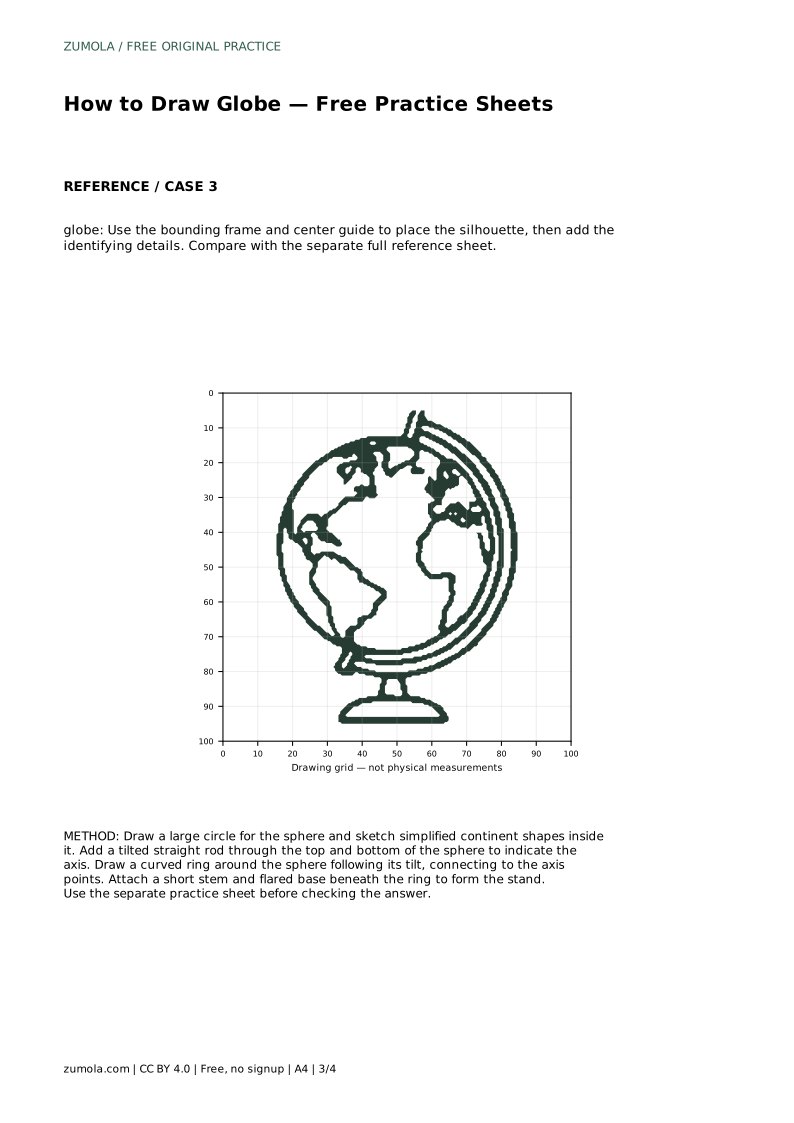
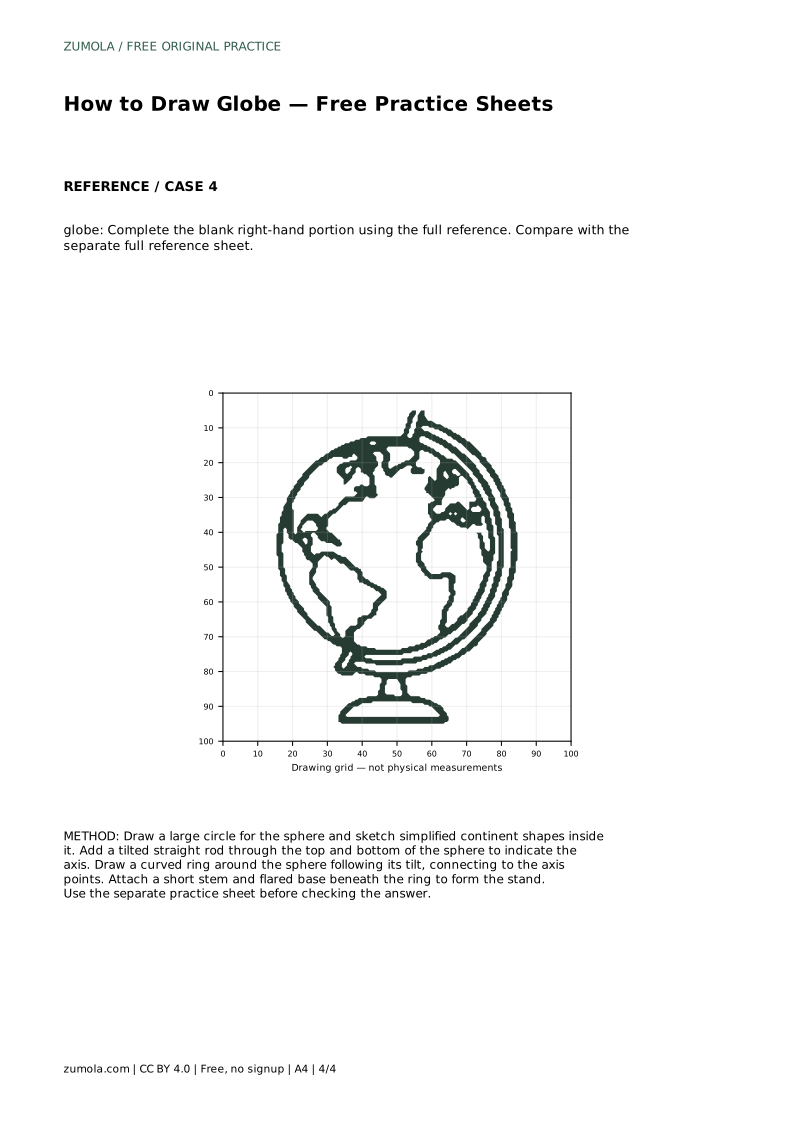
Reference diagrams
LETTER · Download PDF
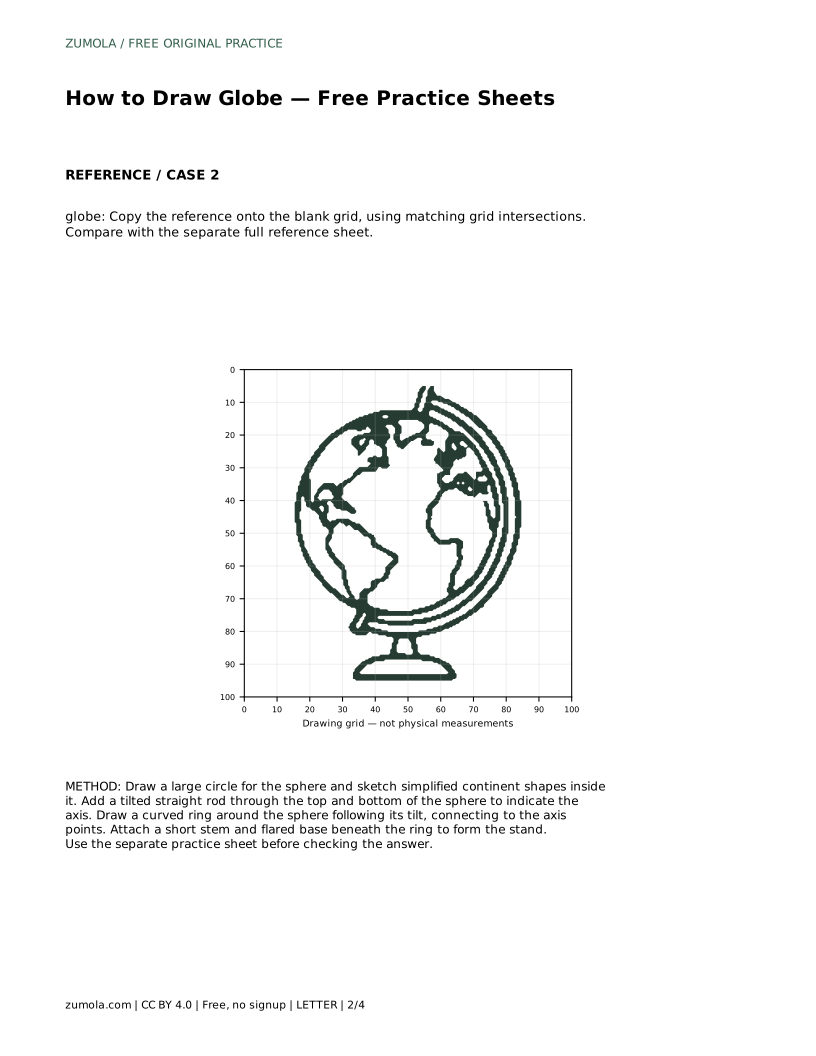
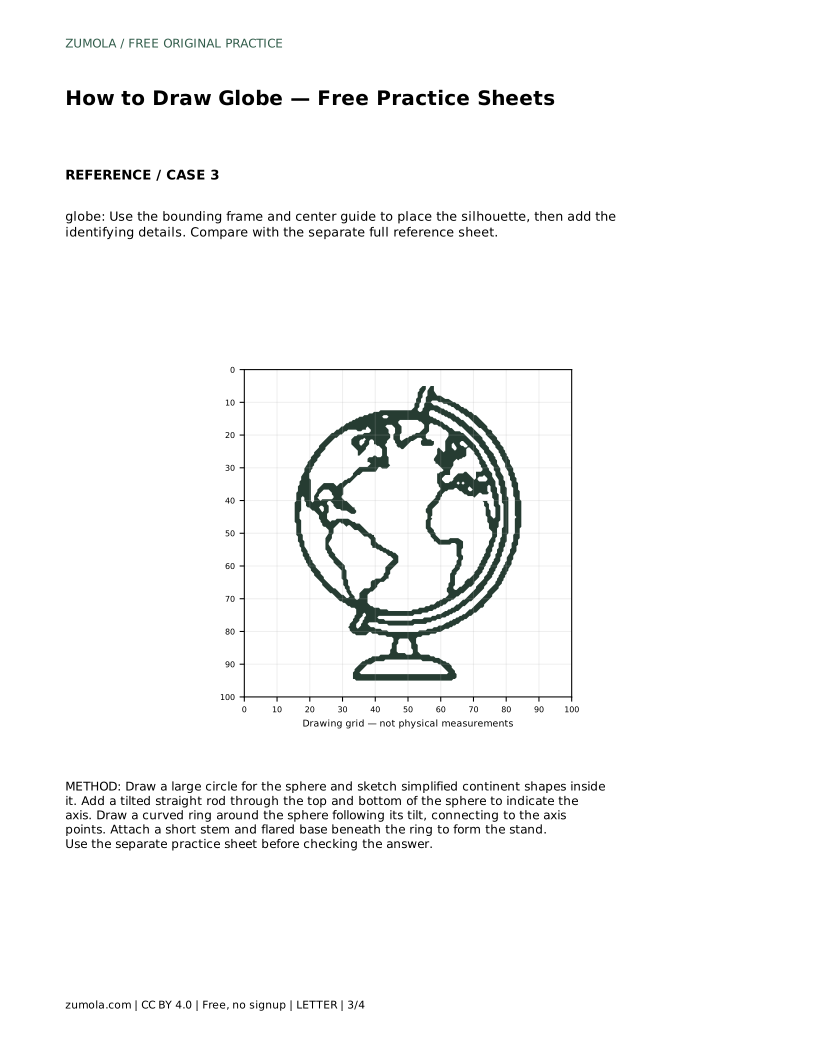
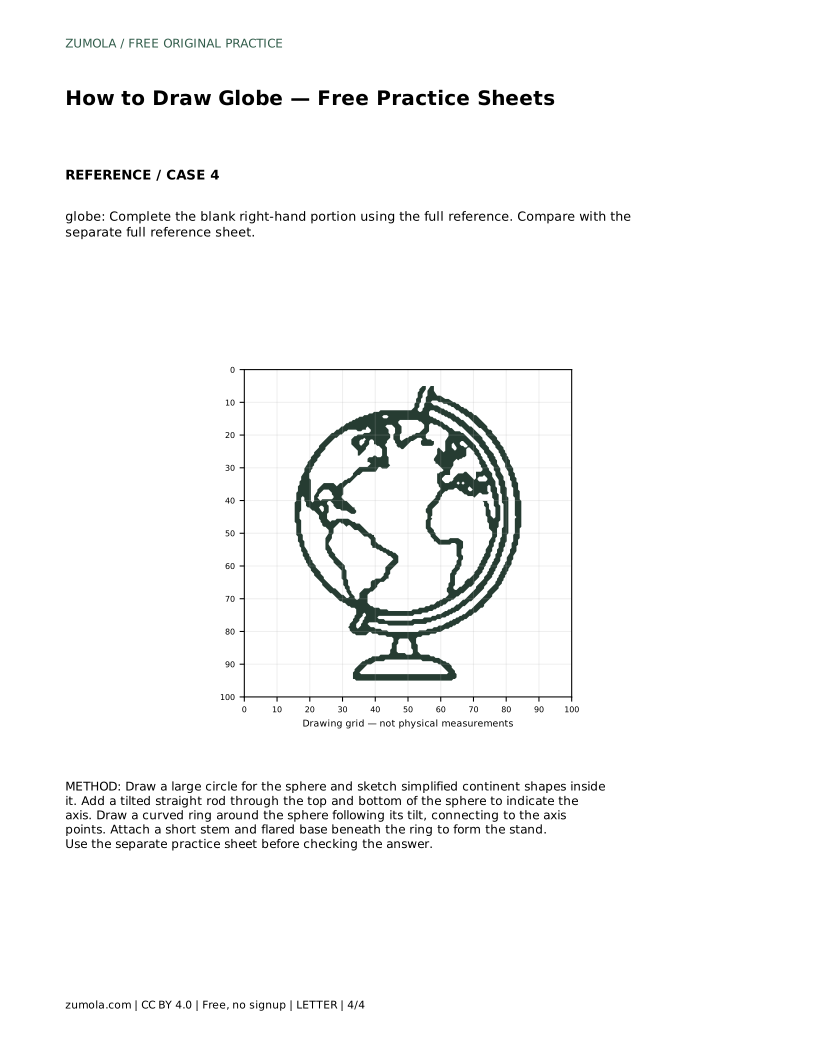
A4 · Download PDF
Free original resources
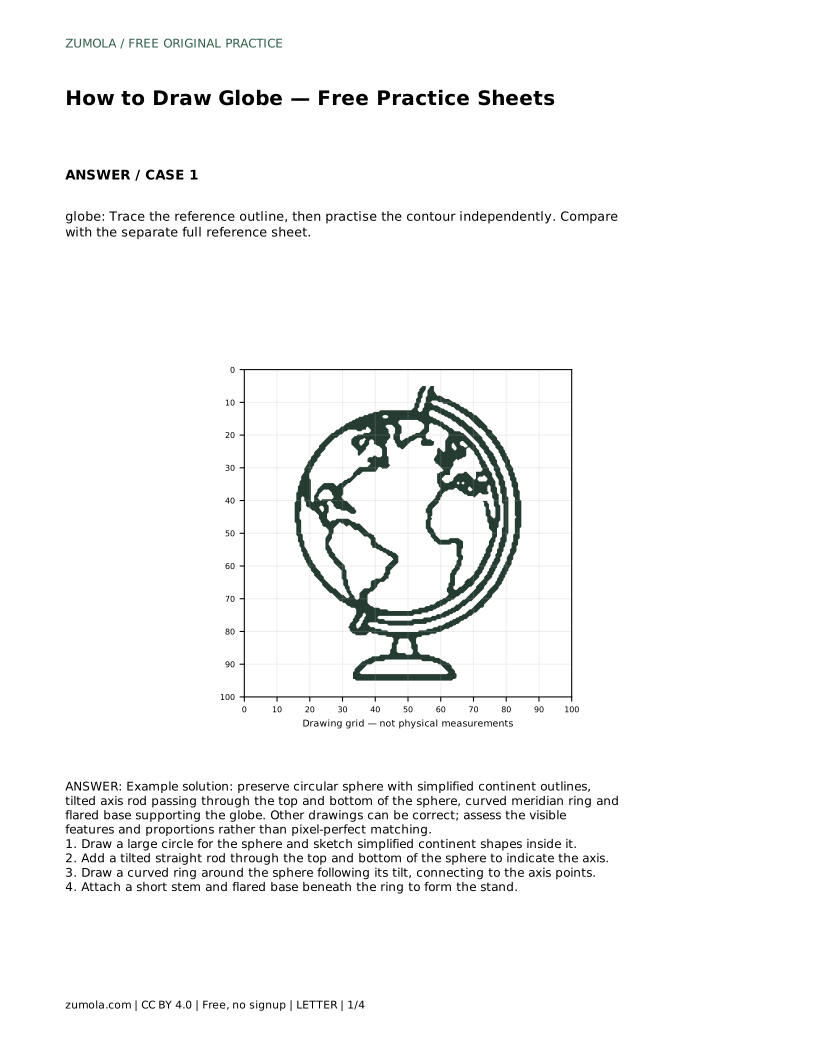
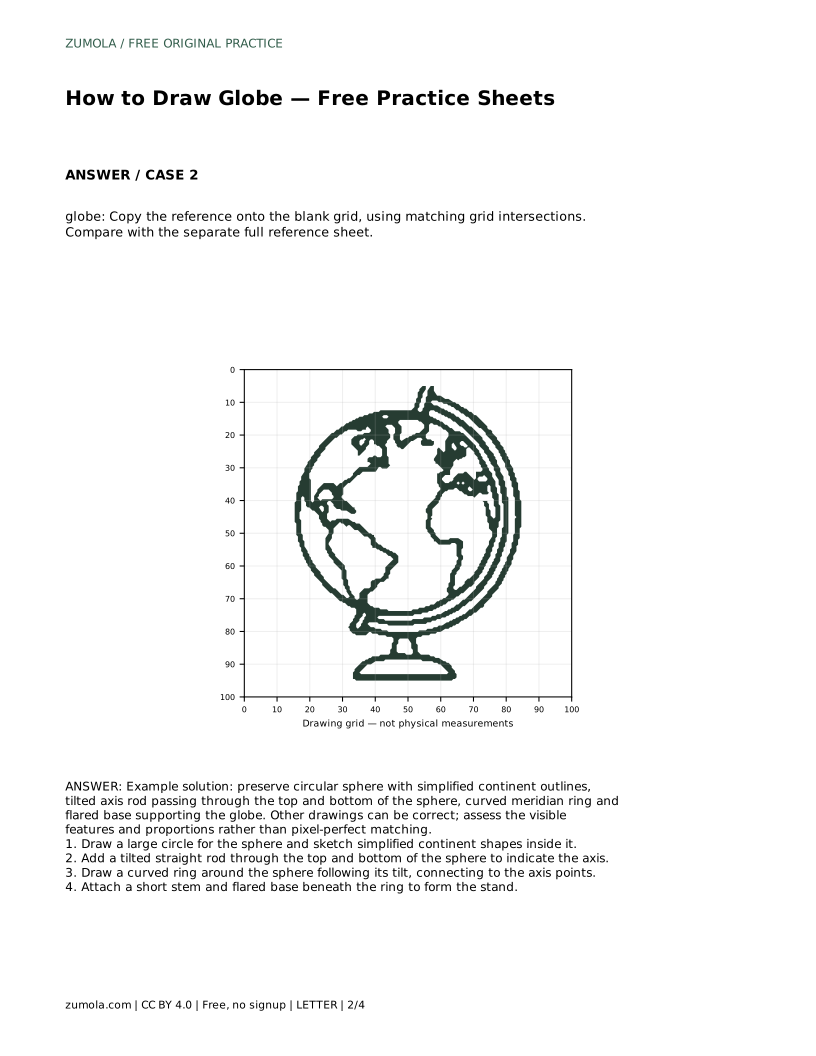
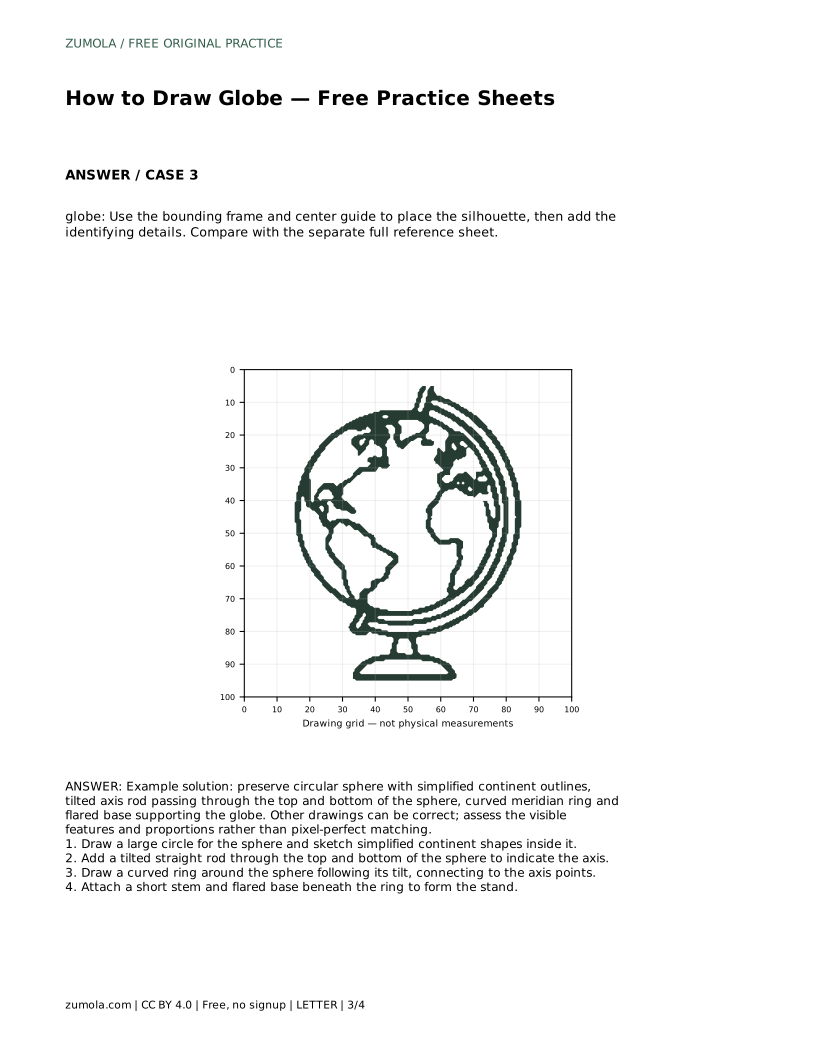
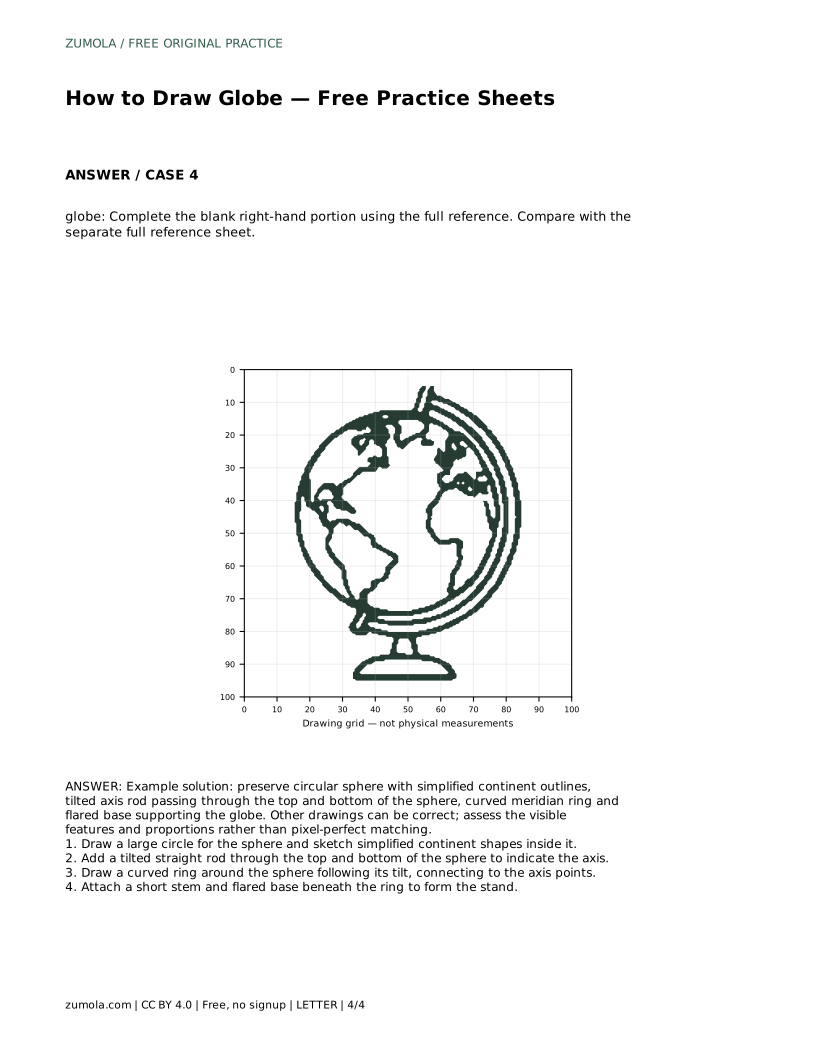
Learn to draw a world globe with a circular sphere, simplified continents, a tilted axis rod, a curved meridian ring and a flared base. Free practice sheets support each stage.
Four original cases, with reference diagrams, practice sheets and worked answers. Everything is free; no signup required.
LETTER · Download PDF
A4 · Download PDF
LETTER · Download PDF
A4 · Download PDF
LETTER · Download PDF
A4 · Download PDF
Use A4 or US Letter to match your printer. Use the stated values and conditions to solve each exercise; diagrams are not physical measuring rulers.
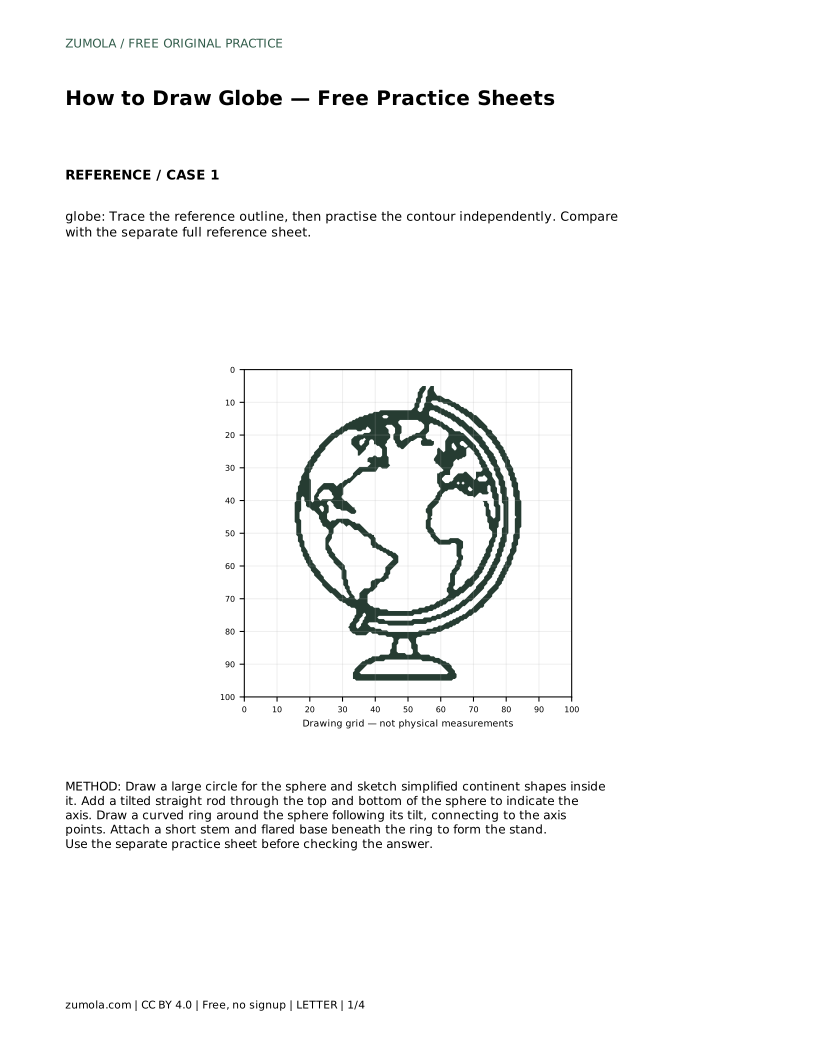
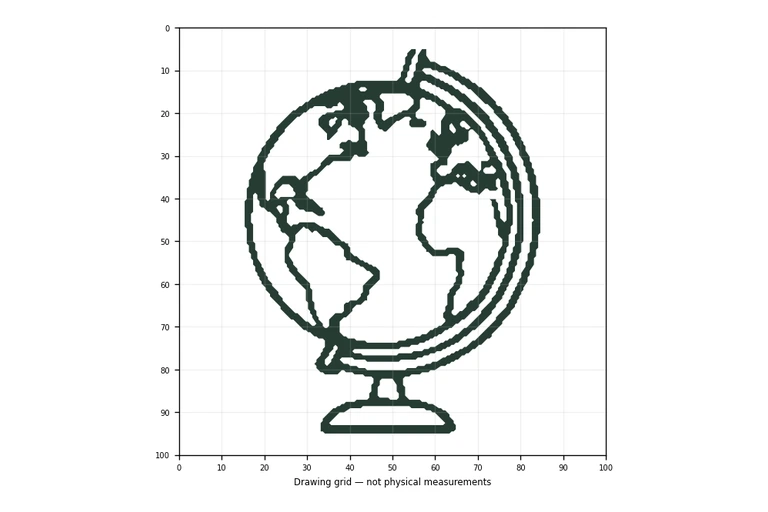
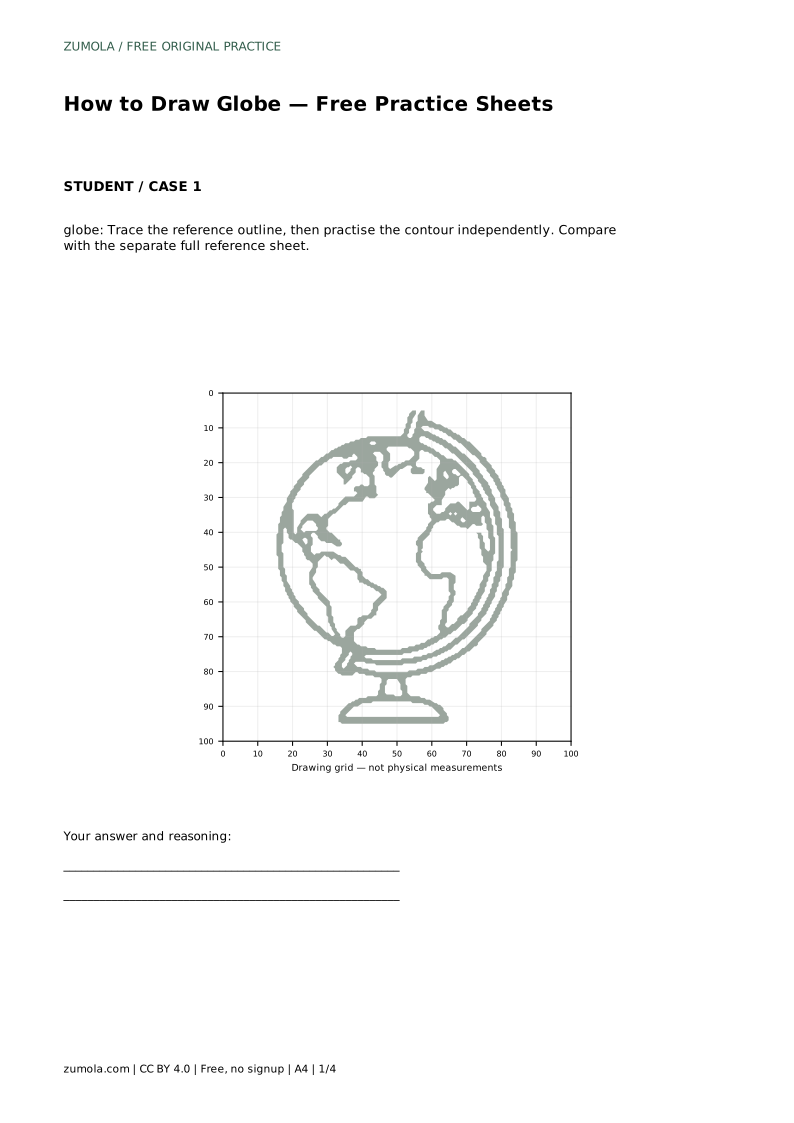
A world globe drawing is built from a few clear parts: a circular sphere, simplified continent shapes, a straight axis rod tilted through the sphere, a curved meridian ring that follows that tilt, and a stand with a short stem and flared base. This page explains how those parts fit together and how to practise the same construction on tracing, grid, frame and partial-reference sheets.
Begin with one large circle for the sphere. Keep the outline smooth and closed, because every later part is positioned relative to this circle. Inside it, sketch simplified continent shapes rather than detailed coastlines. Treat the shapes as broad masses with a few clear edges, and leave space between them so the sphere still reads as a globe rather than a filled disc.
The continents should sit within the circle without touching its edge unless the reference shows that. Their exact shapes can vary between correct drawings; what matters is that the masses are recognizable, placed sensibly and scaled to the sphere.
Draw a straight rod through the top and bottom of the sphere to show the axis. The rod should pass through the circle's edge at two opposite points and continue slightly beyond them. Keep it straight; a bent rod makes the tilt unclear.
Next, draw a curved ring around the sphere that follows the same tilt as the rod. The ring connects to the axis points at the top and bottom, so its curve should meet the rod rather than float beside it. Think of the ring as a band wrapping the sphere in the same plane as the axis, not as a second circle drawn flat on the page.
Beneath the ring, add a short stem and a flared base. The stem should meet the lowest part of the ring, and the base should widen outward from the stem to suggest support. Keep the base centered under the sphere so the globe looks balanced rather than leaning.
Check the whole drawing from top to bottom: rod, sphere, ring, stem and base should form one connected object. If any part looks detached, adjust its position before adding darker lines.
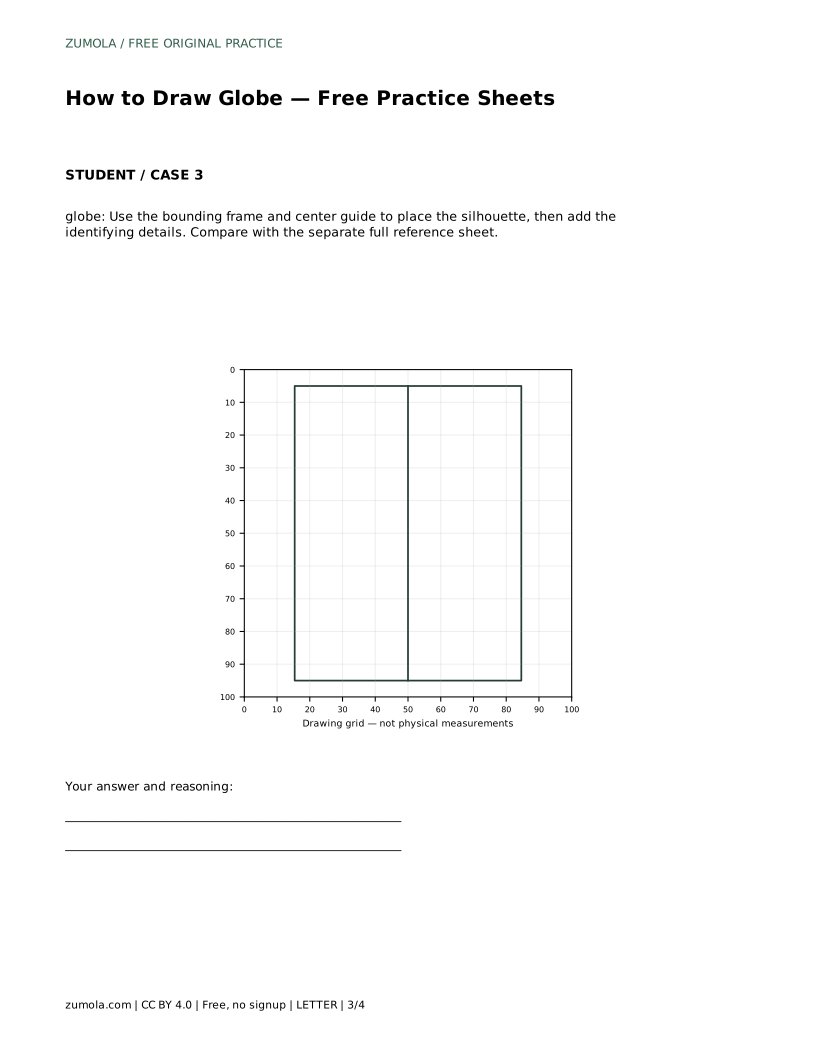
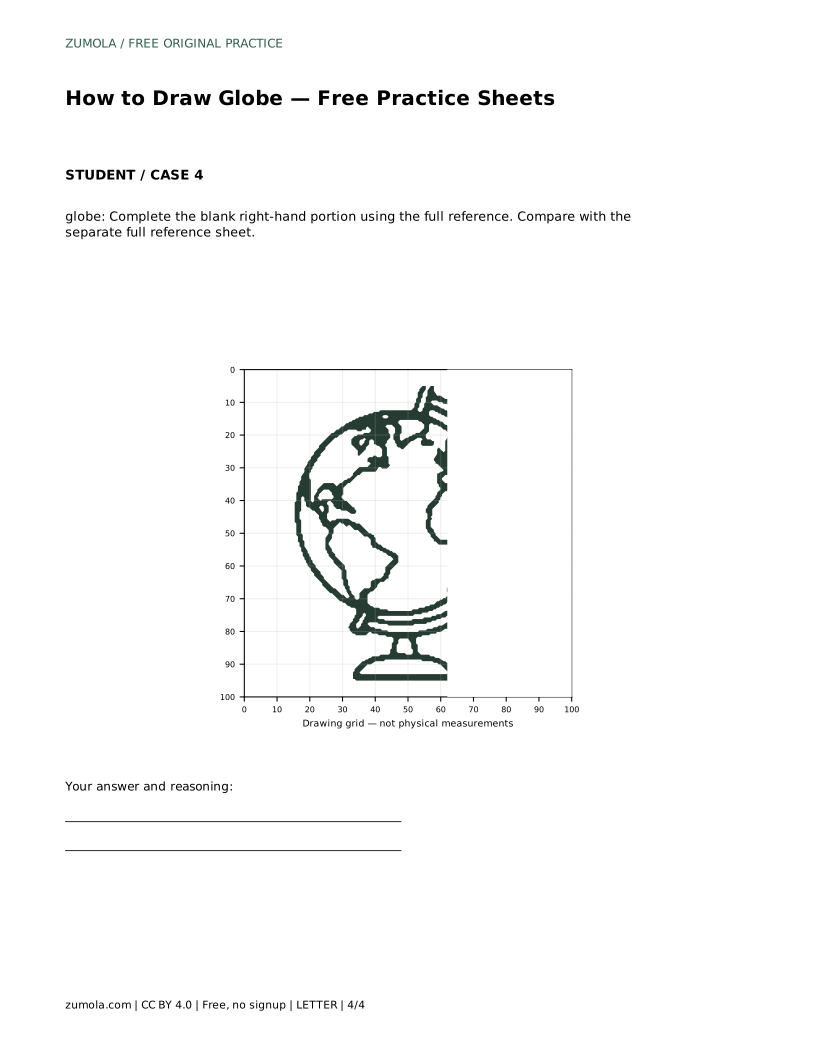
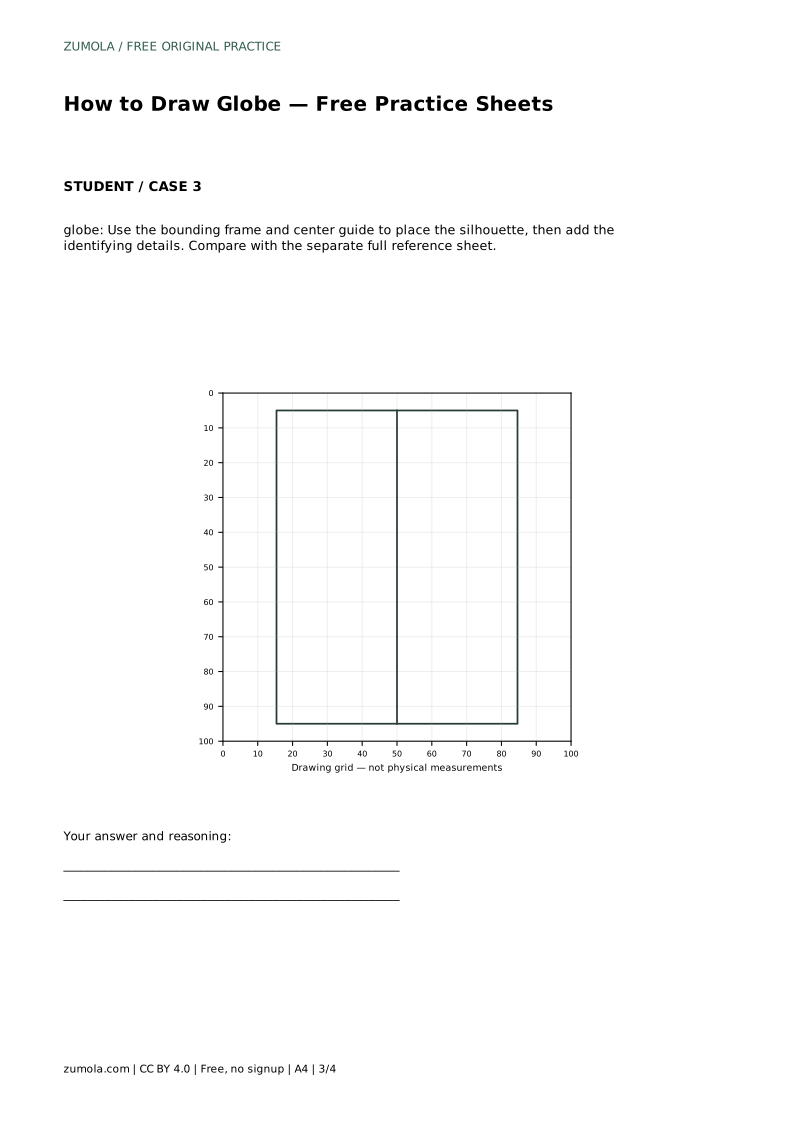
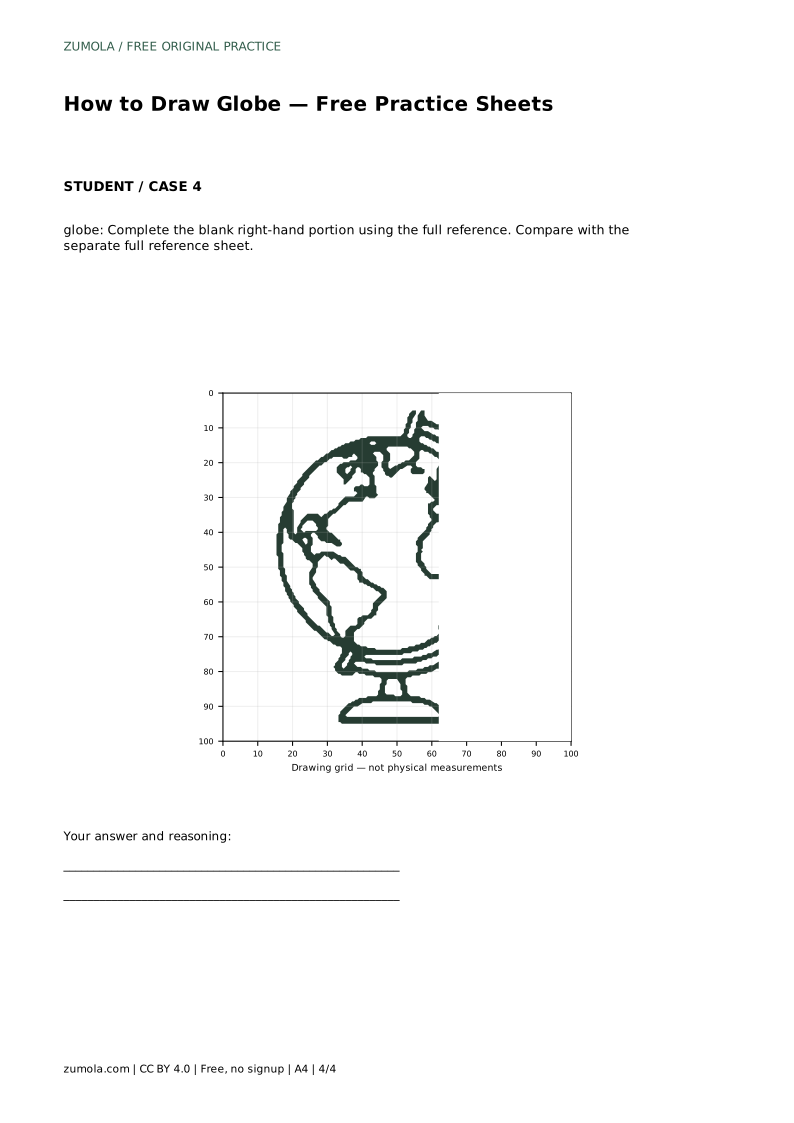
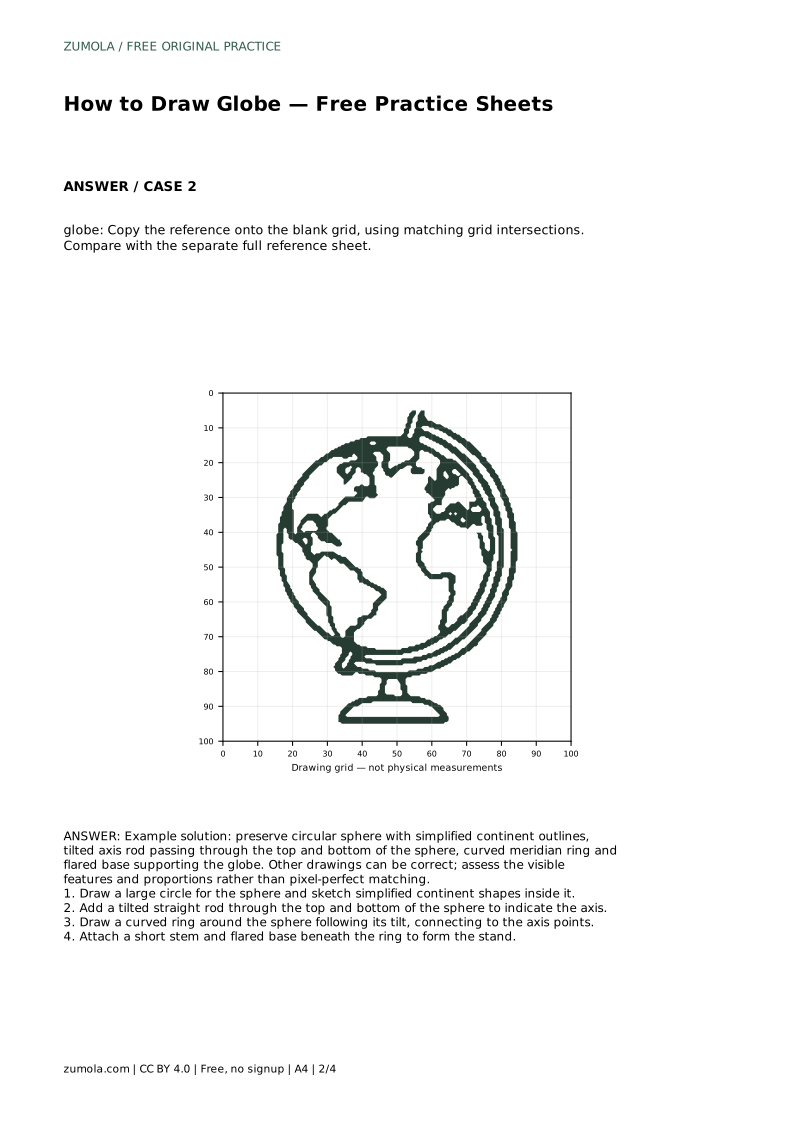
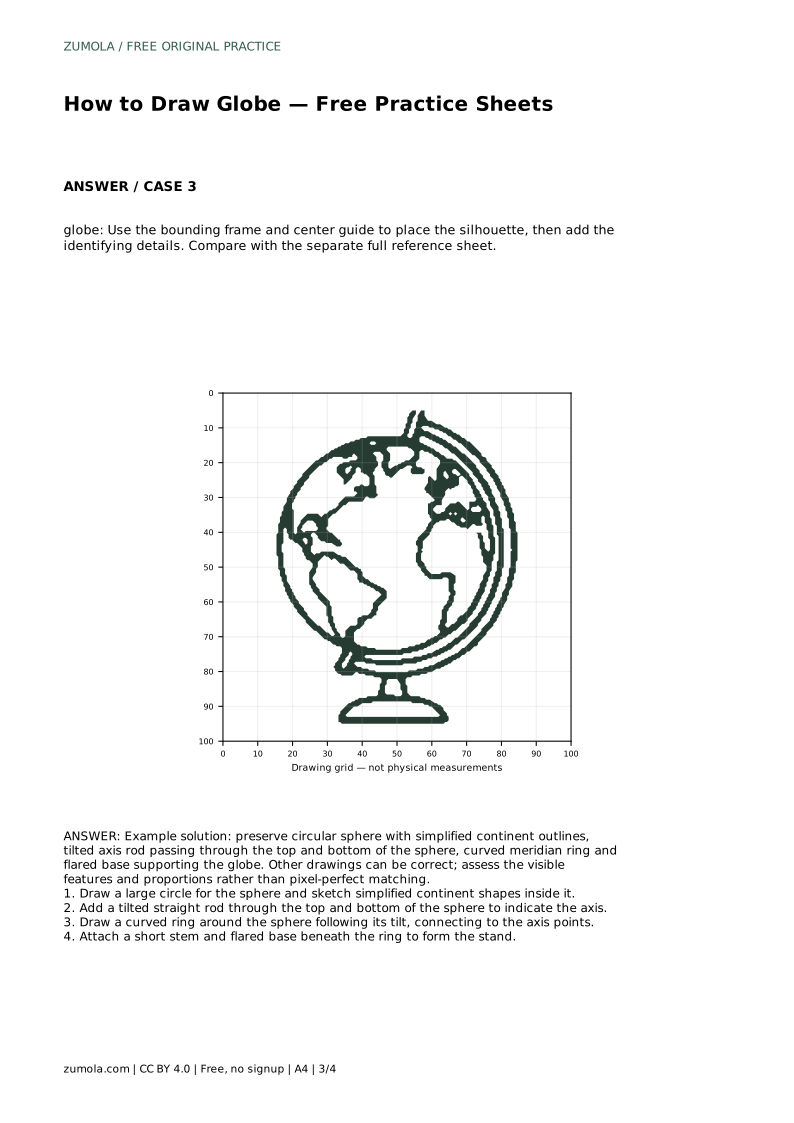
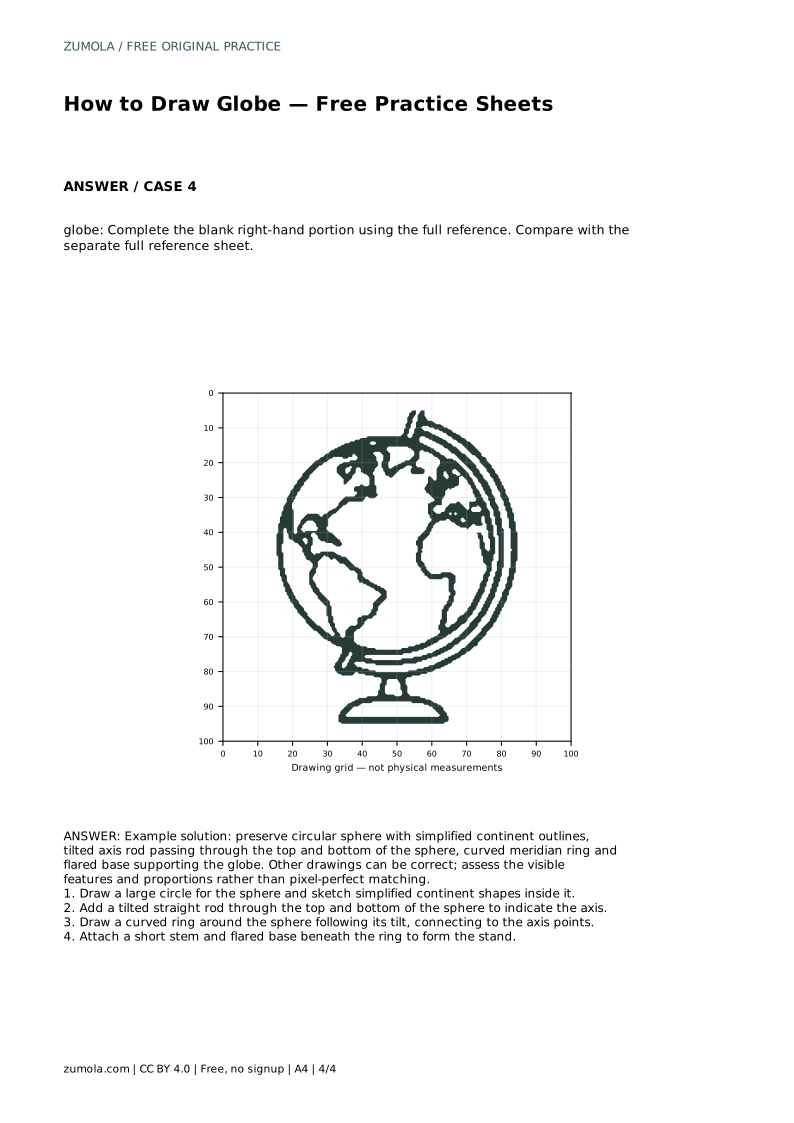
Tracing helps you feel the order of the parts. Grid copying helps you place the sphere and stand at matching intersections. The bounding frame and center guide help you position the silhouette before adding details. The partial-reference sheet asks you to complete the blank right-hand portion using the full reference.
After each attempt, compare your drawing with the separate full reference sheet. Look for the circular sphere, simplified continents, straight tilted rod, curved ring and flared base. Other drawings can be correct, so assess visible features and proportions rather than pixel-perfect matching.
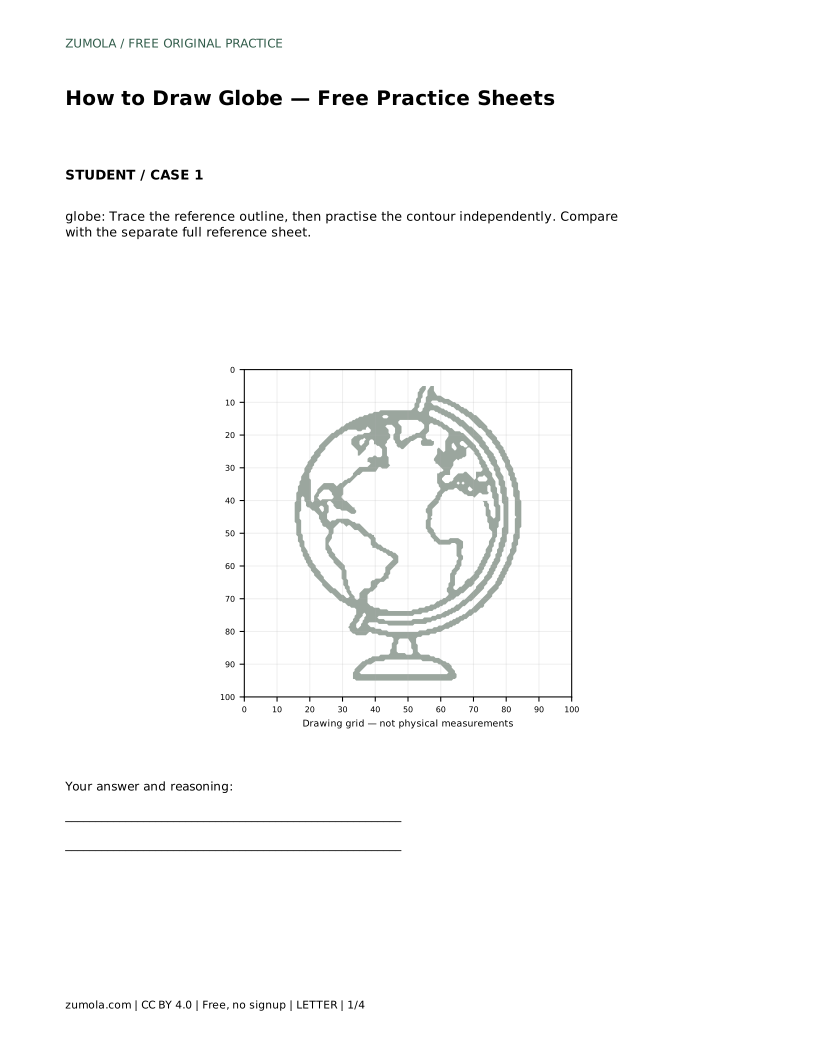
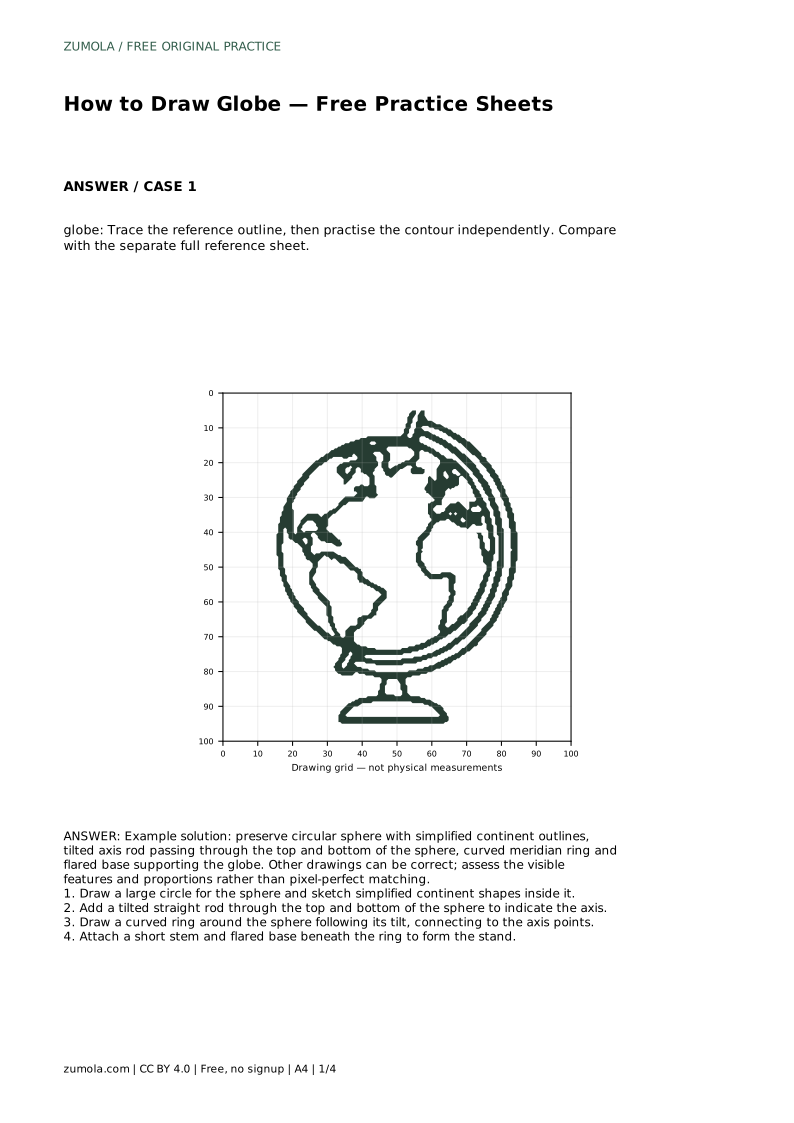
globe: Trace the reference outline, then practise the contour independently. Compare with the separate full reference sheet.
Example solution: preserve circular sphere with simplified continent outlines, tilted axis rod passing through the top and bottom of the sphere, curved meridian ring and flared base supporting the globe. Other drawings can be correct; assess the visible features and proportions rather than pixel-perfect matching. Draw a large circle for the sphere and sketch simplified continent shapes inside it. Add a tilted straight rod through the top and bottom of the sphere to indicate the axis. Draw a curved ring around the sphere following its tilt, connecting to the axis points. Attach a short stem and flared base beneath the ring to form the stand.
No. Simplified continent outlines are enough. Check that the masses are recognizable, inside the sphere and reasonably scaled.
It passes through the top and bottom of the sphere and extends slightly beyond both points.
Its curve follows the rod's tilt and meets the axis at the top and bottom of the sphere.
All drawing practice · Free coordinate paper
Original resources · CC BY 4.0 · Free for personal and classroom use with attribution.