Reference diagrams
LETTER · Download PDF
A4 · Download PDF
Free original resources
Learn to draw a weather balloon by tracing, copying a grid, using a center guide, and completing a partial outline. Includes a rubric and common-mistake fixes.
Four original cases, with reference diagrams, practice sheets and worked answers. Everything is free; no signup required.
LETTER · Download PDF
A4 · Download PDF
LETTER · Download PDF
A4 · Download PDF
LETTER · Download PDF
A4 · Download PDF
Use A4 or US Letter to match your printer. Use the stated values and conditions to solve each exercise; diagrams are not physical measuring rulers.
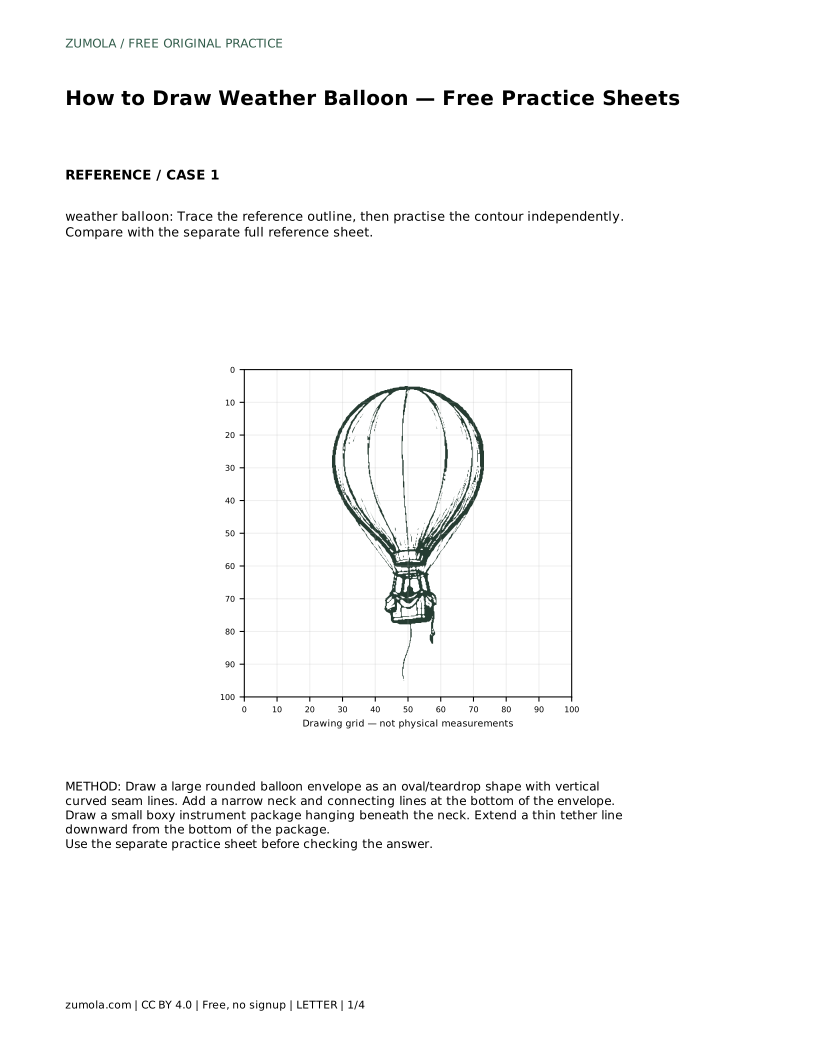
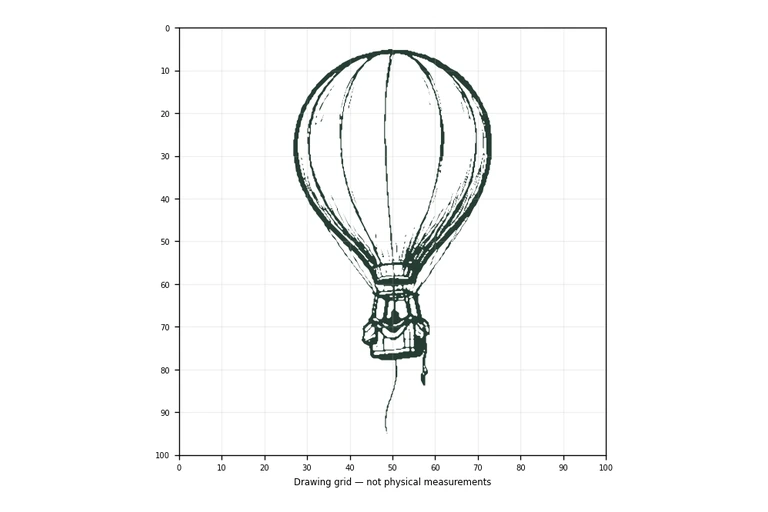
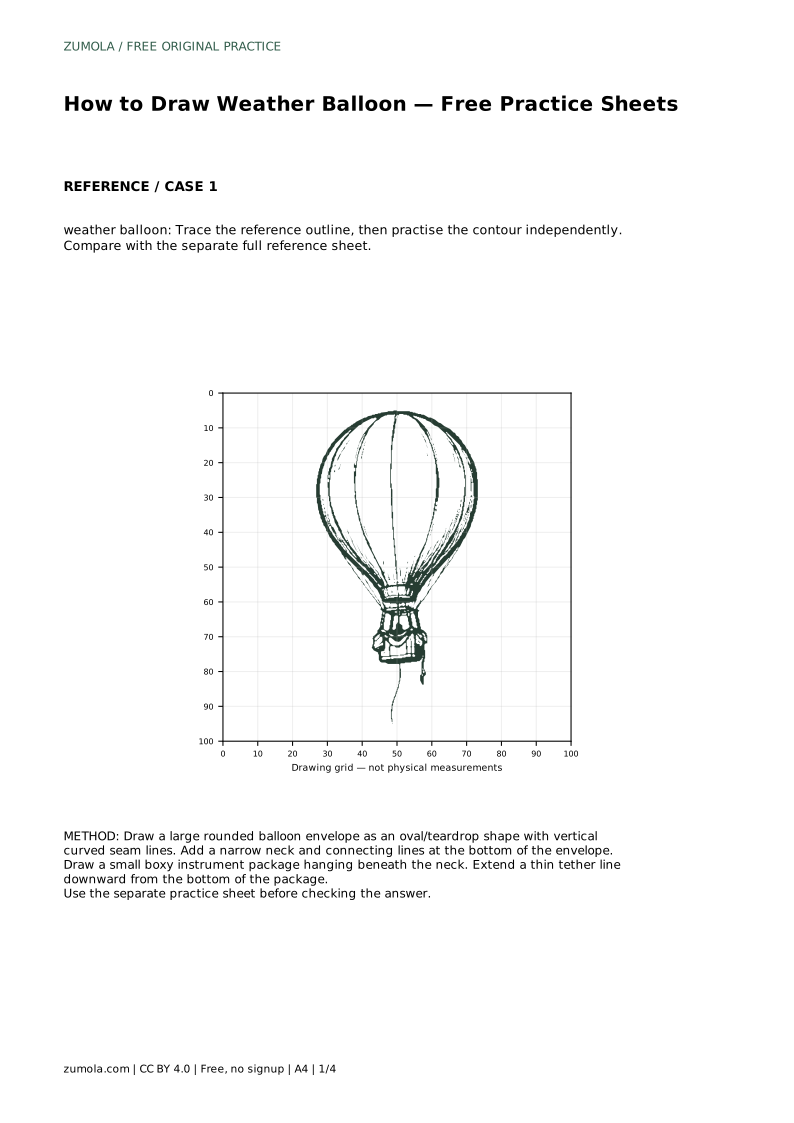
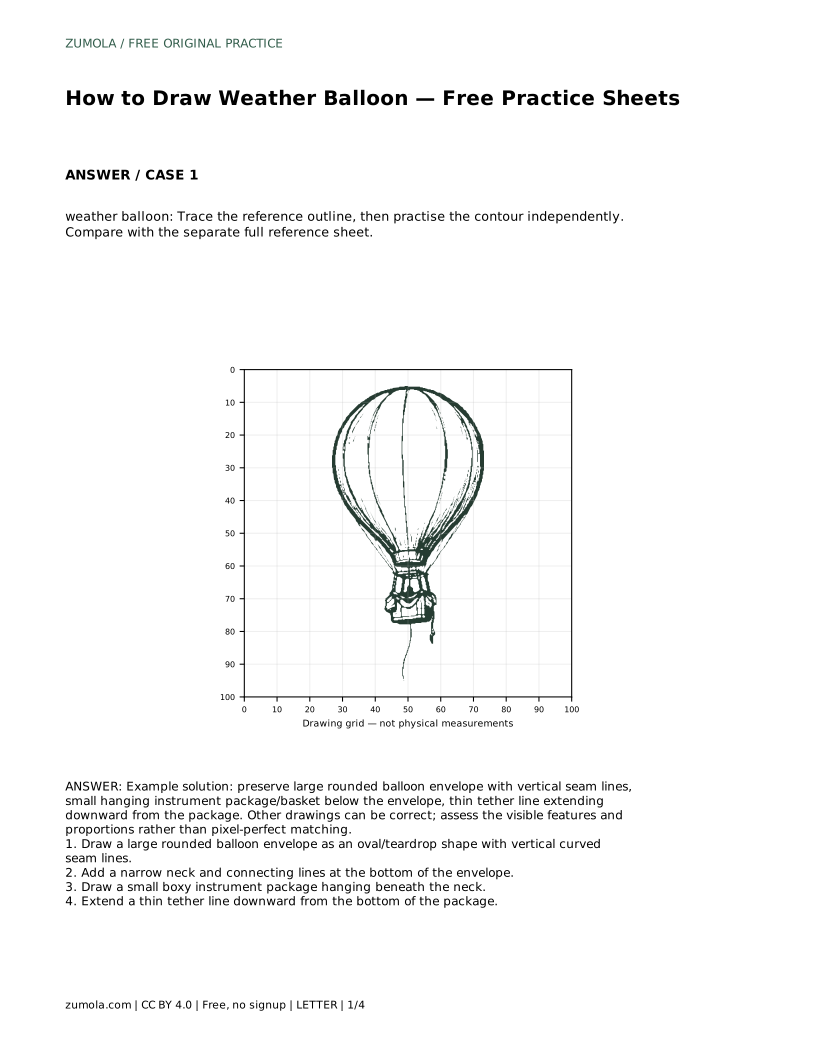
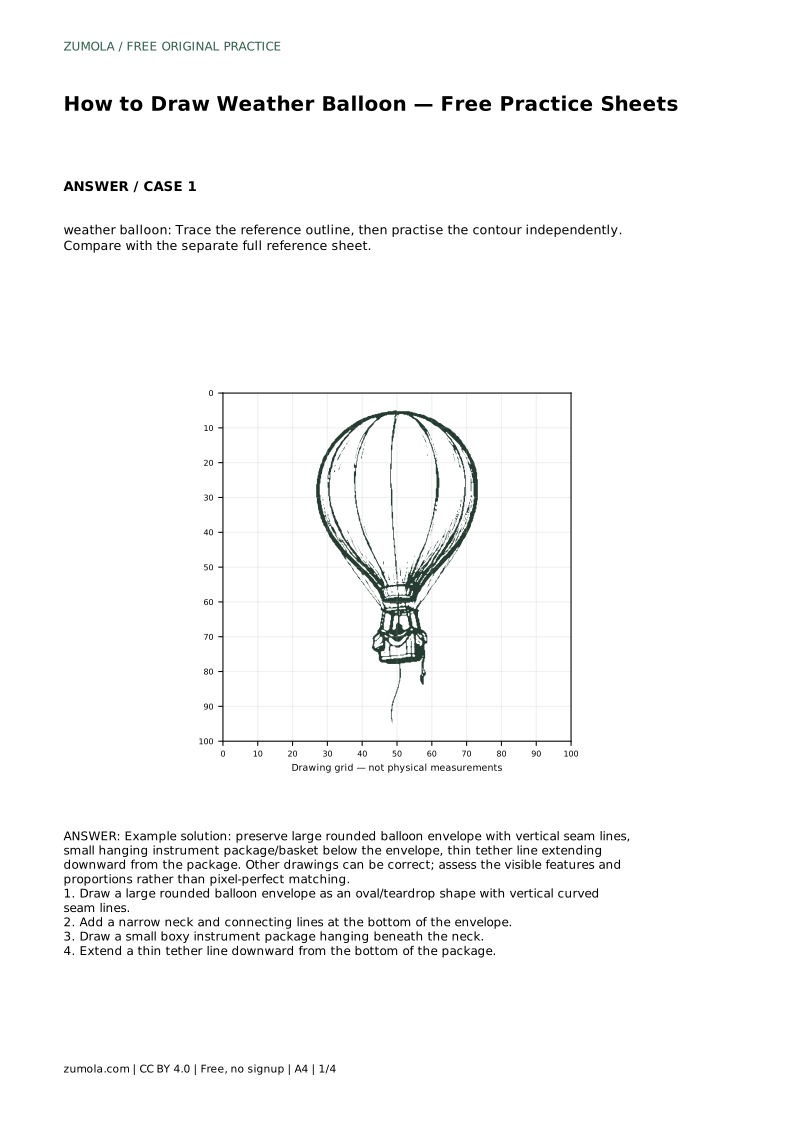
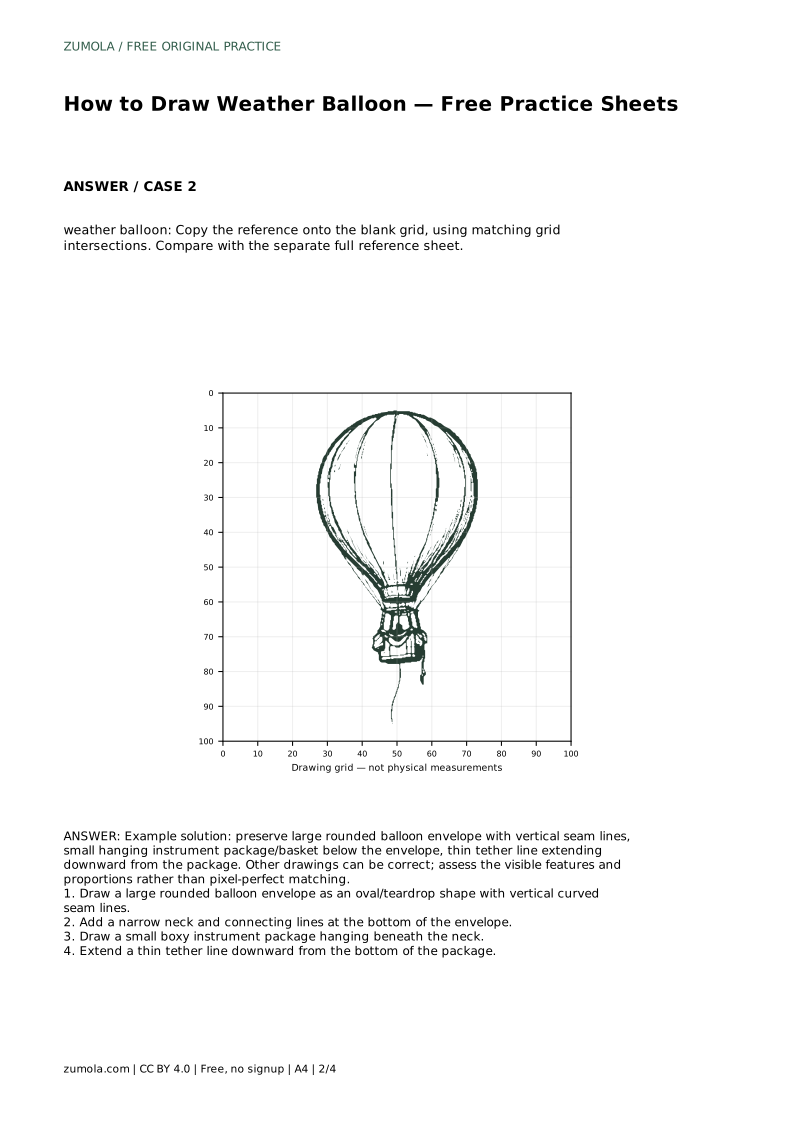
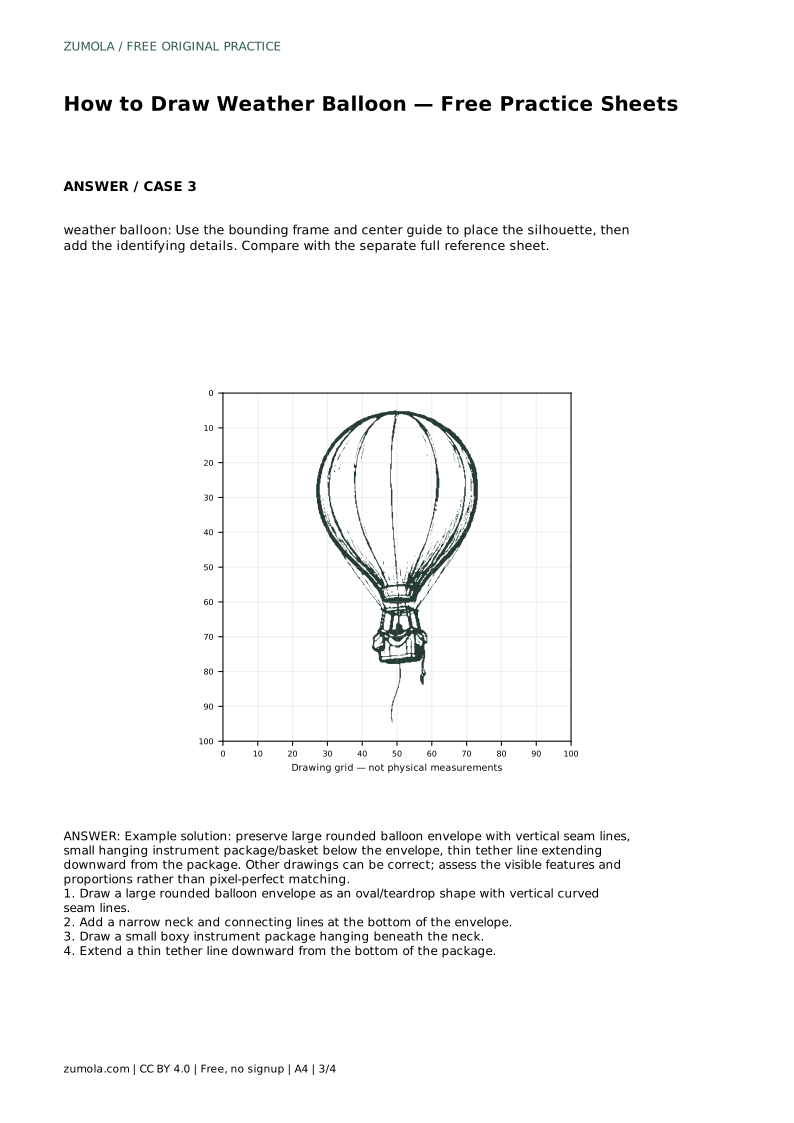
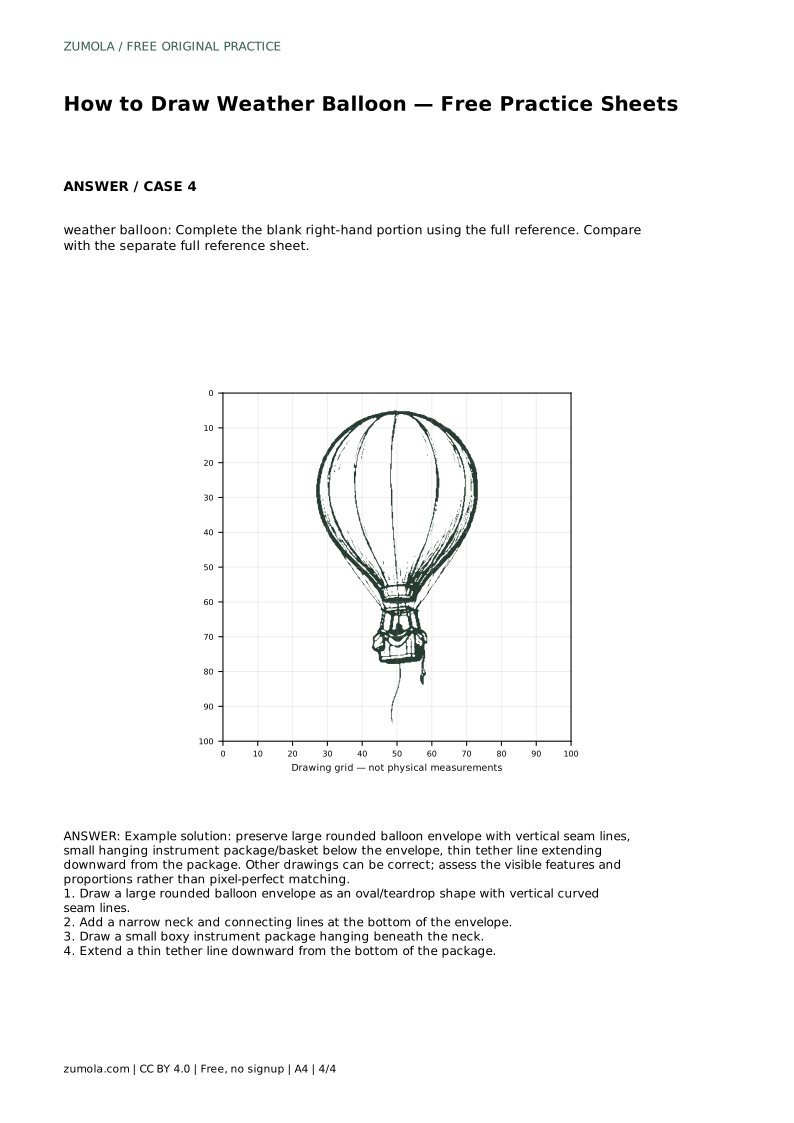
A weather balloon drawing is built from a few clear parts: a large rounded envelope, curved seam lines, a narrow neck, a small instrument package, and a thin tether. This page explains how to practise those parts across different sheet formats, from tracing to independent contour drawing. Because drawings can vary, you will judge your work by visible features and proportions rather than an exact match.
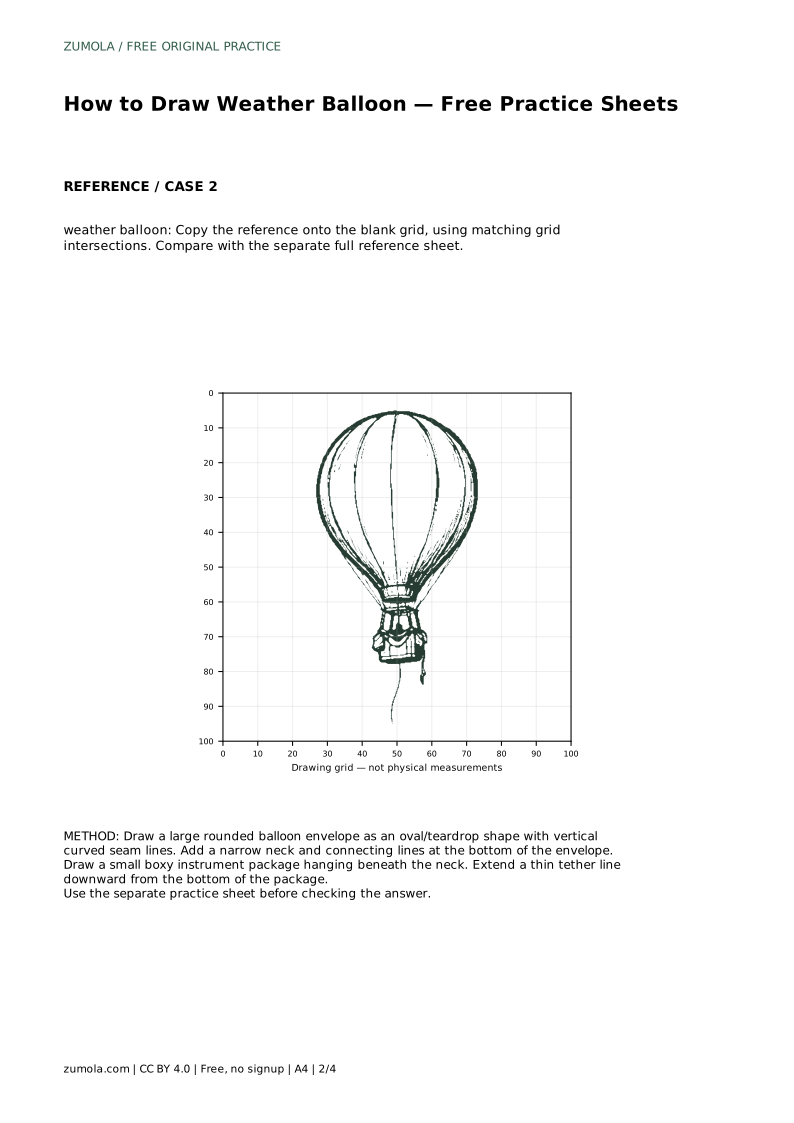
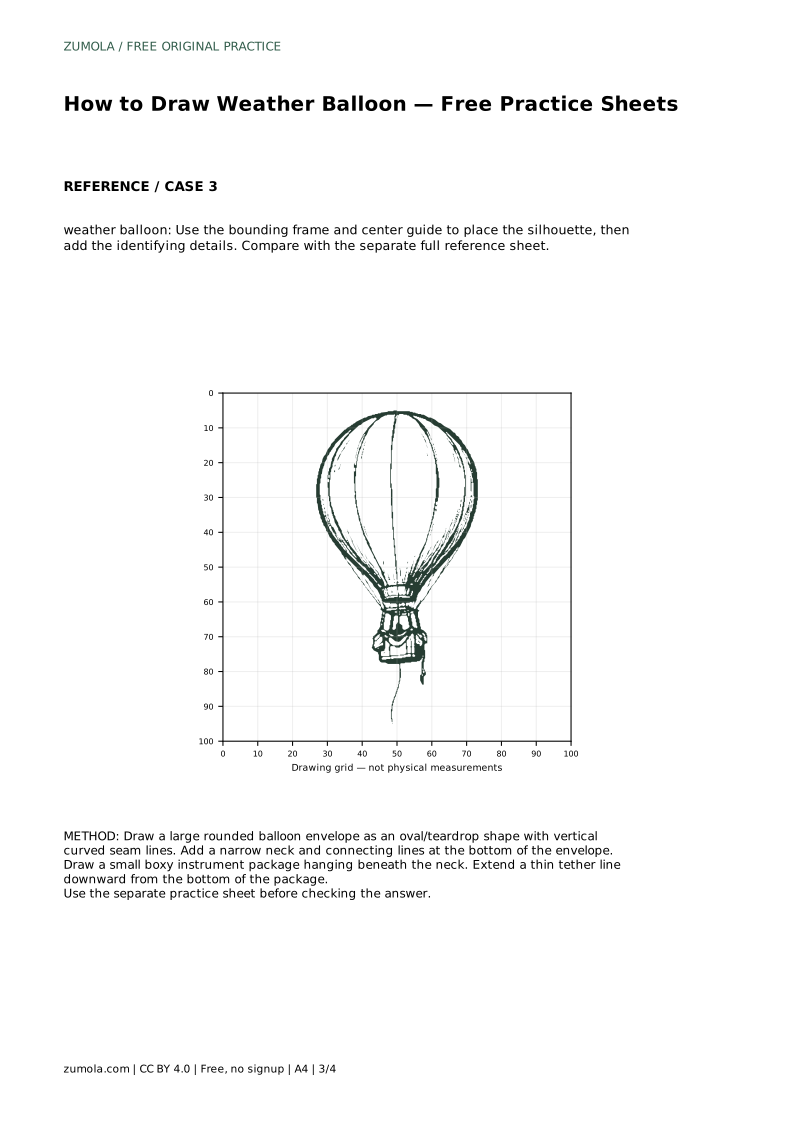
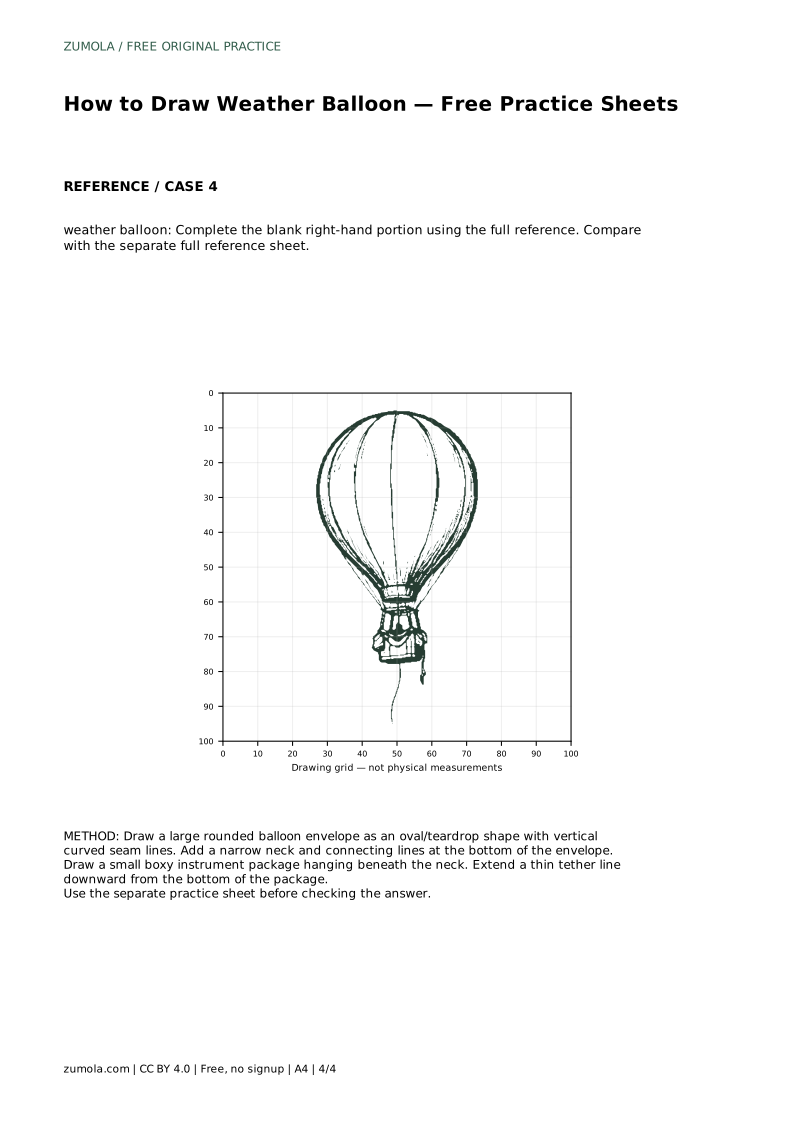
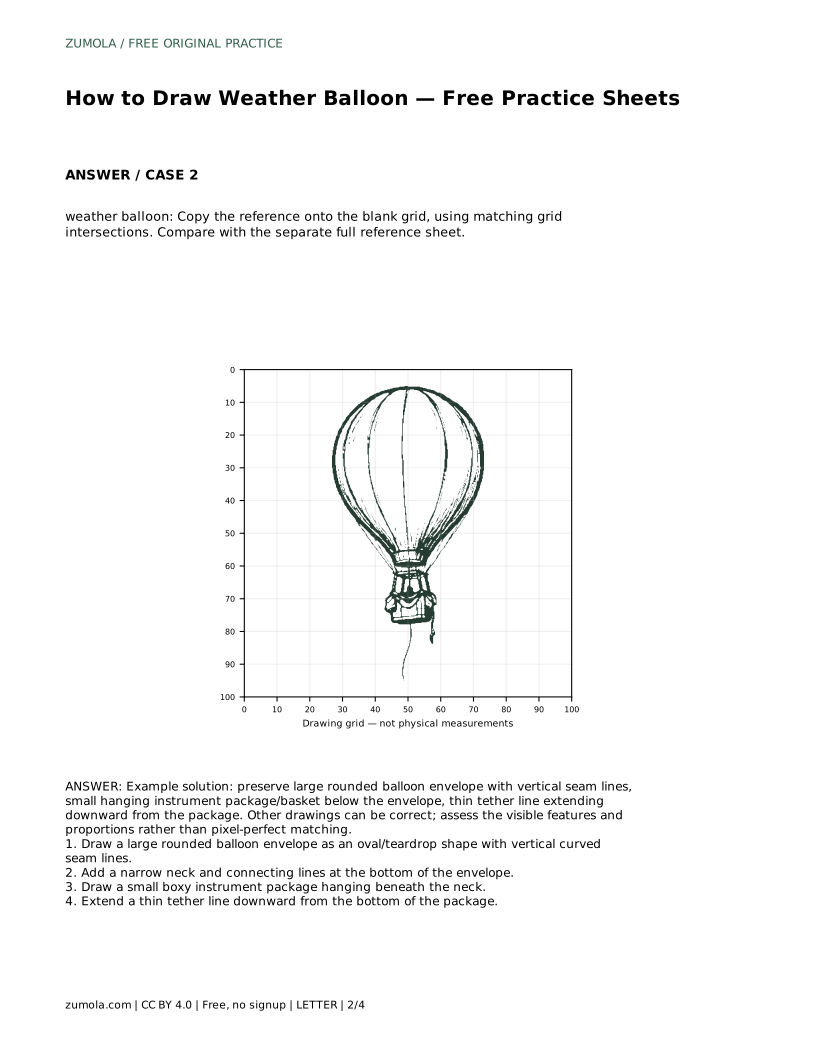
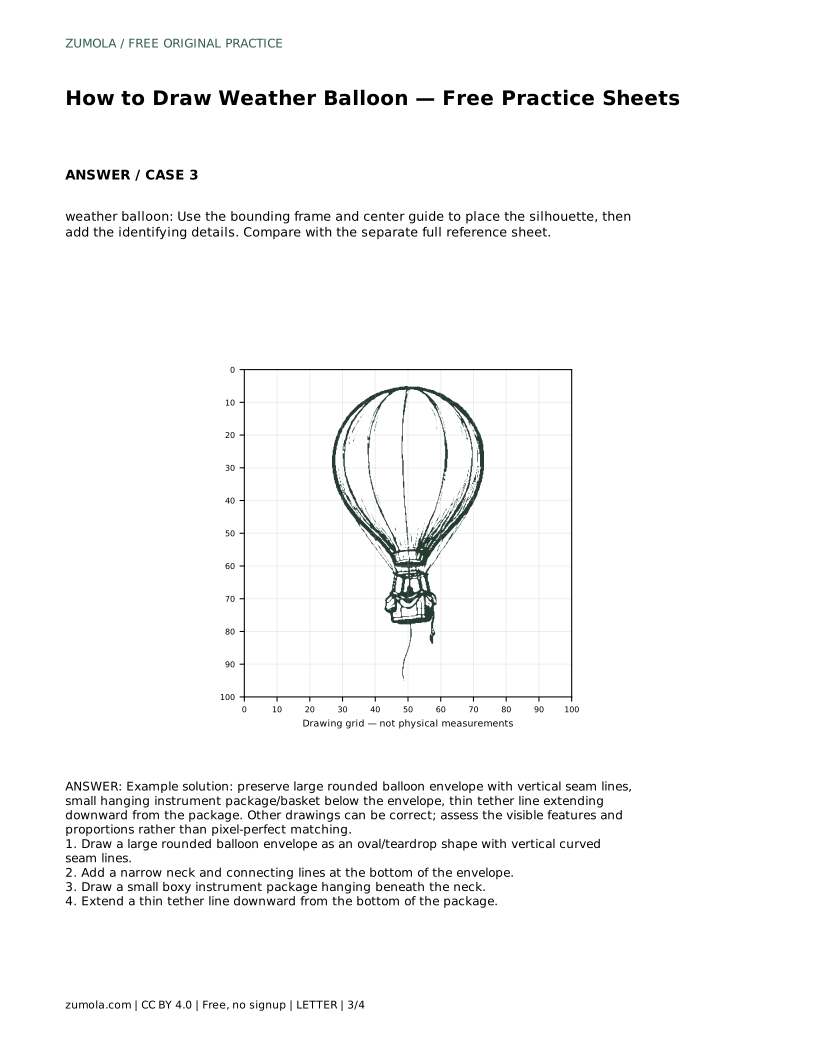
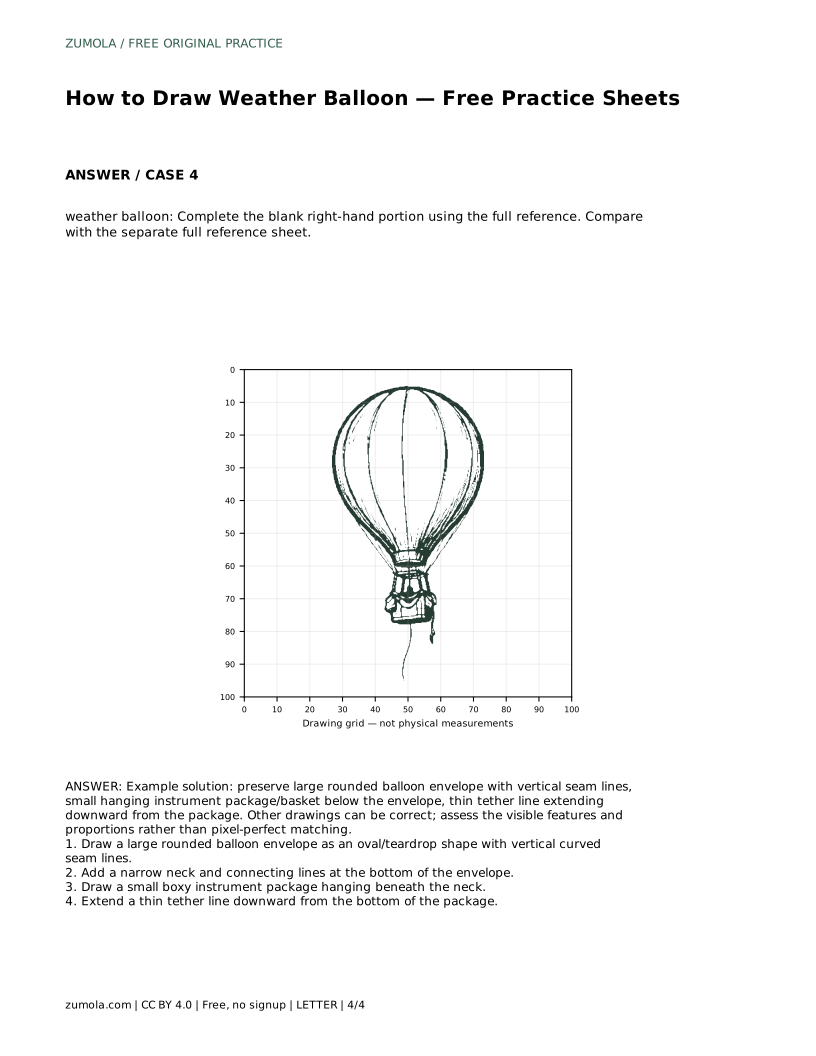
Before drawing, look at the reference and name each part in order from top to bottom. The envelope is the largest shape: a rounded oval or teardrop that is wider near the top and narrows toward the bottom. Vertical curved seam lines run down the envelope and help show its roundness. Below the envelope, a narrow neck connects to a small boxy instrument package. A thin tether line extends downward from the package.
Treat these as the identifying features. A correct drawing keeps all of them visible and in sensible proportion. The envelope should clearly dominate, the package should stay small, and the tether should read as a thin line rather than a thick rope. You do not need to copy every curve exactly; you need to preserve the structure.
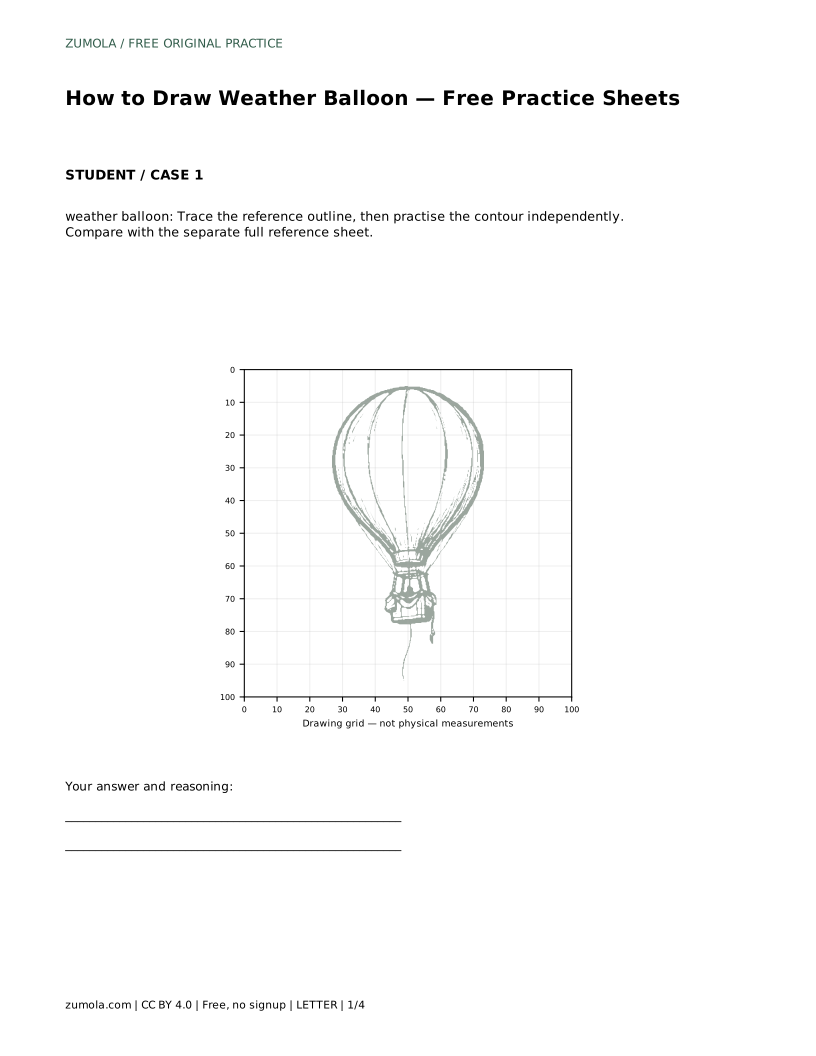
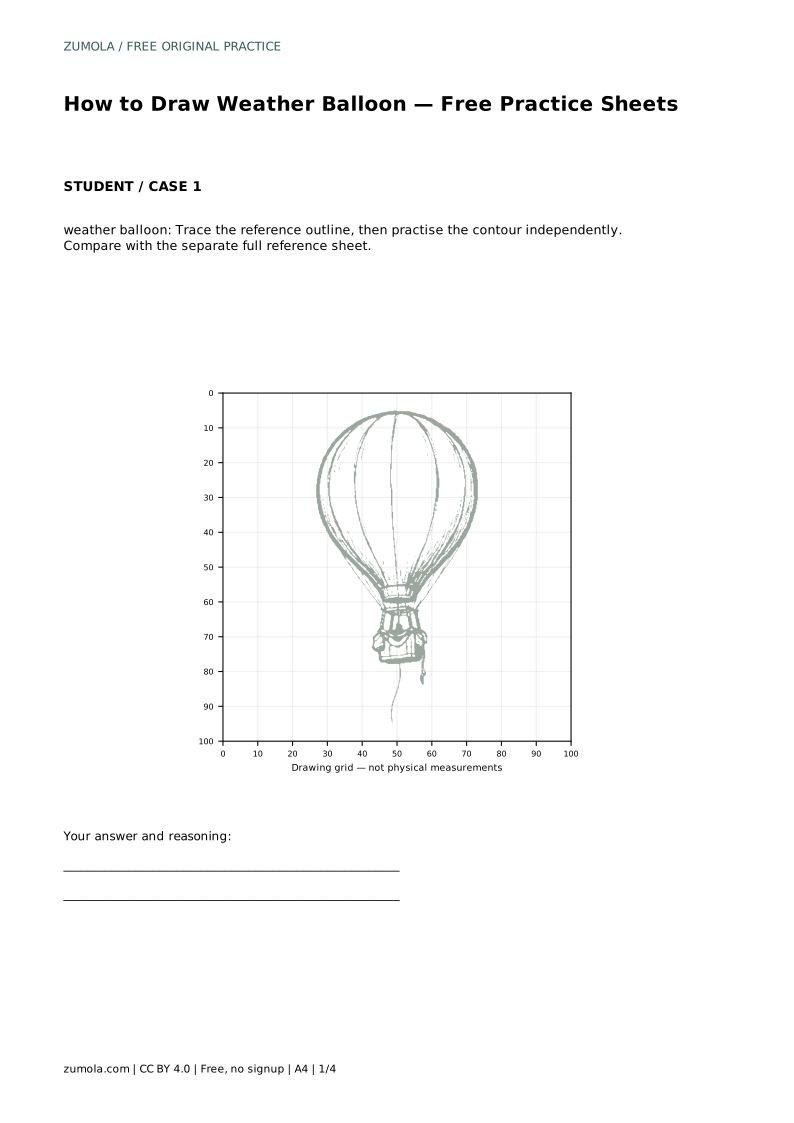
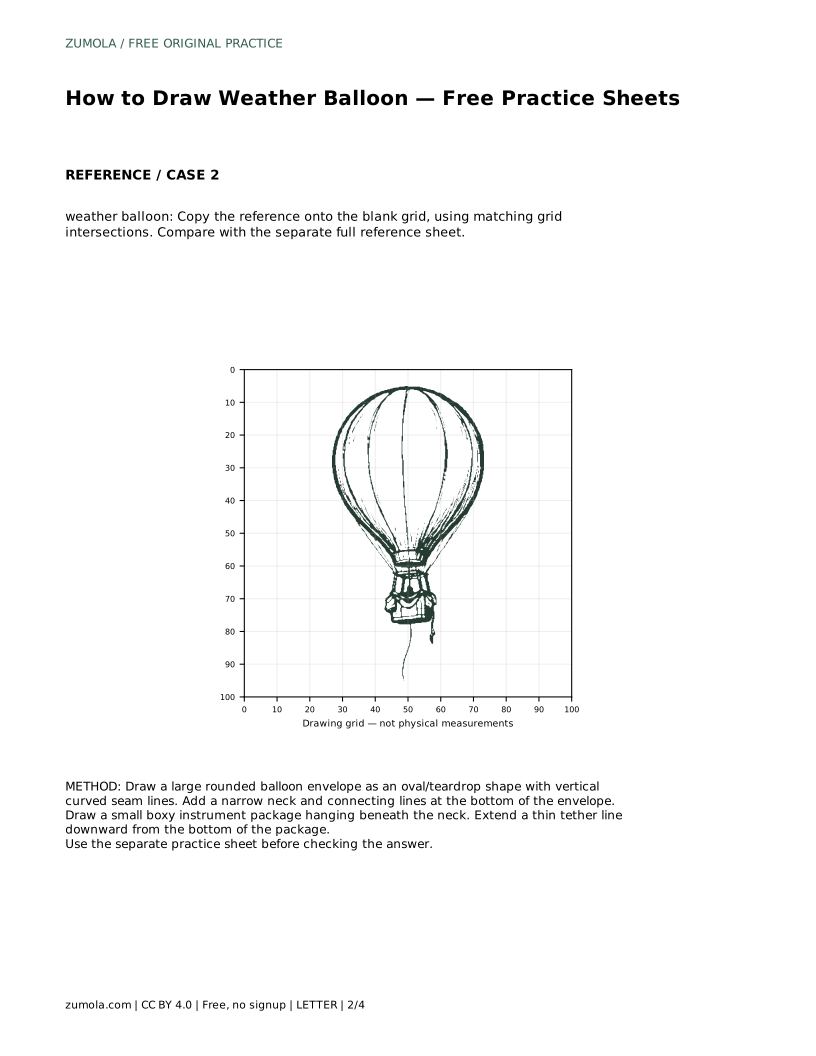
Start with the tracing practice. Follow the reference outline closely enough to feel how the envelope curves and how the neck narrows. Tracing builds familiarity with the shape, but it does not replace independent drawing. After one traced pass, move to a blank area and draw the same contour without following the printed line.
When you compare your independent contour with the separate full reference sheet, check the large shape first. Is the envelope still rounded and slightly teardrop-shaped? Does it narrow toward the neck? Only then check the smaller details. This order prevents you from fussing over the package while the main silhouette is off.
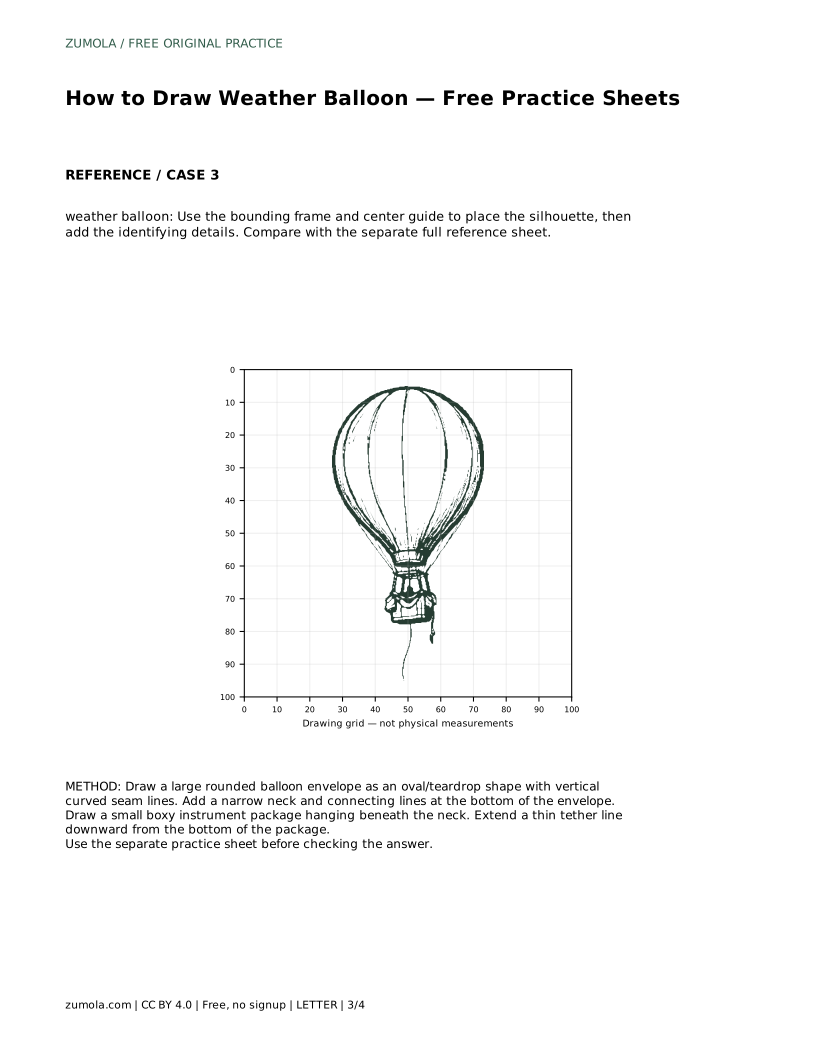
A grid sheet helps with placement. Copy the reference onto the blank grid by matching where key points fall at grid intersections. For example, note where the widest part of the envelope sits and where the package hangs relative to the envelope. The grid is a placement aid, not a requirement to make every line perfectly straight.
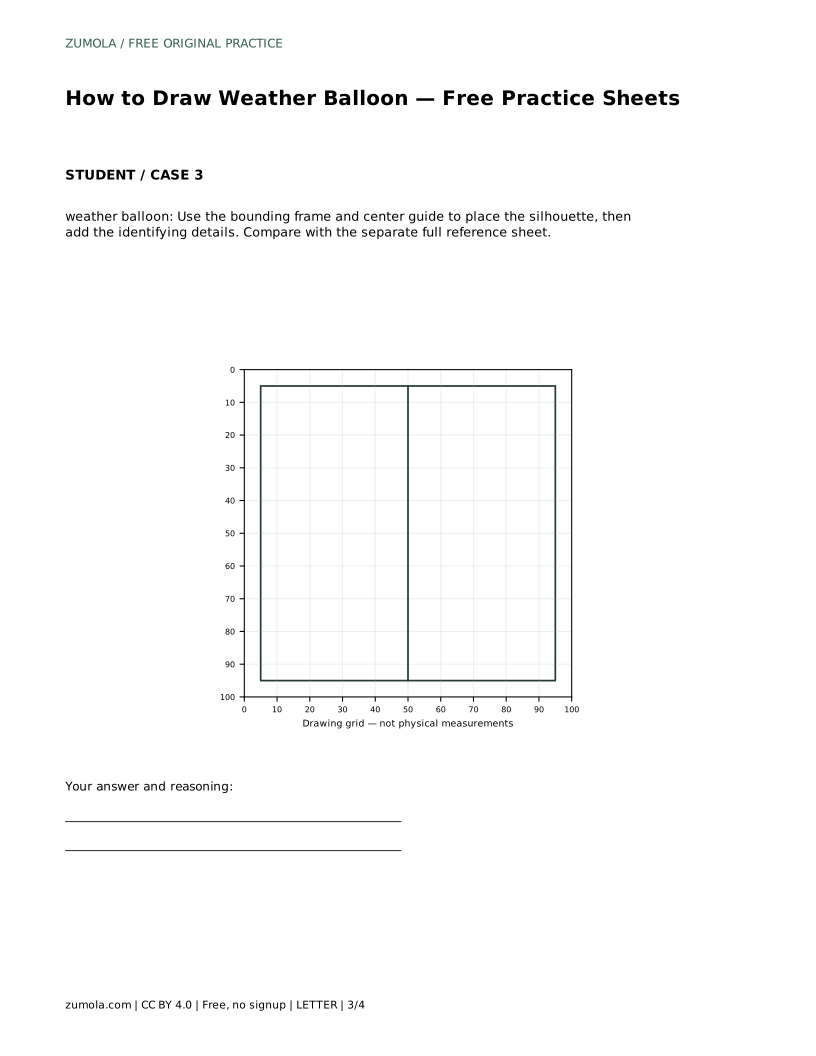
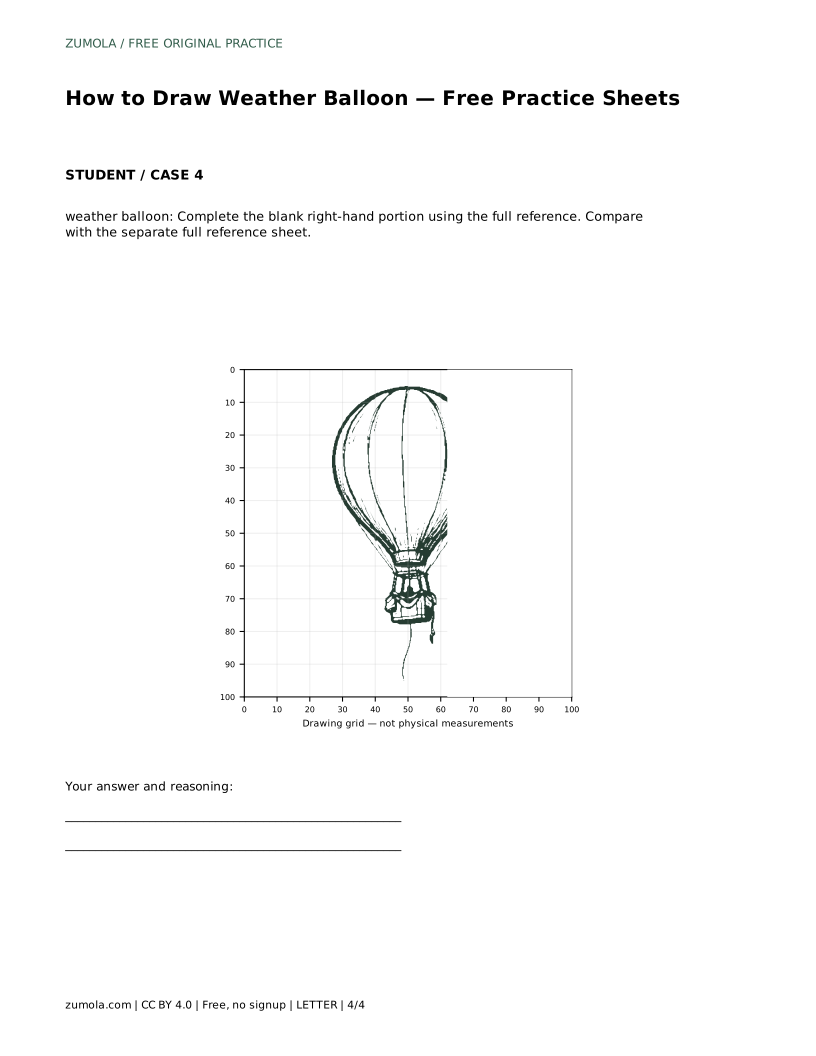
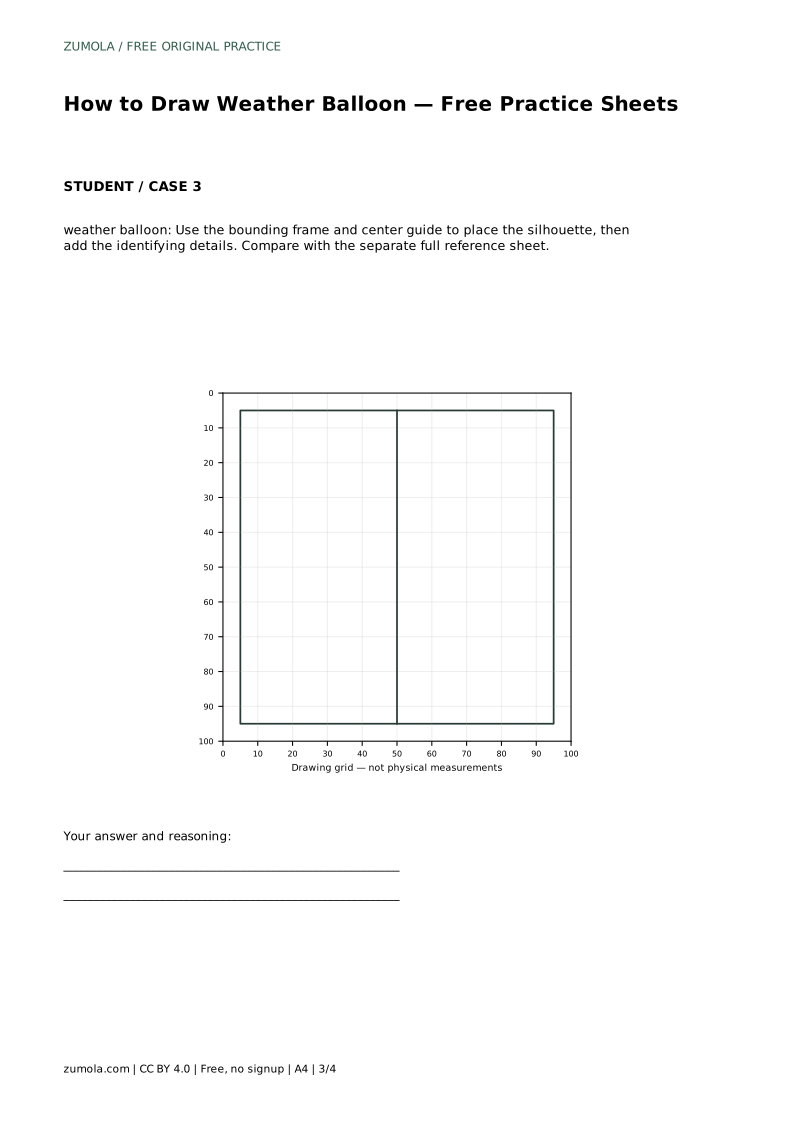
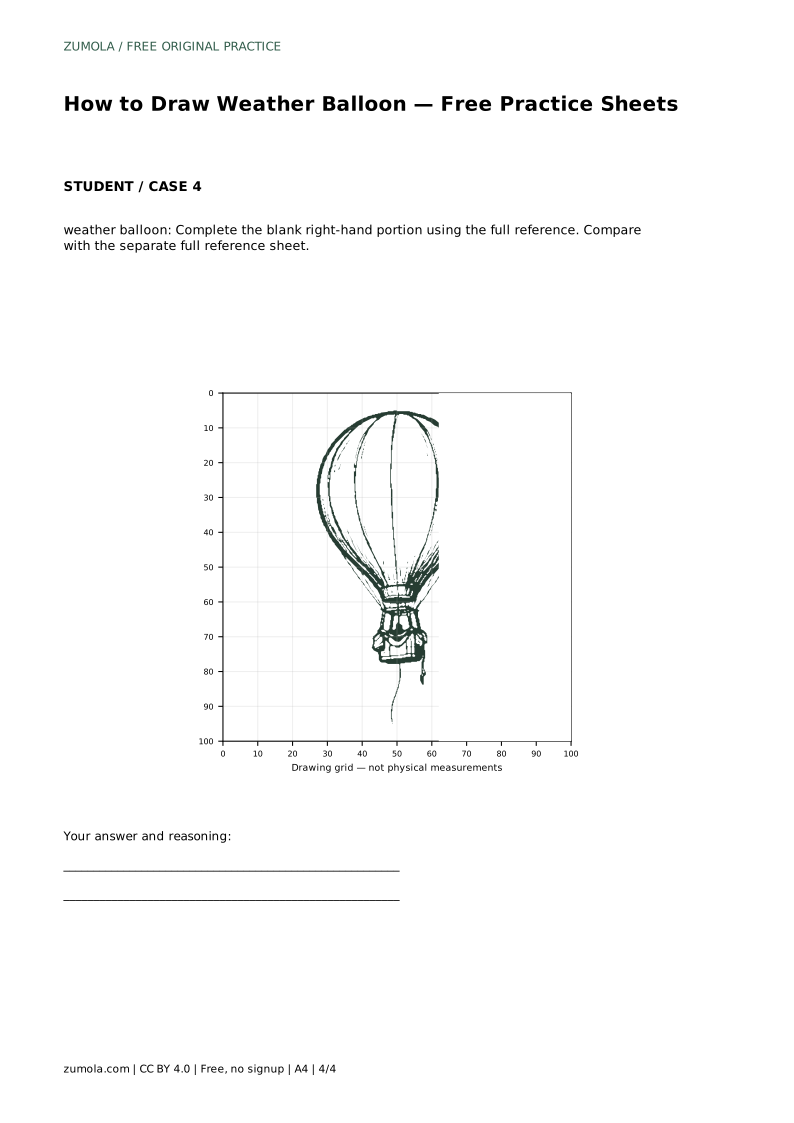
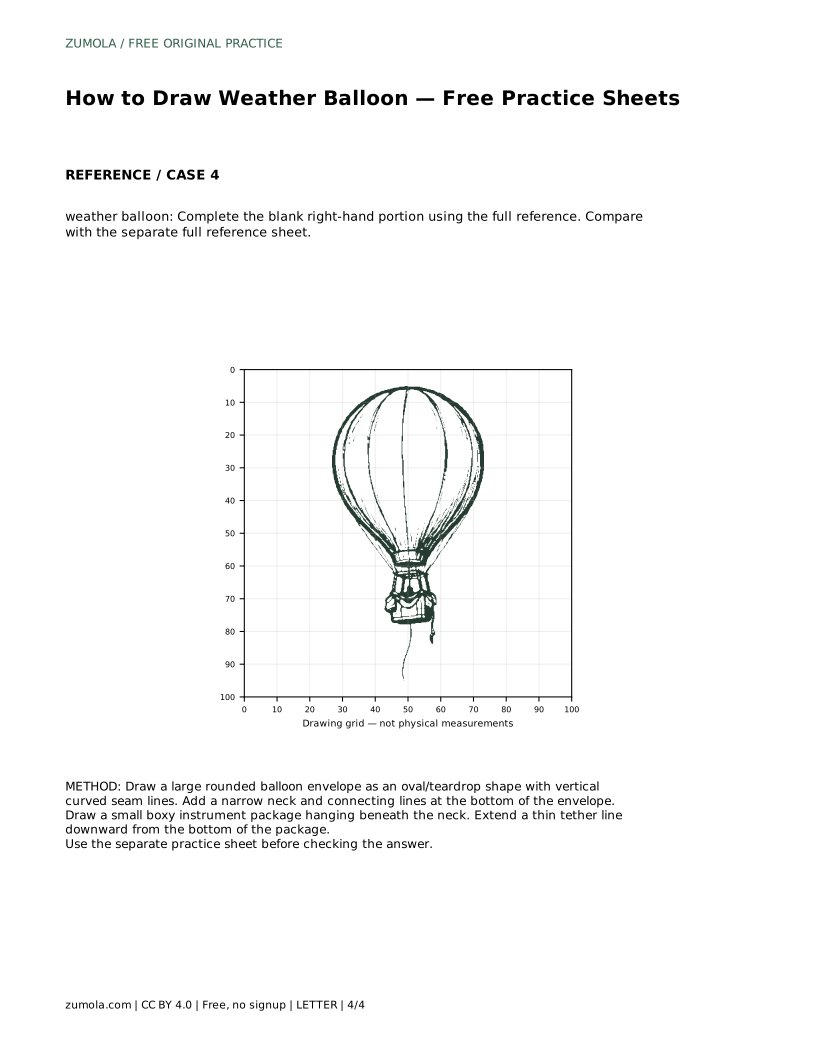
A bounding frame and center guide work differently. Use the frame to keep the whole drawing inside a set area, and use the center guide to balance the balloon left and right. Place the silhouette first, then add the seam lines, neck, package, and tether. On a partial sheet with a blank right-hand portion, complete the missing side using the full reference, keeping the envelope symmetrical enough to read as one rounded shape.
Proportion is the main thing to review. The package should be much smaller than the envelope, and the tether should be noticeably thinner than the neck. Seam lines should curve with the envelope rather than run straight across it. If your envelope looks like a circle, check whether it narrows toward the bottom; if the package looks too heavy, reduce its size.
Keep the drawing simple and readable. Erase stray construction marks, darken the final contour, and leave the tether as a single clean line. A tidy drawing with clear parts is more successful than a busy one with uncertain shapes.
weather balloon: Trace the reference outline, then practise the contour independently. Compare with the separate full reference sheet.
Example solution: preserve large rounded balloon envelope with vertical seam lines, small hanging instrument package/basket below the envelope, thin tether line extending downward from the package. Other drawings can be correct; assess the visible features and proportions rather than pixel-perfect matching. Draw a large rounded balloon envelope as an oval/teardrop shape with vertical curved seam lines. Add a narrow neck and connecting lines at the bottom of the envelope. Draw a small boxy instrument package hanging beneath the neck. Extend a thin tether line downward from the bottom of the package.
No. Several drawings can be correct. Assess whether the envelope, seam lines, neck, package, and tether are all visible and in sensible proportion.
Draw the large envelope silhouette first, then add the neck, package, and tether. This keeps the main shape under control before small details.
Match key points, such as the widest part of the envelope and the package position, to grid intersections. Use the grid for placement, not for forcing every line to be straight.
All drawing practice · Free coordinate paper
Original resources · CC BY 4.0 · Free for personal and classroom use with attribution.