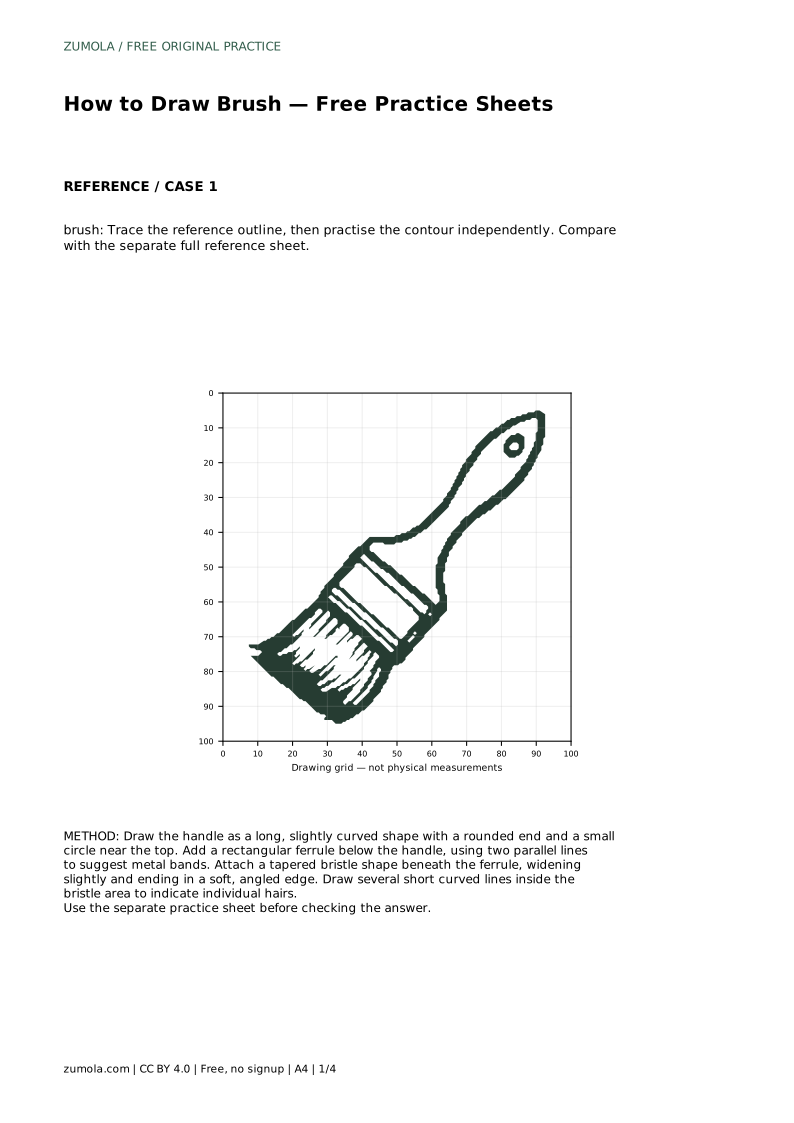
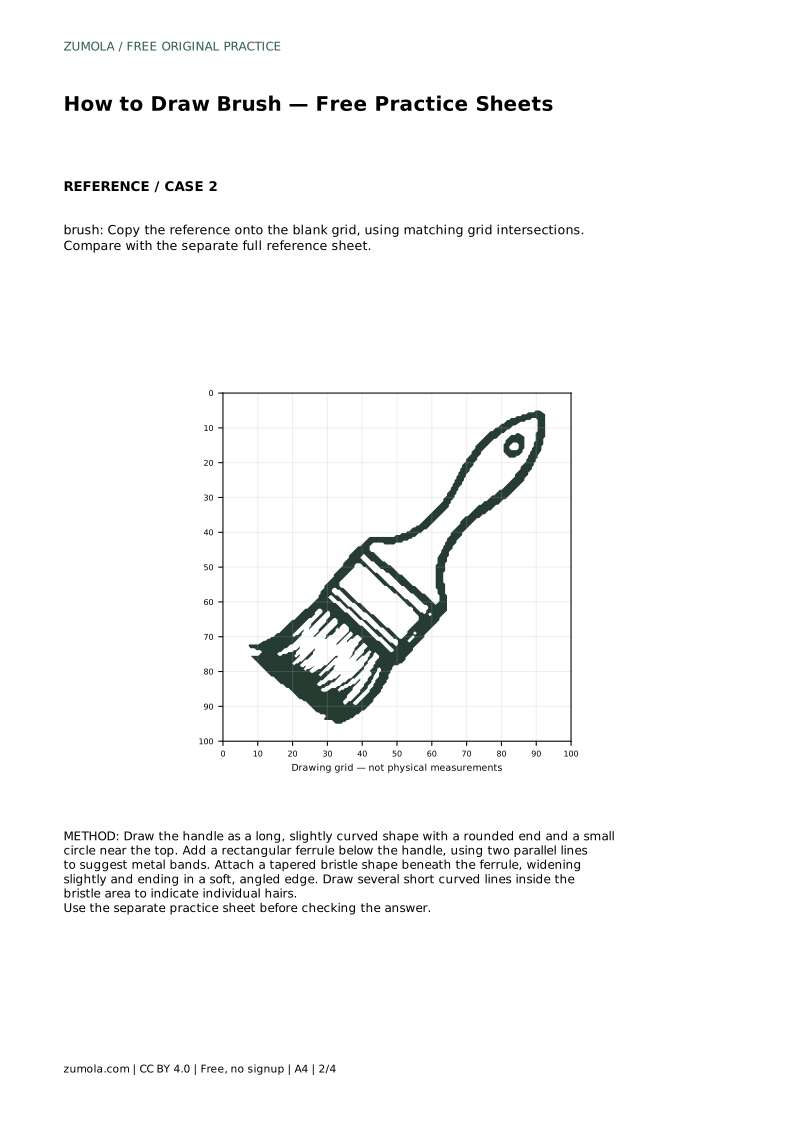
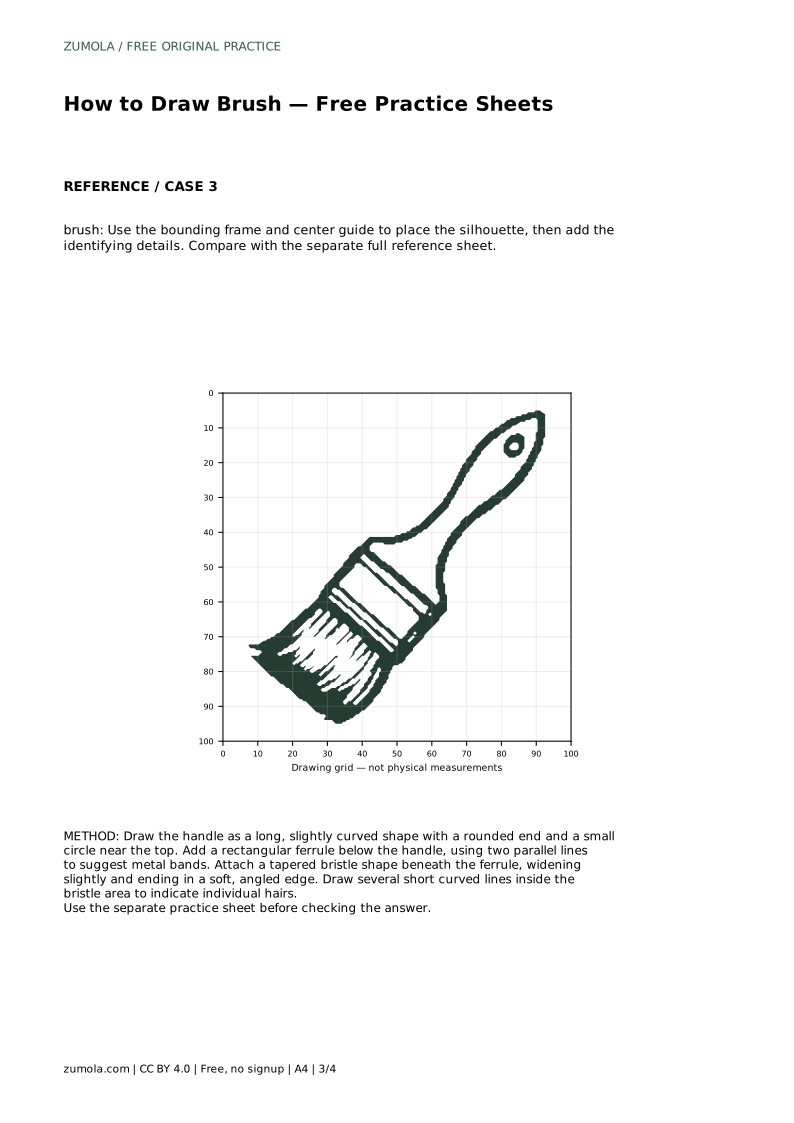
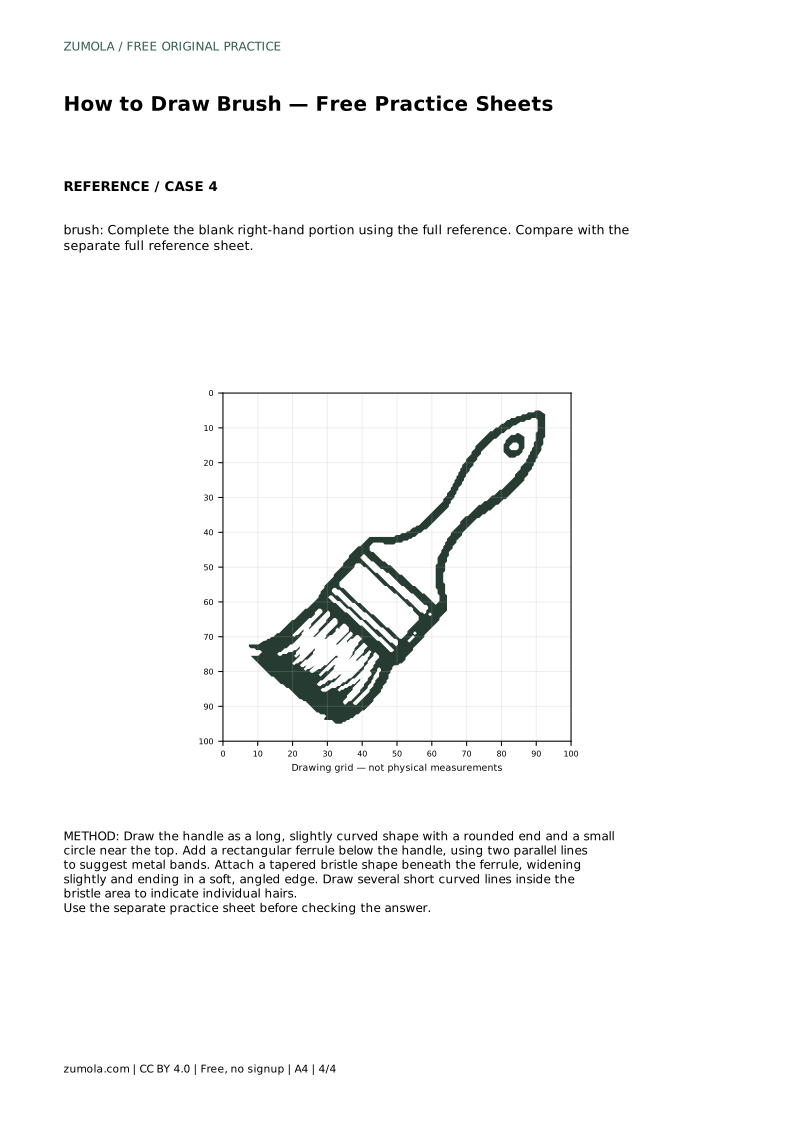
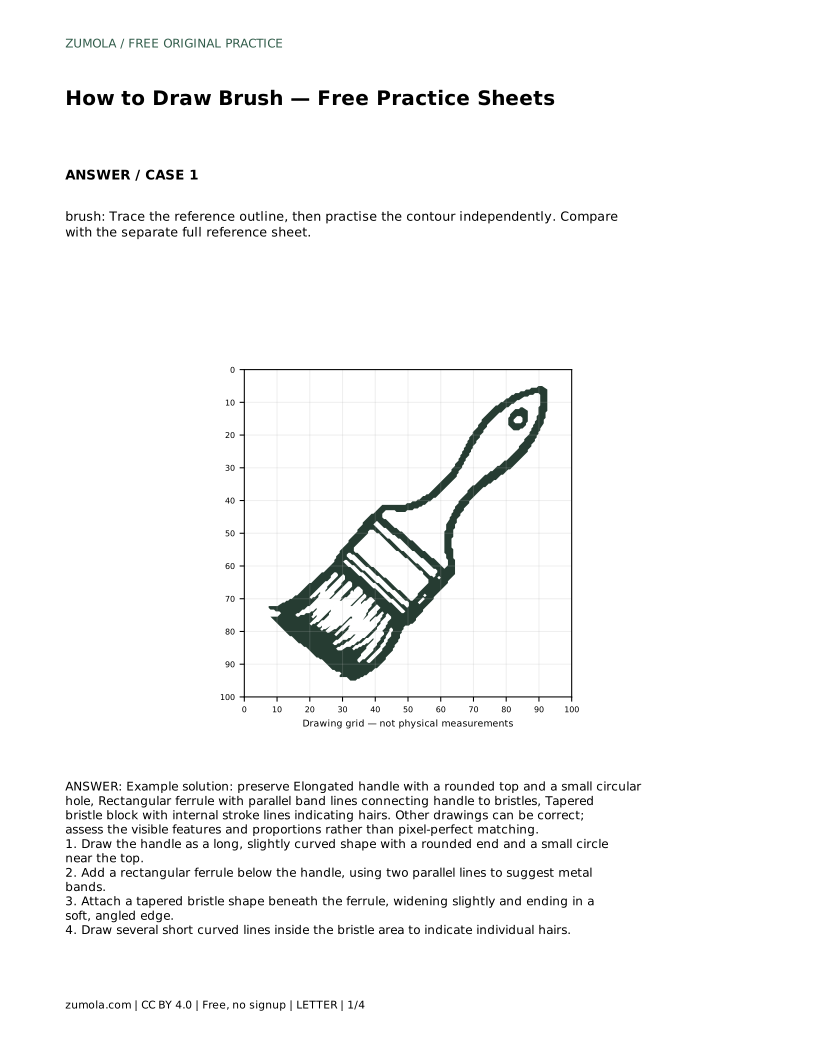
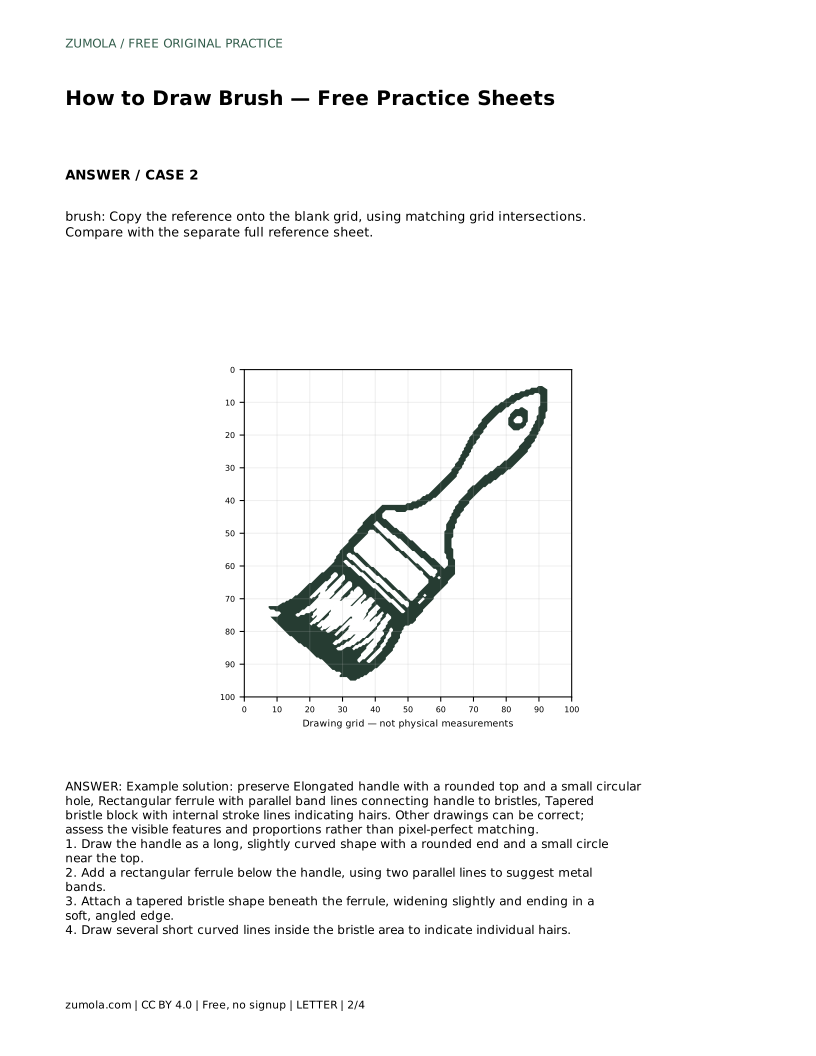
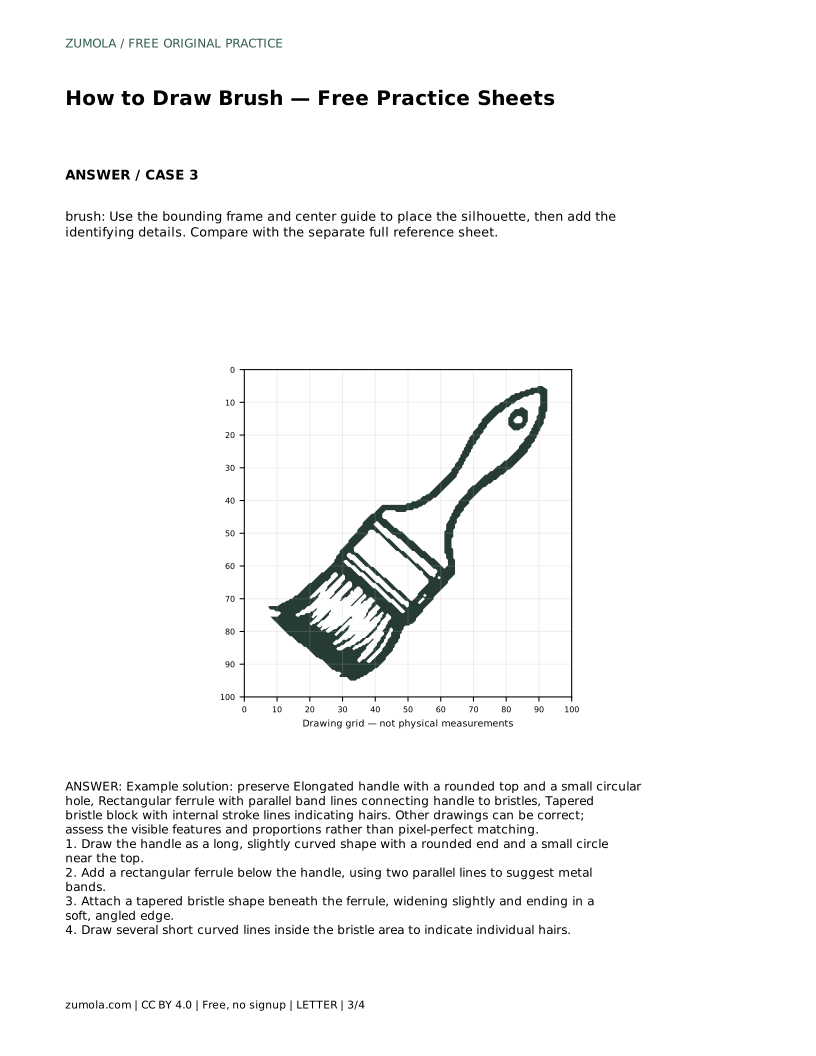
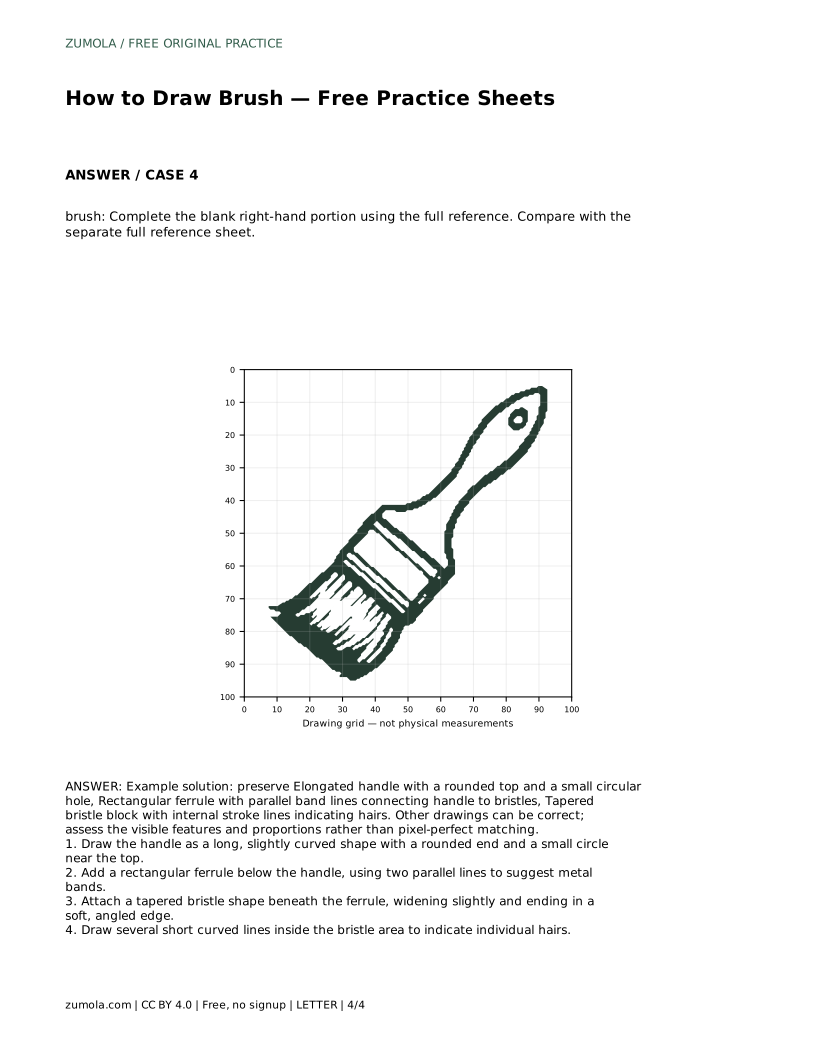
Reference diagrams
LETTER · Download PDF
A4 · Download PDF
Free original resources
Learn to draw a paintbrush by building the handle, ferrule, and bristles in order. Trace, grid, and frame practice sheets help you check shape and proportion.
Four original cases, with reference diagrams, practice sheets and worked answers. Everything is free; no signup required.
LETTER · Download PDF
A4 · Download PDF
LETTER · Download PDF
A4 · Download PDF
LETTER · Download PDF
A4 · Download PDF
Use A4 or US Letter to match your printer. Use the stated values and conditions to solve each exercise; diagrams are not physical measuring rulers.
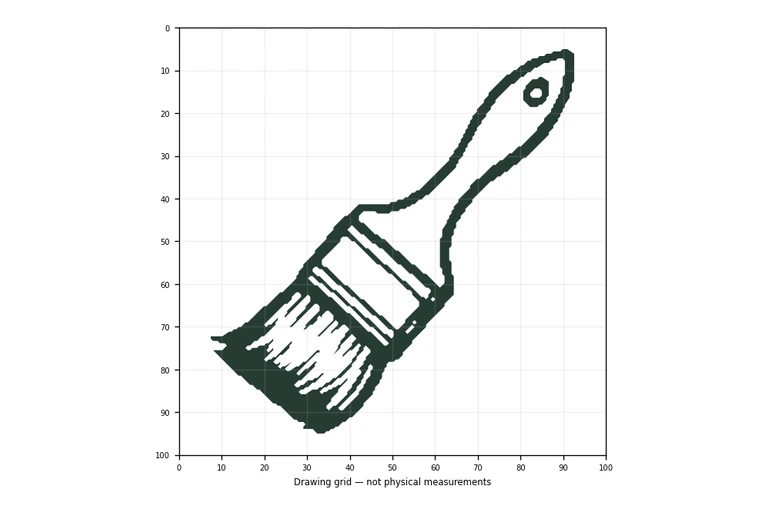
A paintbrush is a useful drawing subject because its parts are easy to name and check: a long handle, a metal ferrule, and a tapered bristle block. This page explains how to build those parts in a sensible order, then how to use tracing, grid, and frame practice sheets to compare your drawing with a reference. The goal is not a pixel-perfect copy. Different drawings can be correct when the visible features and proportions hold together.
Start with the largest and simplest part: the handle. Draw it as a long, slightly curved shape with a rounded top. Near the top, add a small circle to represent the hanging hole. Keep the handle narrow enough that the ferrule and bristles still look like the working end of the brush.
Next, add the ferrule below the handle. Treat it as a rectangular band, using two parallel lines to suggest the metal bands that connect the handle to the bristles. The ferrule should sit squarely between the handle and the bristle block, not float apart from either.
Finally, attach the bristles beneath the ferrule. Draw a tapered shape that widens slightly and ends in a soft, angled edge. Inside the bristle area, add several short curved lines to indicate individual hairs. These lines should follow the direction of the bristles rather than cross them at random.
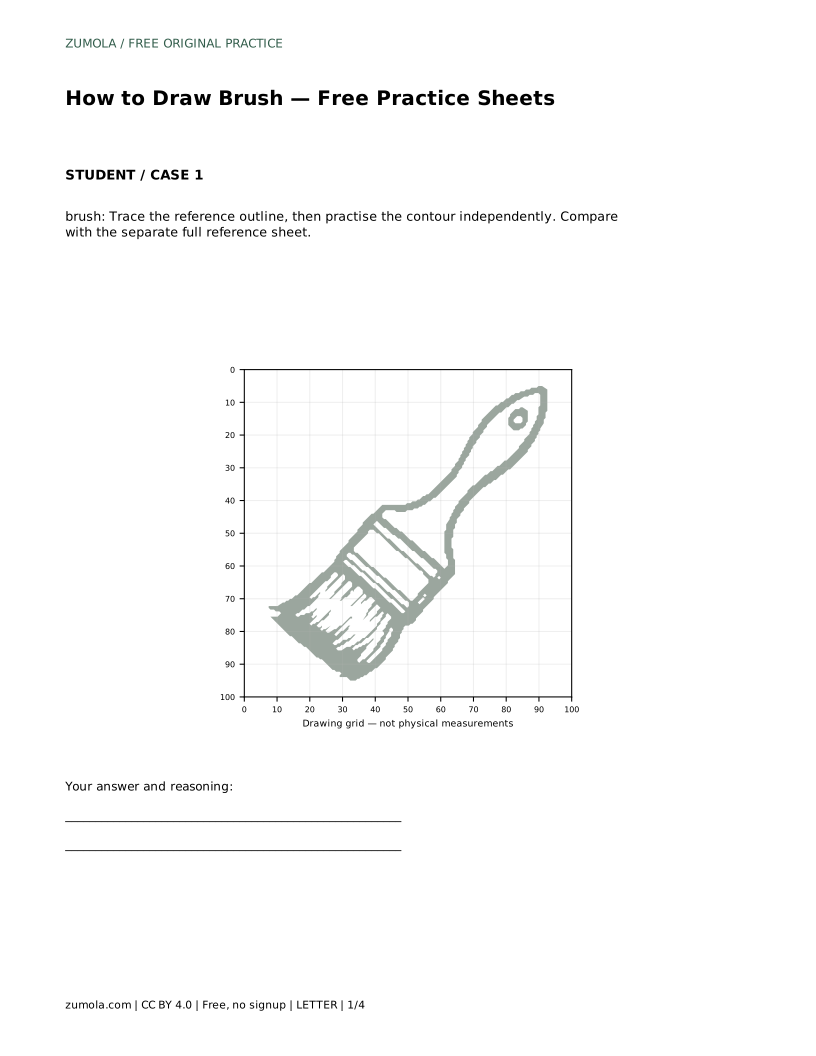
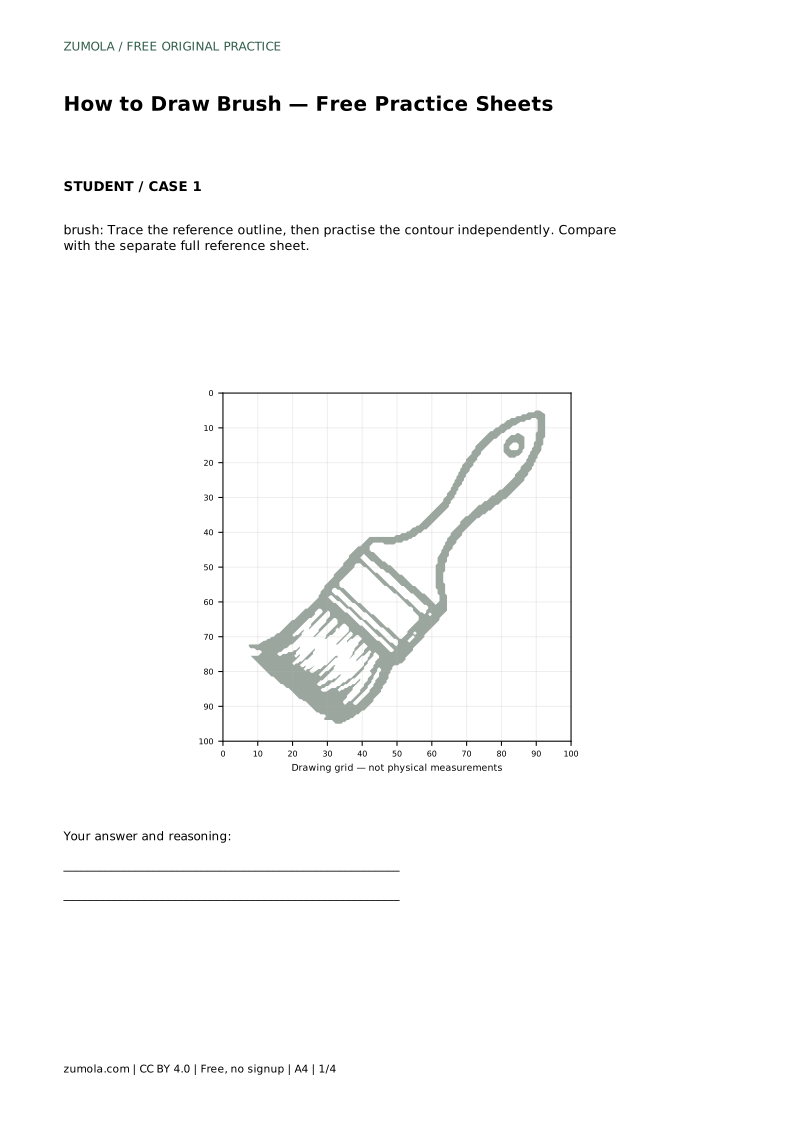
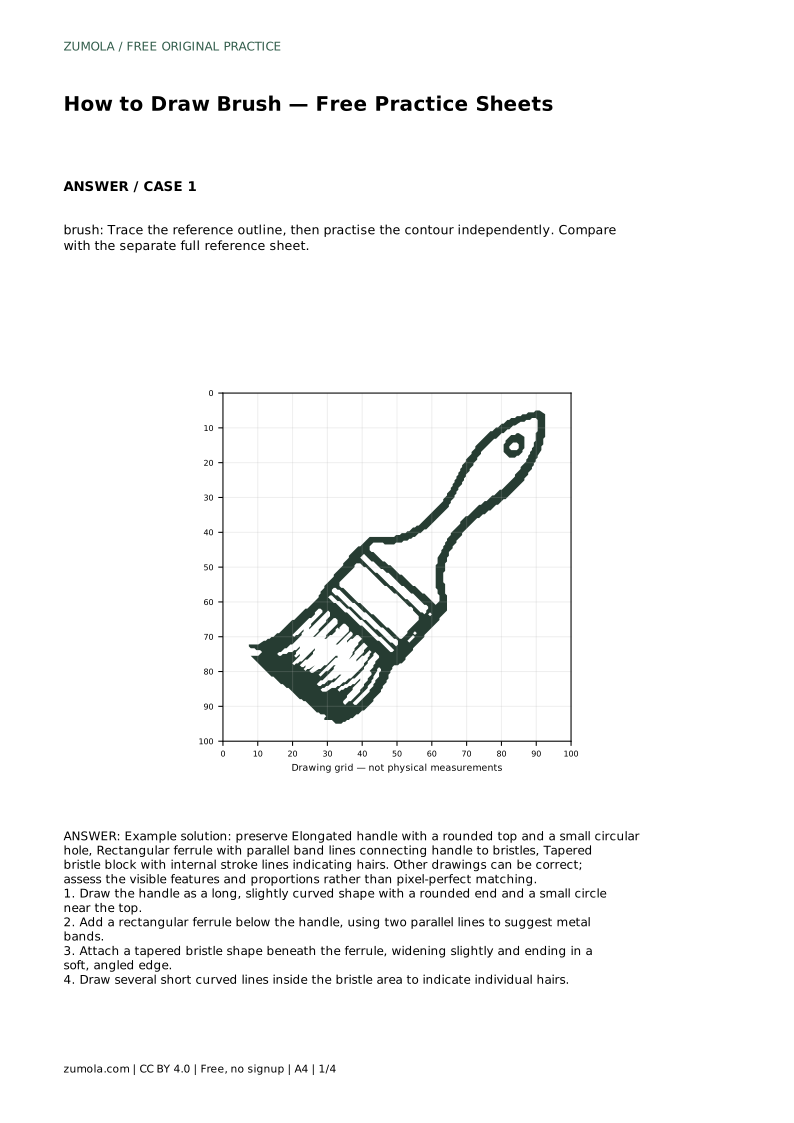
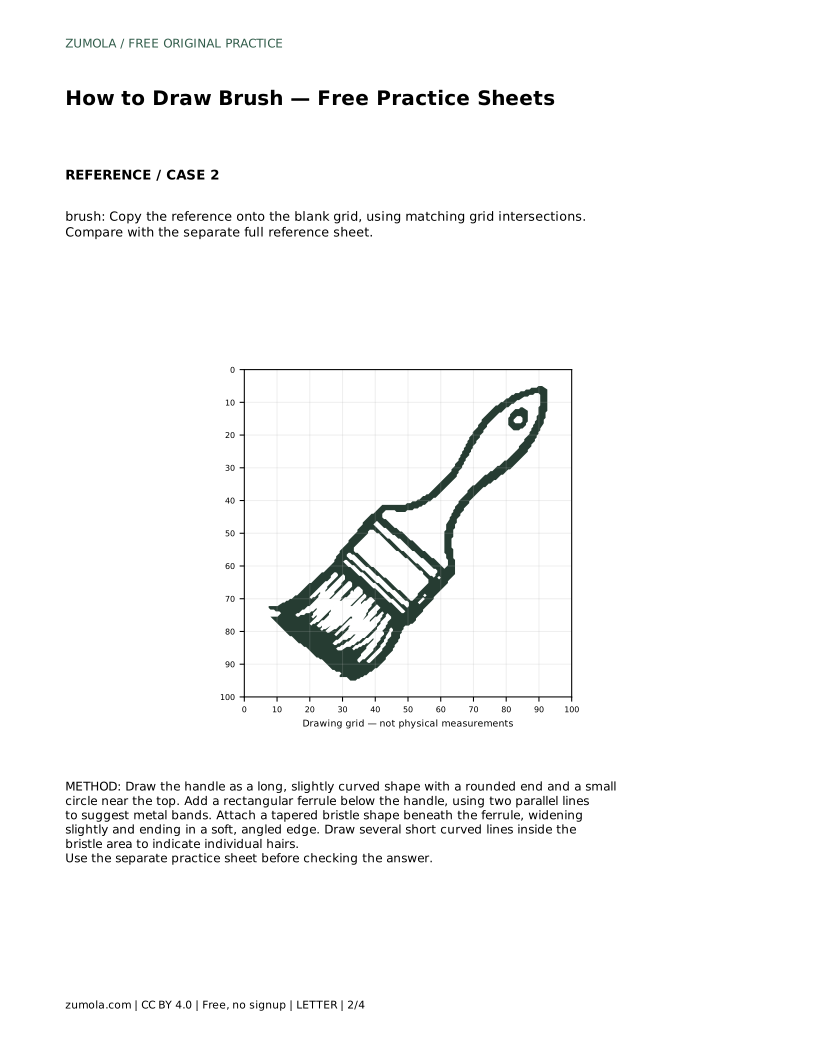
The tracing sheet asks you to follow the reference outline first, then practise the contour independently. Tracing helps you feel the order of the parts; the independent pass shows whether you can reproduce that order without the outline underneath.
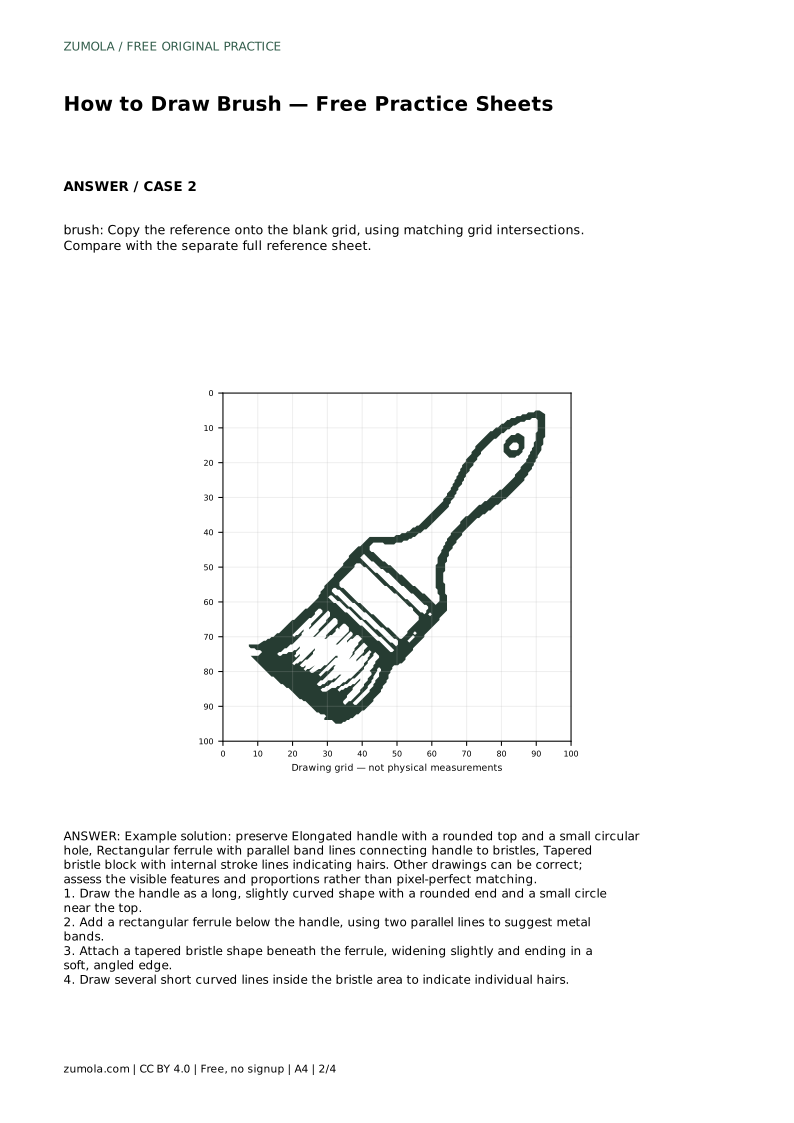
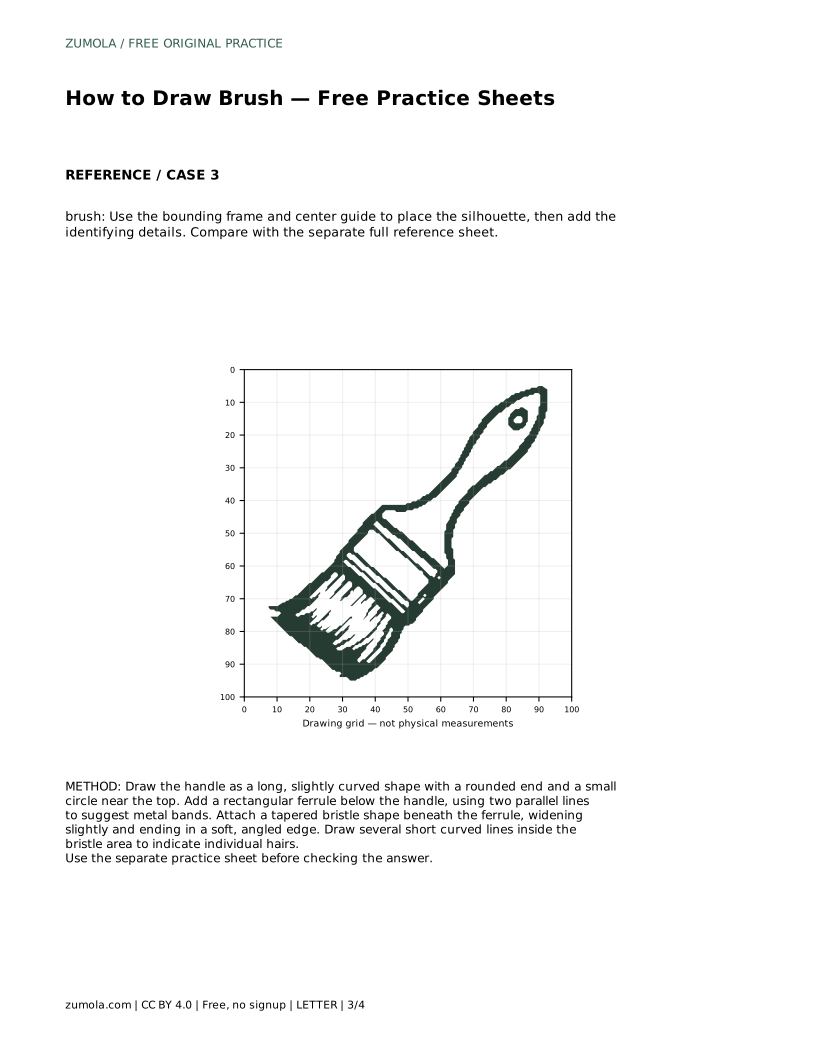
The grid sheet asks you to copy the reference onto a blank grid using matching grid intersections. Use the grid to compare where the handle ends, where the ferrule begins, and how far the bristles extend. Count squares rather than guessing distances.
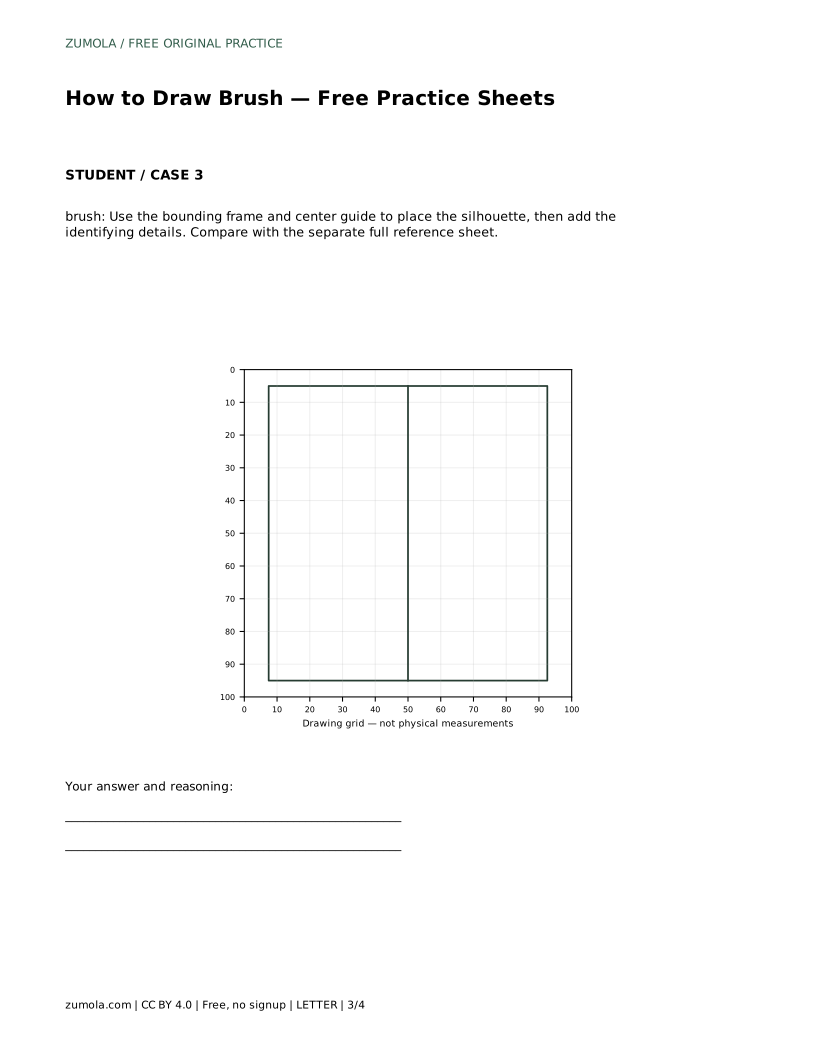
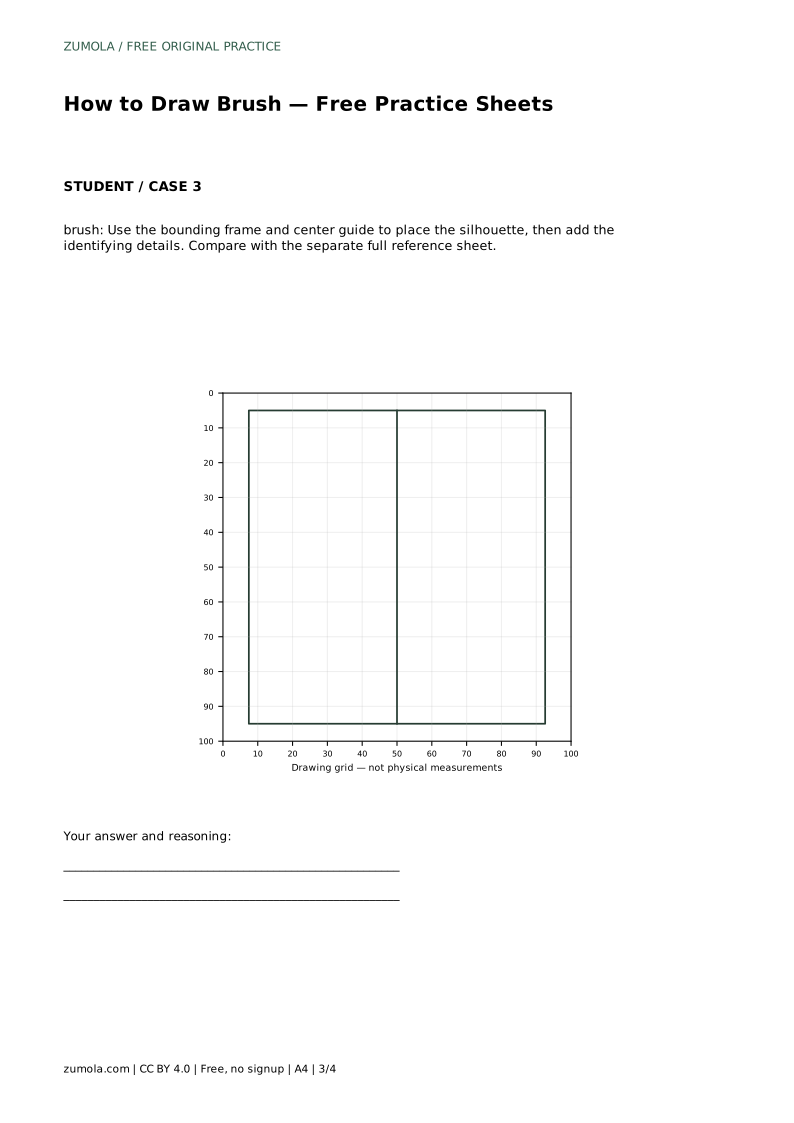
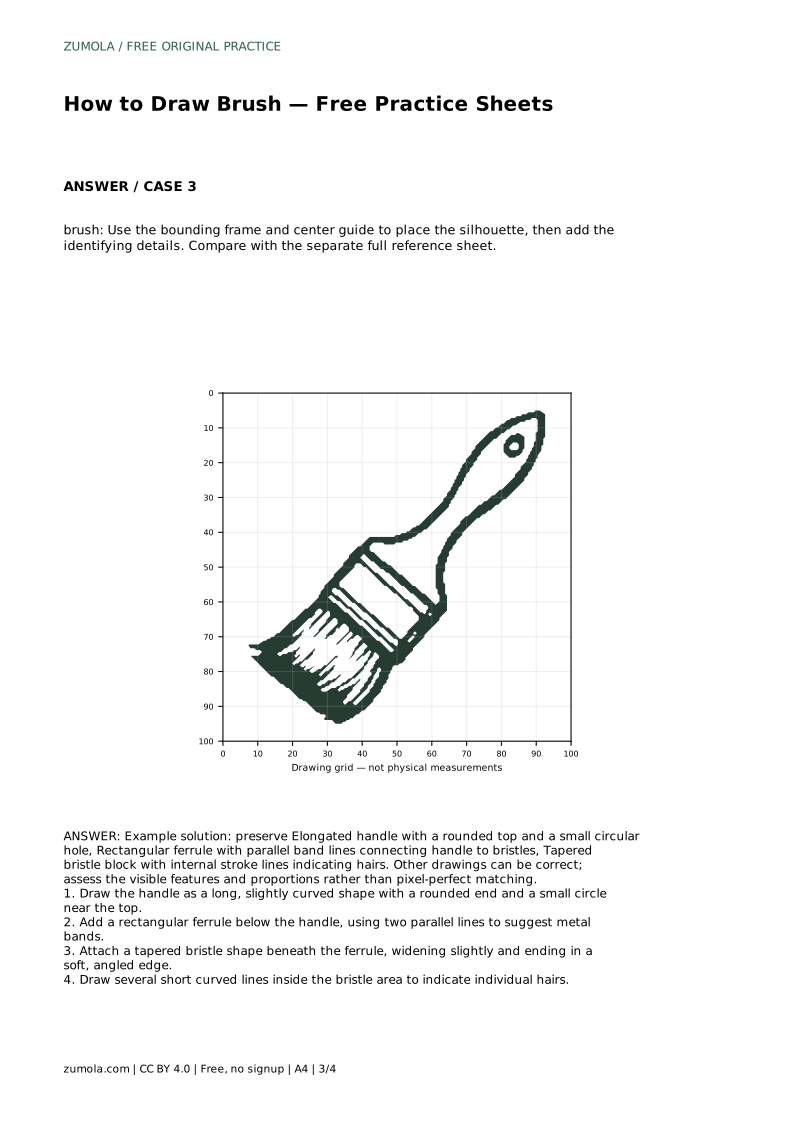
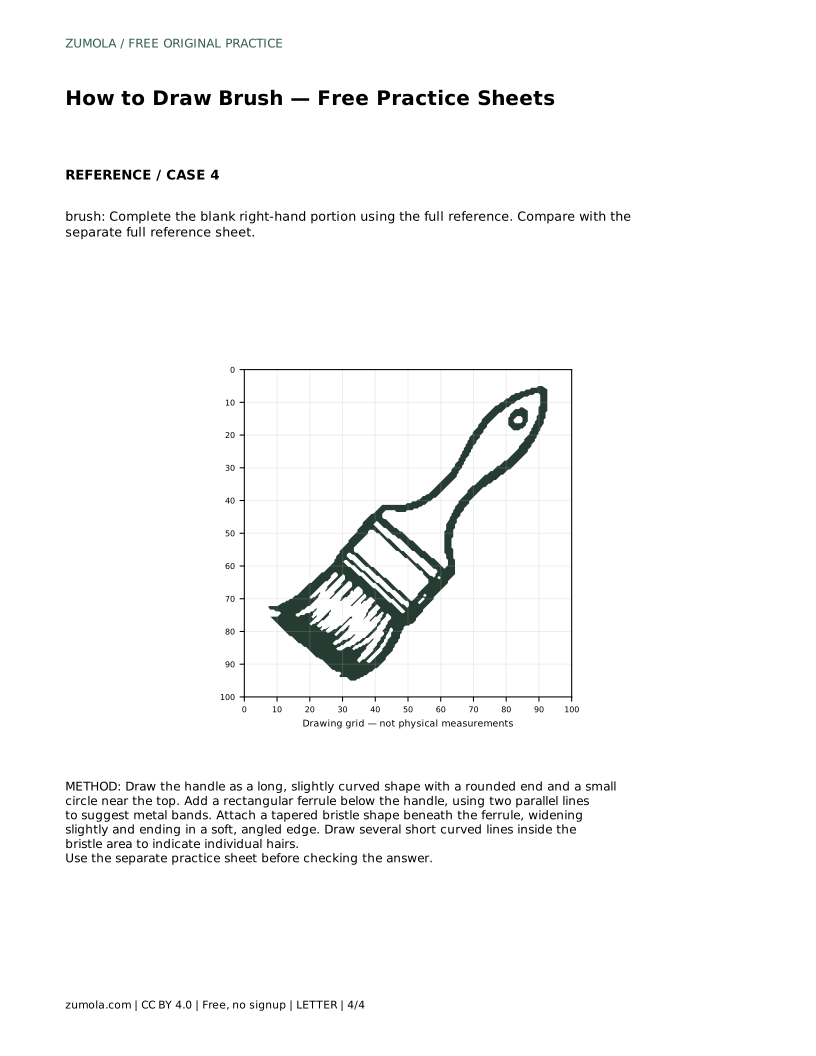
The bounding-frame sheet gives you a frame and a center guide. Use them to place the overall silhouette before adding the identifying details. The frame keeps the brush from drifting too large or too small, while the center guide helps you judge whether the handle, ferrule, and bristles are balanced.
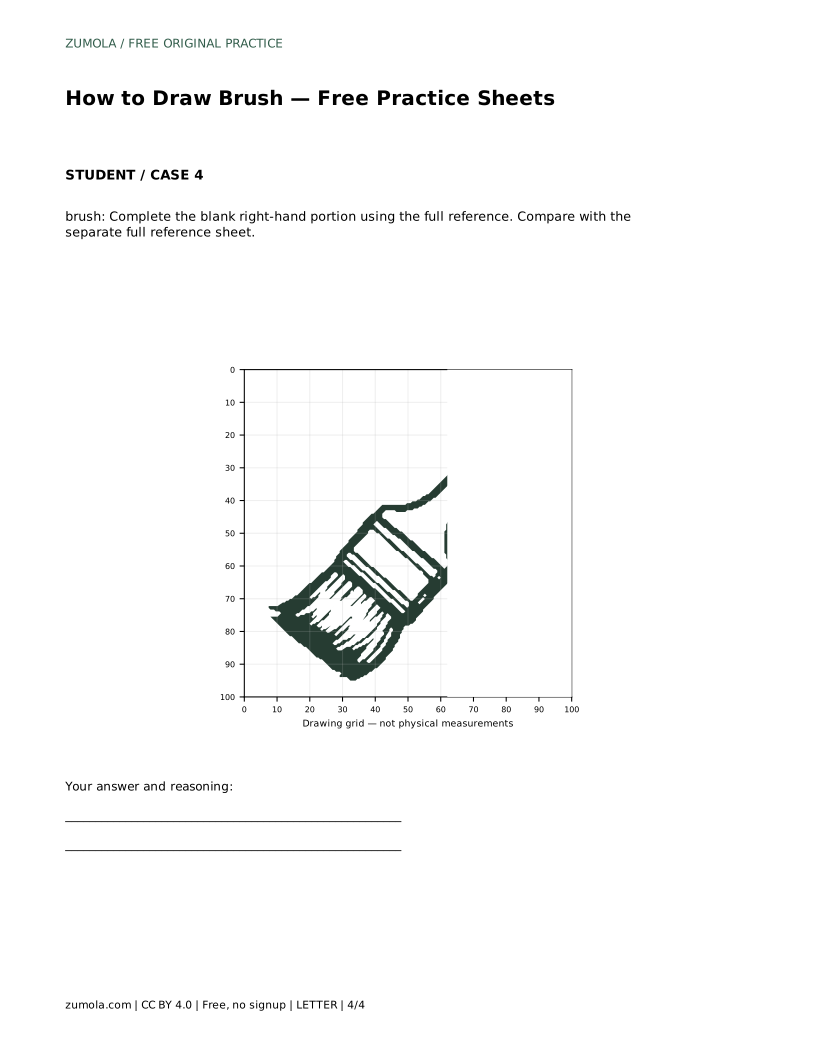
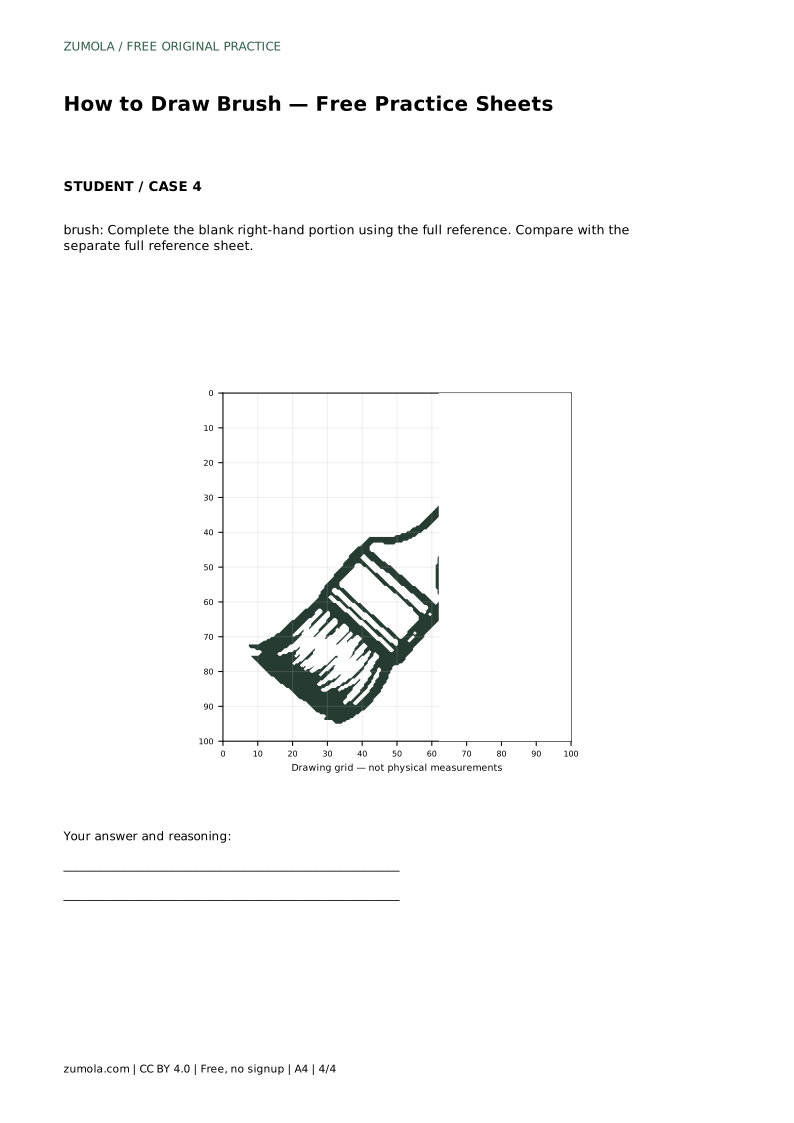
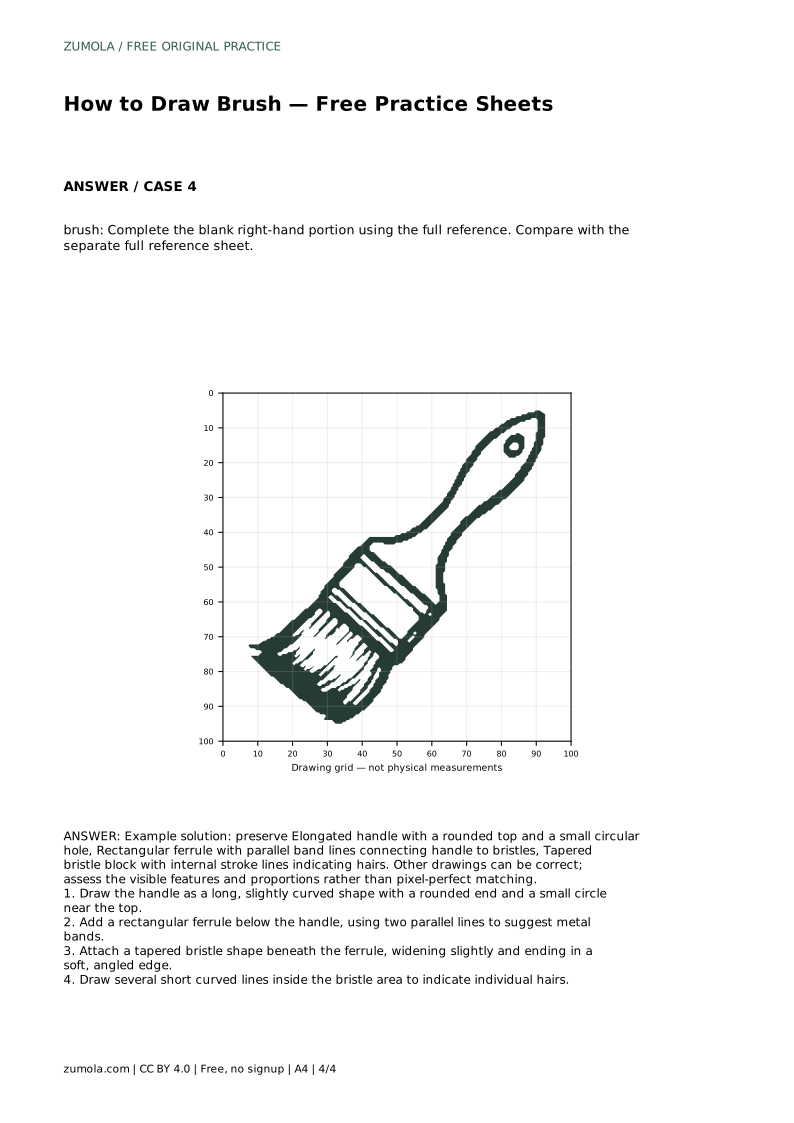
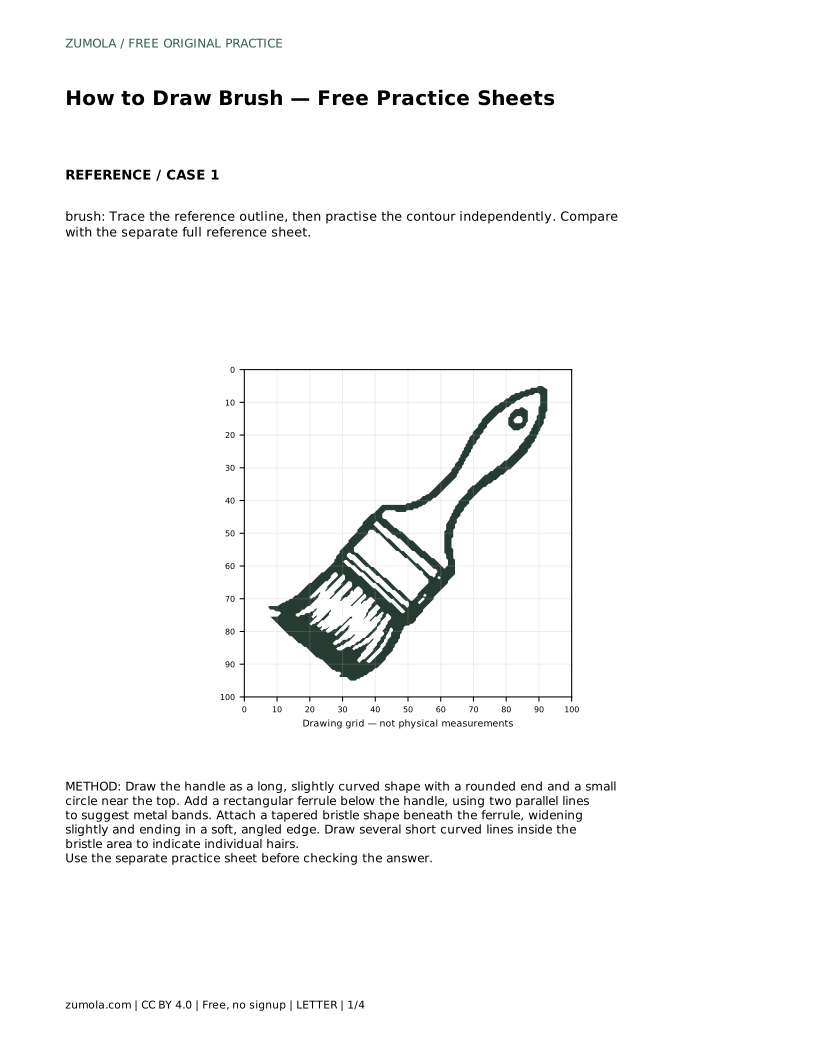
The partial sheet gives you the left-hand portion and asks you to complete the blank right-hand portion using the full reference. Match the height and width of the finished side so the two halves meet cleanly.
Keep the separate full reference sheet visible while you work and again when you finish. Check the three part boundaries first: the rounded top of the handle, the rectangular ferrule, and the tapered bristle block. Then check the small details: the circular hole, the parallel band lines, and the internal bristle strokes.
Because a brush drawing has multiple valid outcomes, judge the visible features and proportions rather than exact line placement. A slightly different curve in the handle or a different number of bristle lines can still be correct if the parts read clearly and connect properly.
A useful first task is to trace the reference outline, then practise the contour independently, and compare with the separate full reference sheet. A correct result preserves the elongated handle with a rounded top and a small circular hole, the rectangular ferrule with parallel band lines connecting handle to bristles, and the tapered bristle block with internal stroke lines indicating hairs. Other drawings can be correct; assess the visible features and proportions rather than pixel-perfect matching.
Most problems come from drawing the parts in the wrong order or letting one part overpower the others. Fixing the part boundaries before adding detail usually solves them.
These answers cover the choices that come up most often when practising a brush drawing.
brush: Trace the reference outline, then practise the contour independently. Compare with the separate full reference sheet.
Example solution: preserve Elongated handle with a rounded top and a small circular hole, Rectangular ferrule with parallel band lines connecting handle to bristles, Tapered bristle block with internal stroke lines indicating hairs. Other drawings can be correct; assess the visible features and proportions rather than pixel-perfect matching. Draw the handle as a long, slightly curved shape with a rounded end and a small circle near the top. Add a rectangular ferrule below the handle, using two parallel lines to suggest metal bands. Attach a tapered bristle shape beneath the ferrule, widening slightly and ending in a soft, angled edge. Draw several short curved lines inside the bristle area to indicate individual hairs.
No. A brush drawing has multiple valid outcomes. Check that the handle, ferrule, and bristles are present, connected in order, and reasonably proportioned.
Start with the tracing sheet to learn the part order, then use the grid or frame sheet to check proportions without tracing.
Compare it with the full reference sheet and confirm the rounded handle top, circular hole, rectangular ferrule with band lines, tapered bristles, and internal bristle strokes.
All drawing practice · Free coordinate paper
Original resources · CC BY 4.0 · Free for personal and classroom use with attribution.