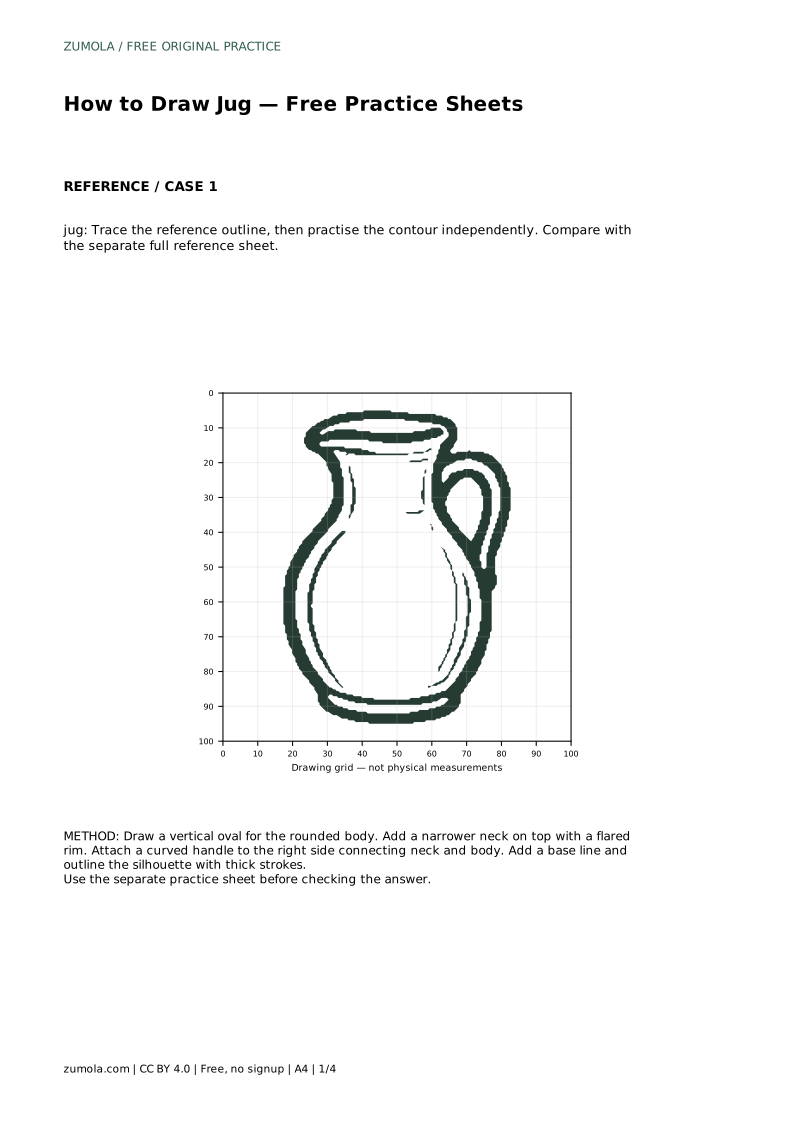
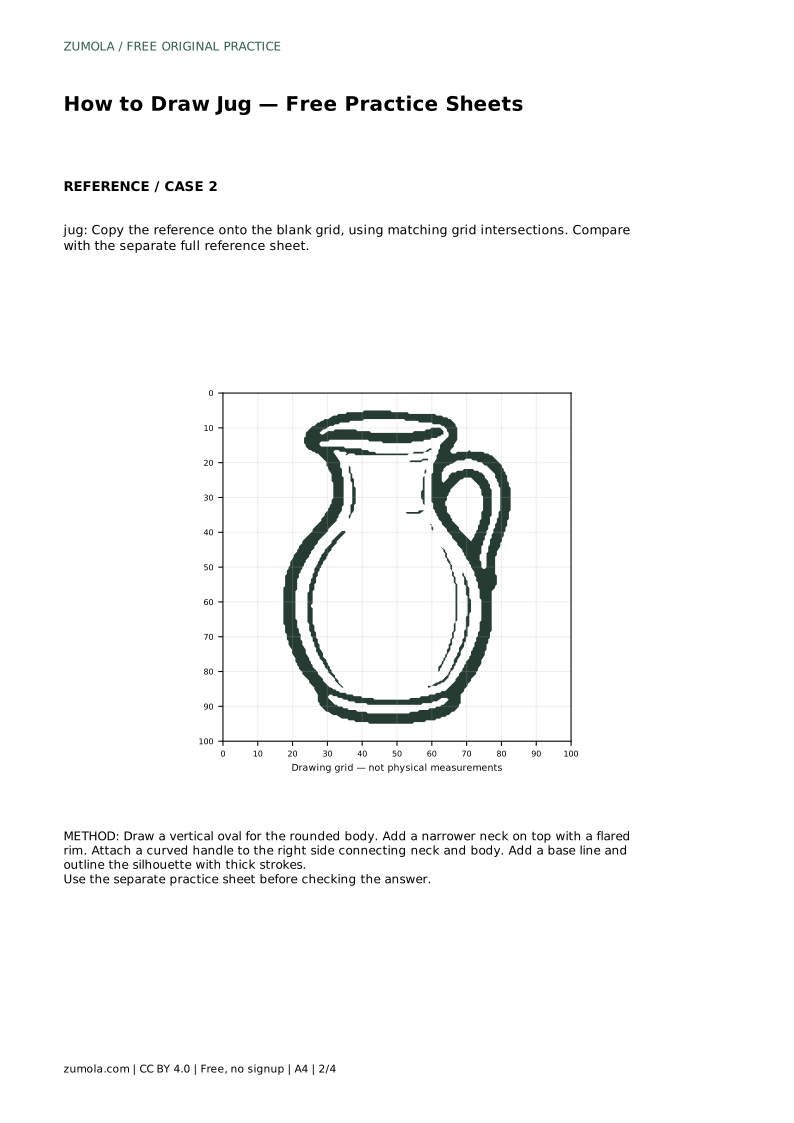
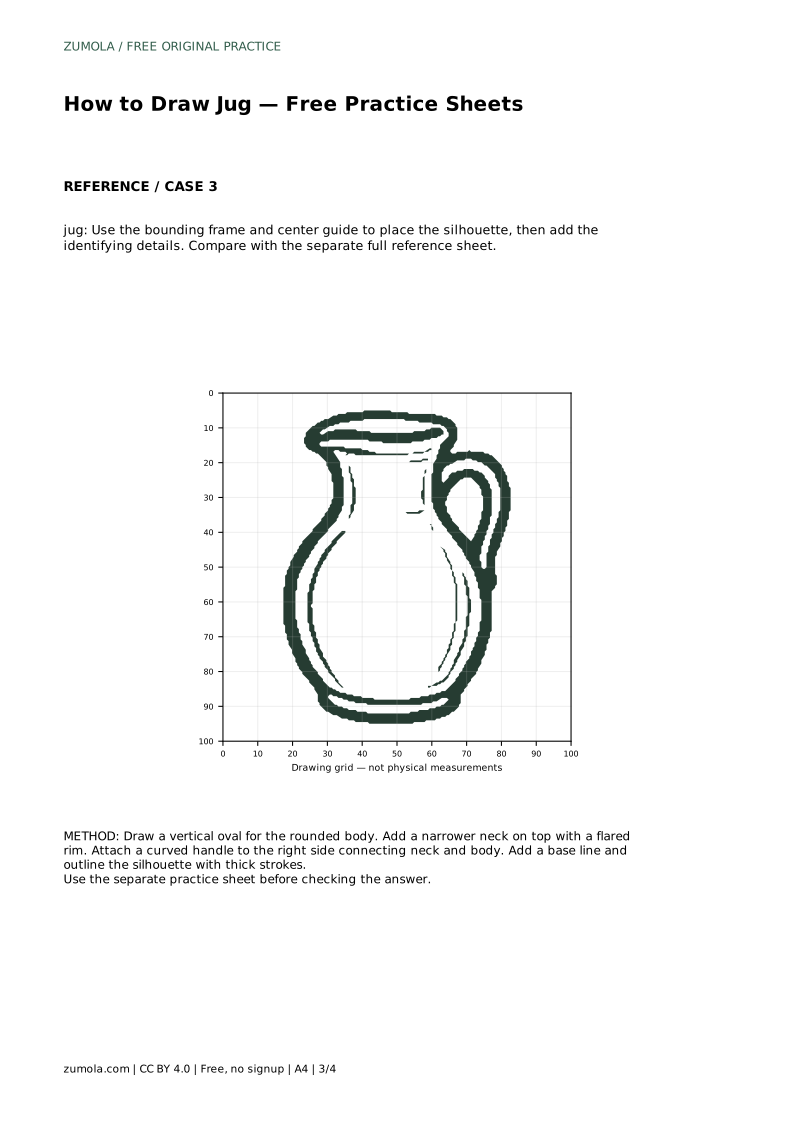
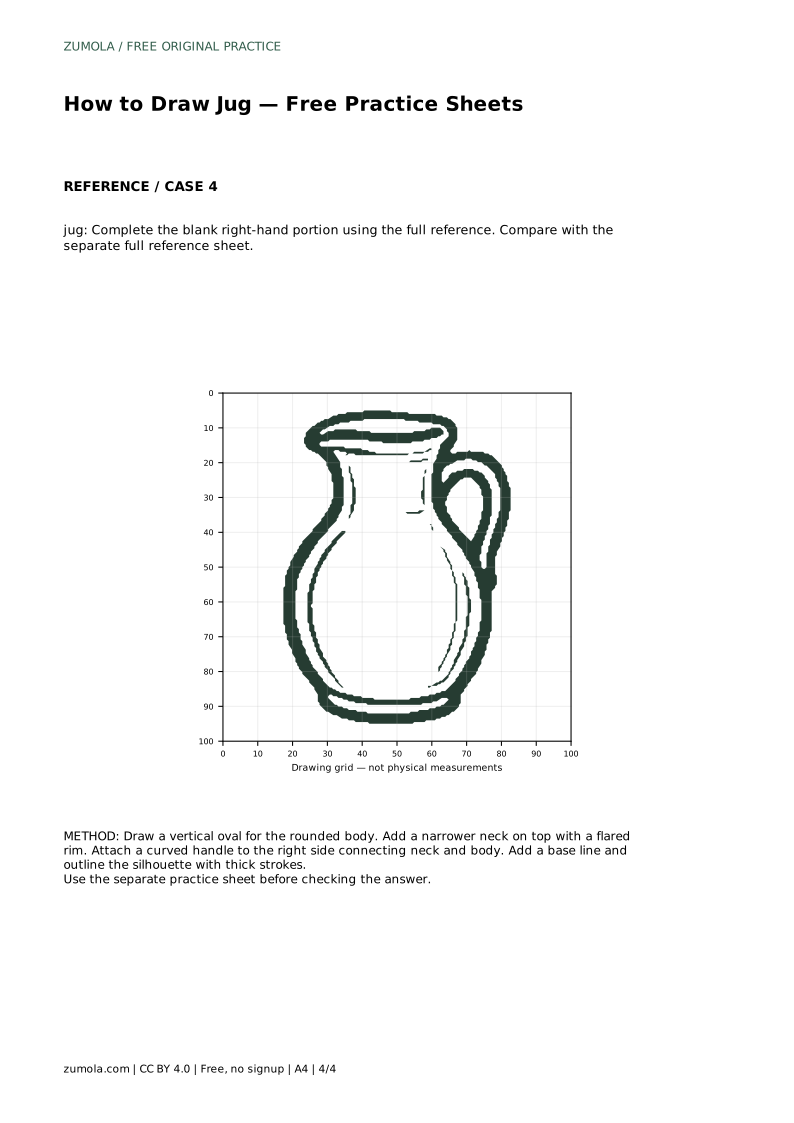
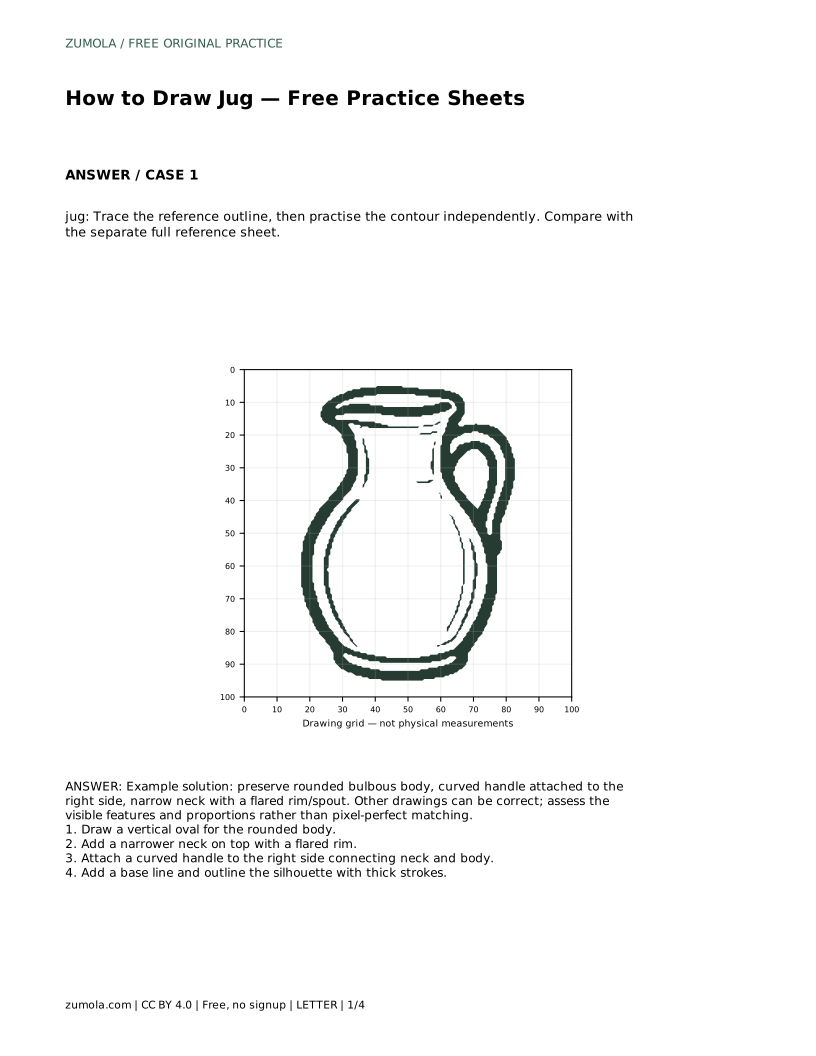
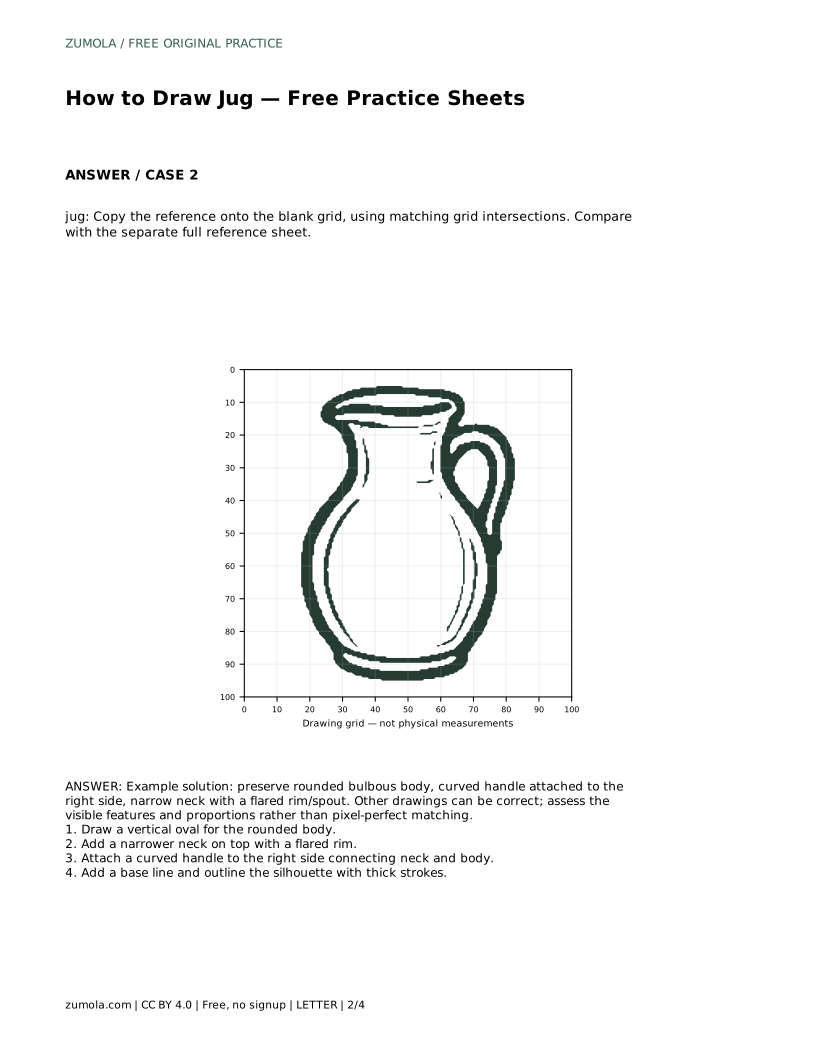
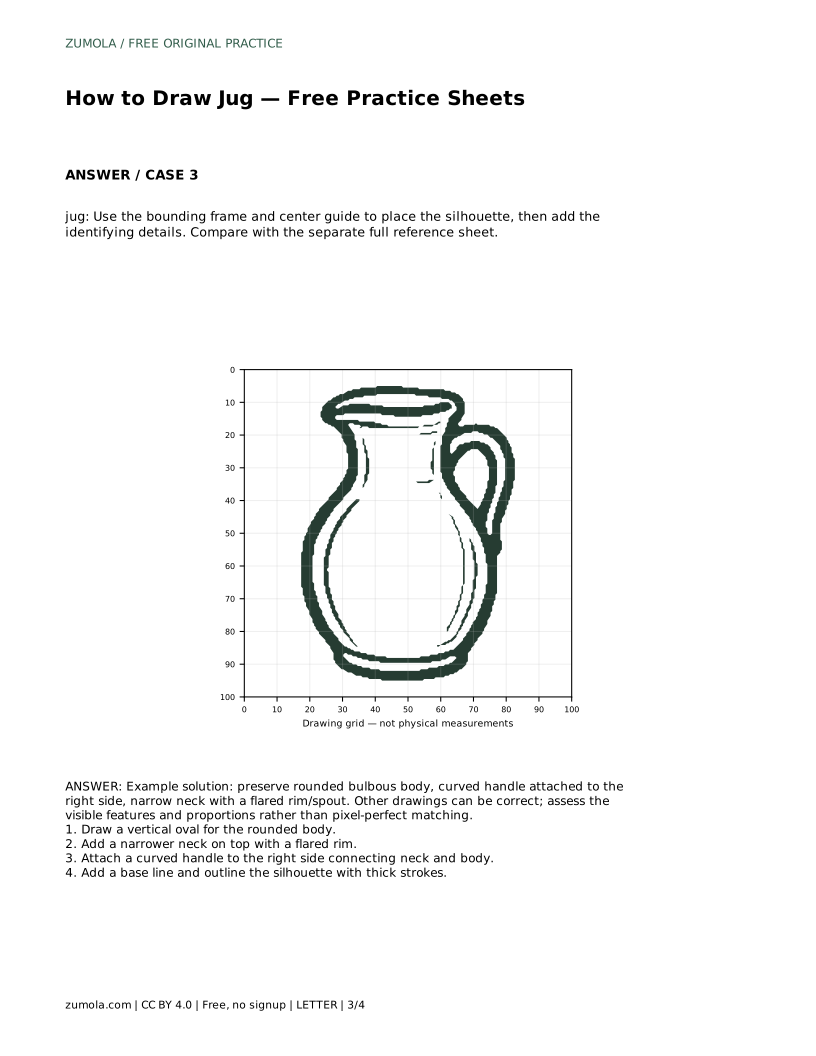
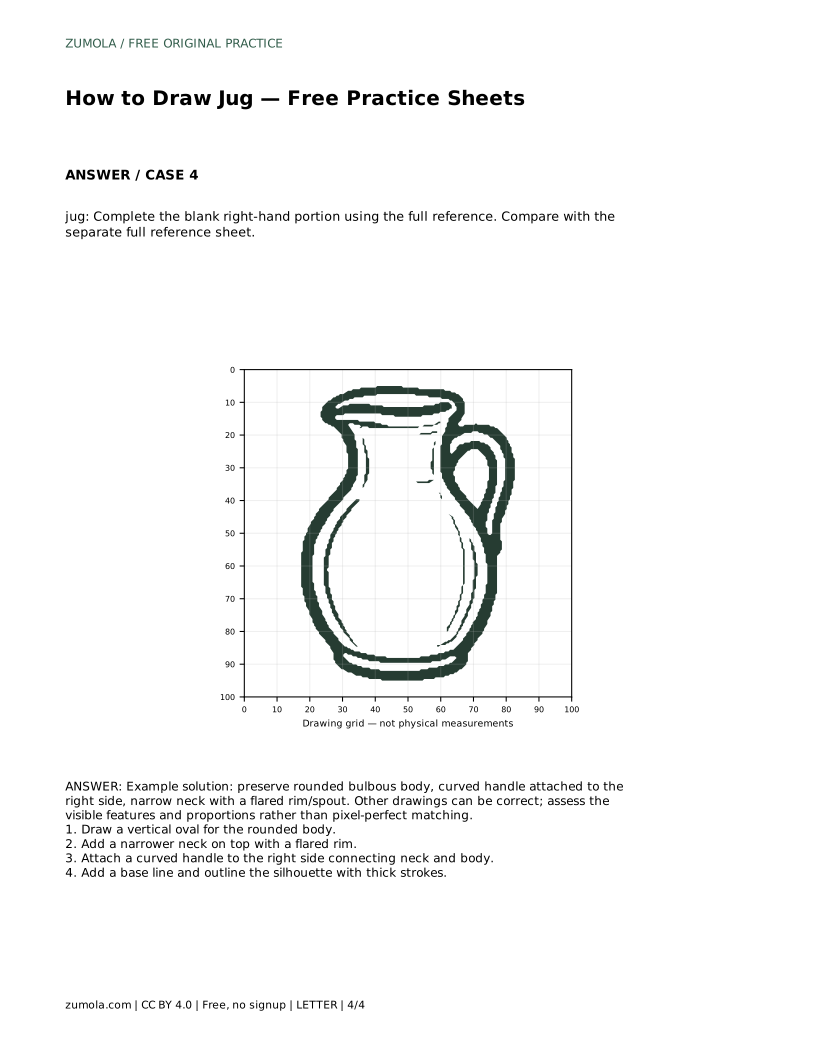
Reference diagrams
LETTER · Download PDF
A4 · Download PDF
Free original resources
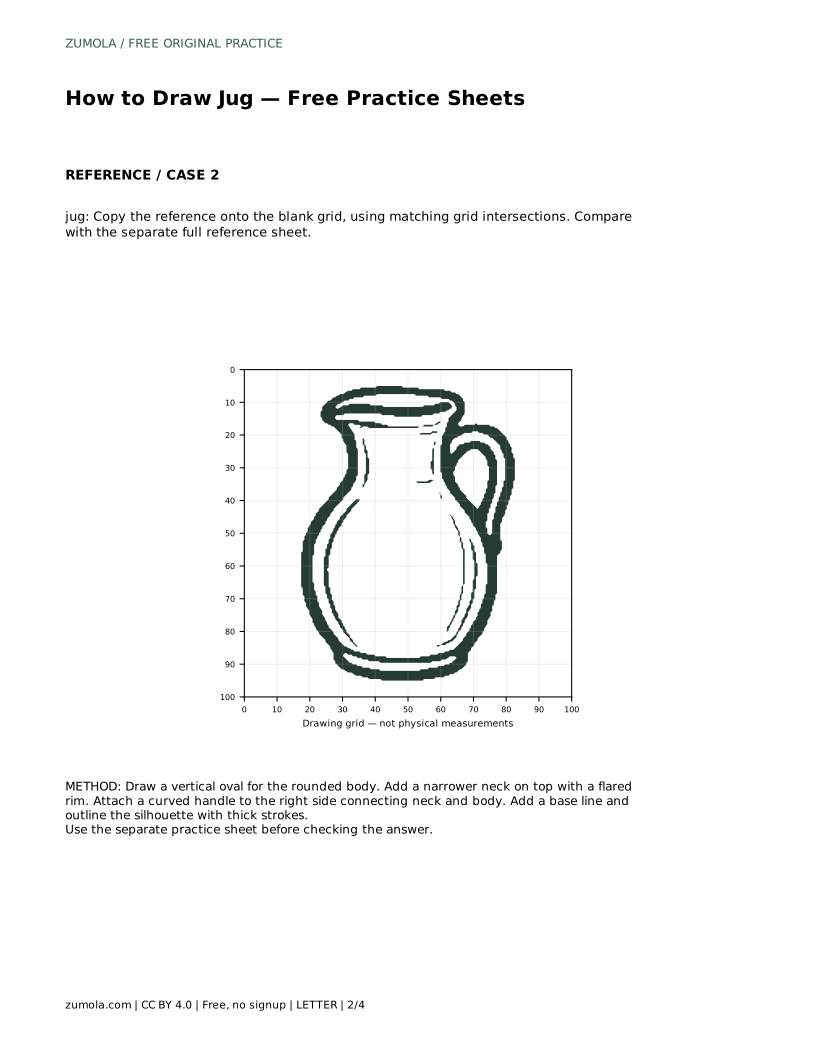
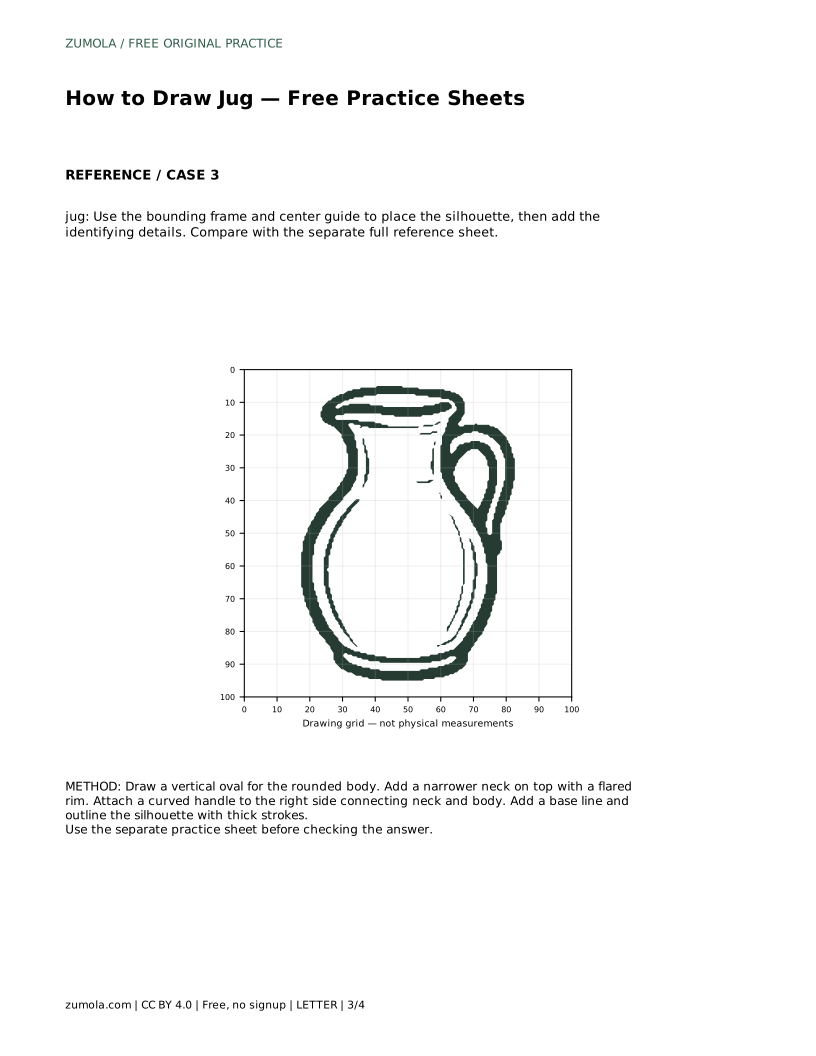
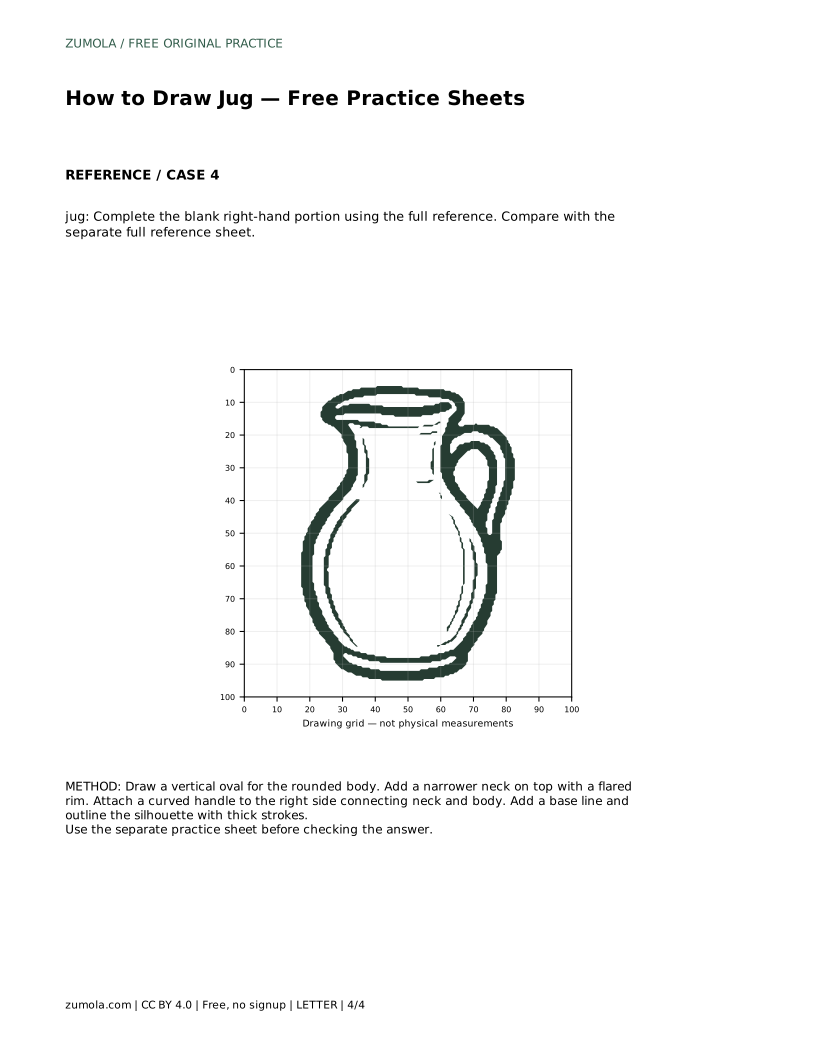
Learn to draw a jug by building its rounded body, narrow neck, flared rim and curved handle. Trace, grid, frame and finish practice sheets support the same method.
Four original cases, with reference diagrams, practice sheets and worked answers. Everything is free; no signup required.
LETTER · Download PDF
A4 · Download PDF
LETTER · Download PDF
A4 · Download PDF
LETTER · Download PDF
A4 · Download PDF
Use A4 or US Letter to match your printer. Use the stated values and conditions to solve each exercise; diagrams are not physical measuring rulers.
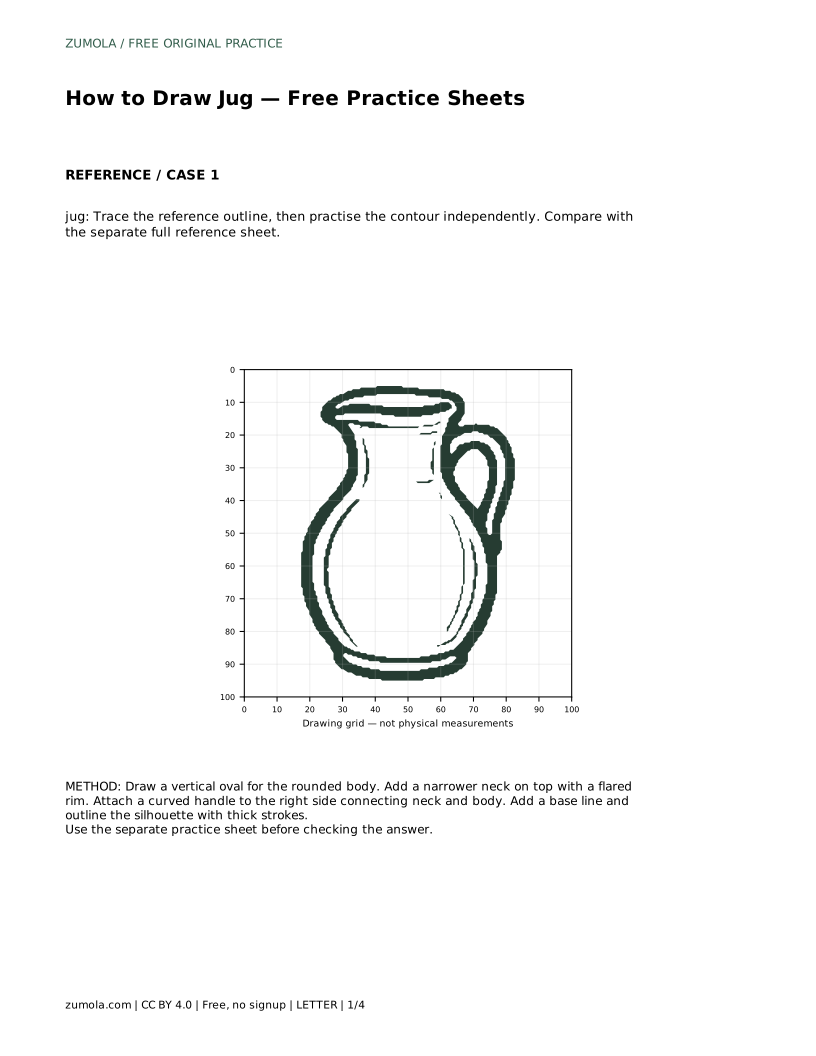
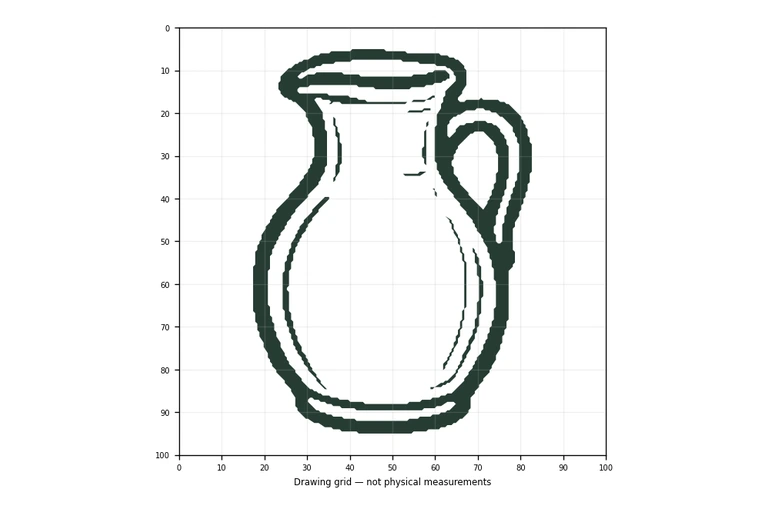
A jug is a good subject for learning to see and reproduce a simple vessel shape. Its rounded body, narrow neck, flared rim and side handle give you clear landmarks to check as you draw. This page explains a reliable order for constructing the jug, then shows how the practice sheets let you trace, copy on a grid, place the silhouette with a frame and center guide, or complete a partly blank drawing.
Start with the largest form rather than the outline. The body is a vertical oval, wider than it is tall in many jug designs, so sketch it lightly and keep it centered on your page. Above it, add a narrower neck. The neck should sit on the body's top curve, not float beside it. Finish the top with a flared rim or spout, which is usually wider than the neck.
Next, attach the handle. In the reference used here, the handle is on the right side and curves from the neck down to the body. Treat it as a curved band with two edges, not a single line. Finally, add a base line so the jug sits on a level surface, then outline the silhouette with thicker strokes. Keep early construction lines light so you can adjust proportions before committing.
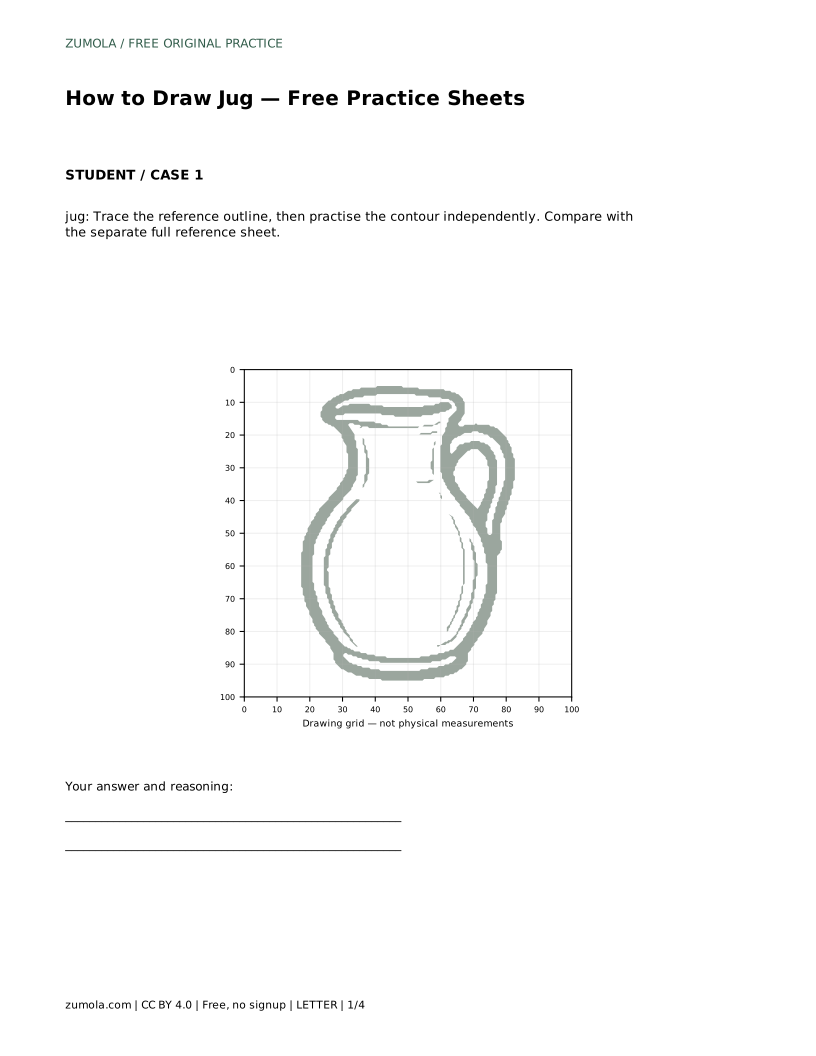
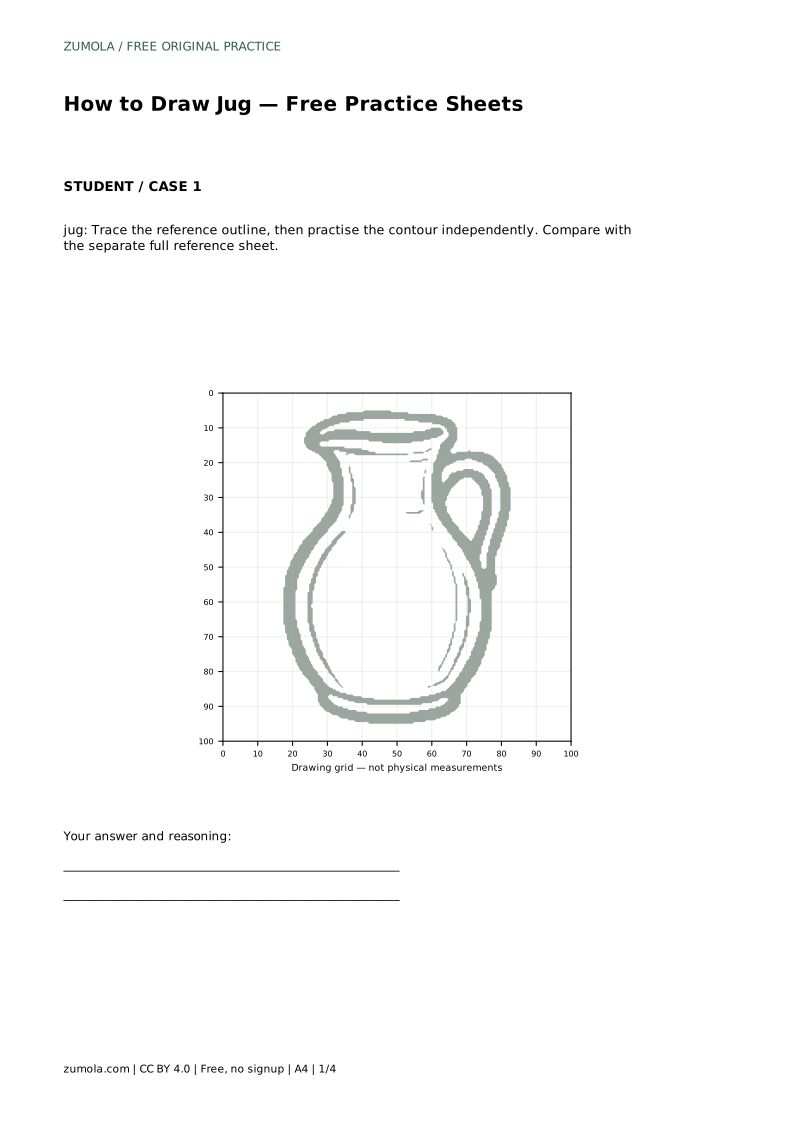
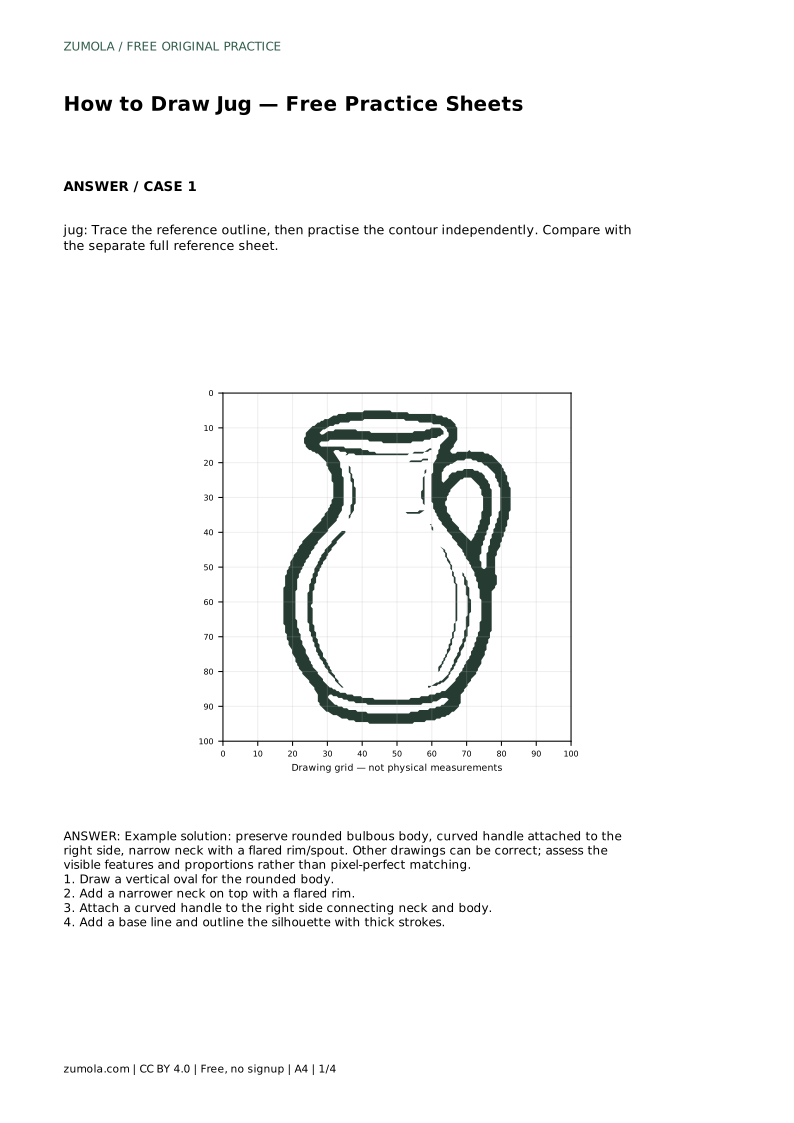
The trace sheet asks you to follow the reference outline first, then practise the contour independently. Tracing teaches the path of the line; the independent attempt shows whether you can reproduce it without support. Compare your drawing with the separate full reference sheet rather than judging it from memory.
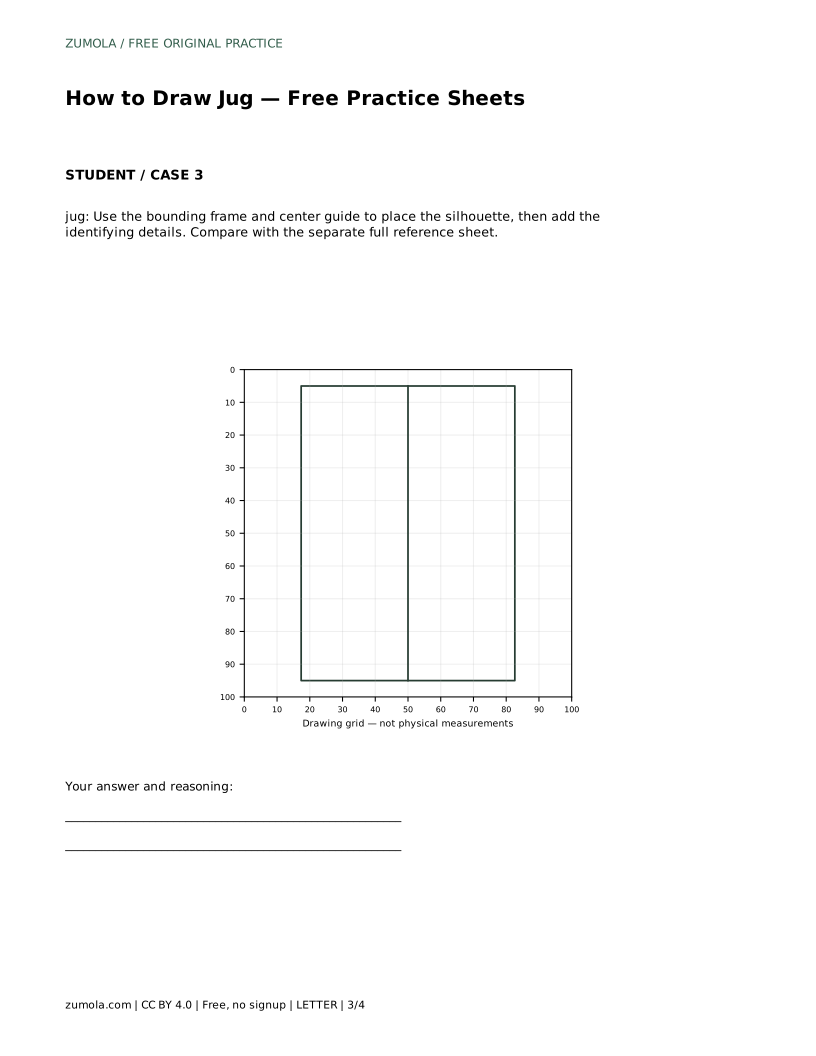
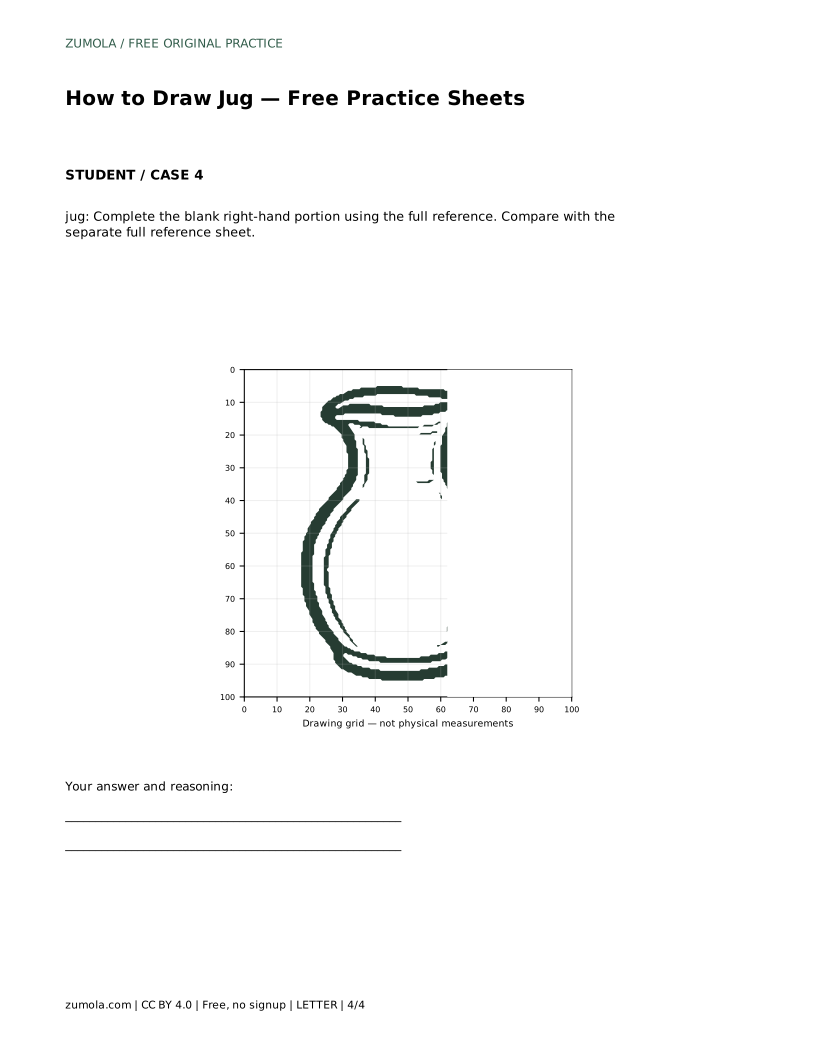
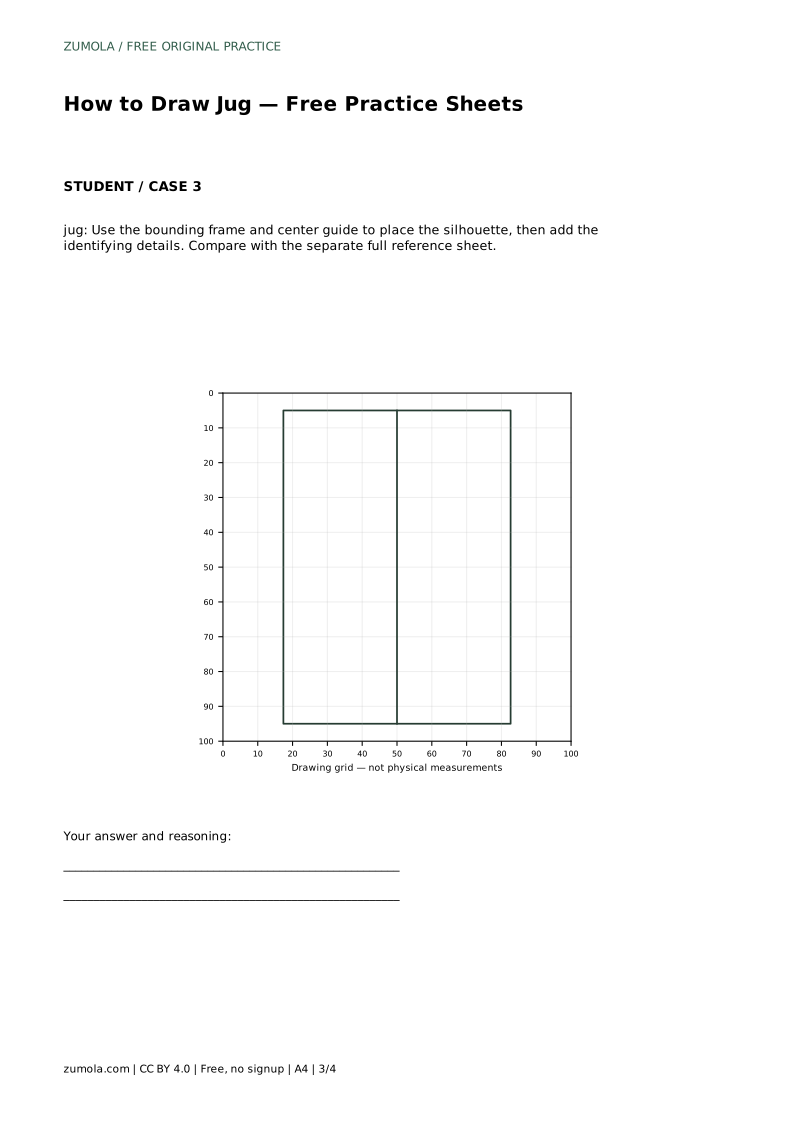
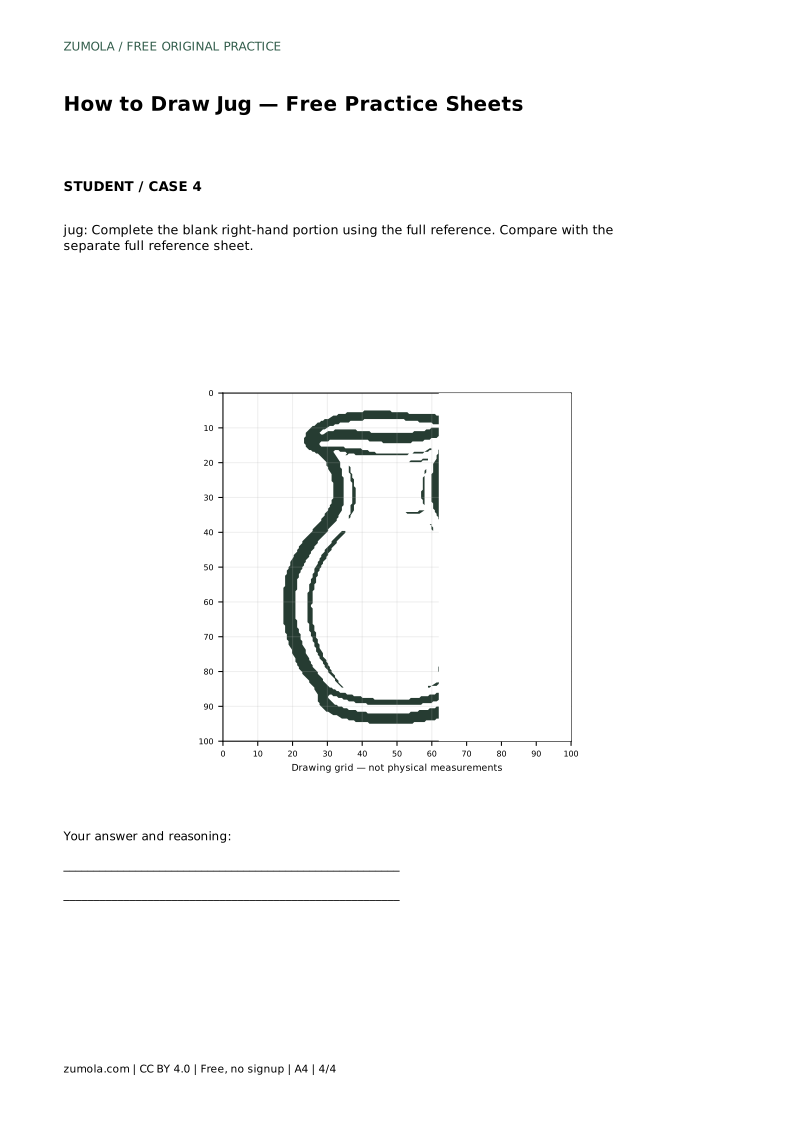
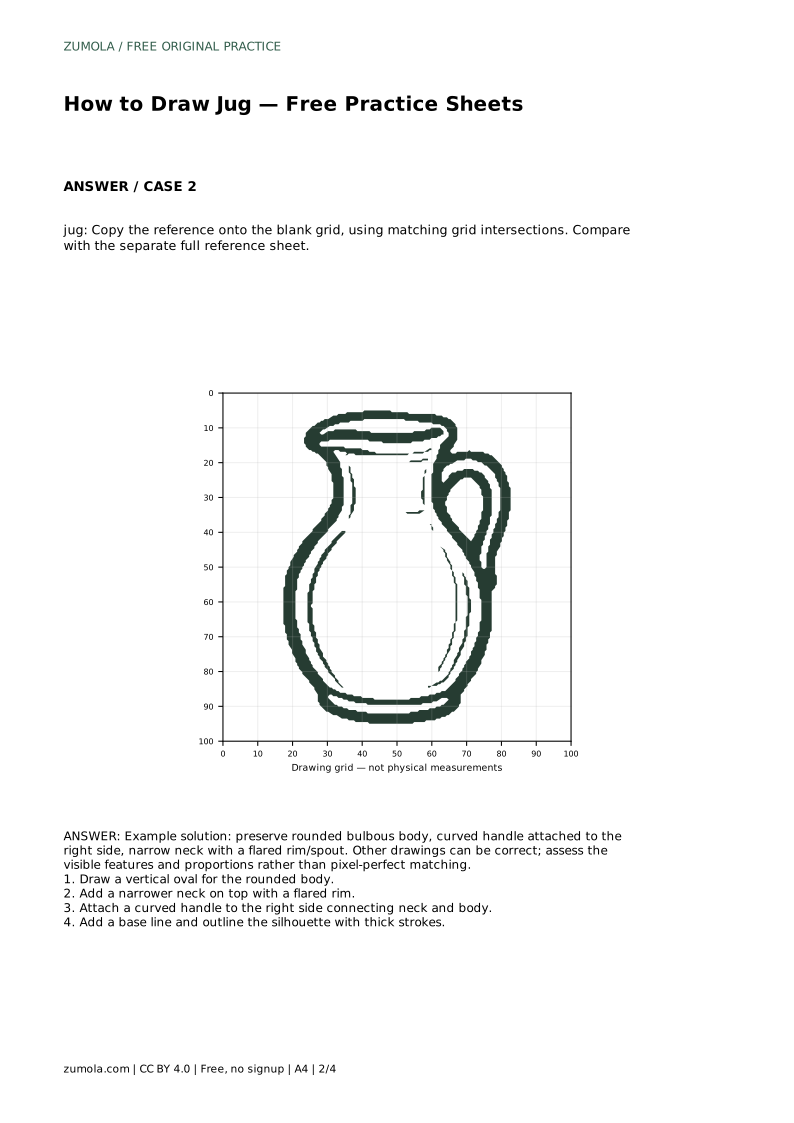
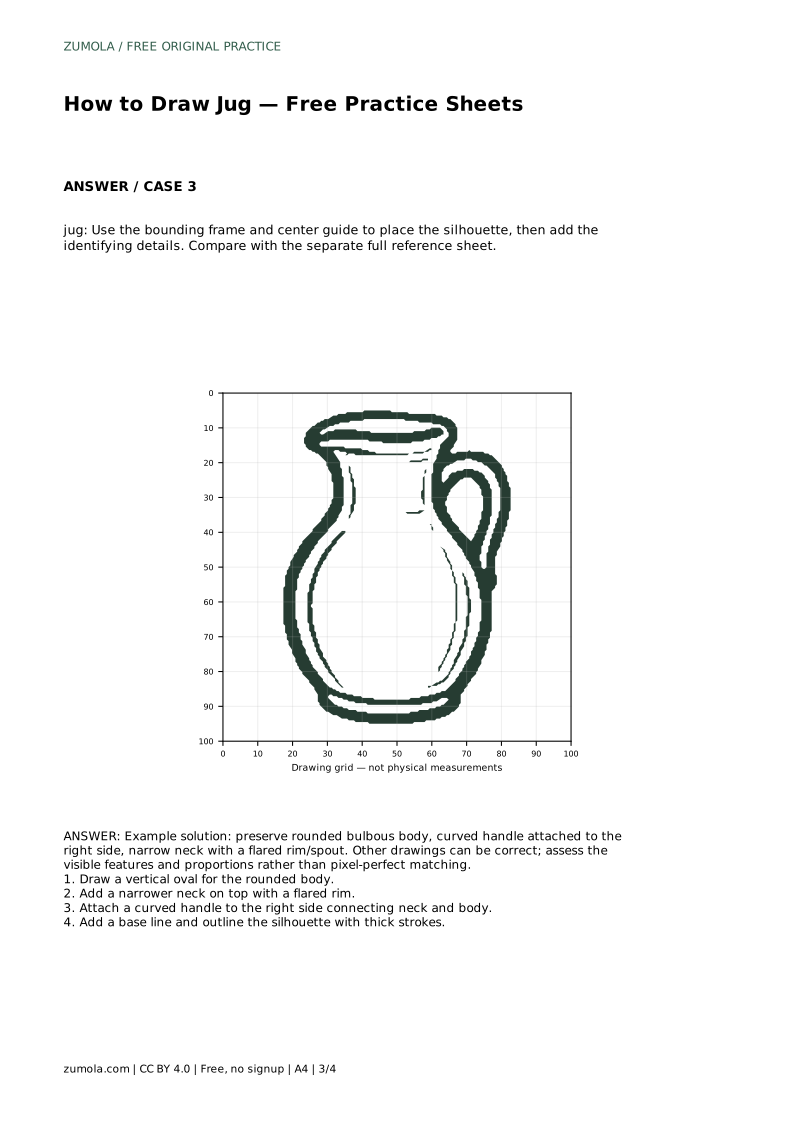
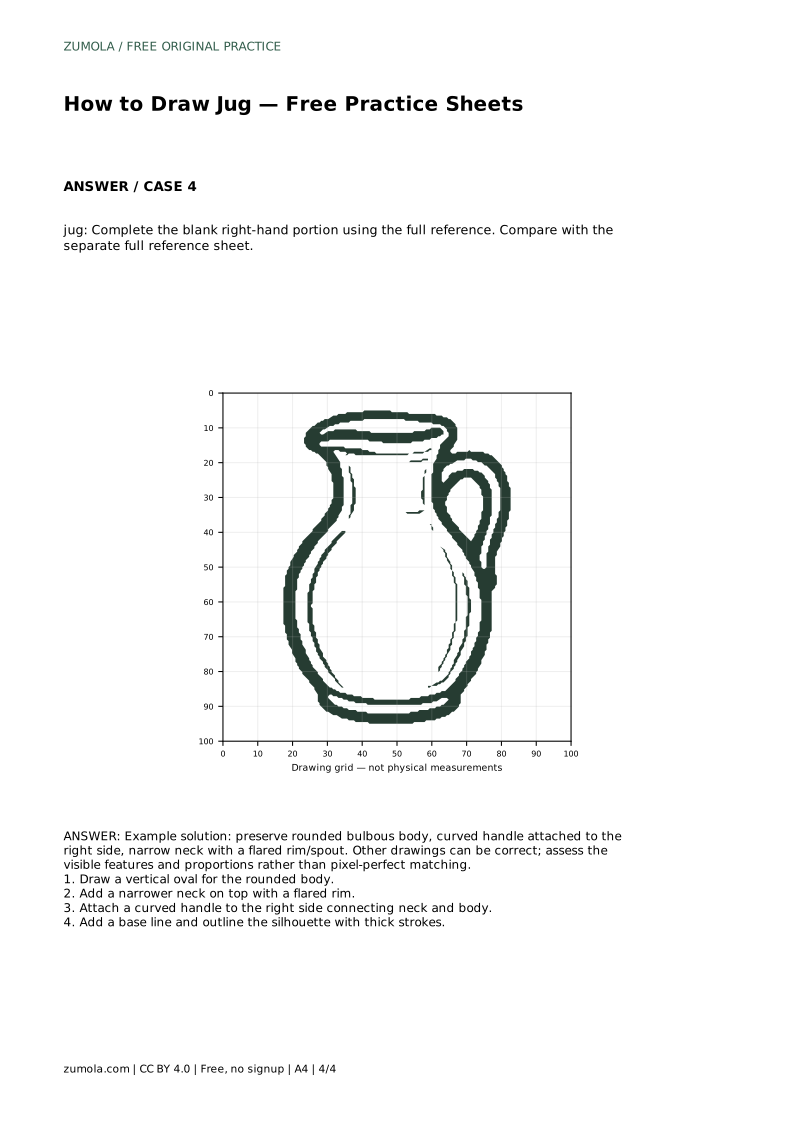
The grid sheet asks you to copy the reference onto a blank grid using matching grid intersections. Use the grid to compare where the body's widest point, the neck, the rim and the handle sit relative to one another. The frame and center guide sheet helps you place the silhouette inside a boundary before adding identifying details. The partial sheet gives you the left portion and asks you to complete the blank right-hand portion using the full reference. In every case, the goal is the visible features and their proportions, not a pixel-perfect match.
Compare the body's width to its height, the neck's width to the body's width, and the handle's span to the body's height. Small adjustments at this stage are easier than correcting a finished outline. Check that the rim is wider than the neck and that the handle meets both the neck and the body. Confirm the base is level and the body sits above it.
Art has multiple valid outcomes. A jug drawing can be correct with slightly different curves or a different handle thickness, provided the identifying features remain clear. Use the rubric below to assess your own sheet rather than expecting one exact answer.
Prompt: jug: Trace the reference outline, then practise the contour independently. Compare with the separate full reference sheet. Example solution: preserve rounded bulbous body, curved handle attached to the right side, narrow neck with a flared rim/spout. Other drawings can be correct; assess the visible features and proportions rather than pixel-perfect matching.
Most problems come from drawing details before the large shape is settled. Keep the construction light and check each landmark in order.
These answers address the usual points about the jug practice sheets and the drawing order.
jug: Trace the reference outline, then practise the contour independently. Compare with the separate full reference sheet.
Example solution: preserve rounded bulbous body, curved handle attached to the right side, narrow neck with a flared rim/spout. Other drawings can be correct; assess the visible features and proportions rather than pixel-perfect matching. Draw a vertical oval for the rounded body. Add a narrower neck on top with a flared rim. Attach a curved handle to the right side connecting neck and body. Add a base line and outline the silhouette with thick strokes.
No. Preserve the rounded body, right-side curved handle, narrow neck and flared rim, then assess proportions with the rubric.
Body oval, neck, flared rim, curved handle, base line, then a thicker outline.
Complete the blank right-hand portion using the full reference, checking the handle and rim against it.
All drawing practice · Free coordinate paper
Original resources · CC BY 4.0 · Free for personal and classroom use with attribution.