Reference diagrams
LETTER · Download PDF
A4 · Download PDF
Free original resources
Learn to draw a paint tube by building a tapered body, ridged twist cap, crimped base, and contour lines. Includes practice-sheet guidance and a drawing rubric.
Four original cases, with reference diagrams, practice sheets and worked answers. Everything is free; no signup required.
LETTER · Download PDF
A4 · Download PDF
LETTER · Download PDF
A4 · Download PDF
LETTER · Download PDF
A4 · Download PDF
Use A4 or US Letter to match your printer. Use the stated values and conditions to solve each exercise; diagrams are not physical measuring rulers.
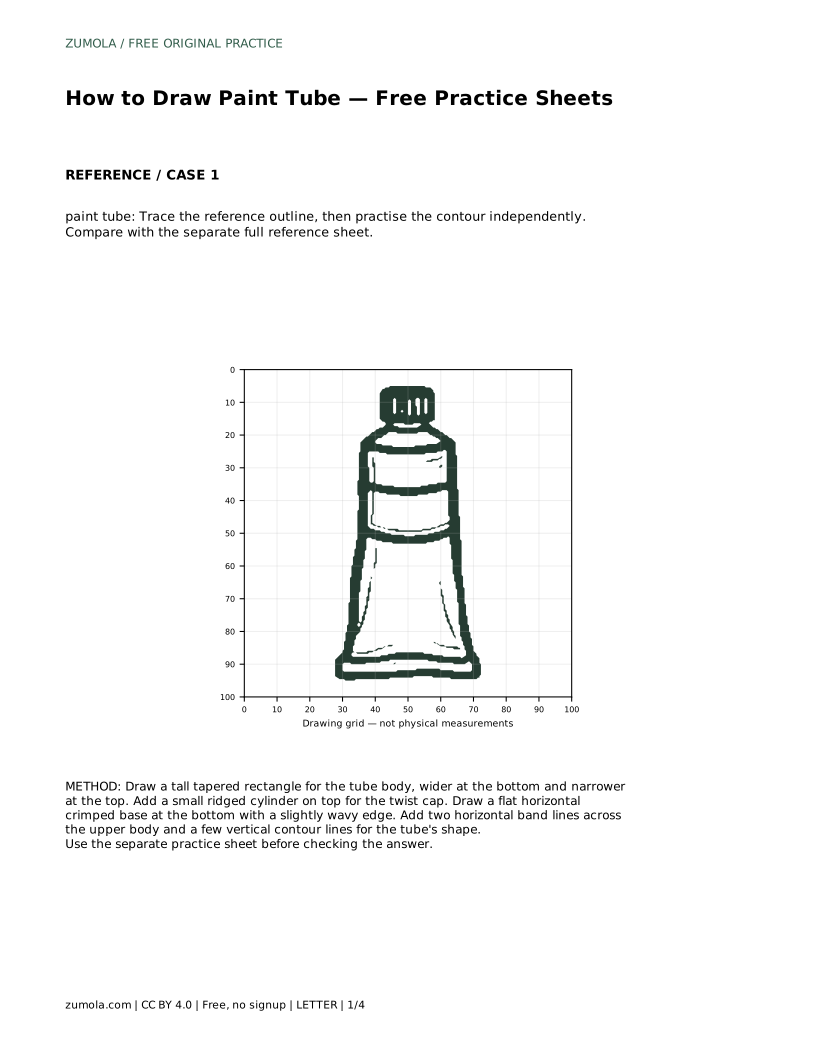
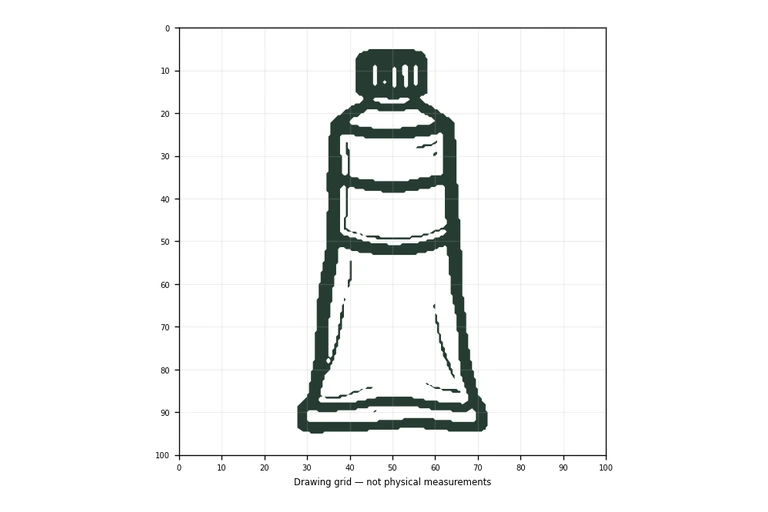
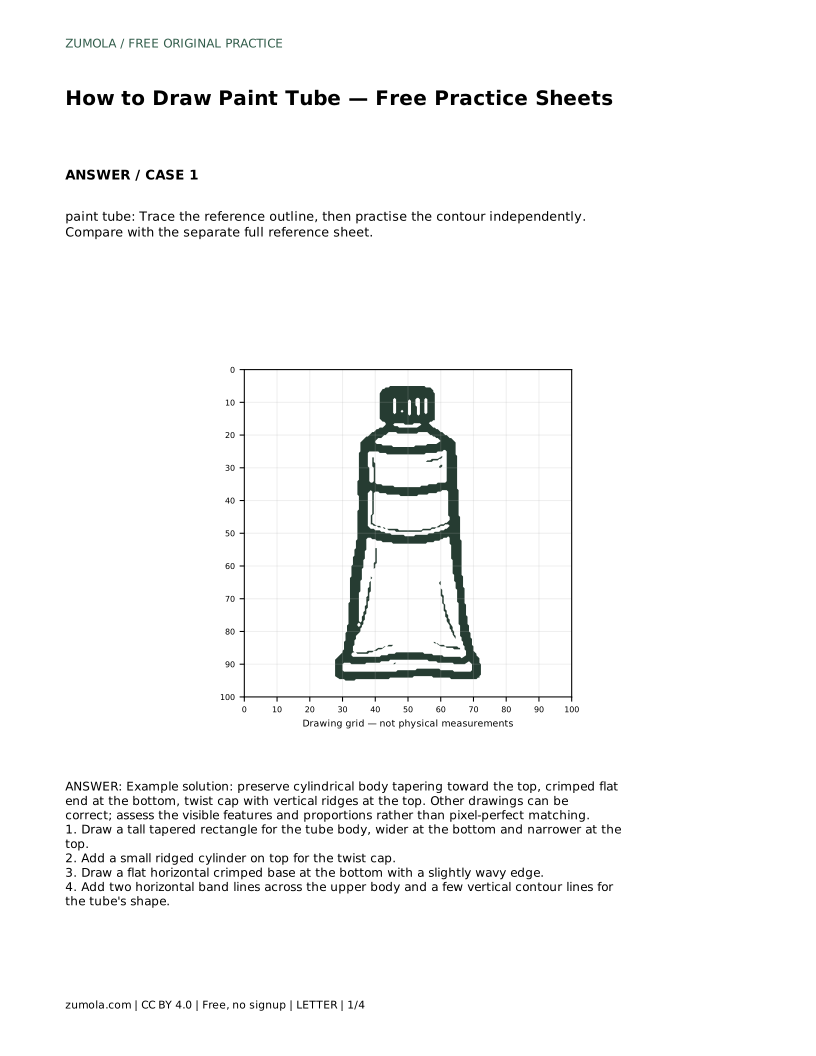
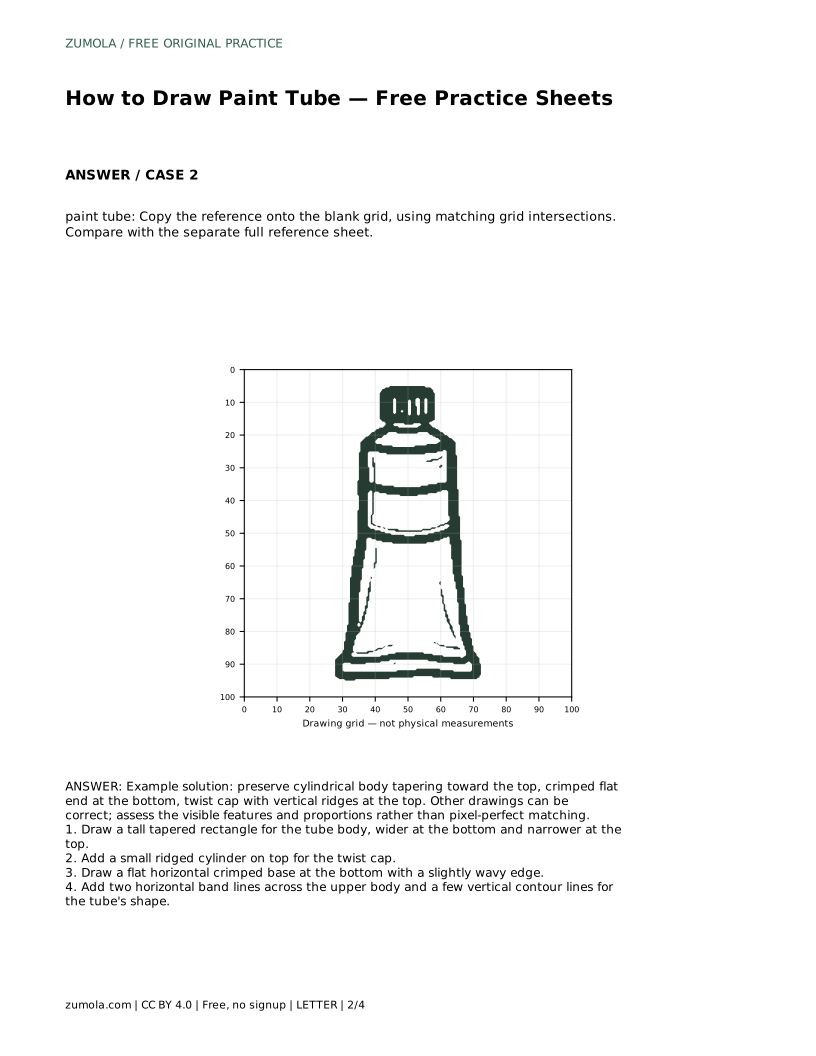
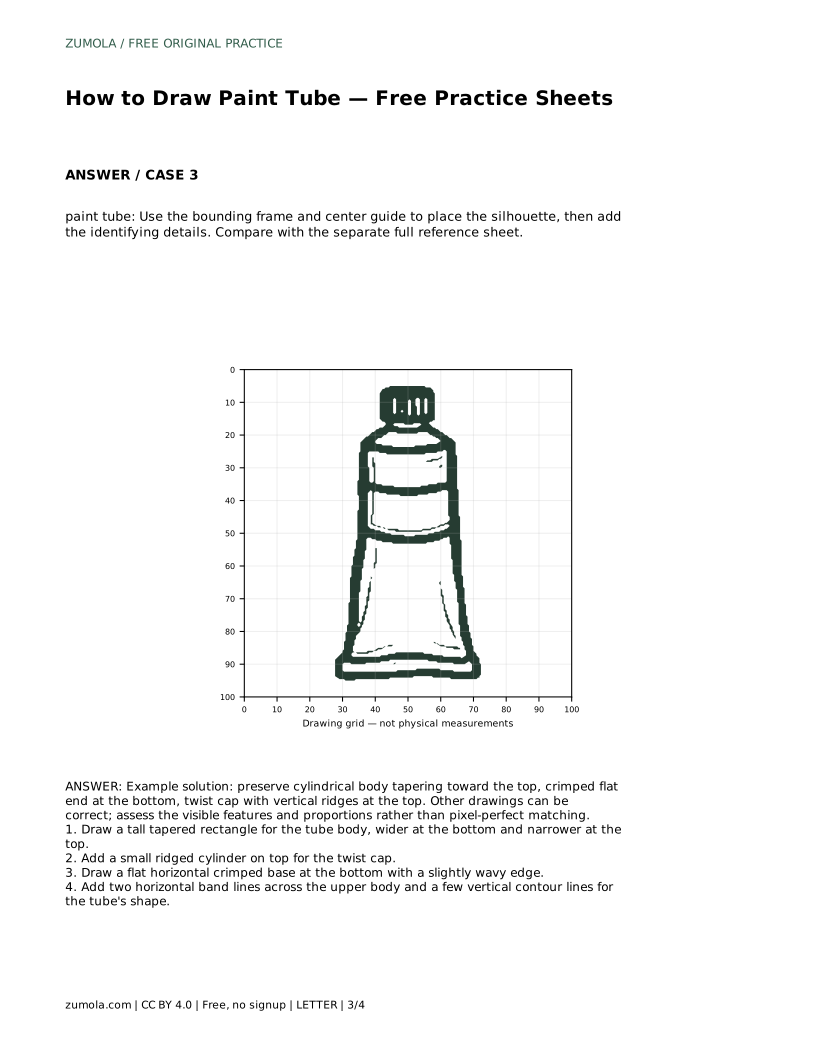
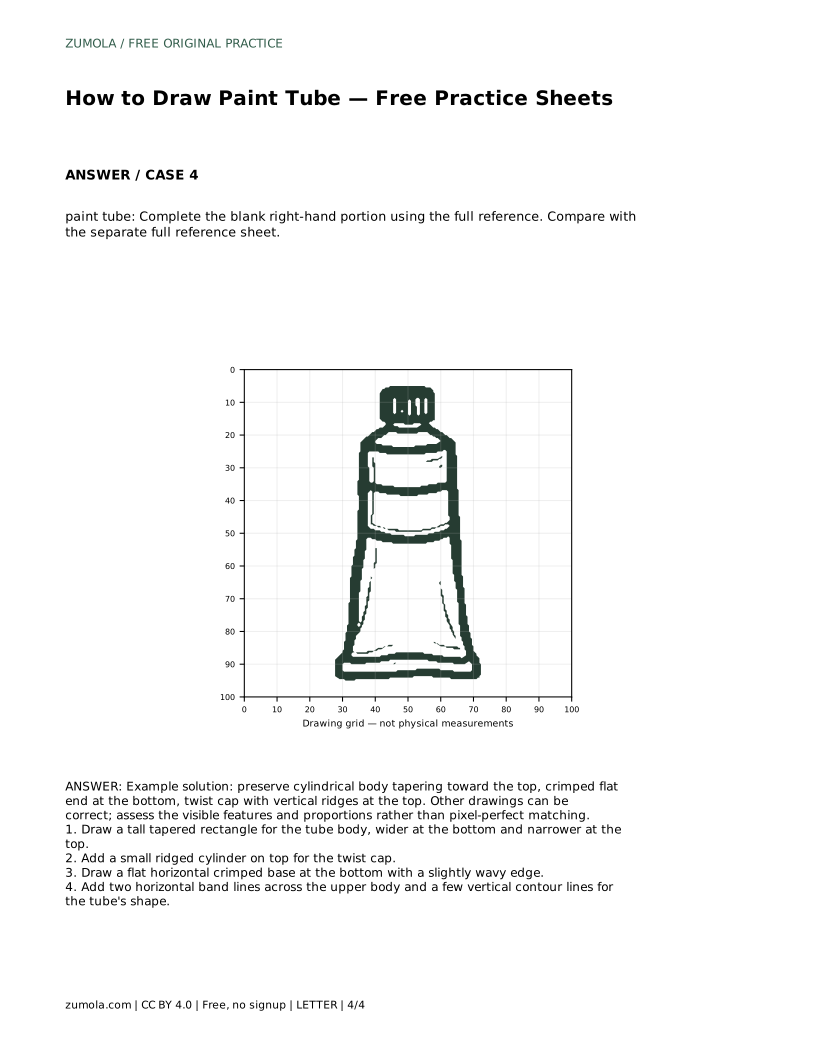
A paint tube is a compact drawing subject with clear structural clues: a cylindrical body that narrows toward the top, a small ridged twist cap, and a flat crimped base at the bottom. This guide explains how to construct those parts in order, how to use the practice sheets, and how to judge your drawing by visible features and proportions rather than pixel-perfect matching.
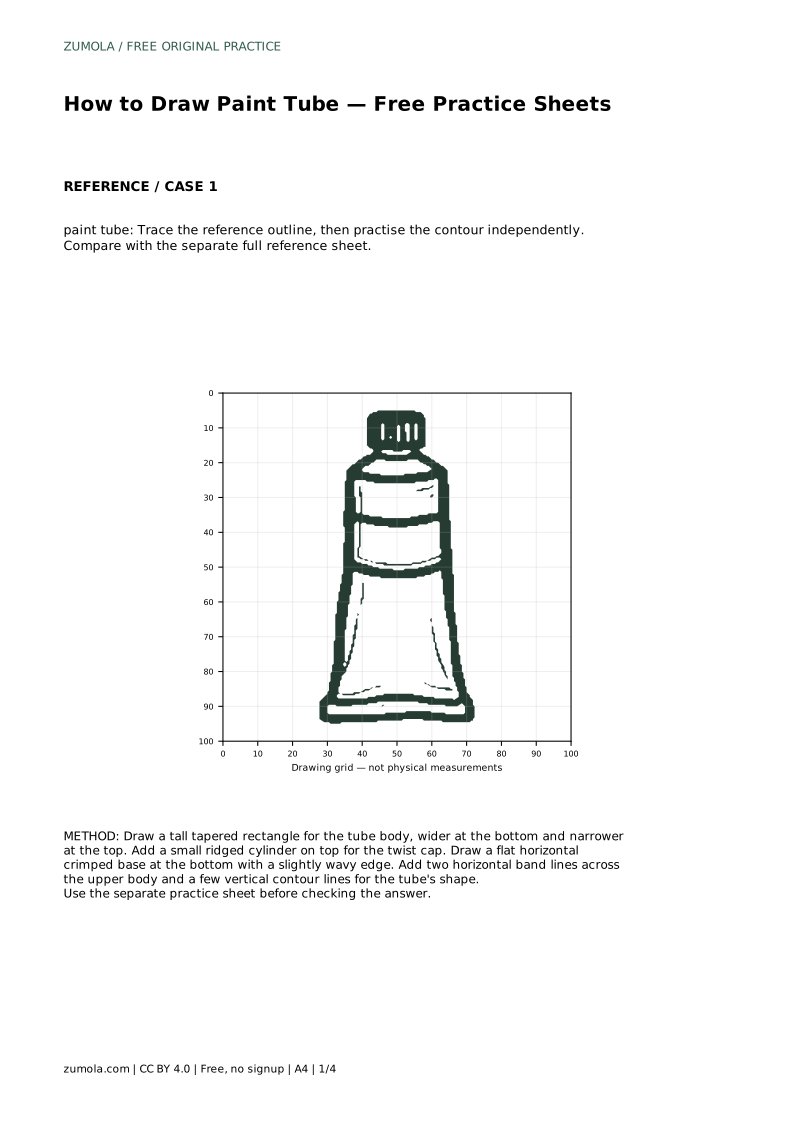
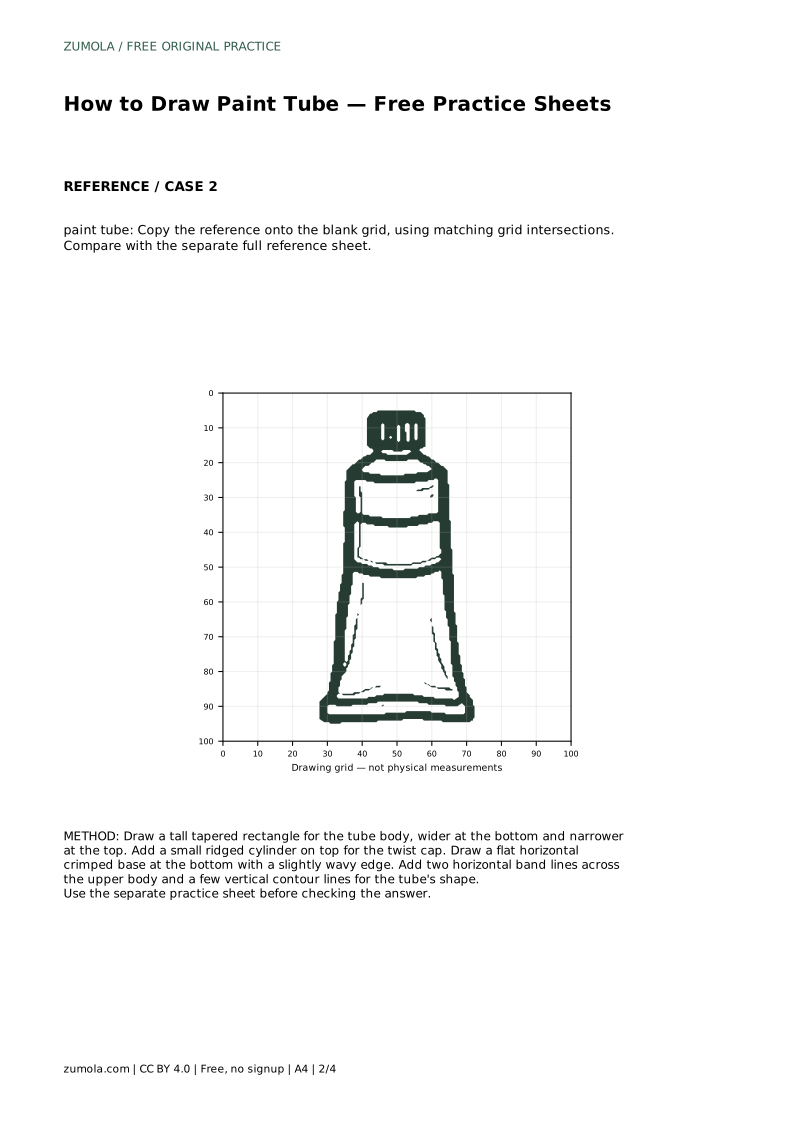
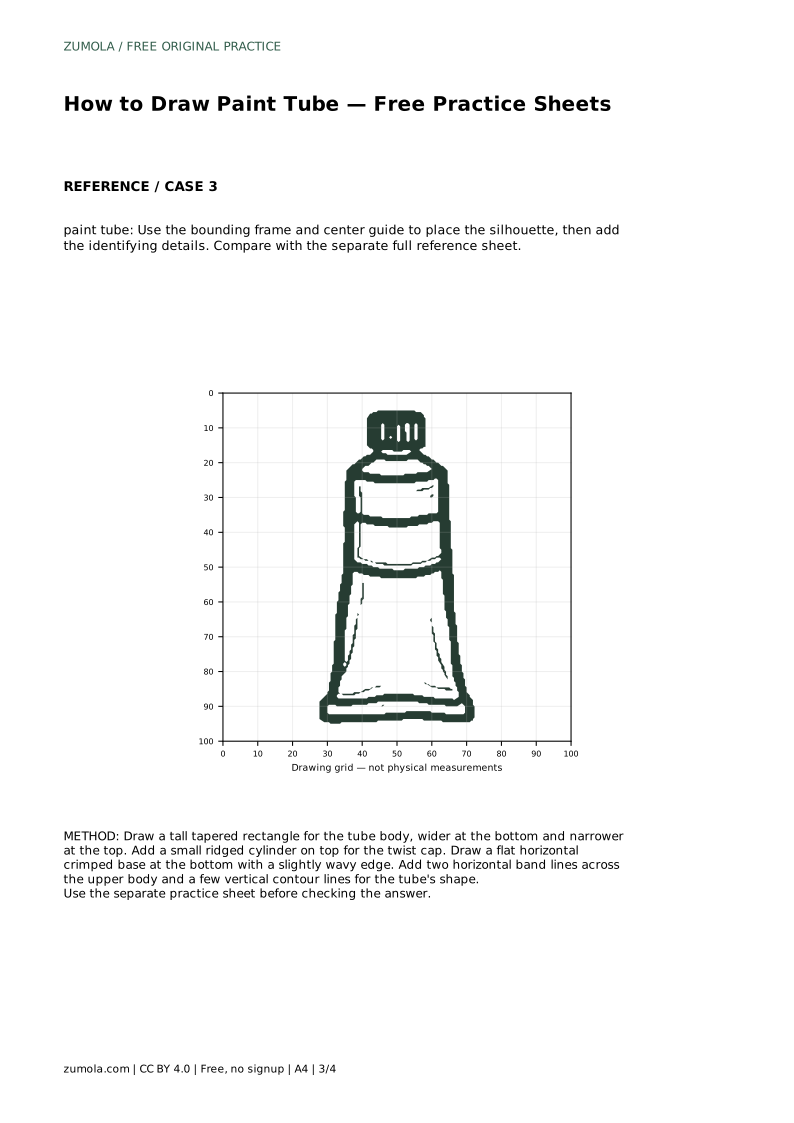
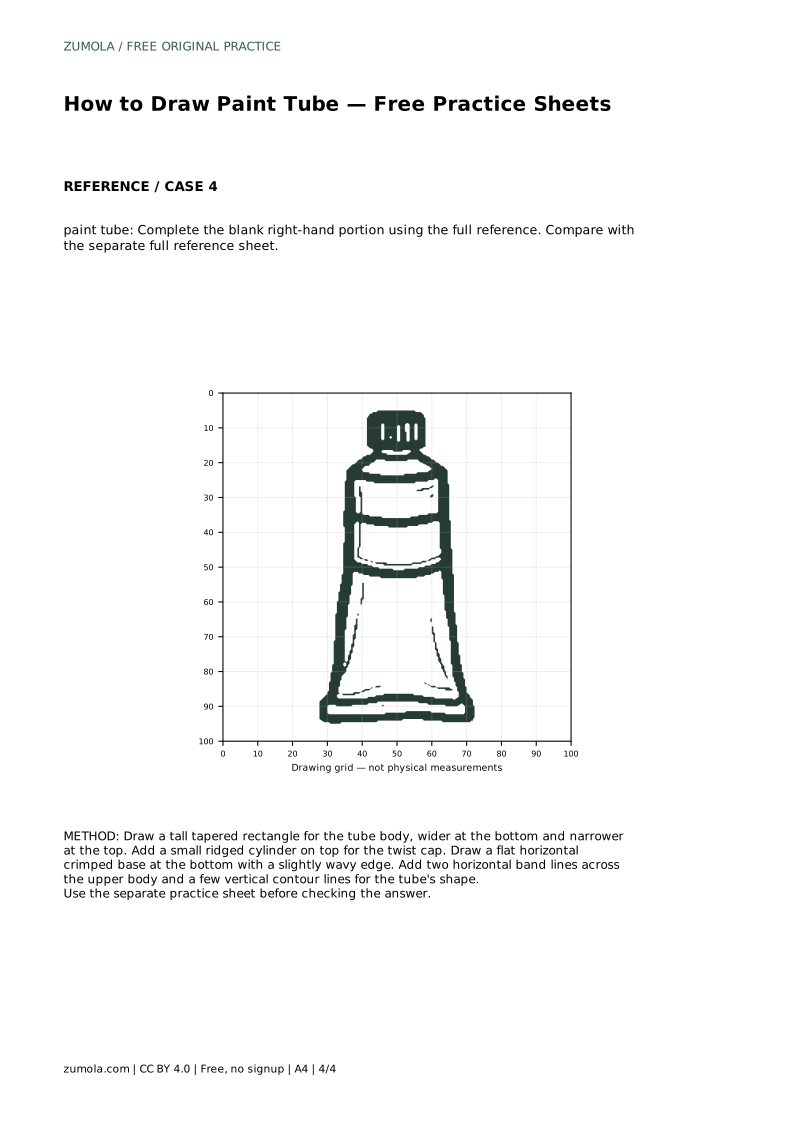
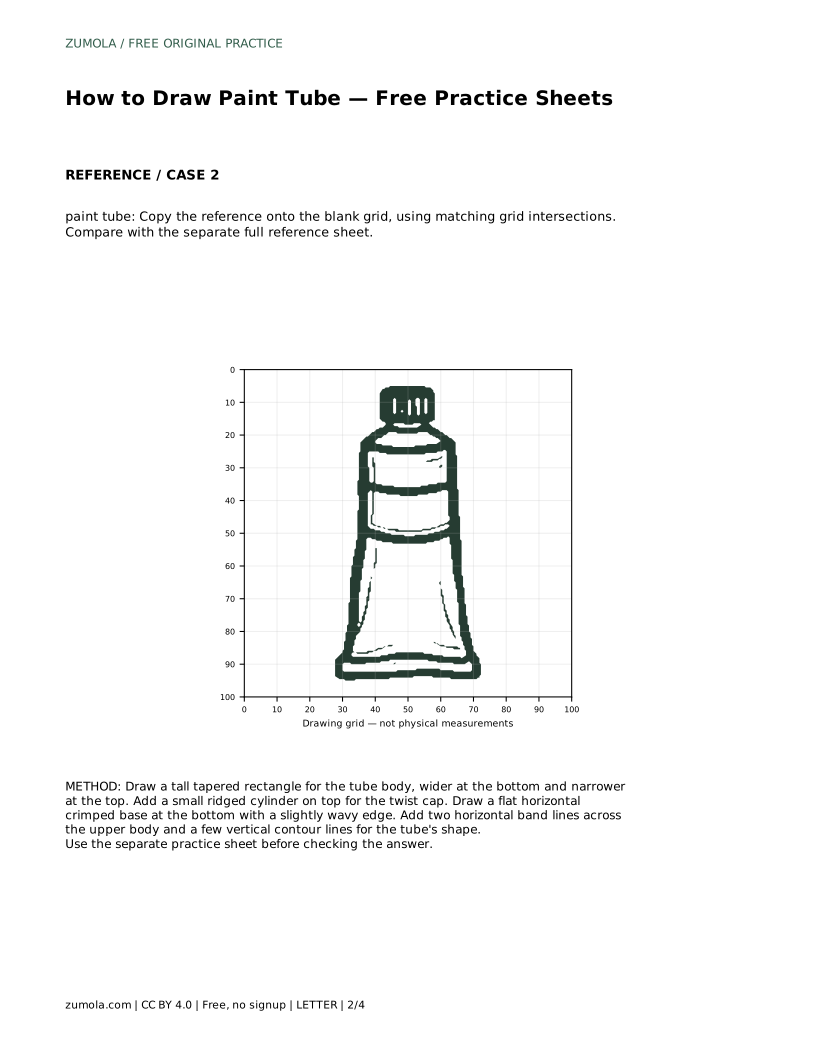
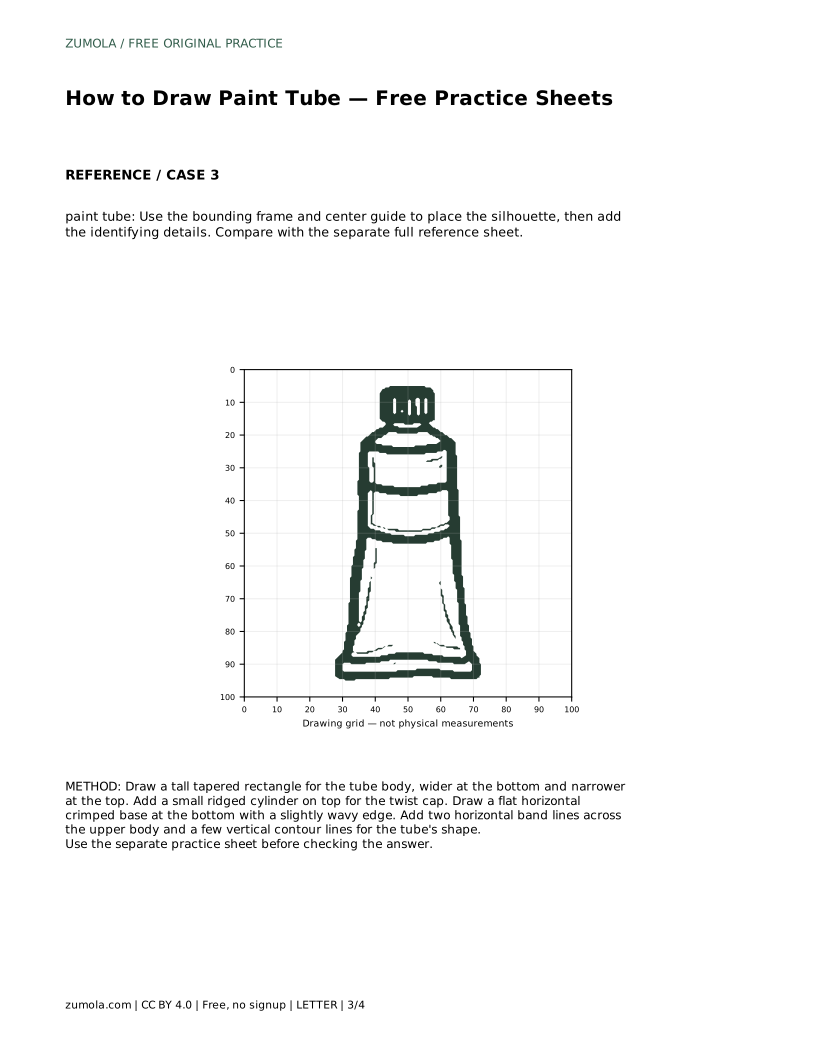
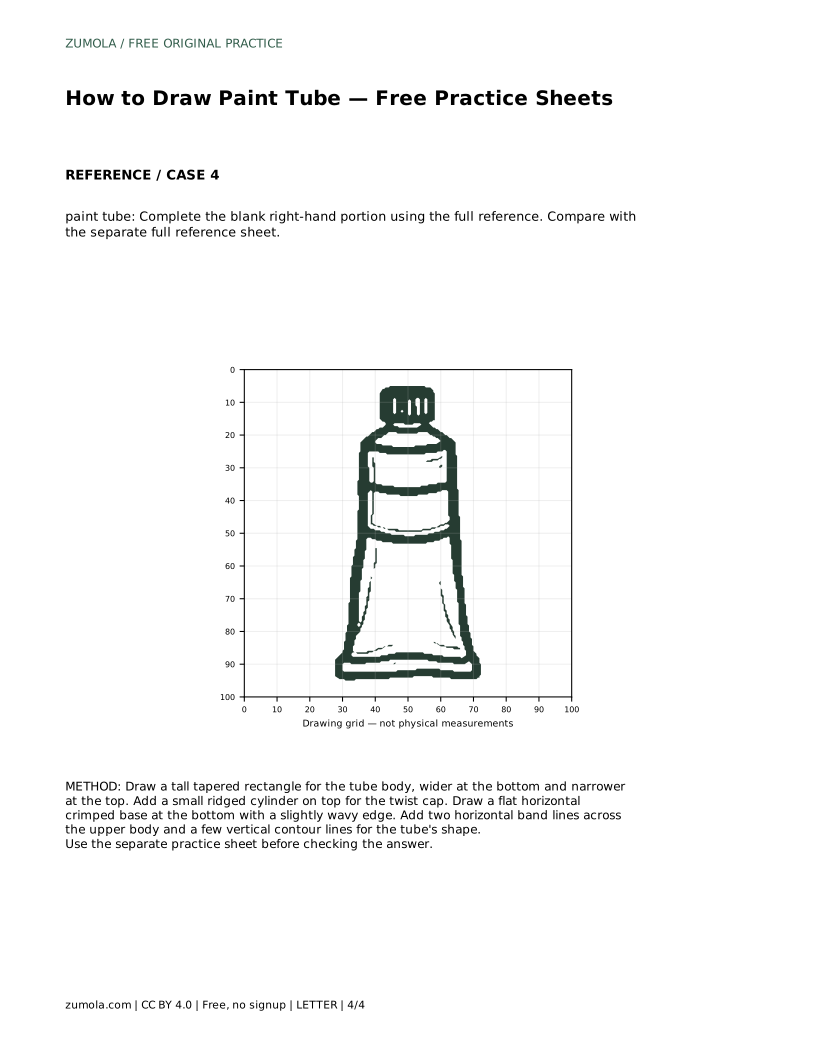
Start with the largest shape, not the smallest detail. The tube body is a tall tapered rectangle: wider at the bottom and narrower at the top. Keep the sides gently curved rather than perfectly straight, because a real tube bulges slightly where it holds paint. The top narrows into a short neck, and the cap sits above that neck as a small ridged cylinder.
The bottom is a flat horizontal crimped base. Draw it as a narrow band with a slightly wavy edge, which suggests the folded and pressed seam. Once the silhouette is in place, add two horizontal band lines across the upper body and a few vertical contour lines down the body. These lines describe the tube's cylindrical form and help the drawing read as three-dimensional.
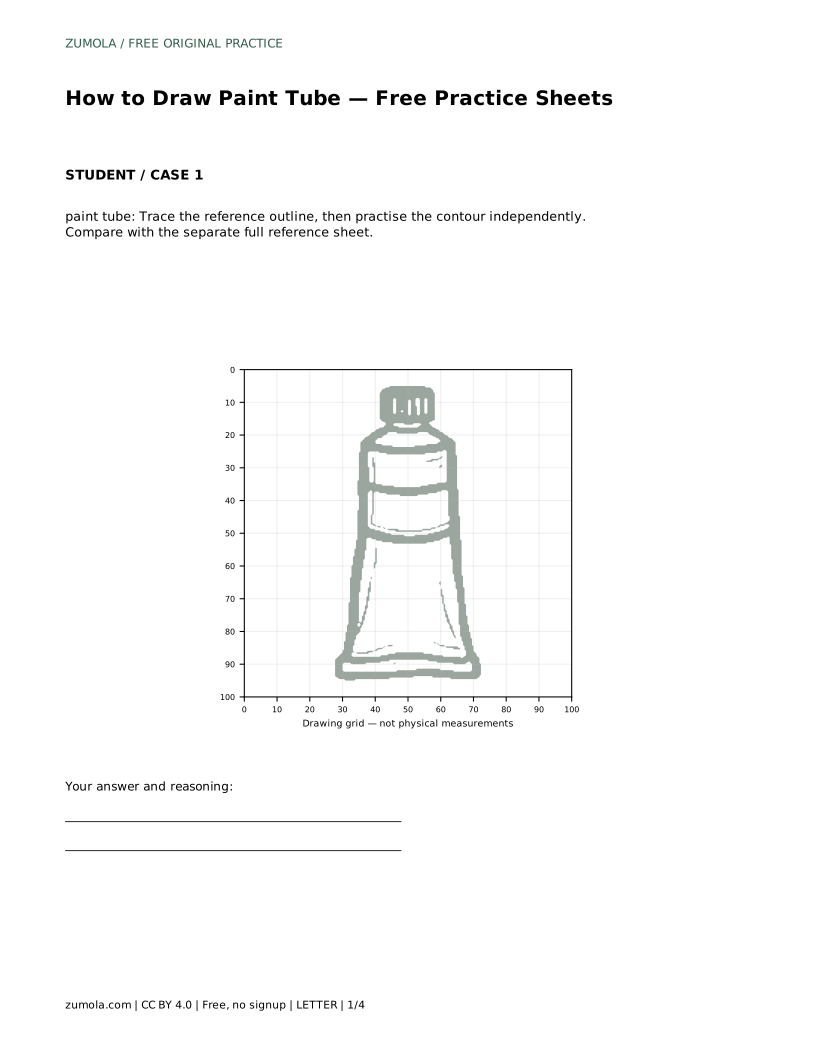
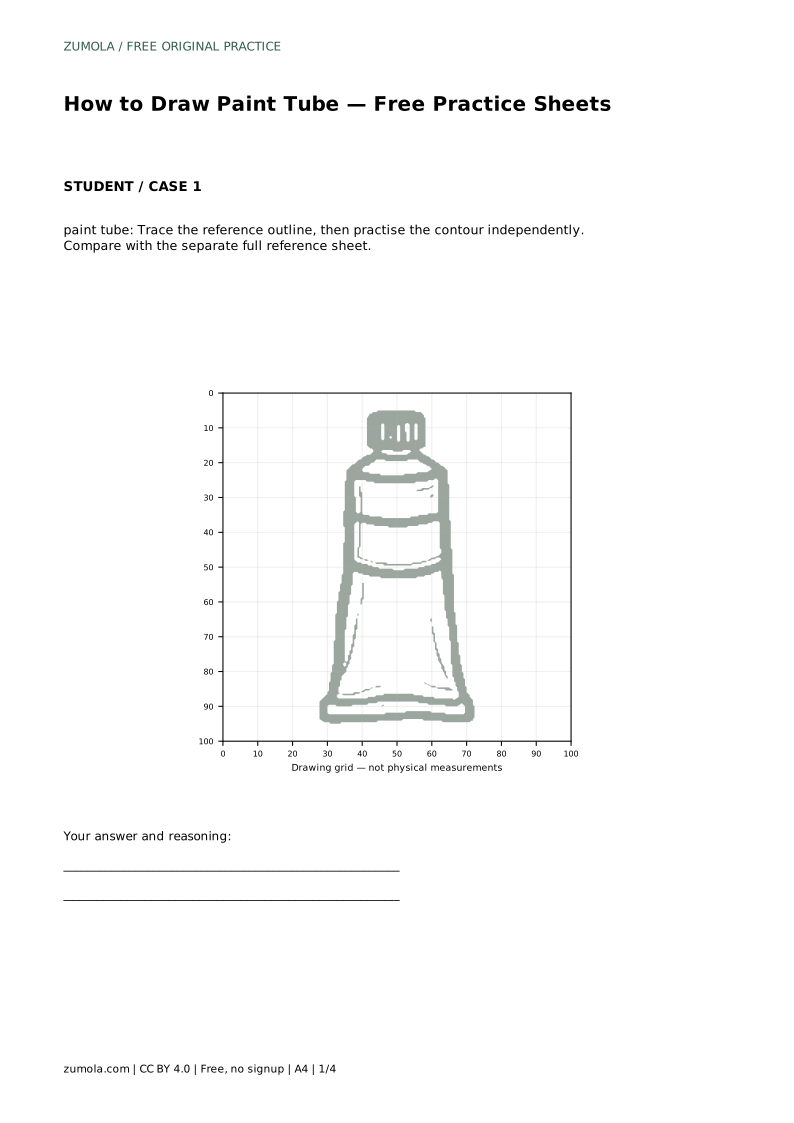
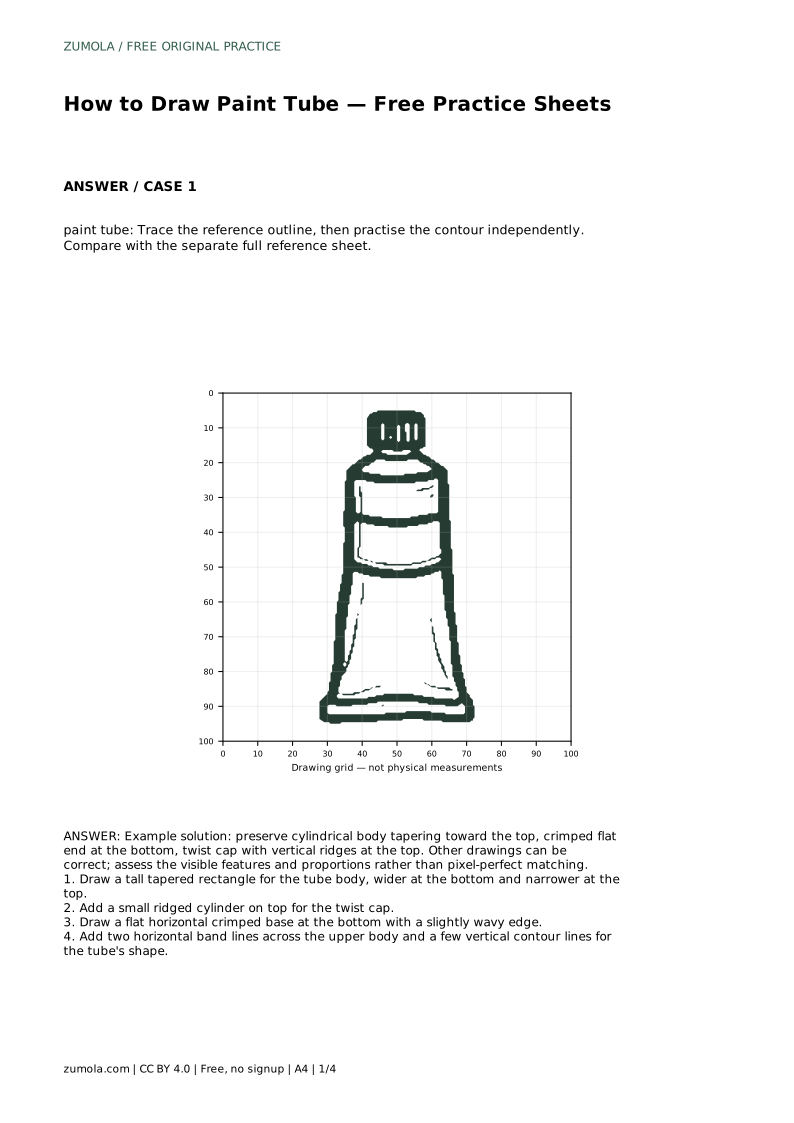
The sheets offer different ways to practise the same subject. In the tracing exercise, follow the reference outline first, then attempt the contour independently and compare your result with the separate full reference sheet. Tracing builds familiarity with the sequence of shapes; drawing without the outline tests whether you can recall that sequence.
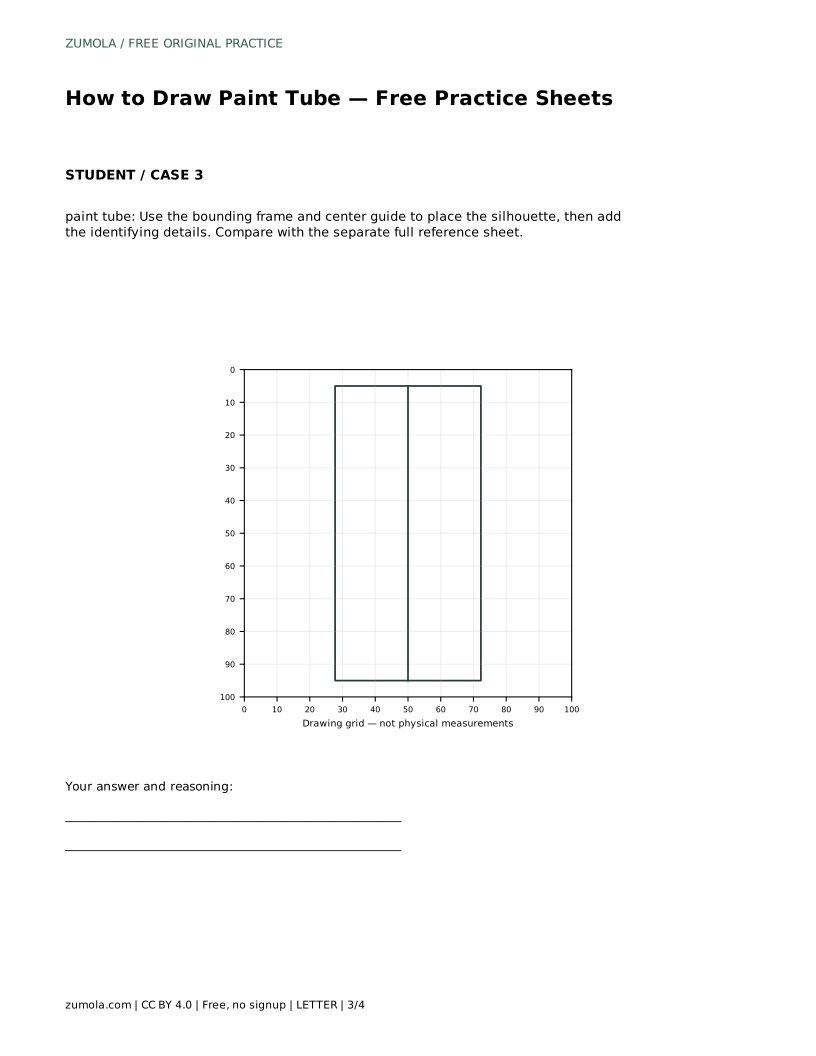
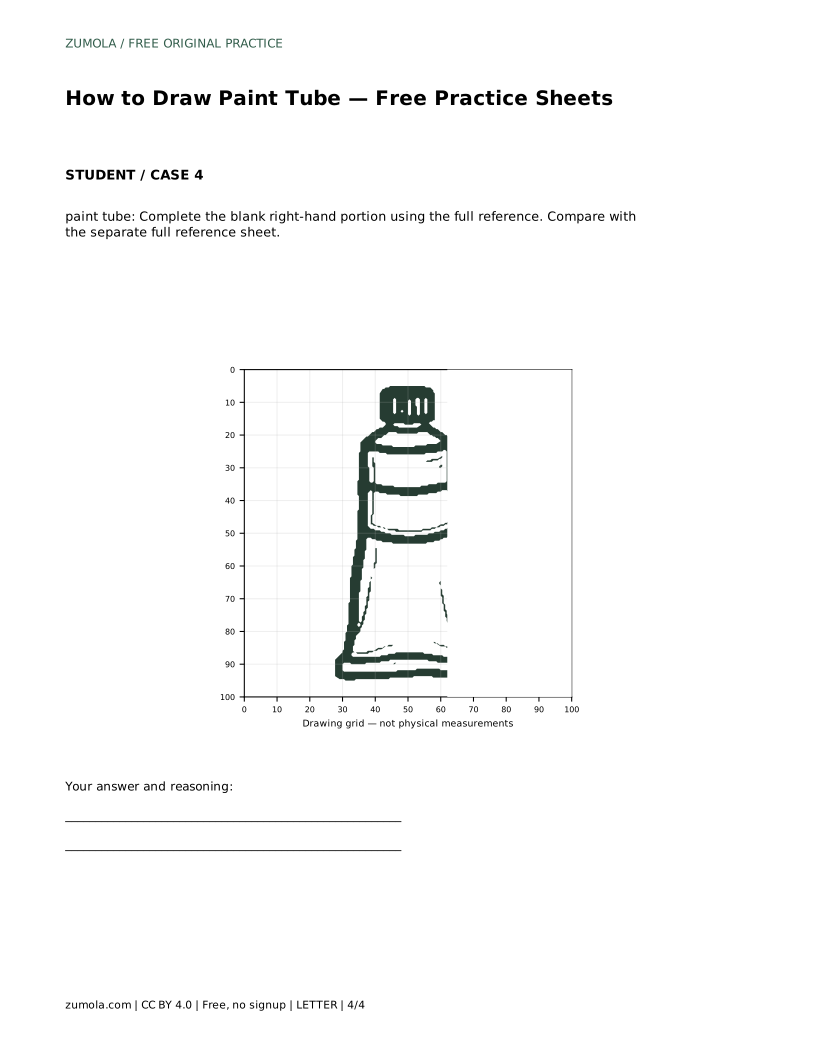
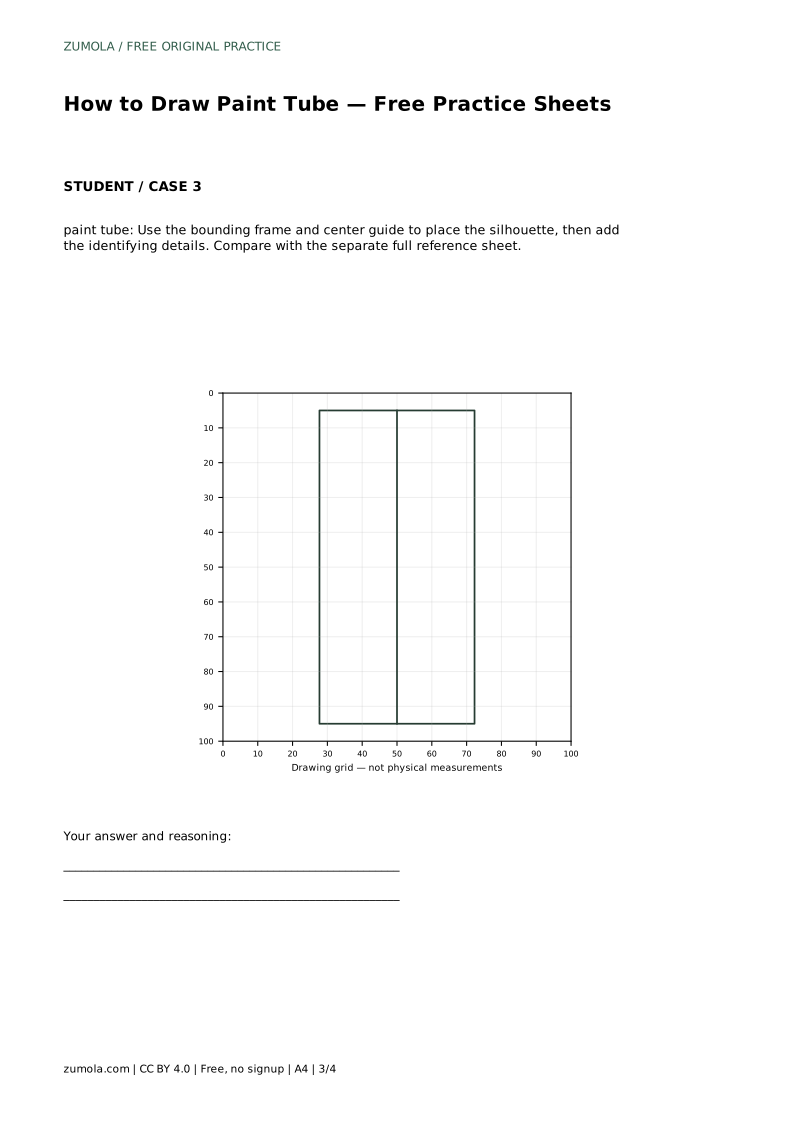
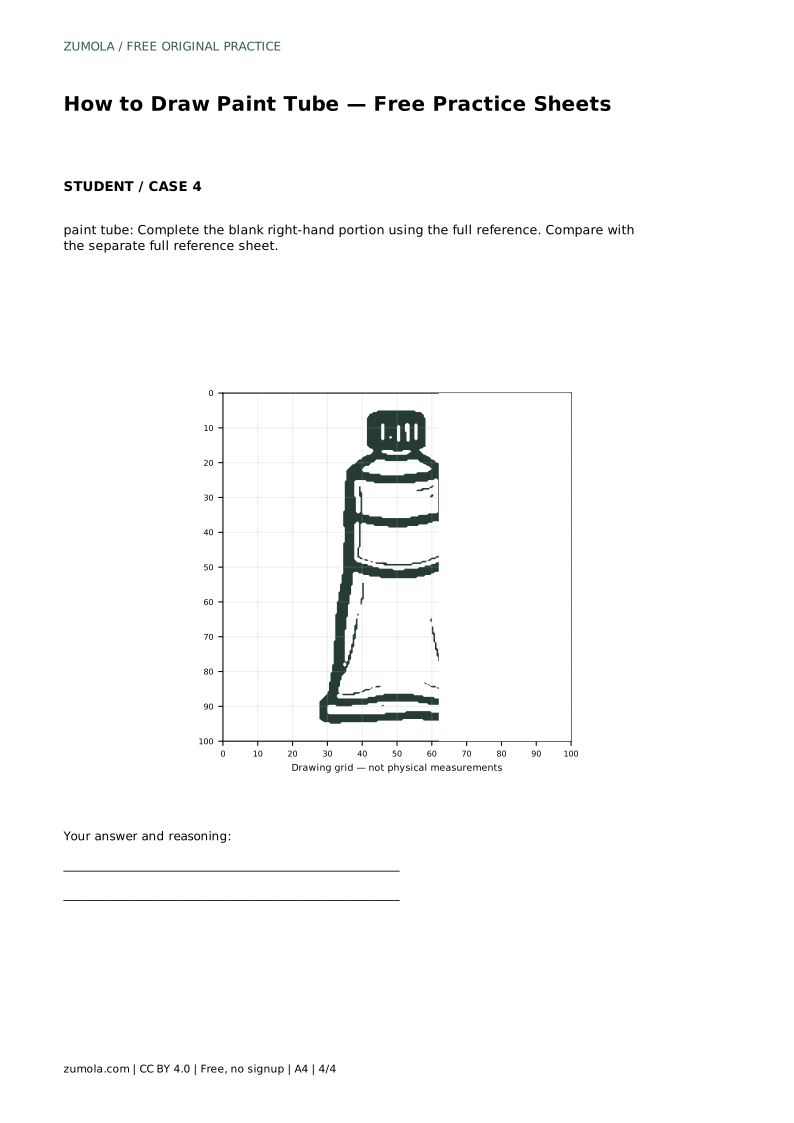
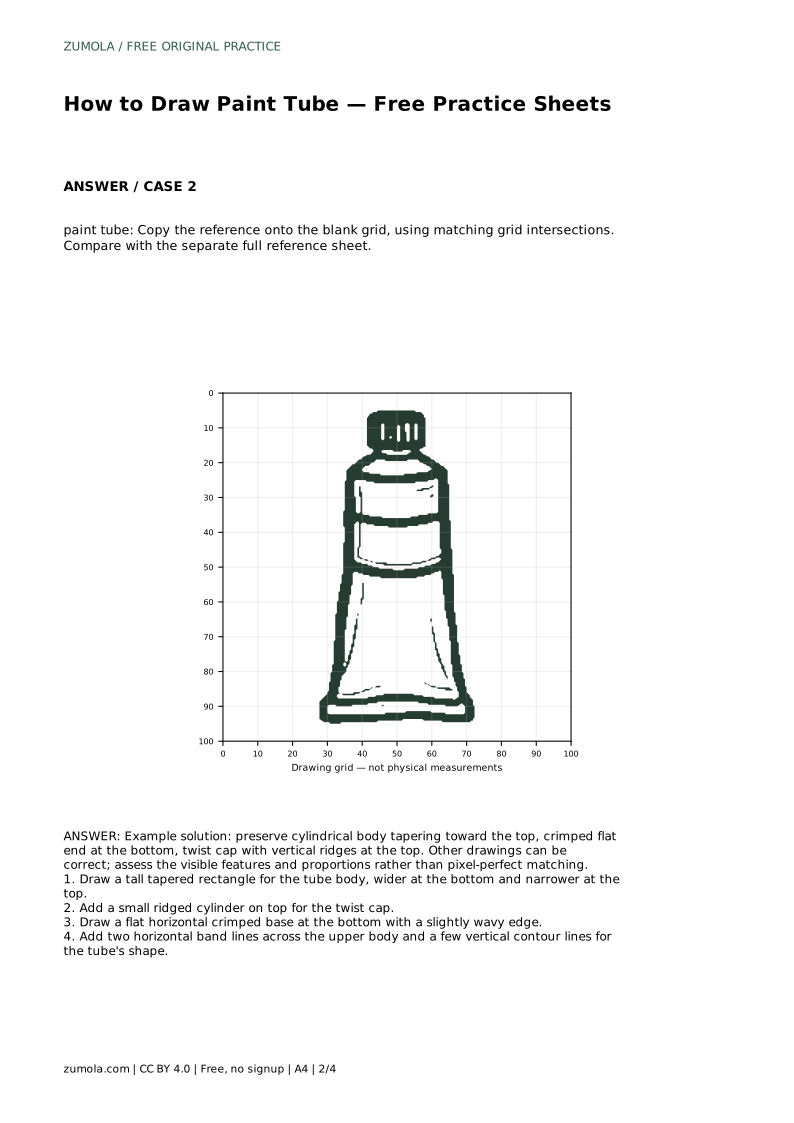
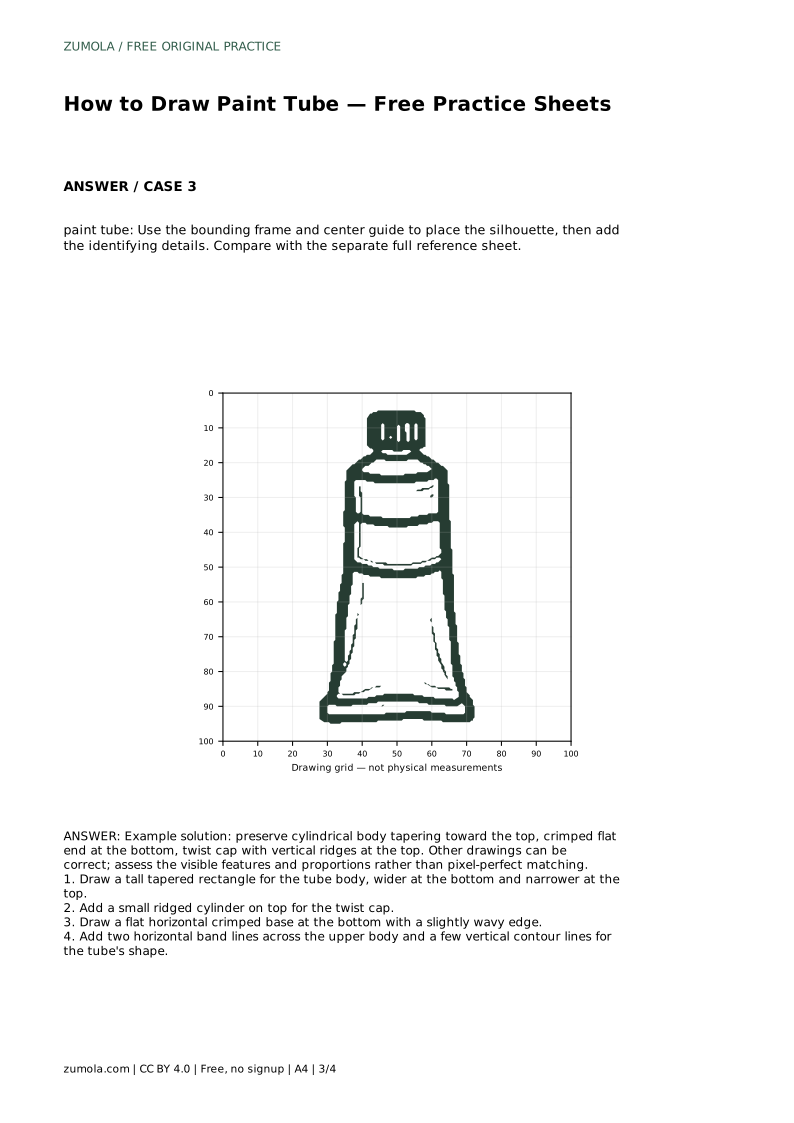
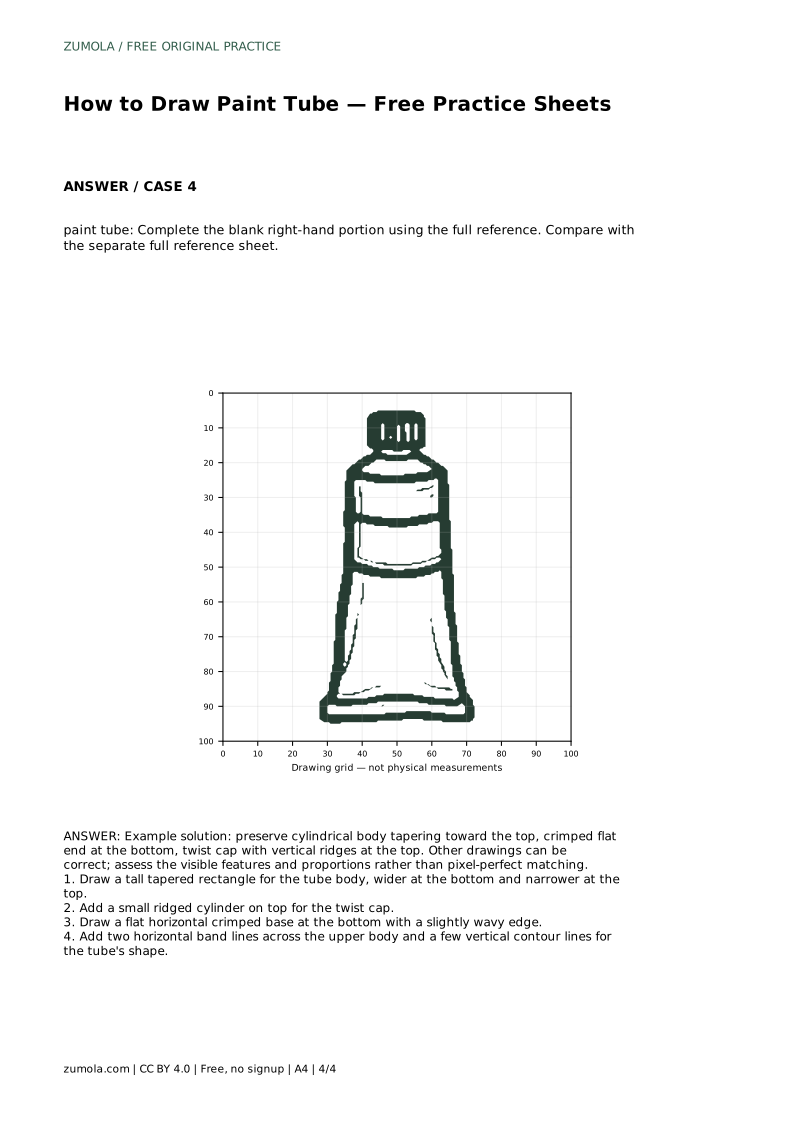
The grid exercise asks you to copy the reference onto a blank grid using matching grid intersections. Place key points first, such as the cap edges, the widest part of the body, and the corners of the crimped base, then connect them. The bounding-frame and center-guide exercise helps you position the silhouette before adding identifying details. The partial-reference exercise asks you to complete the blank right-hand portion using the full reference, which is useful for checking how well you understand the whole structure.
Drawings of the same object can differ and still be correct. Assess whether the cylindrical body tapers toward the top, whether the crimped flat end sits at the bottom, and whether the twist cap with vertical ridges sits at the top. Check that the proportions feel plausible: the body should be the dominant shape, with the cap and base clearly smaller.
Use the rubric below as a checklist rather than a scorecard. A drawing that captures the visible features and general proportions is successful even if its lines differ from the reference.
Most problems come from drawing details before the overall shape is settled. If the tube looks like a bottle, the body may be too rounded or the neck too long. If the cap looks like a plain circle, add short vertical ridges around its side. If the base looks like a curve, flatten it and add a slight wave to suggest the crimp.
paint tube: Trace the reference outline, then practise the contour independently. Compare with the separate full reference sheet.
Example solution: preserve cylindrical body tapering toward the top, crimped flat end at the bottom, twist cap with vertical ridges at the top. Other drawings can be correct; assess the visible features and proportions rather than pixel-perfect matching. Draw a tall tapered rectangle for the tube body, wider at the bottom and narrower at the top. Add a small ridged cylinder on top for the twist cap. Draw a flat horizontal crimped base at the bottom with a slightly wavy edge. Add two horizontal band lines across the upper body and a few vertical contour lines for the tube's shape.
No. Other drawings can be correct. Assess the visible features and proportions rather than pixel-perfect matching.
Draw the tapered body first, then the cap, then the crimped base, and finally the band and contour lines.
They describe the cylindrical form and help the drawing read as three-dimensional rather than flat.
All drawing practice · Free coordinate paper
Original resources · CC BY 4.0 · Free for personal and classroom use with attribution.