Reference diagrams
LETTER · Download PDF
A4 · Download PDF
Free original resources
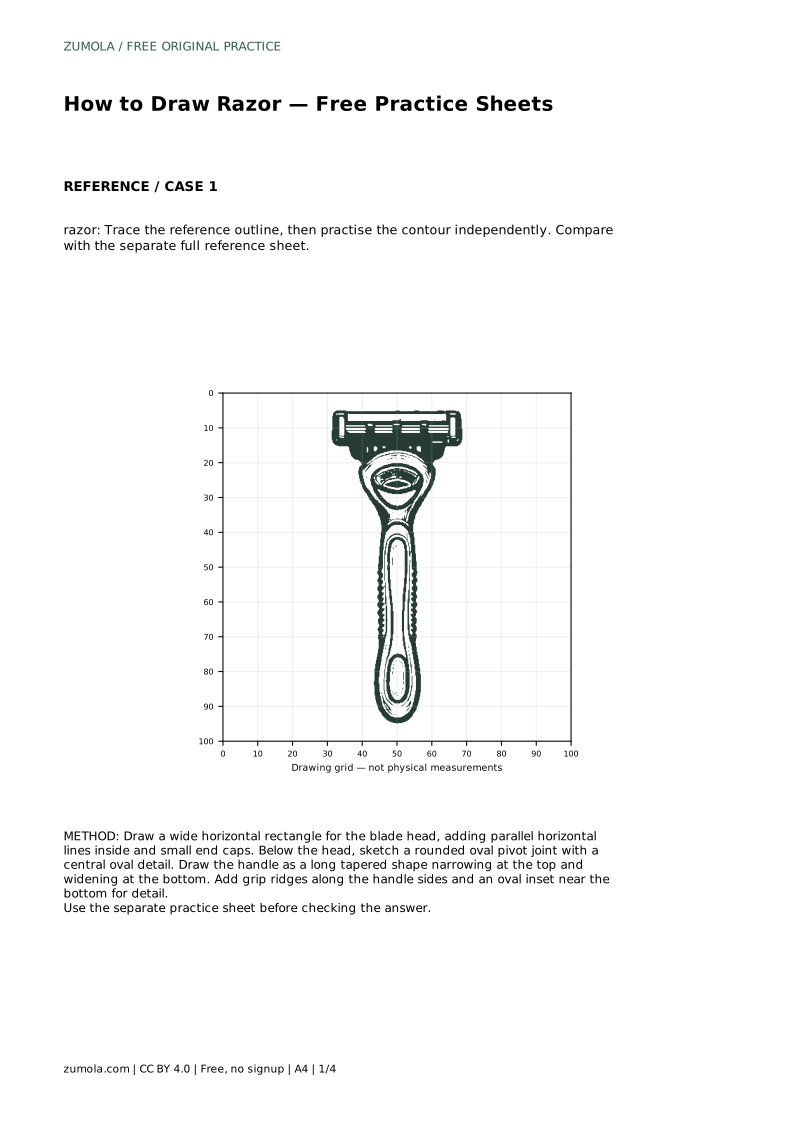
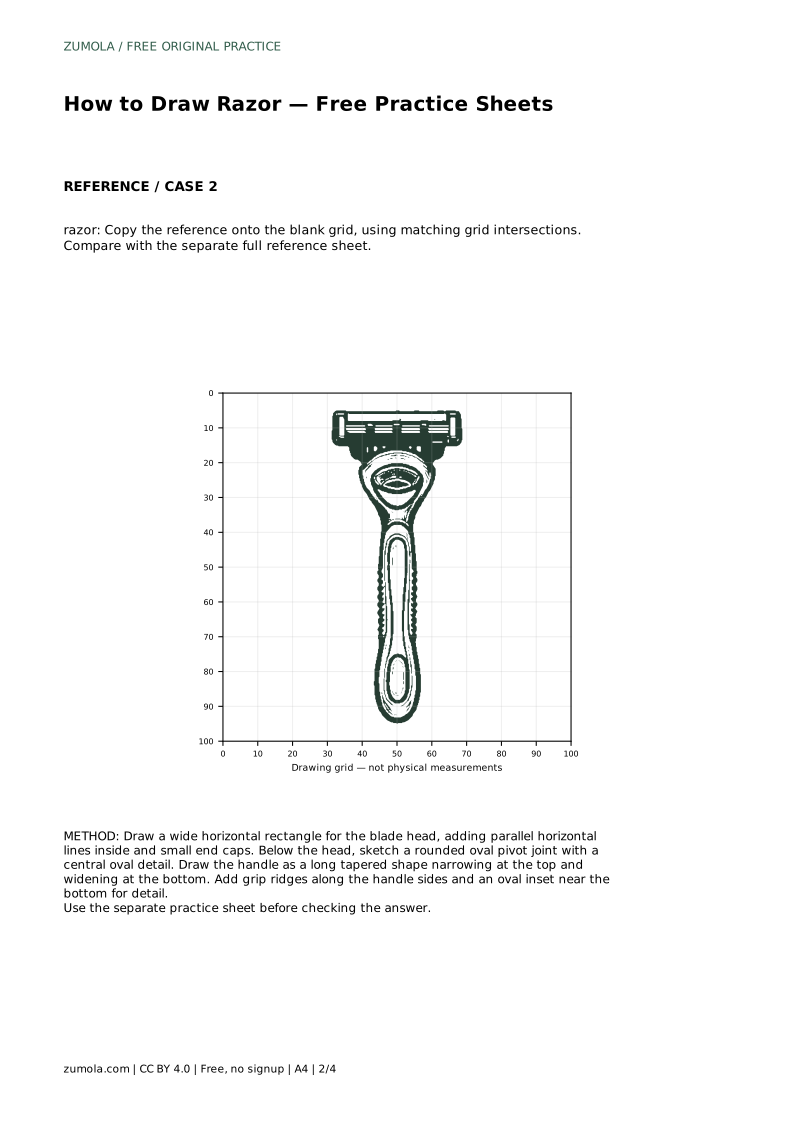
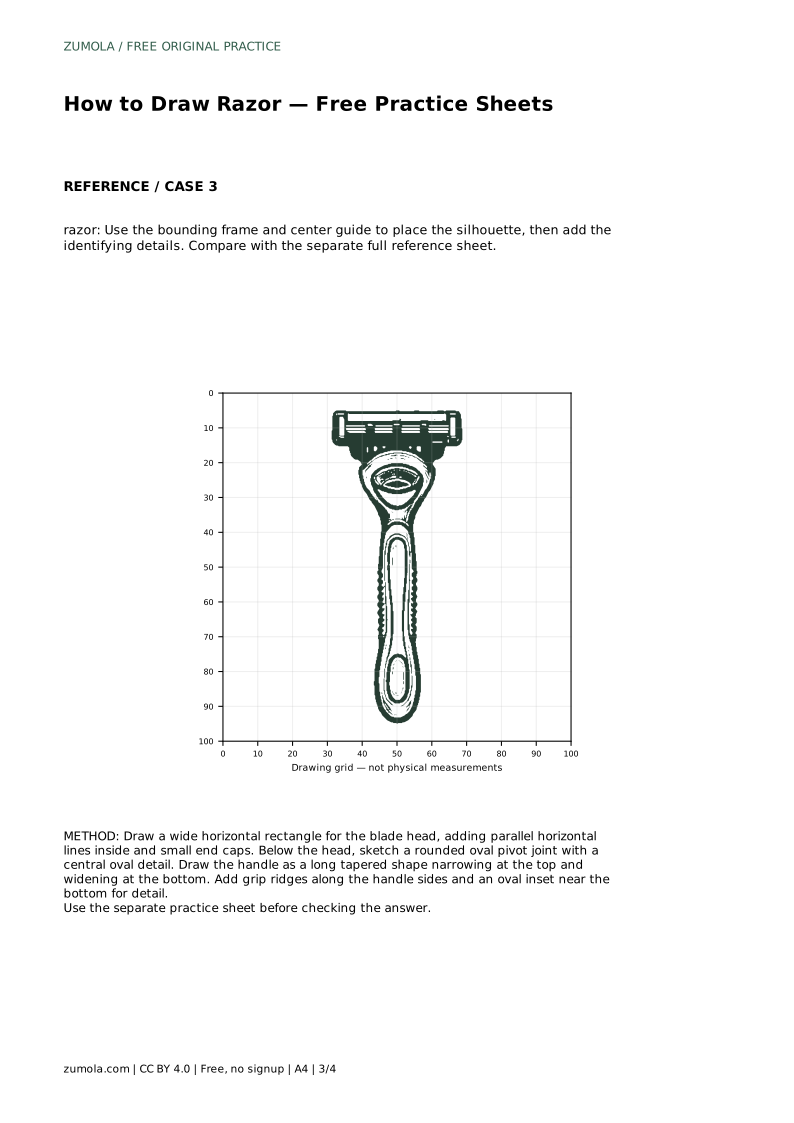
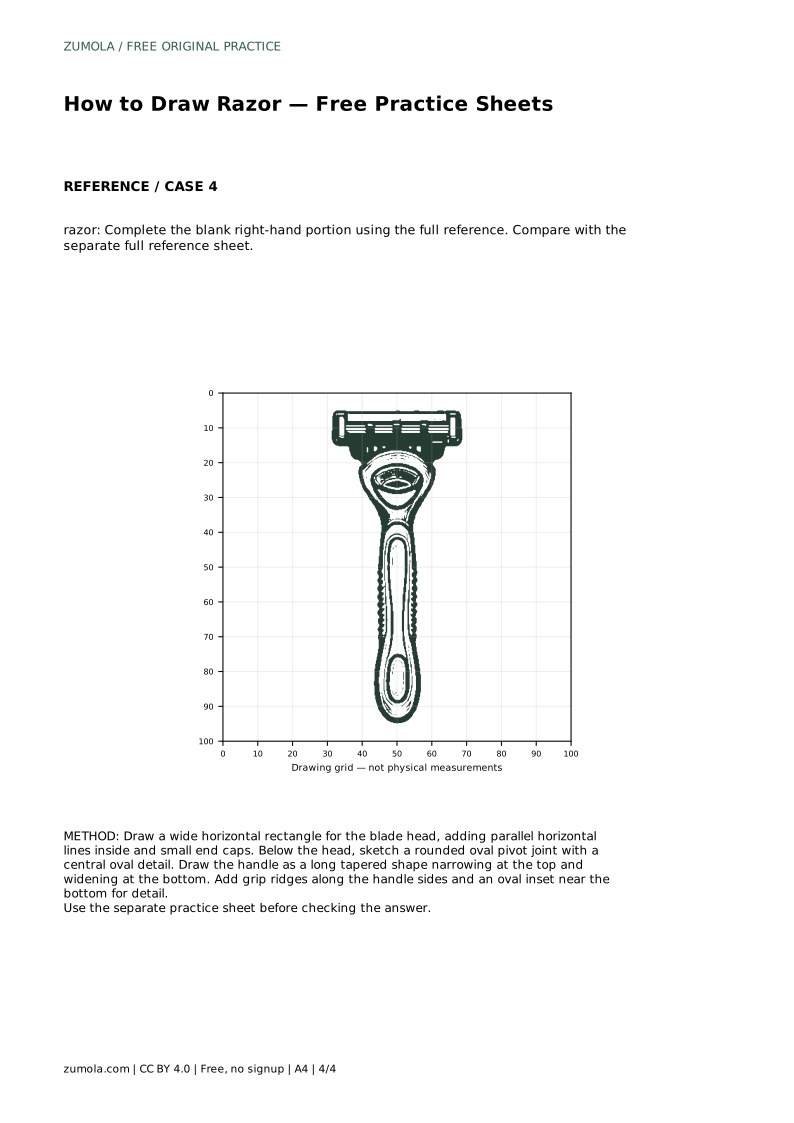
Learn to draw a razor by building its blade head, pivot joint, tapered handle, grip ridges, and inset detail, then compare your work with a reference sheet.
Four original cases, with reference diagrams, practice sheets and worked answers. Everything is free; no signup required.
LETTER · Download PDF
A4 · Download PDF
LETTER · Download PDF
A4 · Download PDF
LETTER · Download PDF
A4 · Download PDF
Use A4 or US Letter to match your printer. Use the stated values and conditions to solve each exercise; diagrams are not physical measuring rulers.
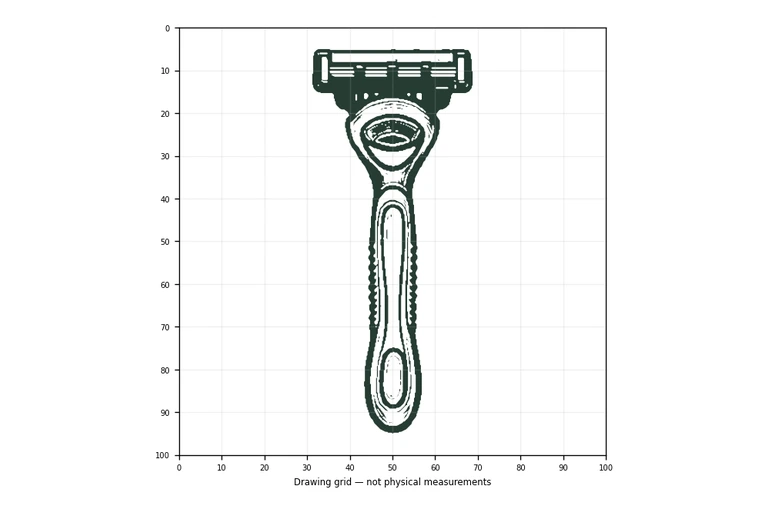
A razor is a good subject for practising straight edges, repeated lines, and a clear connection between two different shapes. This page explains how to construct the drawing from the blade head downward, keeping the head rectangular and the handle long and tapered. The practice sheets let you trace, copy onto a grid, place the silhouette with a centre guide, or complete a partly blank drawing. Because drawings can vary, judge your result by visible features and proportions rather than an exact match.
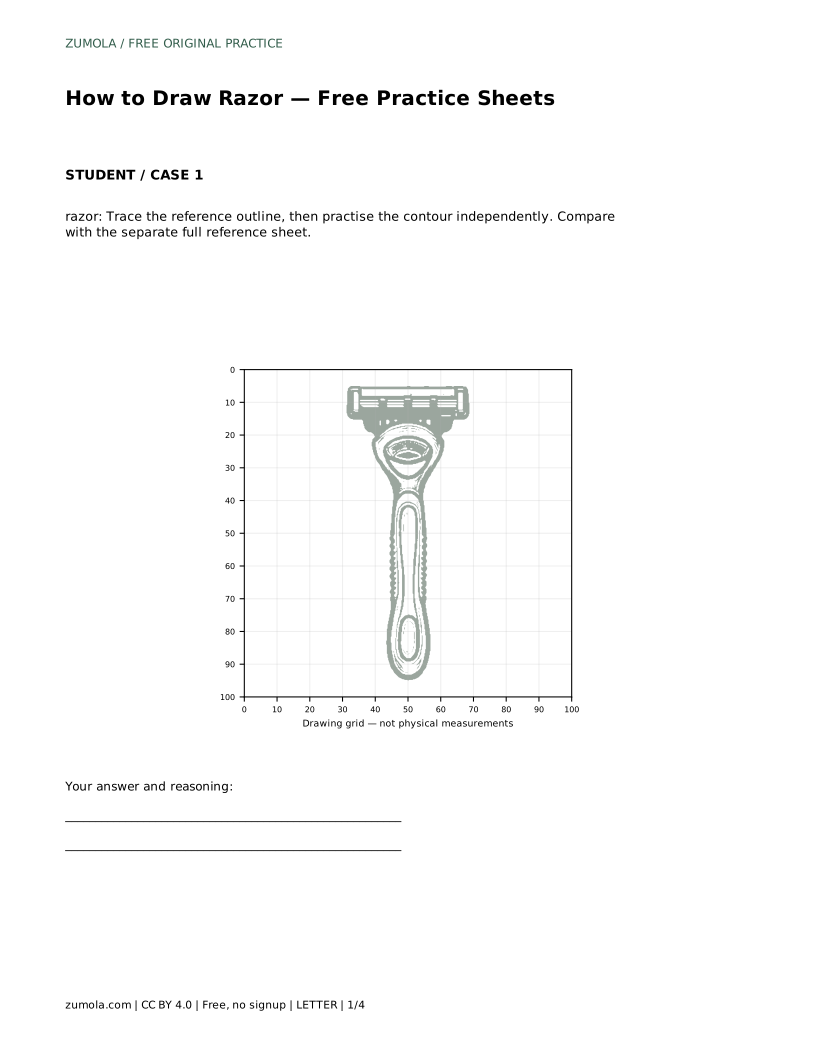
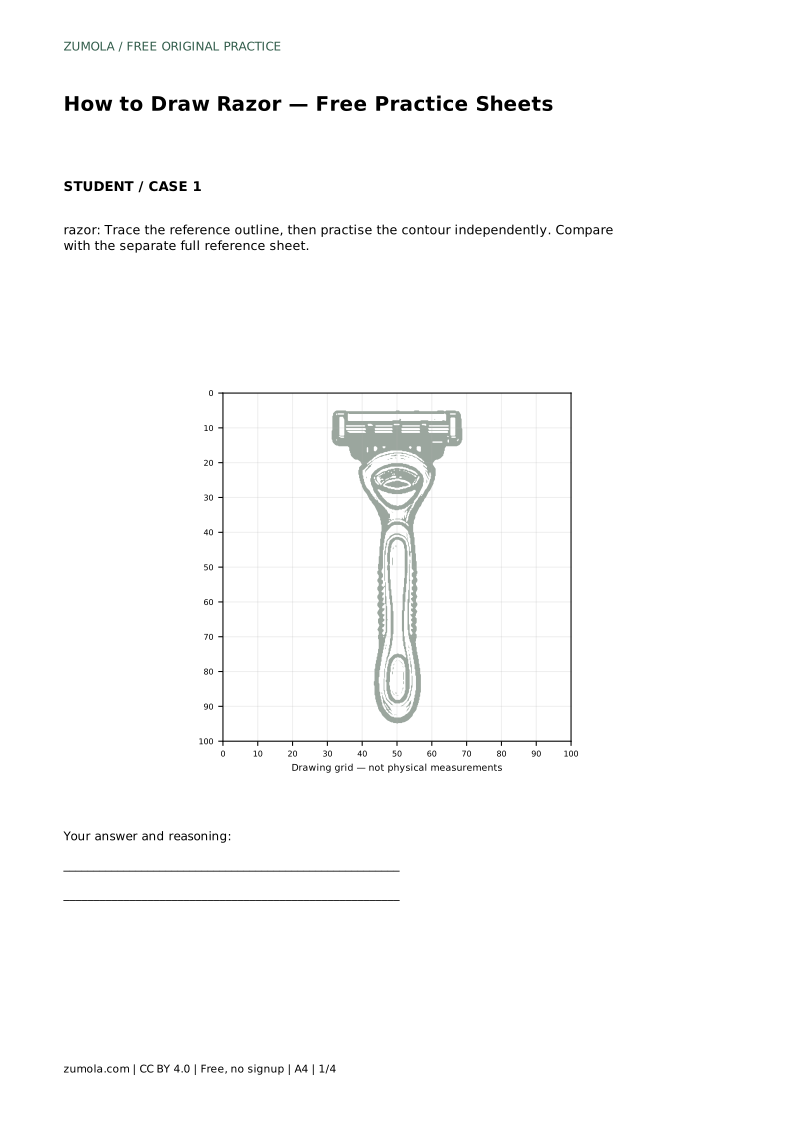
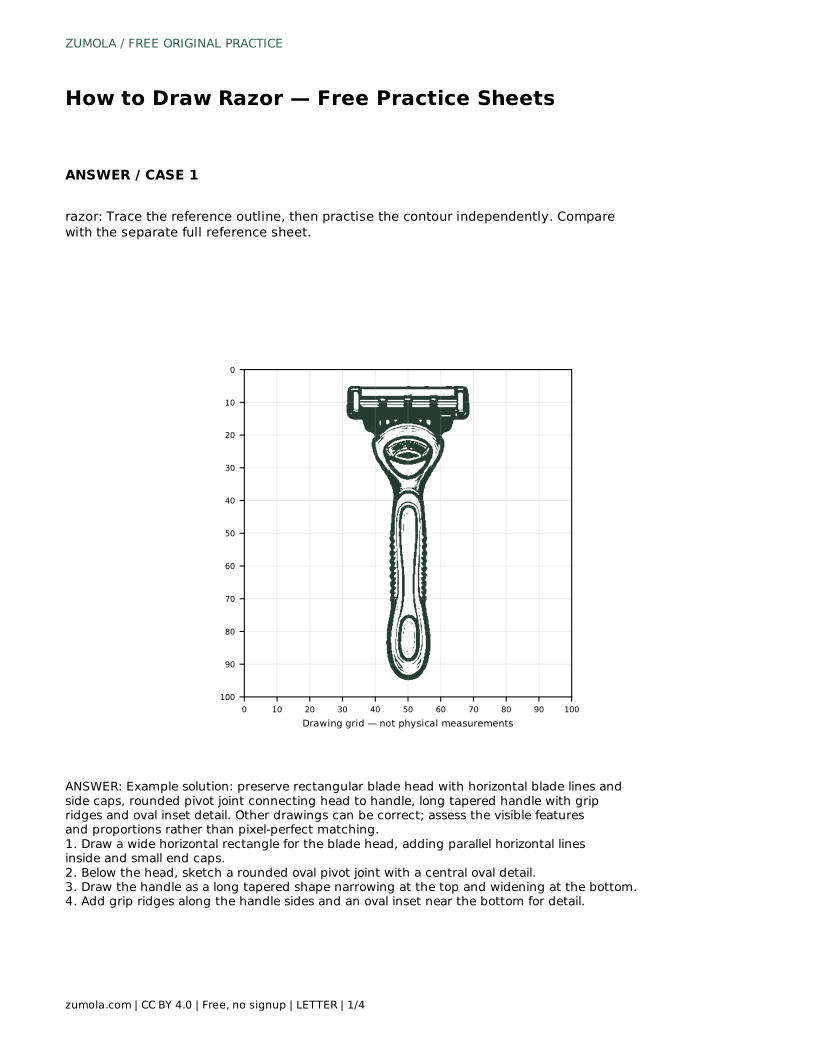
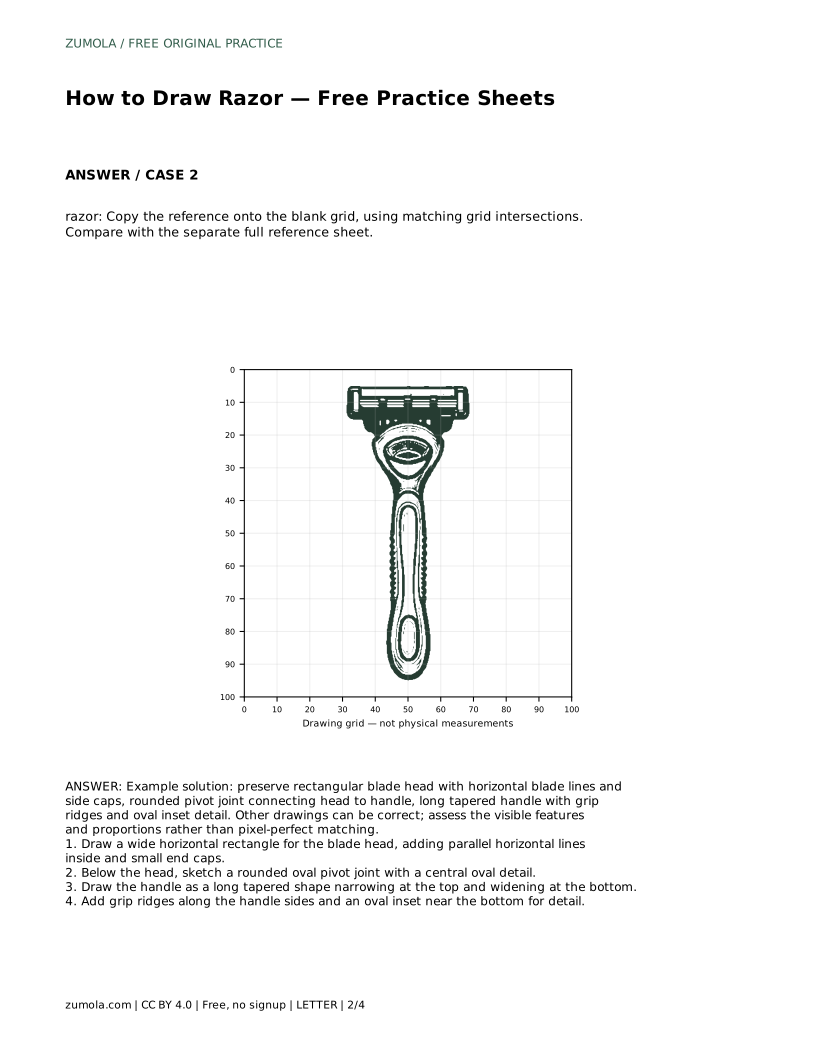
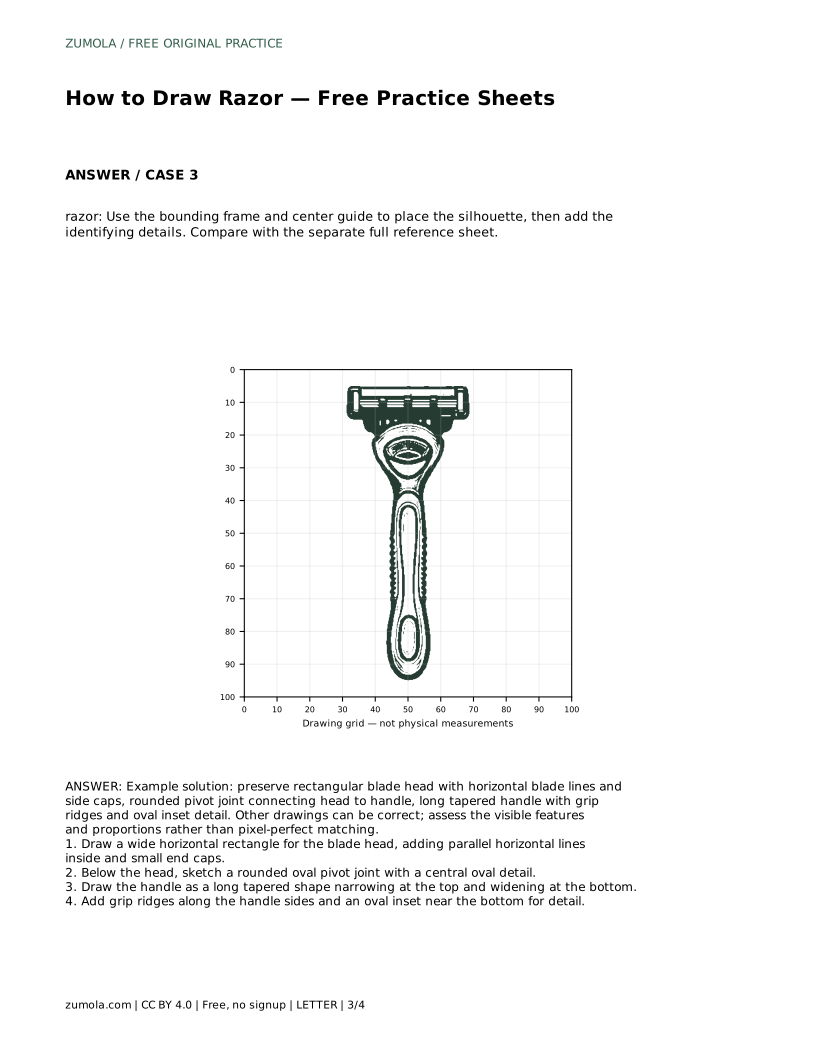
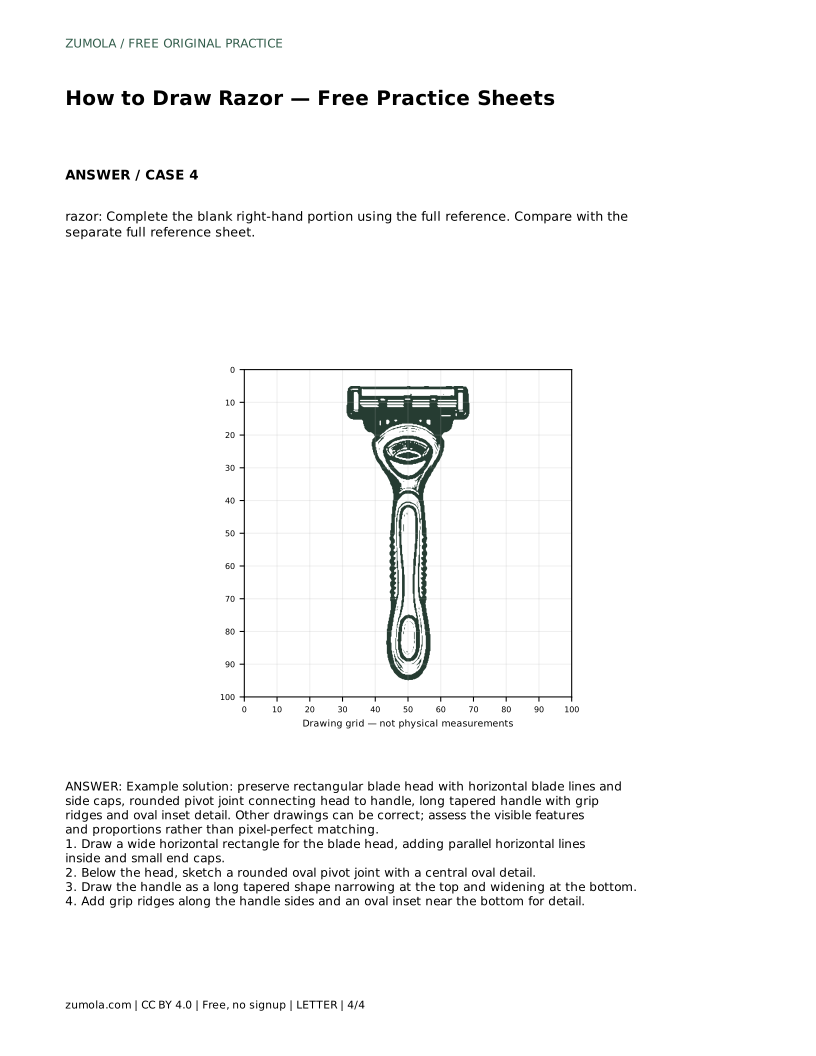
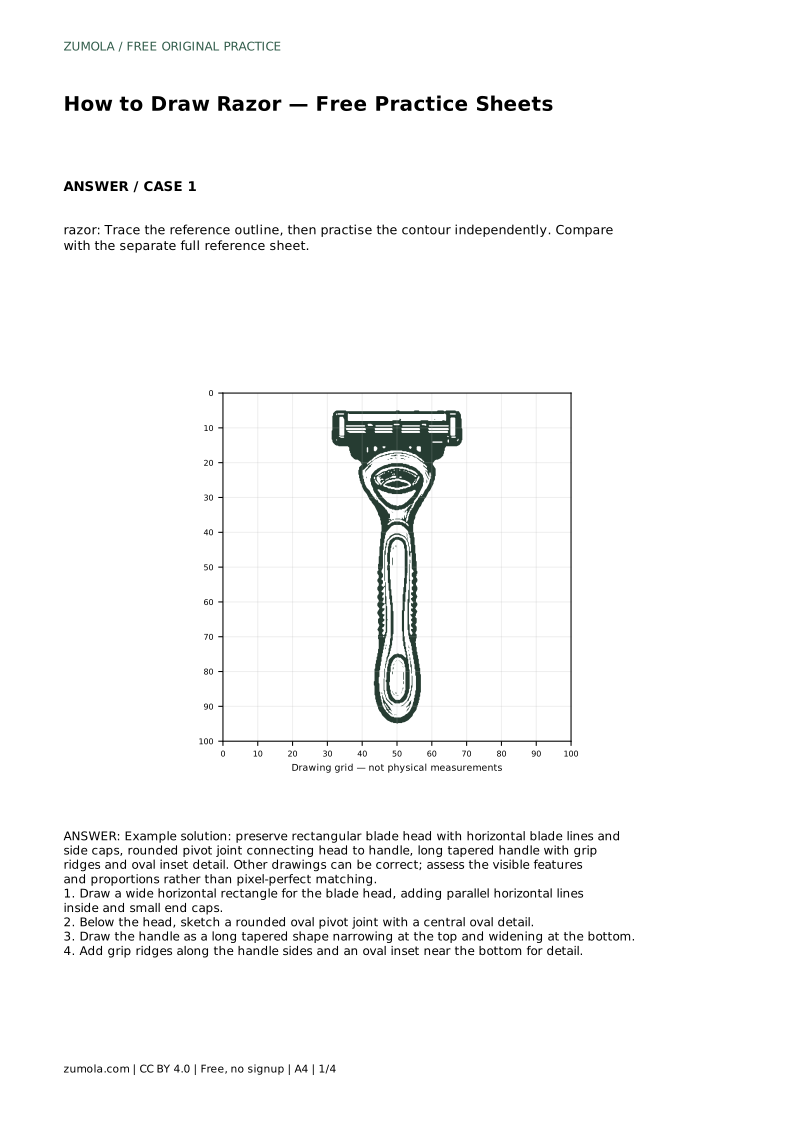
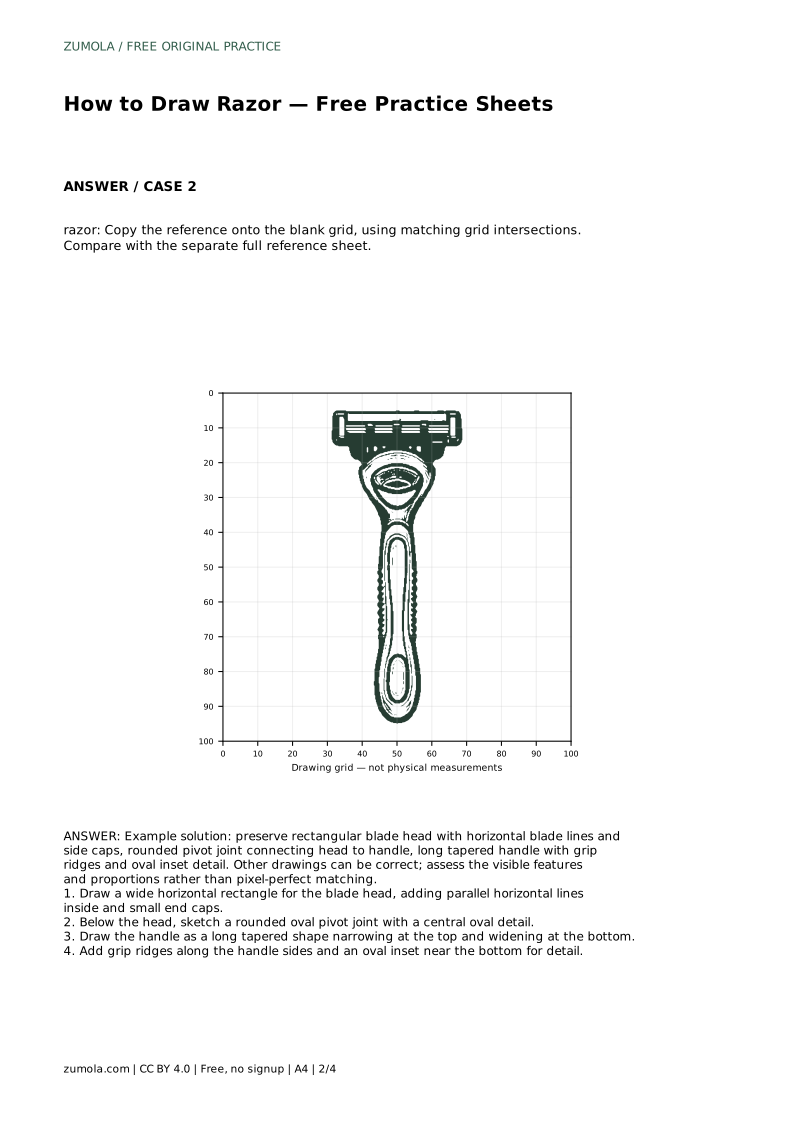
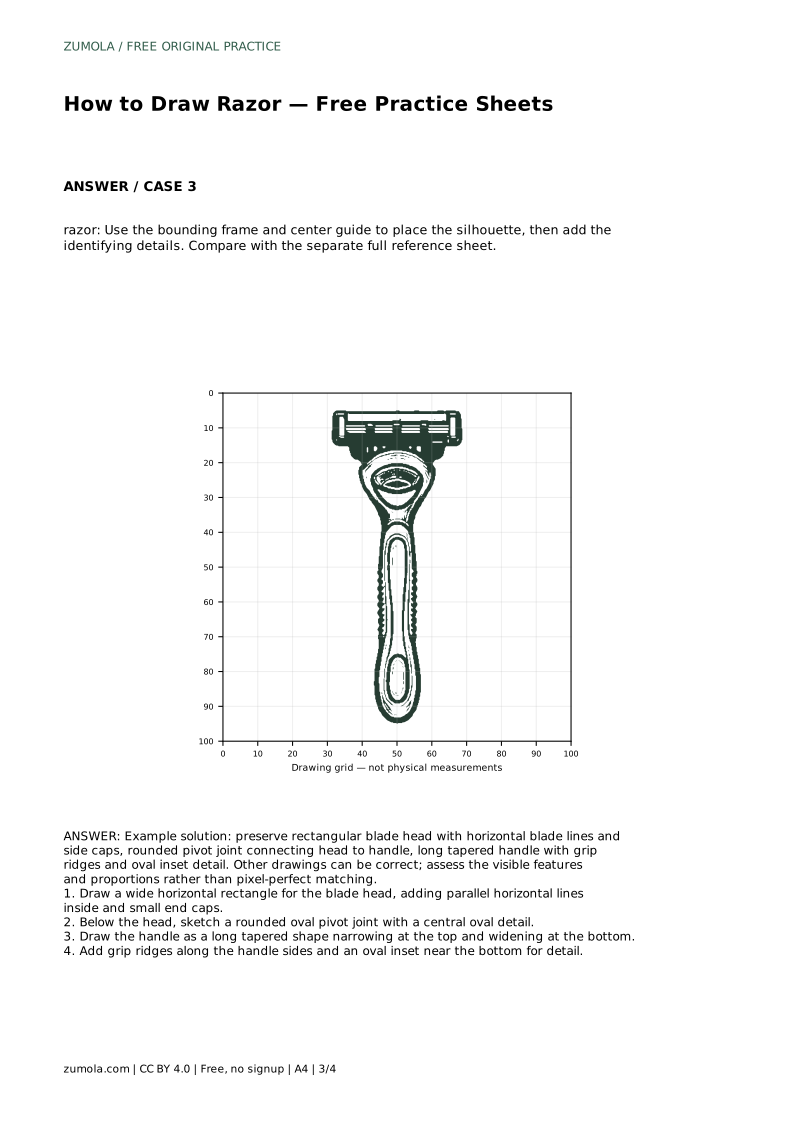
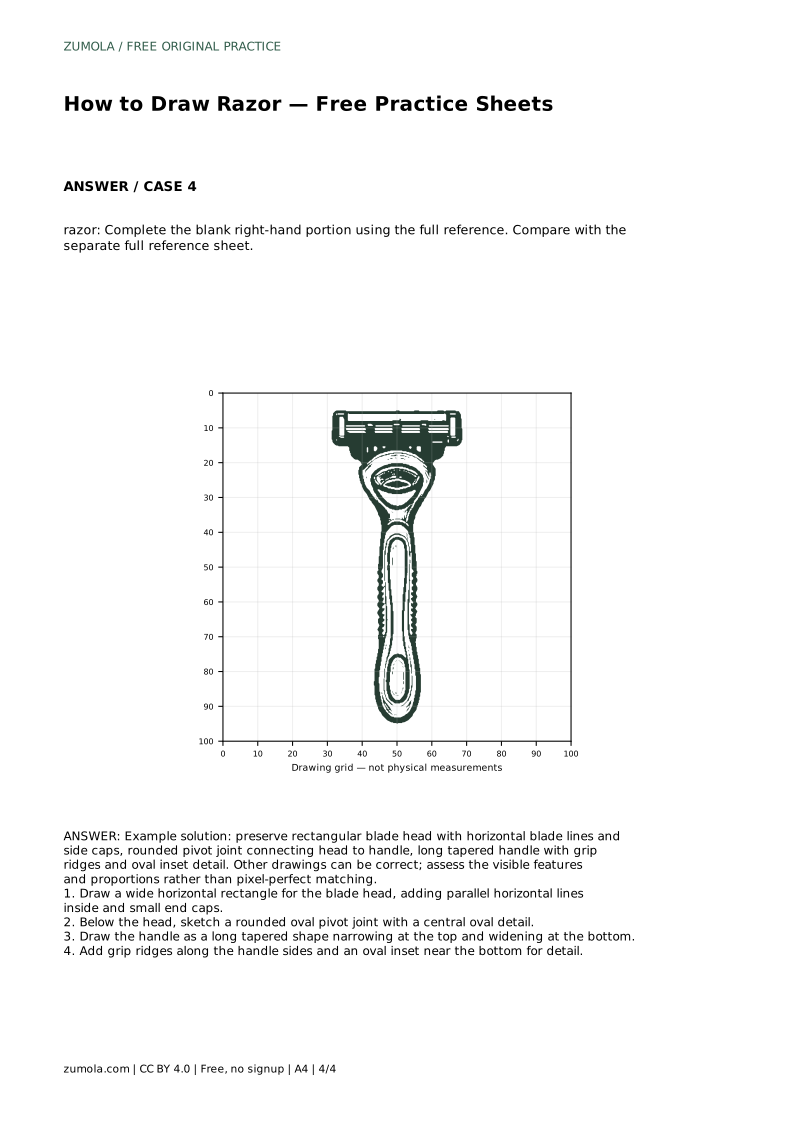
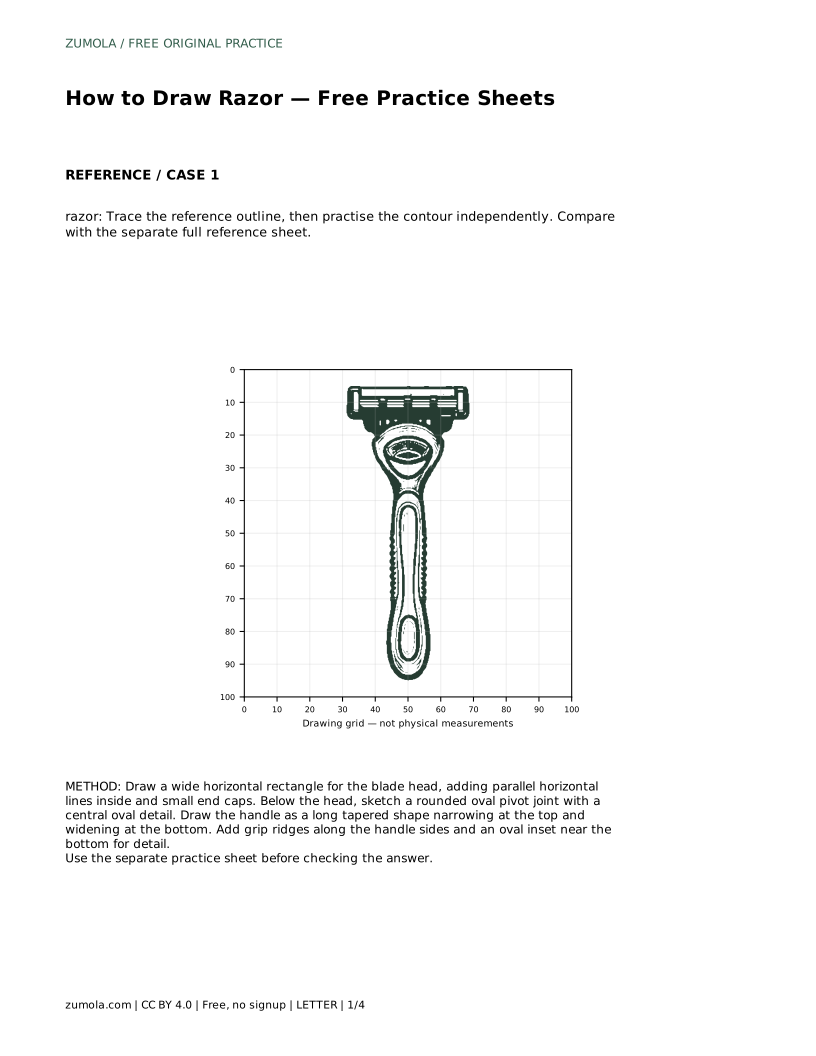
Start with the widest part: a horizontal rectangle for the blade head. Keep its top and bottom edges parallel, then add parallel horizontal lines inside to suggest the blade. Small end caps close the sides of the head. Below the head, draw a rounded oval pivot joint with a central oval detail; this joint is the visual link between the head and the handle. The handle should be a long tapered shape that narrows near the top and widens toward the bottom. Add grip ridges along the sides and an oval inset near the bottom. Work lightly at first so you can adjust proportions before darkening the lines.
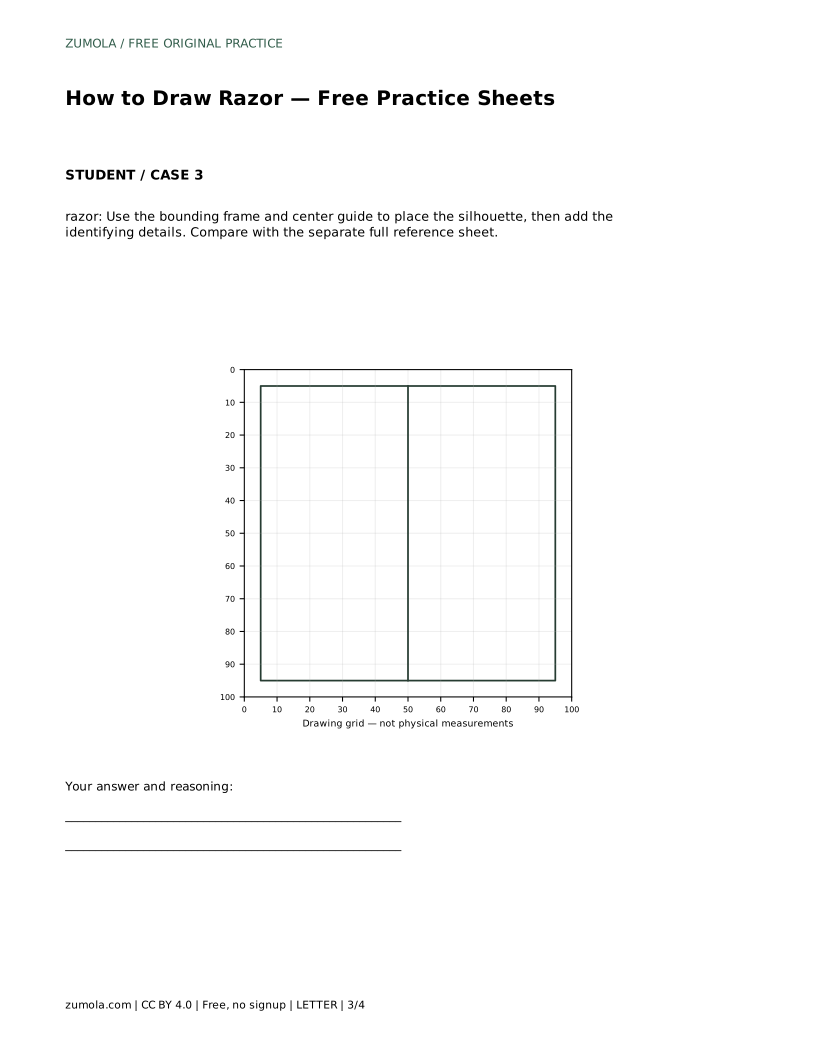
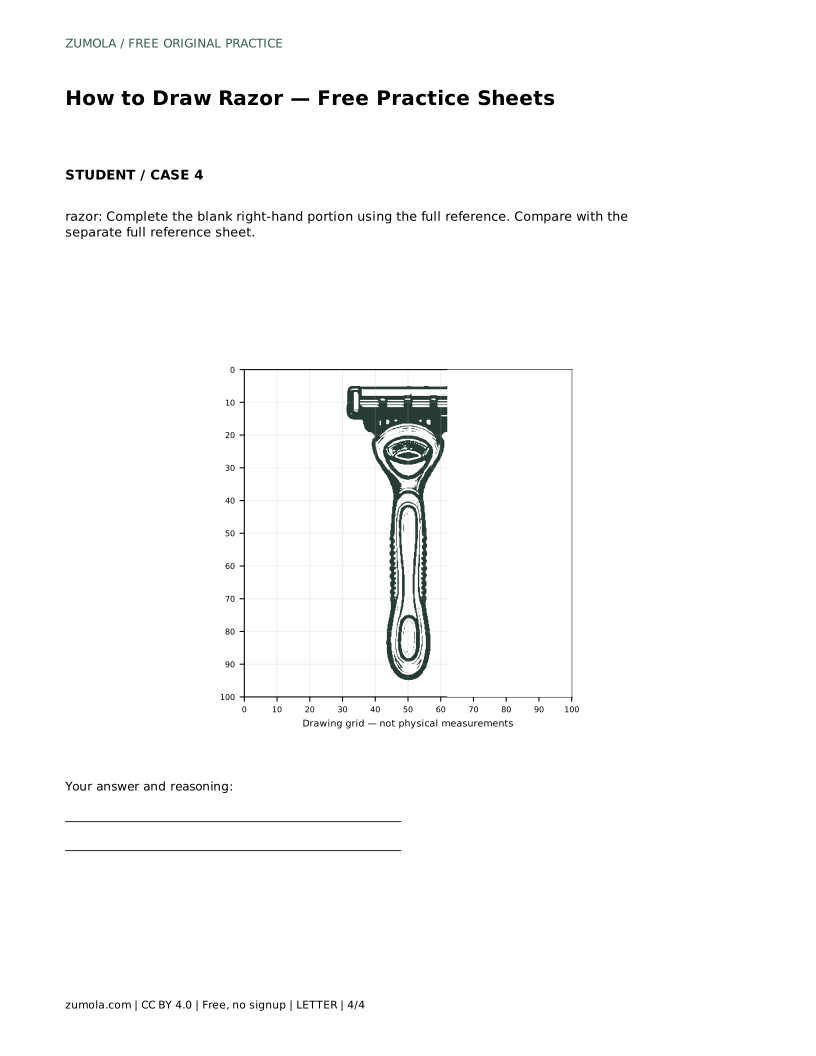
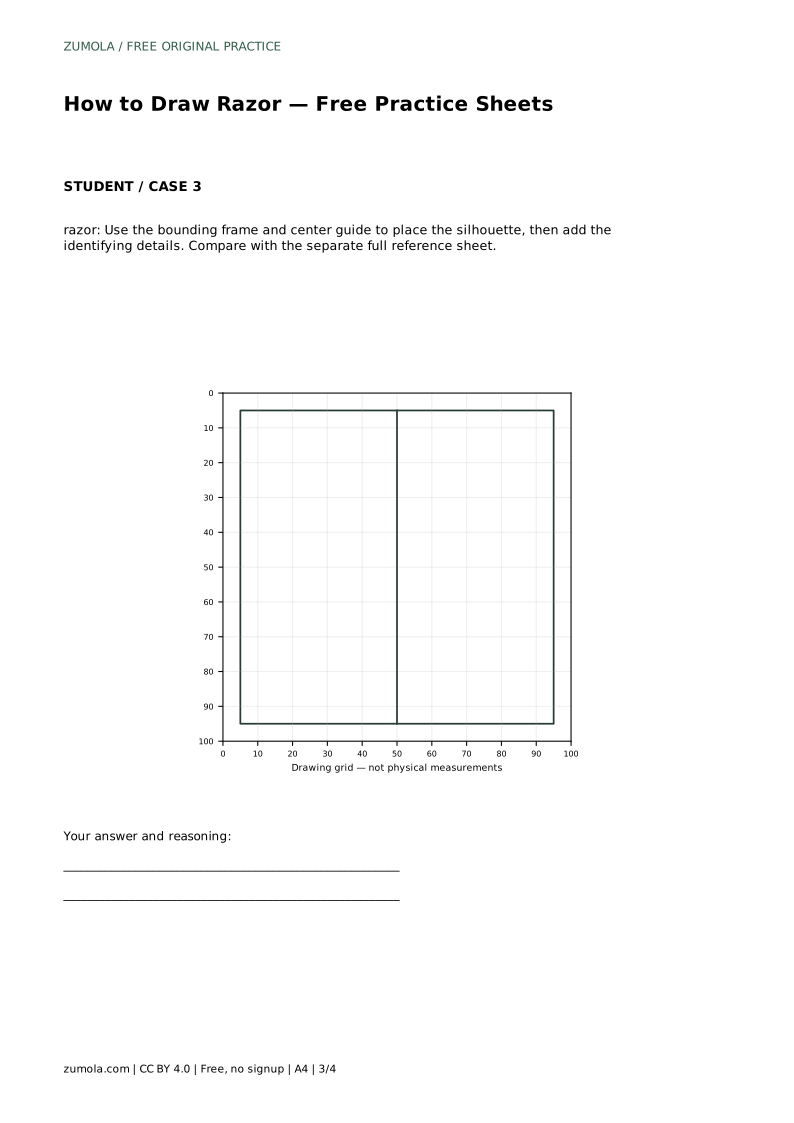
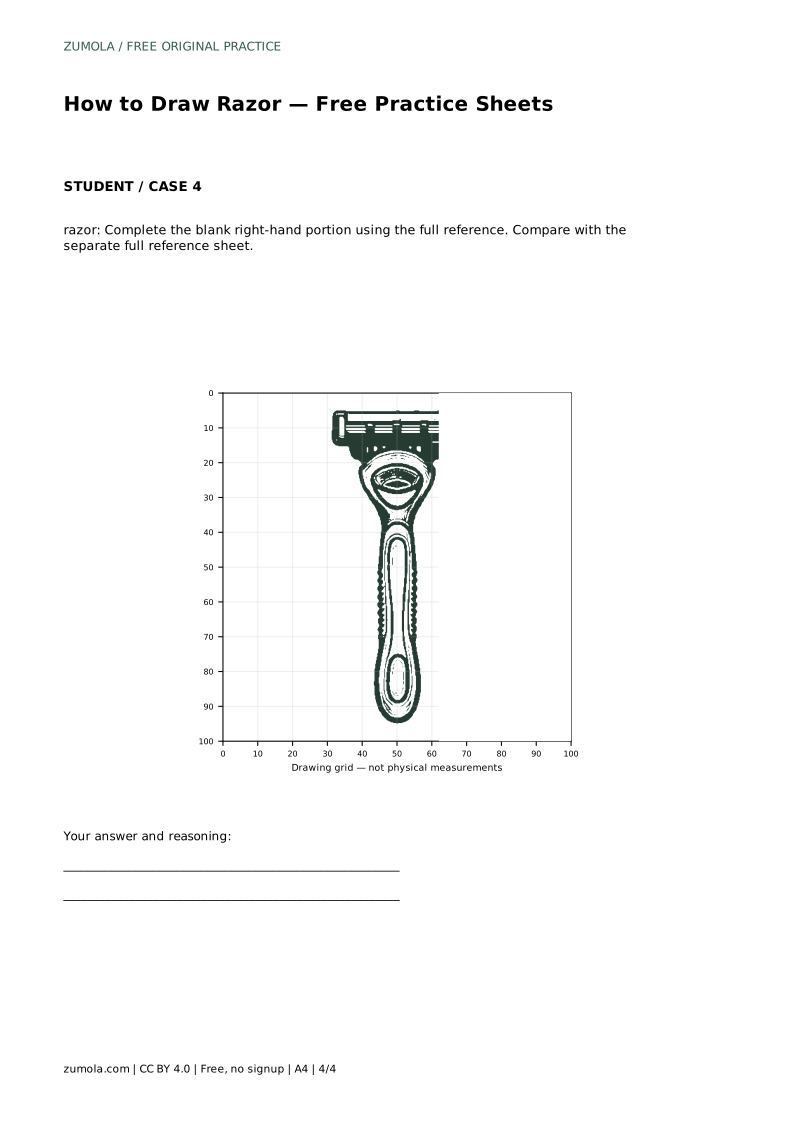
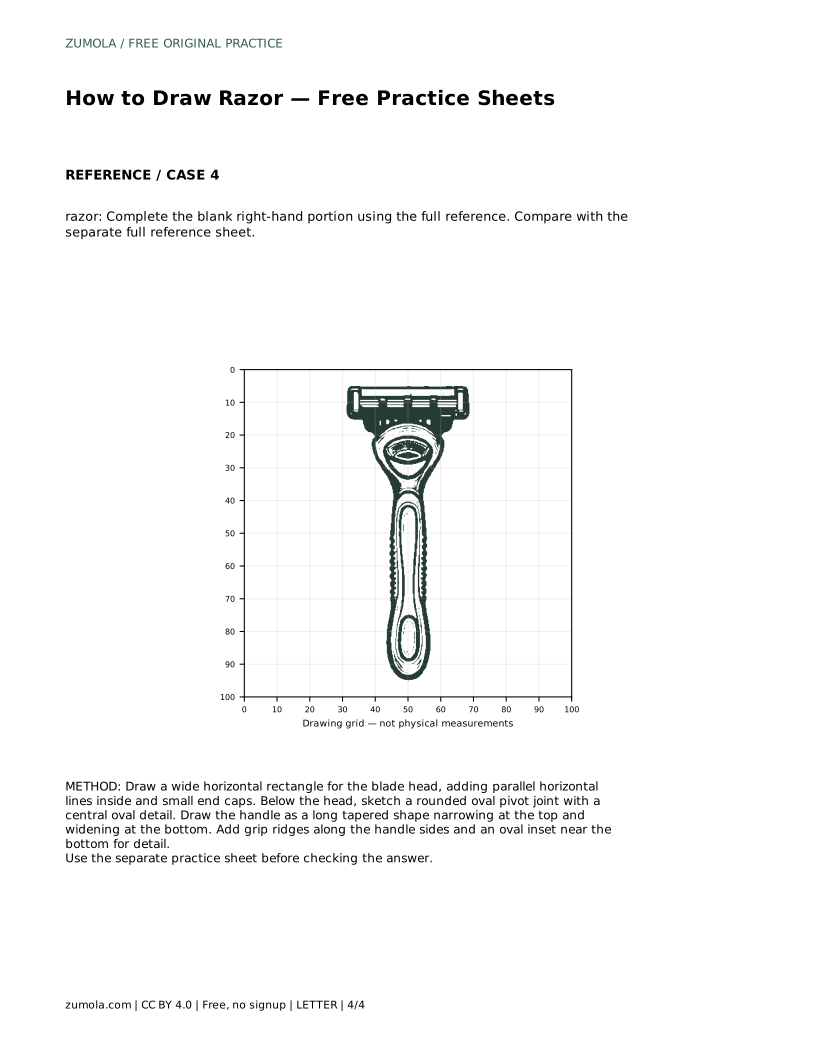
Tracing the reference outline helps you feel the order of the shapes, but tracing alone does not build independent control. After one traced pass, cover the reference and redraw the contour from memory, then compare with the separate full reference sheet. On the blank grid, copy the reference by matching grid intersections so the head, joint, and handle land in the same relative positions. With the bounding frame and centre guide, place the overall silhouette first and add identifying details second. On the partly blank sheet, complete the missing right-hand portion by continuing the existing lines and matching the reference.
The blade head should read as wider than the handle and clearly horizontal. The pivot joint should sit between the two parts without looking detached. The handle should taper consistently rather than bulging at random. Grip ridges should run along the sides in a regular pattern, and the oval inset should sit near the bottom without crowding the edge. Compare the length of the handle with the width of the head; if the handle looks too short or too thick, adjust before adding final detail.
There is no single correct razor drawing. A useful assessment checks whether the identifying features are present and whether the proportions hold together. Use the rubric below to review your own sheet or a class set. A drawing can differ in line weight, angle, or small detail and still be successful if the head, joint, handle, ridges, and inset are recognisable and sensibly placed.
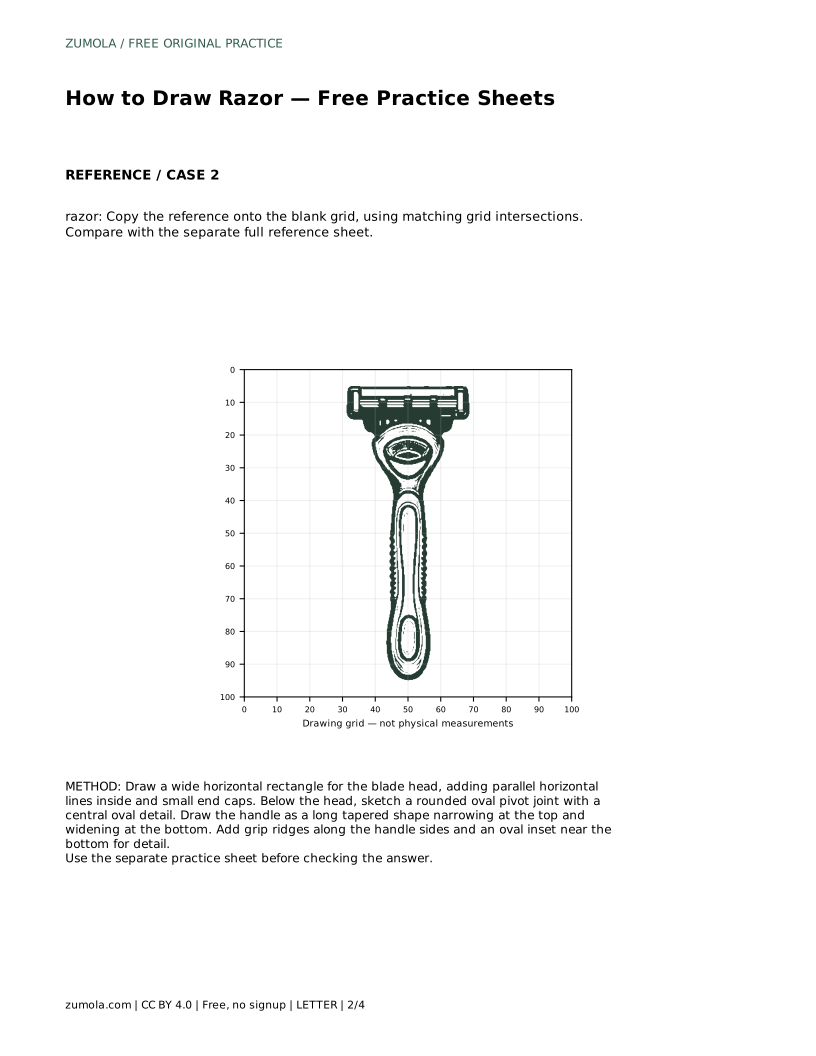
razor: Trace the reference outline, then practise the contour independently. Compare with the separate full reference sheet.
Example solution: preserve rectangular blade head with horizontal blade lines and side caps, rounded pivot joint connecting head to handle, long tapered handle with grip ridges and oval inset detail. Other drawings can be correct; assess the visible features and proportions rather than pixel-perfect matching. Draw a wide horizontal rectangle for the blade head, adding parallel horizontal lines inside and small end caps. Below the head, sketch a rounded oval pivot joint with a central oval detail. Draw the handle as a long tapered shape narrowing at the top and widening at the bottom. Add grip ridges along the handle sides and an oval inset near the bottom for detail.
No. Other drawings can be correct. Assess the visible features and proportions rather than pixel-perfect matching.
Draw the wide horizontal blade head first, then the pivot joint, then the tapered handle, and add grip ridges and the oval inset last.
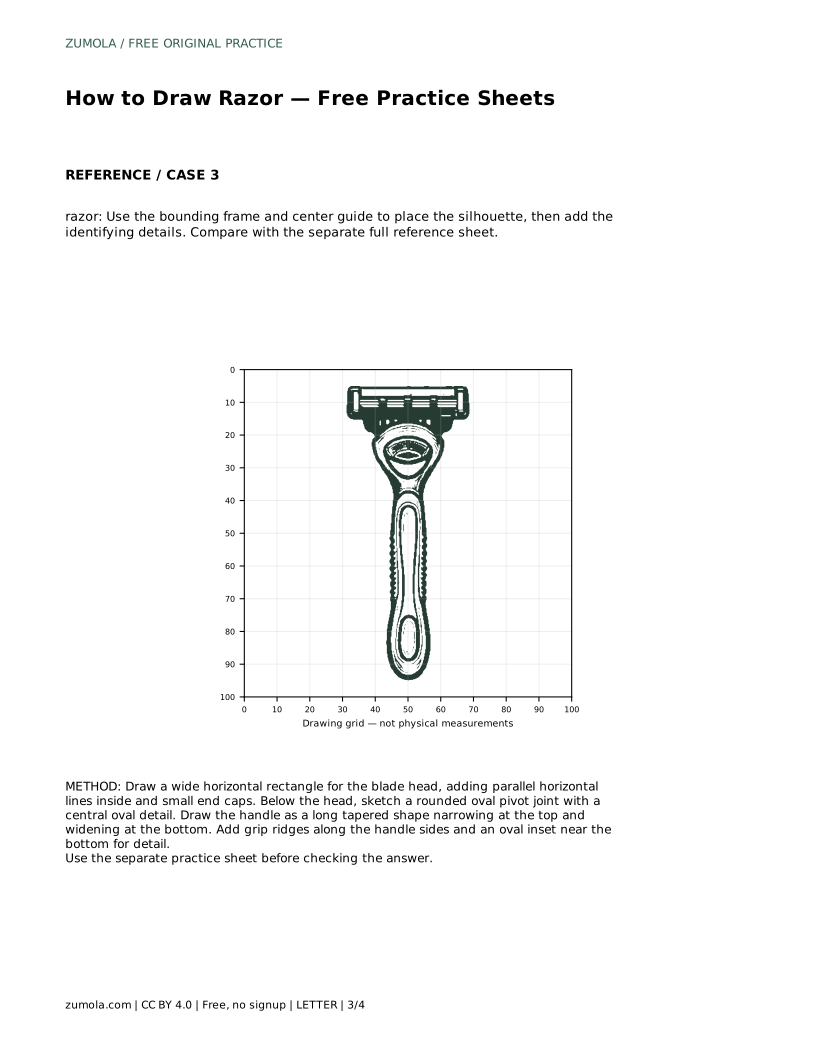
Copy the reference onto the blank grid by matching grid intersections, so the head, joint, and handle keep the same relative positions.
All drawing practice · Free coordinate paper
Original resources · CC BY 4.0 · Free for personal and classroom use with attribution.