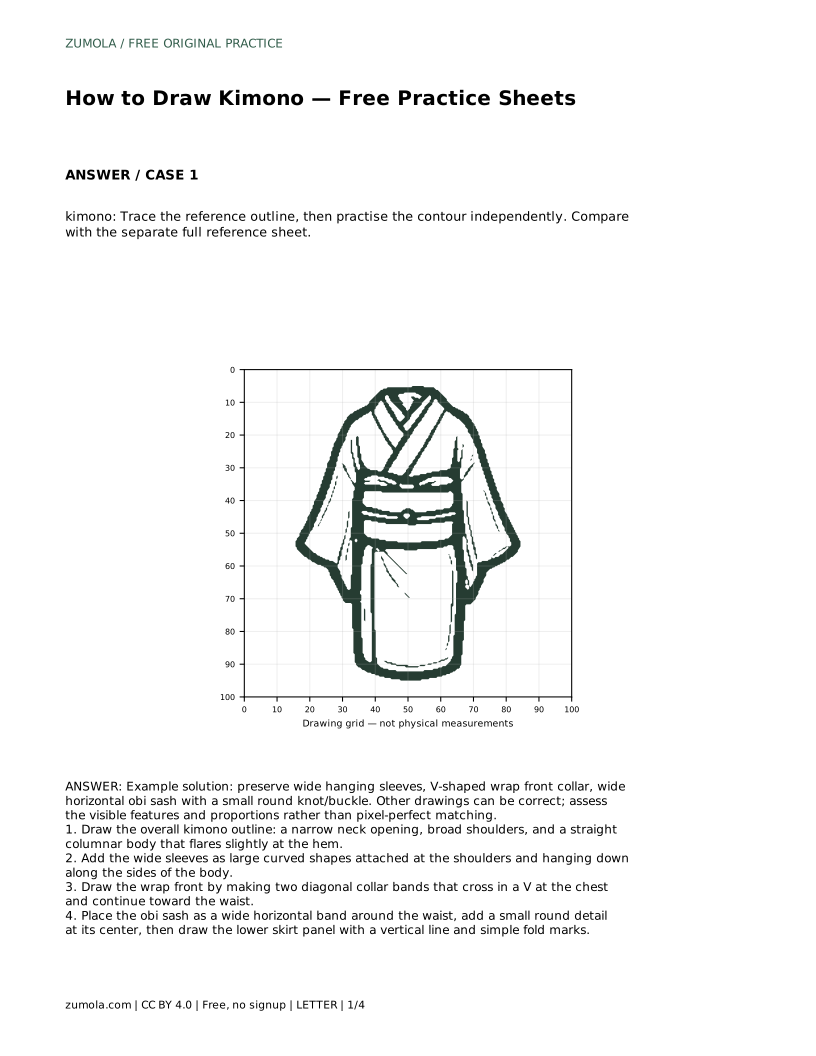
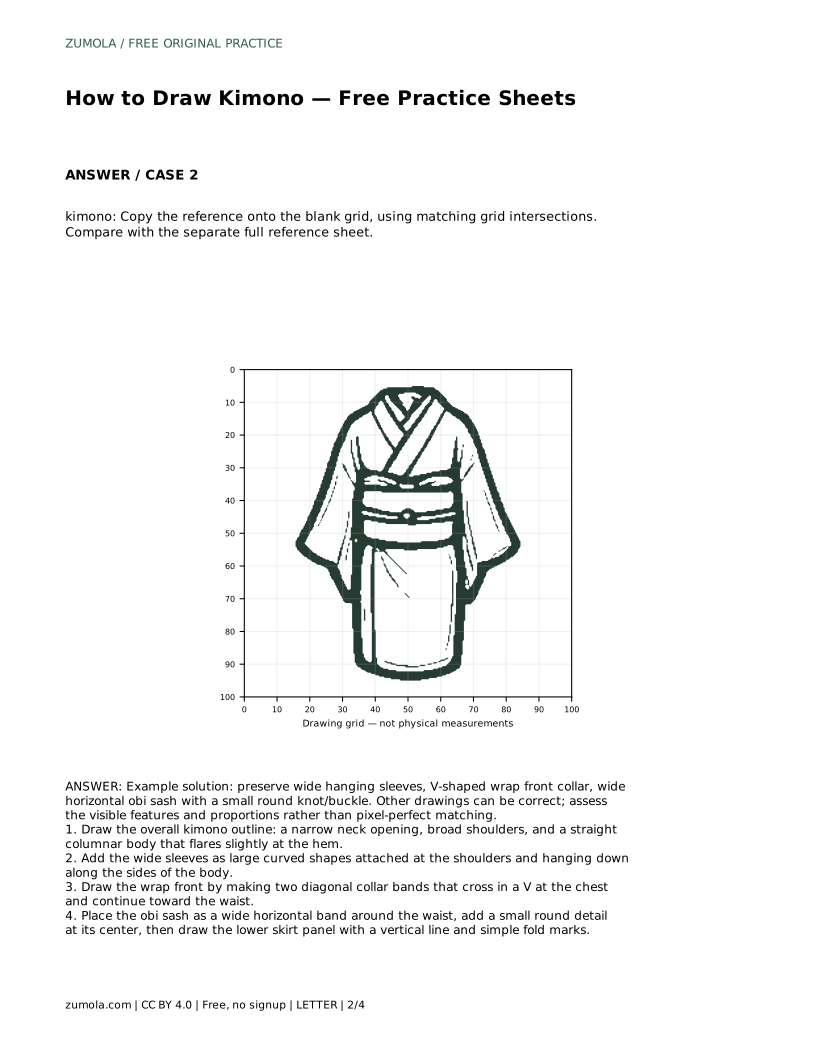
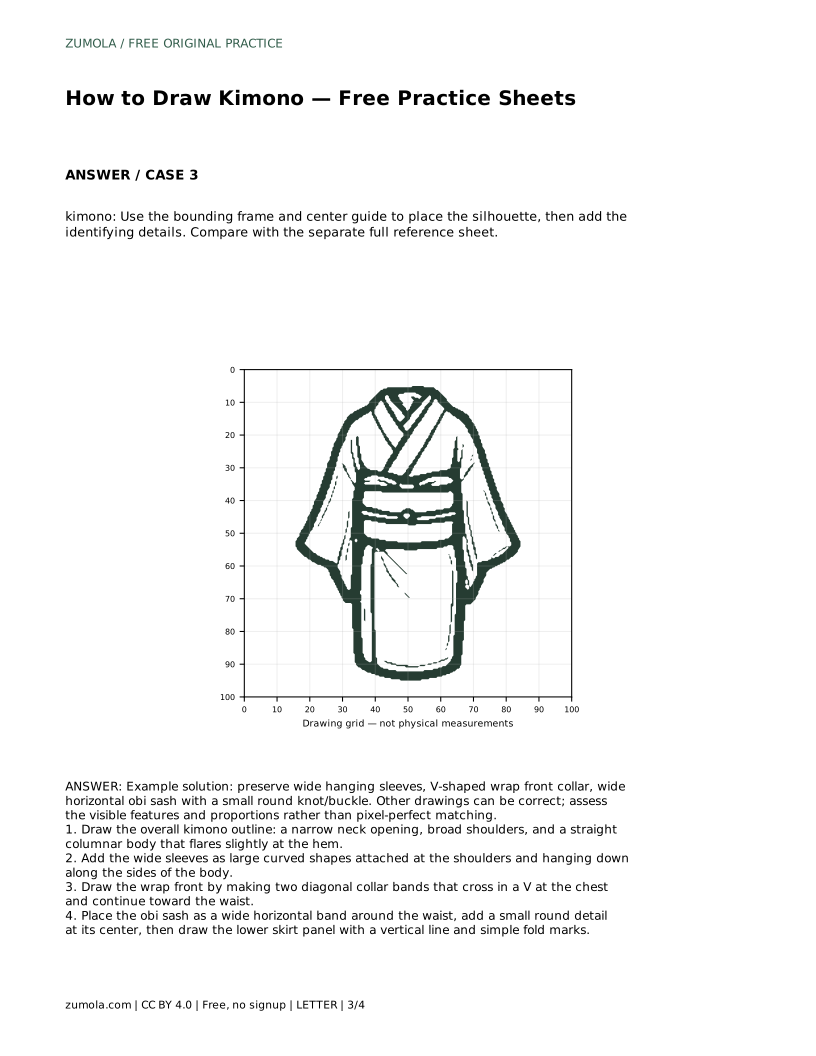
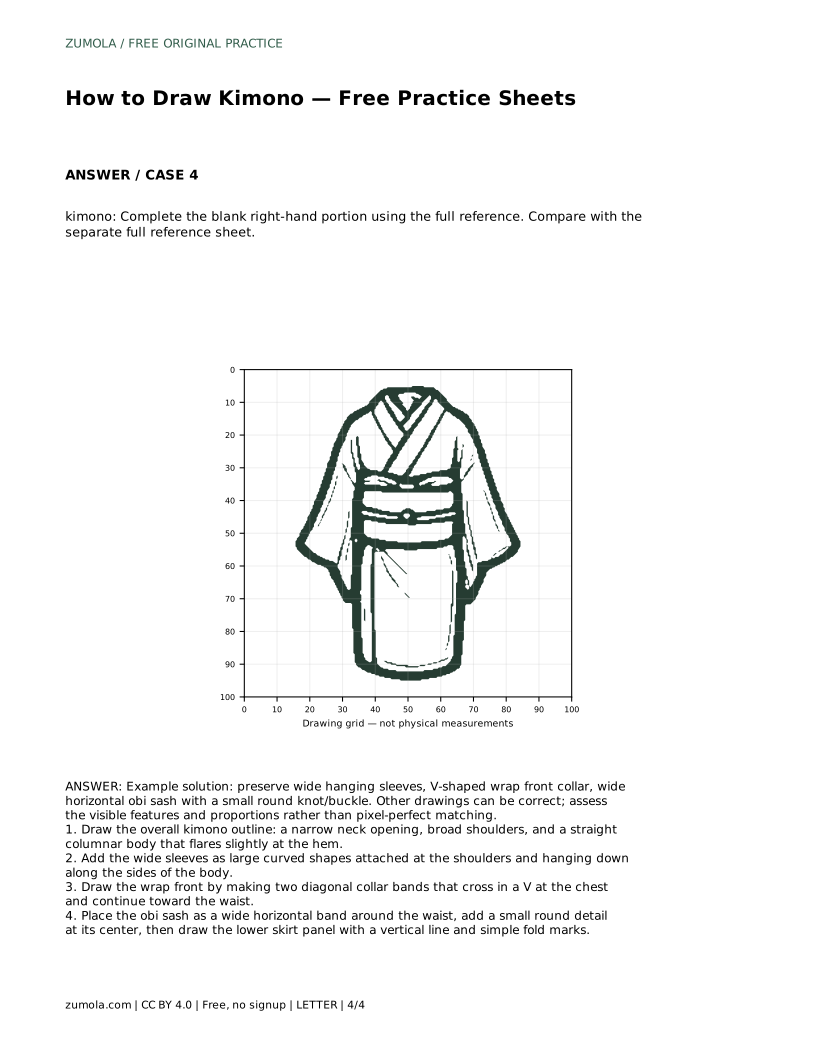
Reference diagrams
LETTER · Download PDF
A4 · Download PDF
Free original resources
Learn to draw a kimono by building its silhouette, wide hanging sleeves, V-shaped wrap collar, and obi sash. Free printable practice sheets support each stage.
Four original cases, with reference diagrams, practice sheets and worked answers. Everything is free; no signup required.
LETTER · Download PDF
A4 · Download PDF
LETTER · Download PDF
A4 · Download PDF
LETTER · Download PDF
A4 · Download PDF
Use A4 or US Letter to match your printer. Use the stated values and conditions to solve each exercise; diagrams are not physical measuring rulers.
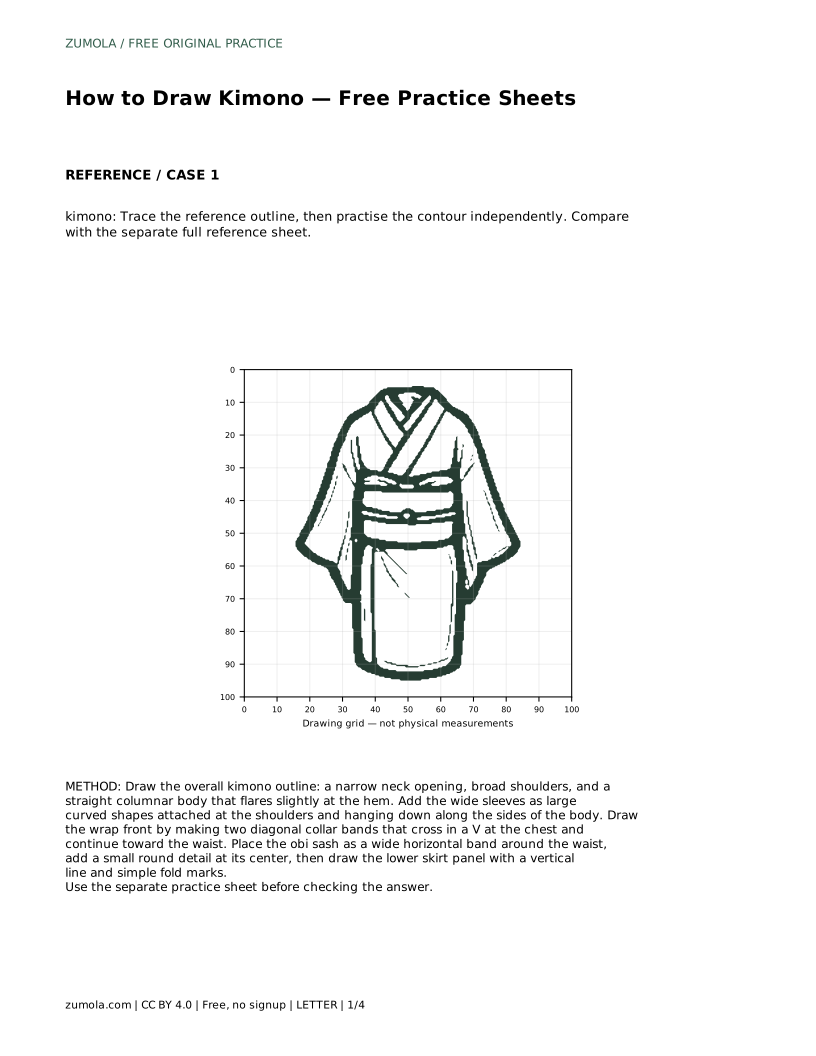
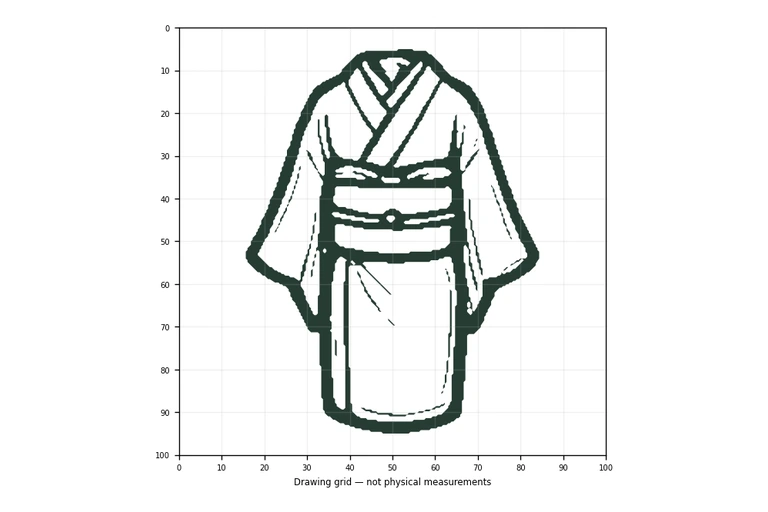
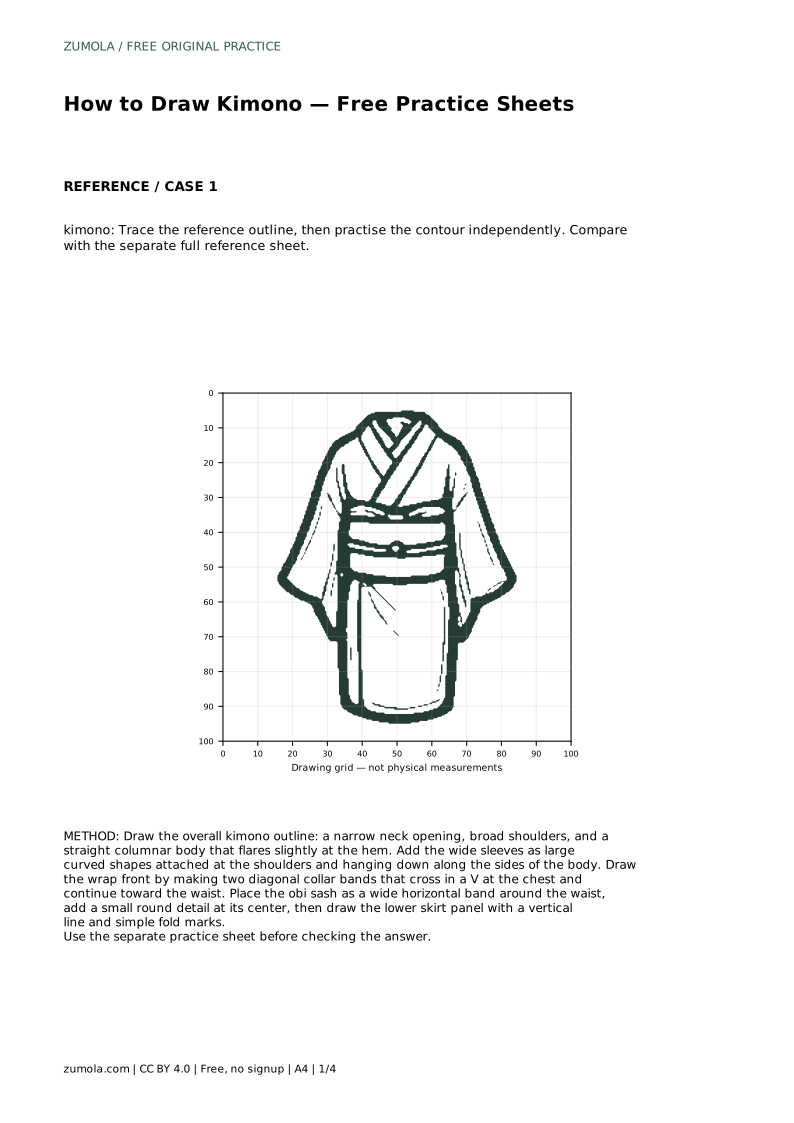
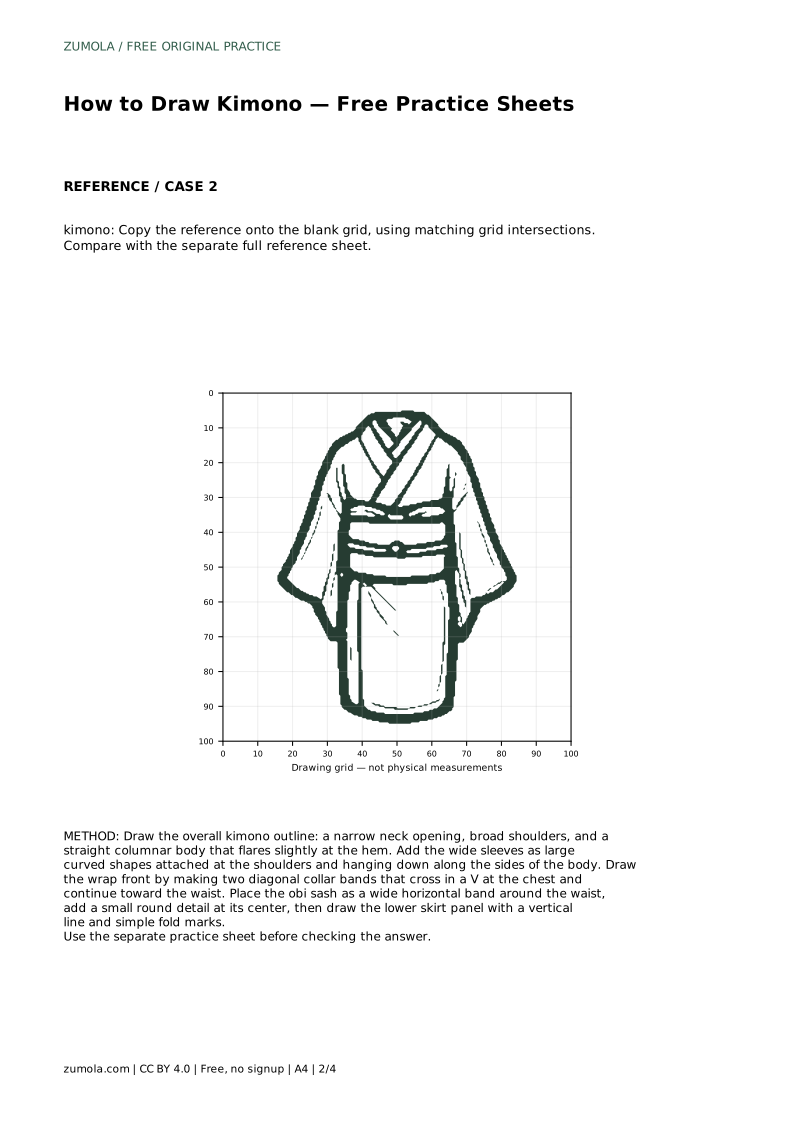
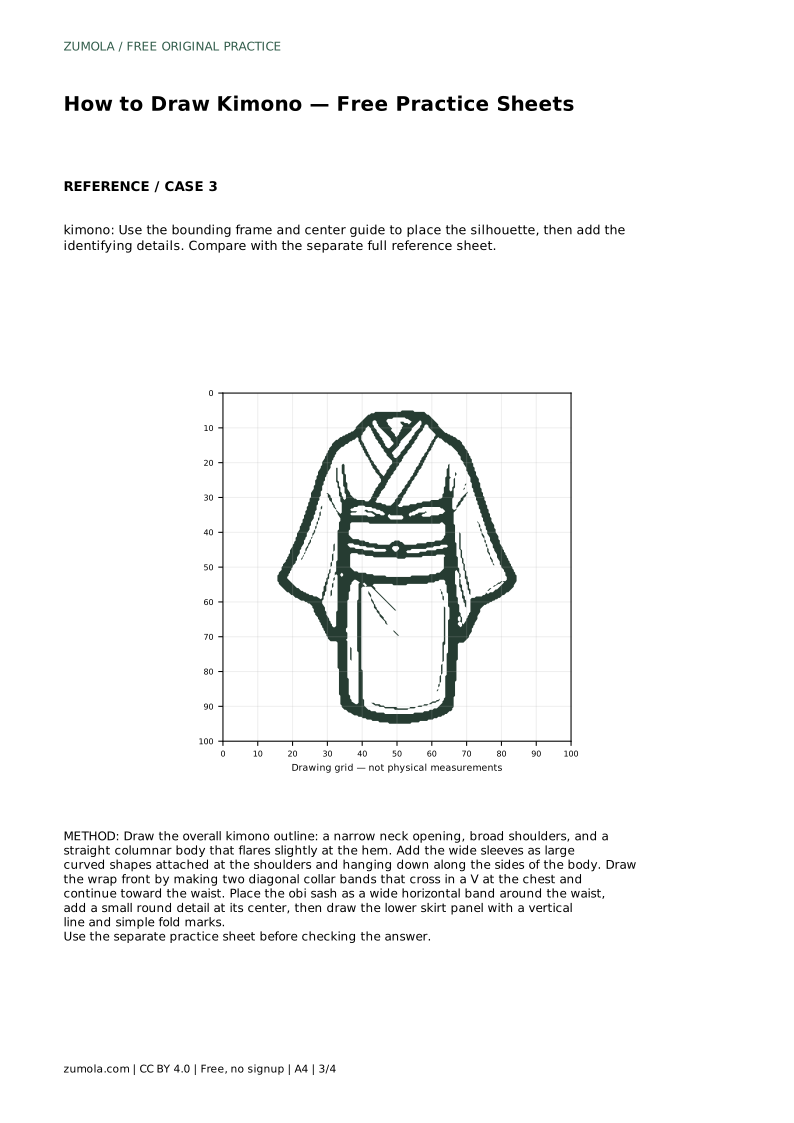
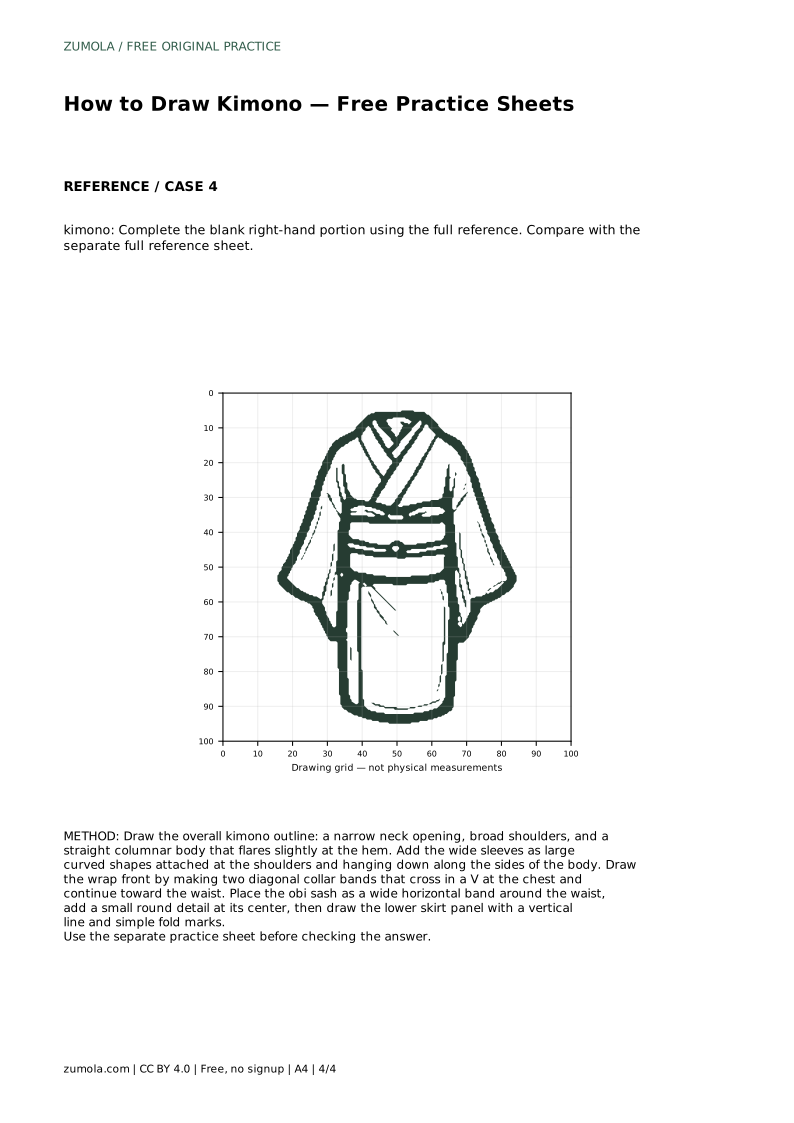
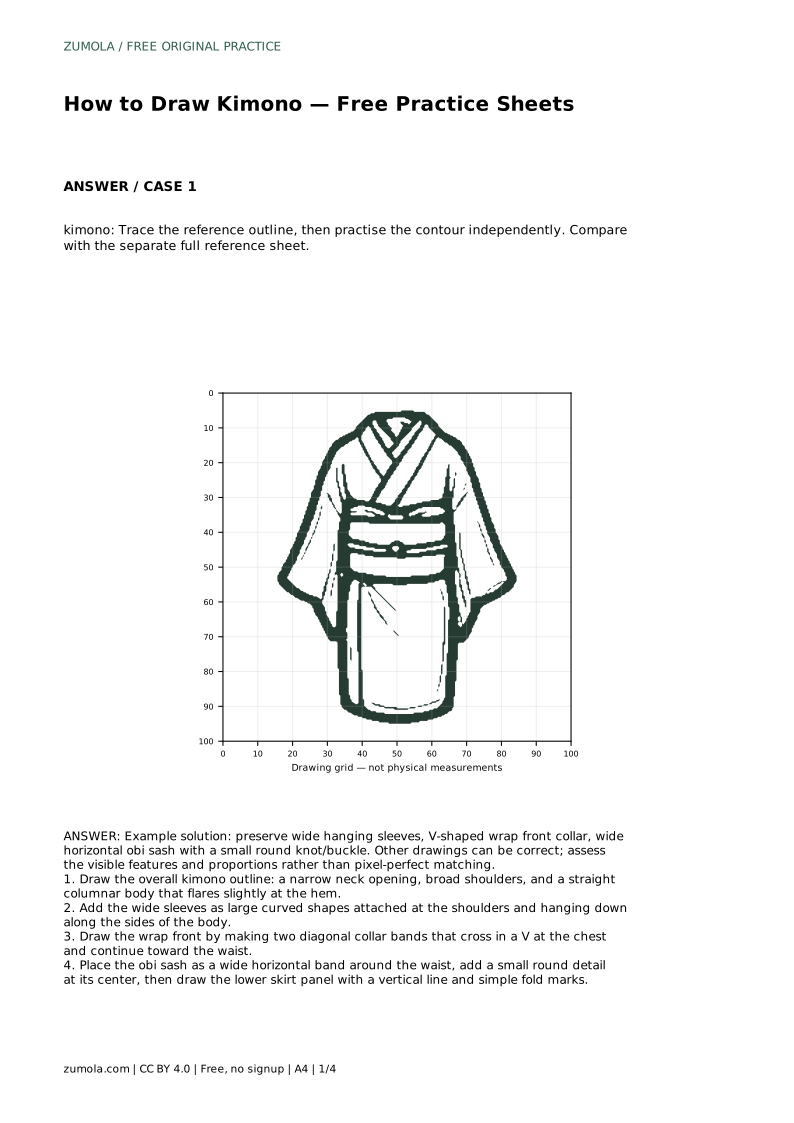
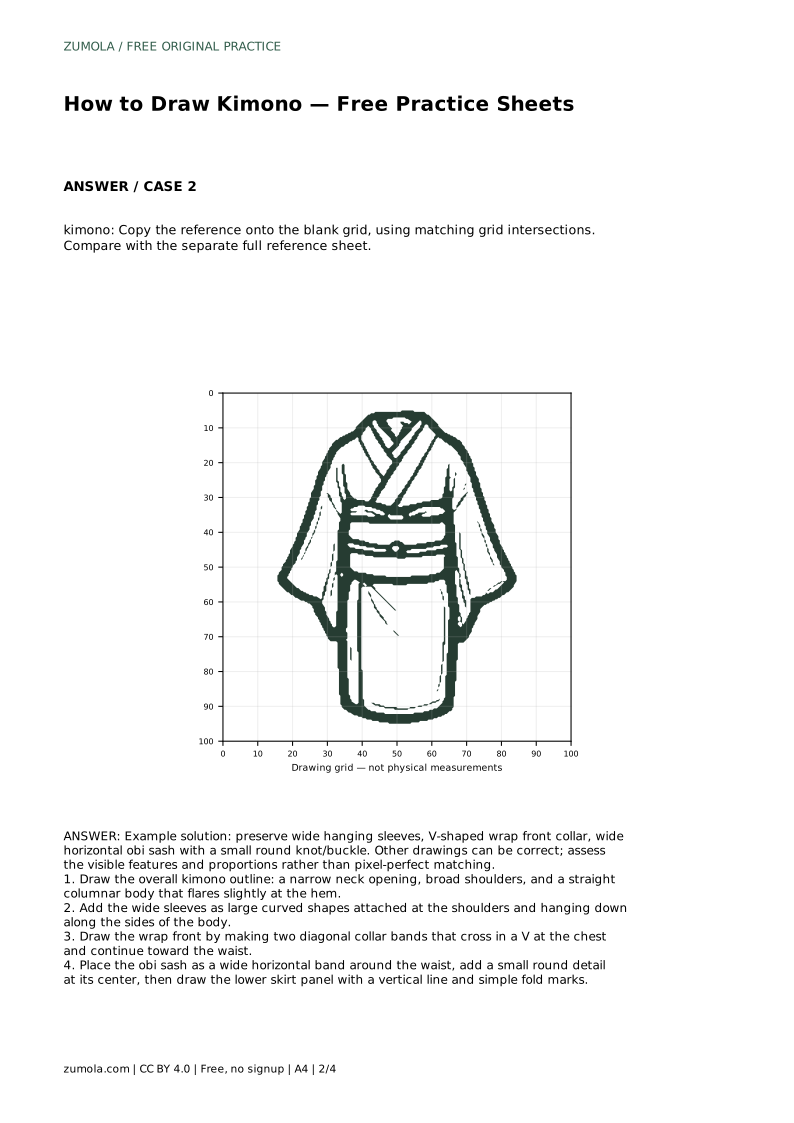
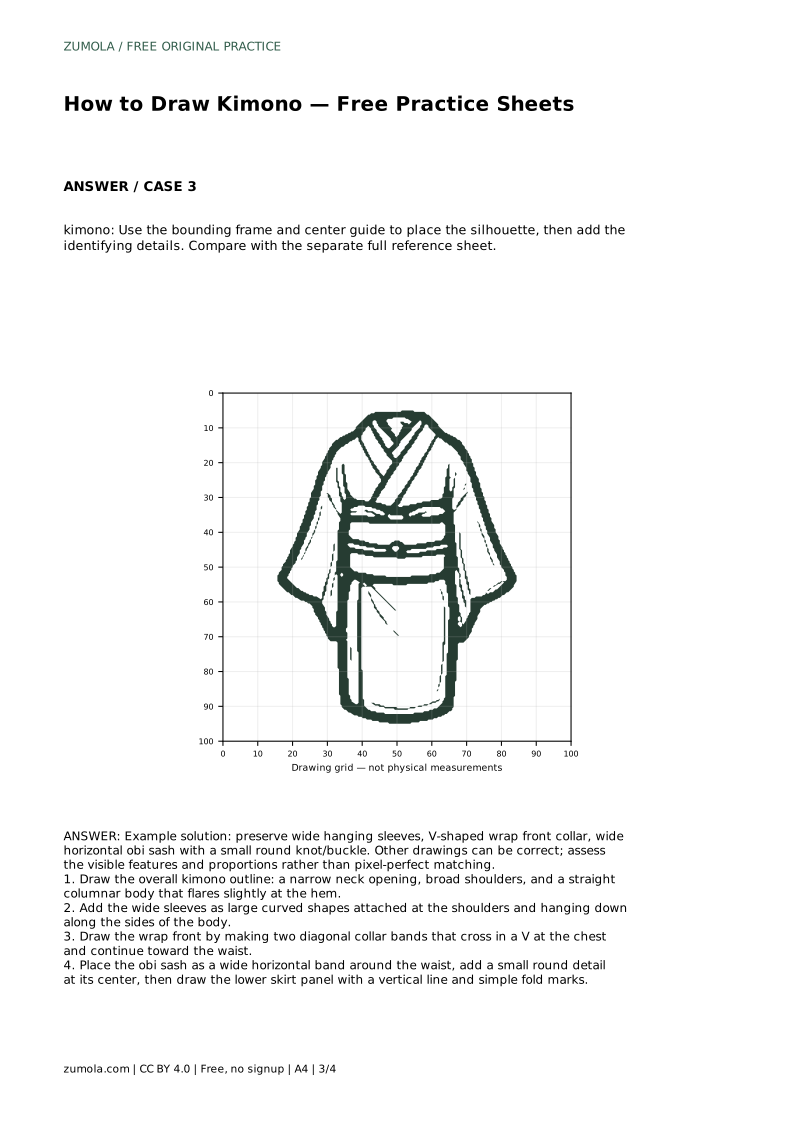
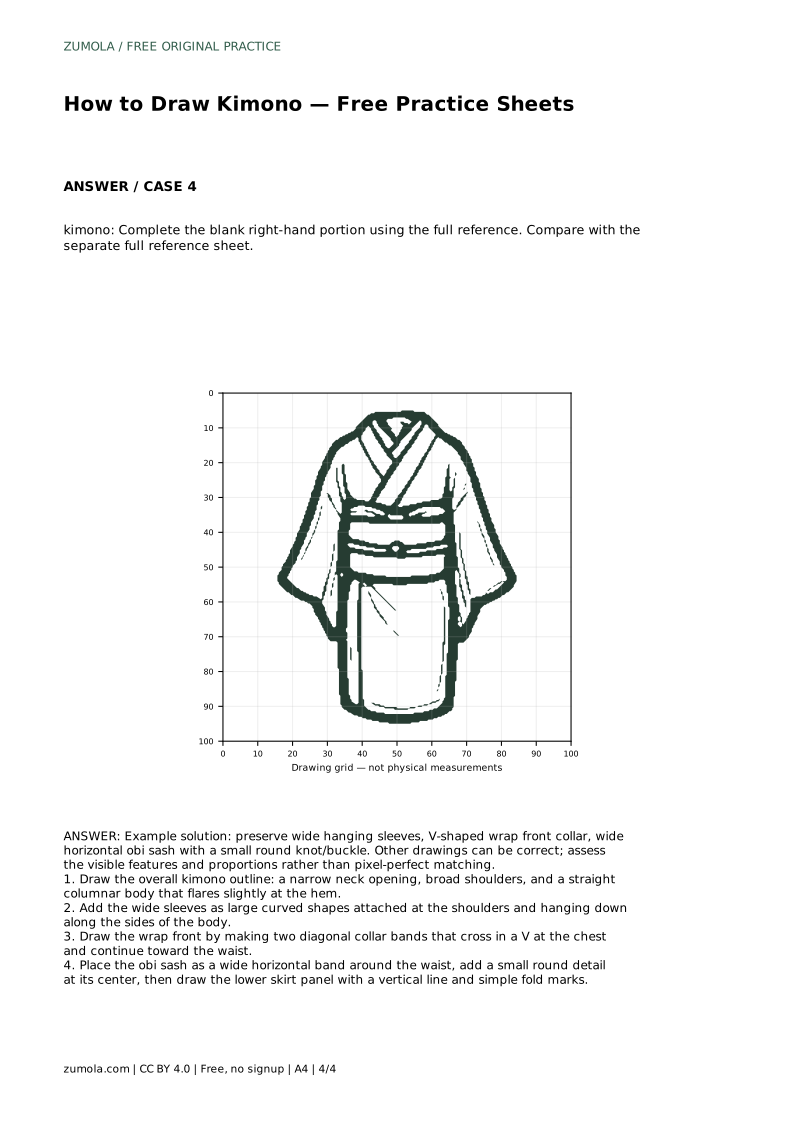
A kimono is easier to draw when you treat it as a set of clear shapes rather than one complicated outline. Start with a narrow neck opening, broad shoulders, and a straight body that widens slightly at the hem. Then add the wide sleeves, the crossing collar bands, and the horizontal obi. The practice sheets let you trace, copy onto a grid, or complete a partial drawing, so you can compare your result with the full reference and judge the visible features.
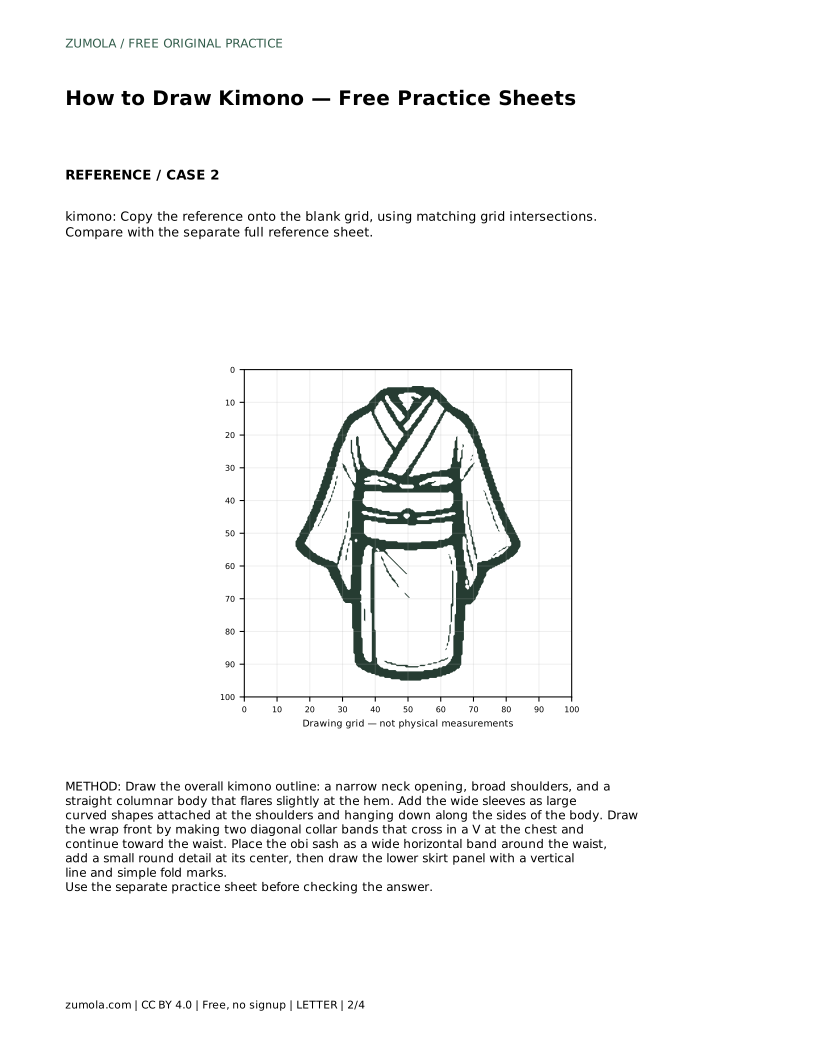
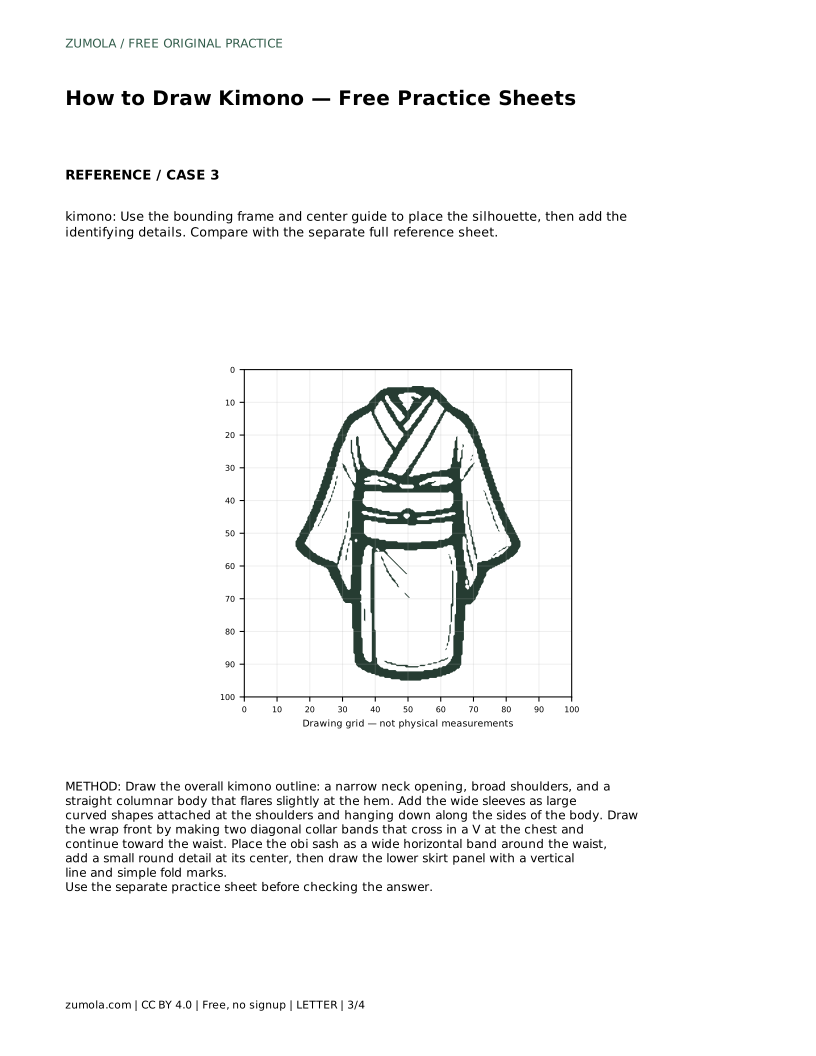
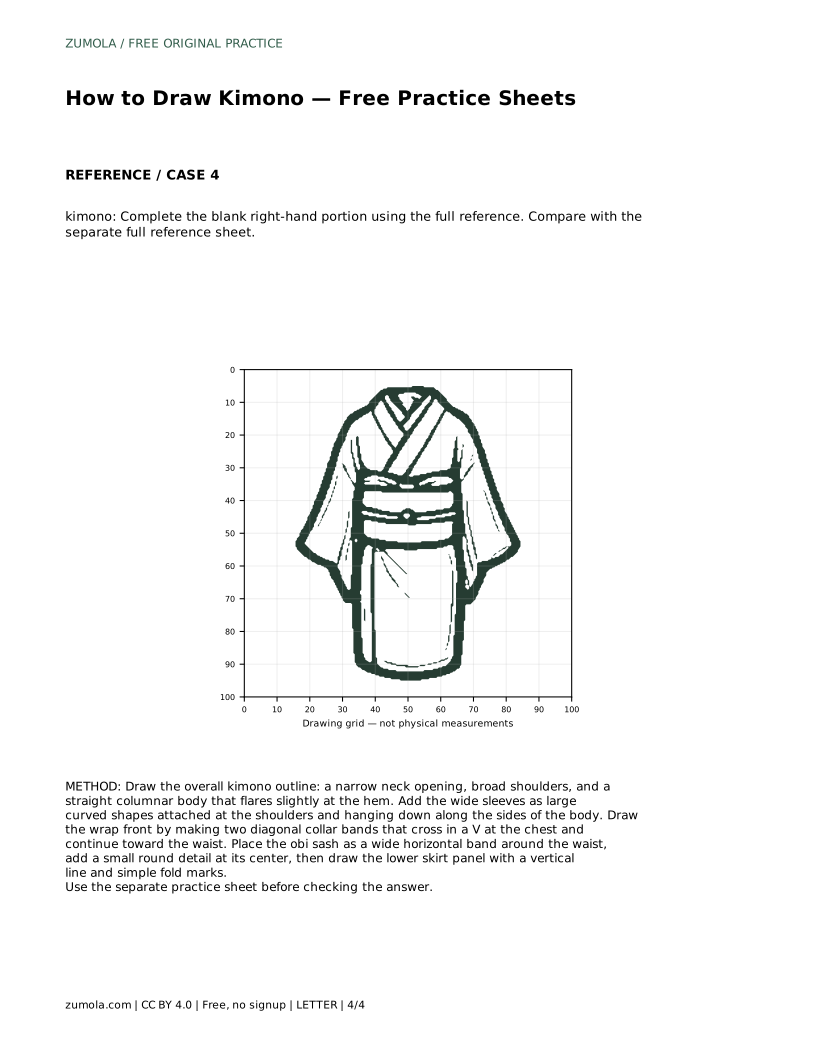
Begin with the overall silhouette. Draw a narrow neck opening at the top, then widen outward to broad shoulders. Keep the body close to a straight column and let it flare gently at the hem. This column shape matters because a kimono hangs from the shoulders rather than hugging the waist.
Resist adding the collar or sash until the body outline looks balanced. If the shoulders are too narrow or the hem flares too sharply, the later details will sit awkwardly. Check that the left and right sides of the body are roughly even in width.
The sleeves are large curved shapes attached at the shoulders. They hang down along the sides of the body rather than tapering to the wrist. Draw each sleeve as a broad shape with a rounded lower edge, and keep the two sleeves similar in size.
The sleeve depth is a defining feature, so give it room. A thin sleeve changes the garment into something else. Compare the sleeve length with the body length on the reference sheet before you commit to the outline.
The front closes with two diagonal collar bands that cross in a V at the chest and continue toward the waist. Draw one band crossing over the other so the overlap is visible. Then place the obi as a wide horizontal band around the waist, with a small round knot or buckle at its center.
Finish the lower skirt panel with a vertical line and a few simple fold marks. Keep folds sparse; they suggest fabric without turning the drawing into a tangle of lines.
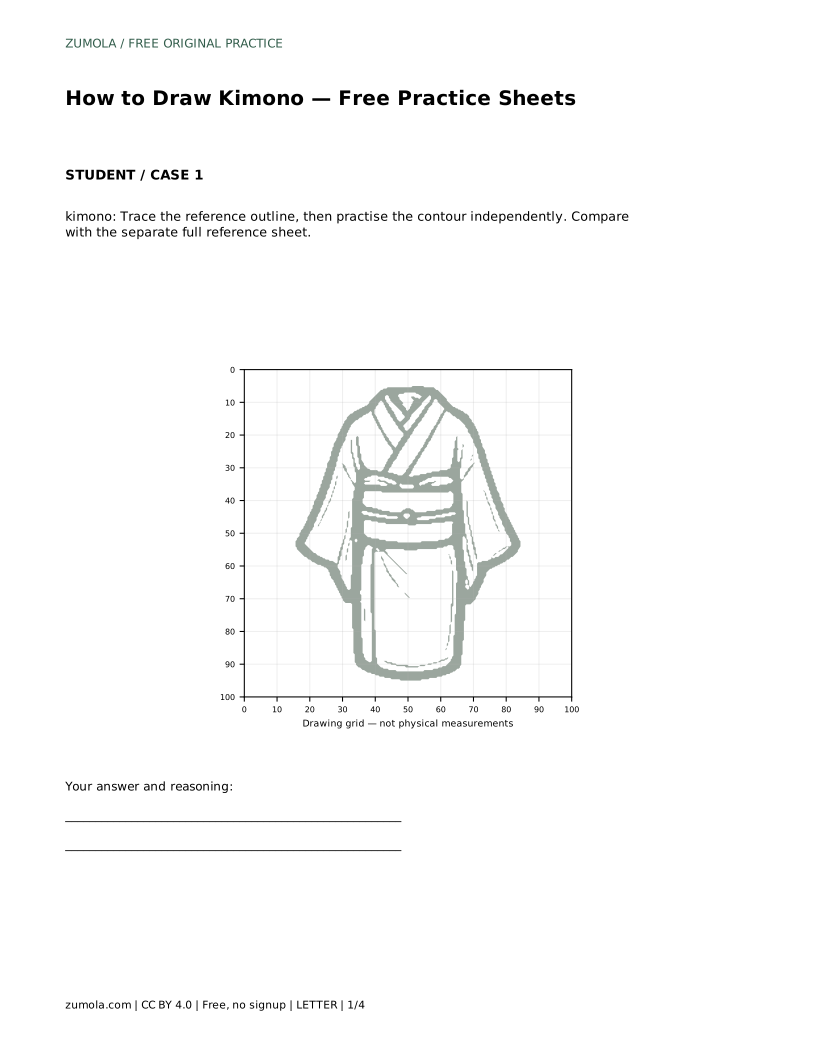
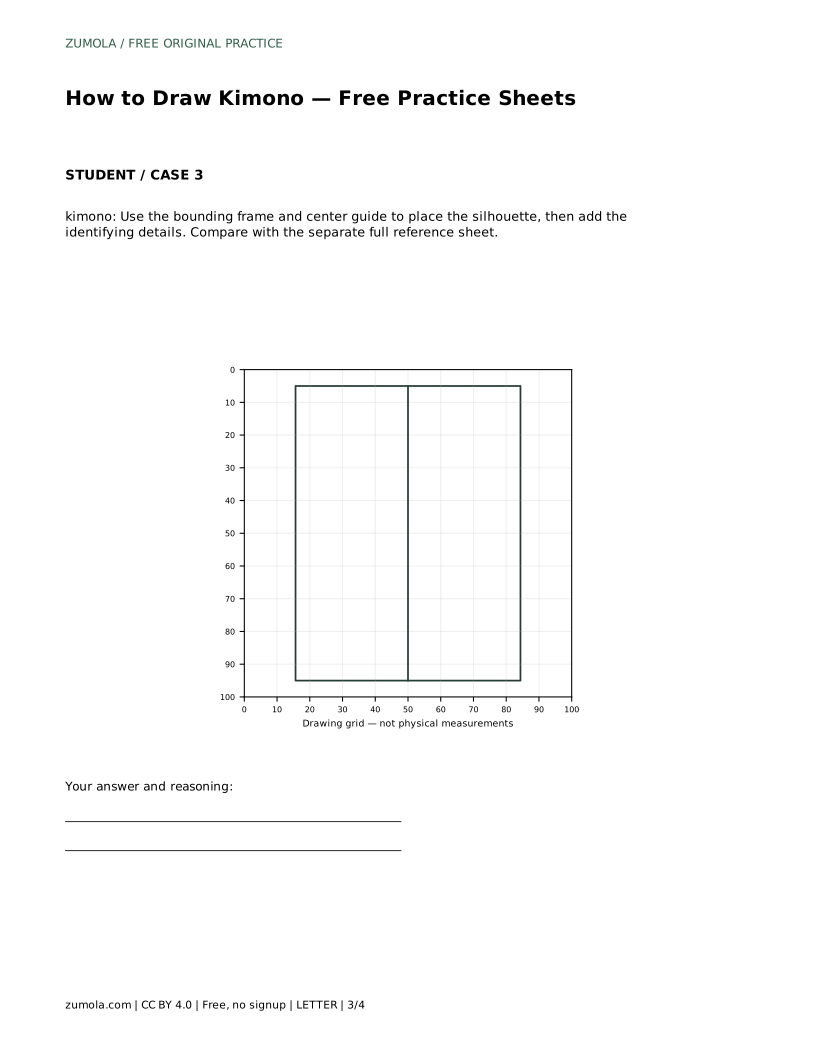
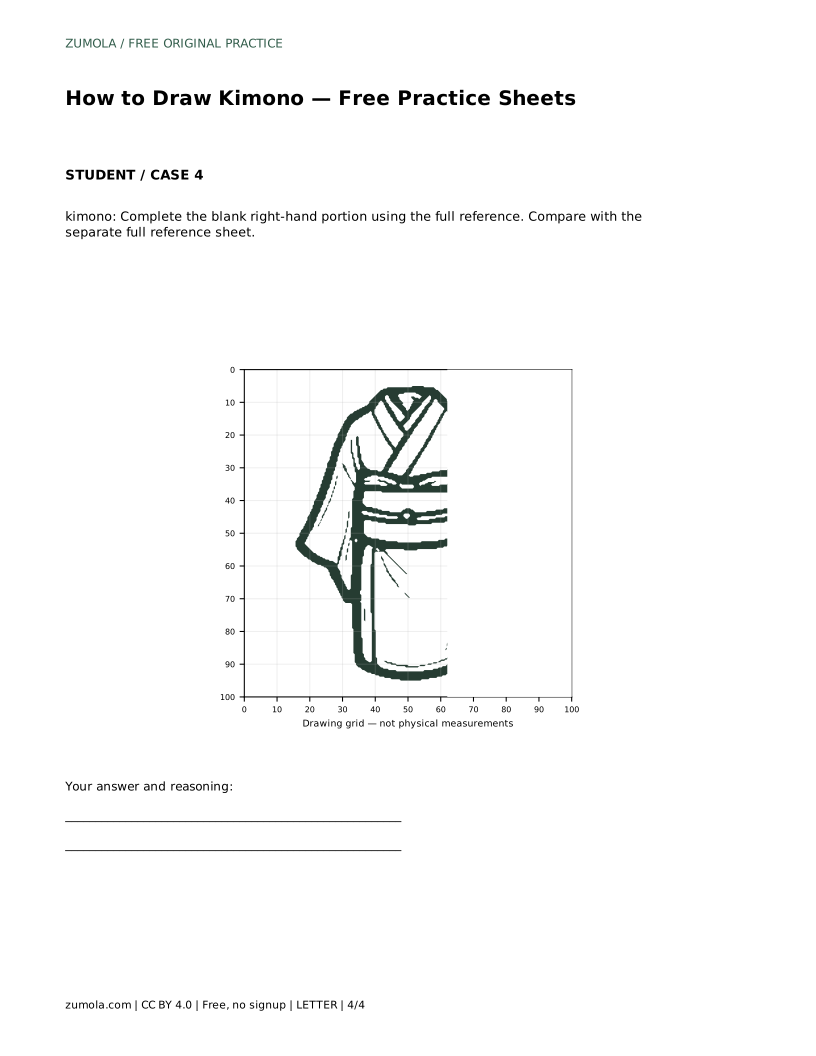
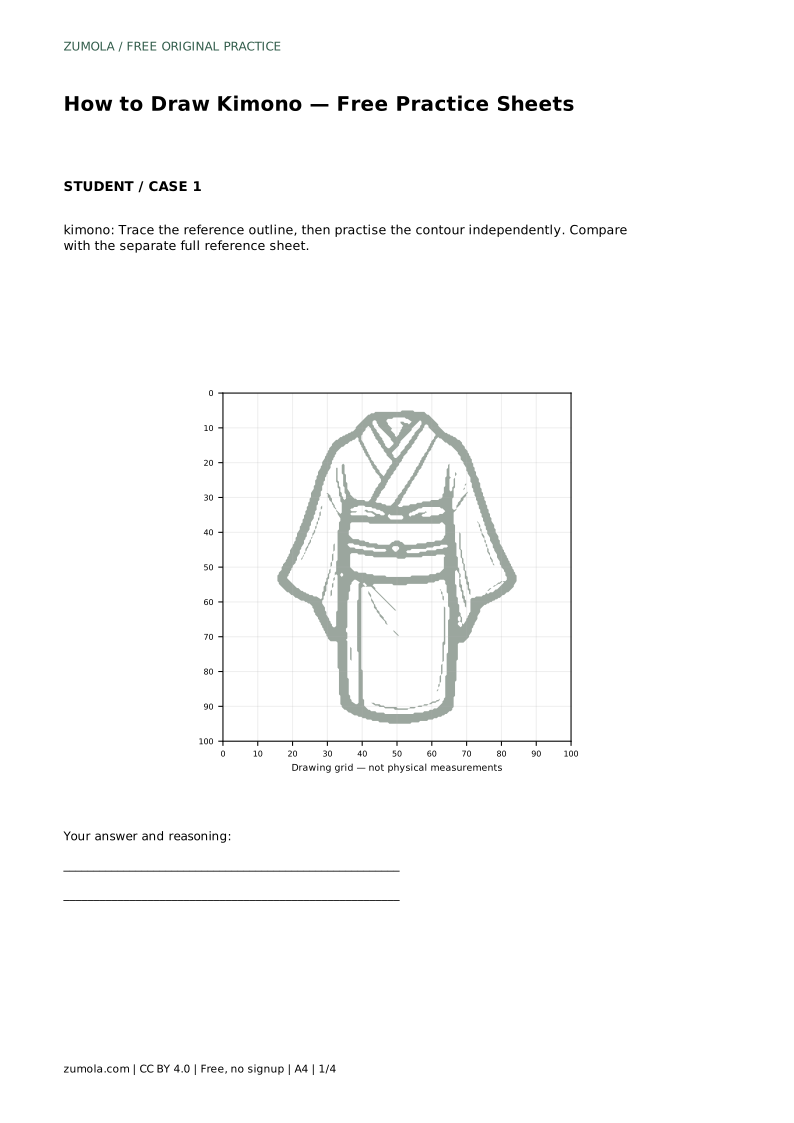
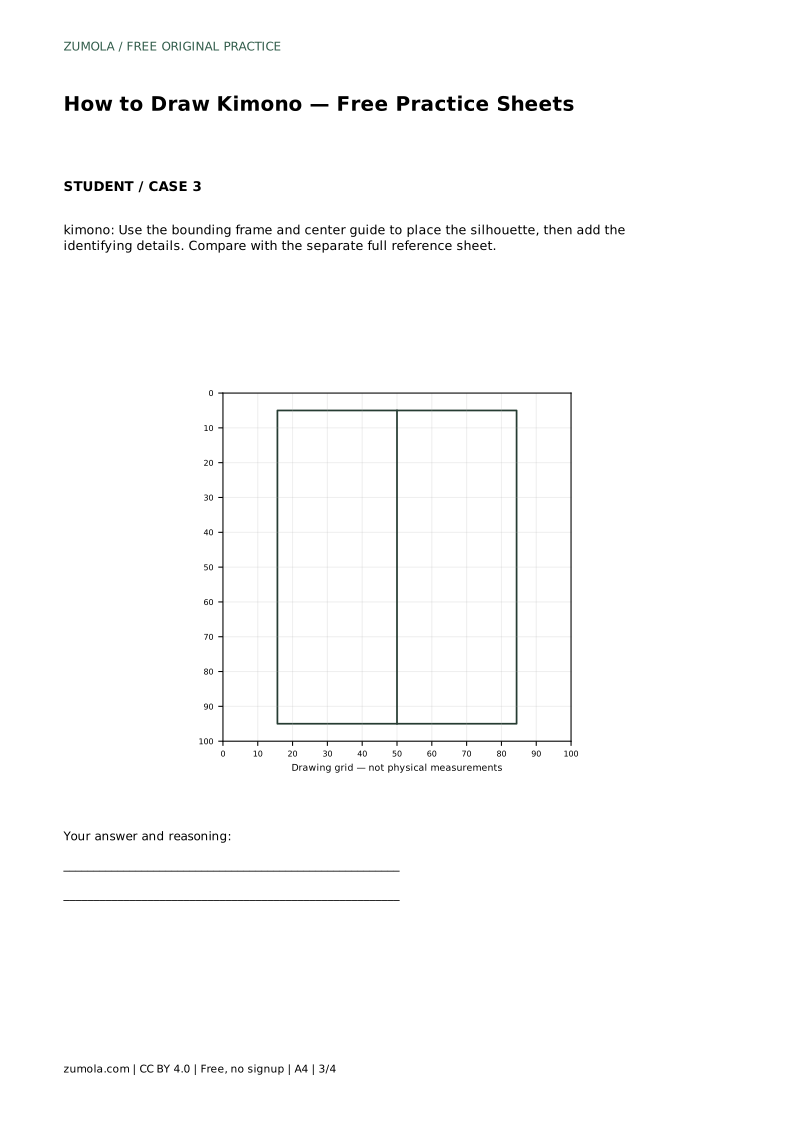
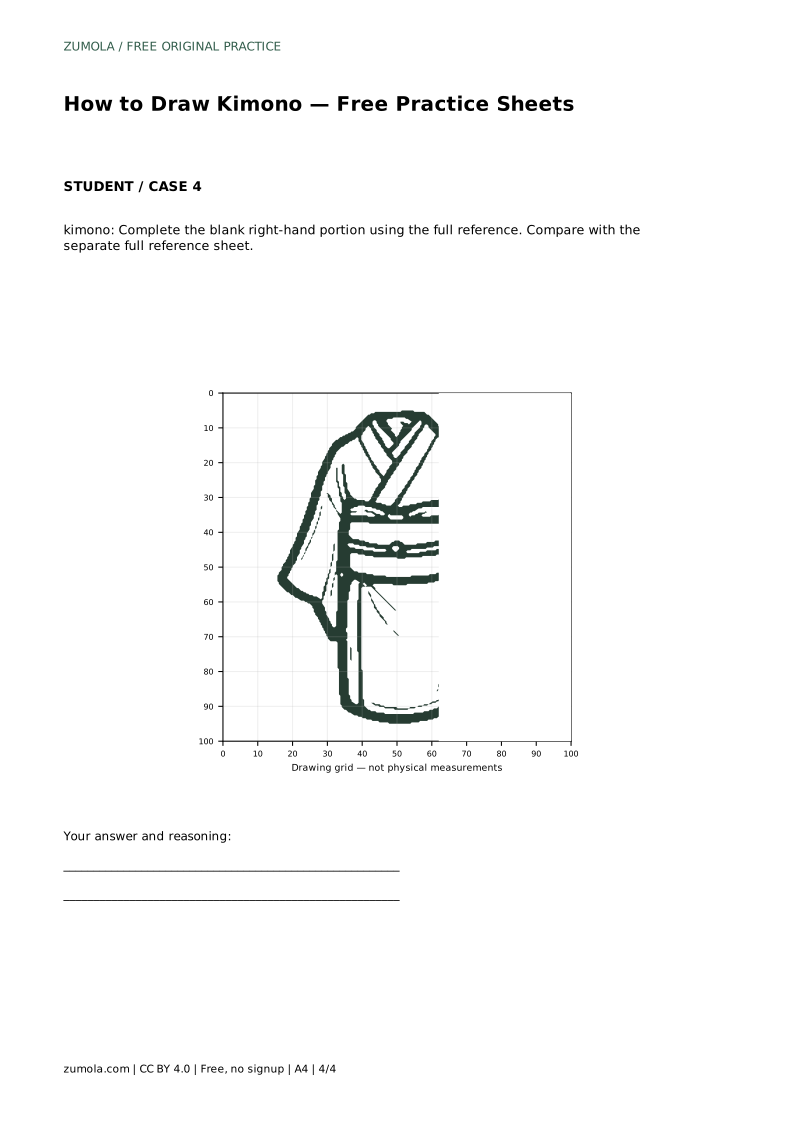
The sheets offer different levels of support. One asks you to trace the reference outline, then practise the contour independently. Another asks you to copy the reference onto a blank grid using matching intersections. A third uses a bounding frame and center guide to place the silhouette before adding details. A fourth leaves the right-hand portion blank for you to complete from the full reference.
After each attempt, compare your drawing with the separate full reference sheet. Look for the wide hanging sleeves, the V-shaped wrap front collar, the wide horizontal obi with a small round knot, and the proportions between shoulders, waist, and hem. Other drawings can be correct; assess the visible features rather than pixel-perfect matching.
kimono: Trace the reference outline, then practise the contour independently. Compare with the separate full reference sheet.
Example solution: preserve wide hanging sleeves, V-shaped wrap front collar, wide horizontal obi sash with a small round knot/buckle. Other drawings can be correct; assess the visible features and proportions rather than pixel-perfect matching. Draw the overall kimono outline: a narrow neck opening, broad shoulders, and a straight columnar body that flares slightly at the hem. Add the wide sleeves as large curved shapes attached at the shoulders and hanging down along the sides of the body. Draw the wrap front by making two diagonal collar bands that cross in a V at the chest and continue toward the waist. Place the obi sash as a wide horizontal band around the waist, add a small round detail at its center, then draw the lower skirt panel with a vertical line and simple fold marks.
No. Preserve the identifying features and proportions, but small differences in line placement are acceptable. Use the rubric to judge the visible features.
Start with the tracing sheet if you are new to the shape. Move to the grid or bounding-frame sheet once the silhouette feels familiar.
A few simple marks are enough. Sparse folds suggest fabric; too many lines make the lower panel look cluttered.
All drawing practice · Free coordinate paper
Original resources · CC BY 4.0 · Free for personal and classroom use with attribution.