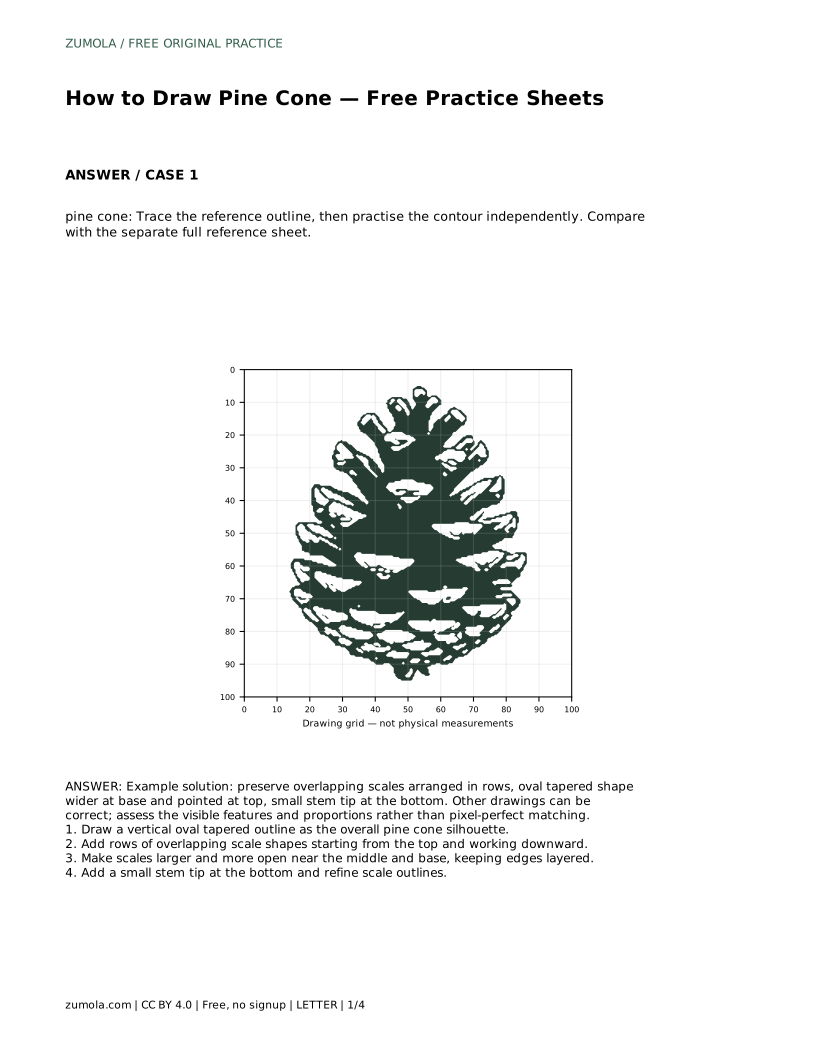
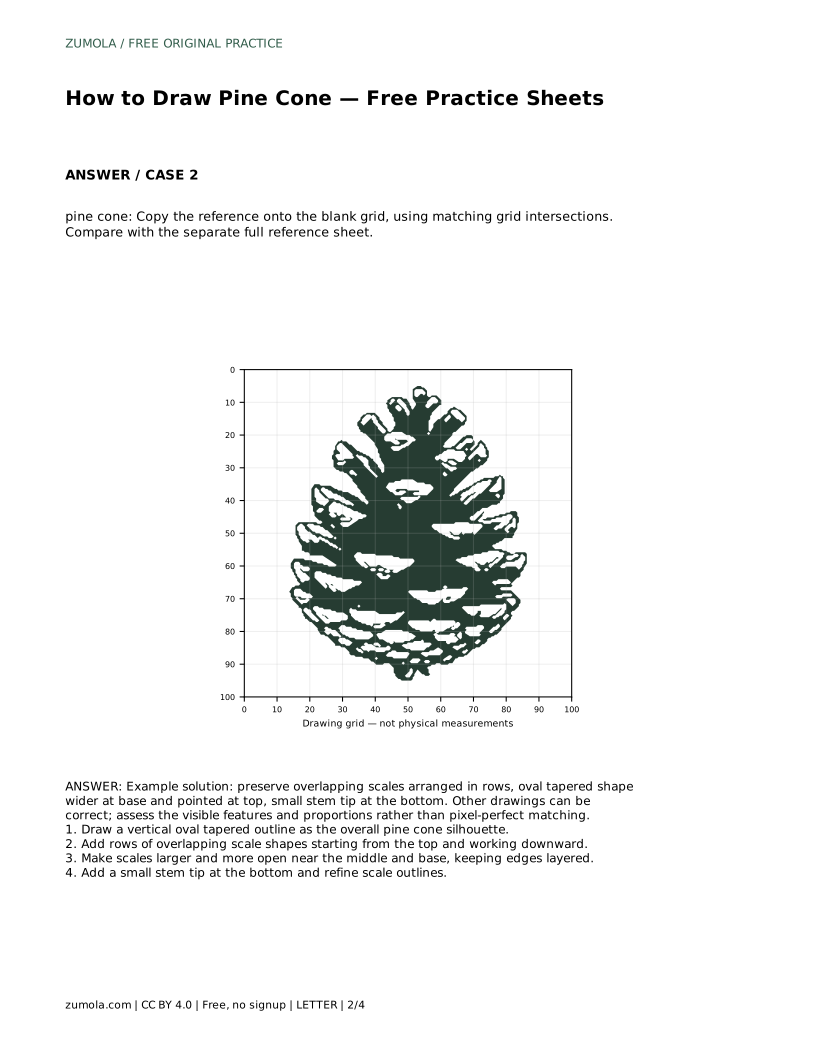
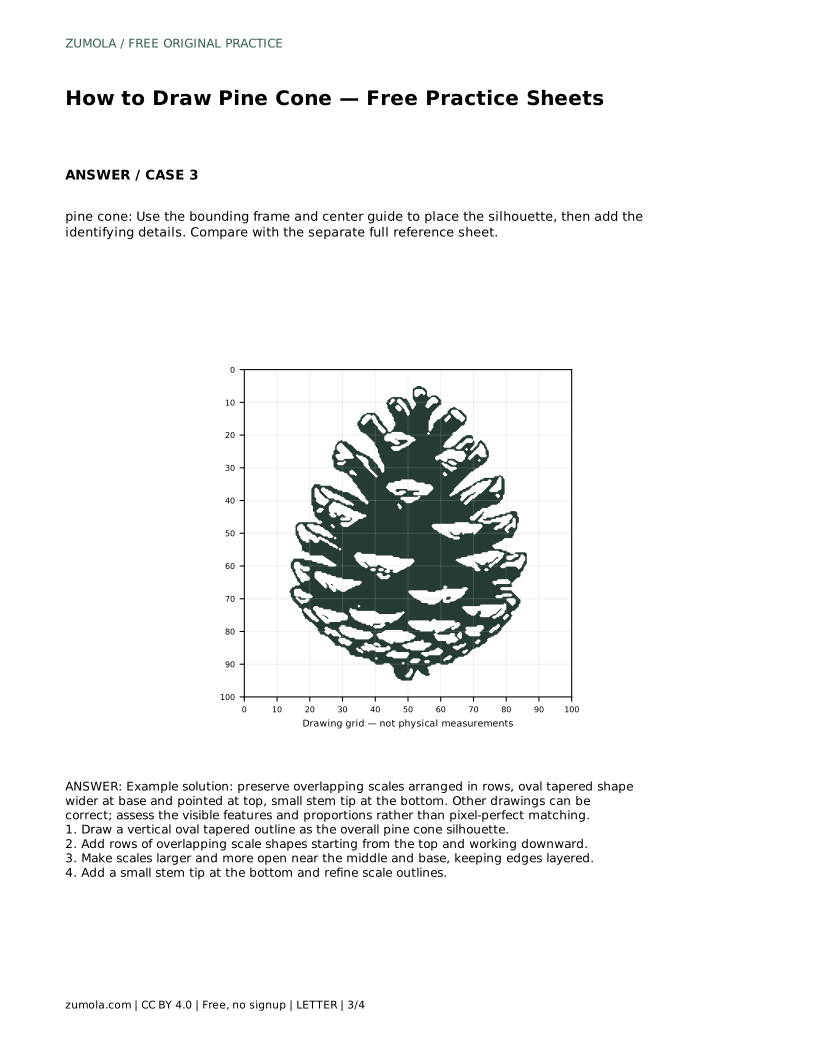
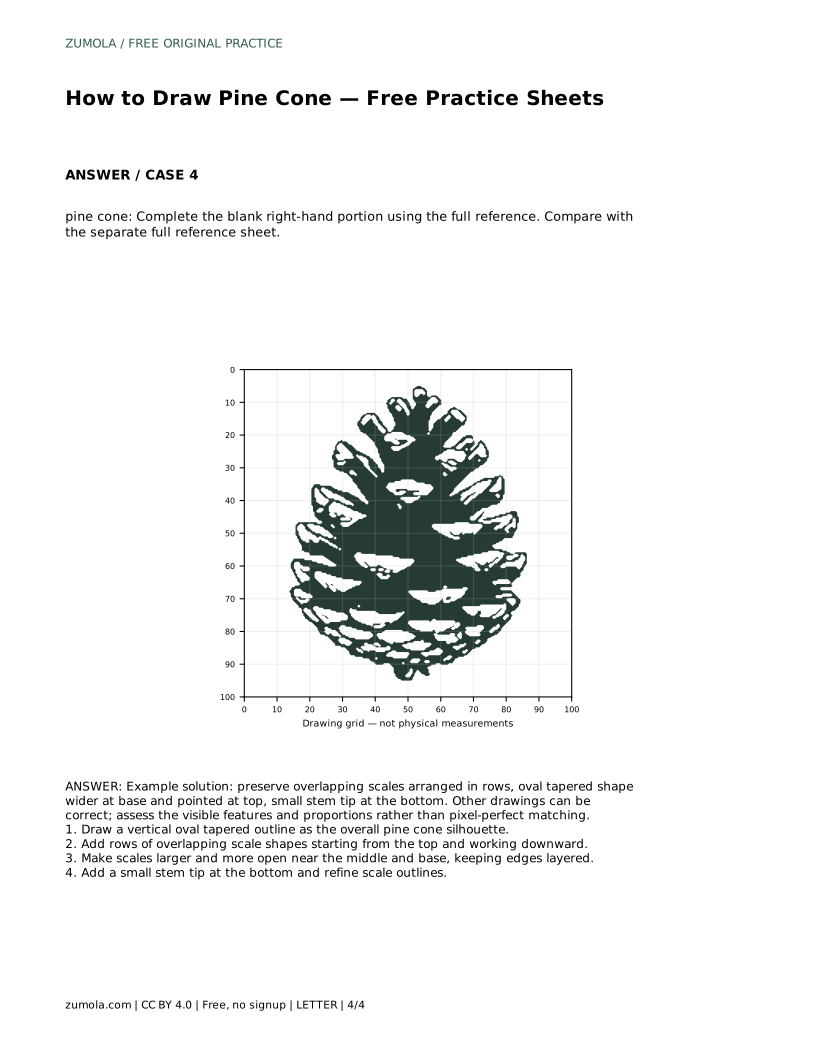
Reference diagrams
LETTER · Download PDF
A4 · Download PDF
Free original resources
Learn to draw a pine cone with a tapered oval silhouette, layered overlapping scales, and a small stem tip. Free practice sheets support tracing, grids, and completion.
Four original cases, with reference diagrams, practice sheets and worked answers. Everything is free; no signup required.
LETTER · Download PDF
A4 · Download PDF
LETTER · Download PDF
A4 · Download PDF
LETTER · Download PDF
A4 · Download PDF
Use A4 or US Letter to match your printer. Use the stated values and conditions to solve each exercise; diagrams are not physical measuring rulers.
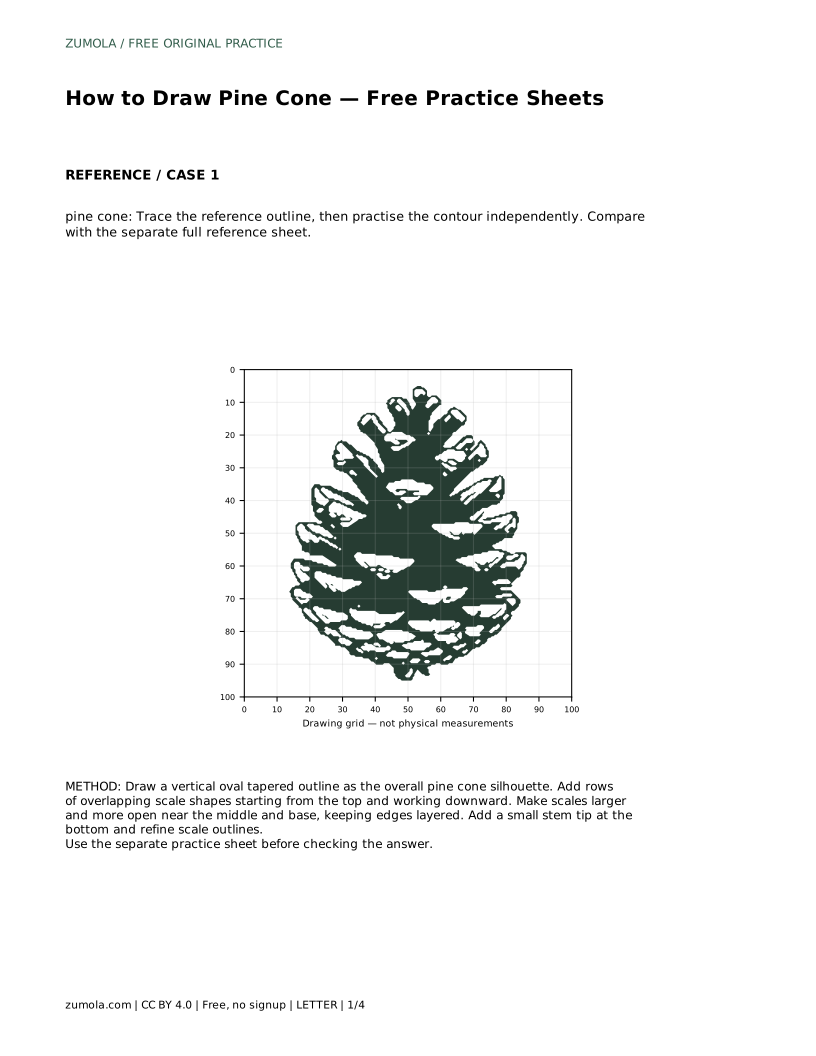
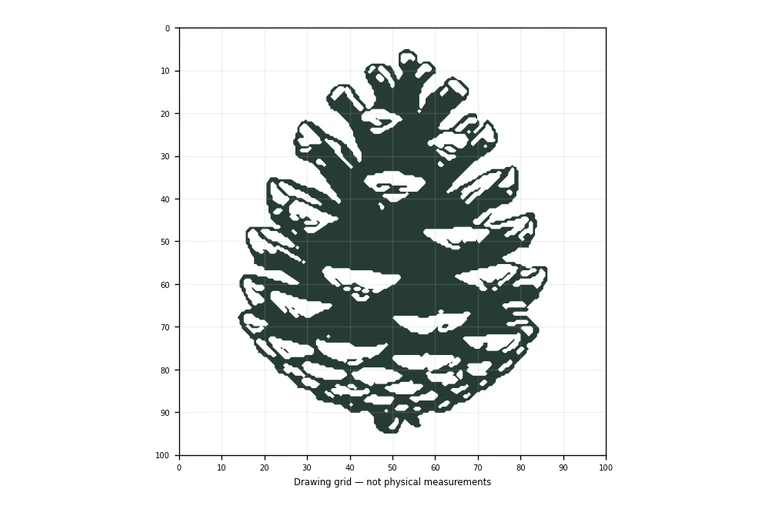
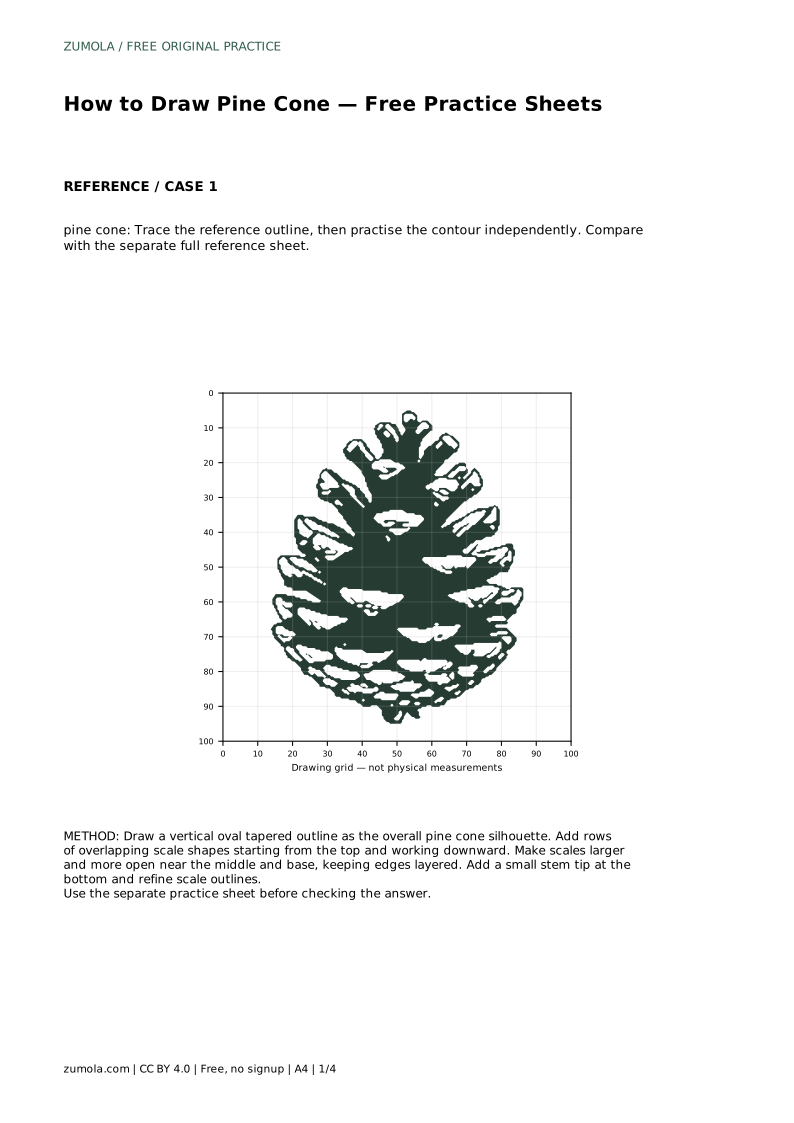
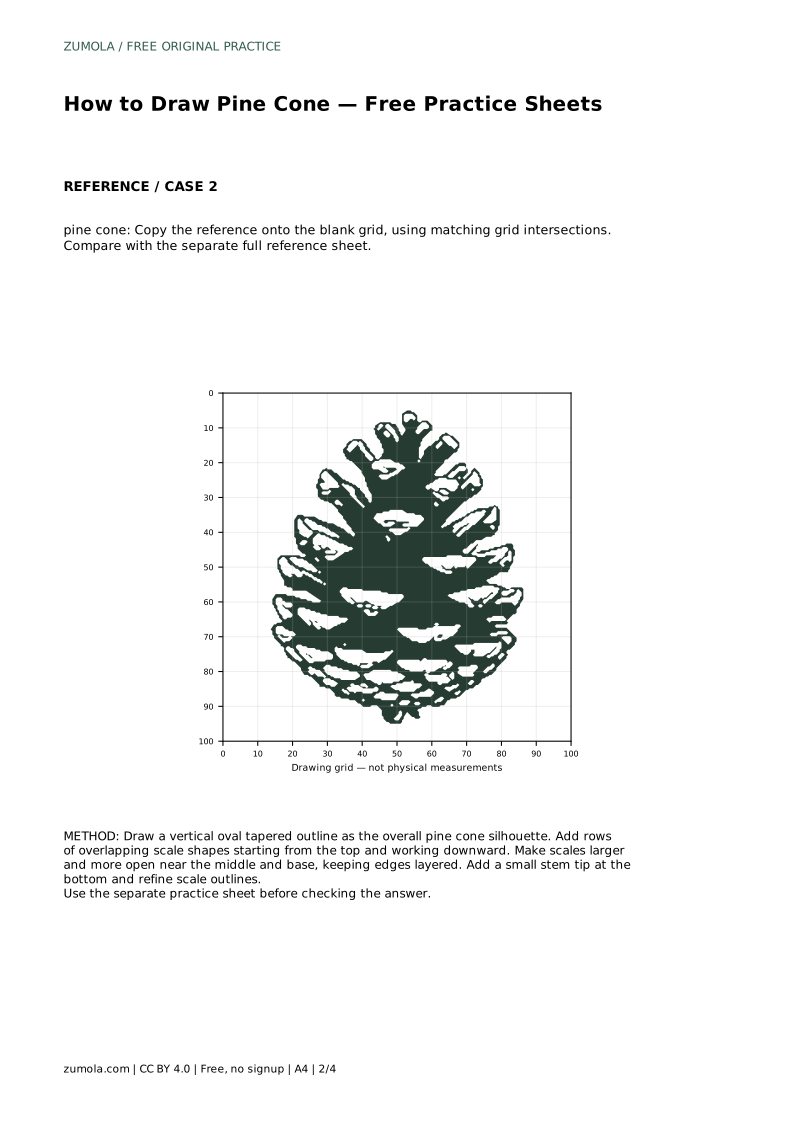
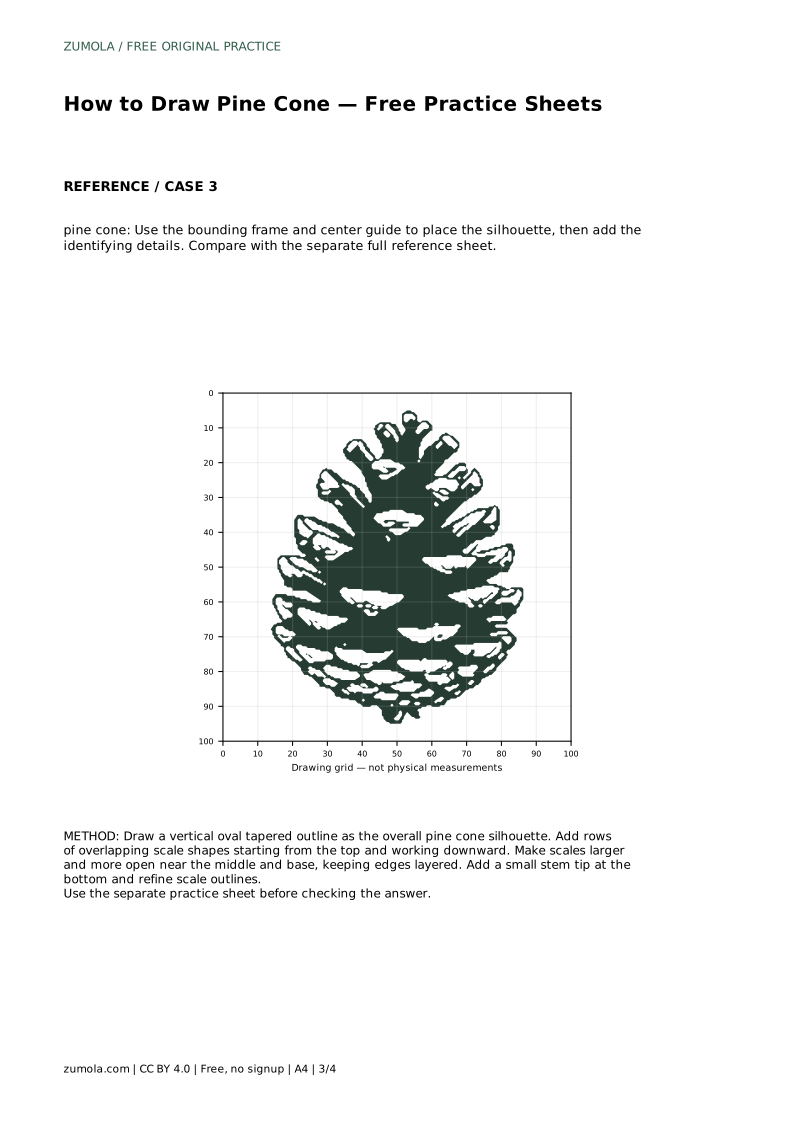
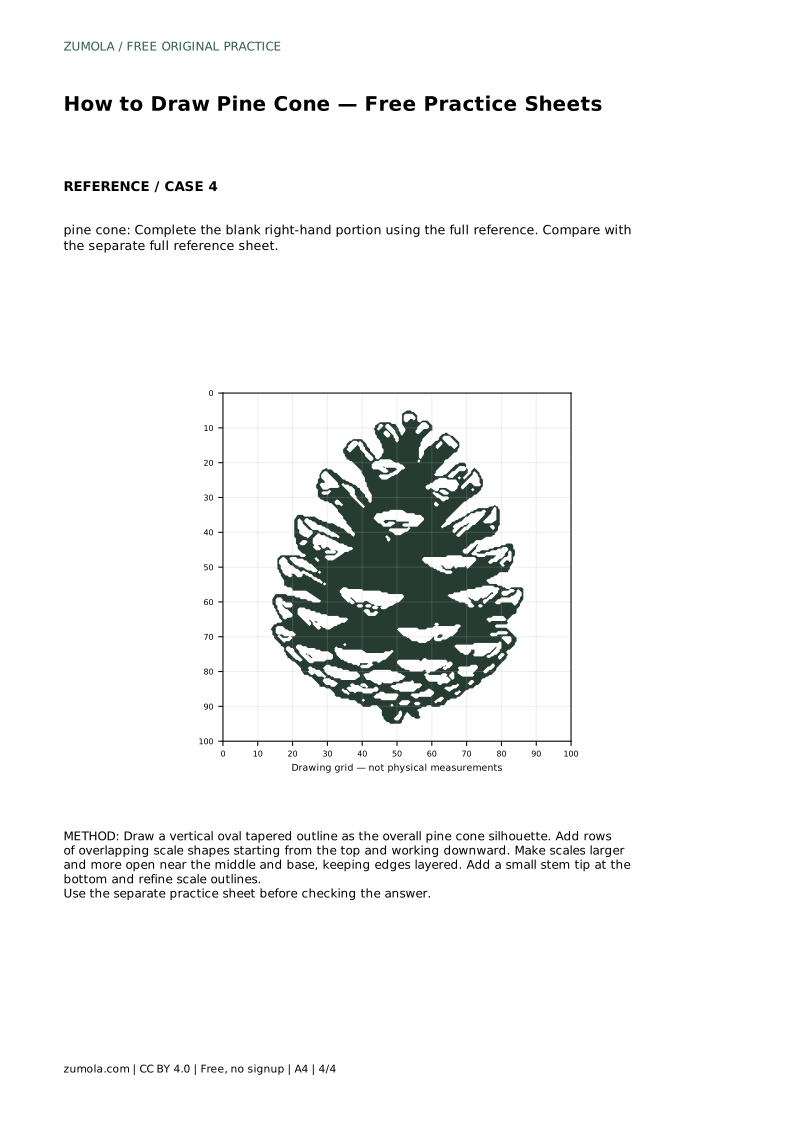
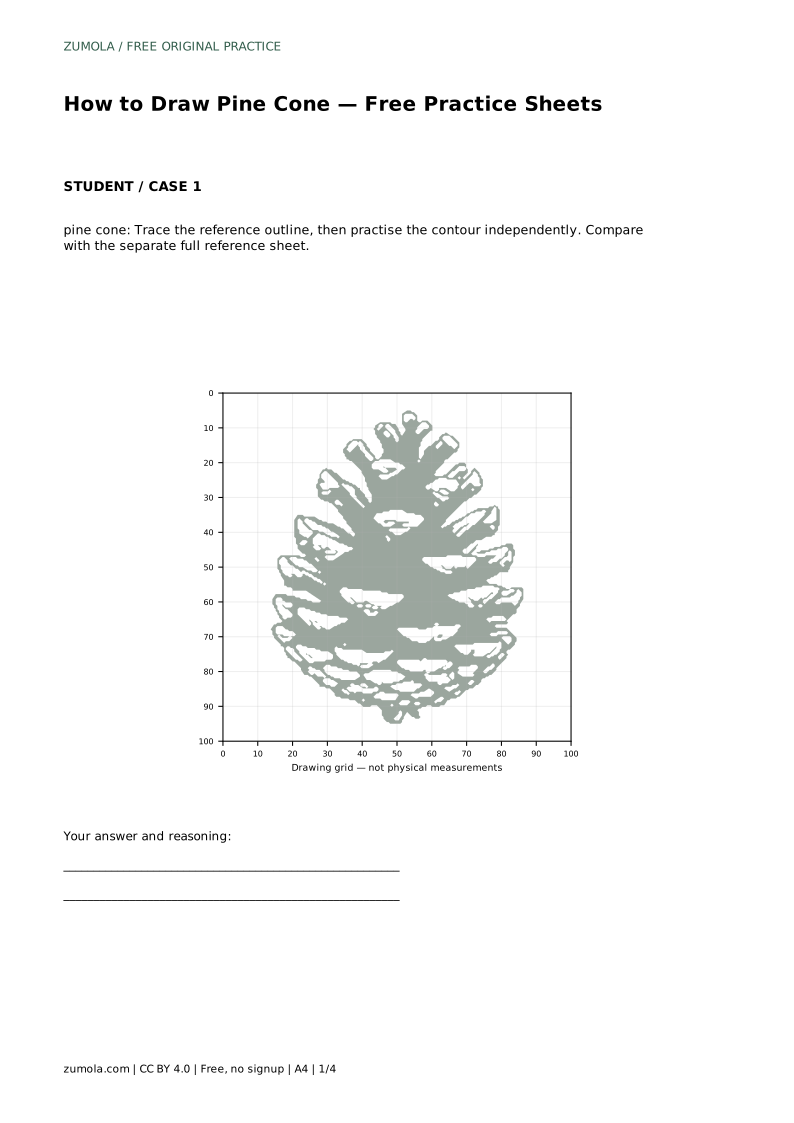
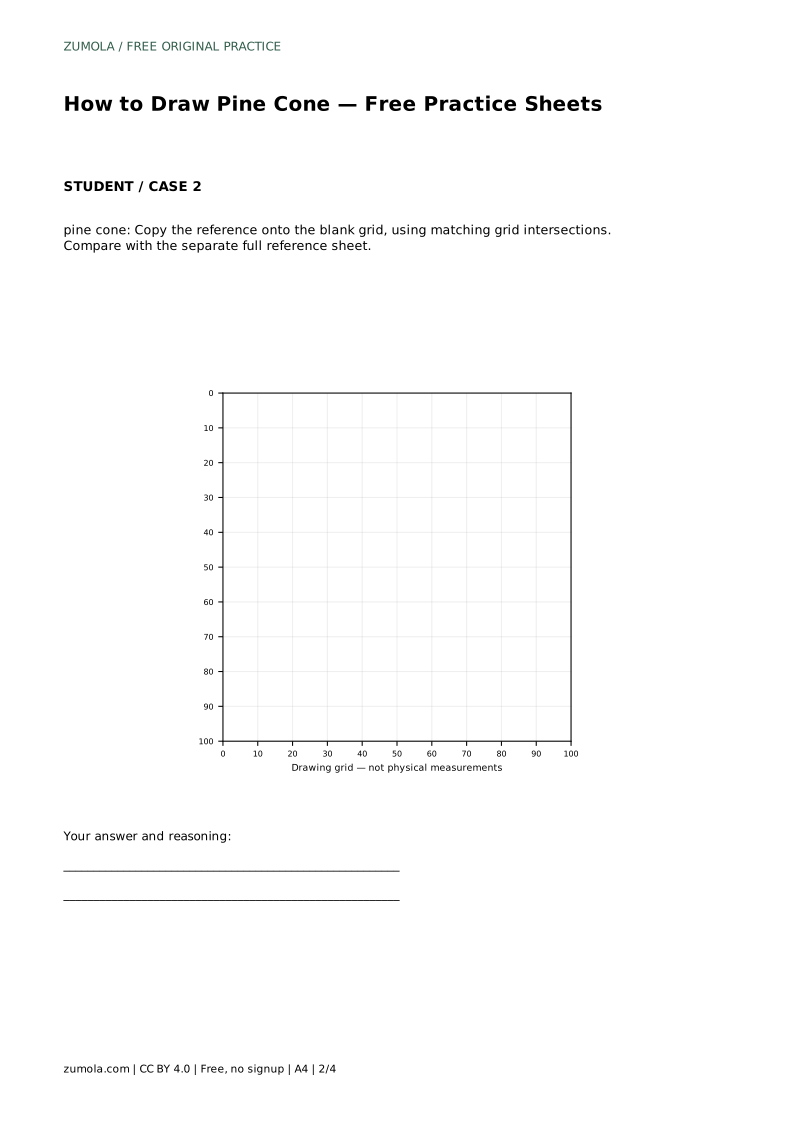
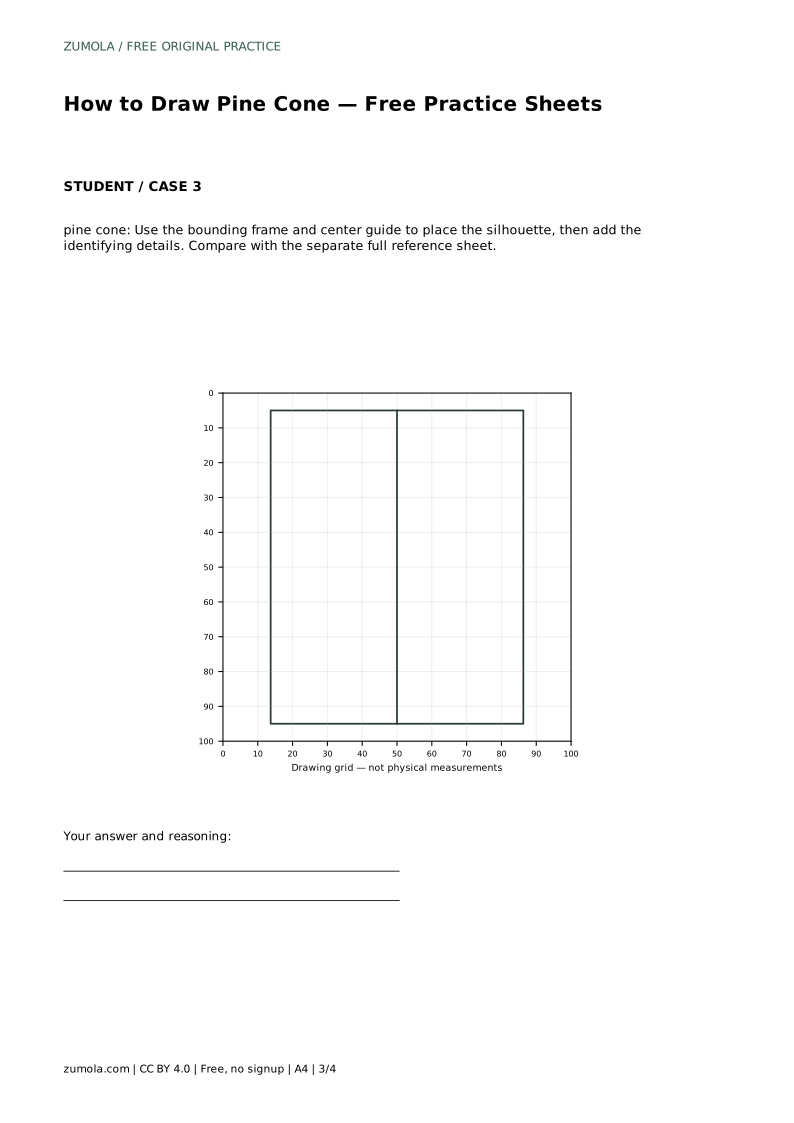
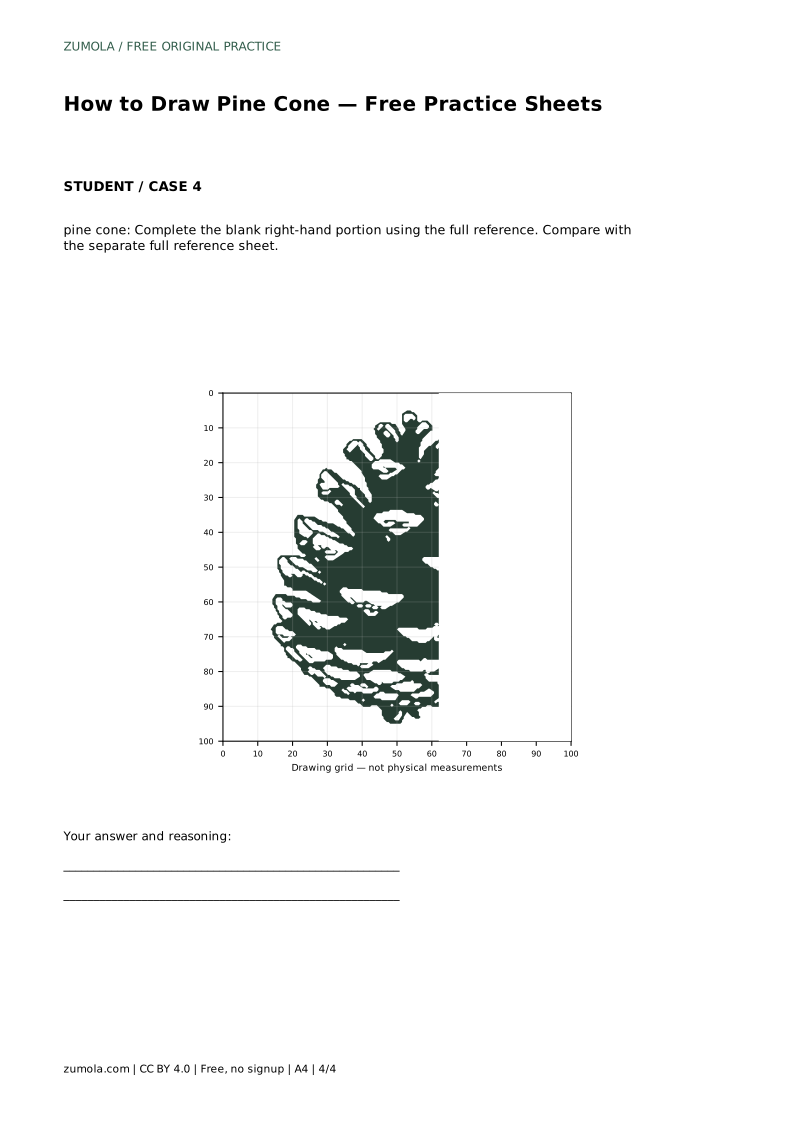
A pine cone is mostly a study in layering: one tapered oval holds rows of scales that overlap like roof tiles. This page explains how to build that structure in order, from the overall silhouette to the final scale outlines. The free practice sheets offer several ways to rehearse the same drawing: tracing the reference outline, copying onto a blank grid, placing the shape with a bounding frame and center guide, or completing a blank portion. Each sheet is paired with a separate full reference so you can compare your result afterward.
Before drawing any individual scale, establish the pine cone's overall shape. Picture a vertical oval that is wider near the base and narrows to a point at the top. This tapered outline is the container for everything else, so it should be drawn lightly and checked before detail work begins. A common error is making the shape a symmetrical egg; real cones usually read as slightly fuller low down and more compressed toward the tip.
Keep the outline simple at this stage. You are not committing to final edges, only setting proportions: how tall the cone is relative to its width, and where the widest part sits. Once that frame feels right, the scale rows have somewhere reliable to live.
Work from the top downward. Each scale is a small rounded or slightly angular shape, and each new row should overlap the row above it, the way shingles cover the row beneath. Drawing top to bottom keeps the layering consistent, because every lower scale tucks under the one above rather than floating on top of it.
Vary scale size deliberately. Scales near the top tend to be smaller and tighter; toward the middle and base they become larger and more open, with visible gaps between edges. Keep the layered edges clear so the eye can follow the overlap. Avoid drawing every scale as an identical stamp in a perfect grid; slight variation in width and spacing makes the cone read as natural rather than manufactured.
At the bottom of the cone, add a small stem tip. This is a modest detail, but it anchors the drawing and distinguishes the base from the pointed top. Keep it short and narrow, attached where the lowest scales meet.
Refinement comes last. Go back over the scale outlines, strengthening the edges that should read clearly and softening any lines that became muddled. Confirm the silhouette still matches your intended tapered oval and that the rows remain legible. Because drawings of pine cones have many valid outcomes, judge your work by visible features and proportions rather than pixel-perfect matching to the reference.
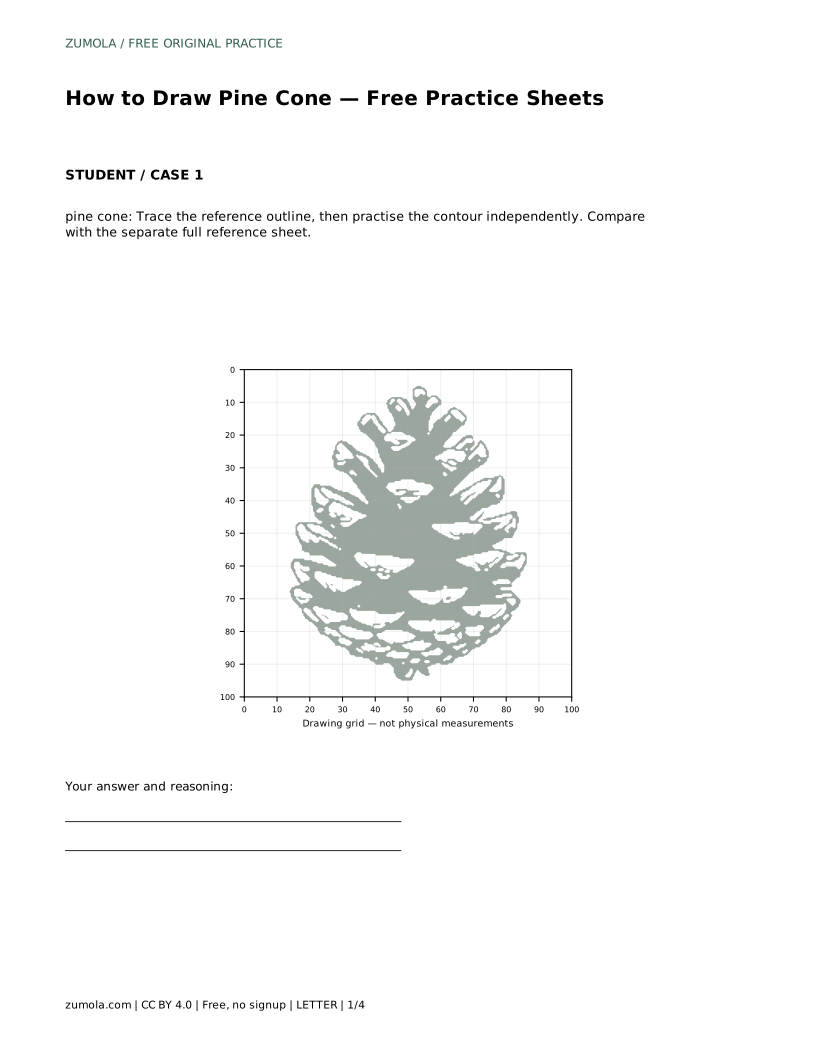
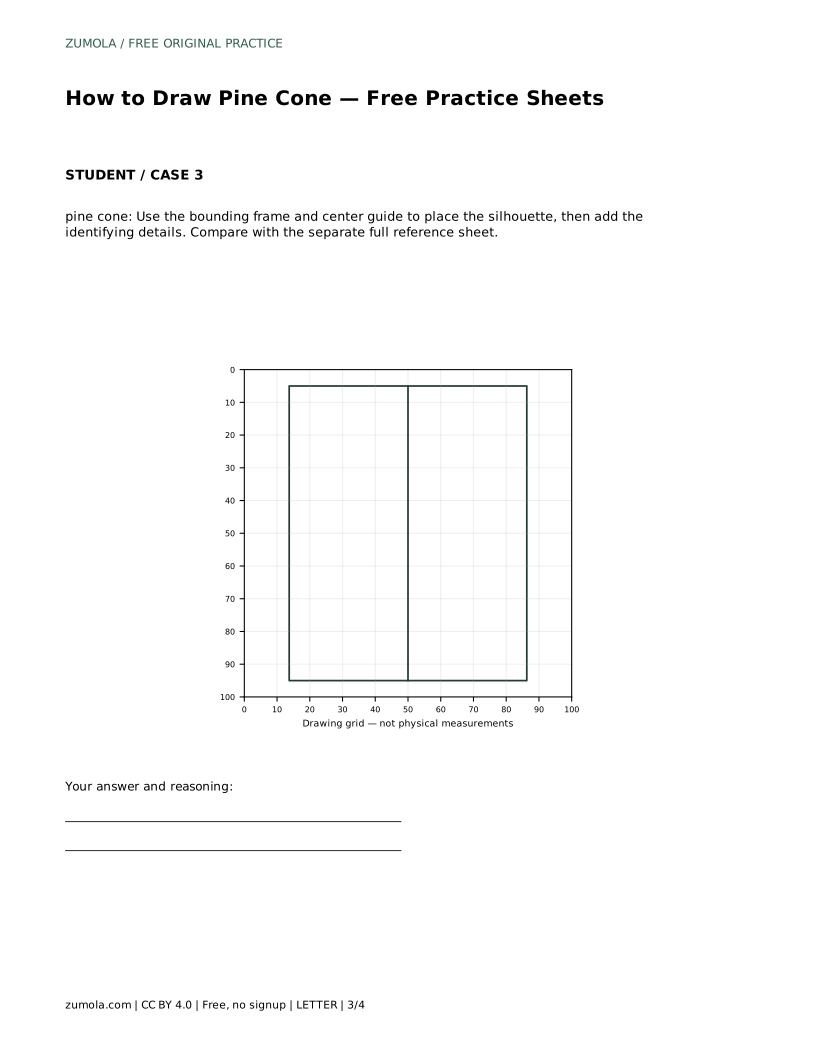
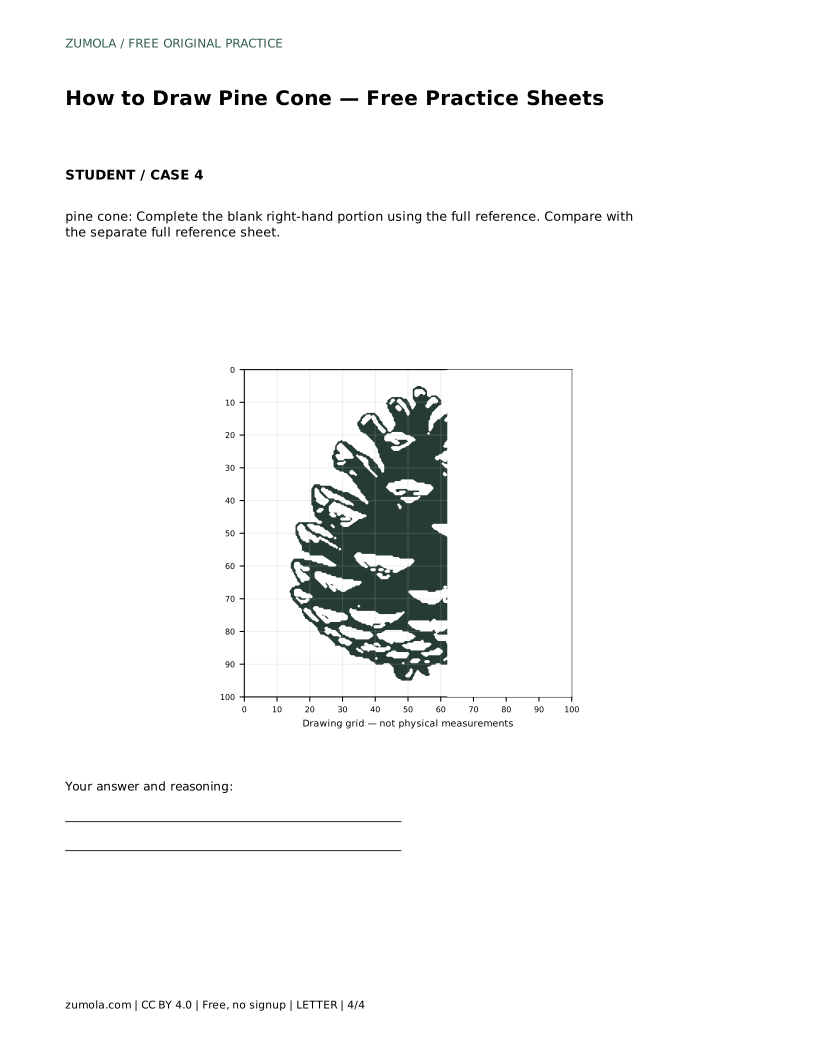
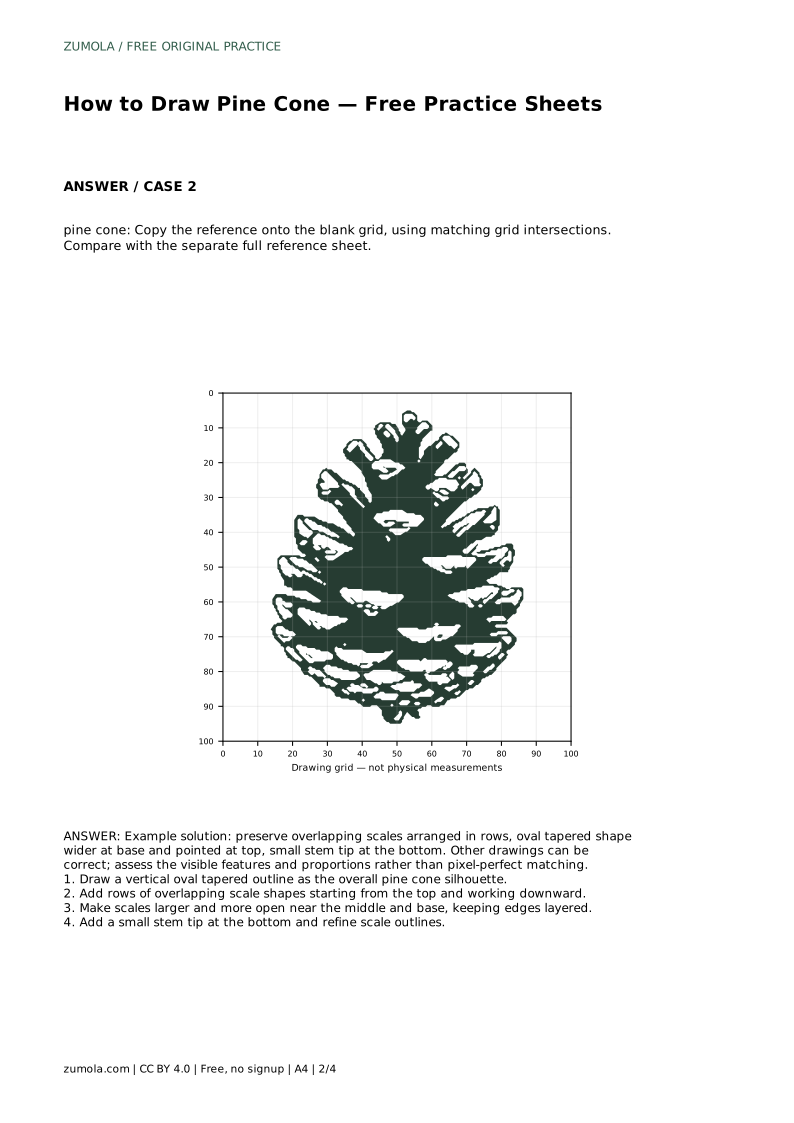
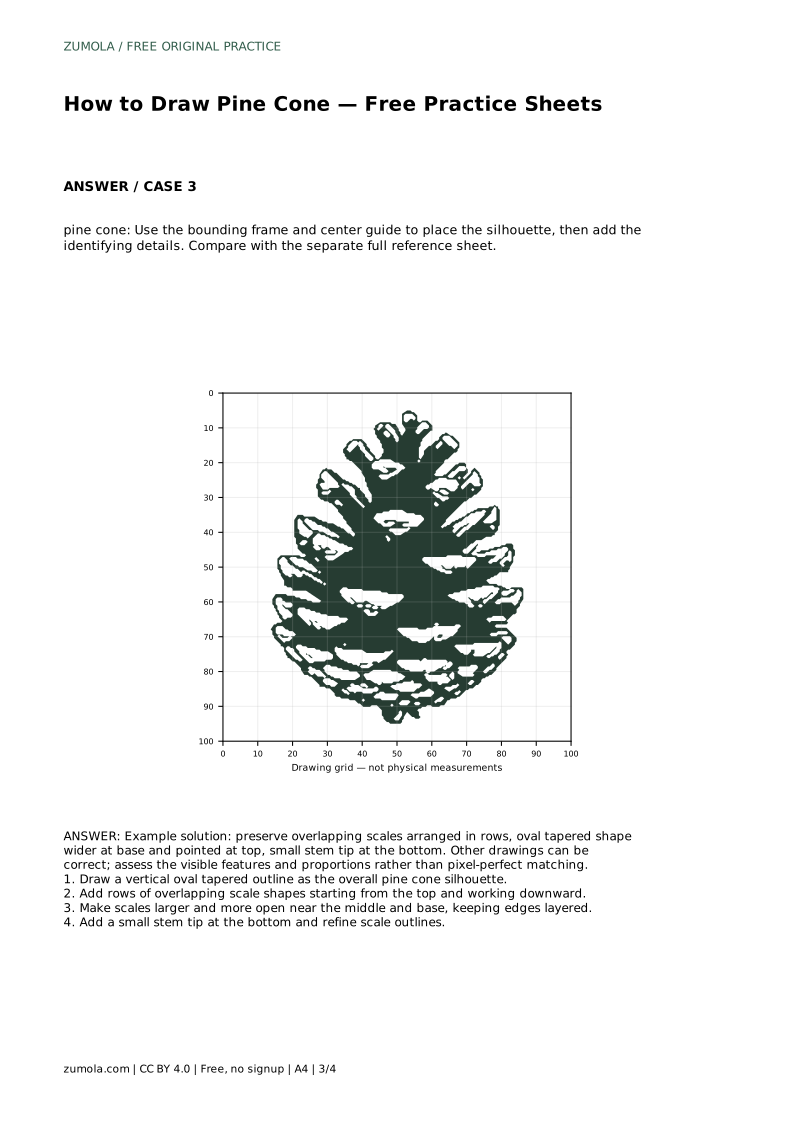
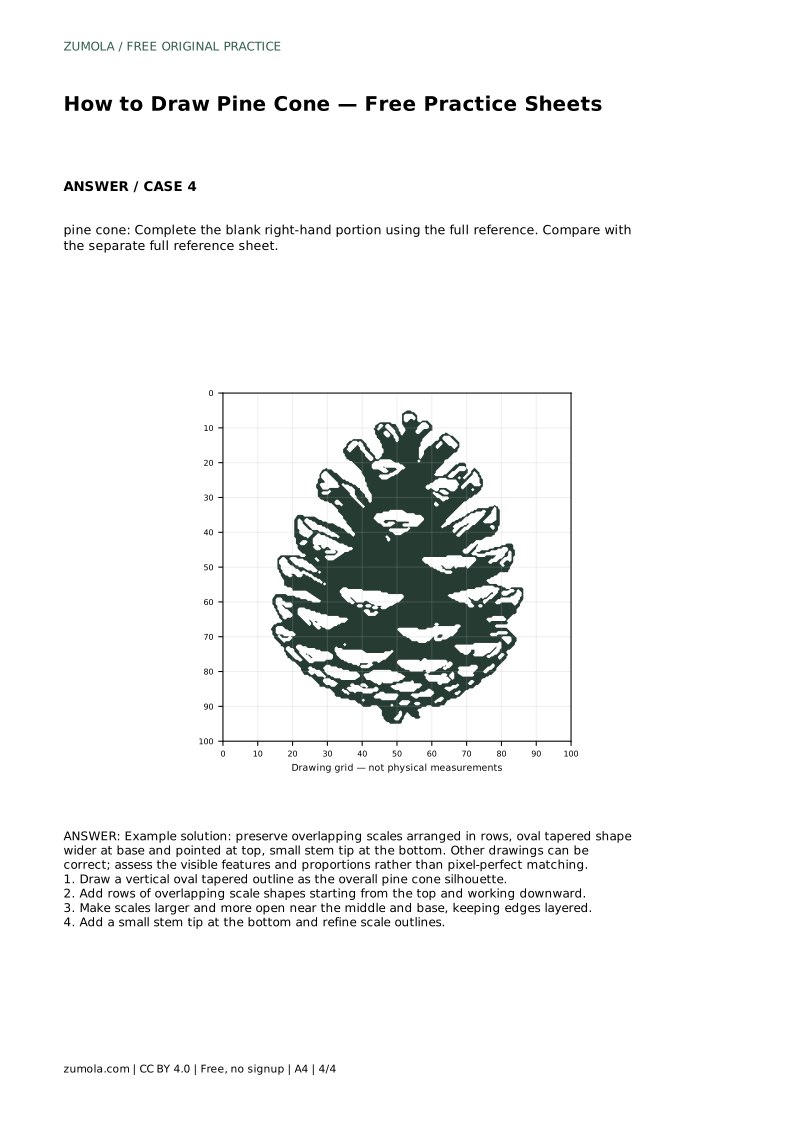
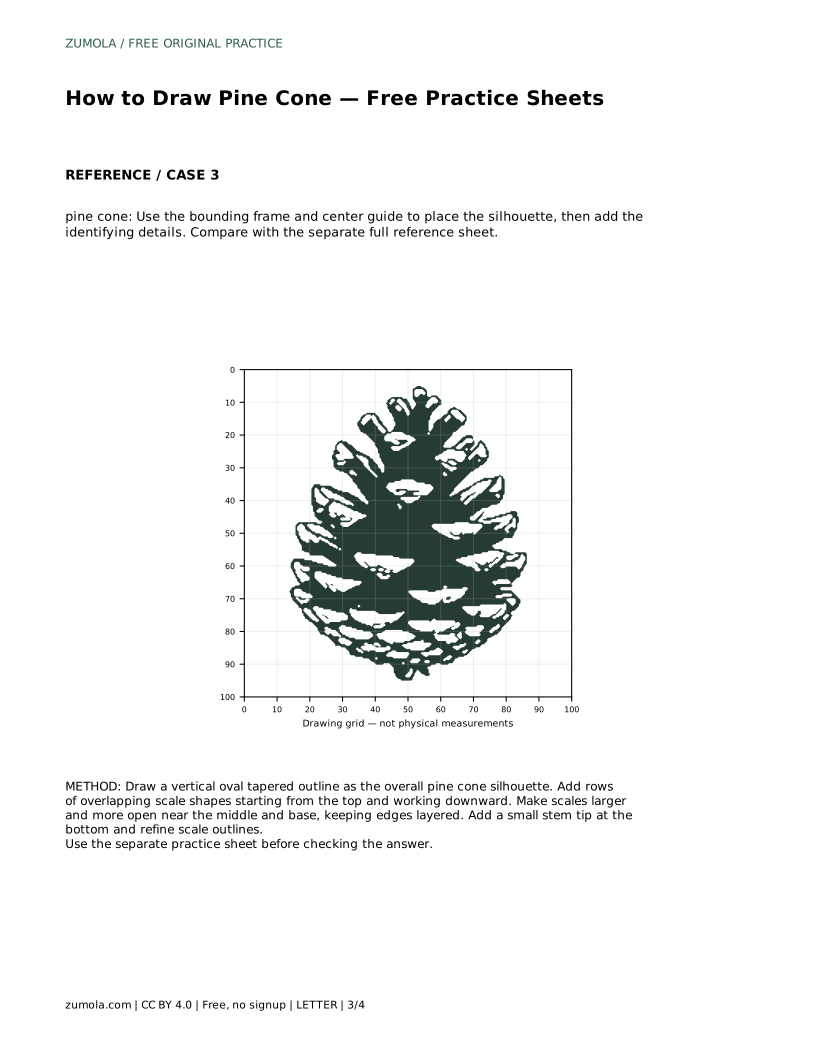
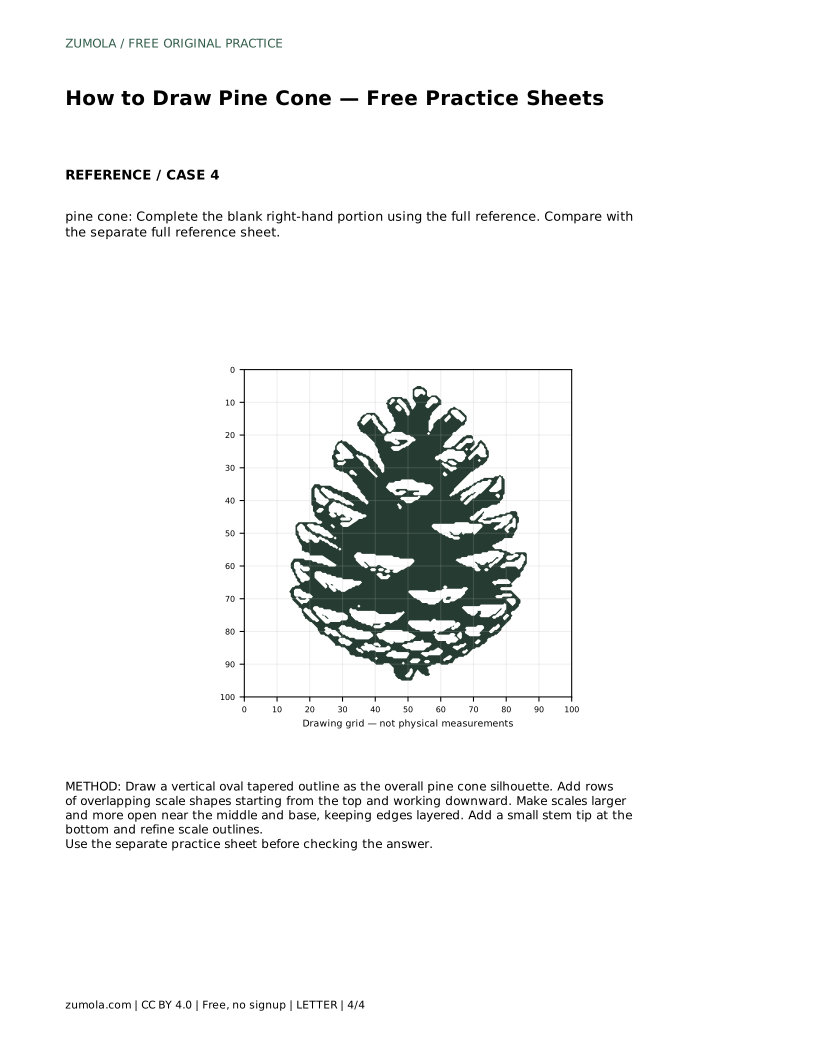
The tracing sheet asks you to follow the reference outline first, then practise the contour independently. The grid sheet asks you to copy the reference onto a blank grid using matching intersections, which trains placement and proportion. The bounding-frame sheet gives a center guide for positioning the silhouette before adding identifying details. The completion sheet leaves the right-hand portion blank so you can finish it from the full reference.
Each format targets a different skill, so treat them as separate rehearsals rather than repeats. After any sheet, compare your drawing with the separate full reference sheet and note one specific difference to correct next time.
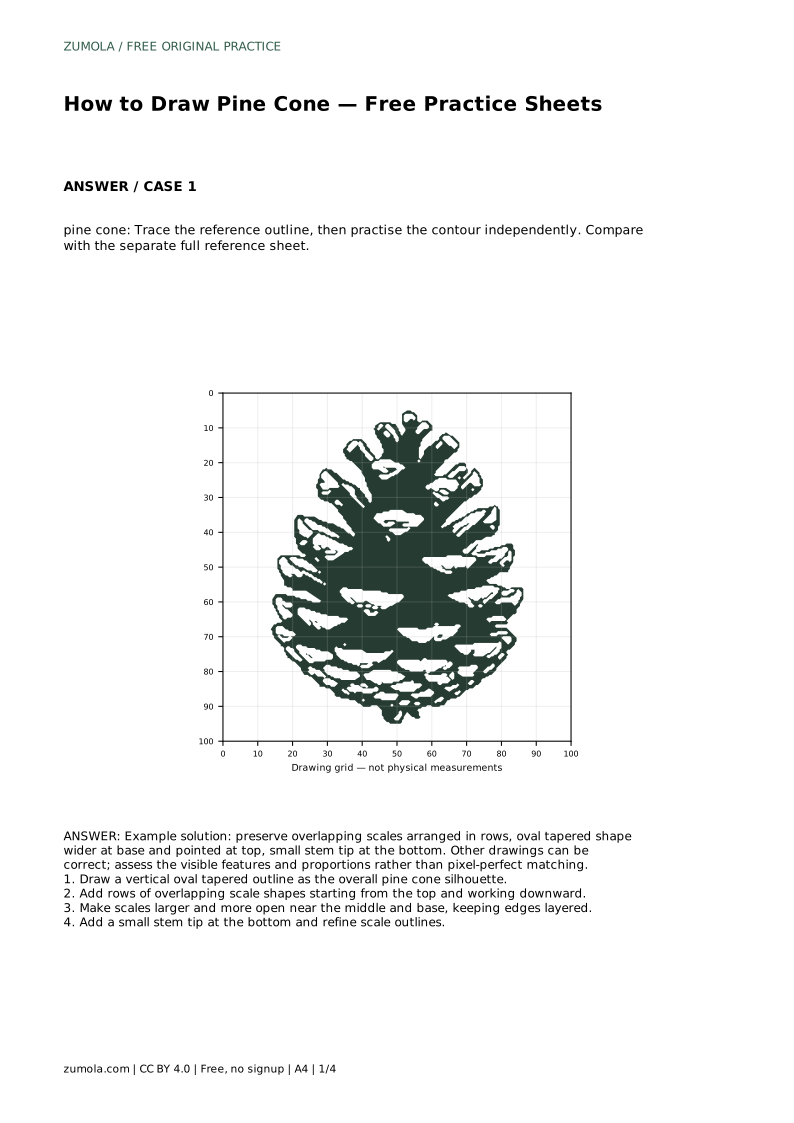
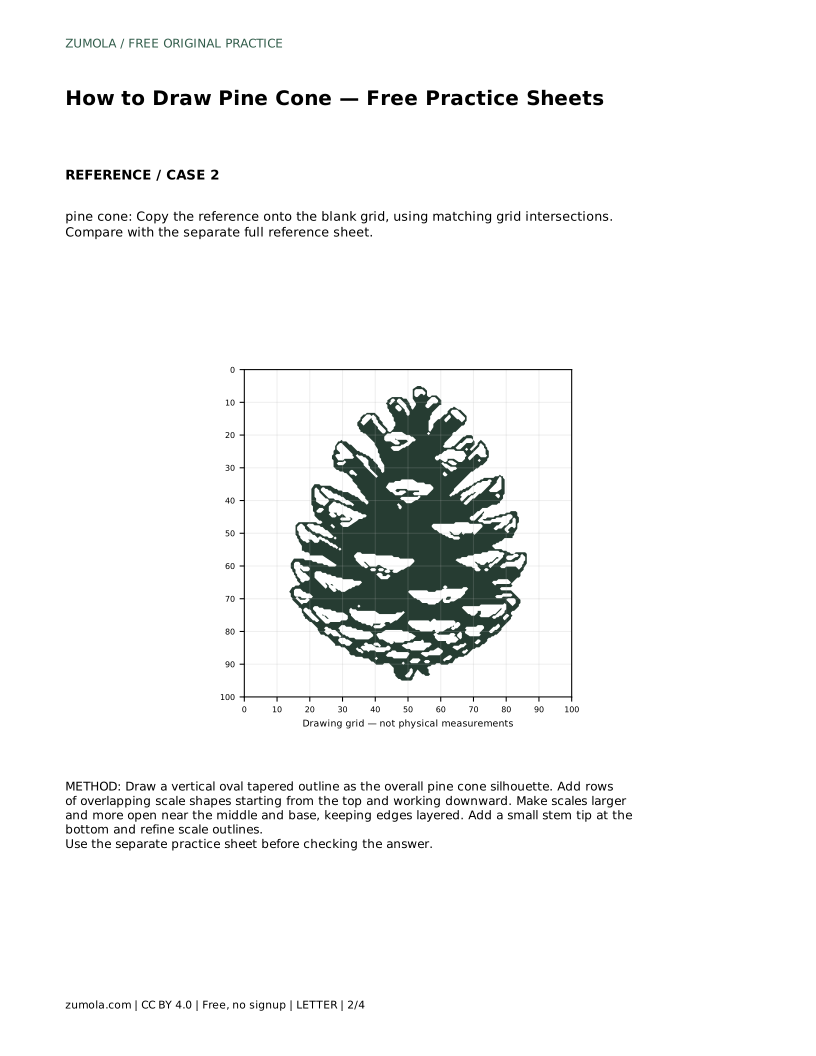
pine cone: Trace the reference outline, then practise the contour independently. Compare with the separate full reference sheet.
Example solution: preserve overlapping scales arranged in rows, oval tapered shape wider at base and pointed at top, small stem tip at the bottom. Other drawings can be correct; assess the visible features and proportions rather than pixel-perfect matching. Draw a vertical oval tapered outline as the overall pine cone silhouette. Add rows of overlapping scale shapes starting from the top and working downward. Make scales larger and more open near the middle and base, keeping edges layered. Add a small stem tip at the bottom and refine scale outlines.
Wider at the base, tapering to a point at the top, with a small stem tip at the bottom.
There is no fixed count. Cover the silhouette in overlapping rows, using smaller scales near the top and larger, more open ones toward the base.
Compare visible features and proportions with the full reference: tapered oval shape, layered rows, larger lower scales, and a stem tip. Many valid outcomes exist.
All drawing practice · Free coordinate paper
Original resources · CC BY 4.0 · Free for personal and classroom use with attribution.