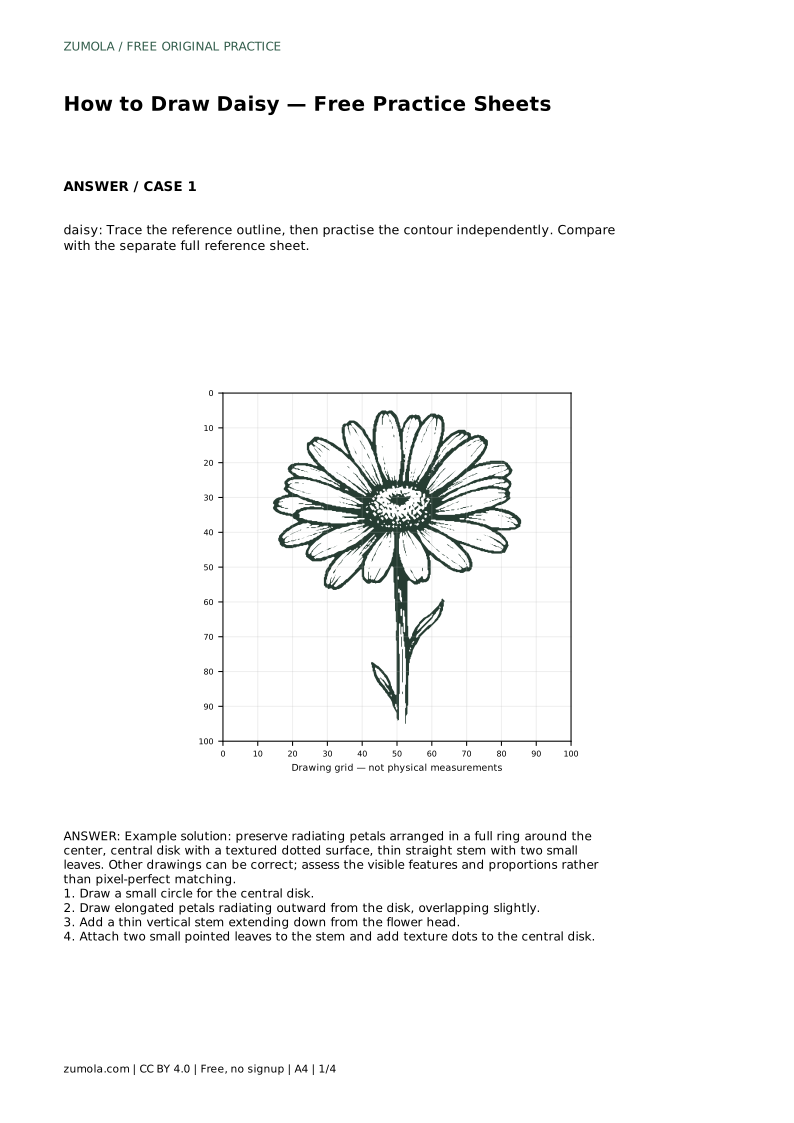
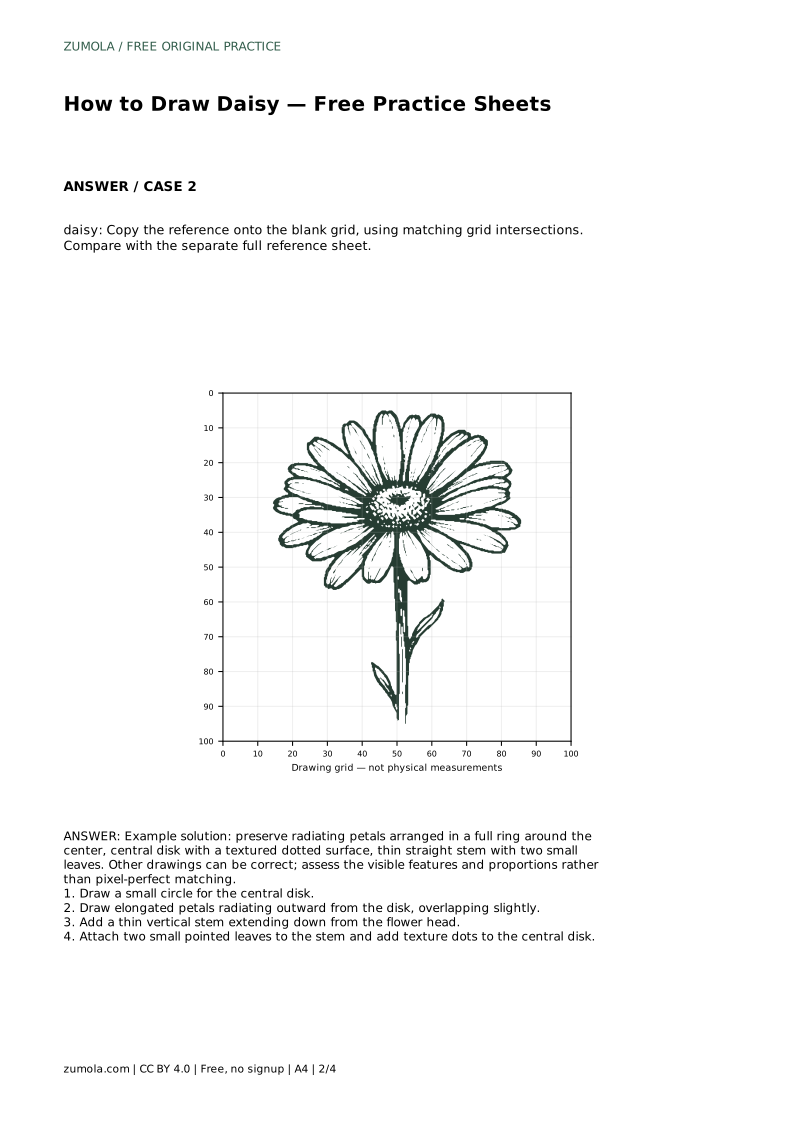
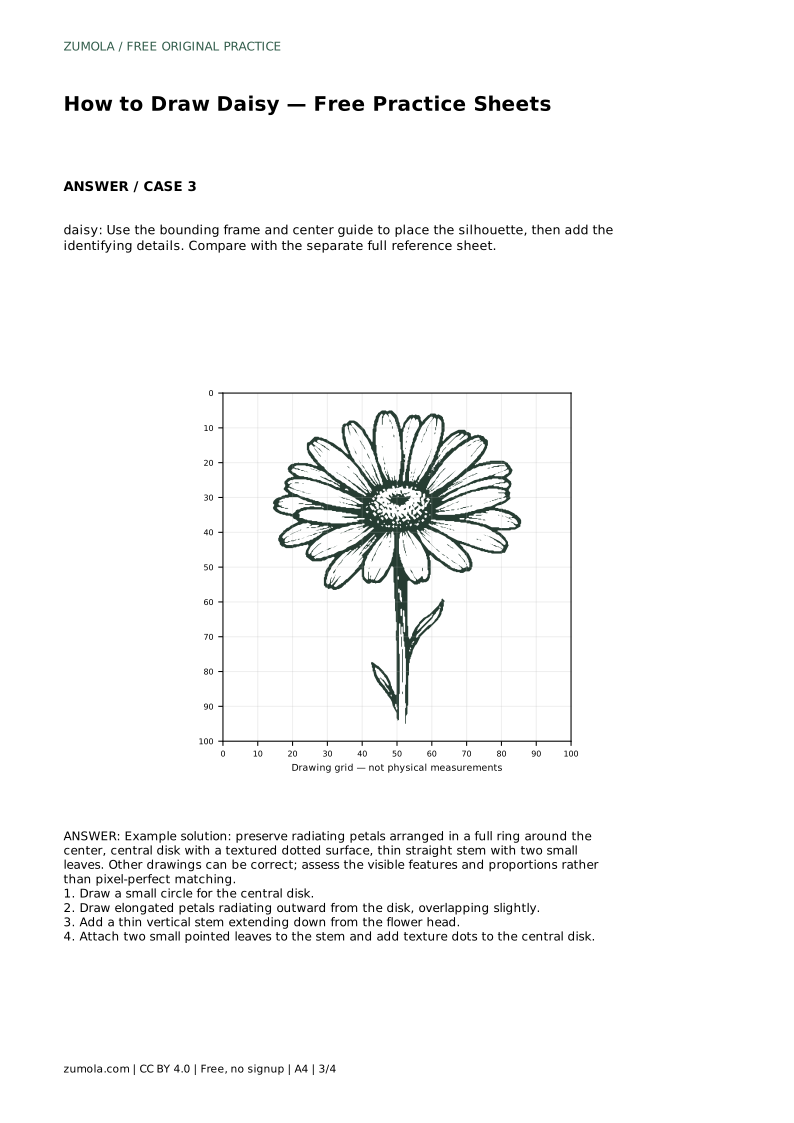
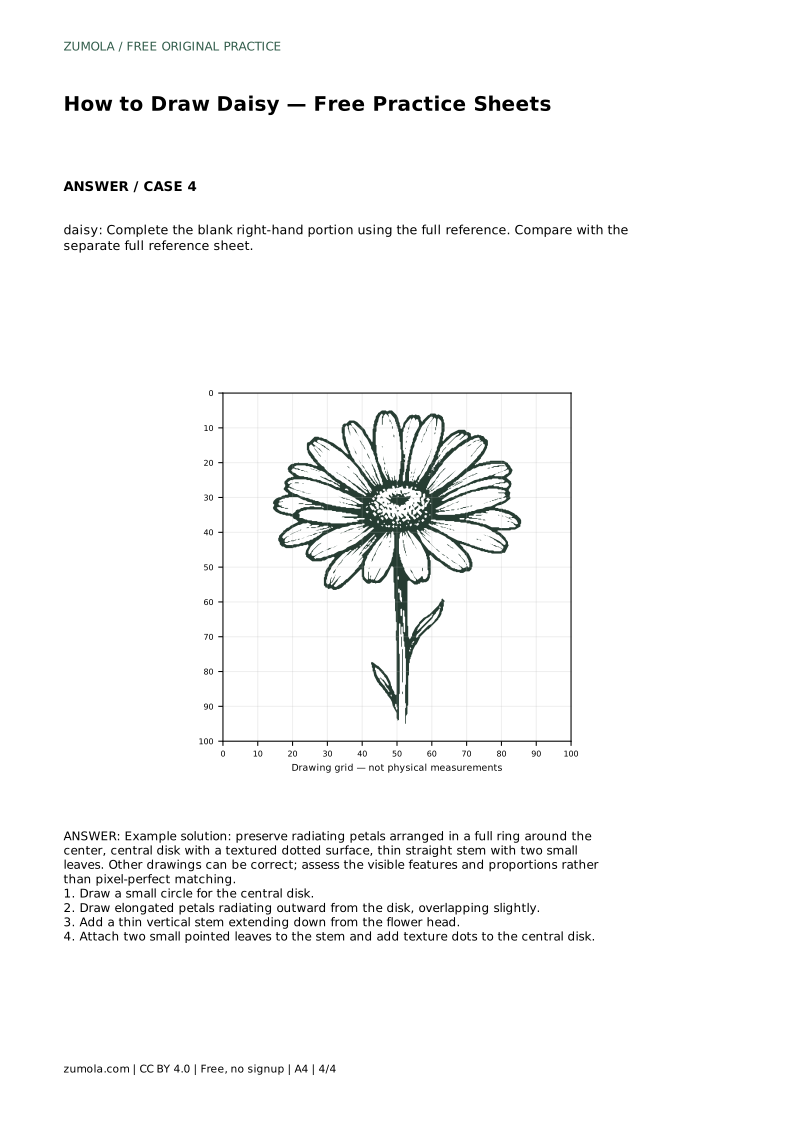
Reference diagrams
LETTER · Download PDF
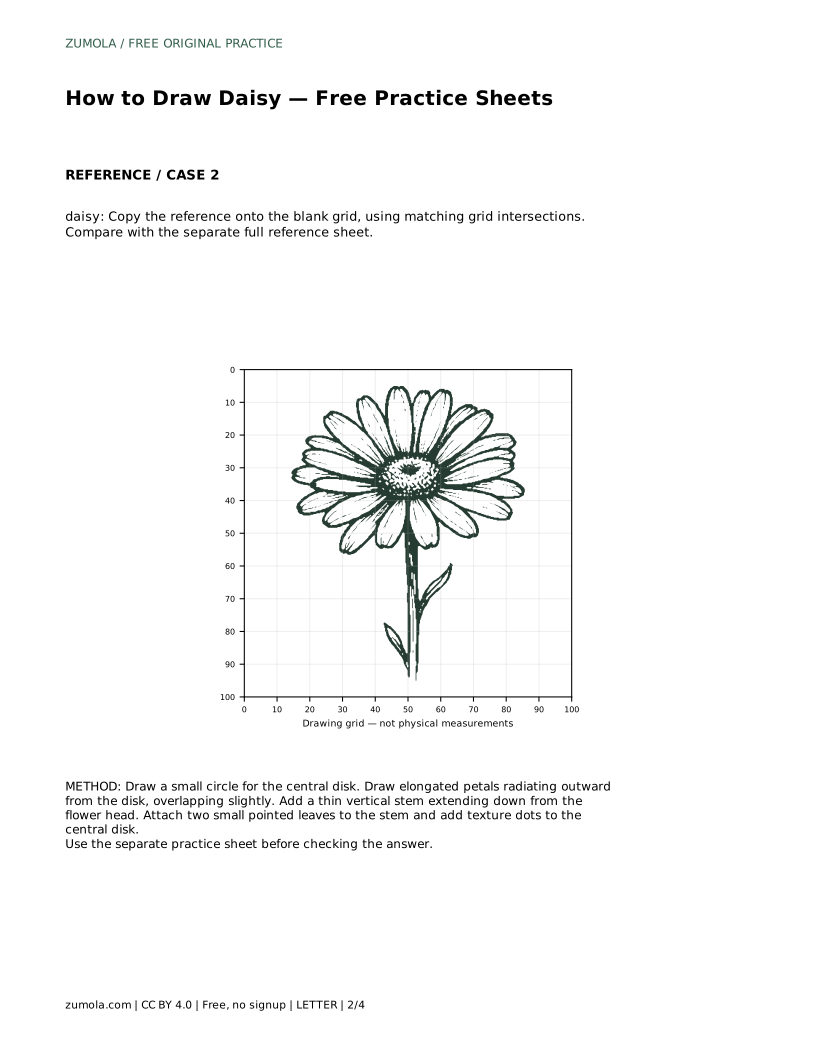
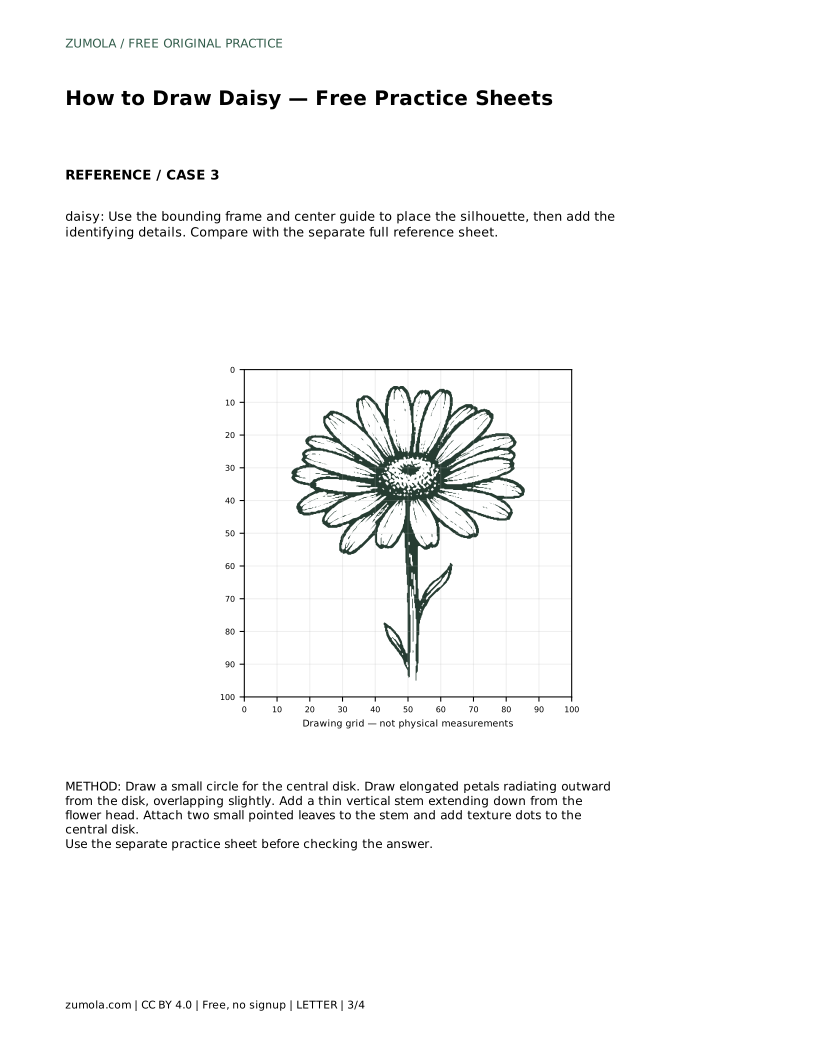
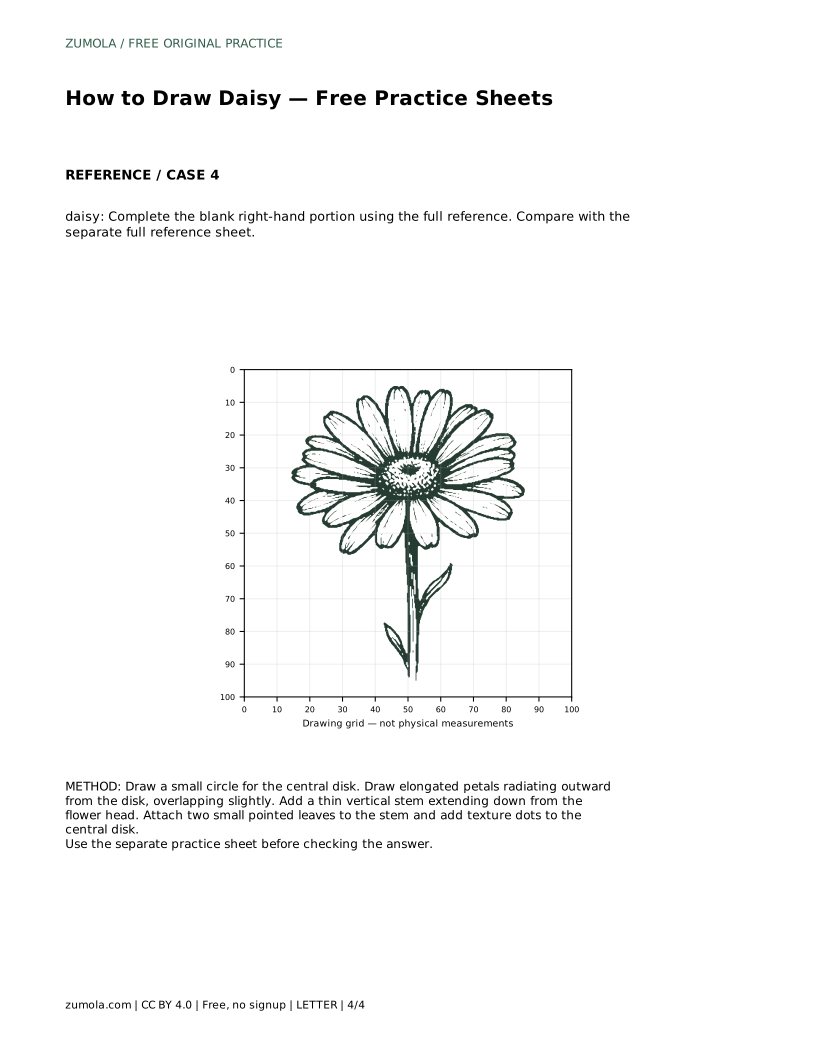
A4 · Download PDF
Free original resources
Learn to draw a daisy in pencil by building the central disk, radiating petals, stem, and leaves. Includes a worked example, common mistakes, and a fair rubric.
Four original cases, with reference diagrams, practice sheets and worked answers. Everything is free; no signup required.
LETTER · Download PDF
A4 · Download PDF
LETTER · Download PDF
A4 · Download PDF
LETTER · Download PDF
A4 · Download PDF
Use A4 or US Letter to match your printer. Use the stated values and conditions to solve each exercise; diagrams are not physical measuring rulers.
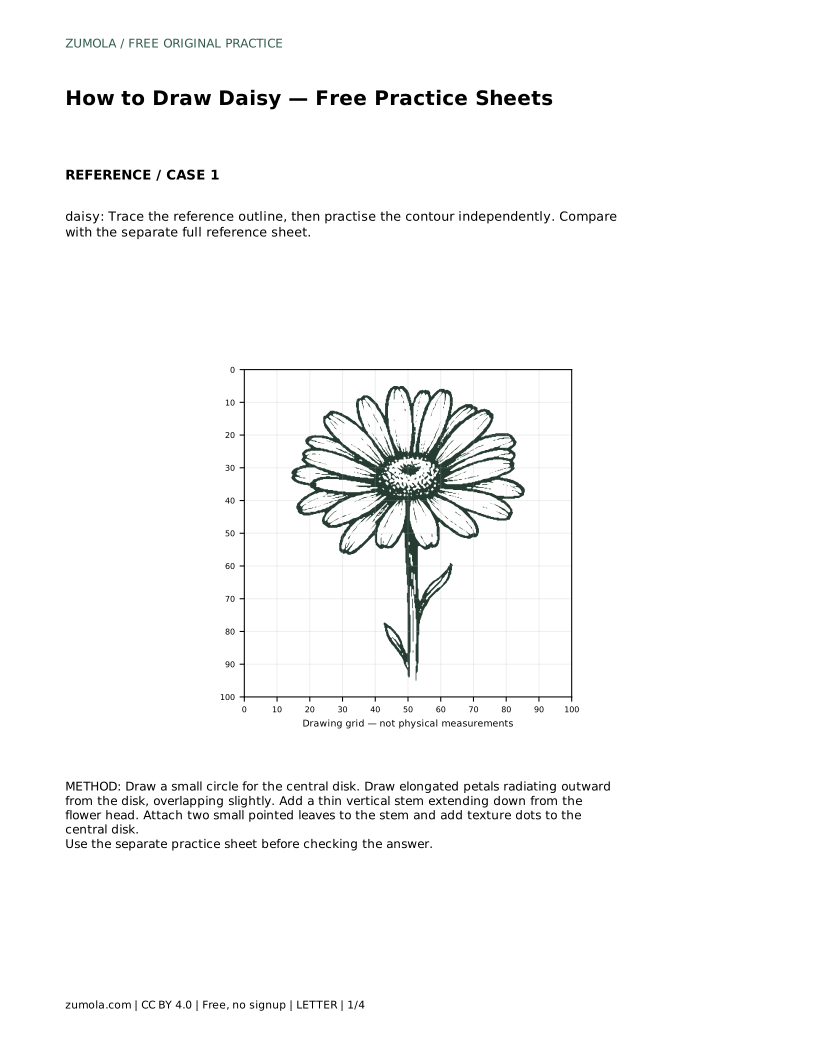
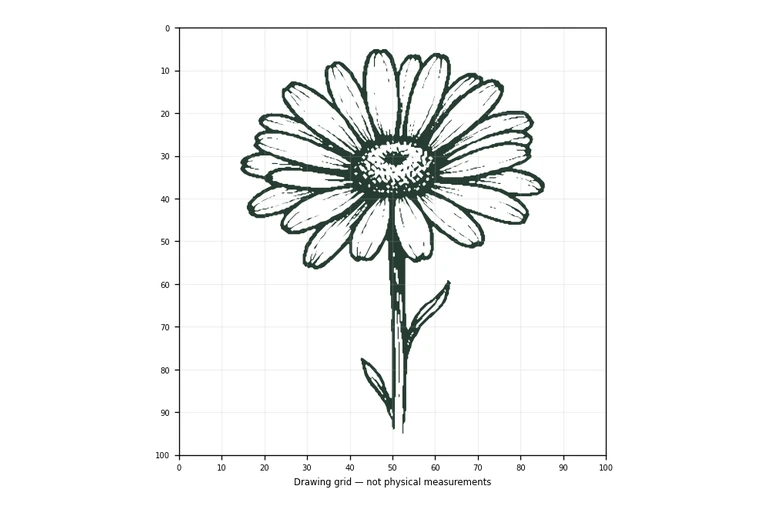
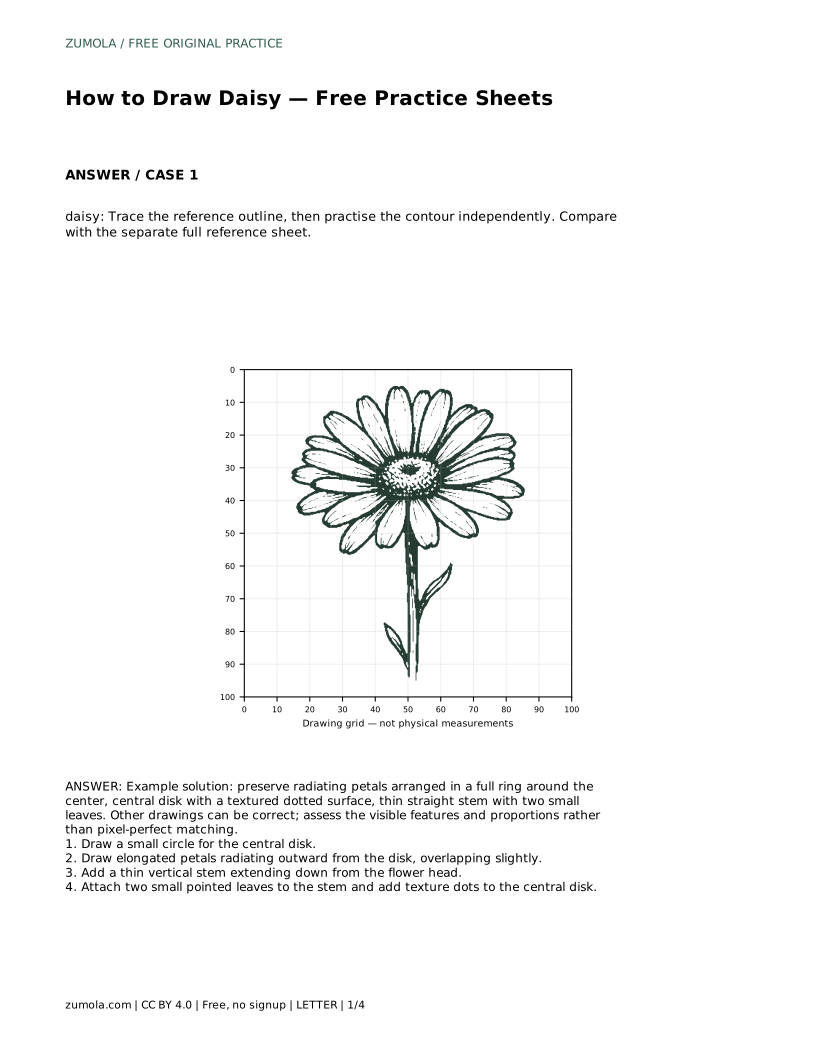
A daisy is a forgiving subject for pencil practice because its structure is clear: a round central disk, a ring of elongated petals, a thin stem, and a pair of small leaves. The goal is not to copy every pixel but to preserve the visible features and sensible proportions. This page explains a reliable drawing order, shows how to check your work, and gives you a rubric for judging drawings that differ from the reference yet still read clearly as a daisy.
Begin with the central disk, because it anchors every petal. Draw a small circle and keep it modest: if the disk is too large, the petals become short and the flower looks like a sunflower. Lightly mark the center point so you can judge whether petals radiate evenly around it.
Next, draw elongated petals outward from the disk. Each petal should start at the disk edge and taper toward a rounded or slightly pointed tip. Work around the ring in one direction rather than jumping across, and let neighboring petals overlap slightly at their bases. Overlap is what makes the ring look connected instead of like separate spokes.
Attach a thin, nearly straight stem below the flower head. Keep it narrow relative to the disk; a thick stem changes the plant's character. The stem should meet the flower head cleanly rather than floating beside it.
Add two small pointed leaves to the stem, one on each side at different heights. Pointed leaves suit a daisy better than broad rounded ones. Keep the leaves small compared with the flower head so the bloom stays the focus.
The central disk is not blank: it has a textured, dotted surface. Add small dots or short marks across the disk, spacing them fairly evenly. This texture is one of the features that identifies a daisy, so do not skip it.
Finally, compare your drawing with the reference sheet. Check the full ring of petals, the disk texture, the thin stem, and the two small leaves. If a feature is missing or a proportion looks off, adjust lightly rather than redrawing everything.
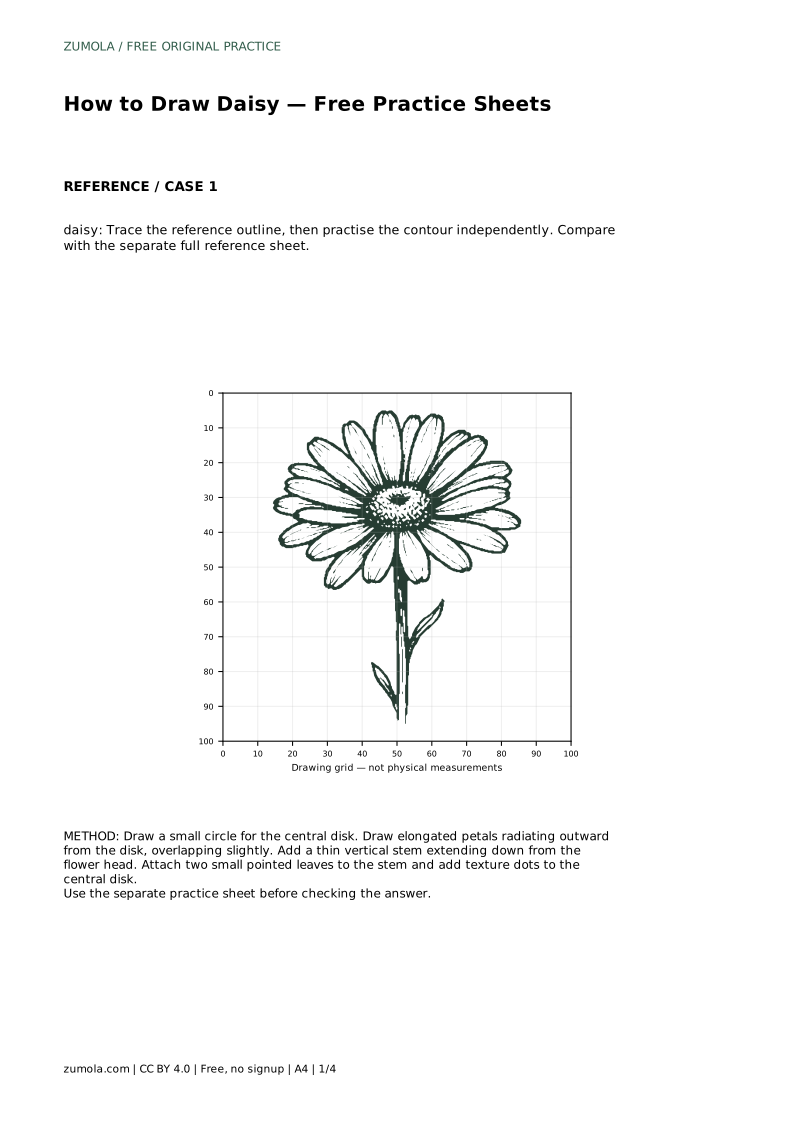
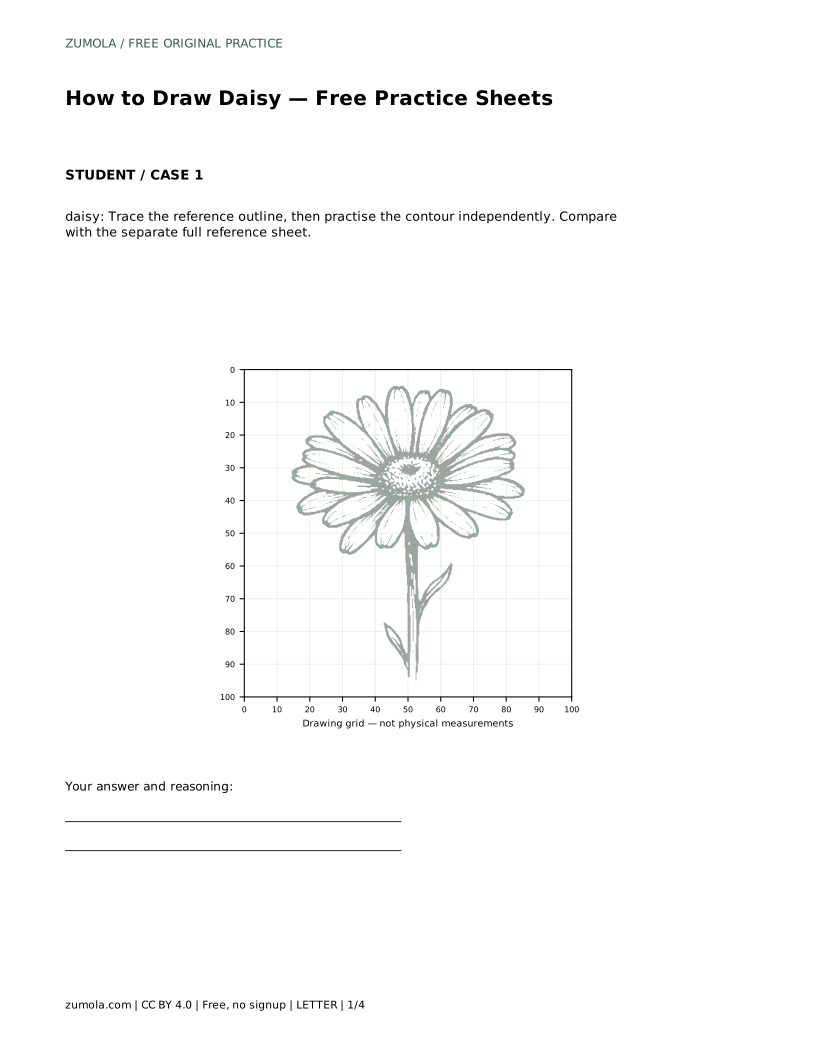
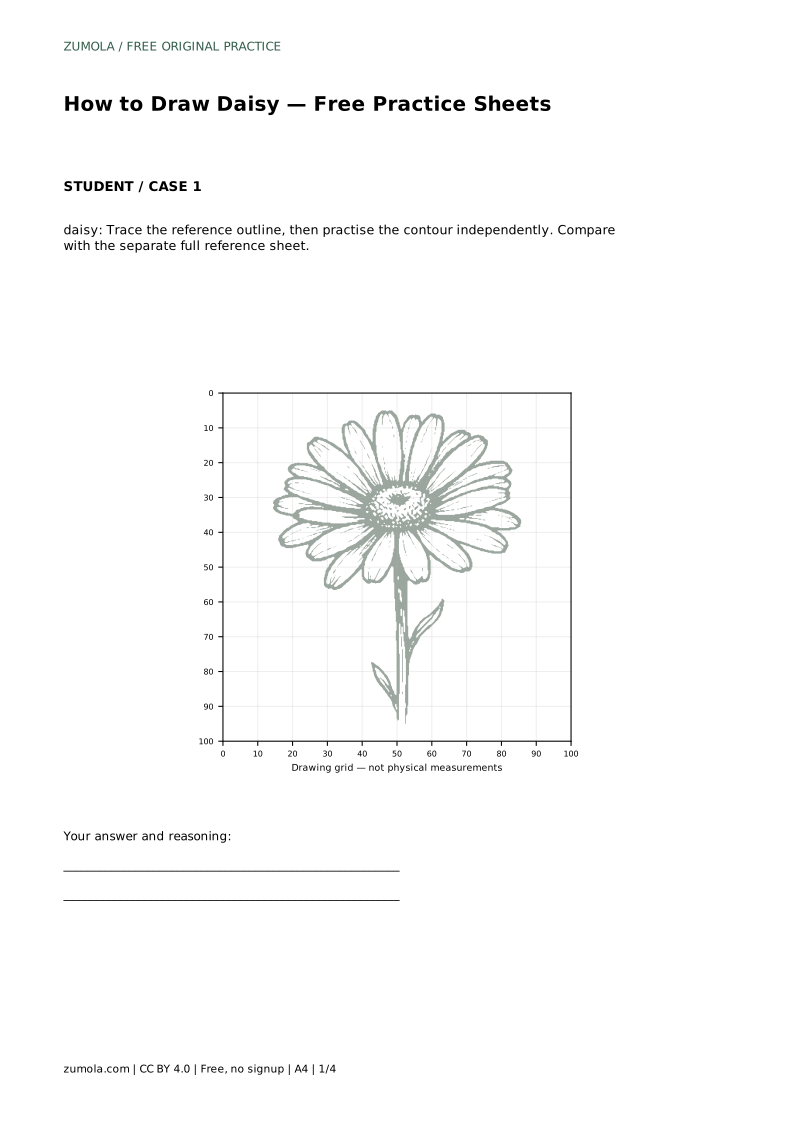
The trace format asks you to follow the reference outline first, then practise the contour independently. Tracing builds familiarity with the shape; the independent attempt shows whether you can reproduce it without guidance.
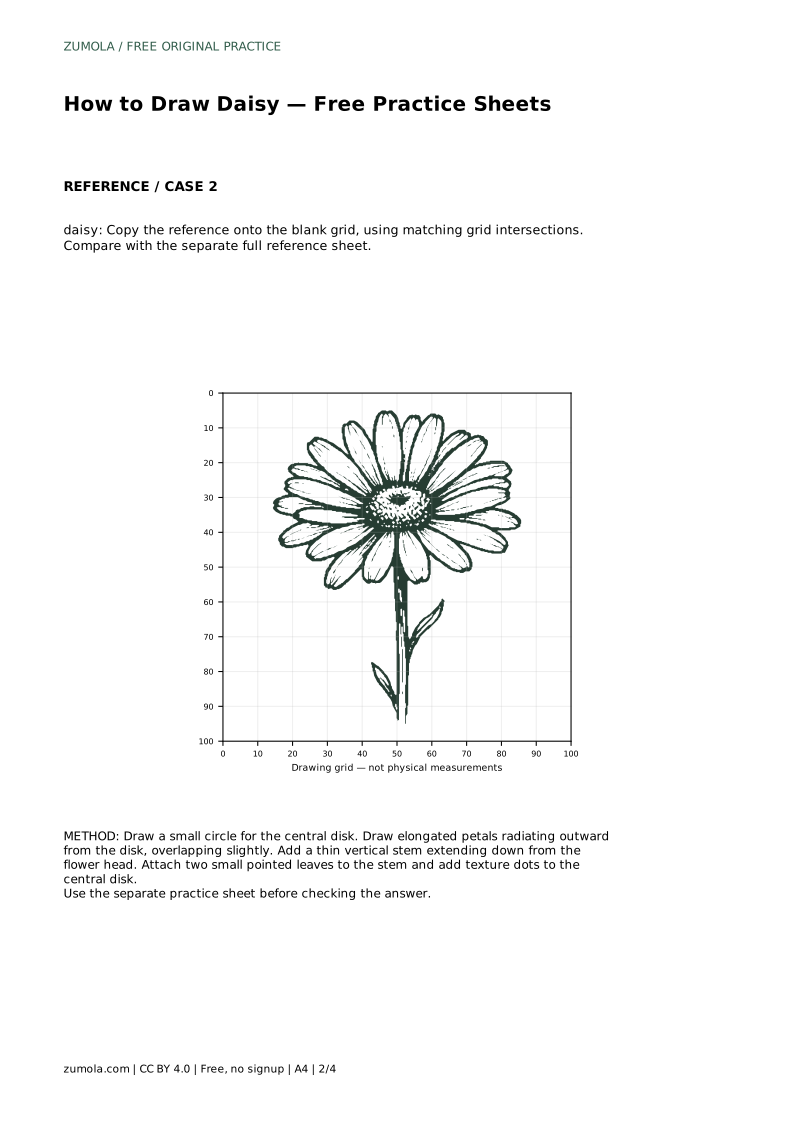
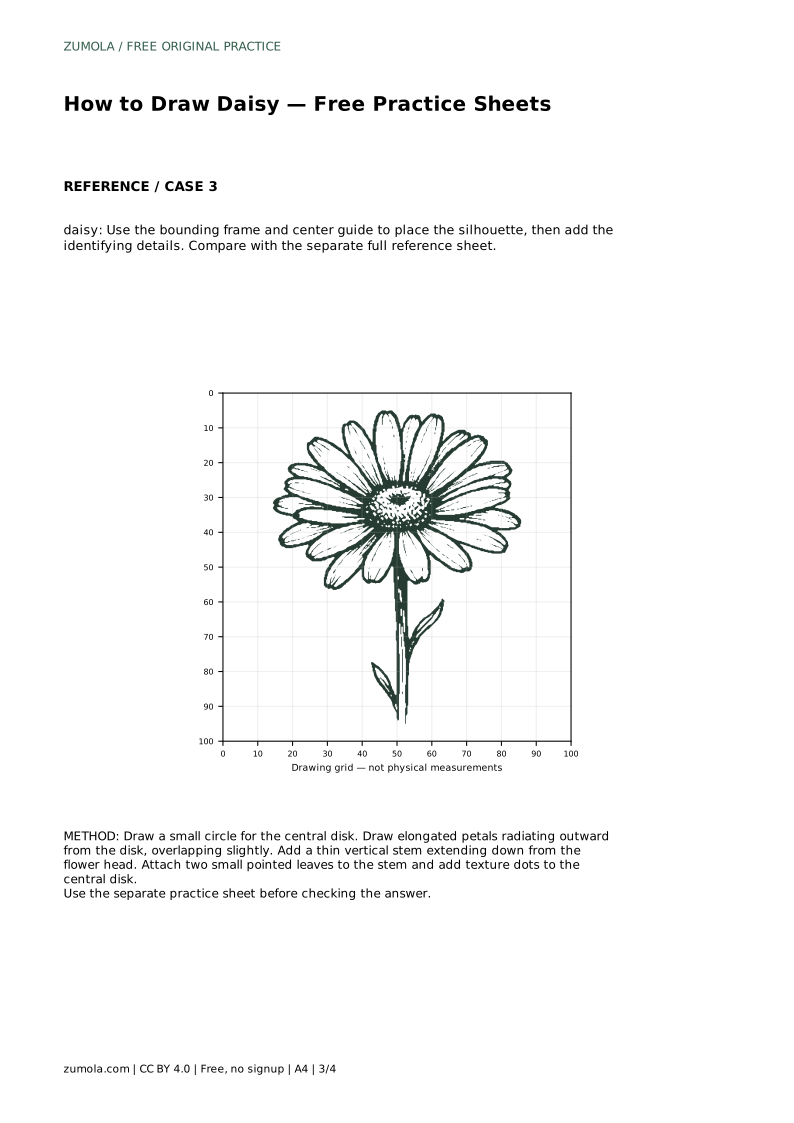
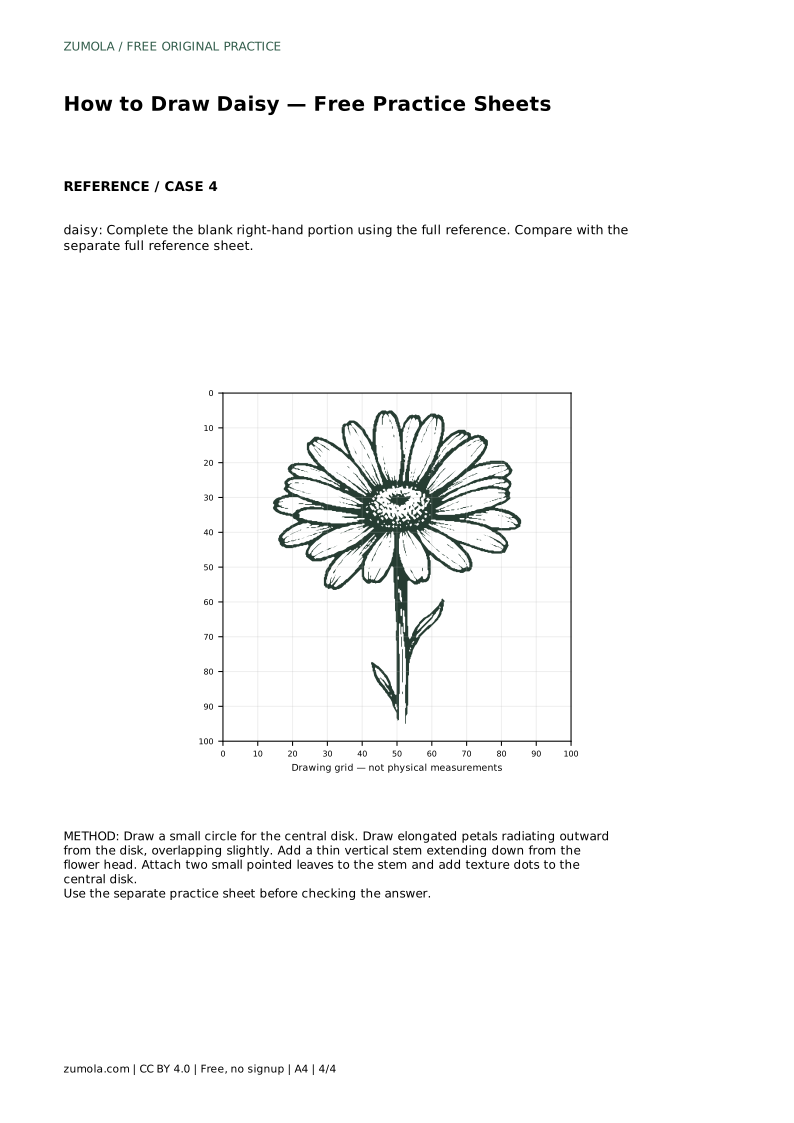
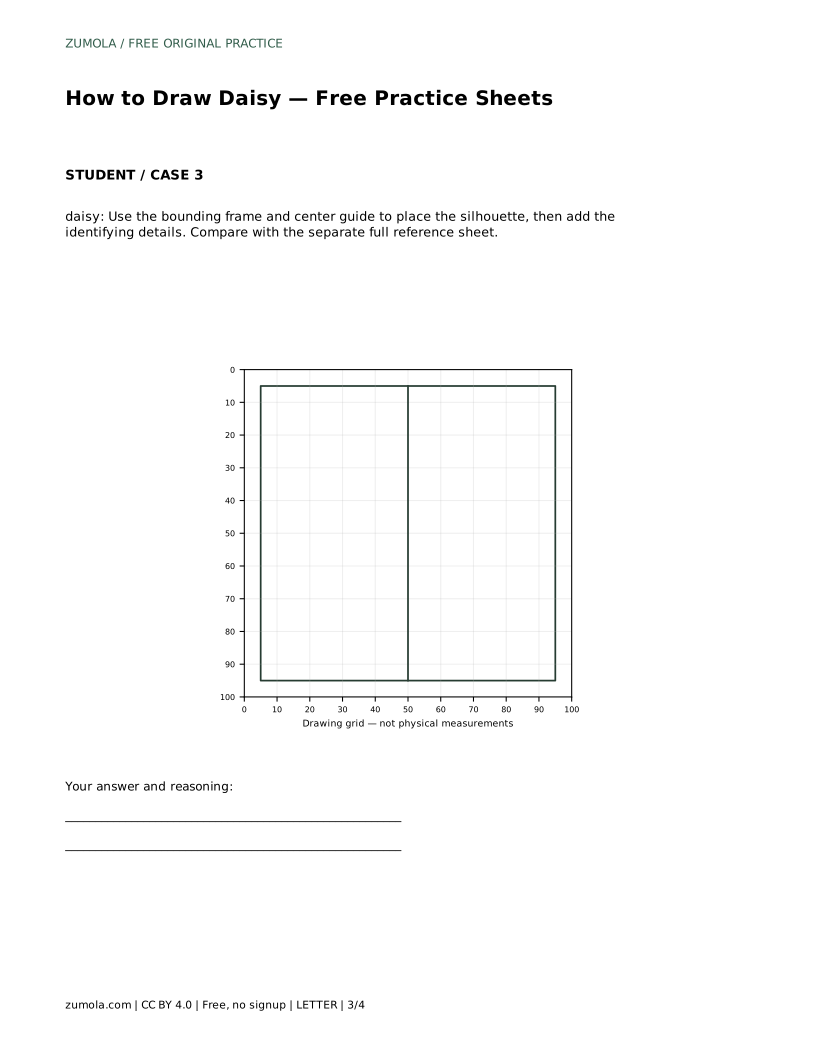
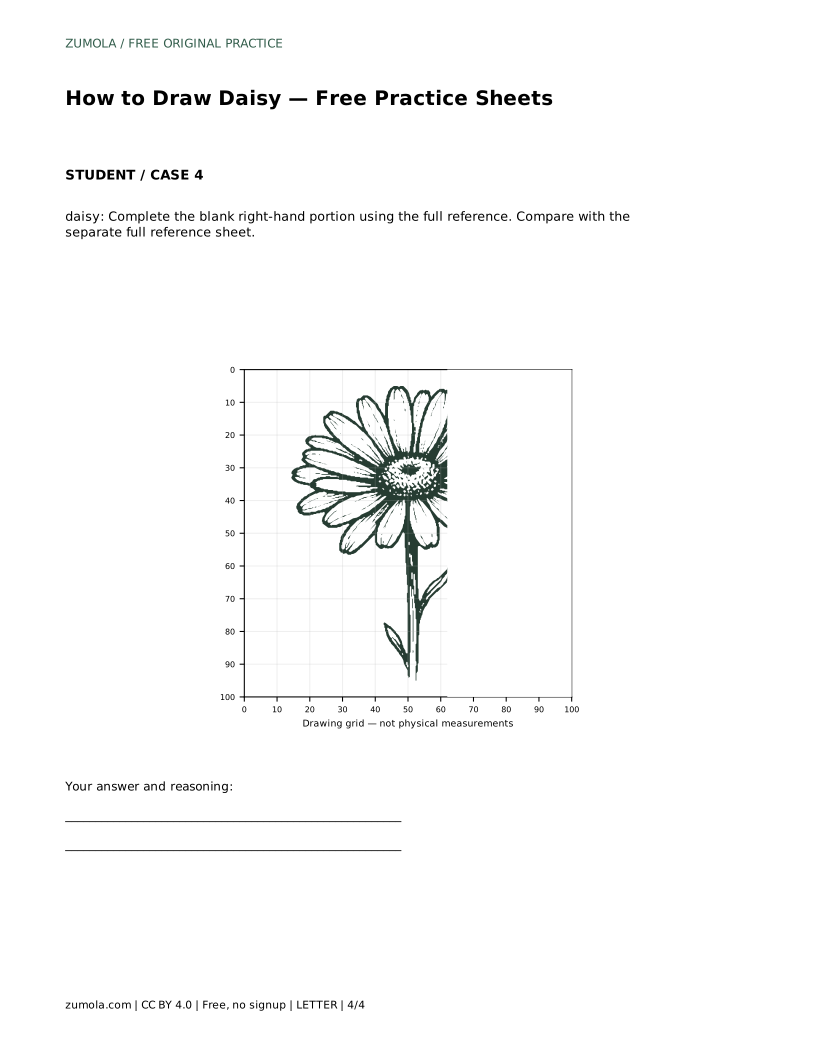
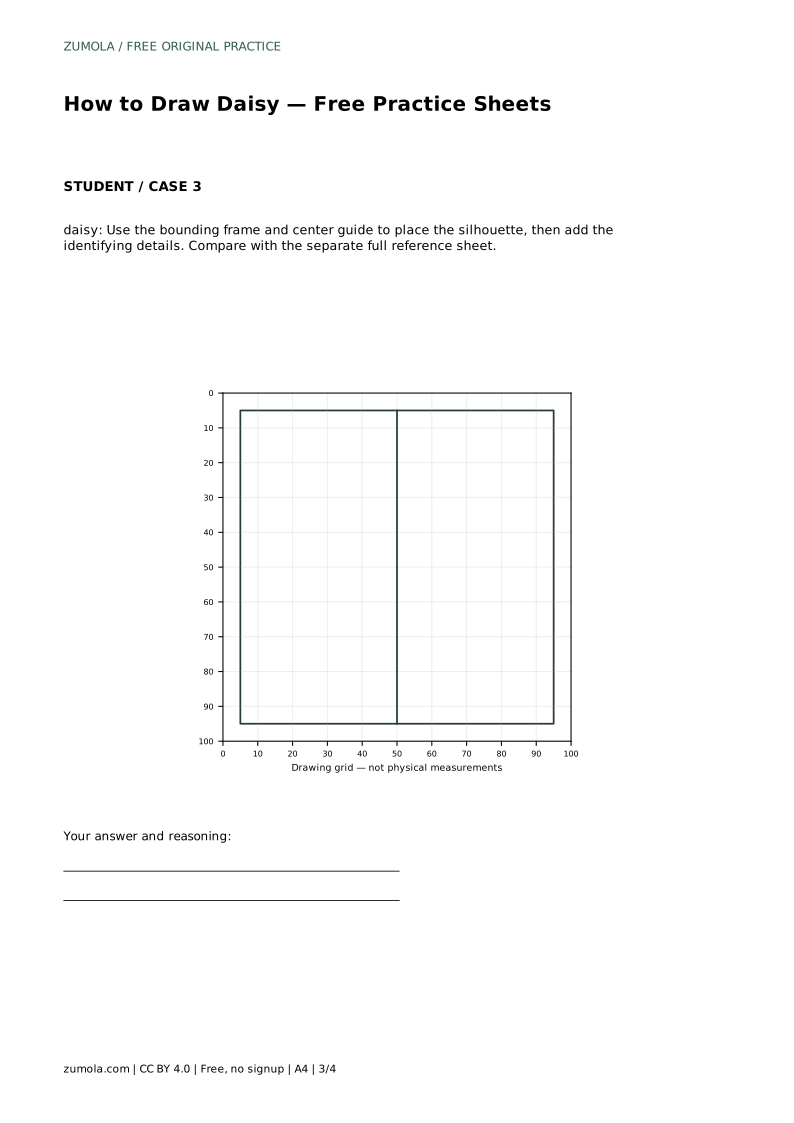
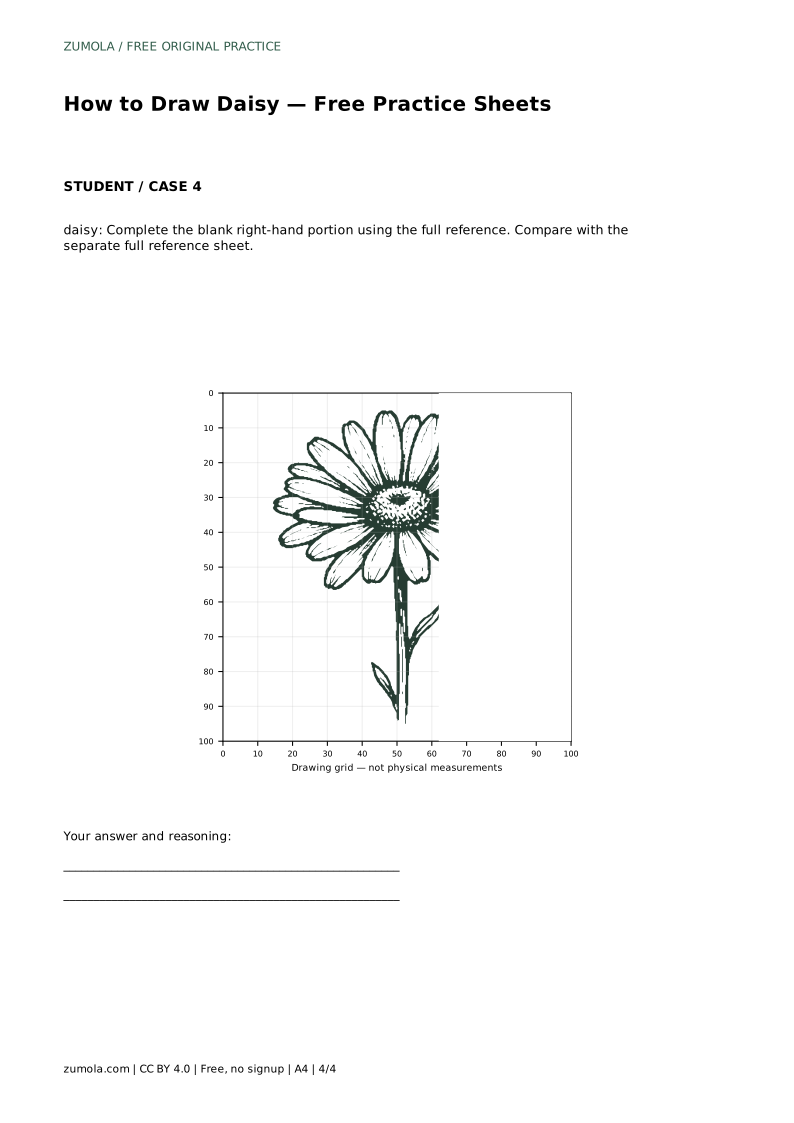
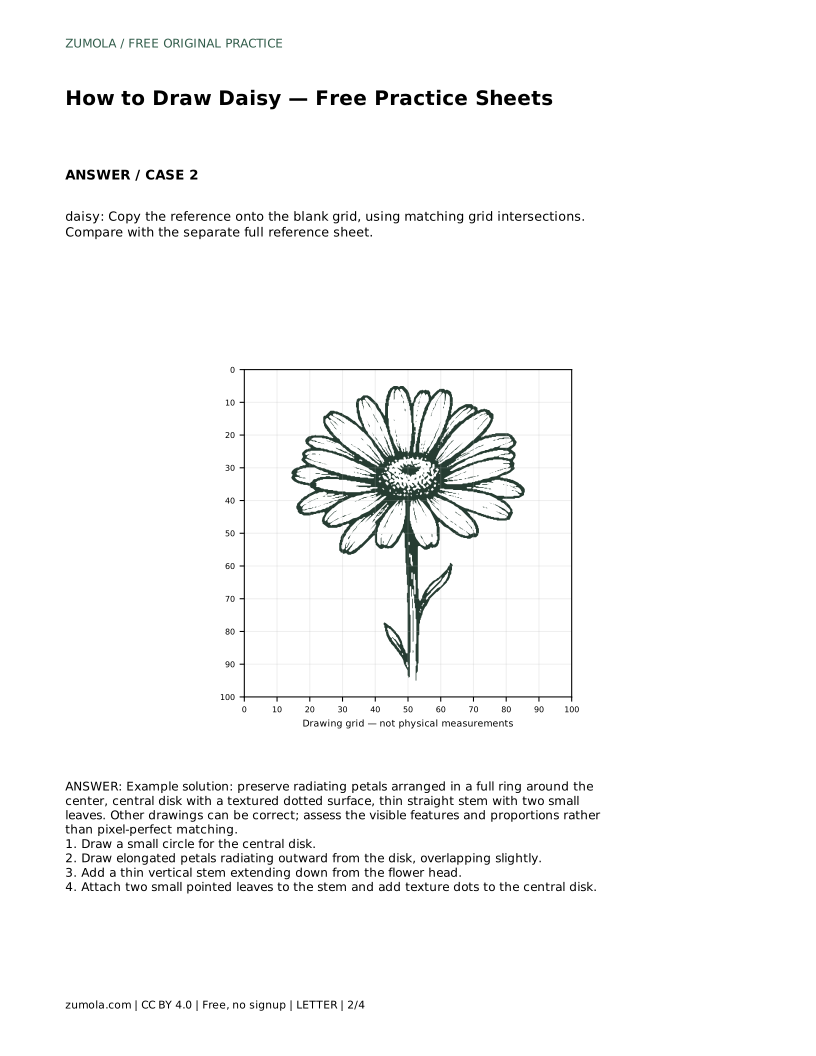
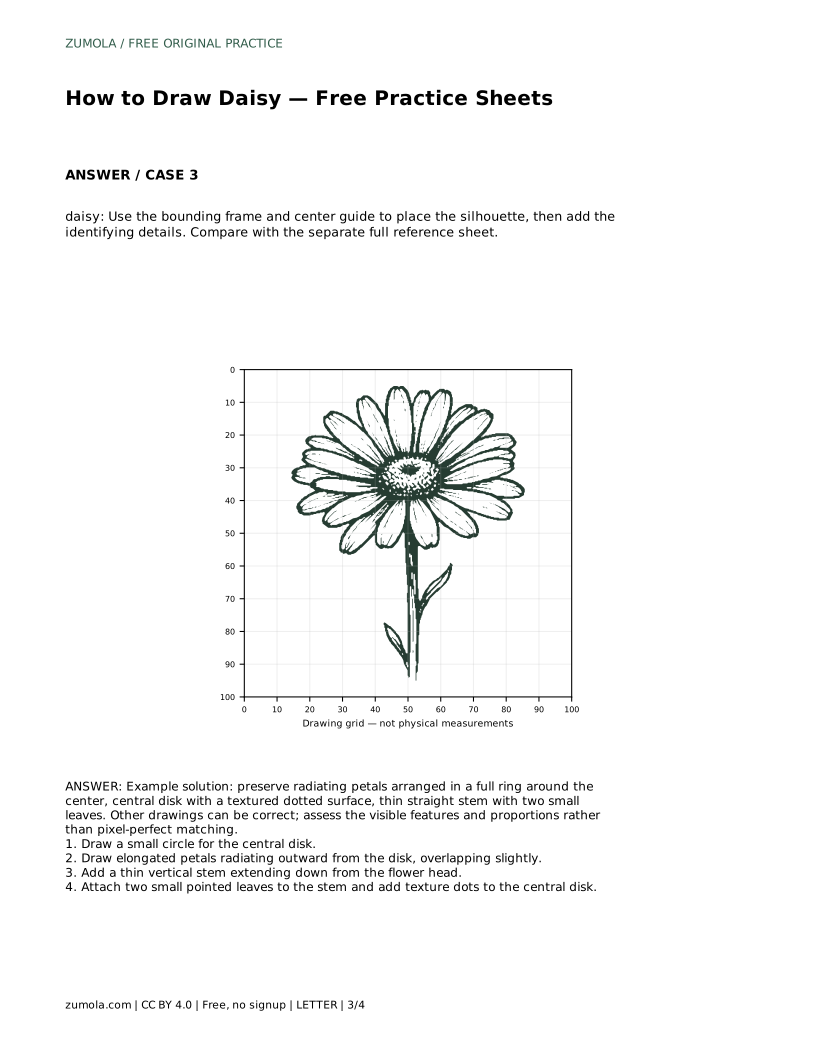
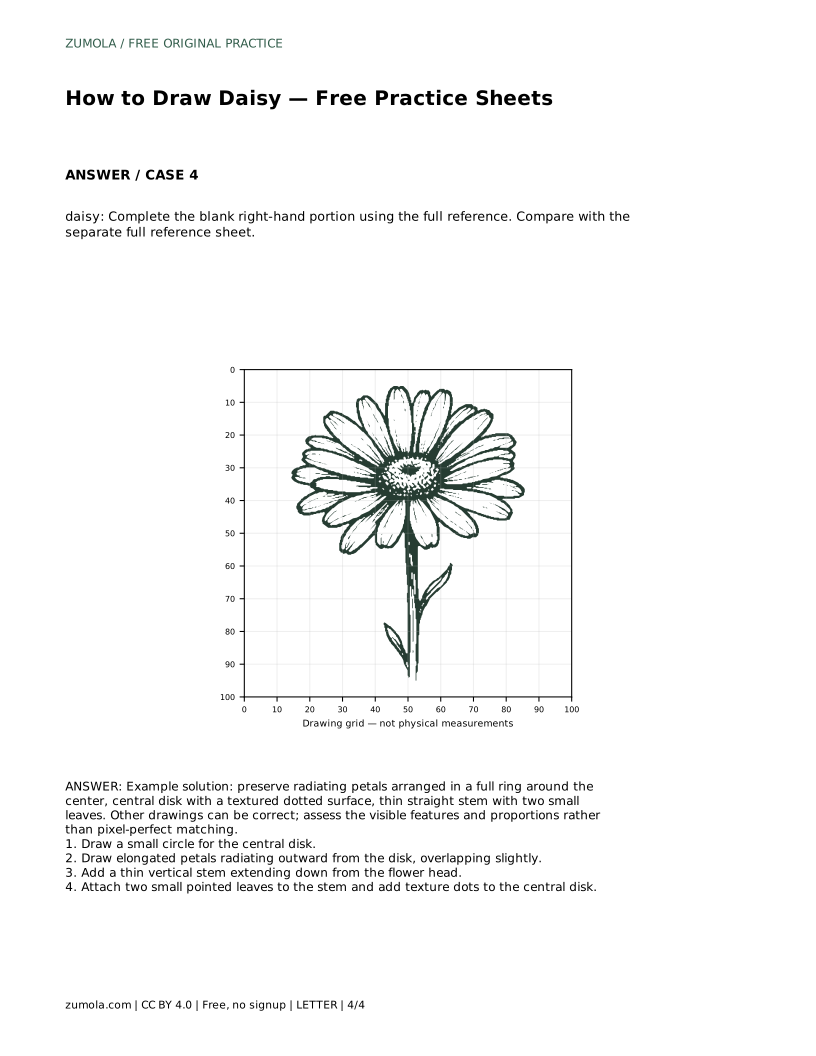
The grid format asks you to copy the reference onto a blank grid using matching intersections. This trains you to judge position and size by comparing where lines cross grid squares. The bounding-frame format asks you to place the silhouette using the frame and center guide before adding details. The partial format gives you the full reference and asks you to complete the blank portion. In every format, compare with the separate full reference sheet and assess features and proportions rather than exact matching.
daisy: Trace the reference outline, then practise the contour independently. Compare with the separate full reference sheet.
Example solution: preserve radiating petals arranged in a full ring around the center, central disk with a textured dotted surface, thin straight stem with two small leaves. Other drawings can be correct; assess the visible features and proportions rather than pixel-perfect matching. Draw a small circle for the central disk. Draw elongated petals radiating outward from the disk, overlapping slightly. Add a thin vertical stem extending down from the flower head. Attach two small pointed leaves to the stem and add texture dots to the central disk.
There is no fixed number. Aim for a full, fairly even ring of elongated petals; the count matters less than consistent length, spacing, and slight overlap at the bases.
No. Multiple drawings can be correct. Judge whether the radiating petal ring, textured central disk, thin stem, and two small leaves are present and proportioned sensibly.
Start with tracing to learn the contour, then move to the grid or bounding-frame version to practise placing the shape without following an outline directly.
All drawing practice · Free coordinate paper
Original resources · CC BY 4.0 · Free for personal and classroom use with attribution.