Reference diagrams
LETTER · Download PDF
A4 · Download PDF
Free original resources
Learn to draw a poinsettia by building a star of pointed bracts around a small center cluster, then adding midribs and branching veins.
Four original cases, with reference diagrams, practice sheets and worked answers. Everything is free; no signup required.
LETTER · Download PDF
A4 · Download PDF
LETTER · Download PDF
A4 · Download PDF
LETTER · Download PDF
A4 · Download PDF
Use A4 or US Letter to match your printer. Use the stated values and conditions to solve each exercise; diagrams are not physical measuring rulers.
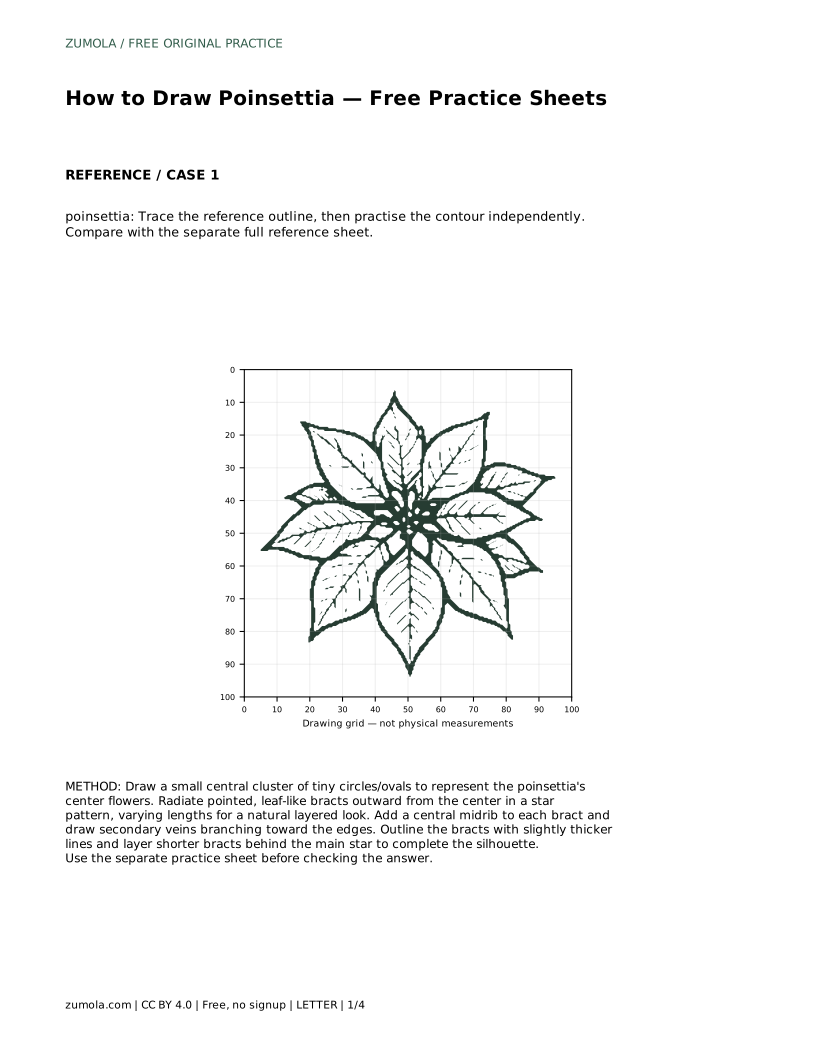
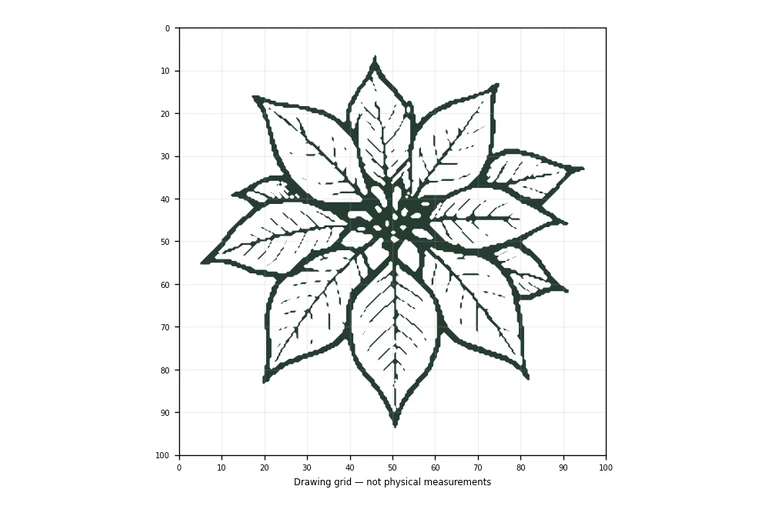
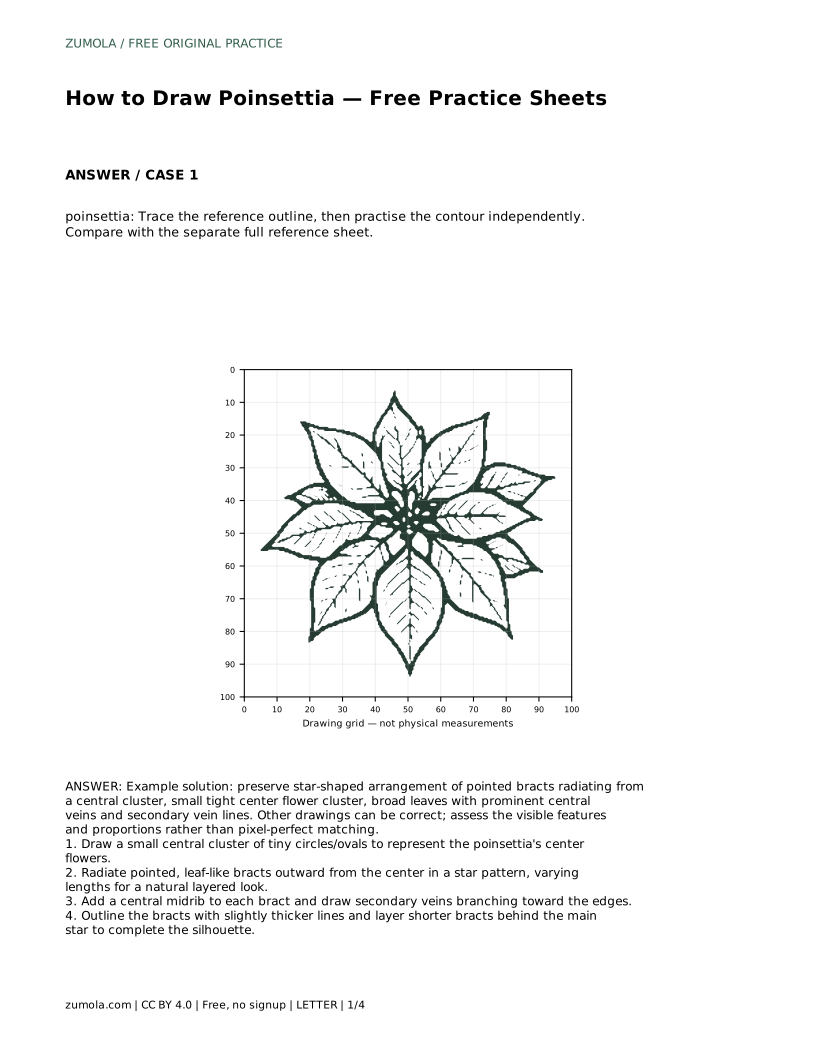
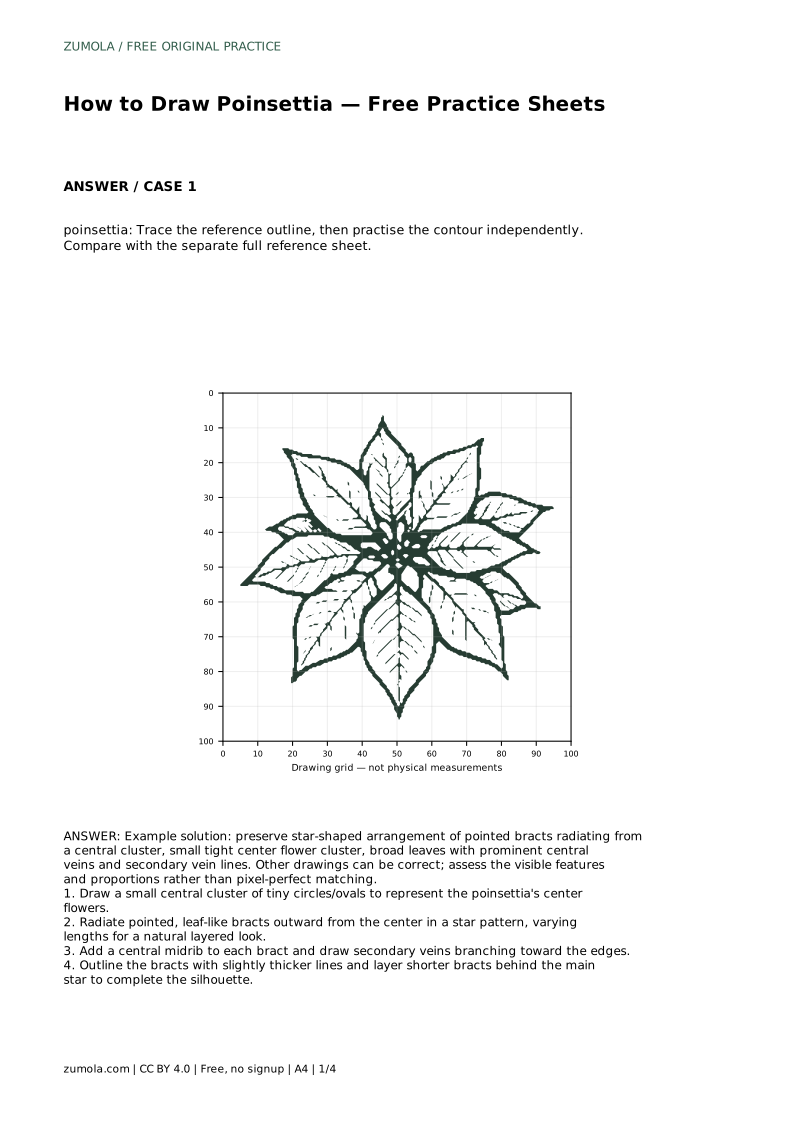
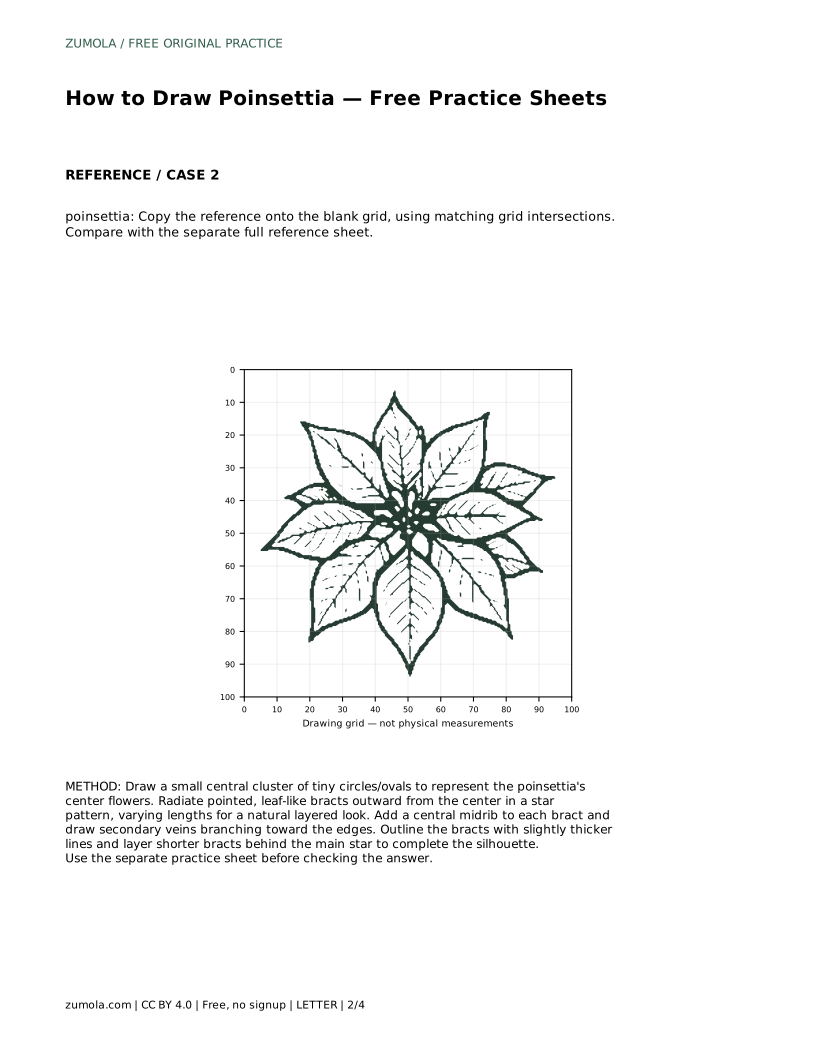
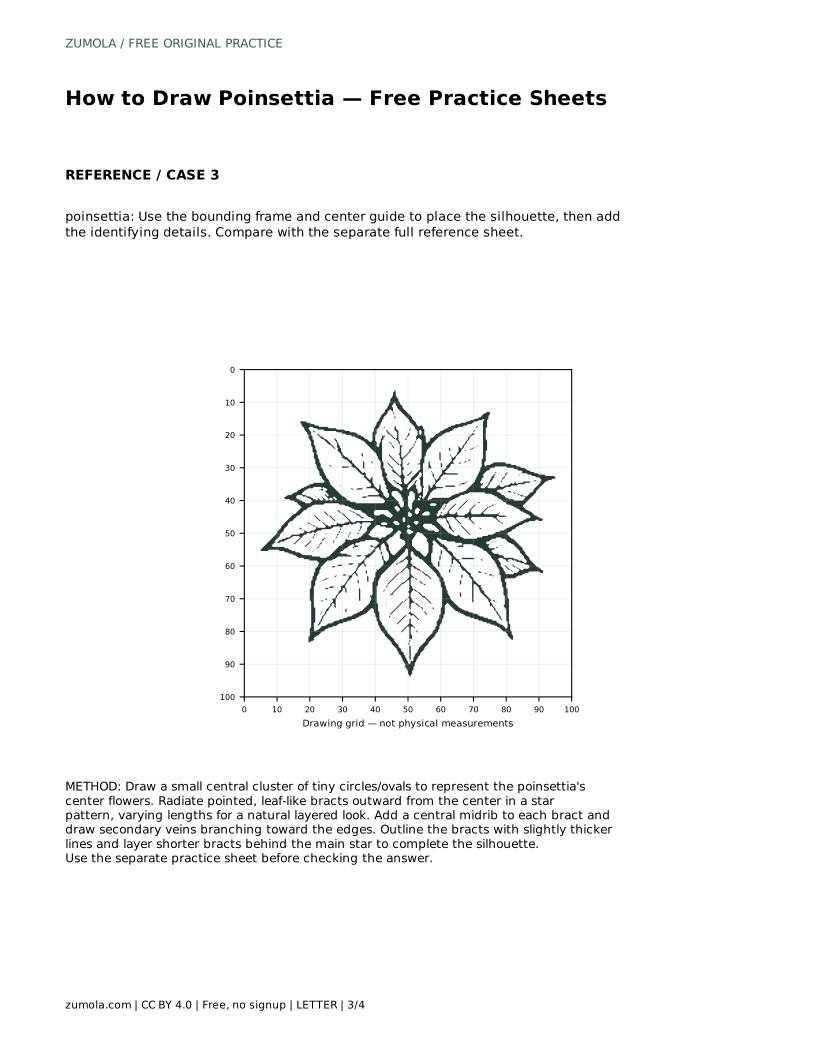
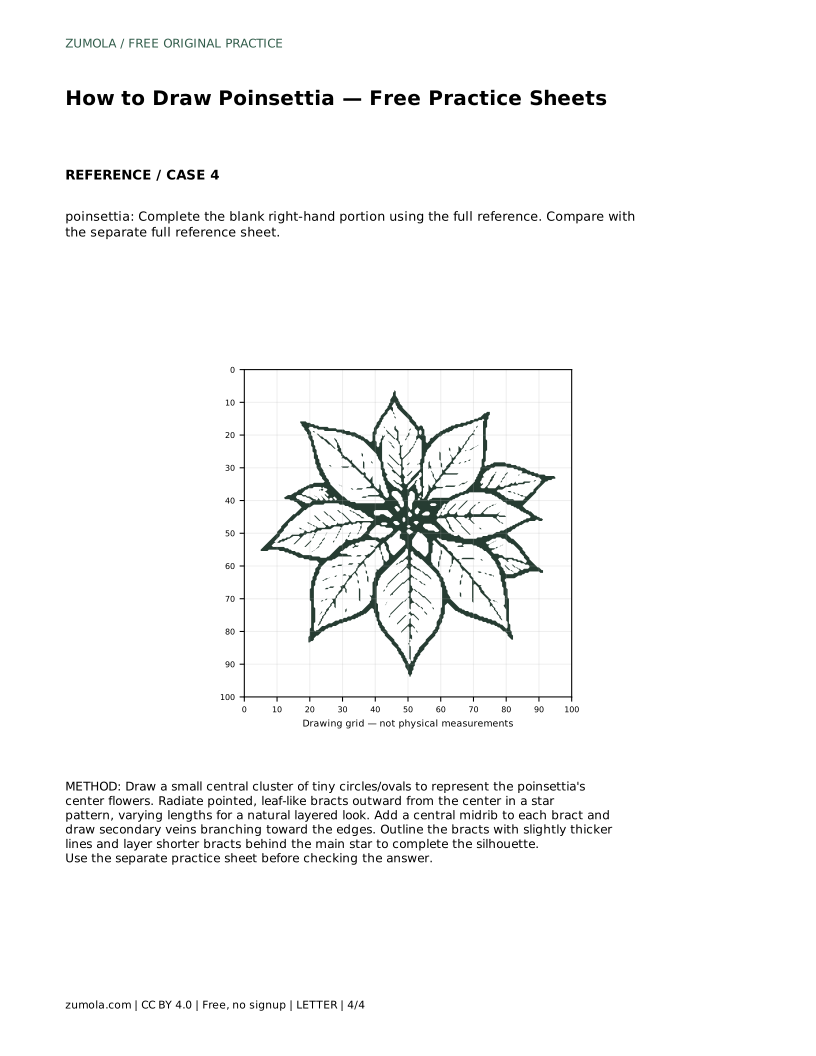
A poinsettia drawing reads clearly when three things are visible: a tight center cluster, pointed bracts radiating in a star arrangement, and veins that follow each bract's shape. This page walks through that construction step by step, then explains how to check your work against a reference sheet. Because drawings can be correct in many ways, judge the visible features and proportions rather than expecting a pixel-perfect match.
Begin with the smallest part. Draw a compact cluster of tiny circles or ovals at the middle of your page; this stands for the poinsettia's center flowers. Keep the cluster small, because the bracts should dominate the silhouette.
From that center, radiate pointed, leaf-like bracts outward in a star pattern. Treat each bract as a long shape that narrows to a point, and vary the lengths so the star looks layered rather than mechanical. A natural poinsettia does not have perfectly equal spokes, so slight differences in length and angle are useful, not errors.
Each bract needs a central midrib running from near the center cluster toward its tip. Draw that line first, then add secondary veins that branch outward toward the edges. The secondary lines should angle away from the midrib and shorten as they approach the tip, so the vein pattern echoes the pointed shape.
Keep vein lines inside the bract outline. If a vein crosses the edge, the bract will look torn or incorrectly shaped. Light, consistent pressure helps here: veins are supporting detail, not the heaviest lines on the page.
Once the main star is in place, add shorter bracts behind it. These back layers fill gaps in the silhouette and make the flower look fuller without crowding the center. Outline the bracts with slightly thicker lines after the veins are drawn, so the outer shape stays readable.
Compare your drawing with a separate full reference sheet. Check the star arrangement, the size of the center cluster relative to the bracts, and whether the veins follow each bract's direction. Proportions matter more than matching every curve exactly.
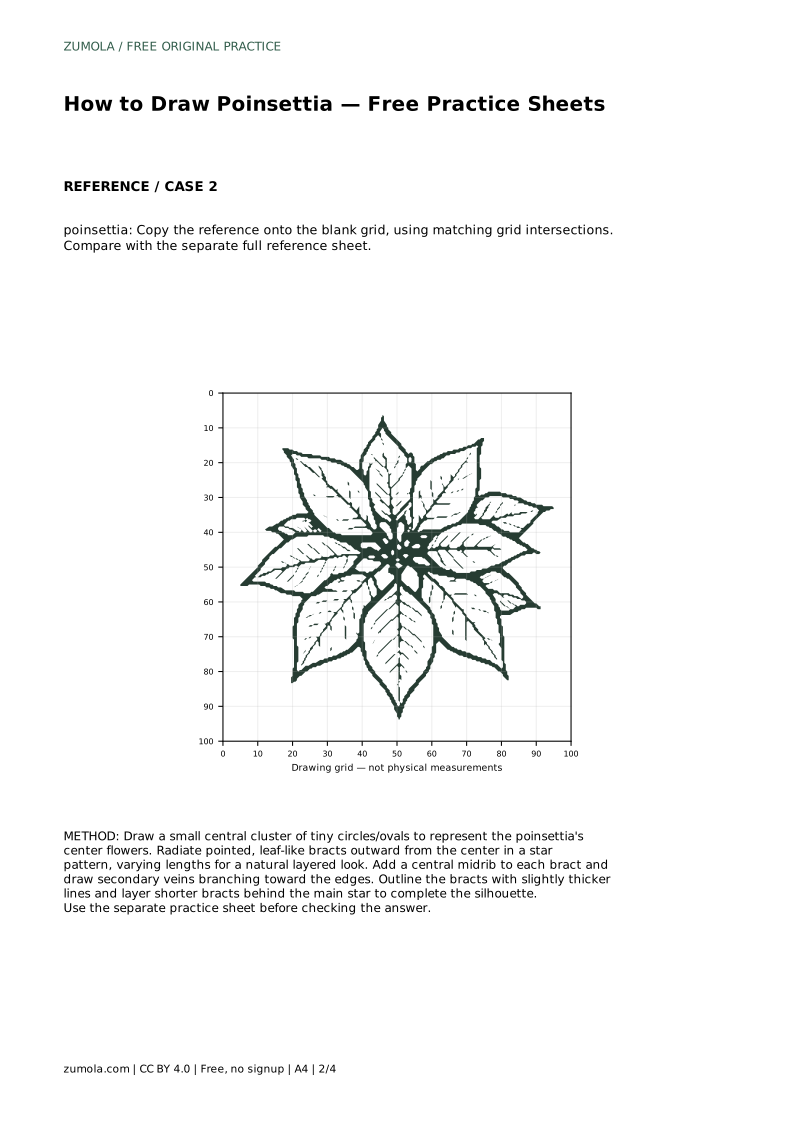
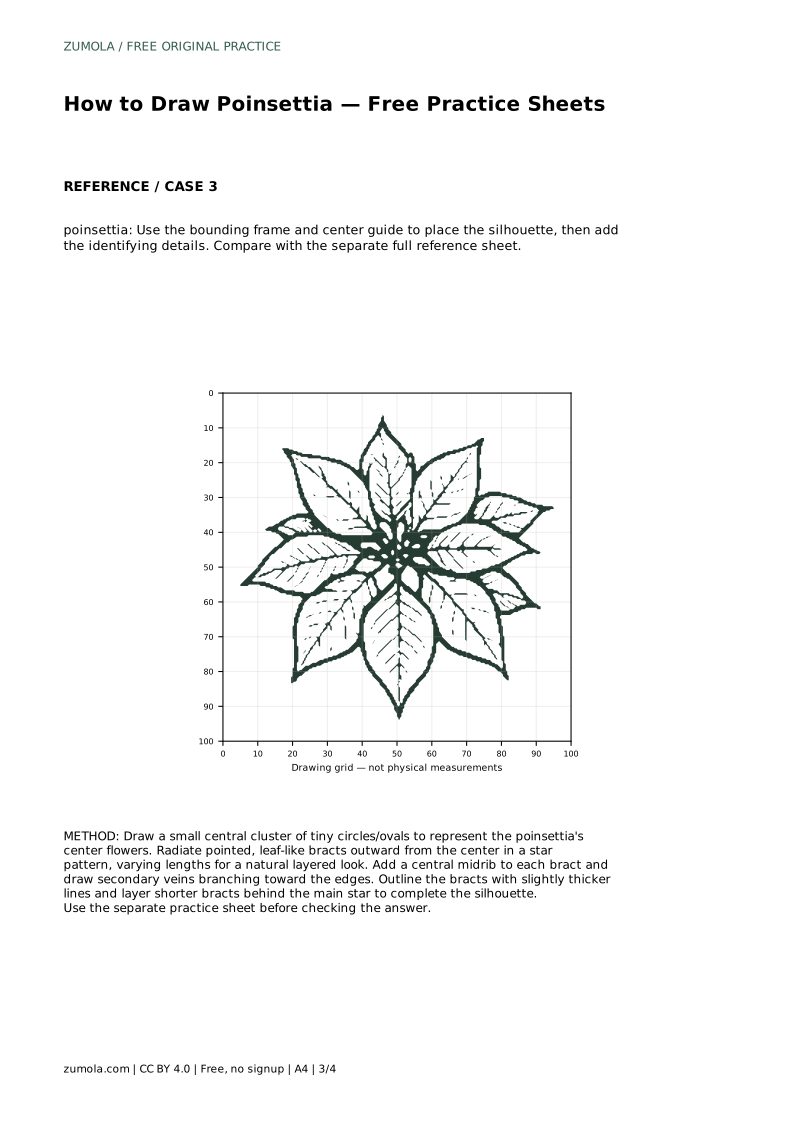
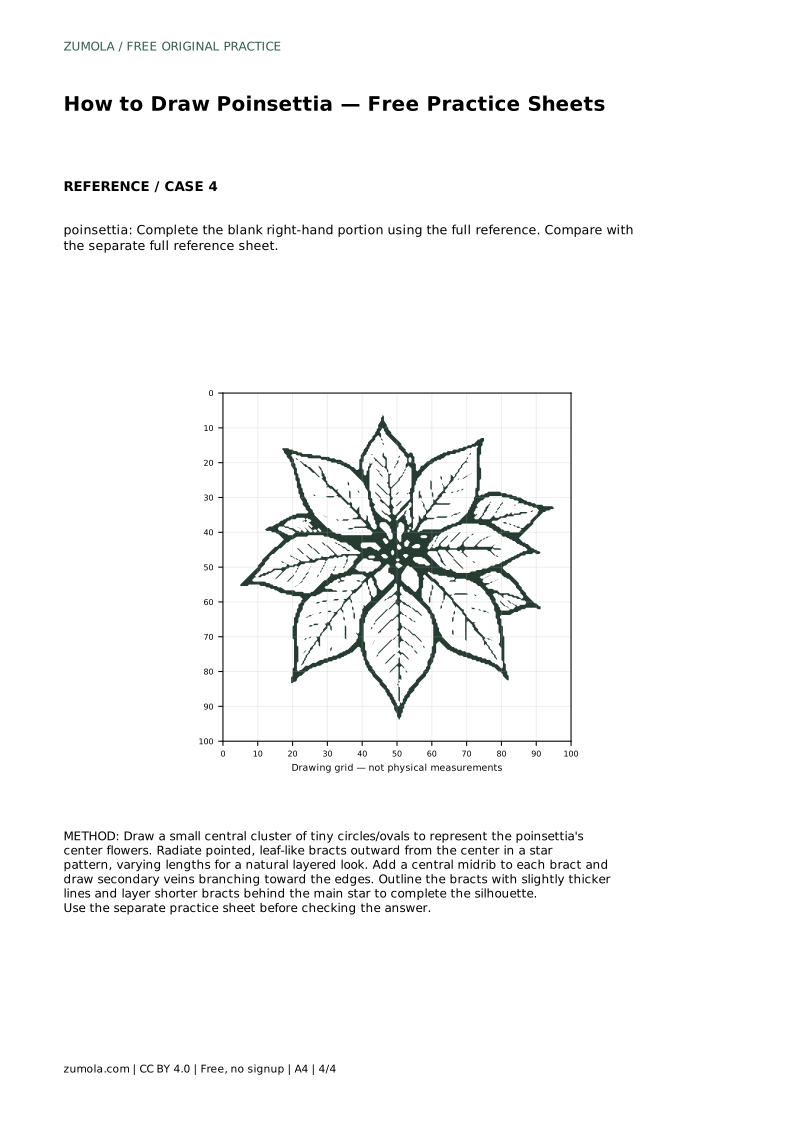
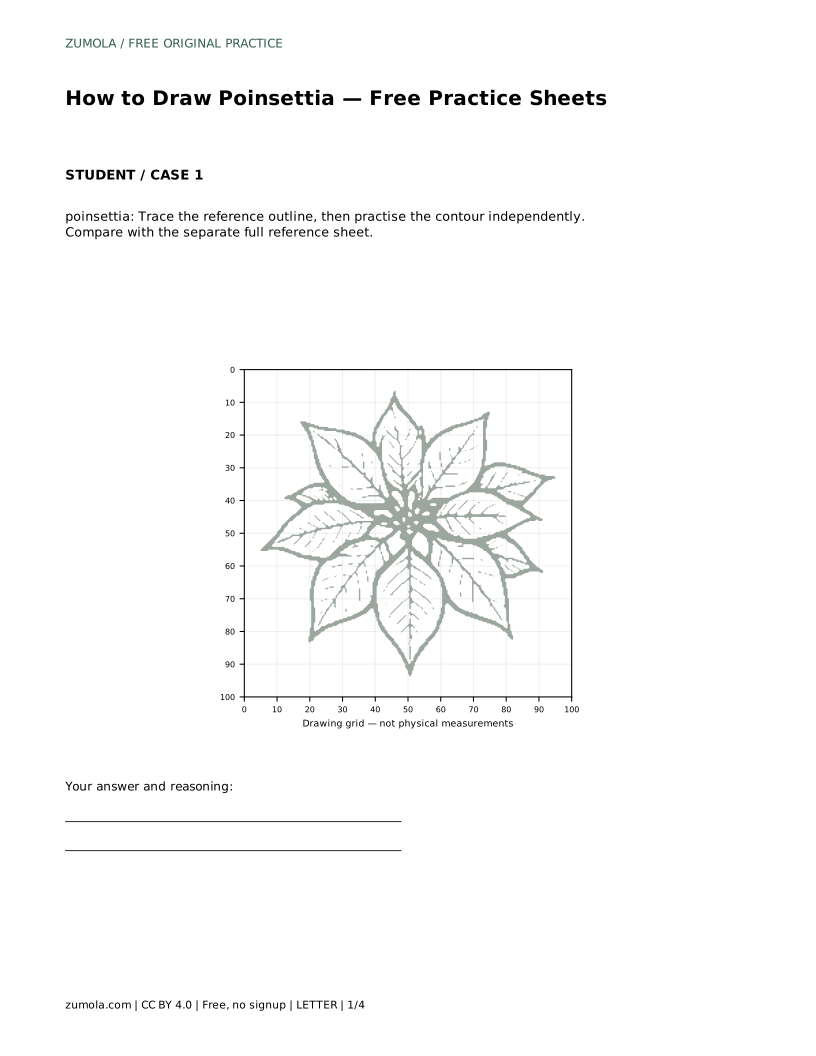
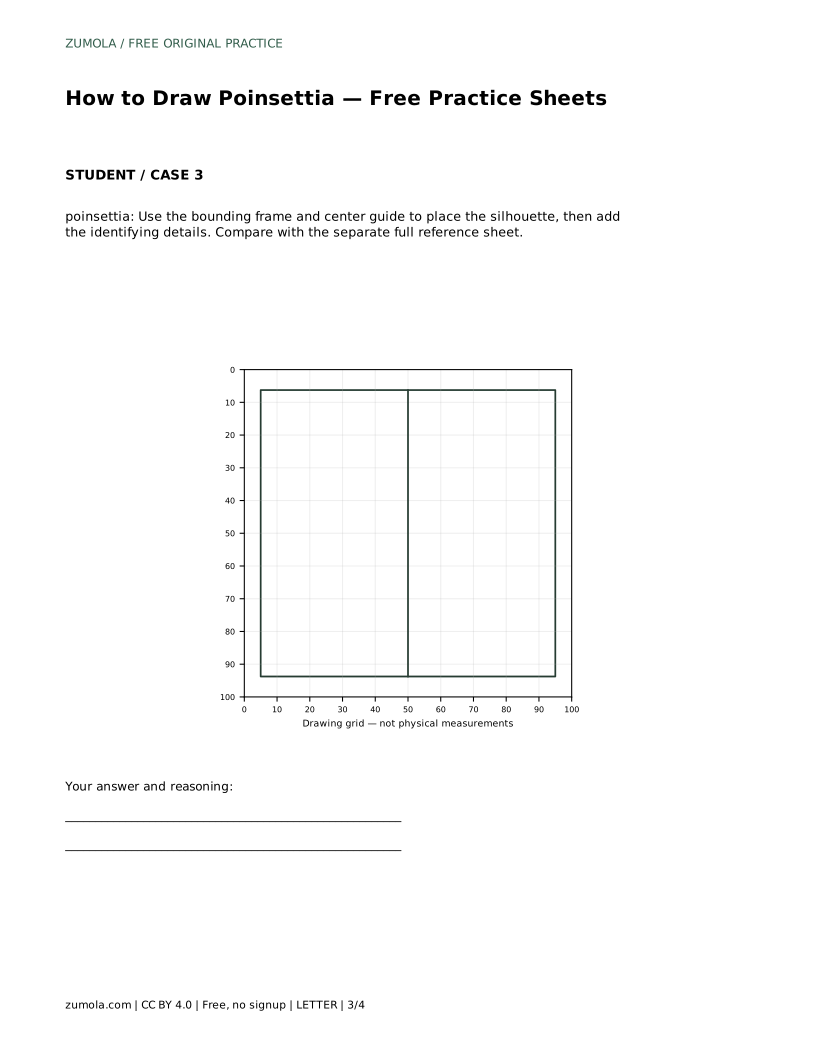
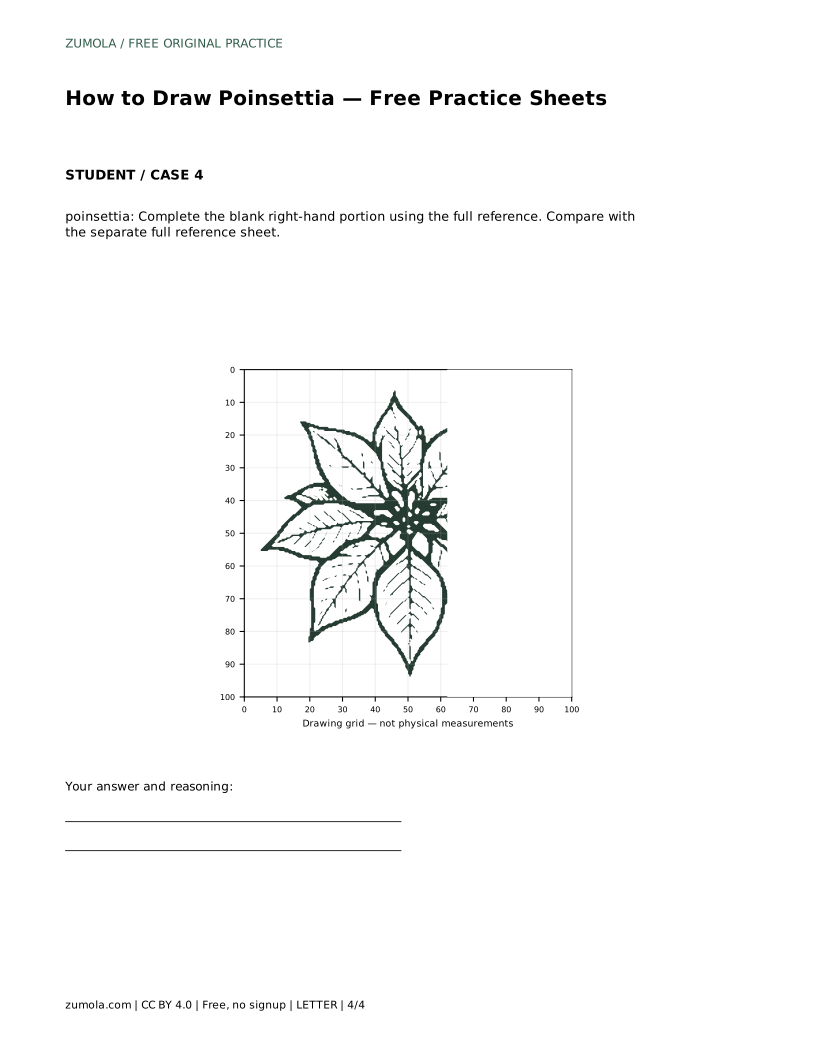
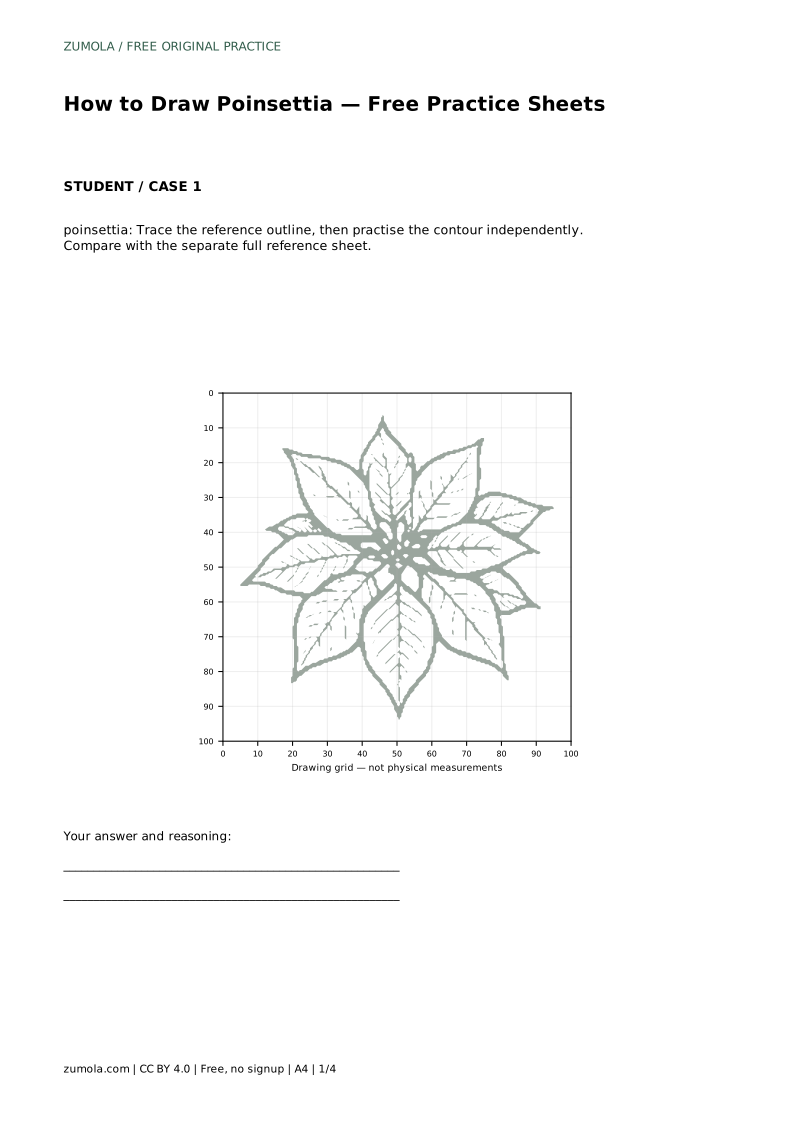
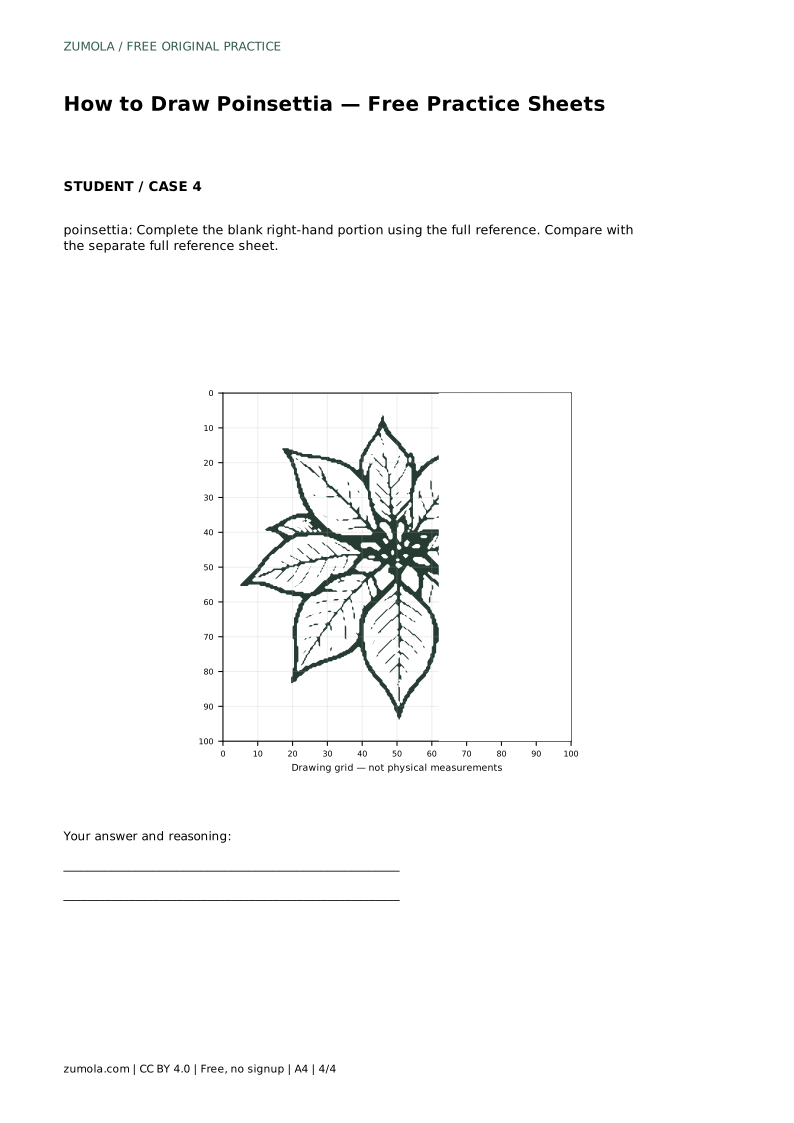
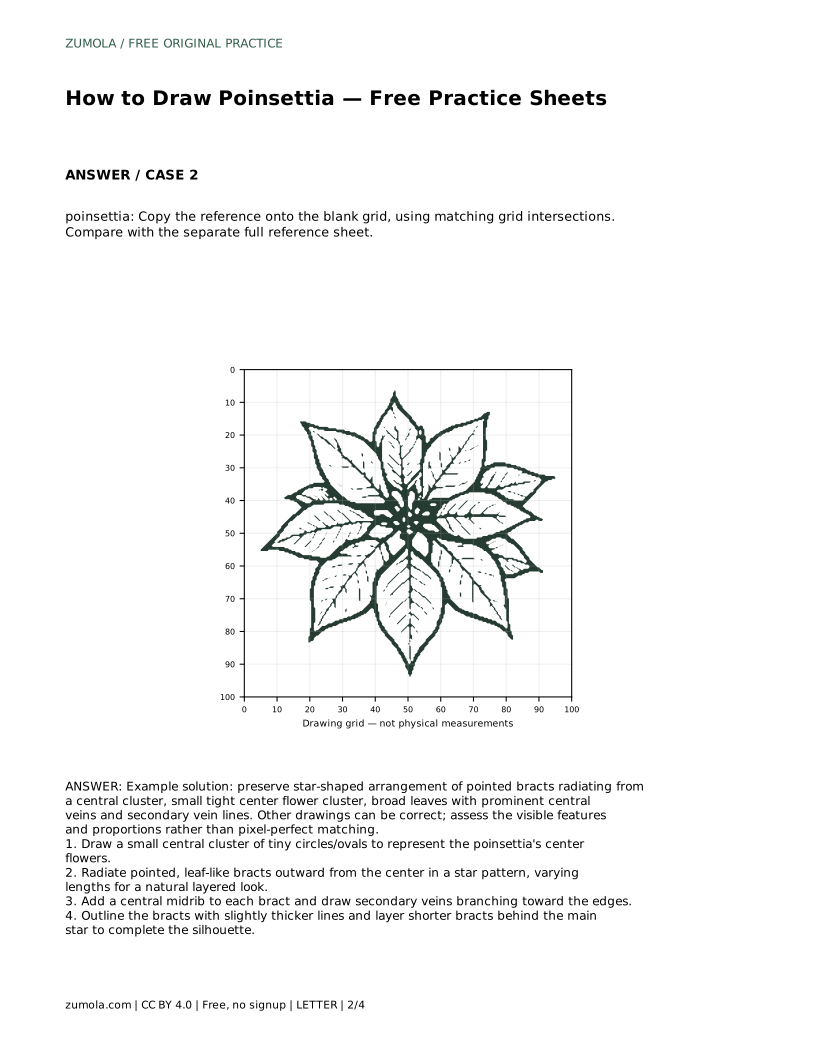
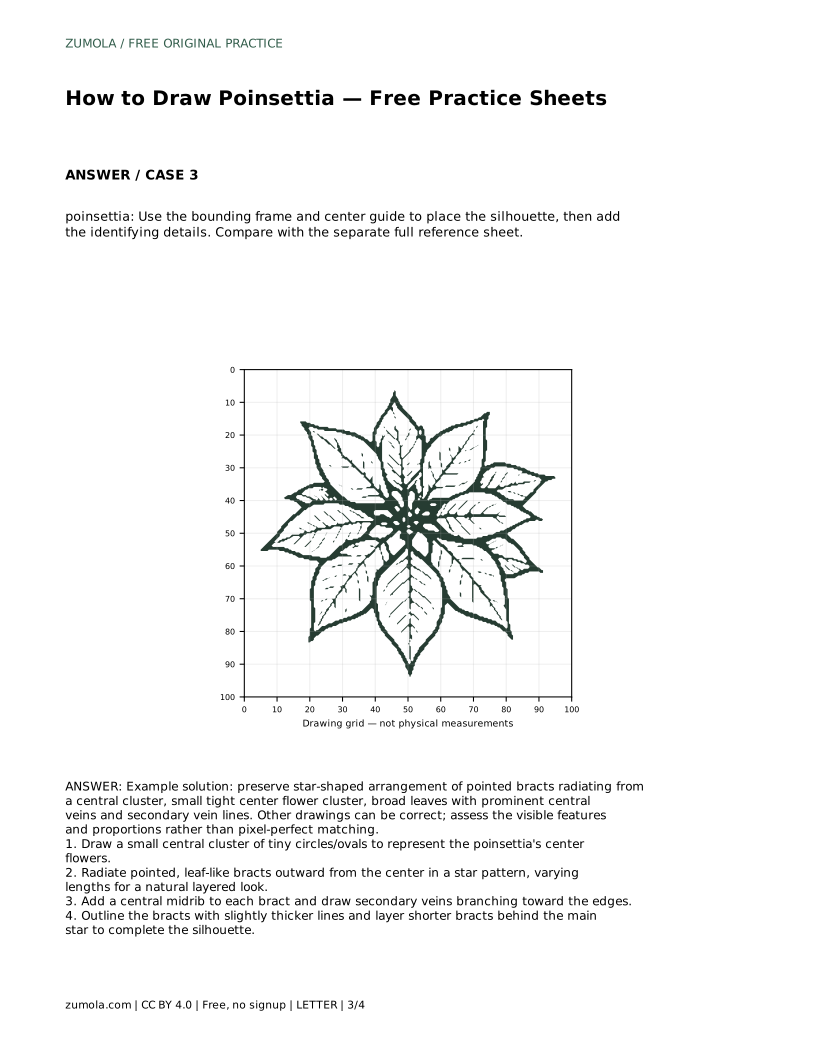
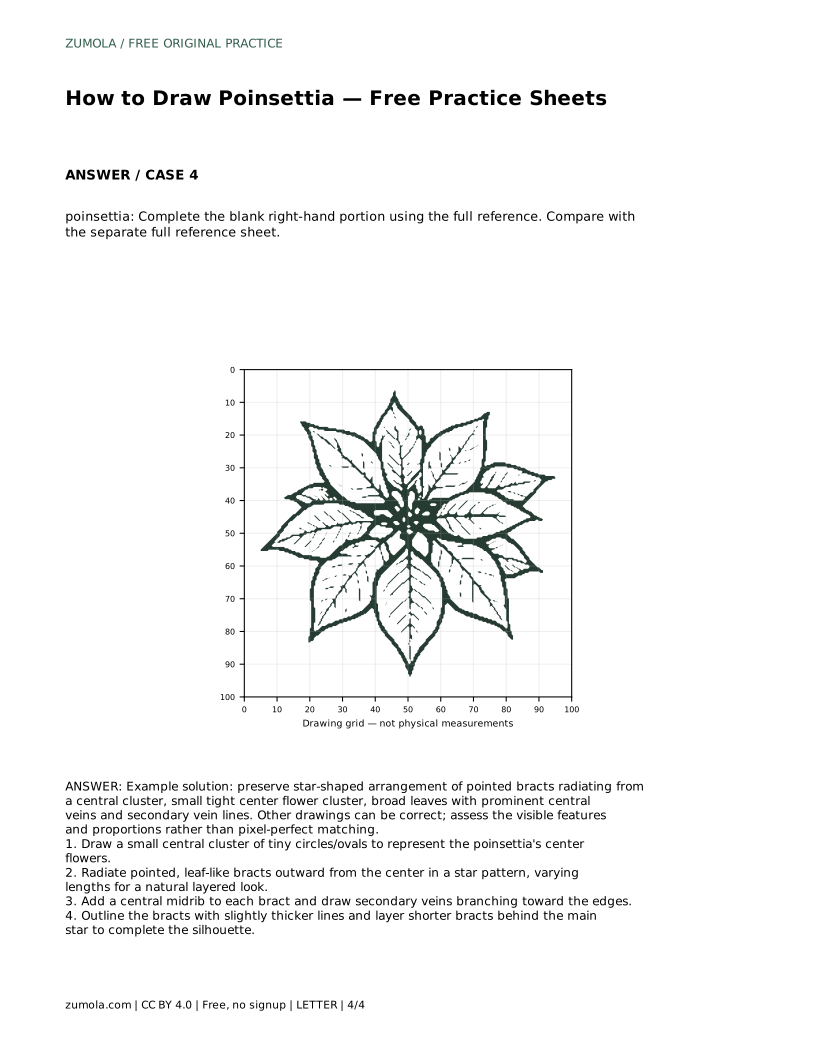
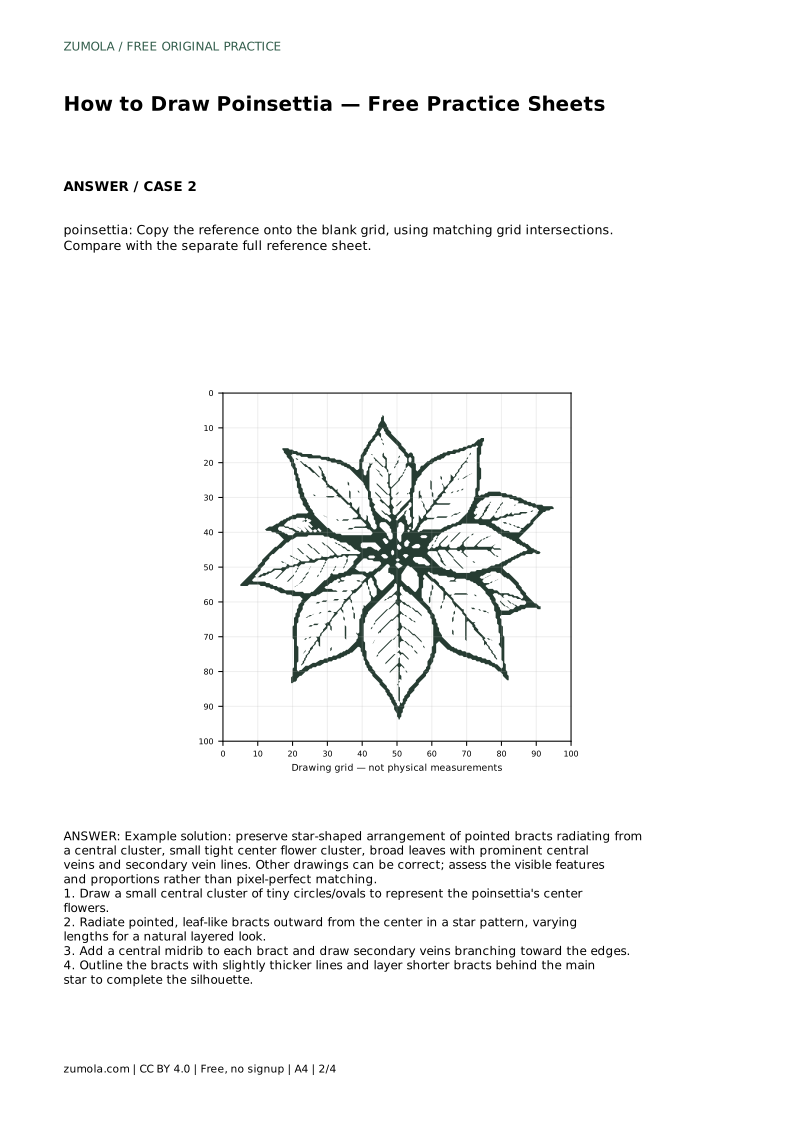
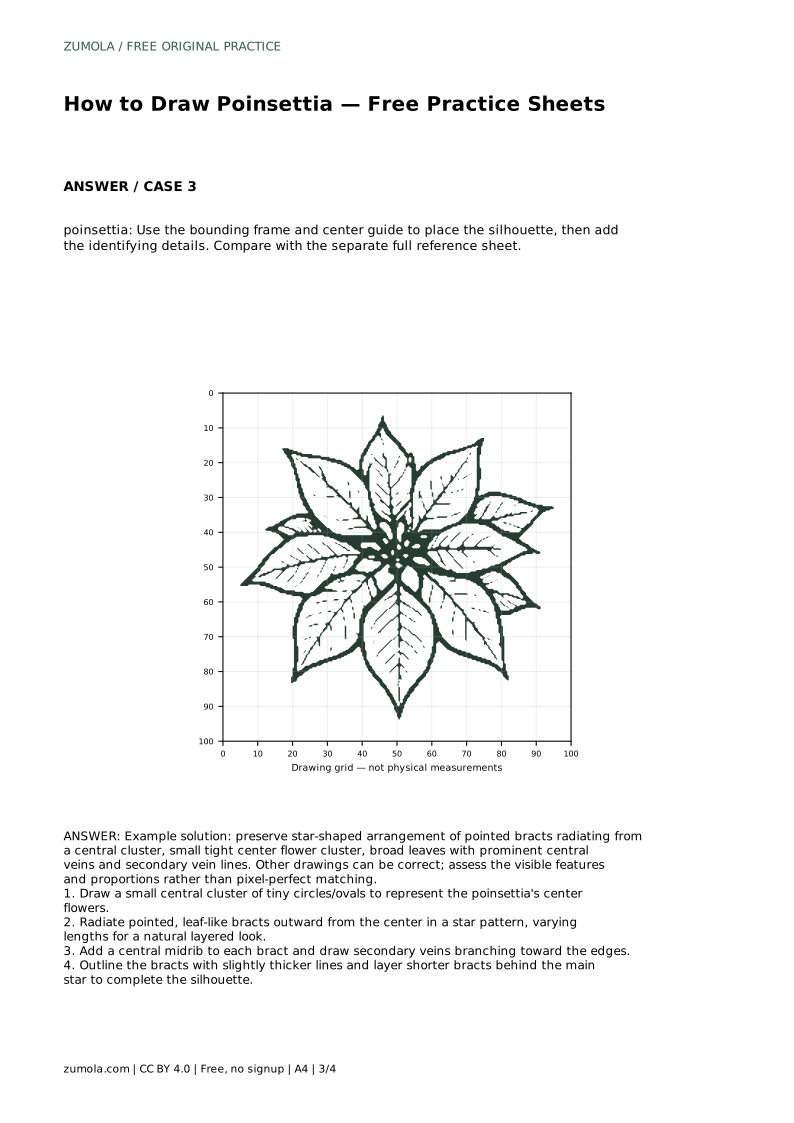
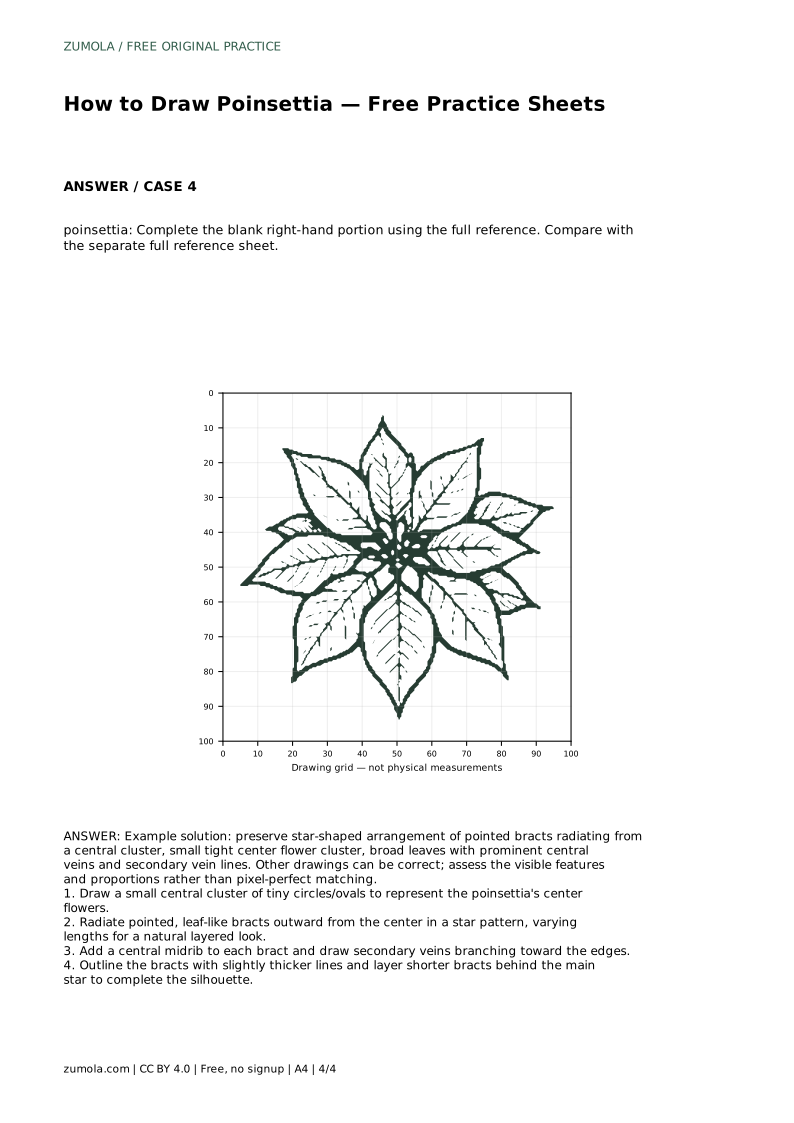
Tracing the reference outline first, then drawing the contour independently, helps you separate shape memory from copying. A blank grid version asks you to match grid intersections, which supports proportion checking. A bounding frame with a center guide helps you place the silhouette before adding details. A partial sheet with a blank right-hand portion lets you complete the missing side from the full reference.
Each format targets a different part of the same skill. Use the one that matches what you want to practise, and keep the full reference sheet separate so you can compare after drawing rather than during every stroke.
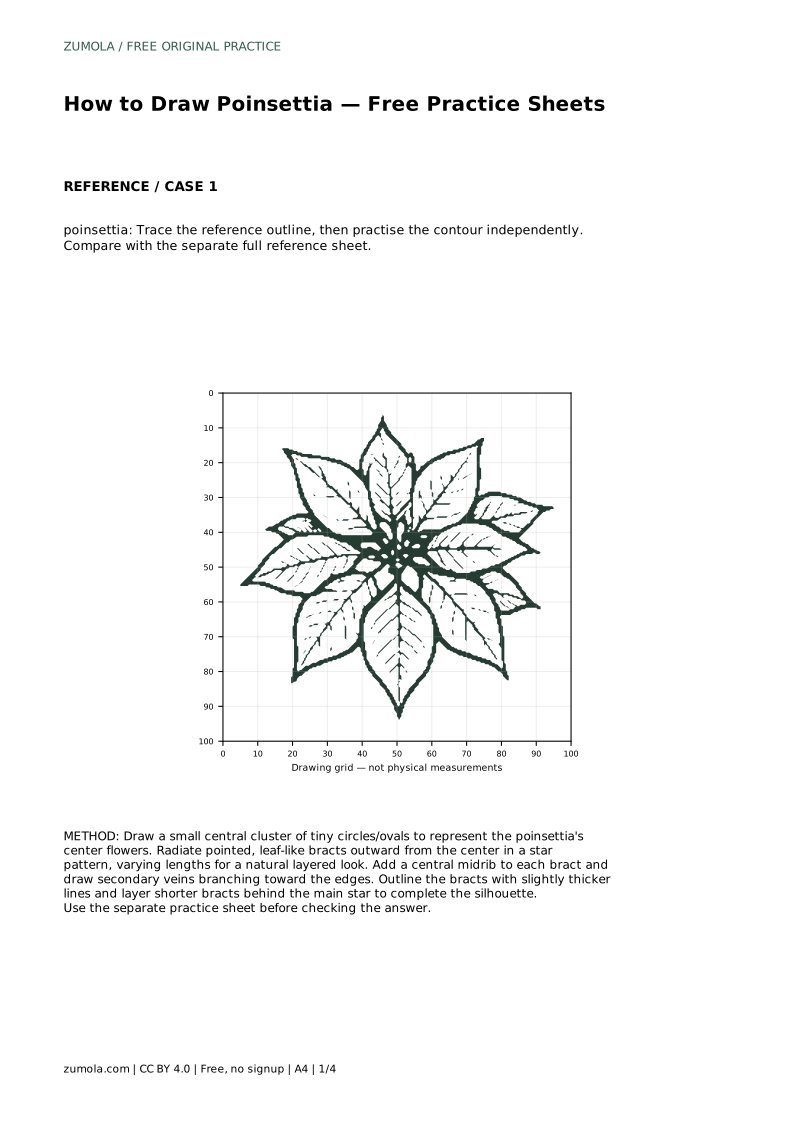
poinsettia: Trace the reference outline, then practise the contour independently. Compare with the separate full reference sheet.
Example solution: preserve star-shaped arrangement of pointed bracts radiating from a central cluster, small tight center flower cluster, broad leaves with prominent central veins and secondary vein lines. Other drawings can be correct; assess the visible features and proportions rather than pixel-perfect matching. Draw a small central cluster of tiny circles/ovals to represent the poinsettia's center flowers. Radiate pointed, leaf-like bracts outward from the center in a star pattern, varying lengths for a natural layered look. Add a central midrib to each bract and draw secondary veins branching toward the edges. Outline the bracts with slightly thicker lines and layer shorter bracts behind the main star to complete the silhouette.
Yes. Starting with the small center gives every bract a consistent point to radiate from.
Check for a star-shaped bract arrangement, a small tight center cluster, and midribs with secondary veins inside each bract. Many drawings can meet these criteria.
Afterward is usually better for practice sheets, so you build the contour from memory before checking proportions.
All drawing practice · Free coordinate paper
Original resources · CC BY 4.0 · Free for personal and classroom use with attribution.