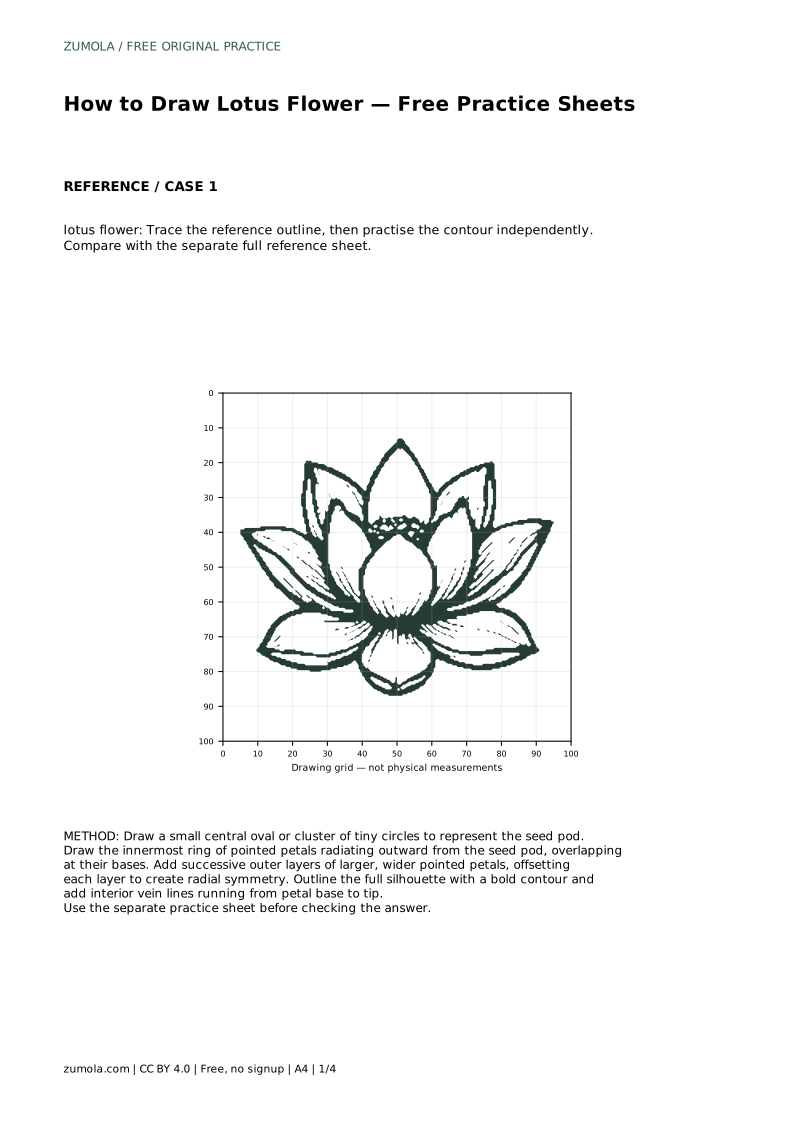
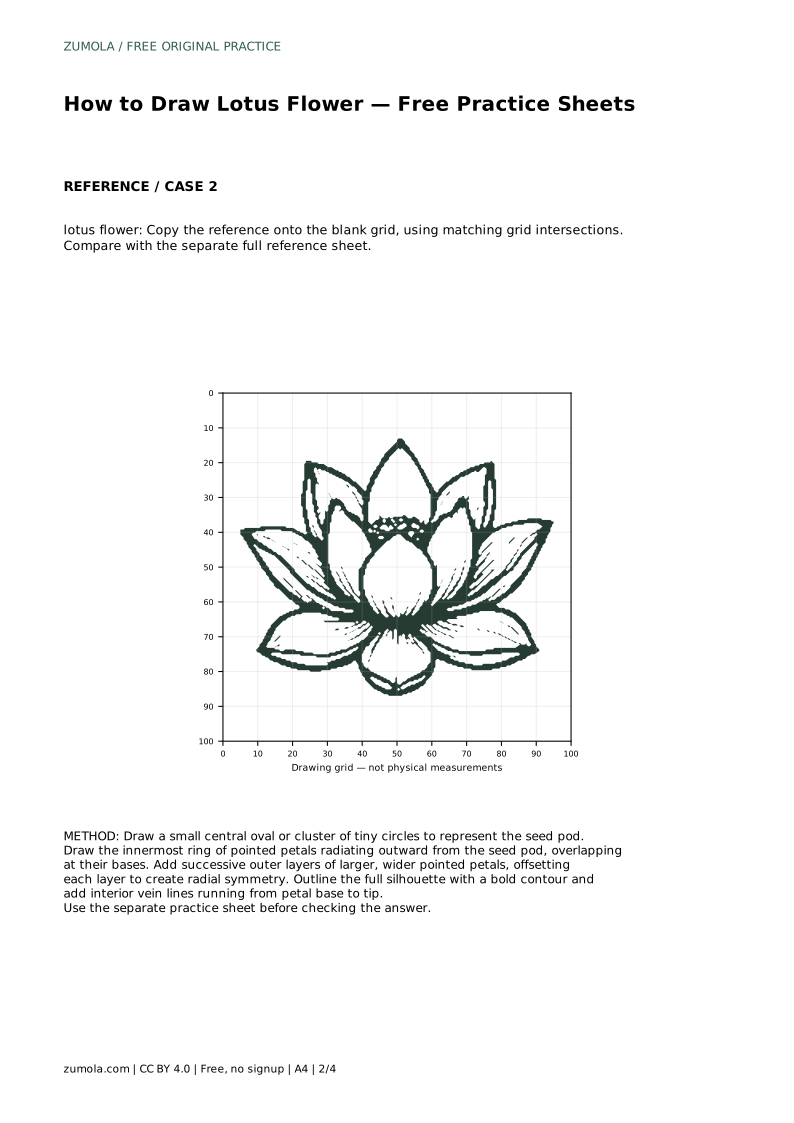
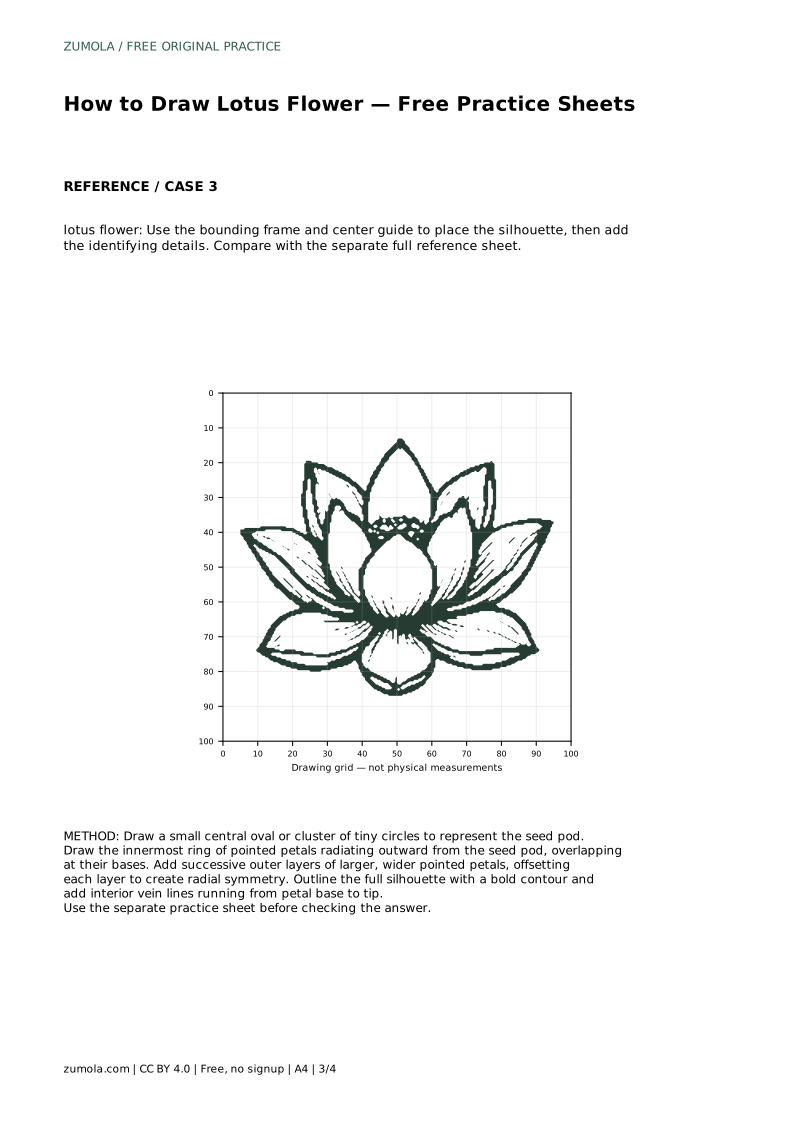
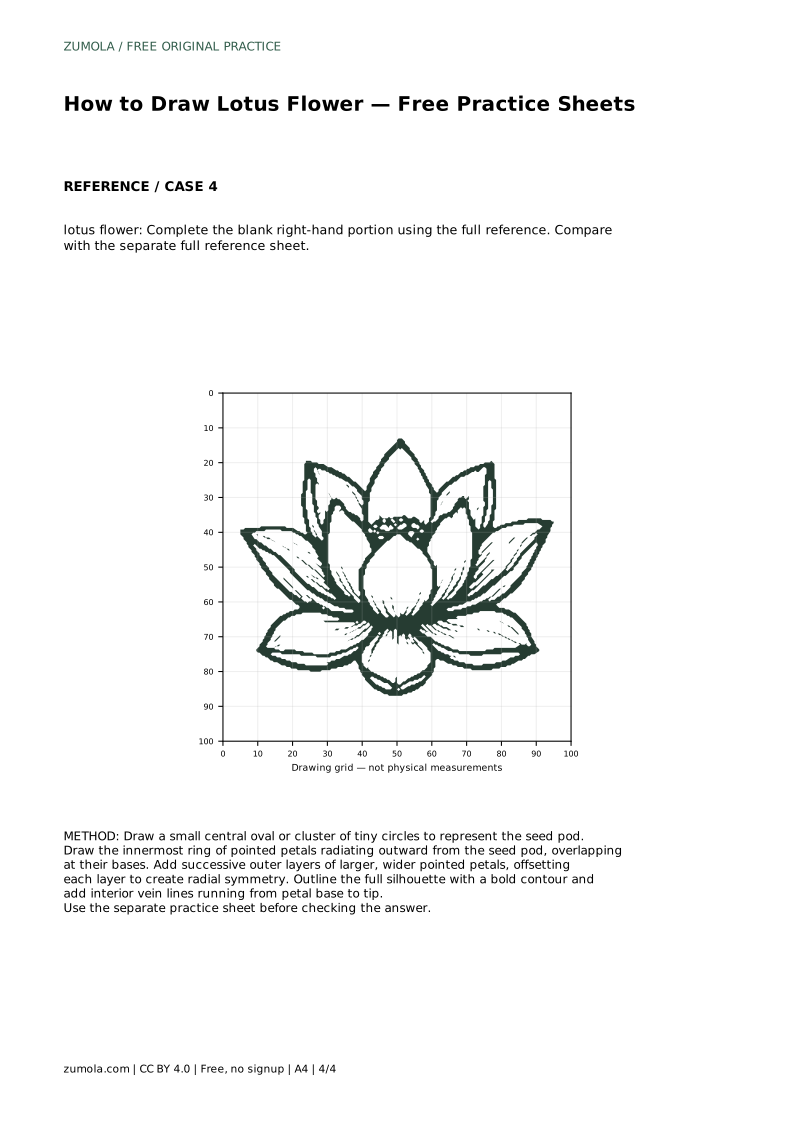
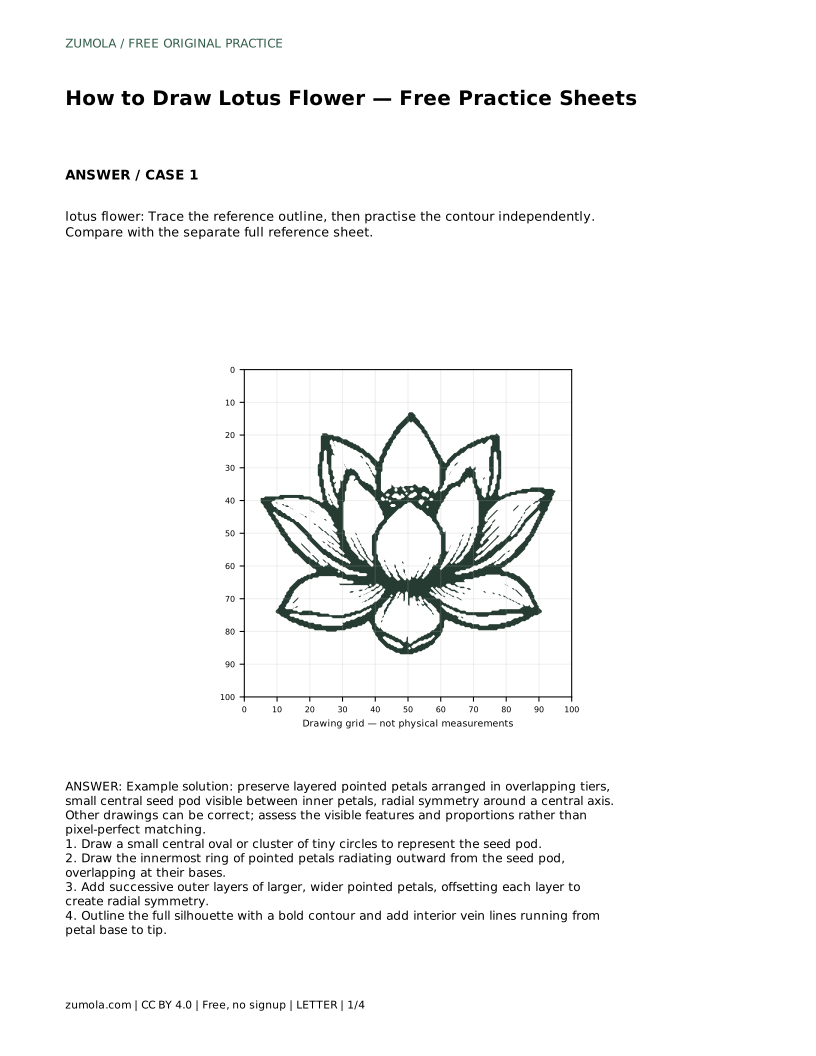
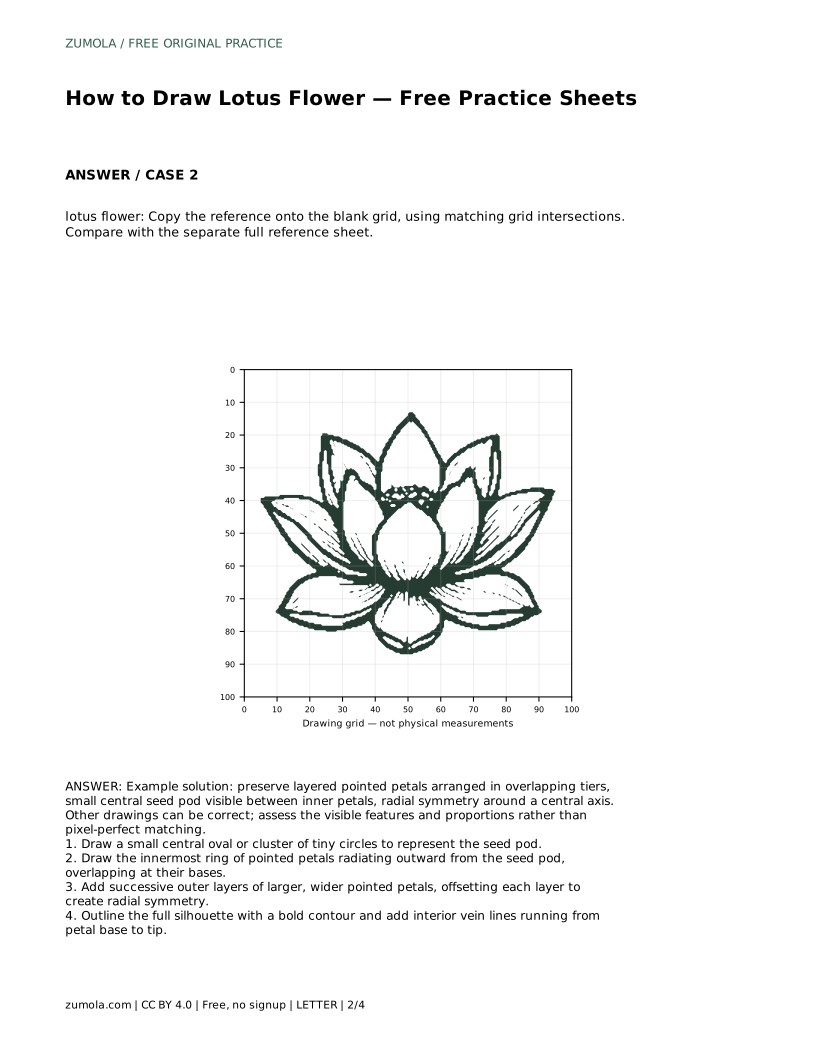
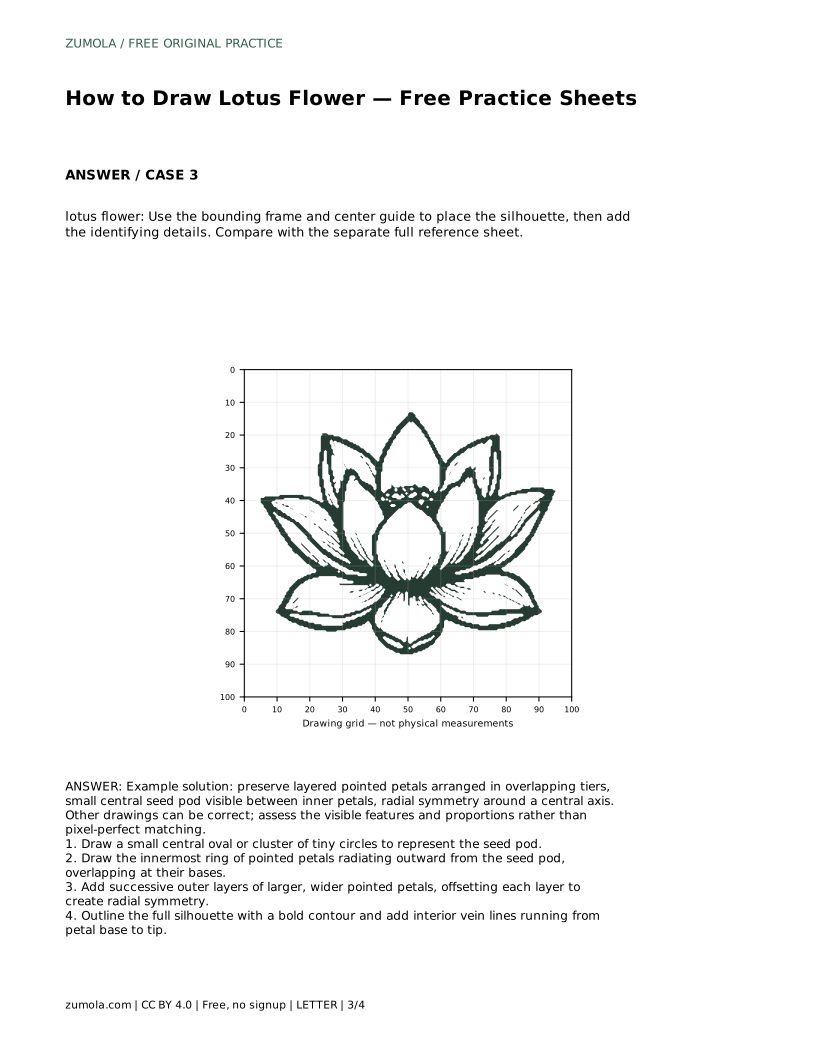
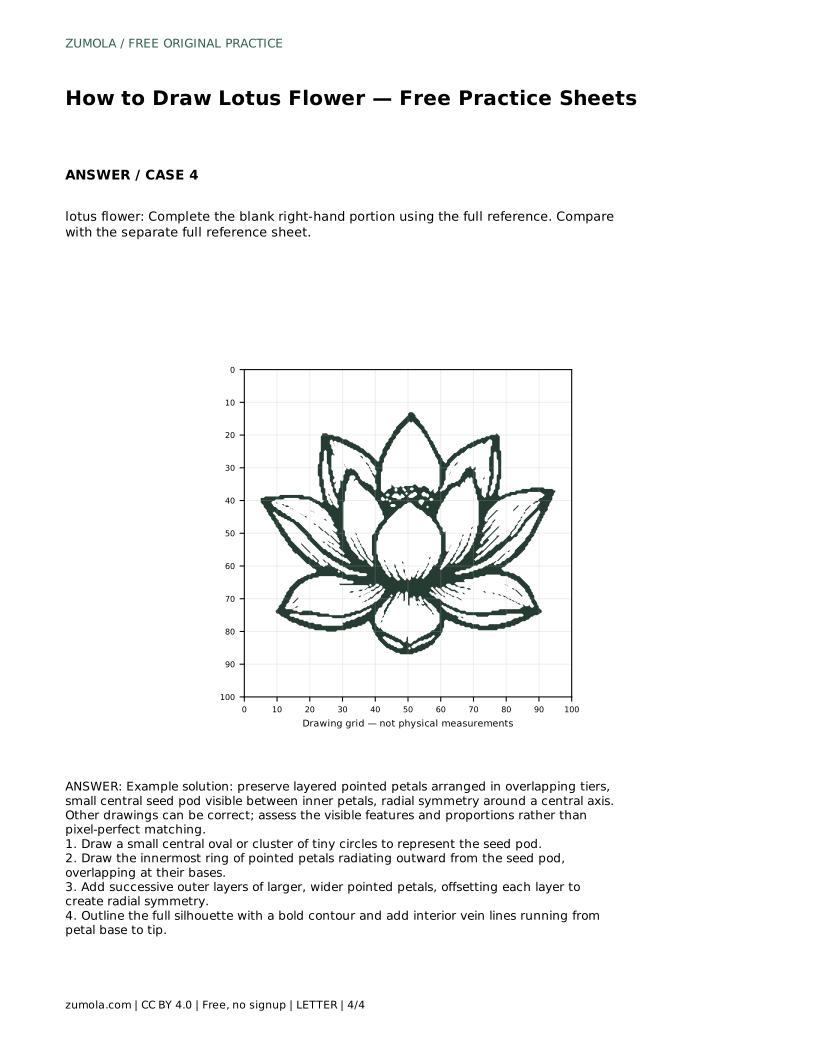
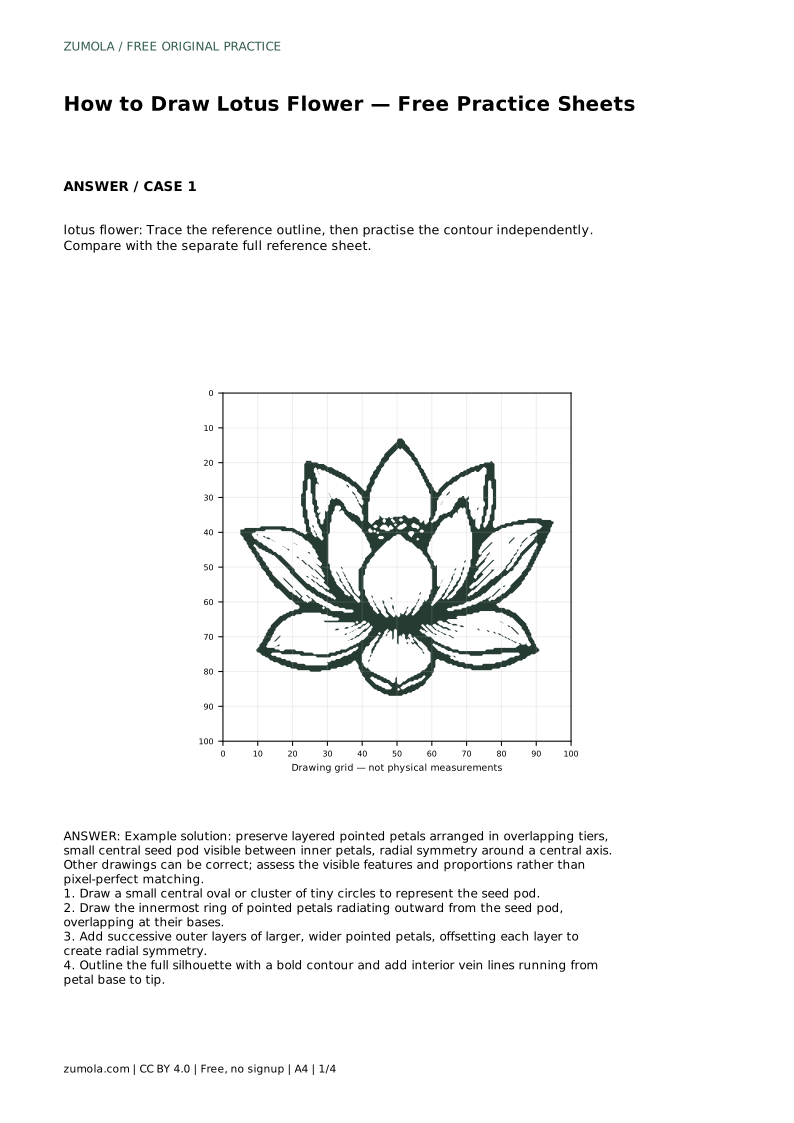
Reference diagrams
LETTER · Download PDF
A4 · Download PDF
Free original resources
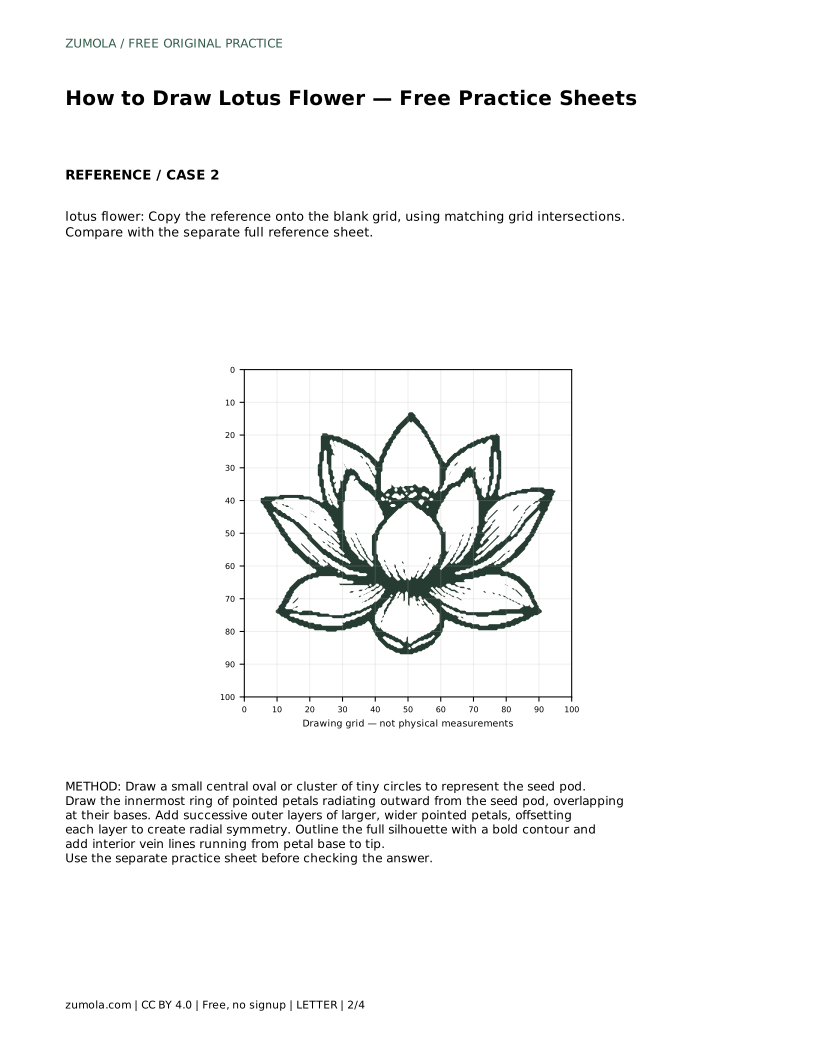
Learn a pencil drawing of a lotus flower with layered pointed petals, a central seed pod, and radial symmetry. Trace, grid, and complete practice sheets included.
Four original cases, with reference diagrams, practice sheets and worked answers. Everything is free; no signup required.
LETTER · Download PDF
A4 · Download PDF
LETTER · Download PDF
A4 · Download PDF
LETTER · Download PDF
A4 · Download PDF
Use A4 or US Letter to match your printer. Use the stated values and conditions to solve each exercise; diagrams are not physical measuring rulers.
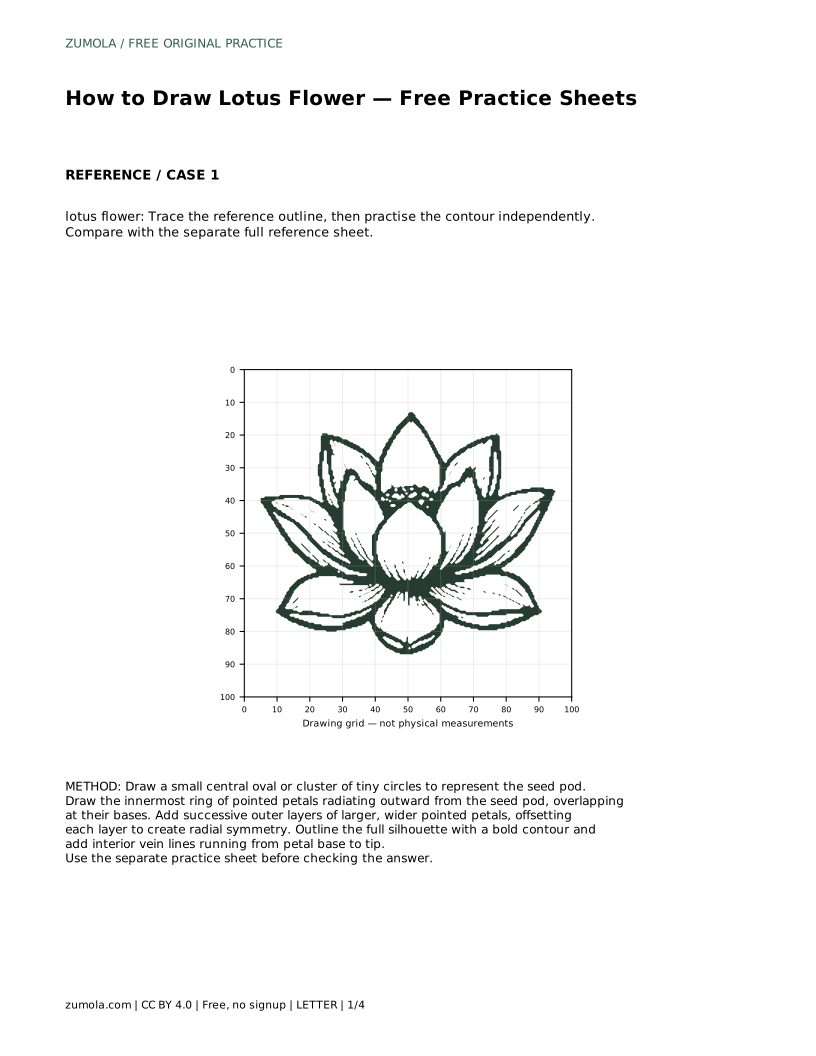
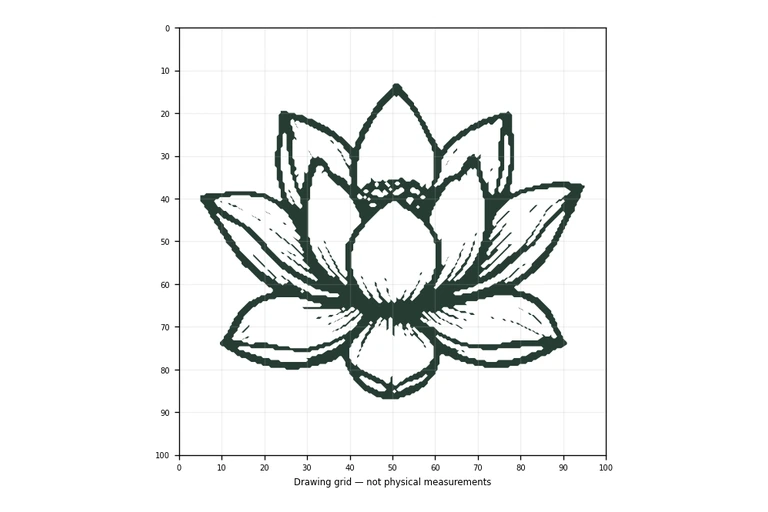
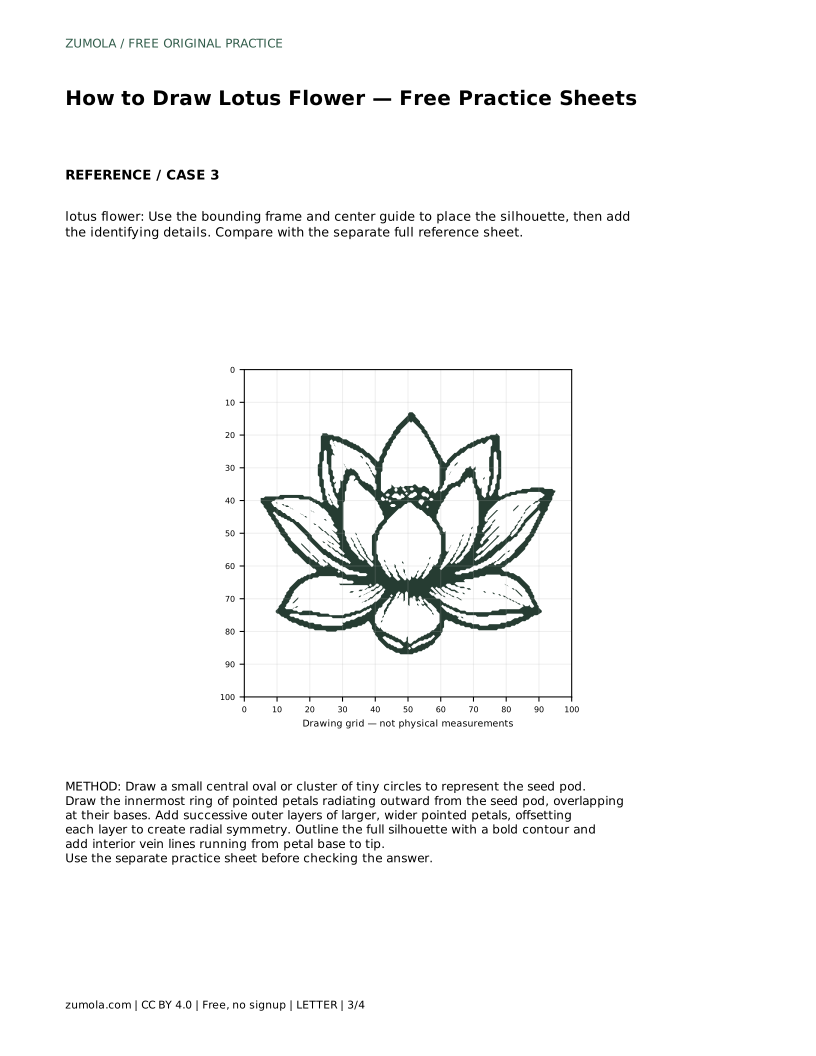
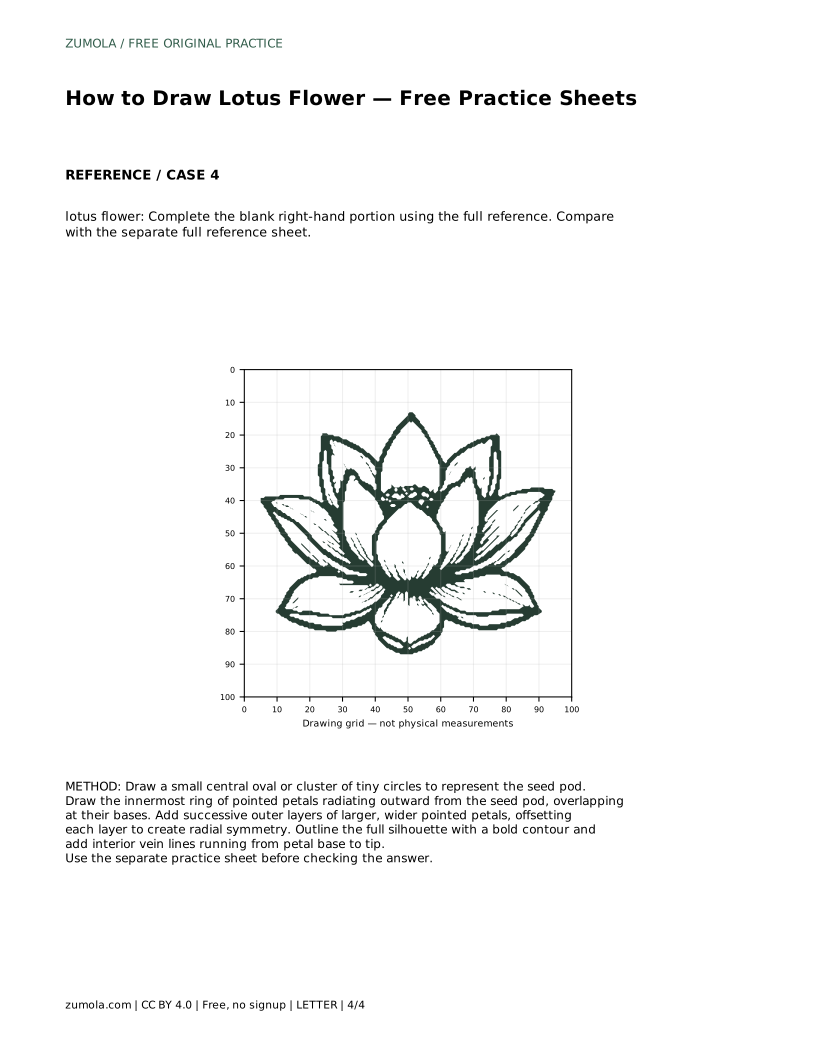
A pencil drawing of a lotus flower depends on three visible features: layered pointed petals, a small central seed pod, and radial symmetry around one axis. This page explains how to build those features in order, then how to use trace, grid, frame, and partial-reference practice sheets to test the same skill in different ways. Each sheet asks you to preserve the identifying structure rather than match every line exactly, because more than one correct drawing can show the same lotus.
Start with the seed pod, not the outer petals. A small central oval, or a tight cluster of tiny circles, marks the point every petal relates to. Keeping this center small leaves room for the inner ring and prevents the flower from becoming crowded.
Work outward in rings. The innermost petals are narrow and pointed, and their bases overlap near the seed pod. Each later ring uses wider, longer petals, offset from the ring before it so gaps do not line up. Offsetting is what produces radial symmetry: the flower repeats around the center rather than mirroring left and right.
Finish with structure lines. A bold outer contour separates the silhouette from the page, and interior vein lines running from each petal base toward its tip give the petals direction. Veins should follow the petal's curve, not run straight across it.
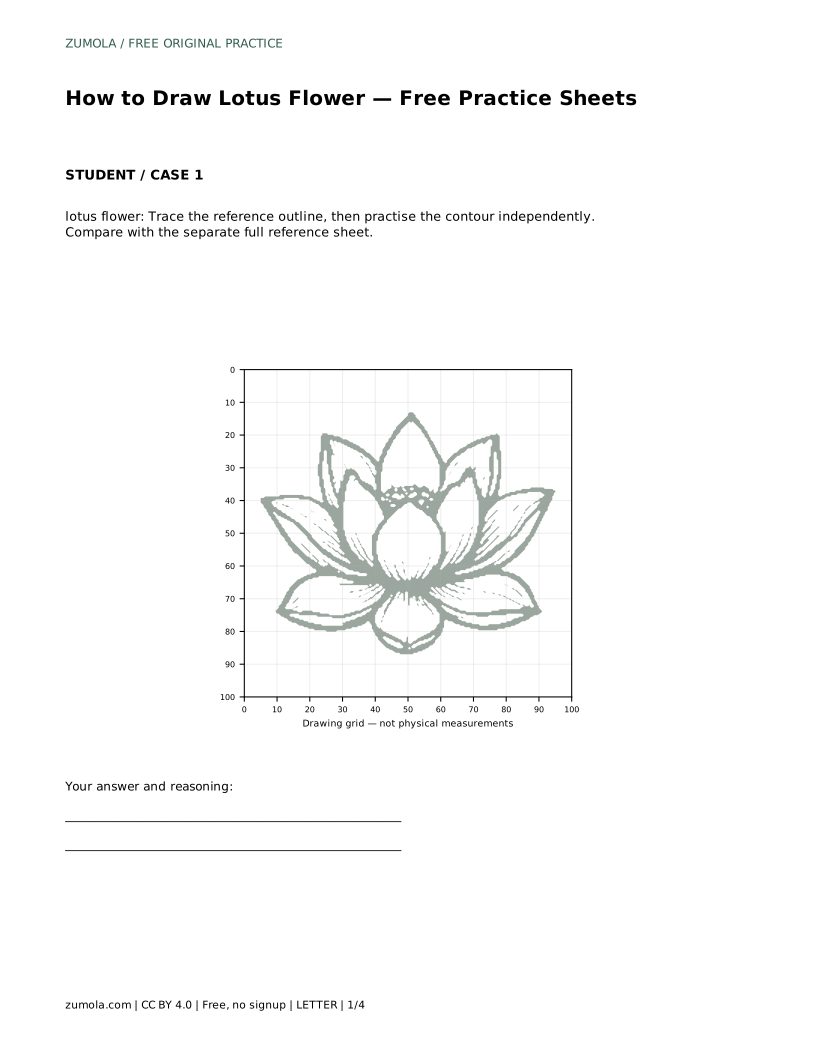
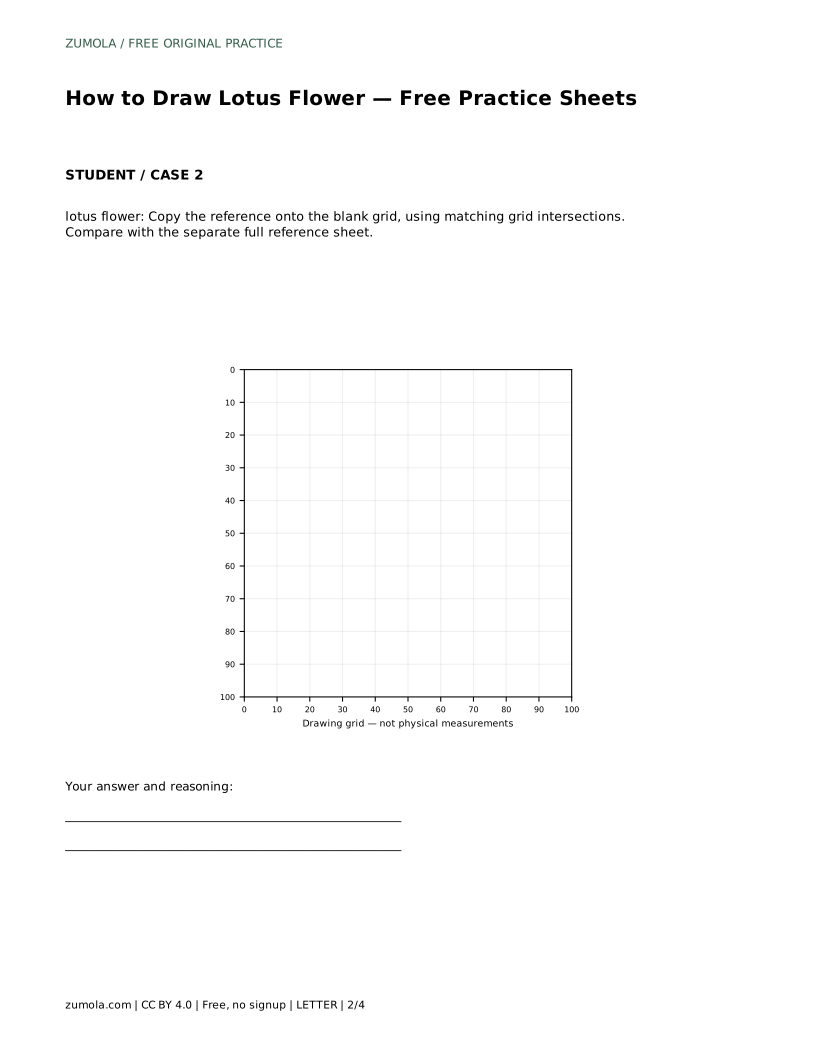
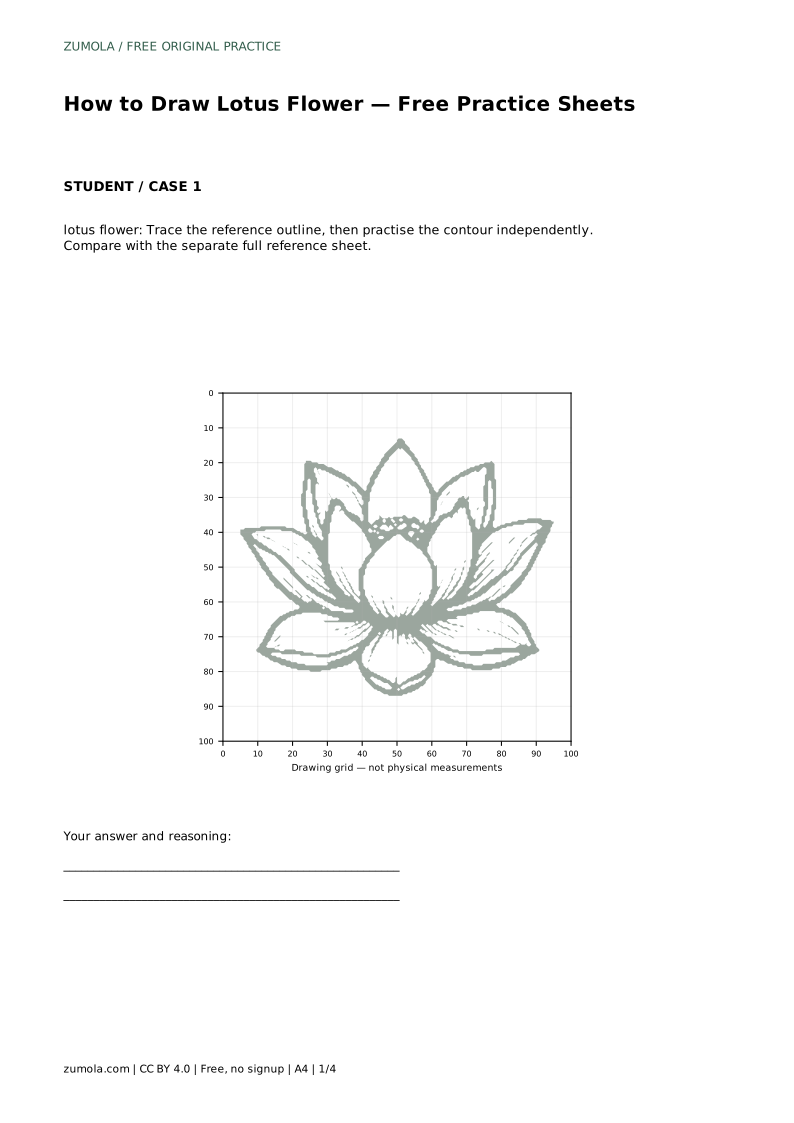
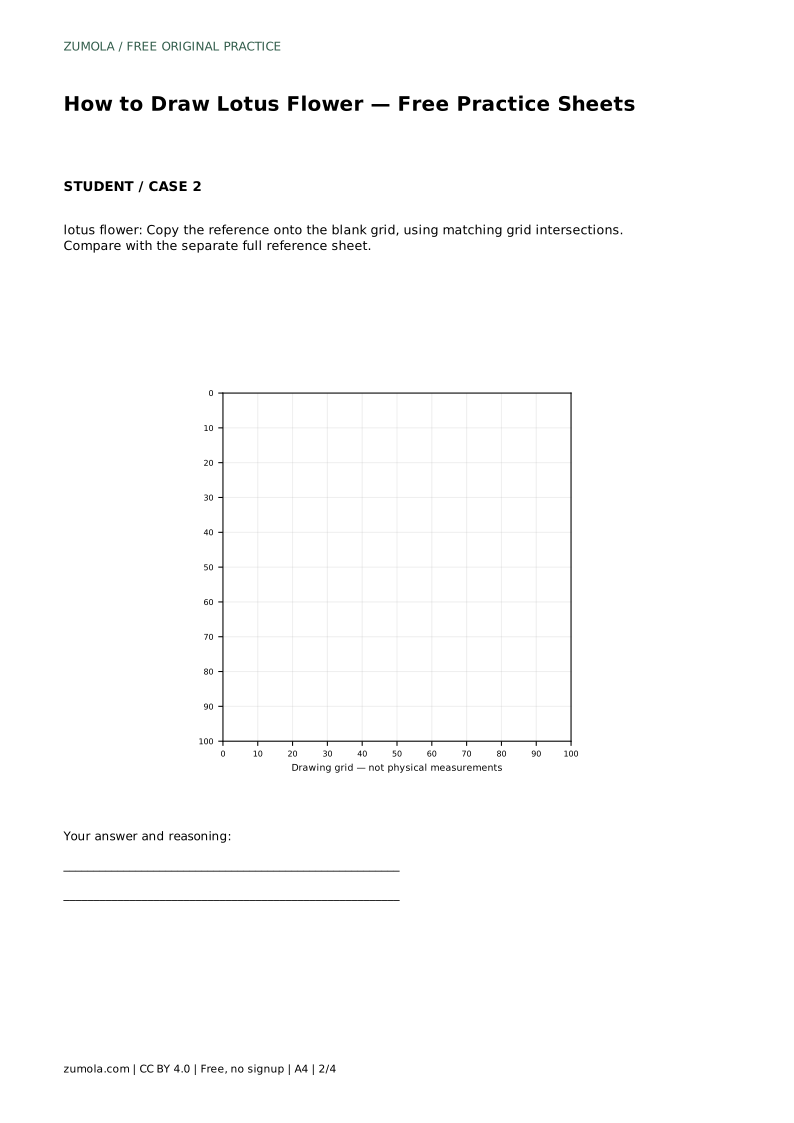
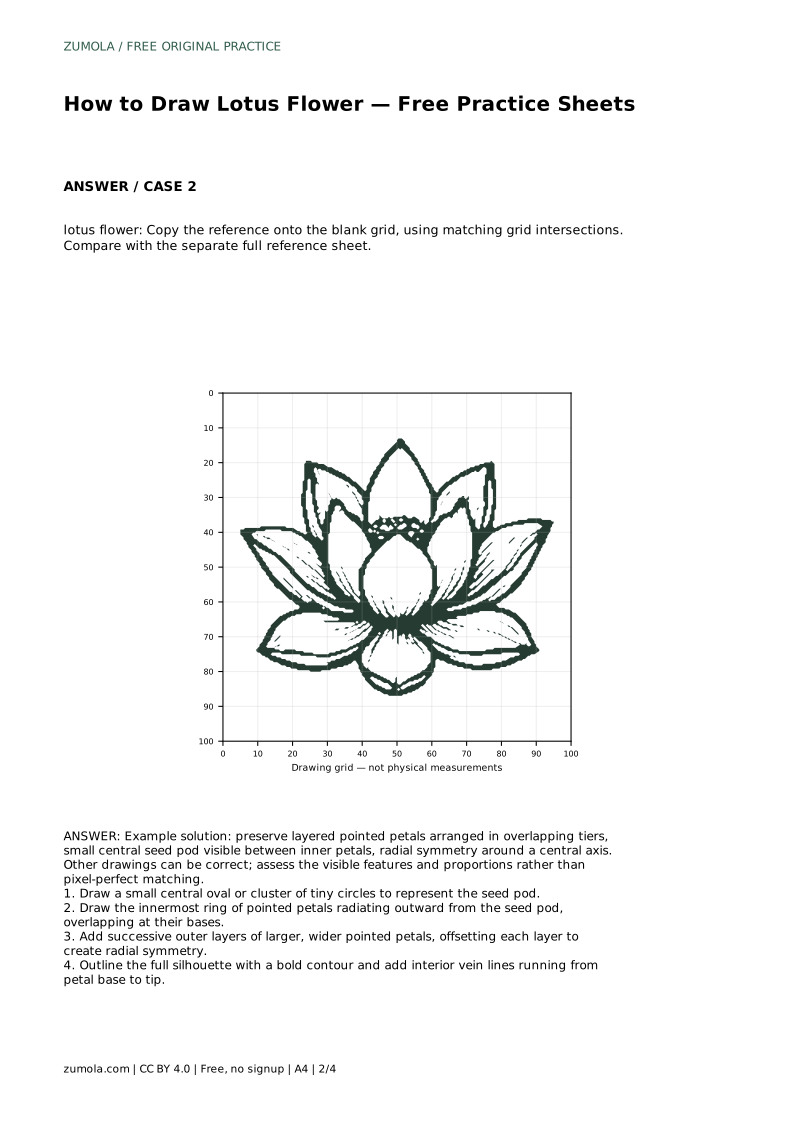
The trace sheet checks contour control: follow the reference outline first, then draw the same contour on blank space beside it. The grid sheet checks placement: copy the drawing onto the blank grid by matching where lines cross grid intersections, so proportions stay consistent.
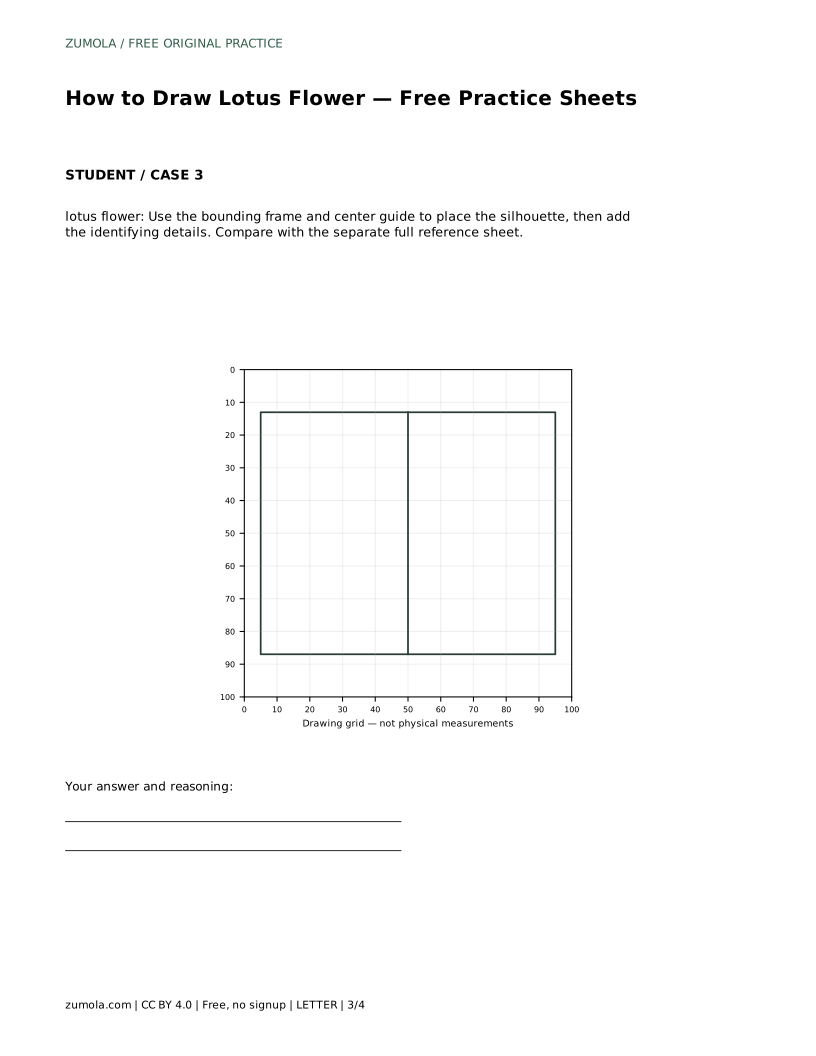
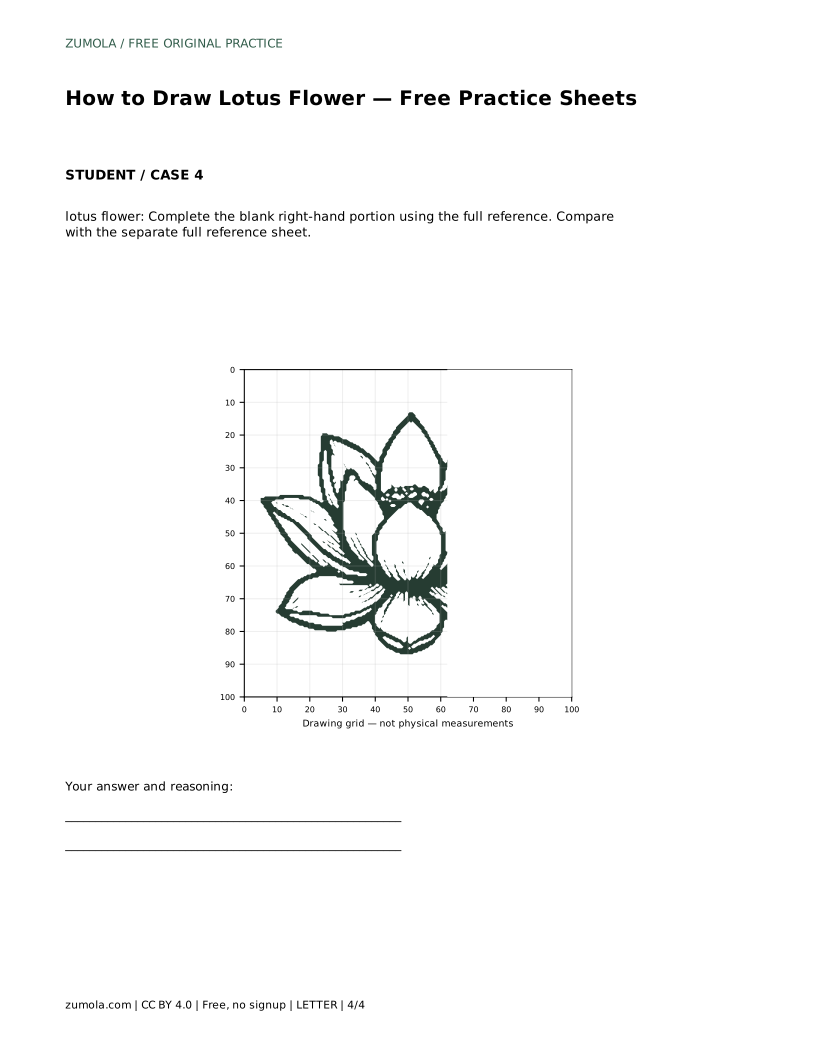
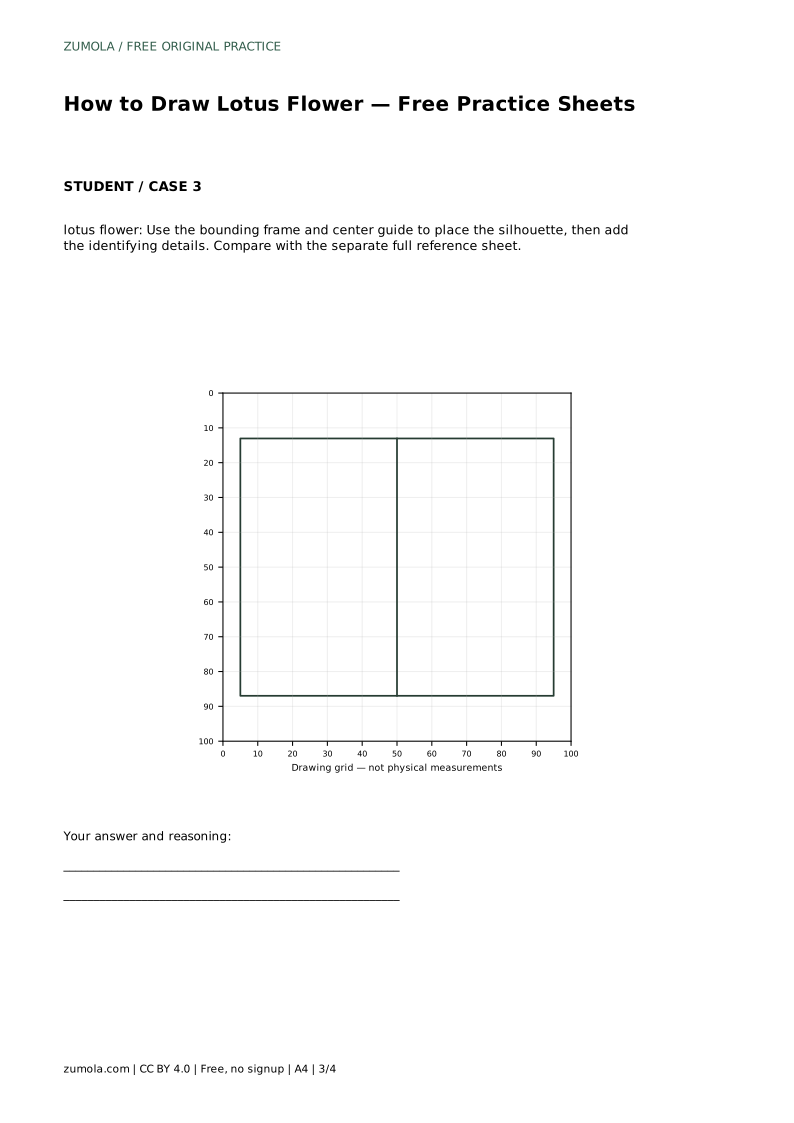
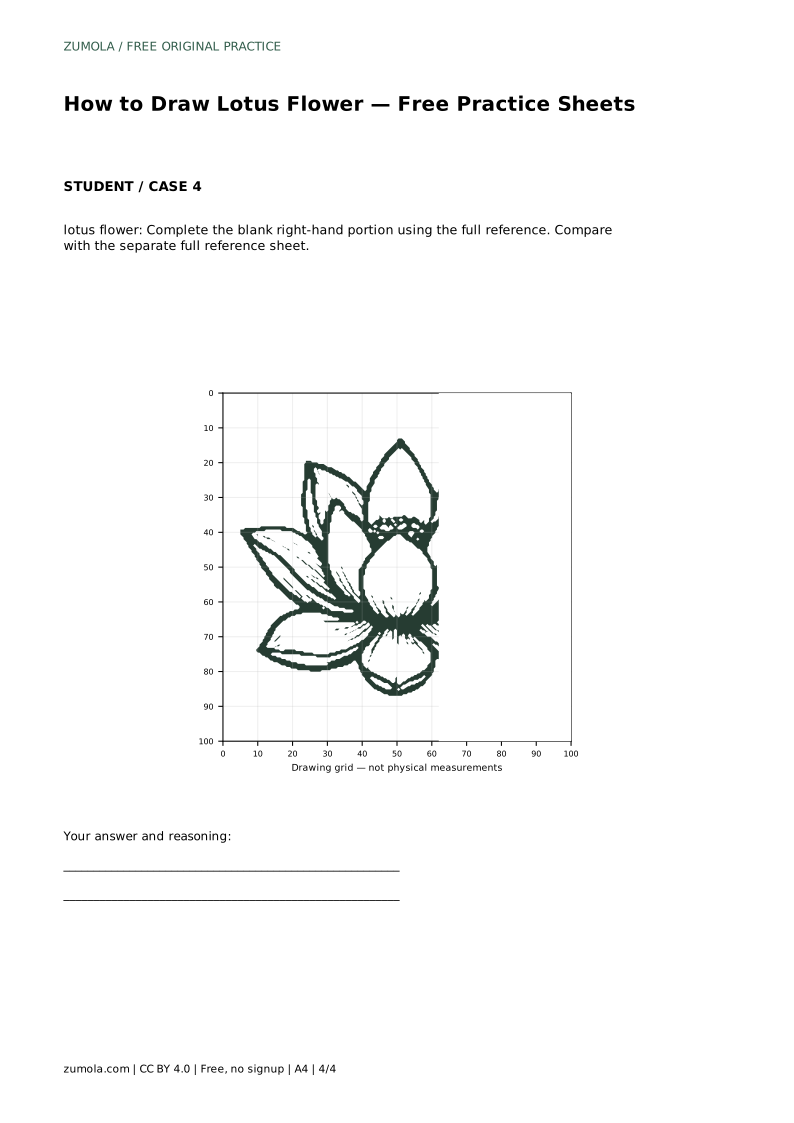
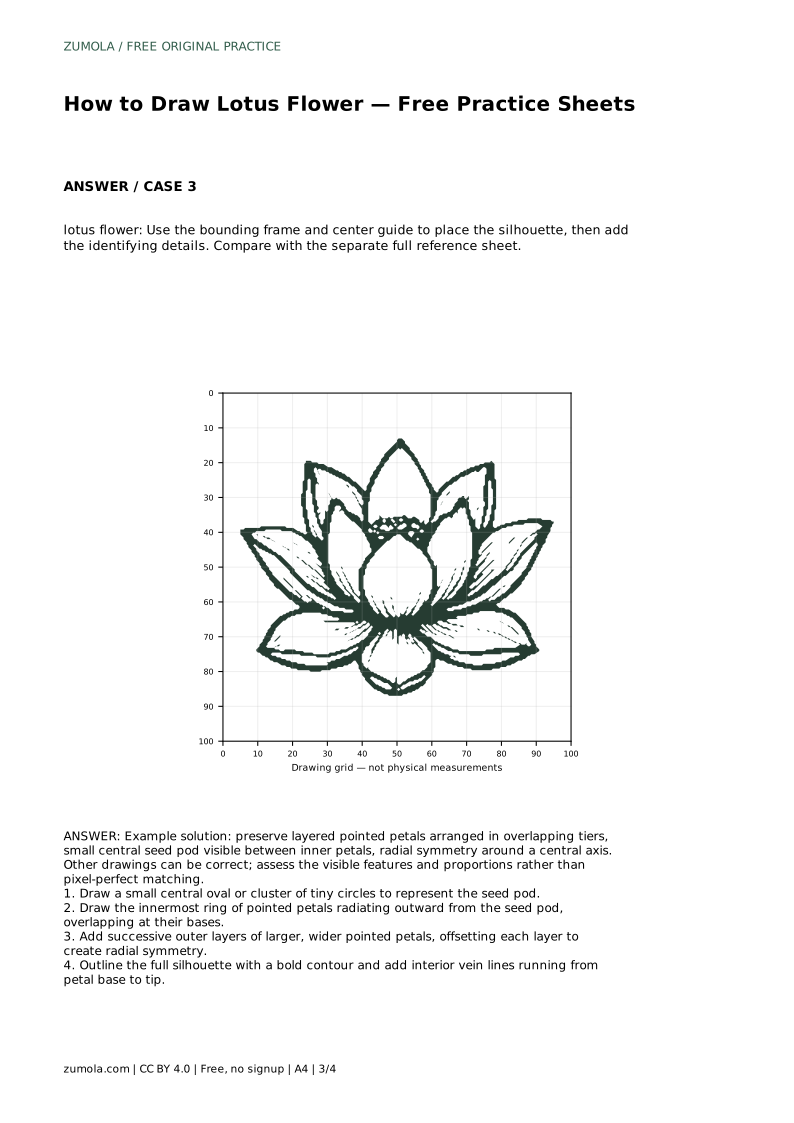
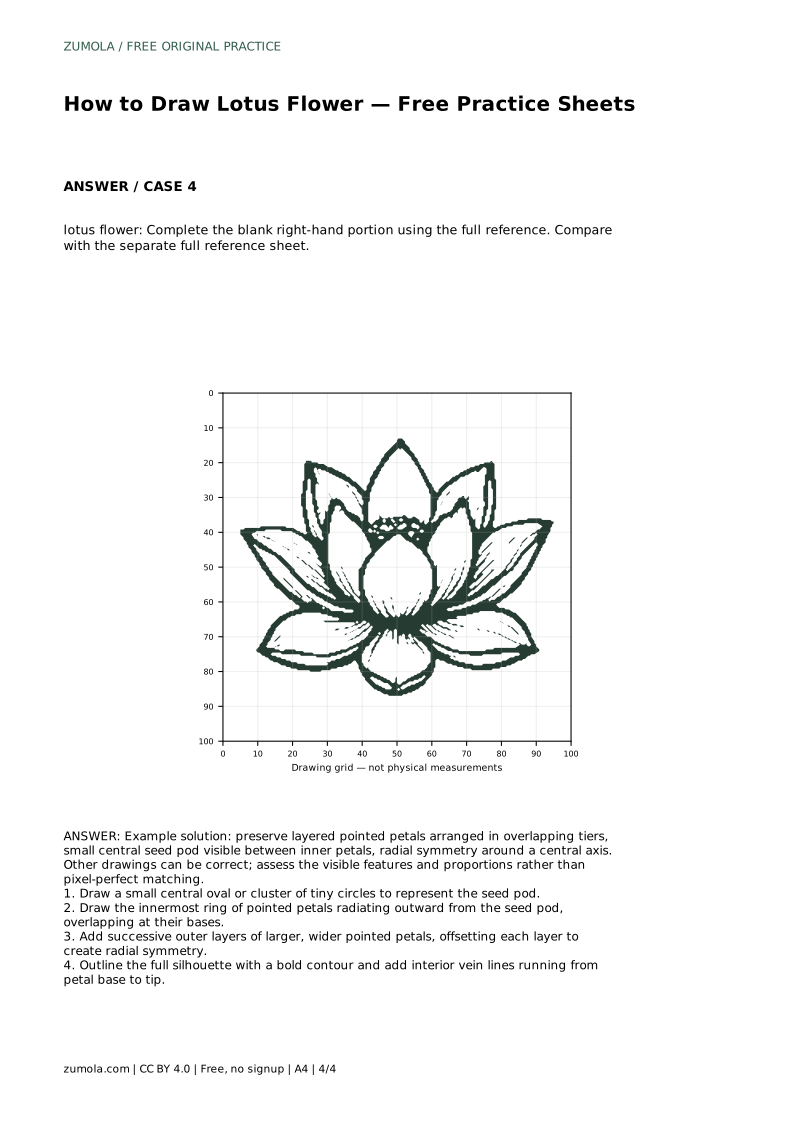
The frame sheet checks composition: use the bounding frame and center guide to position the silhouette before adding details. The partial sheet checks completion: the right-hand portion is blank, so you reconstruct missing petals from the full reference while keeping the center axis aligned.
After any sheet, compare your drawing with the separate full reference sheet. Ask whether the tiers overlap, whether the seed pod remains visible between inner petals, and whether the petals repeat around one center.
A lotus drawing can be correct without matching the reference pixel for pixel. What matters is whether a viewer can identify layered pointed petals in overlapping tiers, a small seed pod visible between inner petals, and radial symmetry around a central axis. Proportions should also hold: outer petals are larger than inner ones, and no ring collapses into another.
Use the rubric below to review your own sheet. If a criterion fails, return to the step that builds it rather than redrawing the whole flower.
lotus flower: Trace the reference outline, then practise the contour independently. Compare with the separate full reference sheet.
Example solution: preserve layered pointed petals arranged in overlapping tiers, small central seed pod visible between inner petals, radial symmetry around a central axis. Other drawings can be correct; assess the visible features and proportions rather than pixel-perfect matching. Draw a small central oval or cluster of tiny circles to represent the seed pod. Draw the innermost ring of pointed petals radiating outward from the seed pod, overlapping at their bases. Add successive outer layers of larger, wider pointed petals, offsetting each layer to create radial symmetry. Outline the full silhouette with a bold contour and add interior vein lines running from petal base to tip.
Yes. A small central seed pod seen between the inner petals is one of the identifying features of a lotus, so keep it uncovered rather than hiding it behind petals.
It means the petals repeat around one central axis, like spokes, rather than mirroring left and right. Offsetting each ring helps the repetition read clearly.
Yes. Assess the visible features and proportions rather than pixel-perfect matching, since multiple valid drawings can show the same lotus structure.
All drawing practice · Free coordinate paper
Original resources · CC BY 4.0 · Free for personal and classroom use with attribution.