Reference diagrams
LETTER · Download PDF
A4 · Download PDF
Free original resources
Learn to draw a tractor by building the large rear wheel, small front wheel, cab, hood, and exhaust stack in order. Includes a worked example, common mistakes, and a drawing rubric.
Four original cases, with reference diagrams, practice sheets and worked answers. Everything is free; no signup required.
LETTER · Download PDF
A4 · Download PDF
LETTER · Download PDF
A4 · Download PDF
LETTER · Download PDF
A4 · Download PDF
Use A4 or US Letter to match your printer. Use the stated values and conditions to solve each exercise; diagrams are not physical measuring rulers.
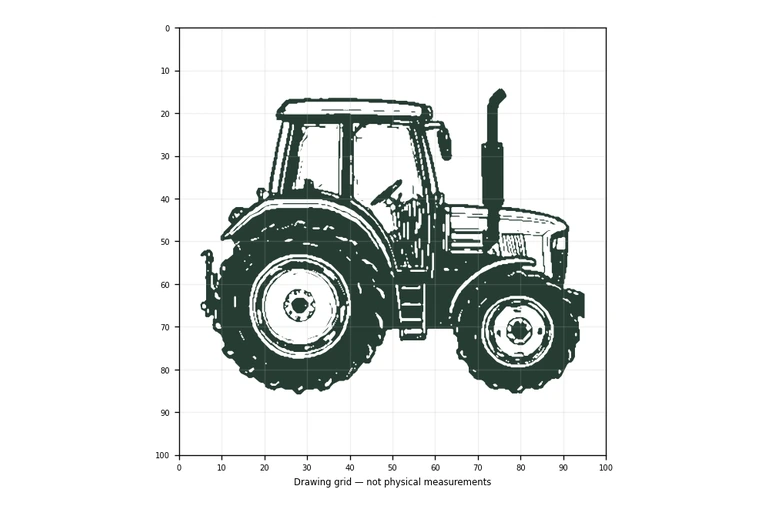
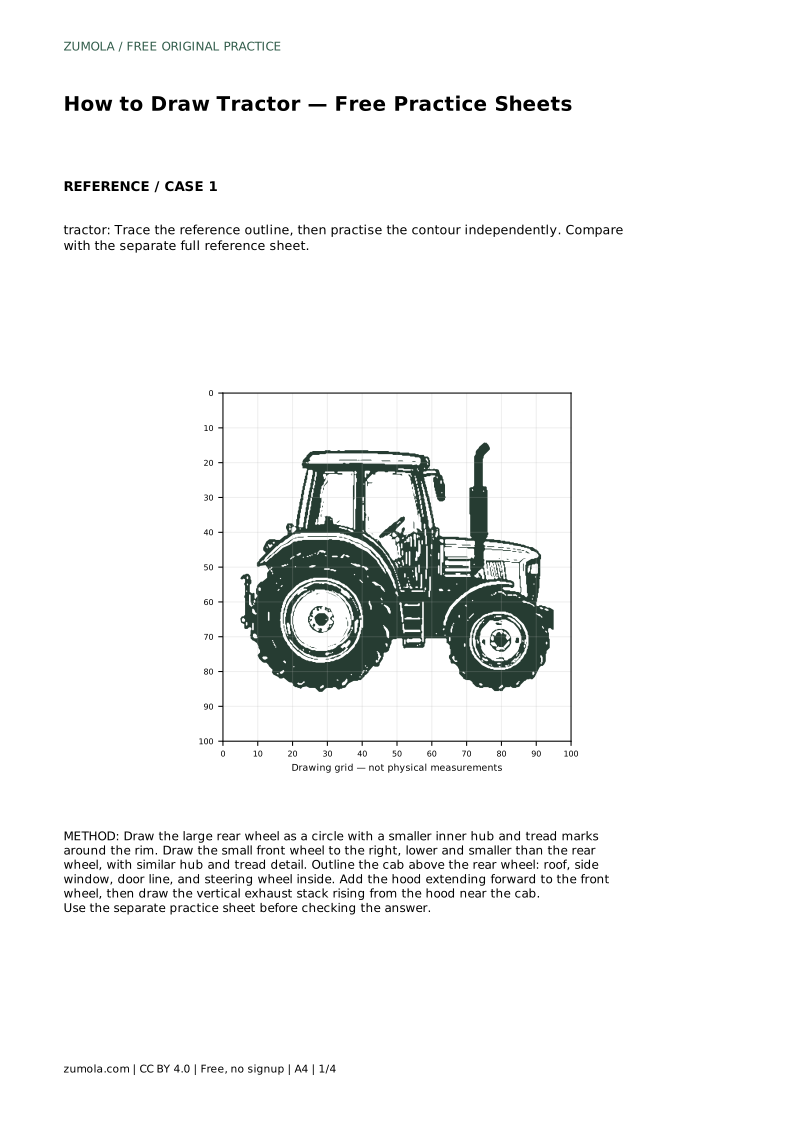
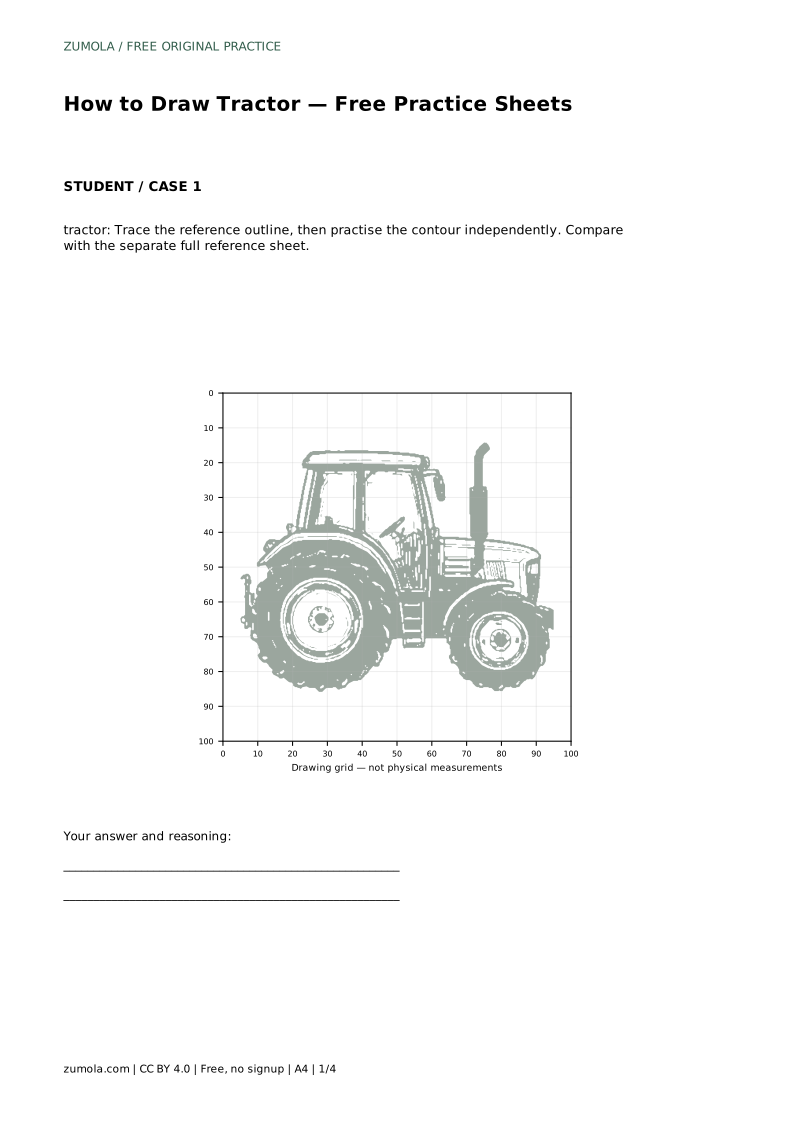
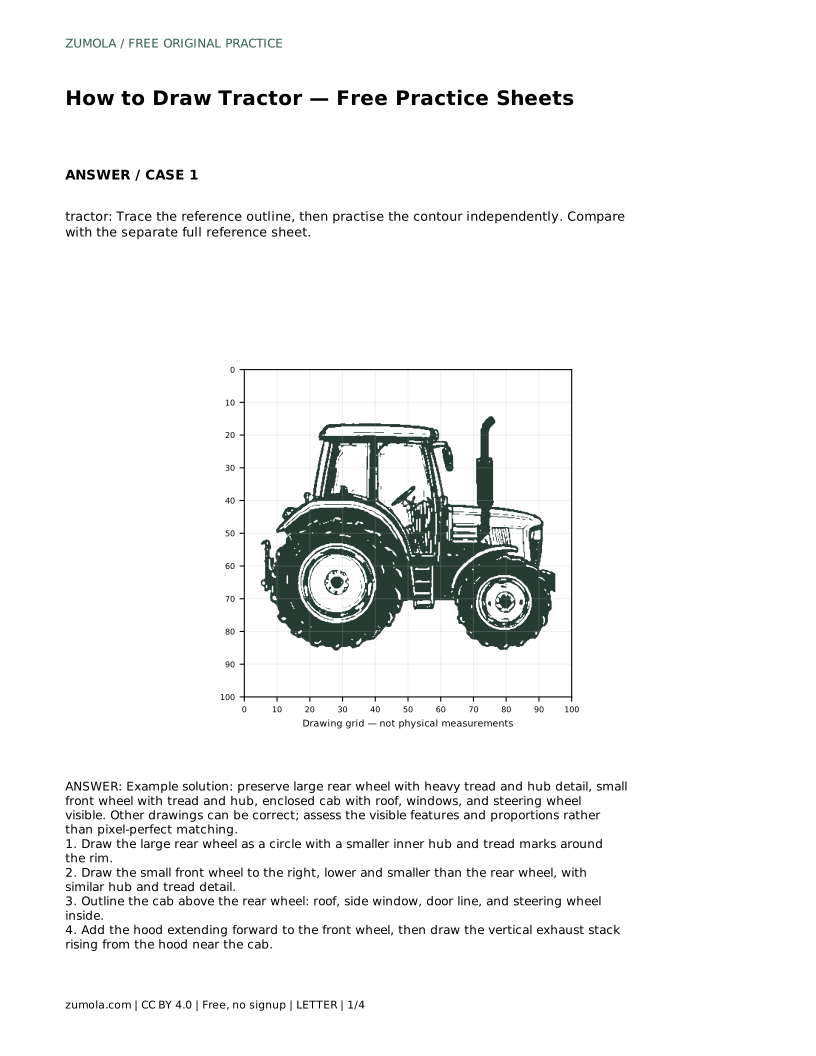
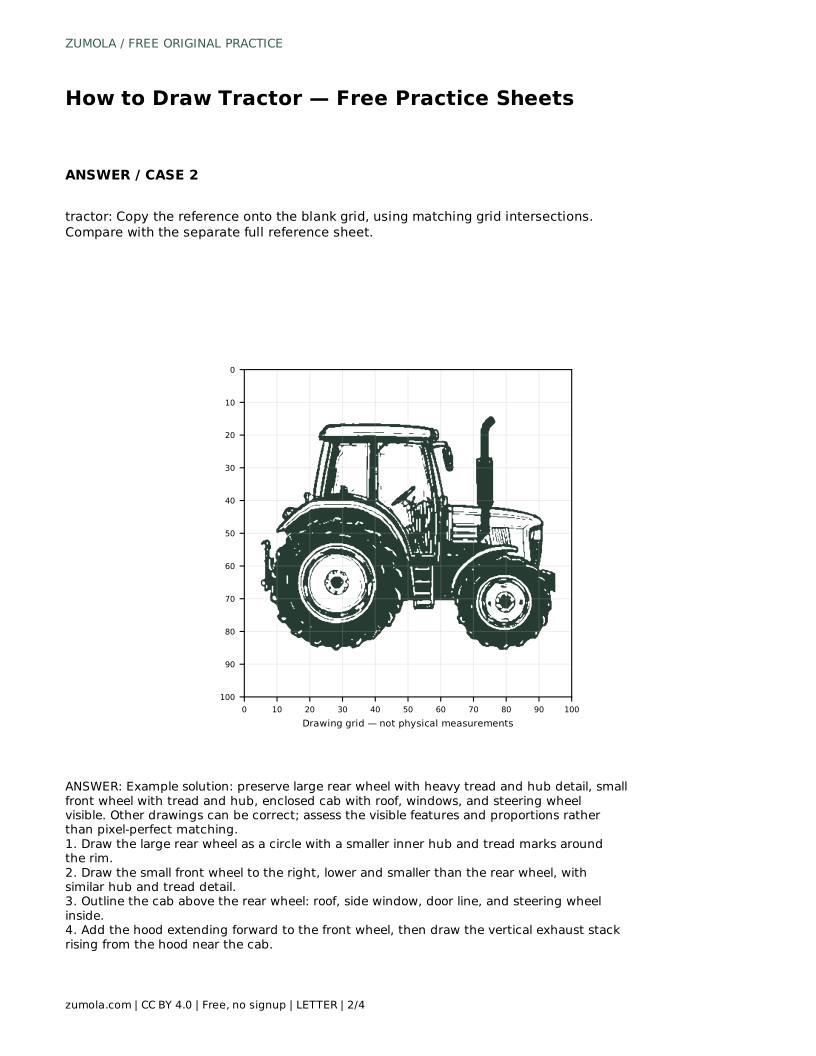
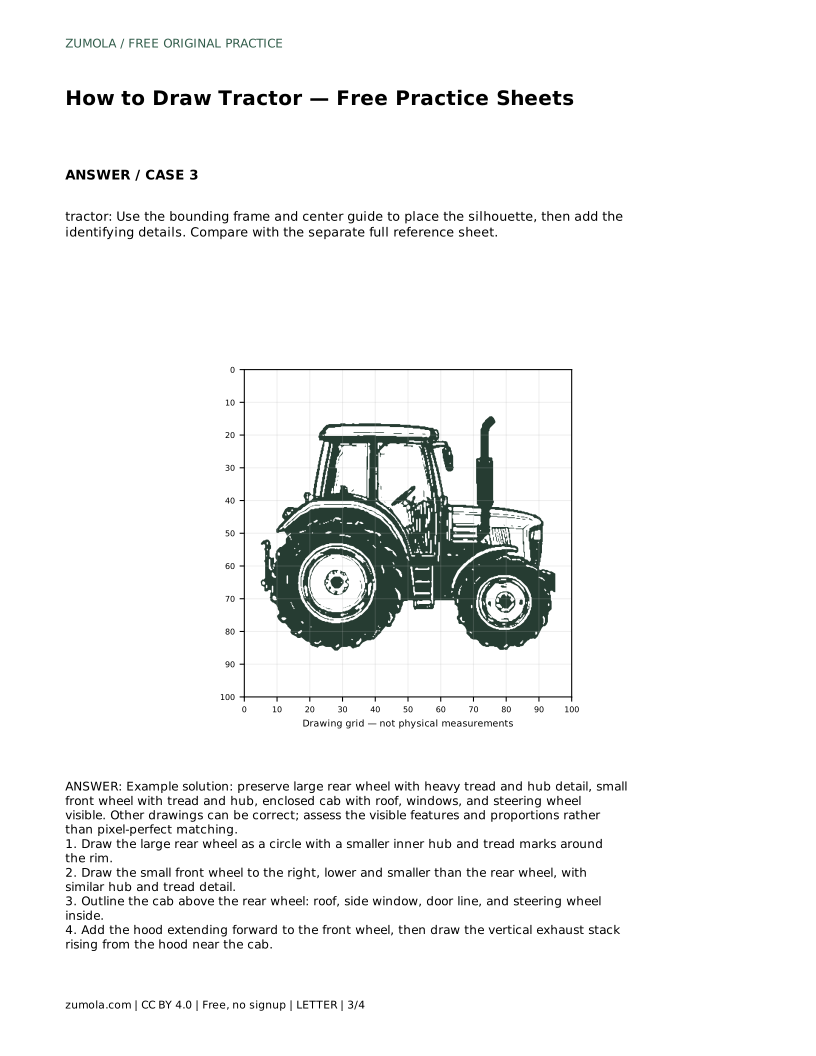
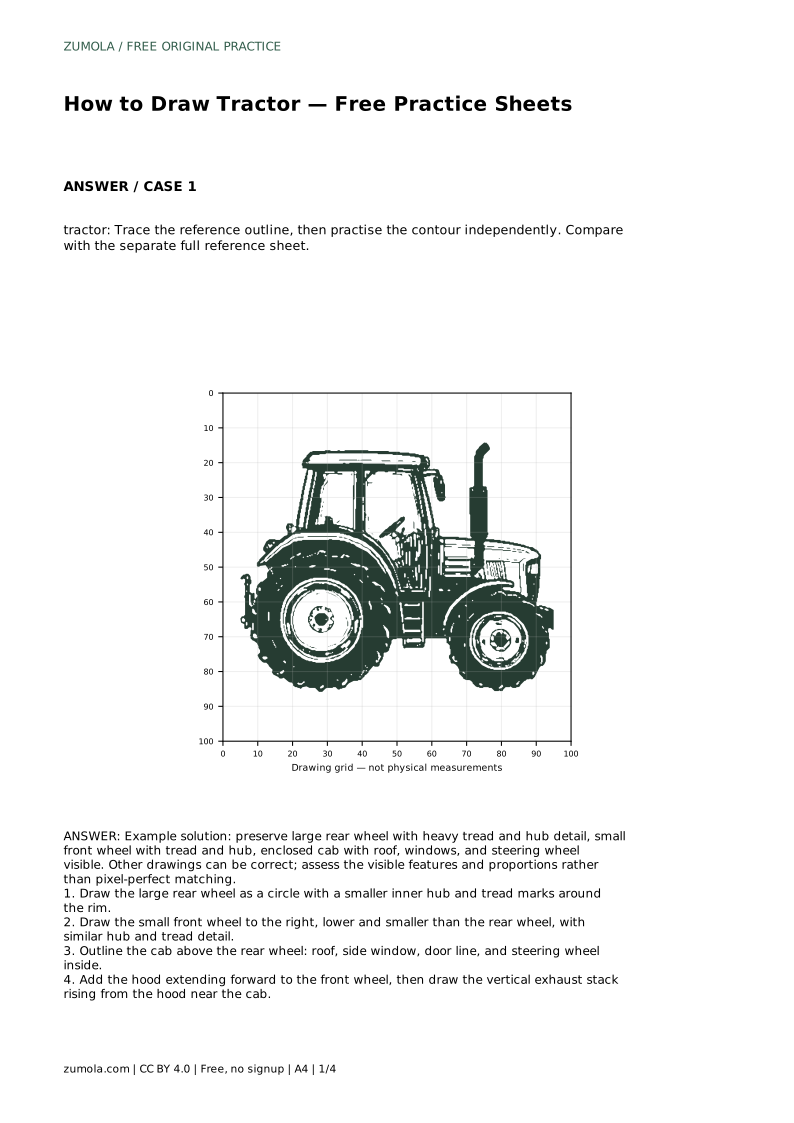
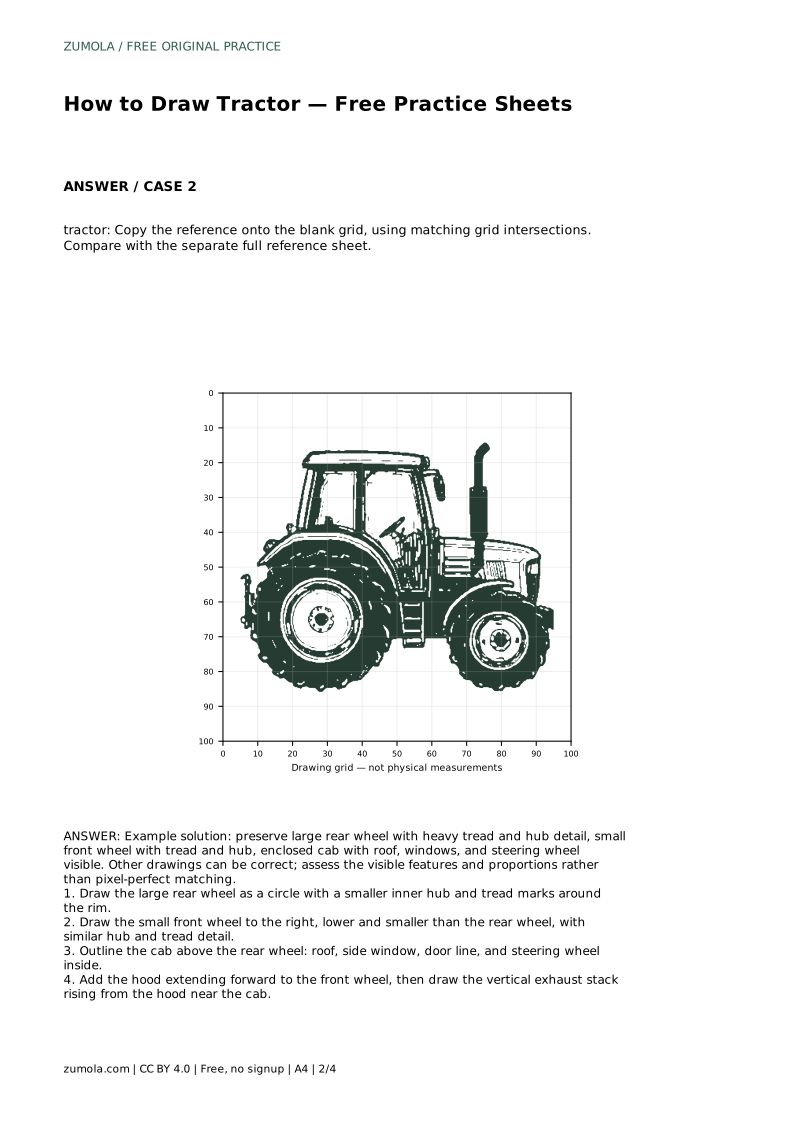
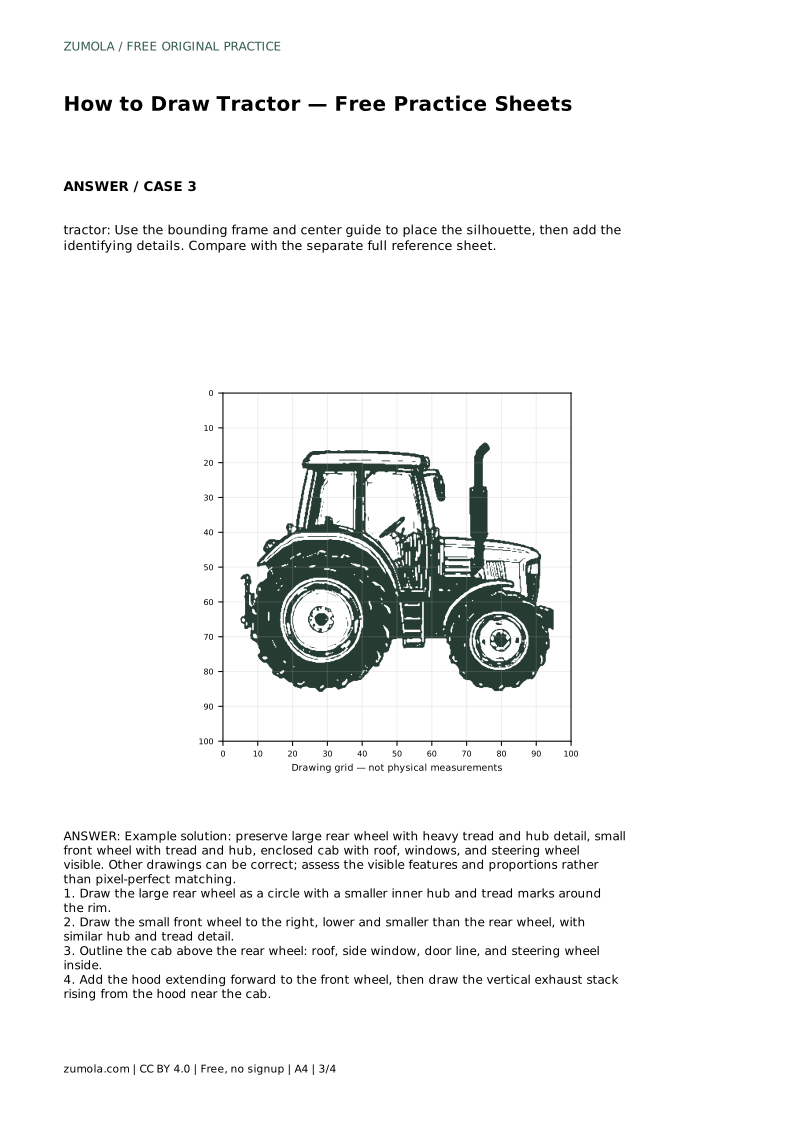
Drawing a tractor is mostly a problem of proportion and order. The rear wheel is large and heavy; the front wheel is smaller and set lower; the cab sits above the rear wheel; the hood reaches forward; and the exhaust stack rises near the cab. This page explains a reliable sequence for placing those parts, then shows how to check your drawing against a reference sheet. The practice sheets support tracing, grid copying, guide placement, and completing a partial drawing.
The wheels establish the tractor's stance. Draw the large rear wheel first as a circle, then add a smaller inner hub and tread marks around the rim. Place the small front wheel to the right and lower than the rear wheel, with its own hub and tread detail. Keep the gap between the wheels consistent with your reference. If the front wheel is too large or sits too high, the tractor will look like a different machine.
Treat the wheels as circles before adding tread. A clean circle gives you a reliable outer edge, and the tread marks can follow that edge evenly. The hub should sit near the center of each wheel, not off to one side.
The cab sits above the rear wheel. Outline the roof, side window, door line, and steering wheel inside. Keep the roof roughly level and the window edges parallel to the cab frame. The steering wheel is a small detail, but it helps the cab read as a driver's enclosure rather than a plain box.
Next, add the hood extending forward to the front wheel. The hood should connect the cab to the front axle area without floating above or cutting into the front wheel. Finally, draw the vertical exhaust stack rising from the hood near the cab. A straight, slightly tapered stack is easier to place than a curved one.
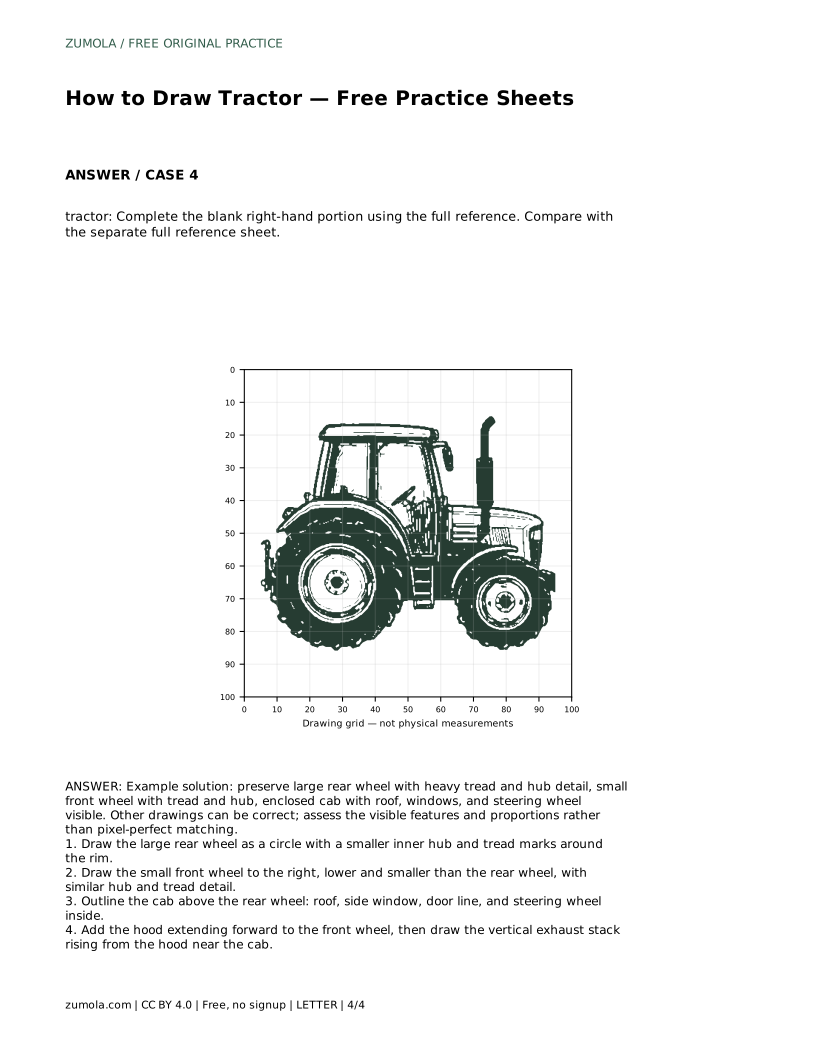
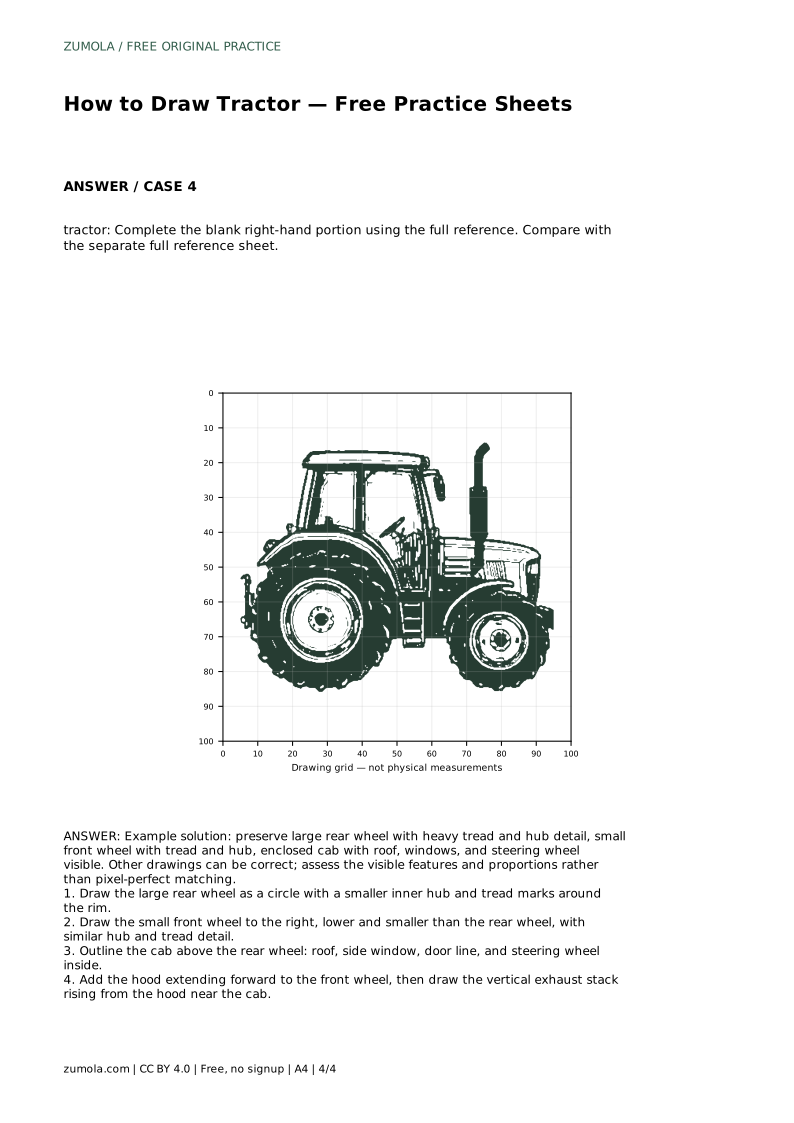
Compare your drawing with the separate full reference sheet. Check the size relationship between the two wheels, the height of the cab, and the length of the hood. Small differences are acceptable; the goal is to preserve the visible features and their proportions rather than to match every pixel.
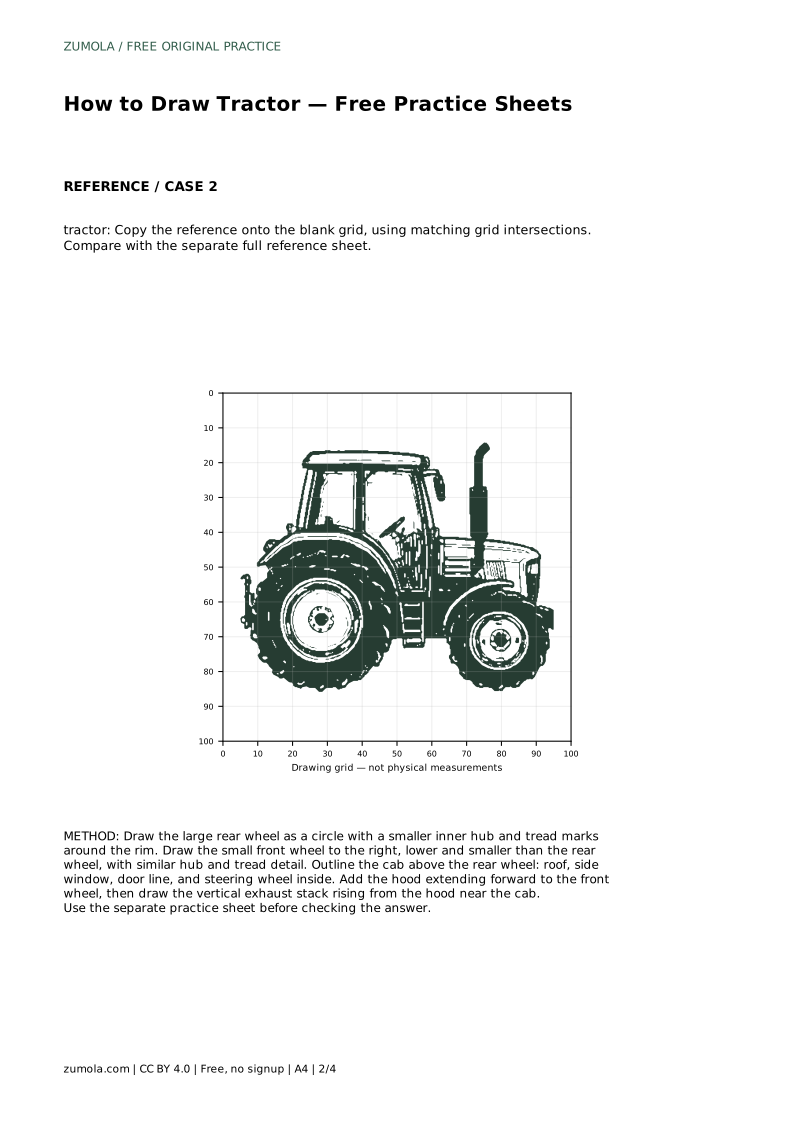
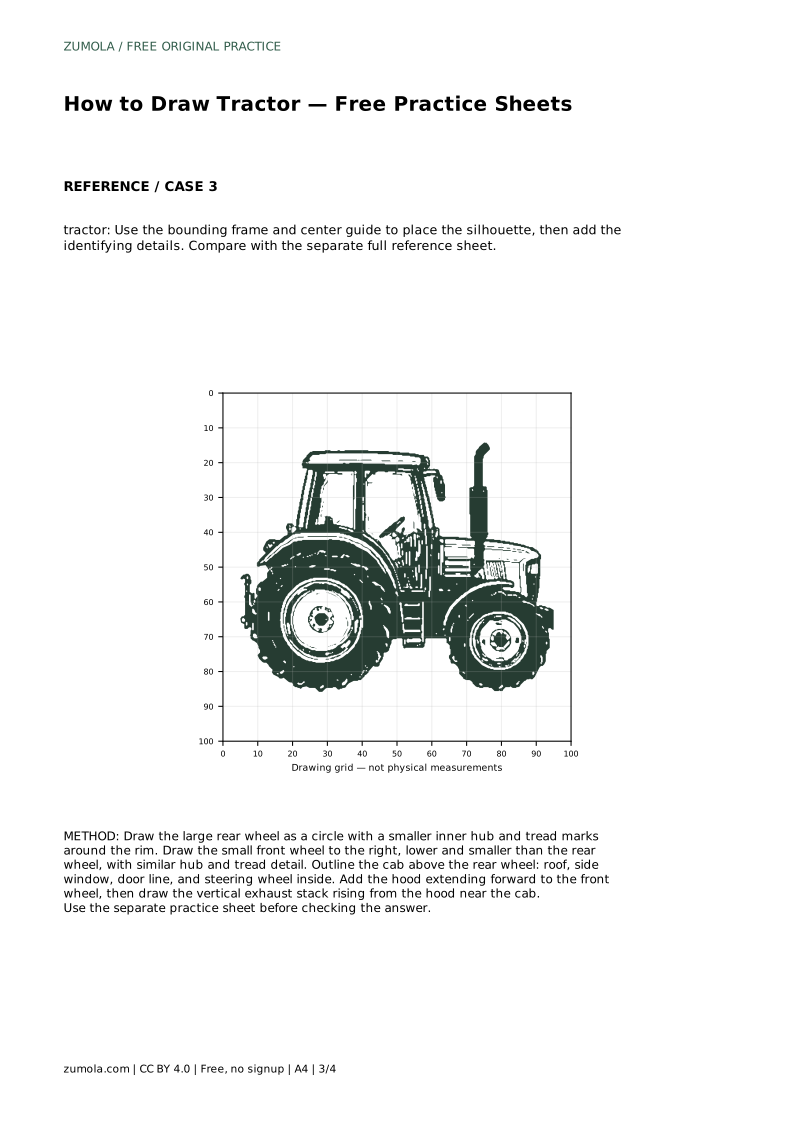
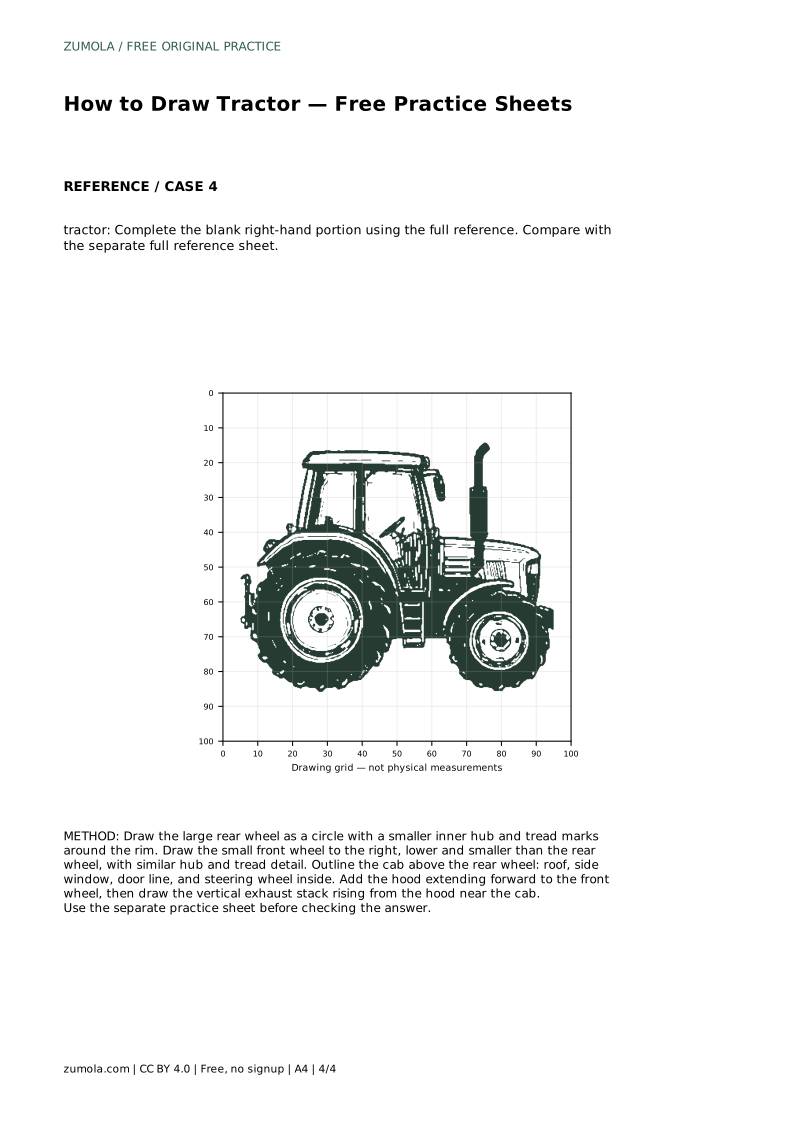
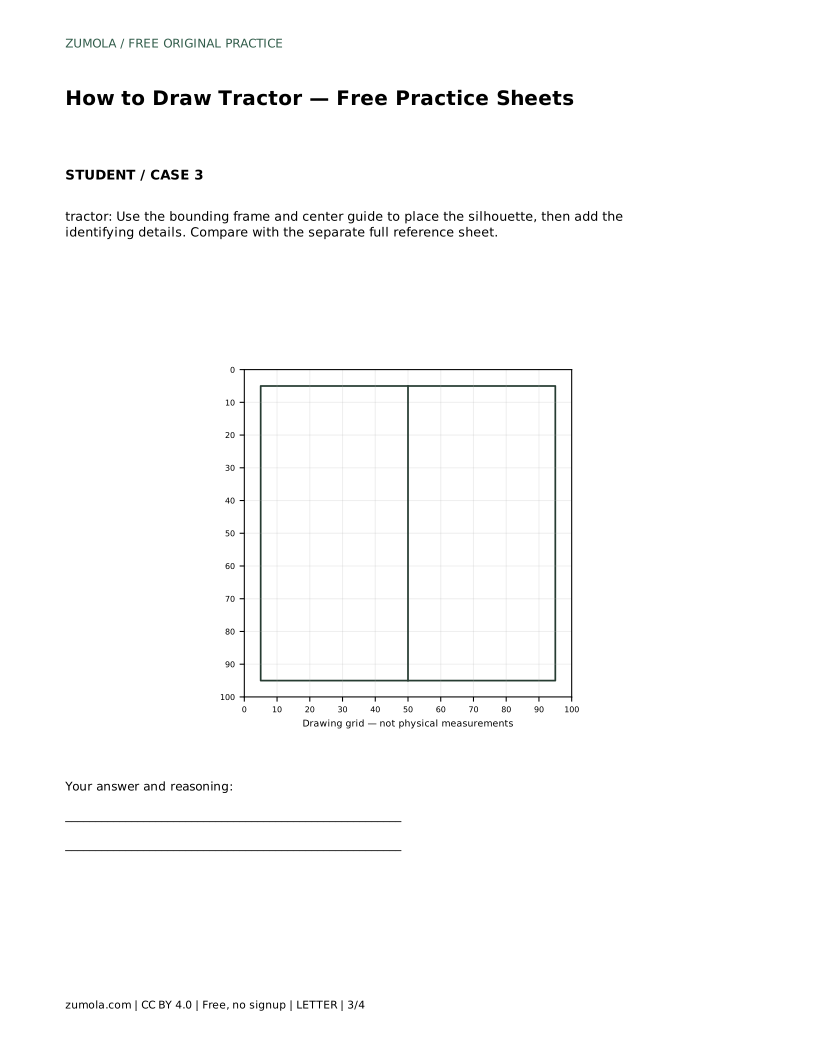
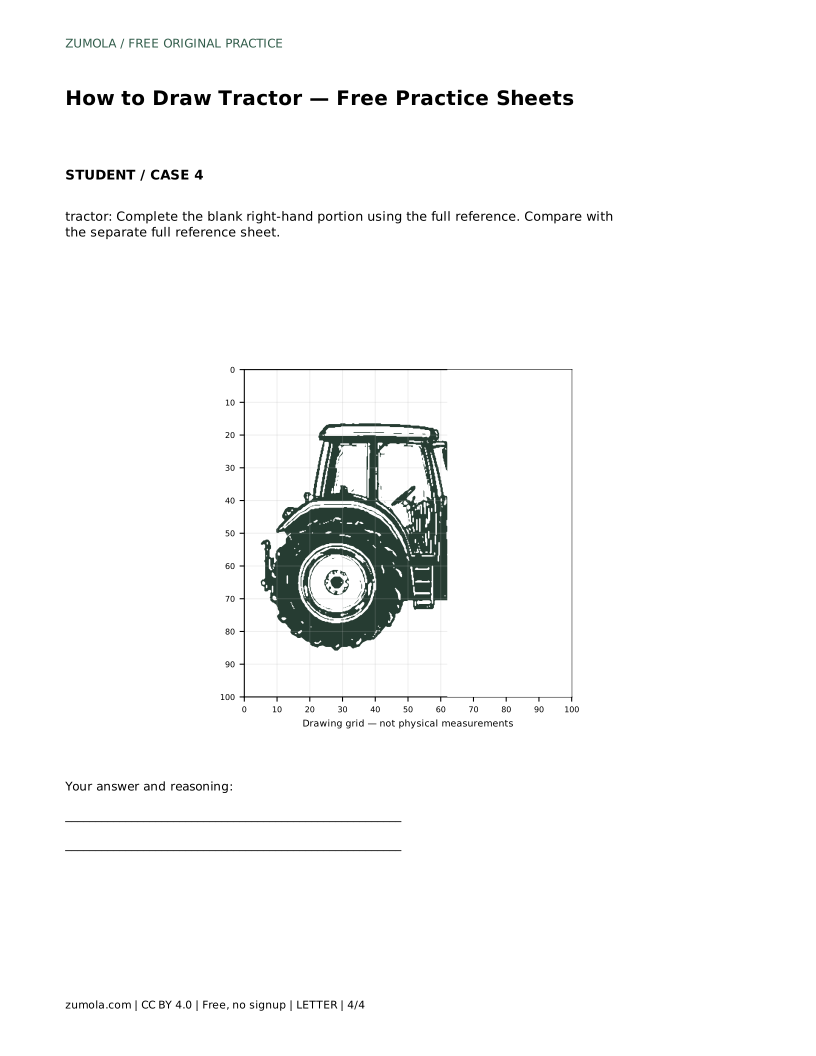
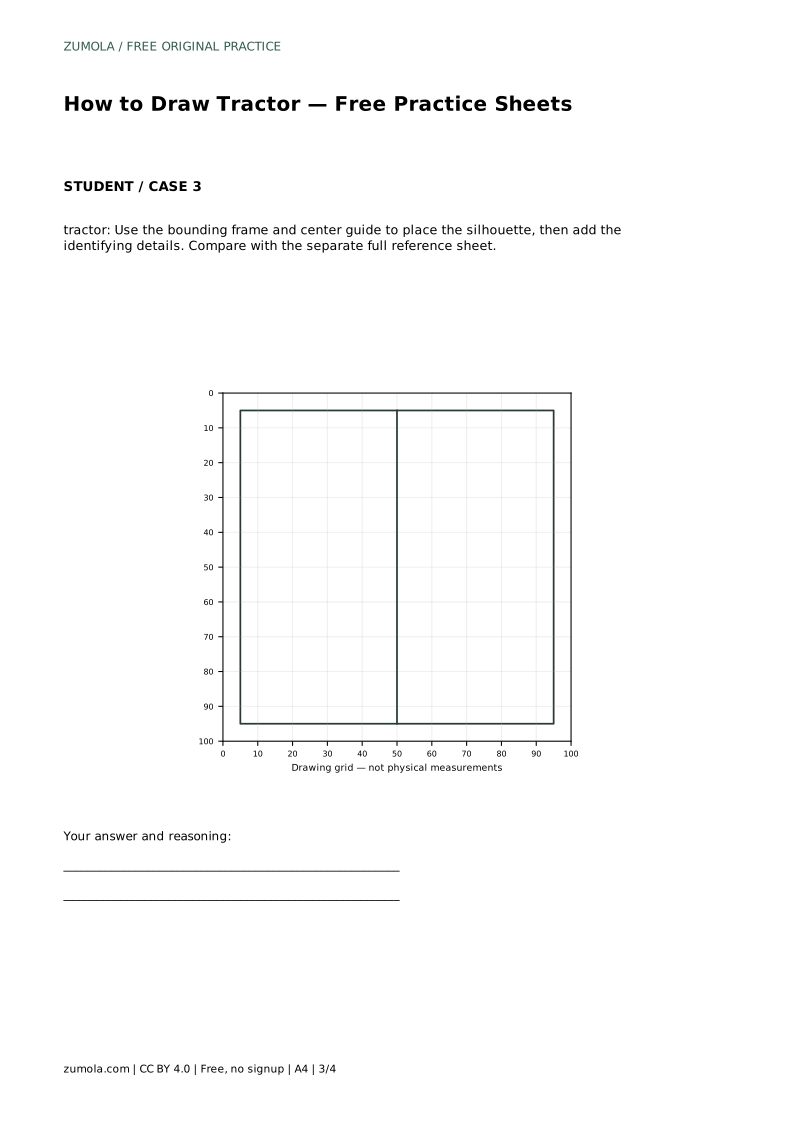
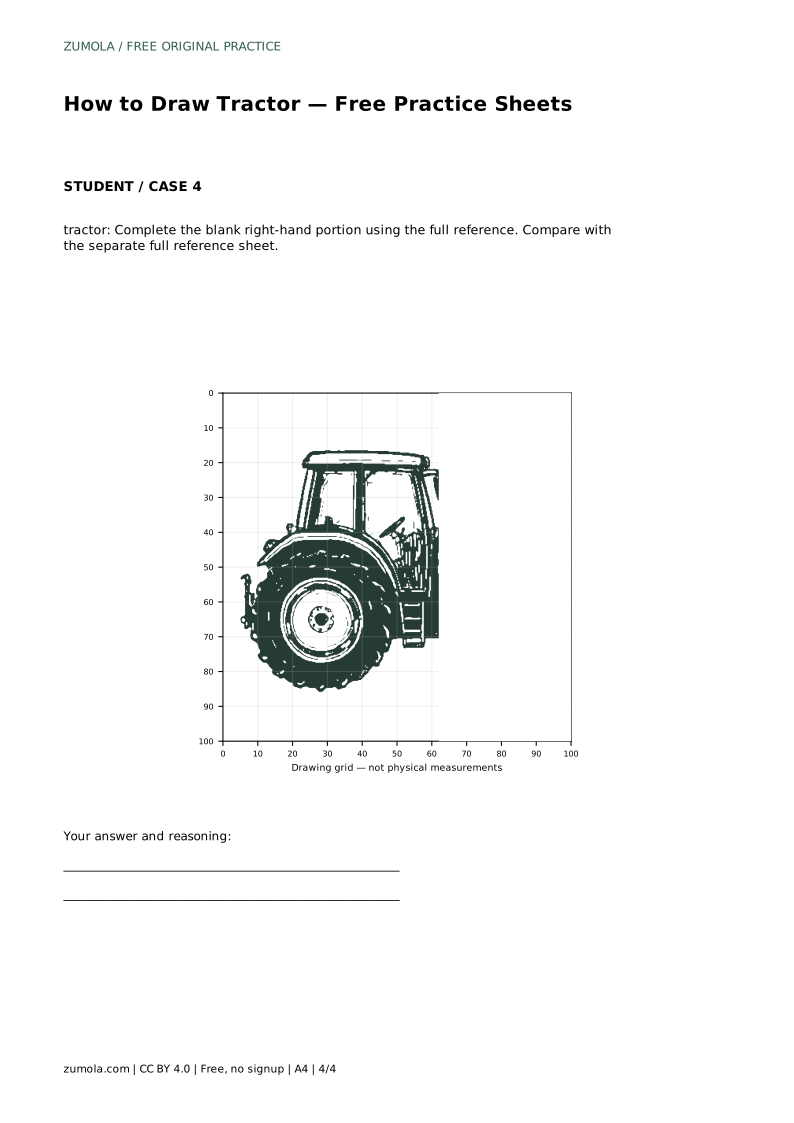
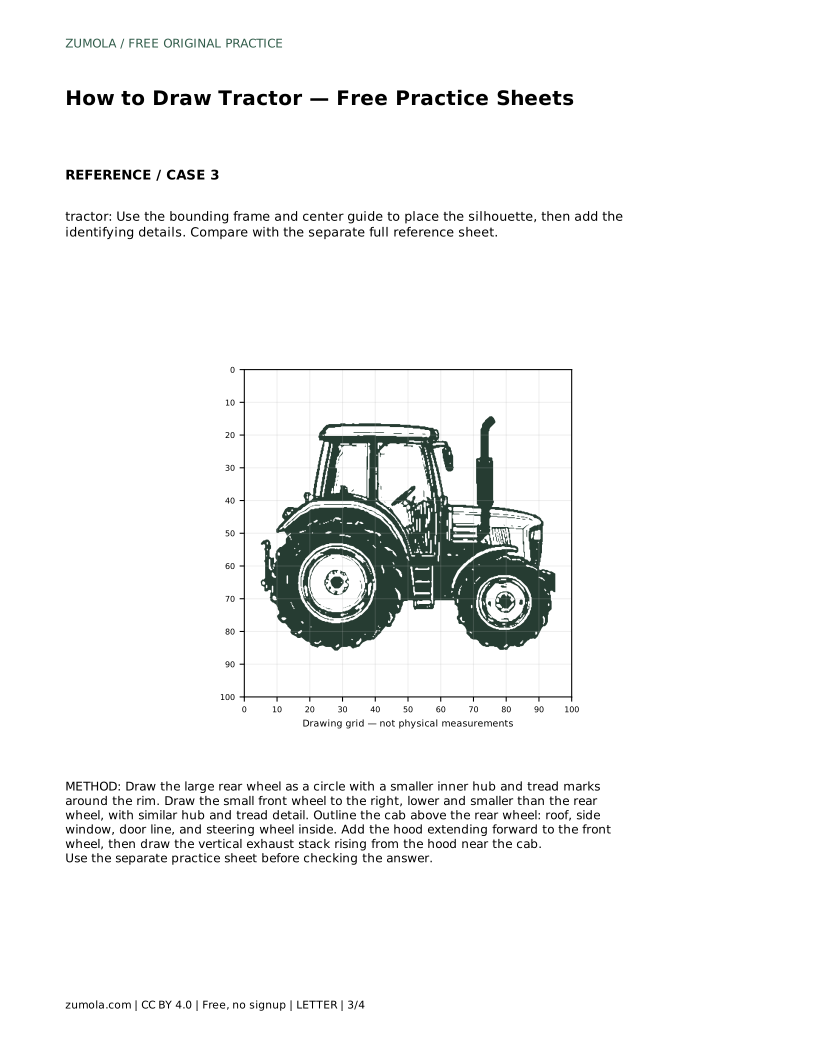
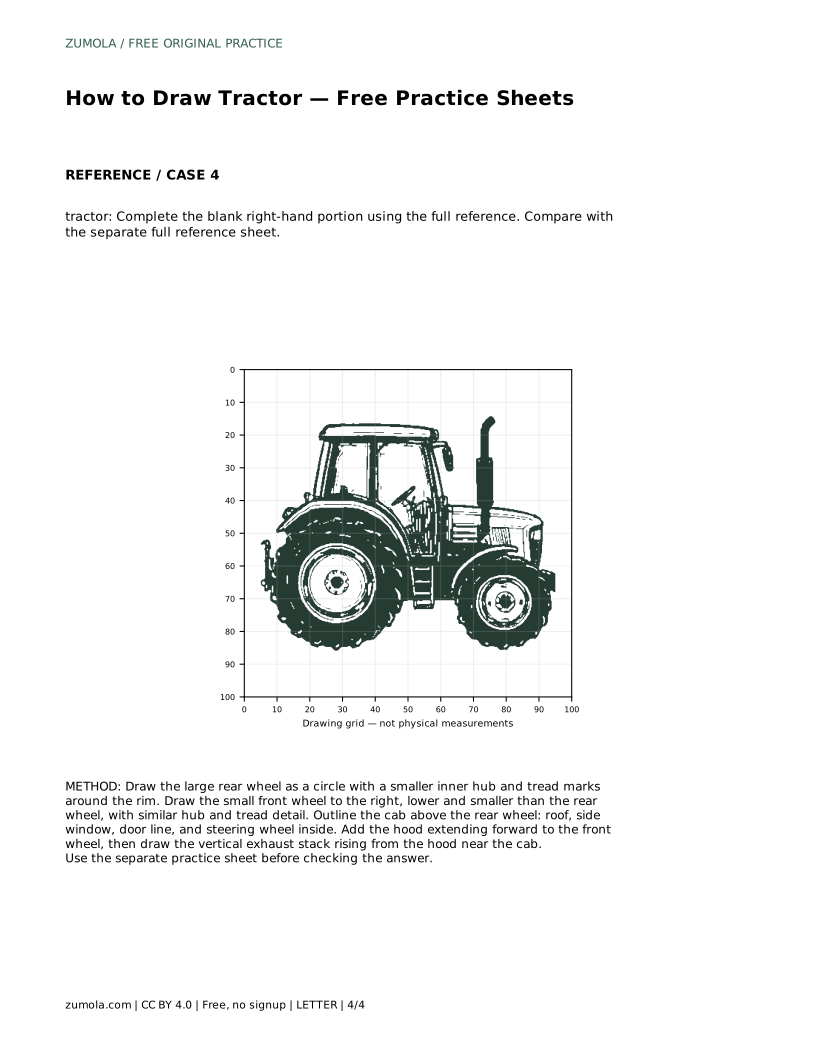
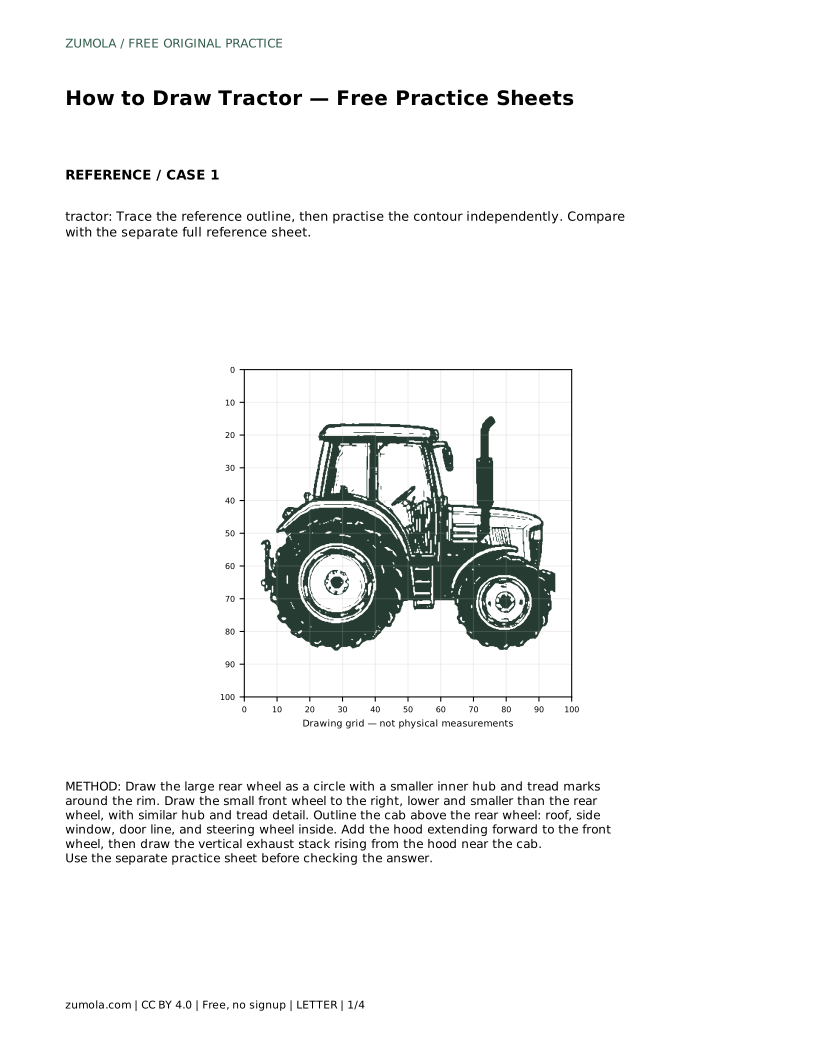
On grid sheets, use matching grid intersections to place the silhouette before adding details. On the bounding-frame sheet, use the center guide to position the overall shape. On the partial sheet, complete the blank right-hand portion using the full reference, keeping the wheel sizes and cab height consistent with the finished left side.
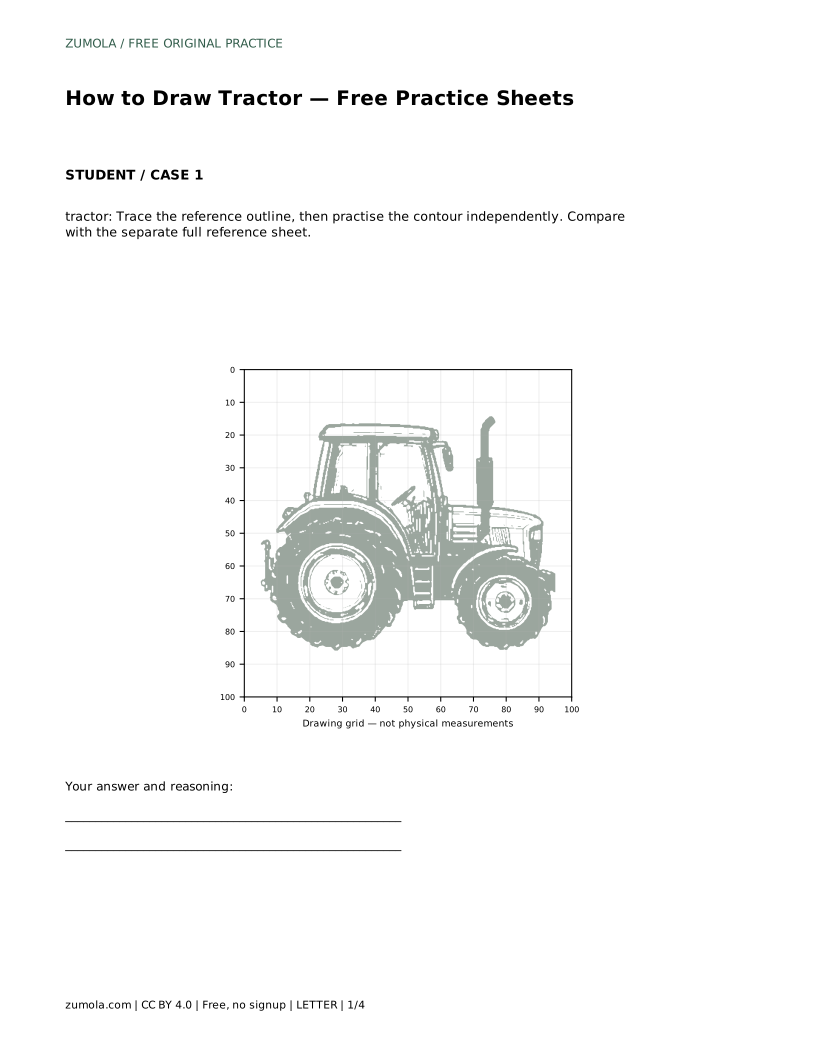
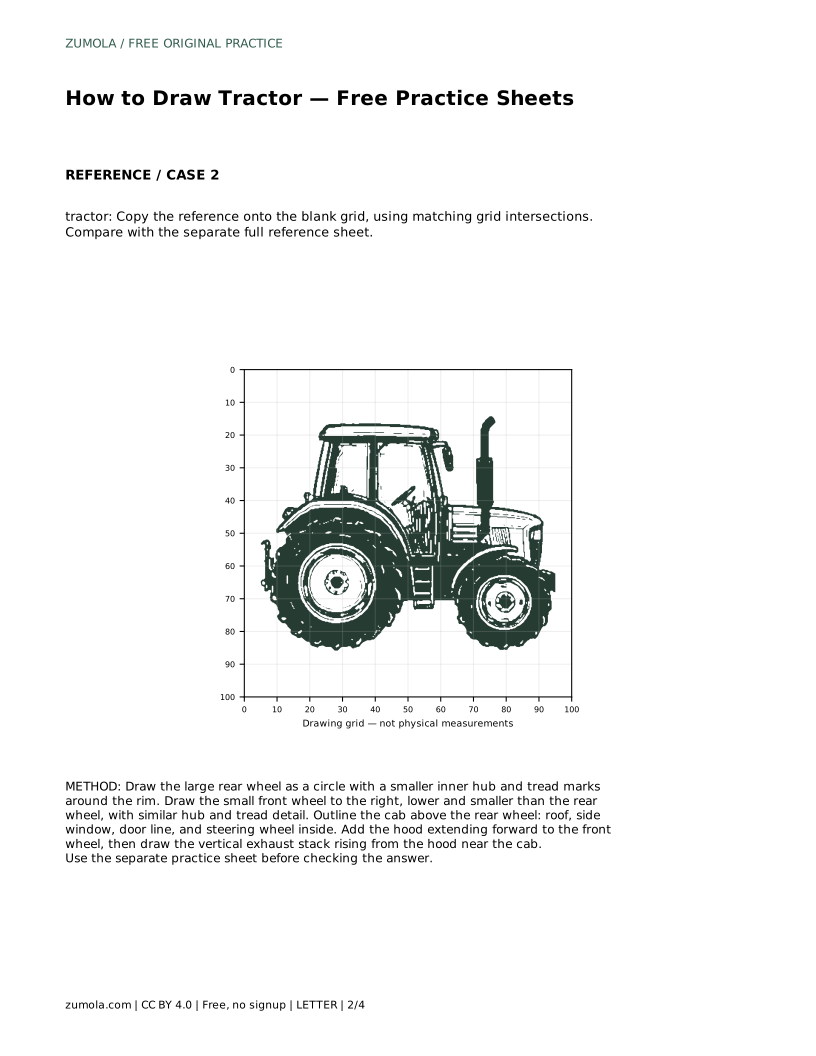
Trace the reference outline first, then practise the contour independently. Tracing builds familiarity with the order of parts; independent drawing tests whether you can place them without guidance. Repeat the sequence until the wheel relationship and cab position feel natural.
tractor: Trace the reference outline, then practise the contour independently. Compare with the separate full reference sheet.
Example solution: preserve large rear wheel with heavy tread and hub detail, small front wheel with tread and hub, enclosed cab with roof, windows, and steering wheel visible. Other drawings can be correct; assess the visible features and proportions rather than pixel-perfect matching. Draw the large rear wheel as a circle with a smaller inner hub and tread marks around the rim. Draw the small front wheel to the right, lower and smaller than the rear wheel, with similar hub and tread detail. Outline the cab above the rear wheel: roof, side window, door line, and steering wheel inside. Add the hood extending forward to the front wheel, then draw the vertical exhaust stack rising from the hood near the cab.
No. Other drawings can be correct. Assess the visible features and proportions rather than pixel-perfect matching.
Start with the large rear wheel, then the small front wheel. The wheels set the stance before the cab and hood are added.
Complete the blank right-hand portion using the full reference, keeping the wheel sizes and cab height consistent with the finished left side.
All drawing practice · Free coordinate paper
Original resources · CC BY 4.0 · Free for personal and classroom use with attribution.