Reference diagrams
LETTER · Download PDF
A4 · Download PDF
Free original resources
Learn to draw a truck by tracing its outline, copying it on a grid, and completing a partial drawing. Build the cab, cargo bed, and wheels step by step.
Four original cases, with reference diagrams, practice sheets and worked answers. Everything is free; no signup required.
LETTER · Download PDF
A4 · Download PDF
LETTER · Download PDF
A4 · Download PDF
LETTER · Download PDF
A4 · Download PDF
Use A4 or US Letter to match your printer. Use the stated values and conditions to solve each exercise; diagrams are not physical measuring rulers.
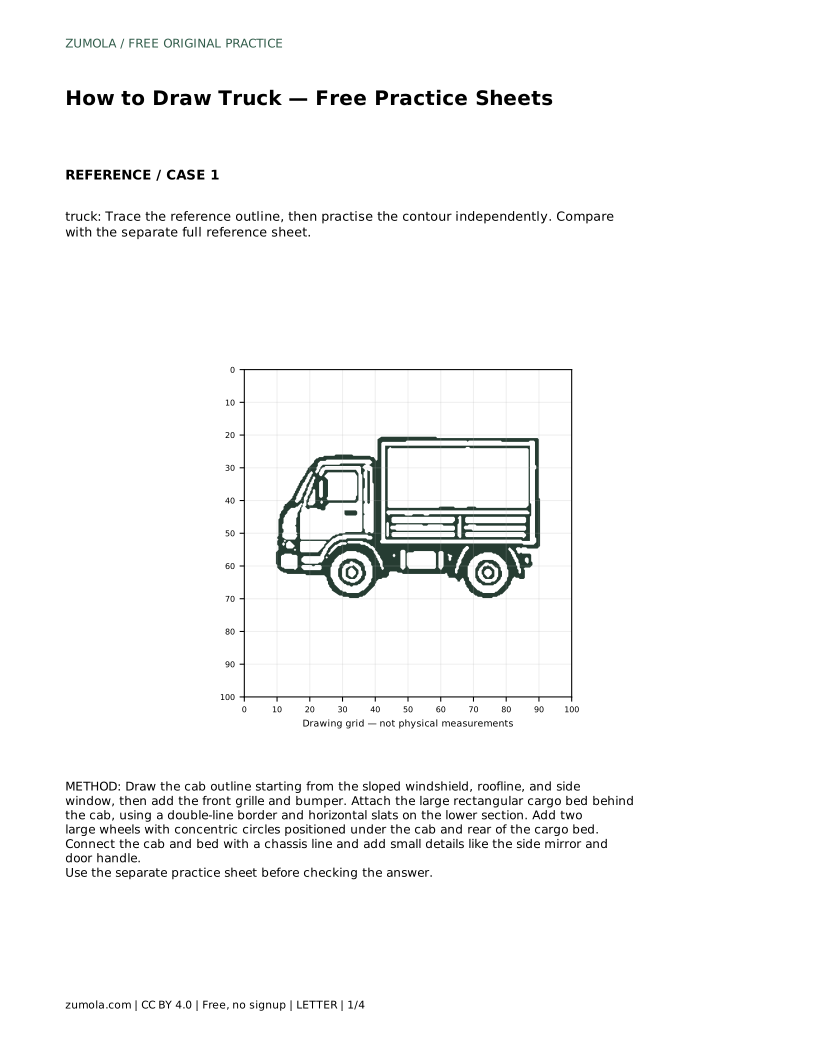
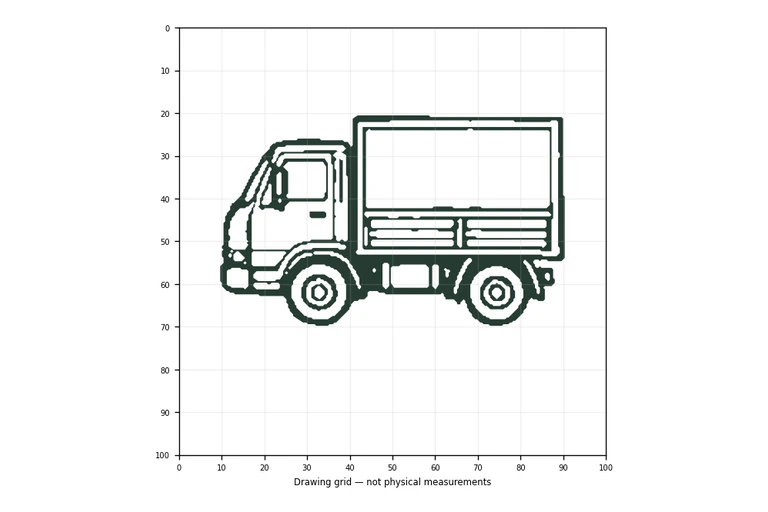
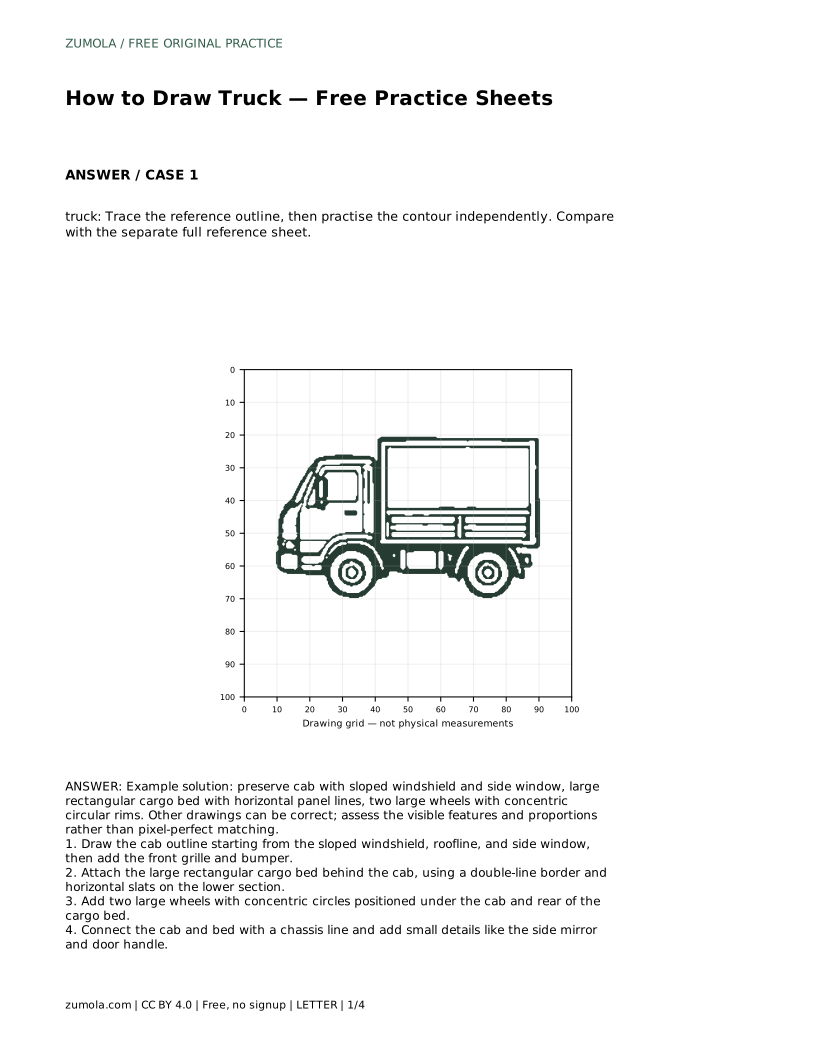
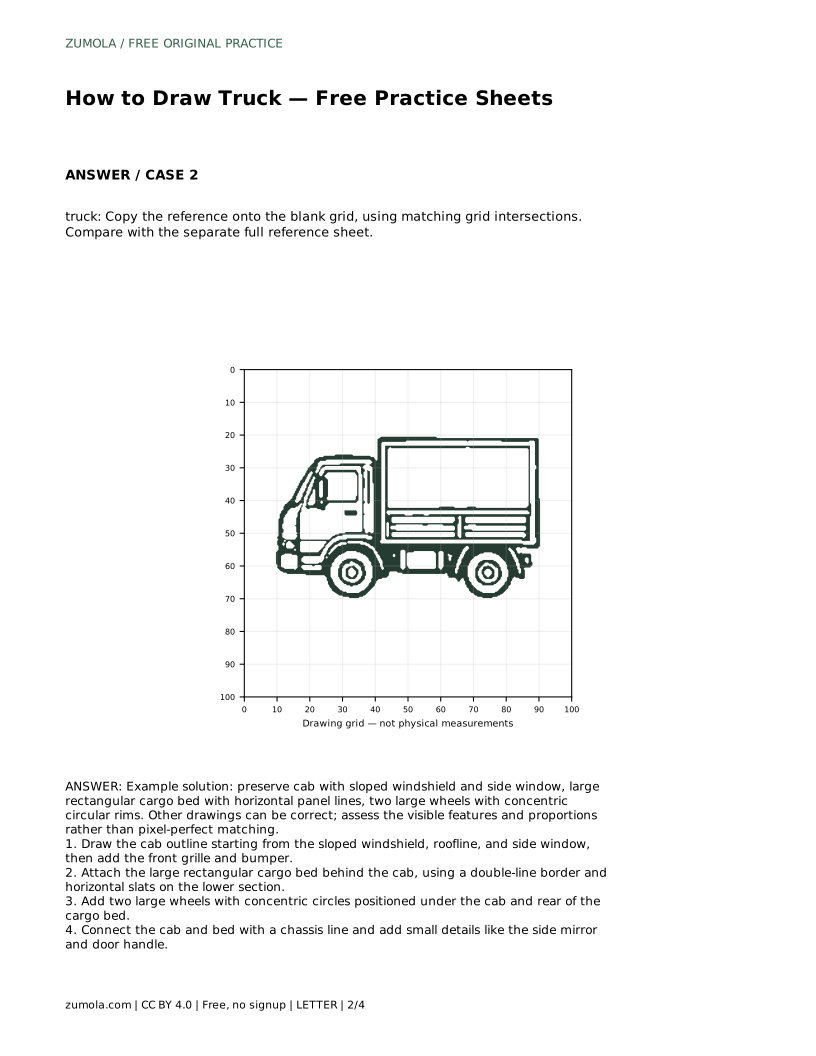
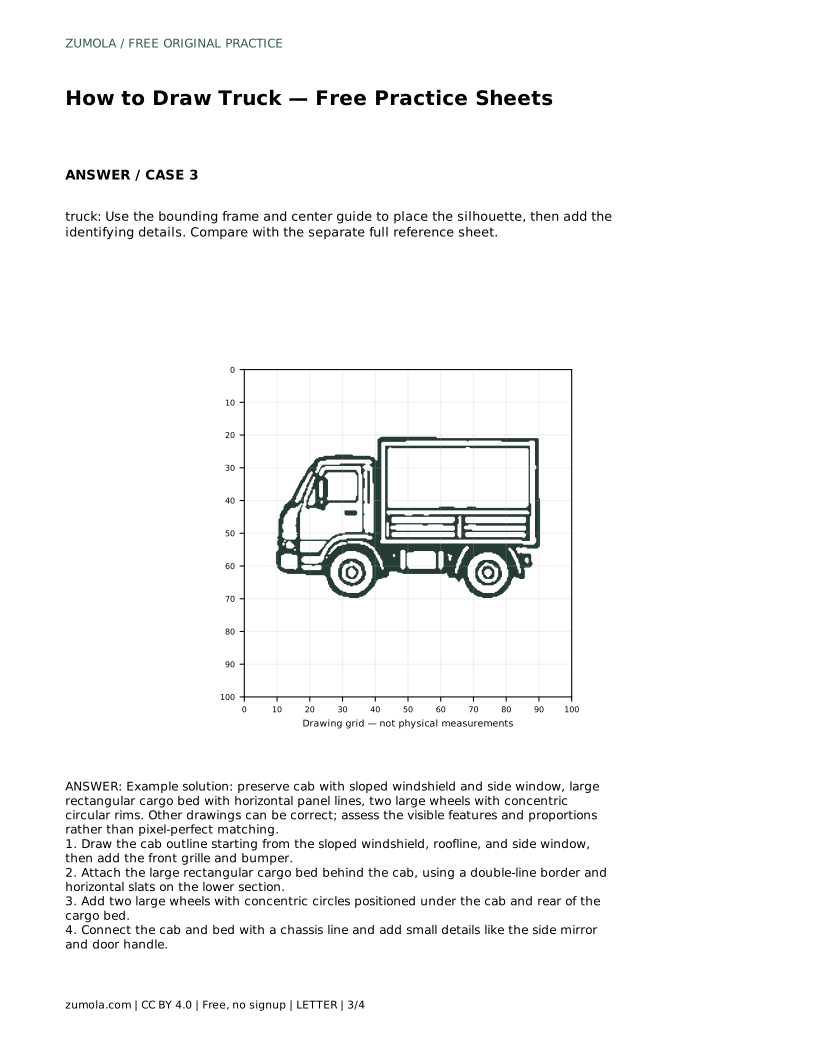
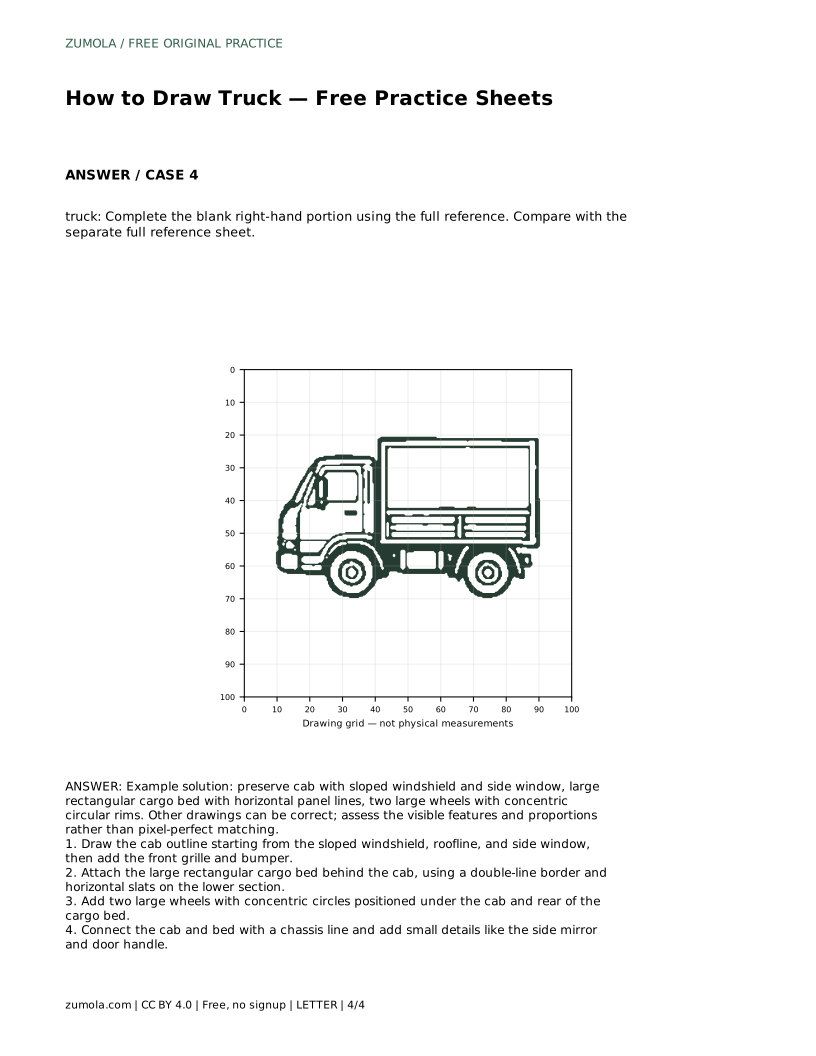
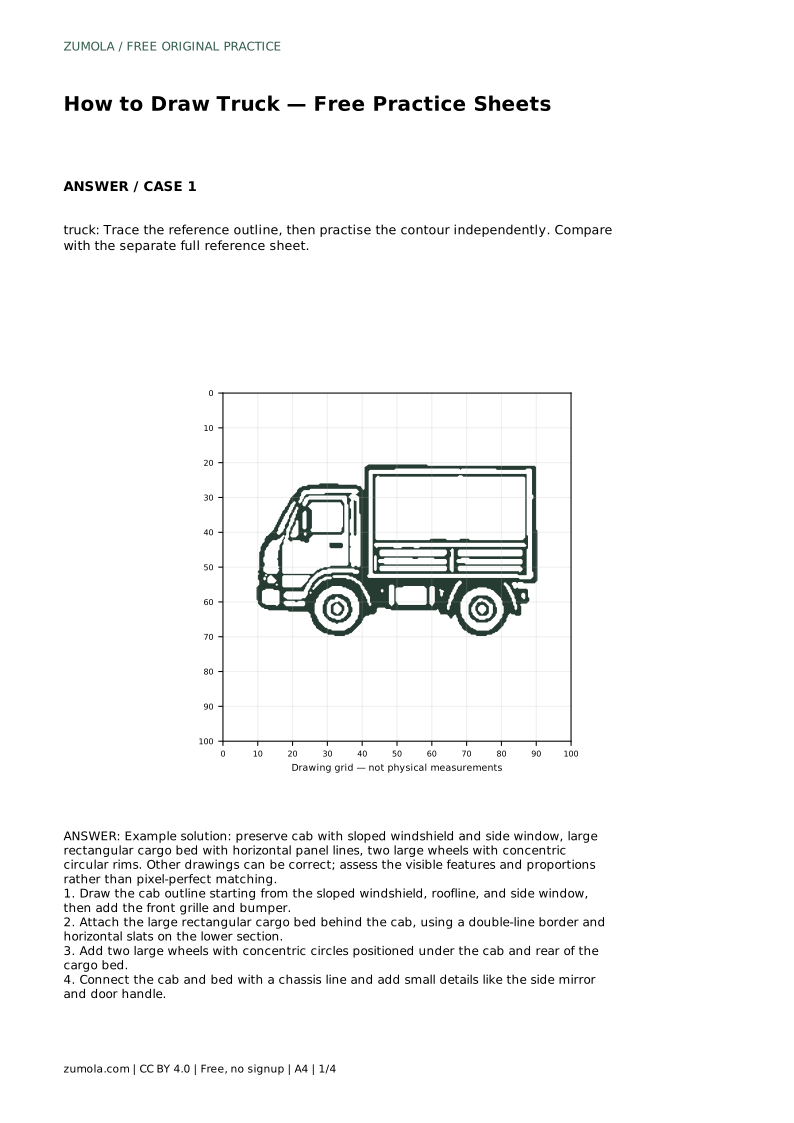
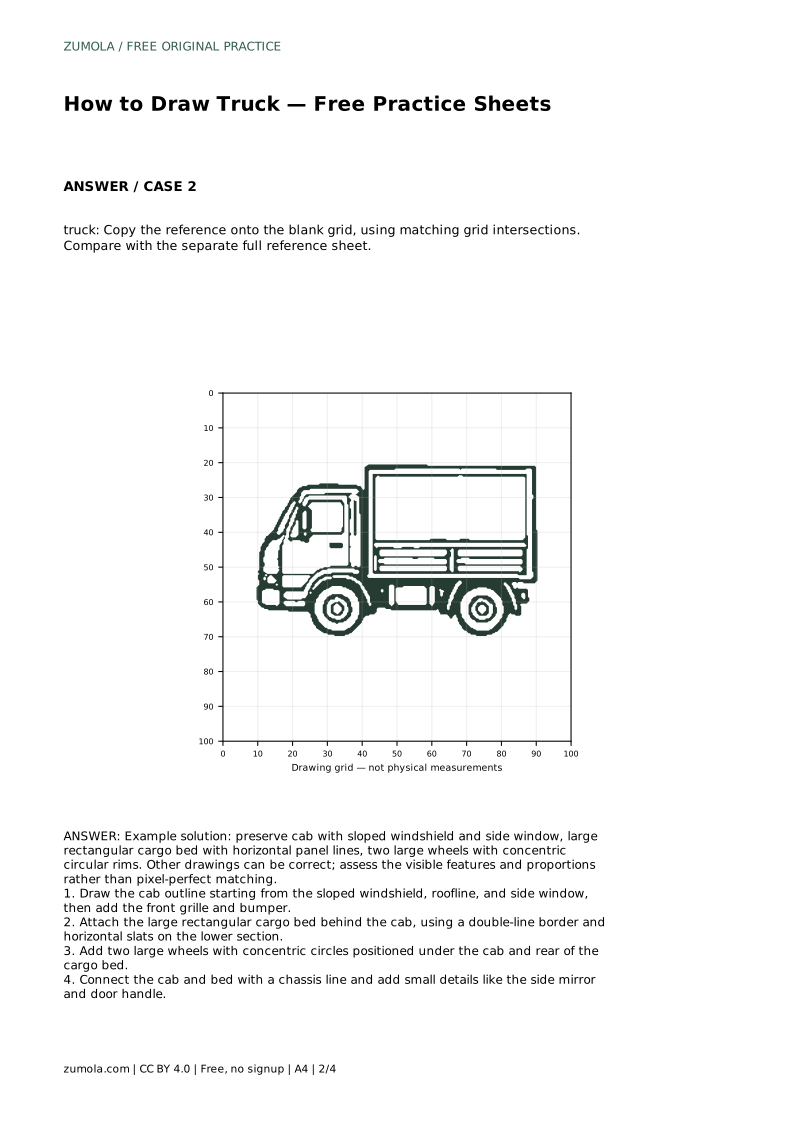
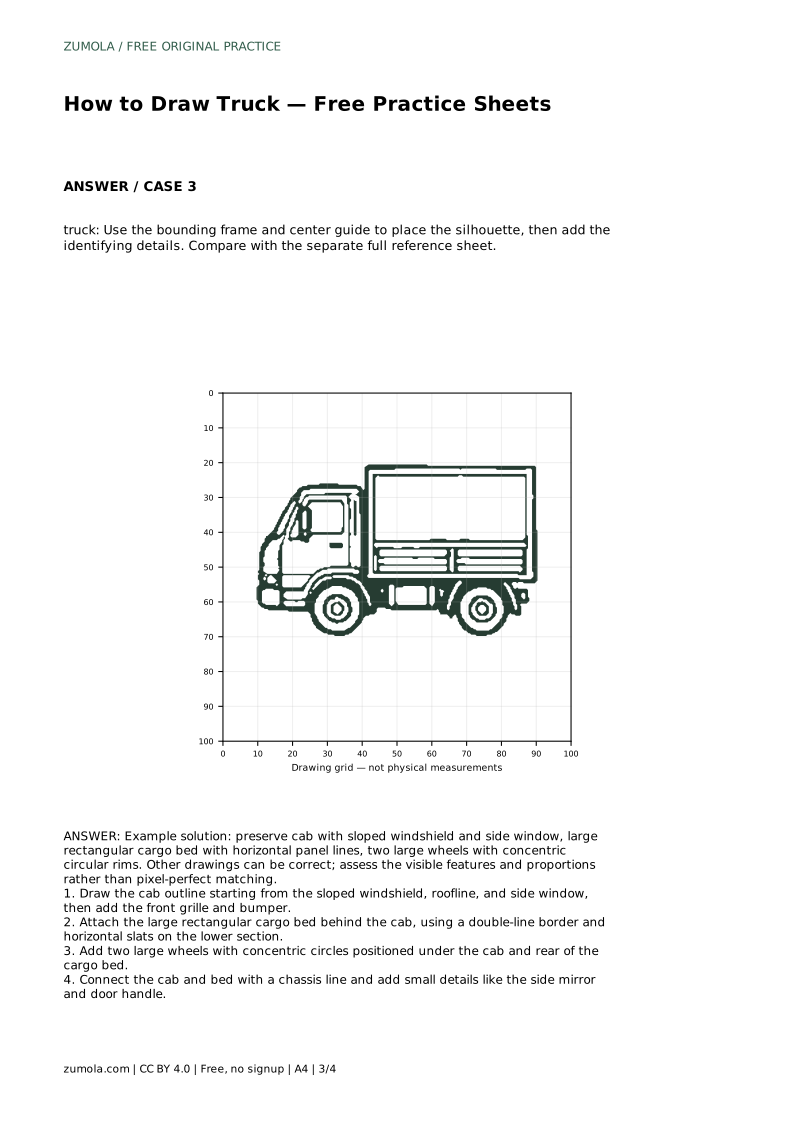
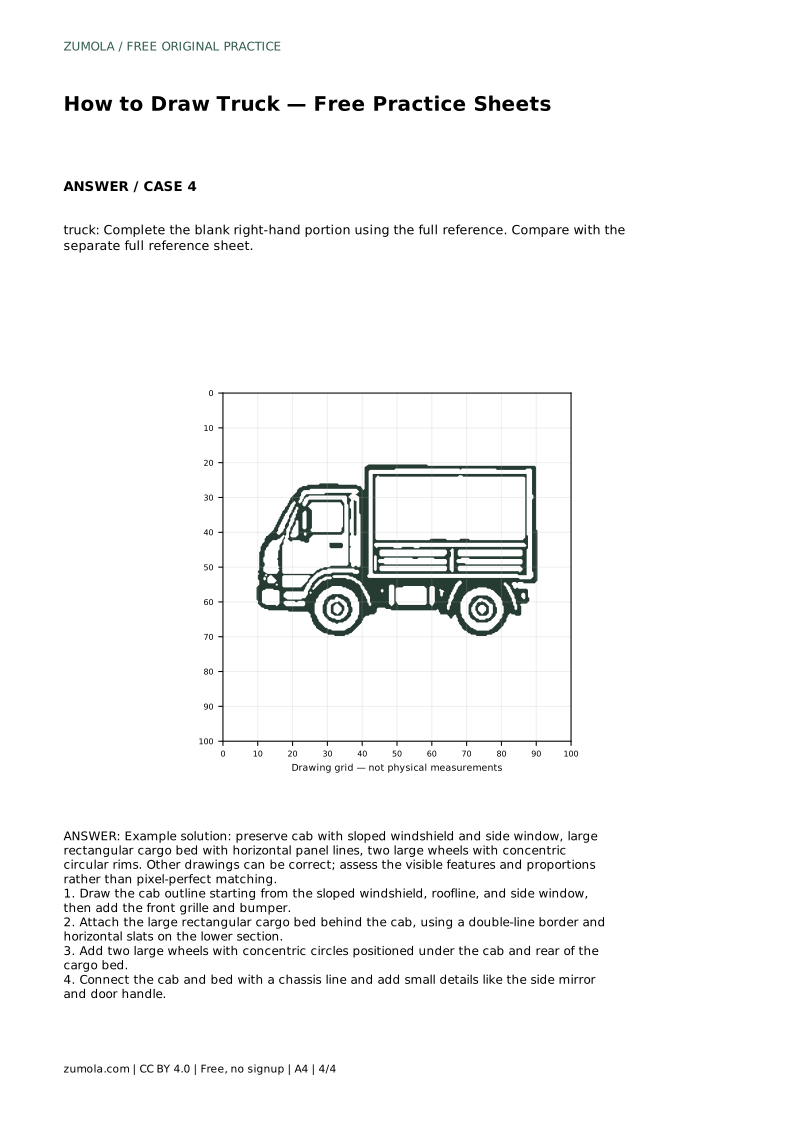
Drawing a truck is mostly a matter of arranging a few clear shapes in the right order. This page shows how to build the cab, cargo bed, chassis, and wheels so the finished drawing reads as a truck rather than a stack of rectangles. The practice sheets let you trace a reference outline first, then try the same contour independently and compare your result with the full reference sheet.
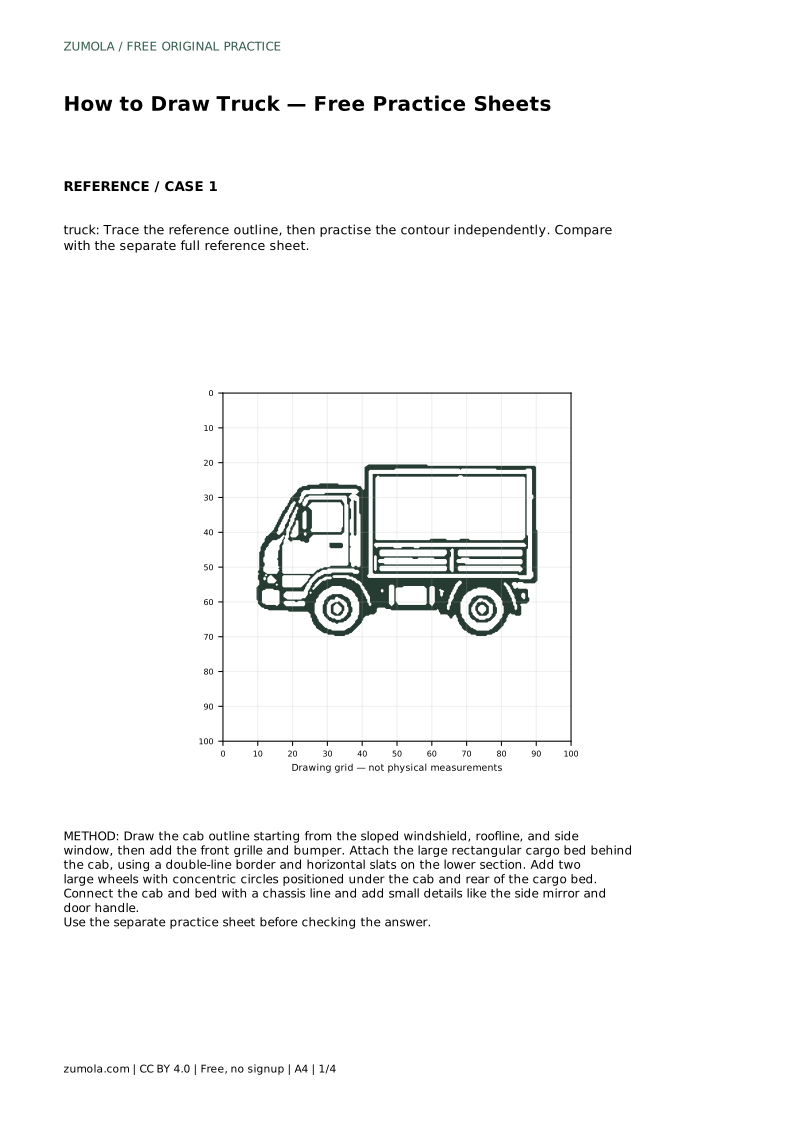
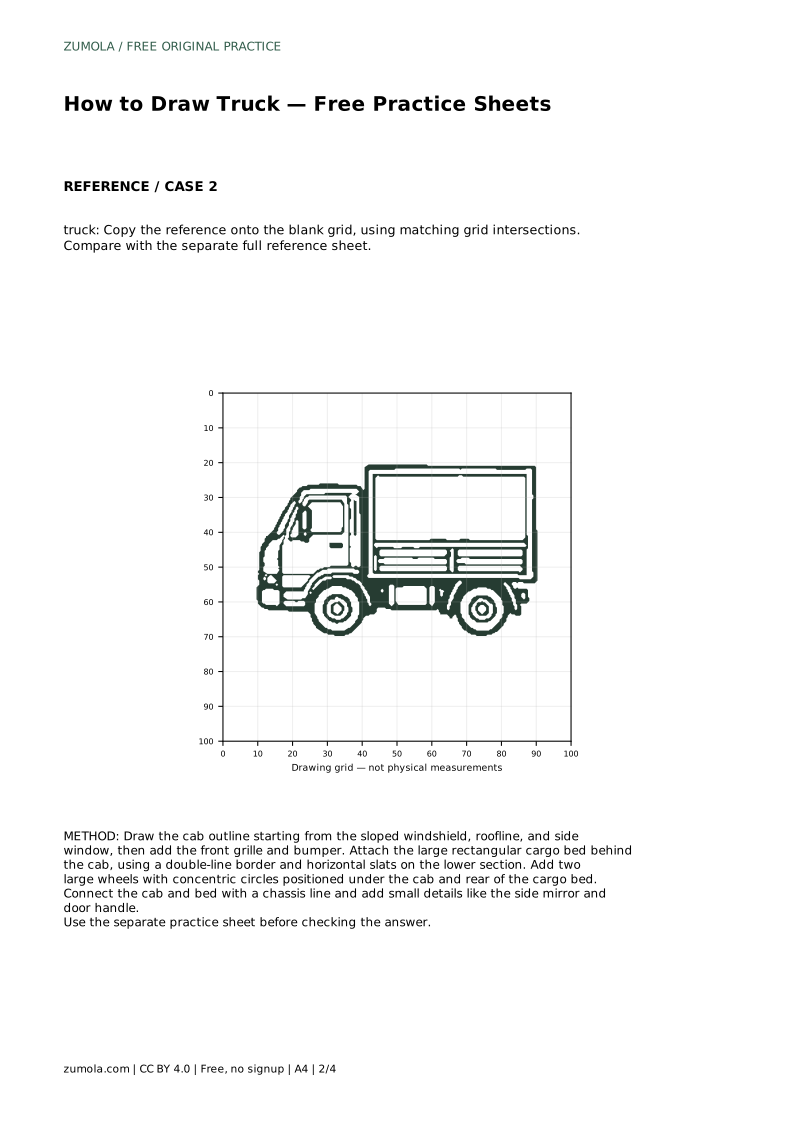
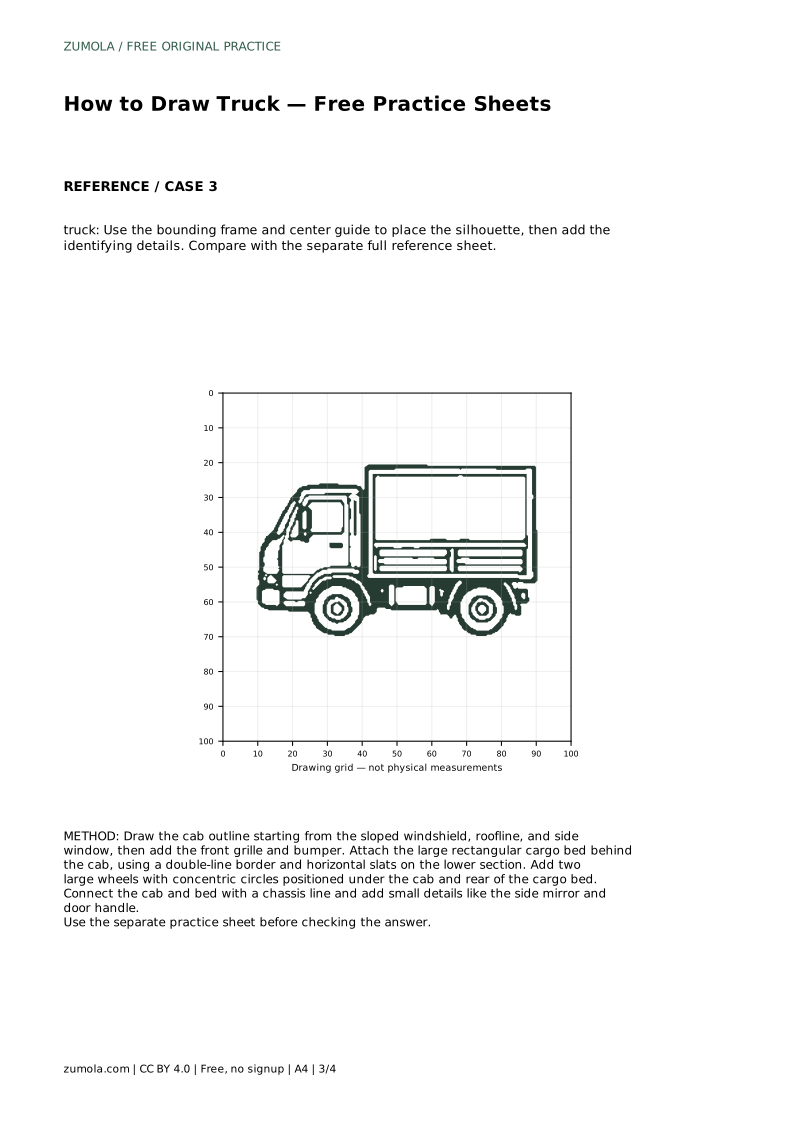
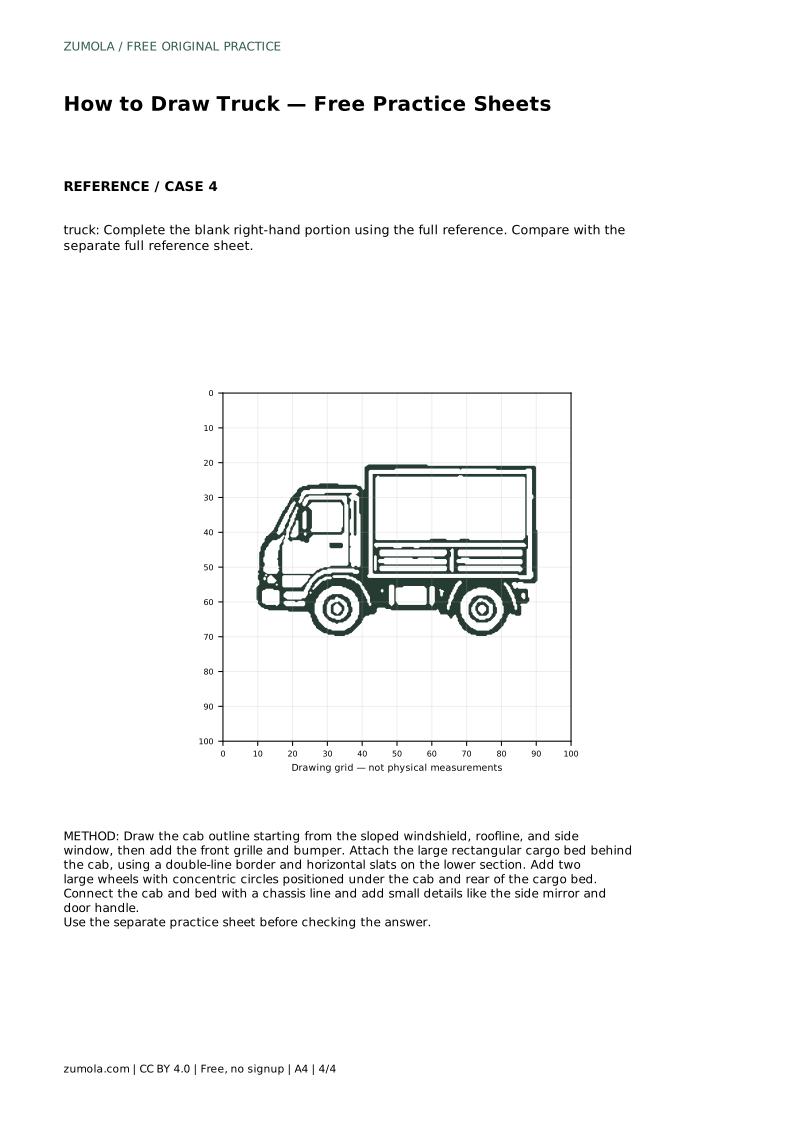
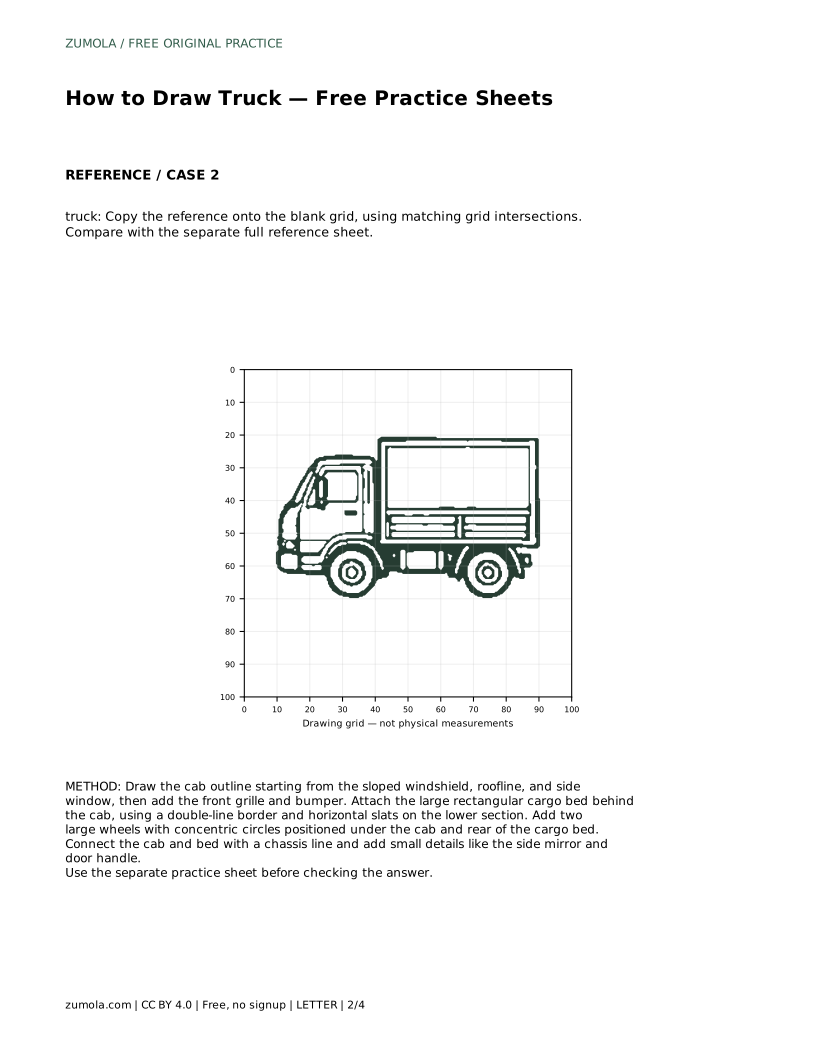
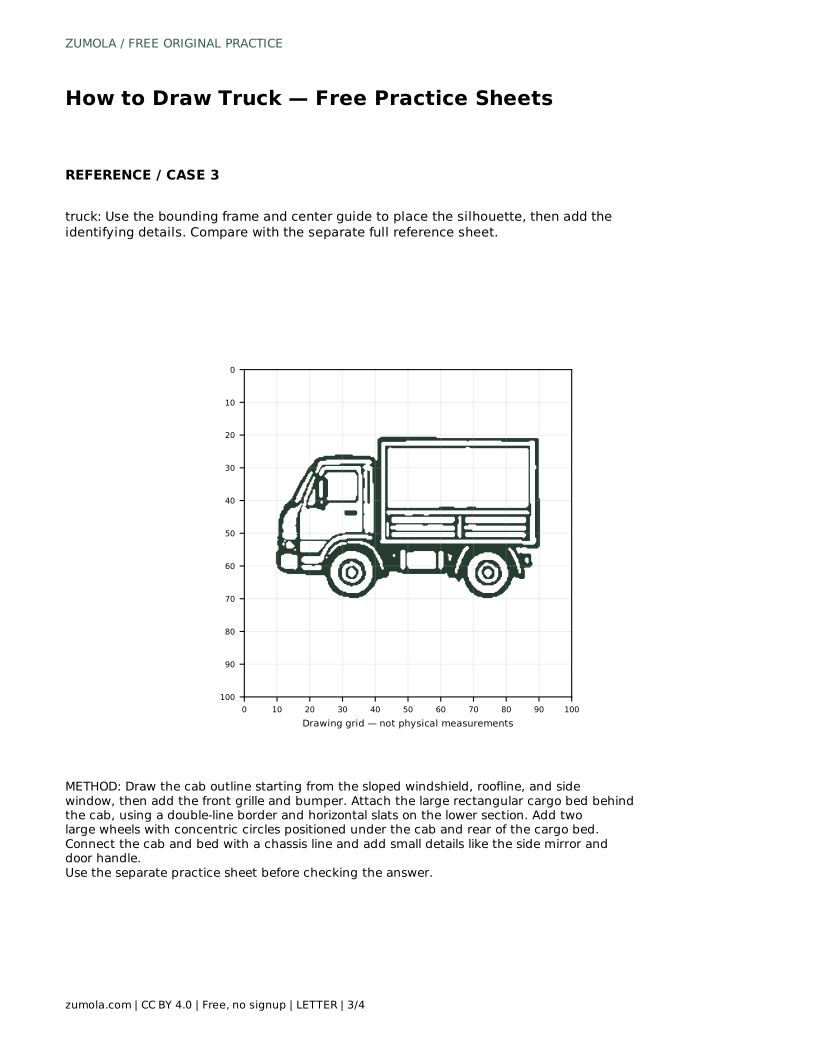
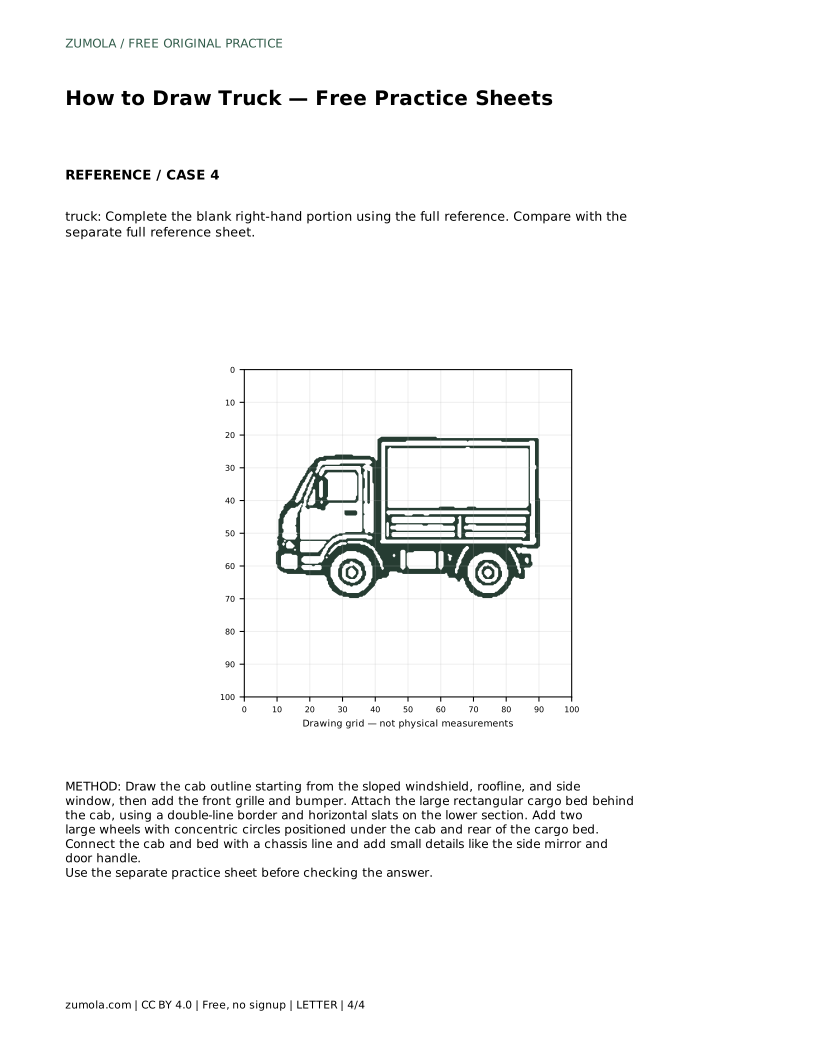
The cab is the most recognizable part of the truck, so draw it first. Begin at the sloped windshield: a line that leans back slightly from the front of the vehicle toward the roof. From the top of that slope, draw the roofline across to the rear of the cab. Drop a short vertical line for the back of the cab, then close the shape along the bottom. Add the side window inside the cab outline, keeping its edges roughly parallel to the cab edges. Finish the front with a grille and a bumper below it. Working front to back keeps the proportions consistent, because each new part is measured against the cab you already drew.
The cargo bed sits behind the cab and is usually longer than the cab is tall. Draw it as a large rectangle whose top edge is close to the cab roofline. Give the bed a double-line border so the sides read as having thickness, and add horizontal slats across the lower section to suggest panels. Then connect the cab and bed with a chassis line running along the bottom. This line is what makes the two separate shapes feel like one vehicle, so keep it level and continuous. Small details such as a side mirror on the cab and a door handle help the drawing read clearly without adding clutter.
A truck needs two visible wheels in a side view: one under the cab and one under the rear of the cargo bed. Draw each wheel as a large circle, then add a smaller concentric circle inside for the rim. Concentric means the circles share the same center, so the rim sits evenly inside the tire. Check that both wheels touch the same ground line and that the chassis line passes above them rather than through their centers. When you compare your drawing with the full reference sheet, look at the visible features and proportions rather than expecting a pixel-perfect match. Different line weights and small detail choices are fine as long as the cab, bed, and wheels are clearly present and sensibly sized.
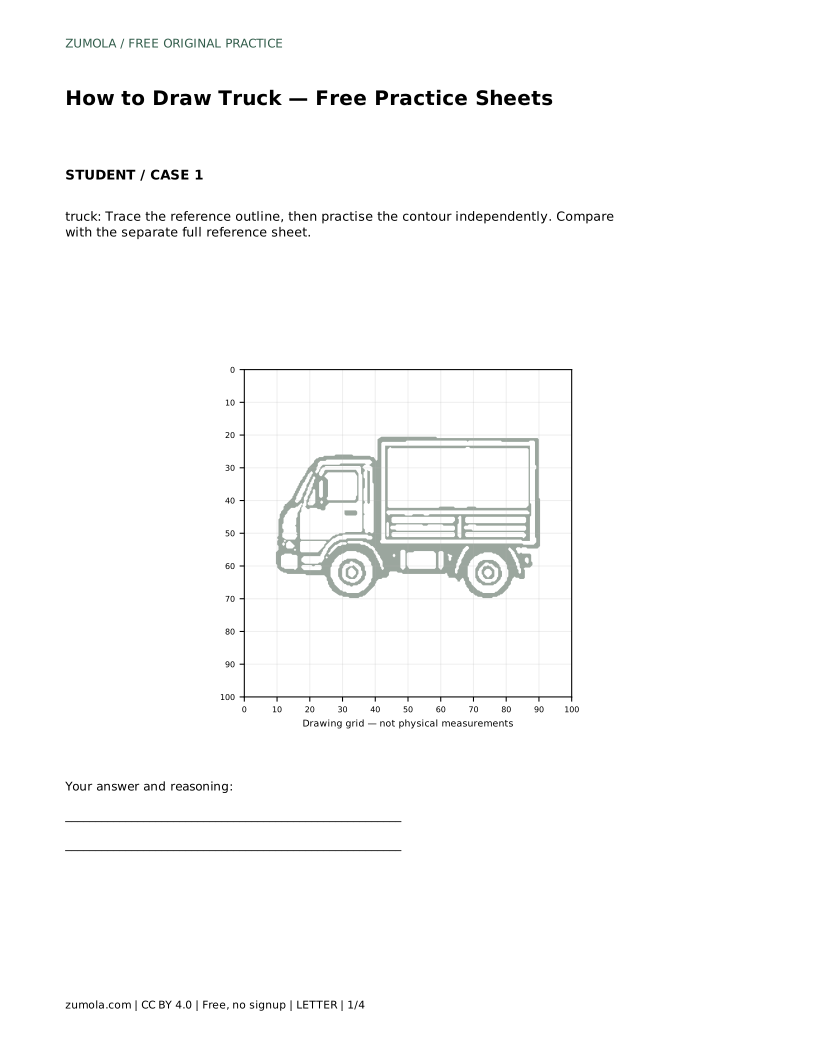
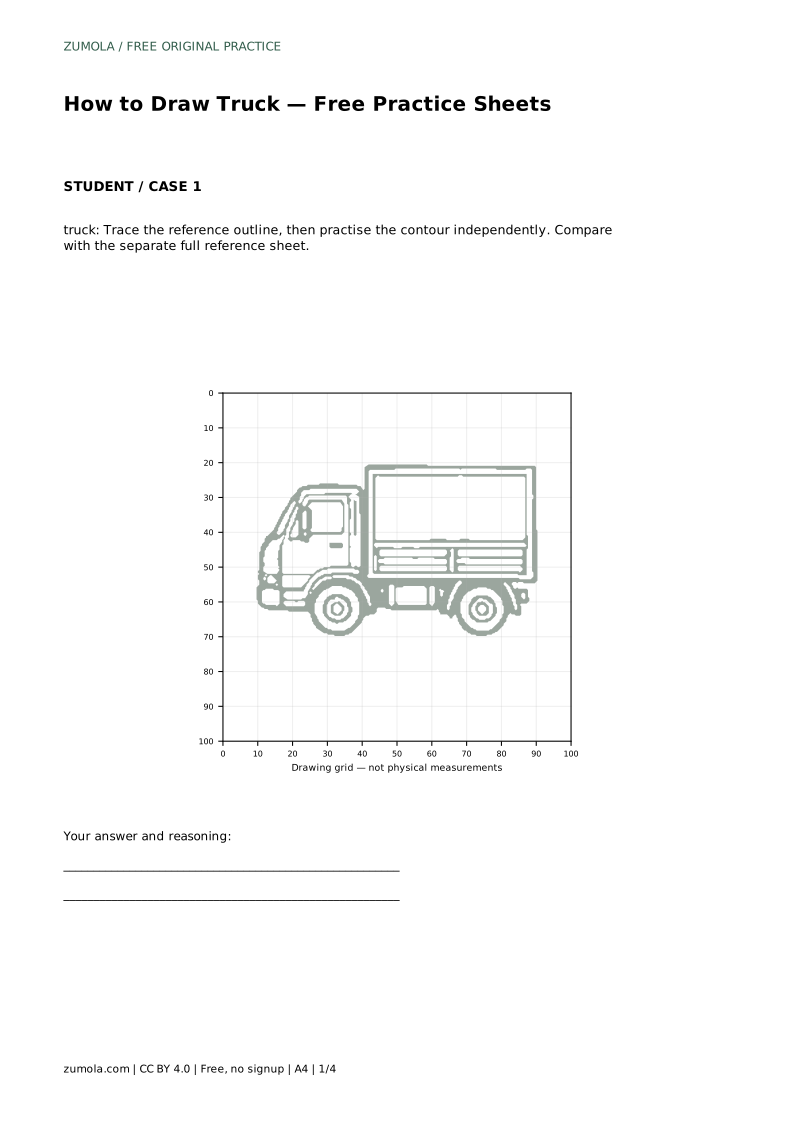
truck: Trace the reference outline, then practise the contour independently. Compare with the separate full reference sheet.
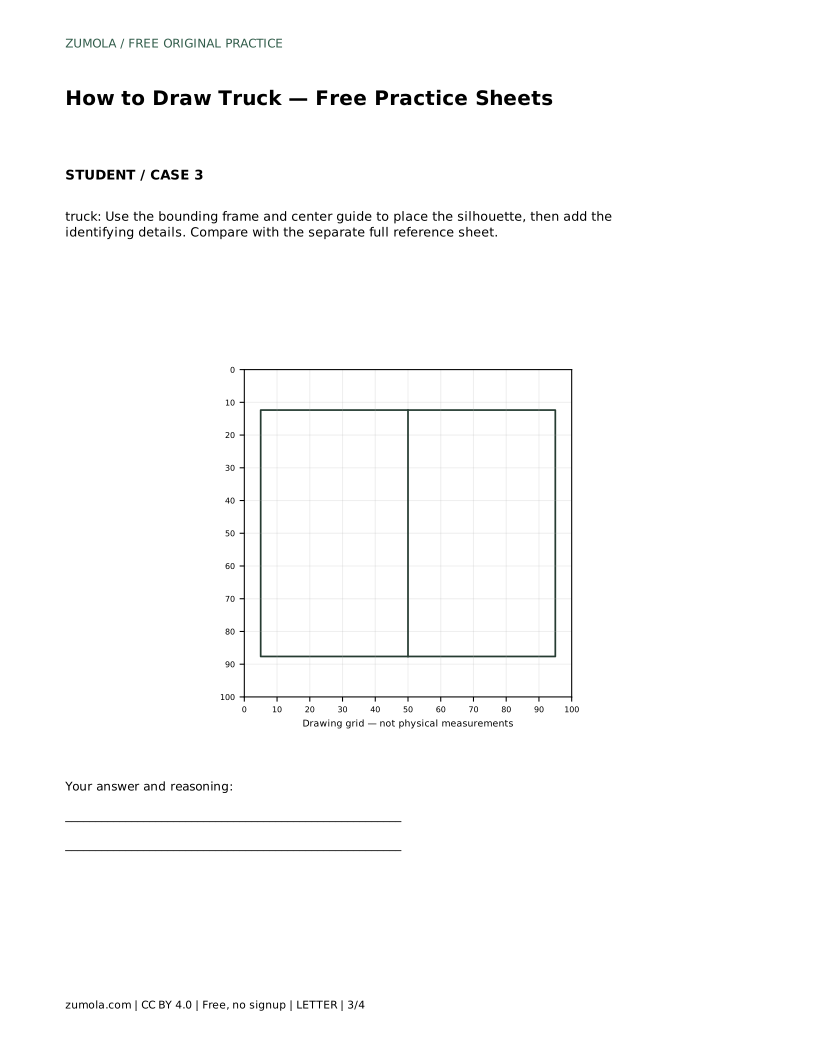
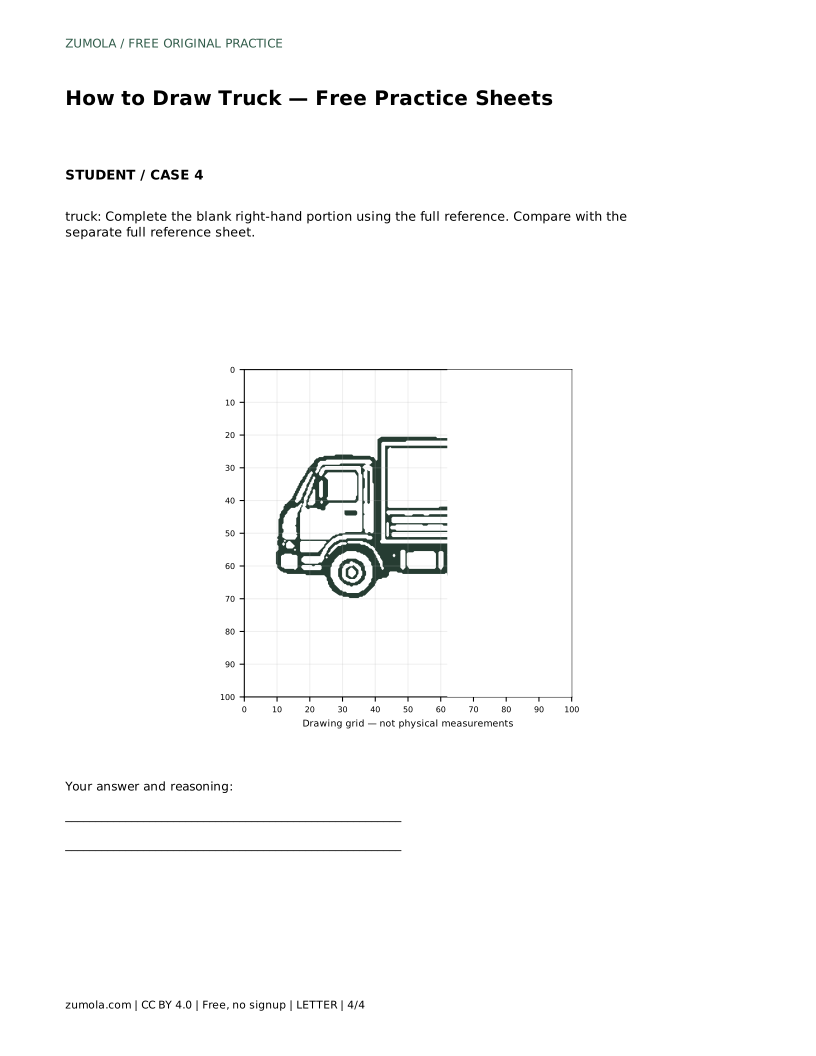
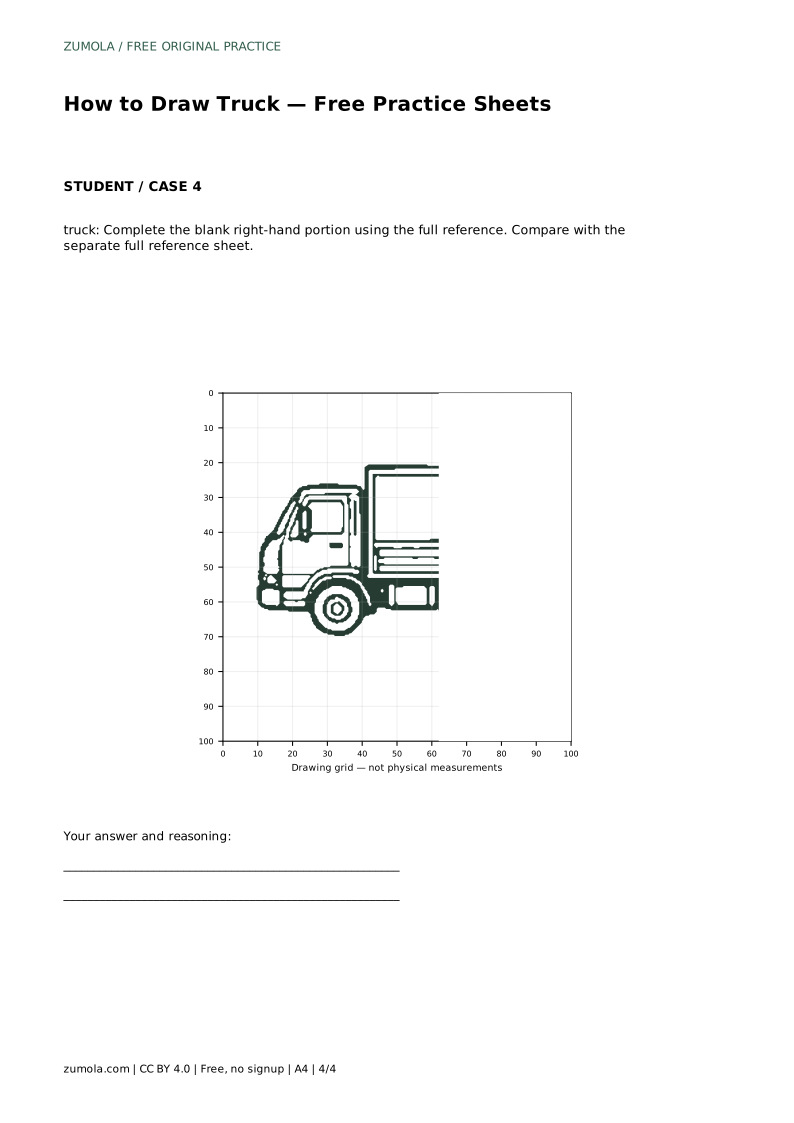
Example solution: preserve cab with sloped windshield and side window, large rectangular cargo bed with horizontal panel lines, two large wheels with concentric circular rims. Other drawings can be correct; assess the visible features and proportions rather than pixel-perfect matching. Draw the cab outline starting from the sloped windshield, roofline, and side window, then add the front grille and bumper. Attach the large rectangular cargo bed behind the cab, using a double-line border and horizontal slats on the lower section. Add two large wheels with concentric circles positioned under the cab and rear of the cargo bed. Connect the cab and bed with a chassis line and add small details like the side mirror and door handle.
Tracing first helps you feel the order of the shapes. After tracing the reference outline, try the same contour on a blank area and compare it with the full reference sheet.
Two visible wheels are enough for a clear side view: one under the cab and one under the rear of the cargo bed.
That is acceptable. Check that the cab with its sloped windshield and side window, the long cargo bed with panel lines, and the two wheels with concentric rims are all present and reasonably proportioned.
All drawing practice · Free coordinate paper
Original resources · CC BY 4.0 · Free for personal and classroom use with attribution.