Reference diagrams
LETTER · Download PDF
A4 · Download PDF
Free original resources
Learn to draw a kayak by building a long tapered hull, a central cockpit with seat and backrest, two deck hatches and rigging lines, then check your work with a rubric.
Four original cases, with reference diagrams, practice sheets and worked answers. Everything is free; no signup required.
LETTER · Download PDF
A4 · Download PDF
LETTER · Download PDF
A4 · Download PDF
LETTER · Download PDF
A4 · Download PDF
Use A4 or US Letter to match your printer. Use the stated values and conditions to solve each exercise; diagrams are not physical measuring rulers.
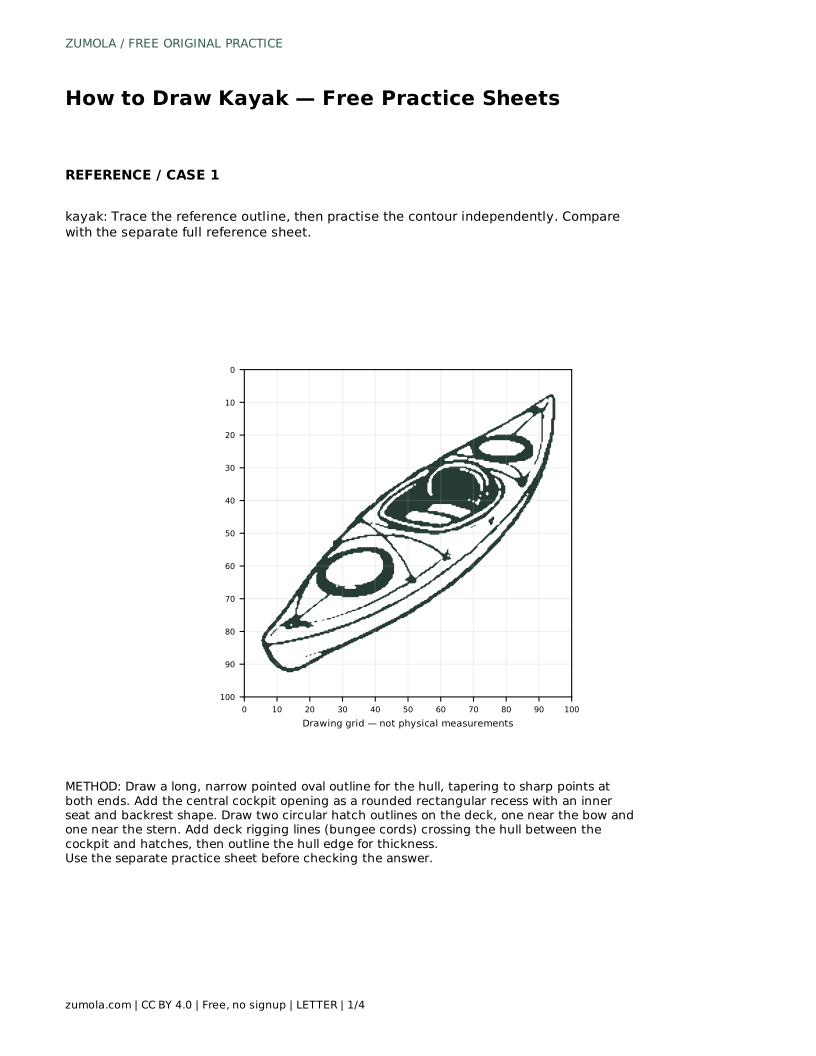
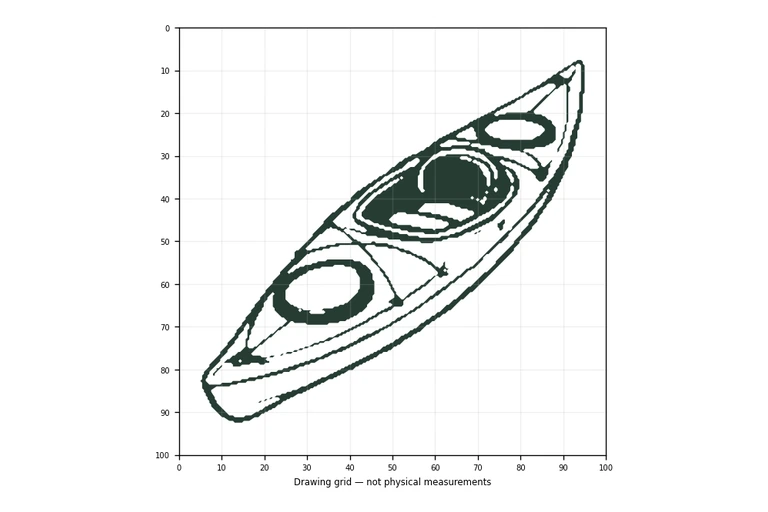
A kayak is easy to recognise but surprisingly easy to draw too wide, too short or too flat. This page breaks the drawing into a clear order: hull silhouette first, cockpit second, hatches third, rigging last. Each stage has a check you can make before moving on. The practice sheets let you trace, copy onto a grid, place the shape inside a frame, or complete a partly drawn version, so you can choose the support level that suits you.
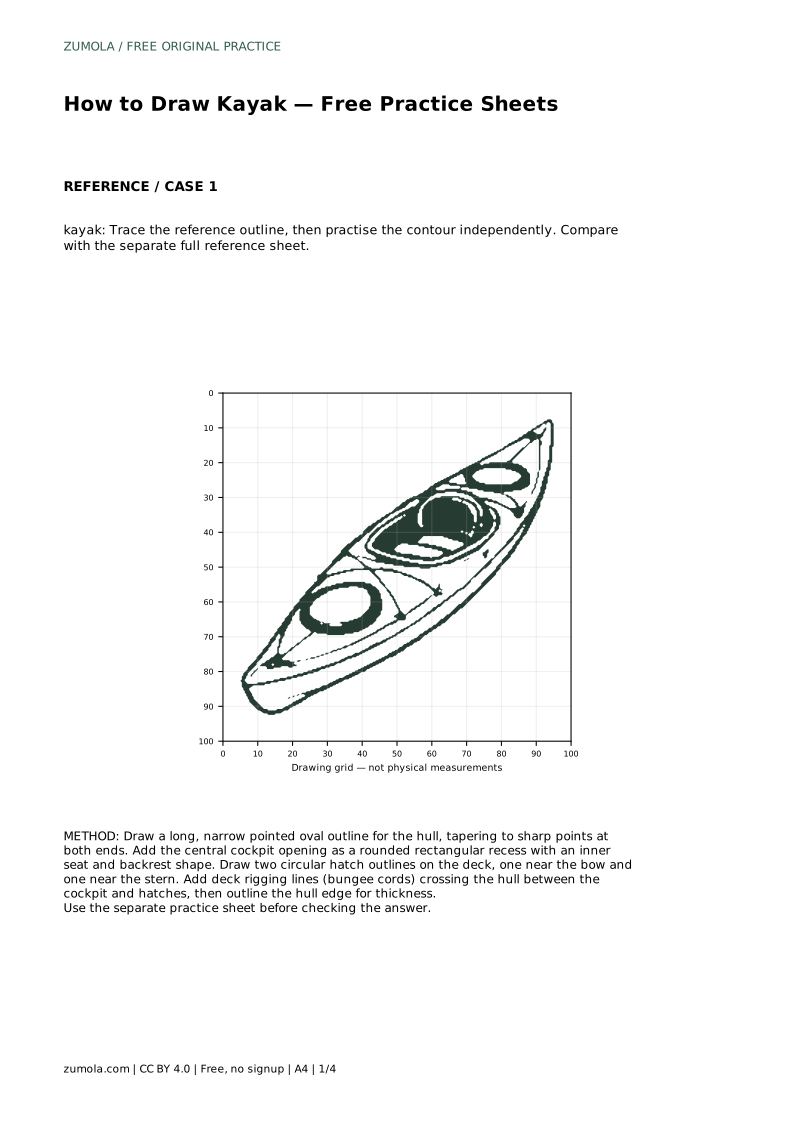
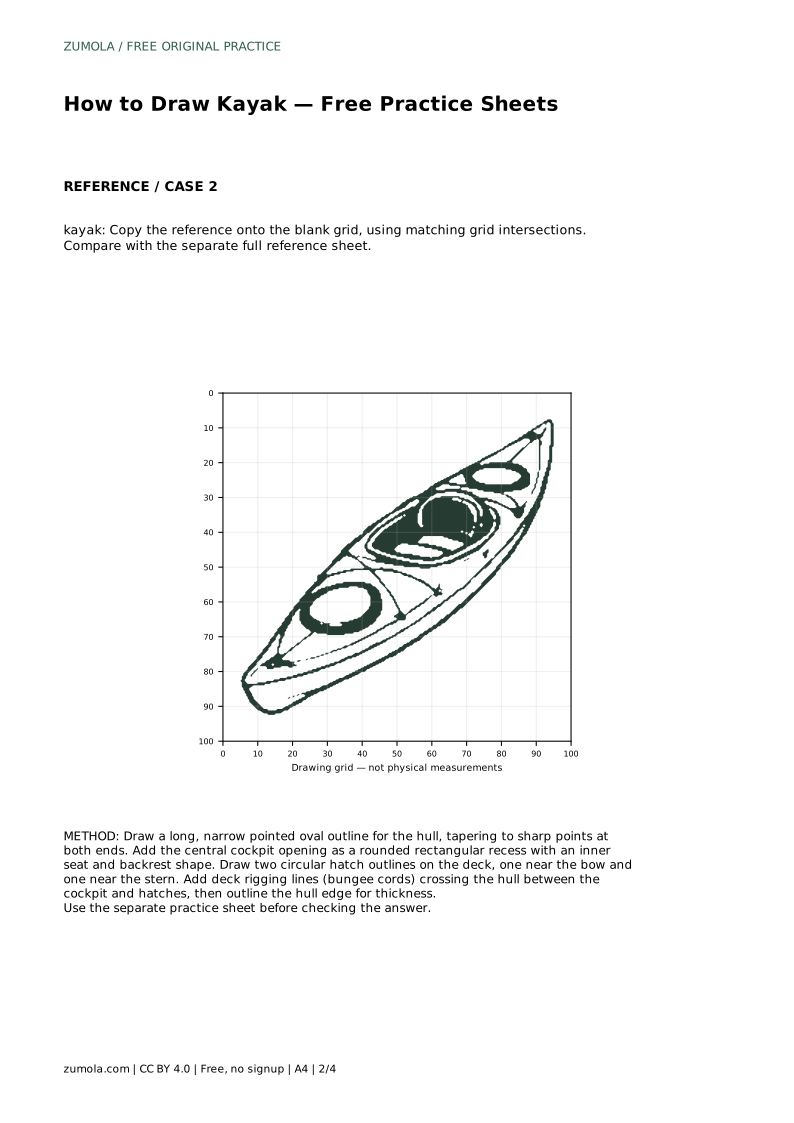
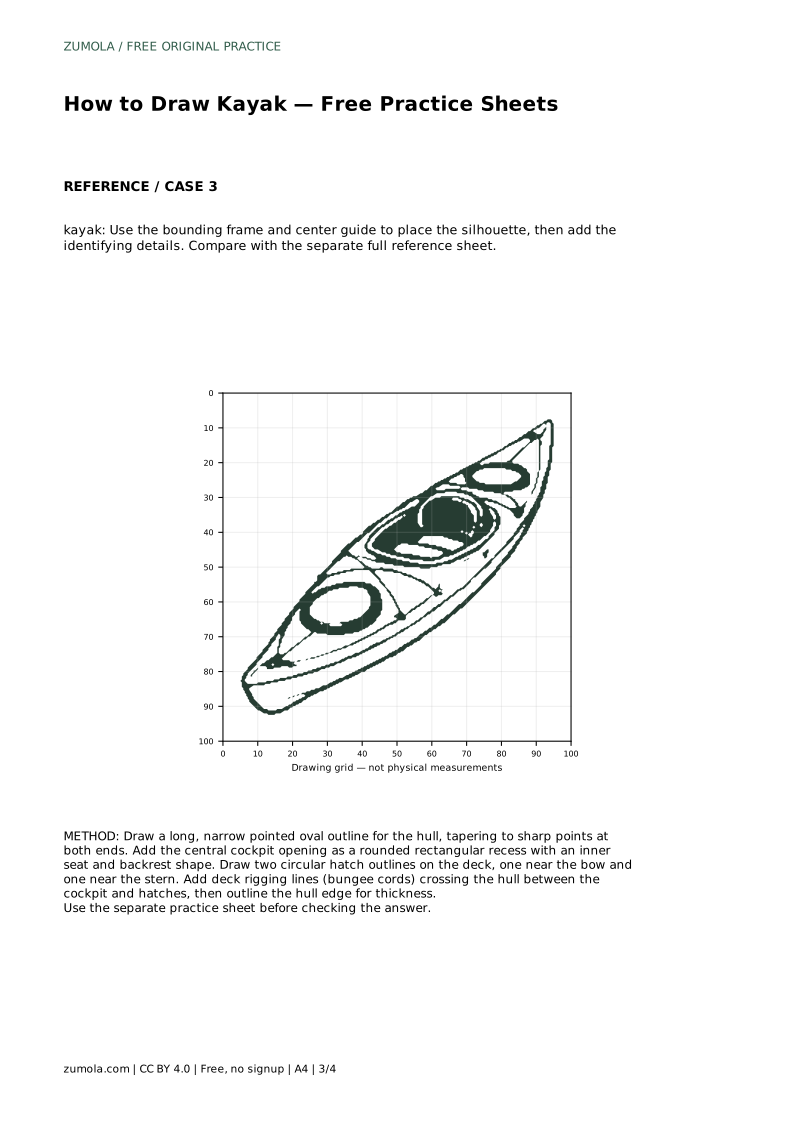
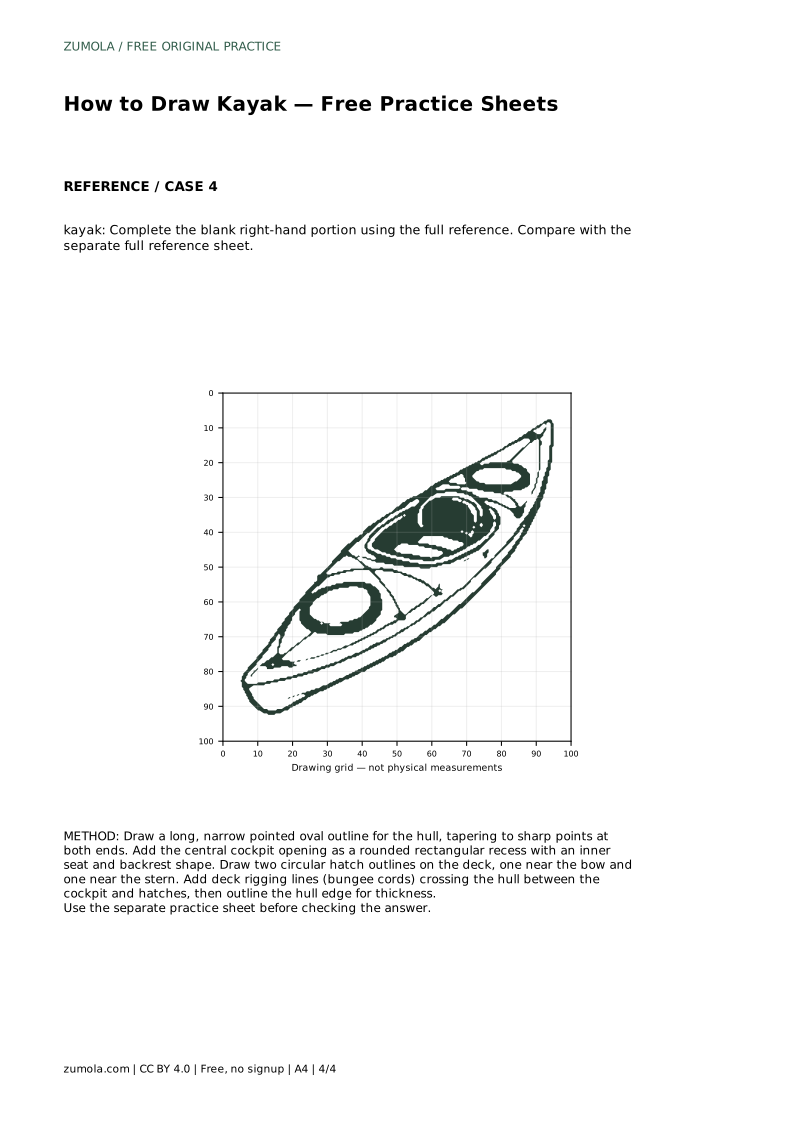
The hull is the anchor of the whole drawing. Think of it as a long, narrow oval that tapers to sharp points at both ends rather than a rounded boat shape. The bow and stern should feel pointed and slightly lifted, not blunt. Keep the length clearly greater than the width; a kayak reads as narrow even when drawn small.
Before adding anything else, look at your outline and ask whether both ends taper evenly and whether the widest part sits near the middle. If the shape looks like a canoe or a rowing boat, the ends are probably too rounded or the middle too wide.
The cockpit sits roughly at the centre of the deck and is the feature most viewers use to identify a kayak. Draw it as a rounded rectangular recess, wider than it is deep, with a visible inner seat and a backrest shape behind it. The opening should sit inside the hull outline, not spill over the deck edge.
Keep the cockpit modest in size. A cockpit that stretches most of the hull length makes the kayak look like an open canoe. Leaving clear deck space in front of and behind the opening keeps the proportions believable.
Two circular hatch outlines belong on the deck, one toward the bow and one toward the stern. Place them so they sit clearly forward and aft of the cockpit, and keep them similar in size unless you deliberately want an asymmetric design. Circular outlines read best when they look like flat lids seen from above.
Rigging lines are thin bungee cords crossing the deck between the cockpit and the hatches. Draw them as a few gentle crossing lines rather than a dense web. Finish by outlining the hull edge to suggest thickness, which separates the deck from the side of the boat.
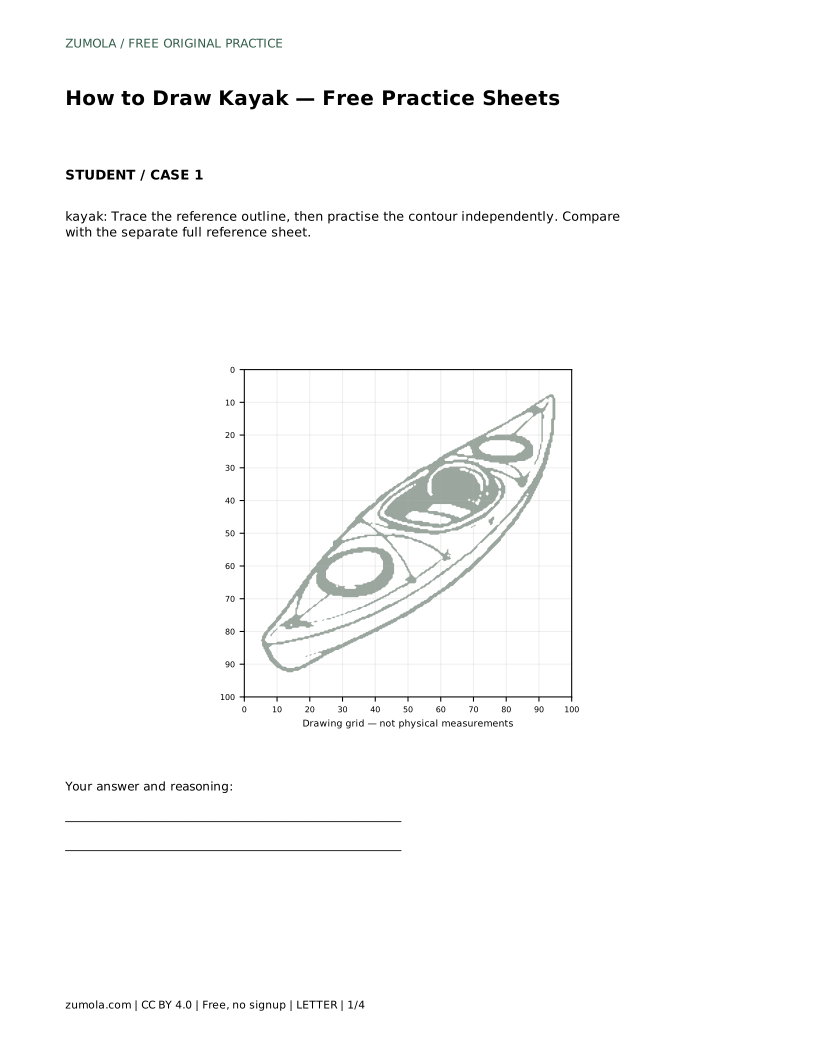
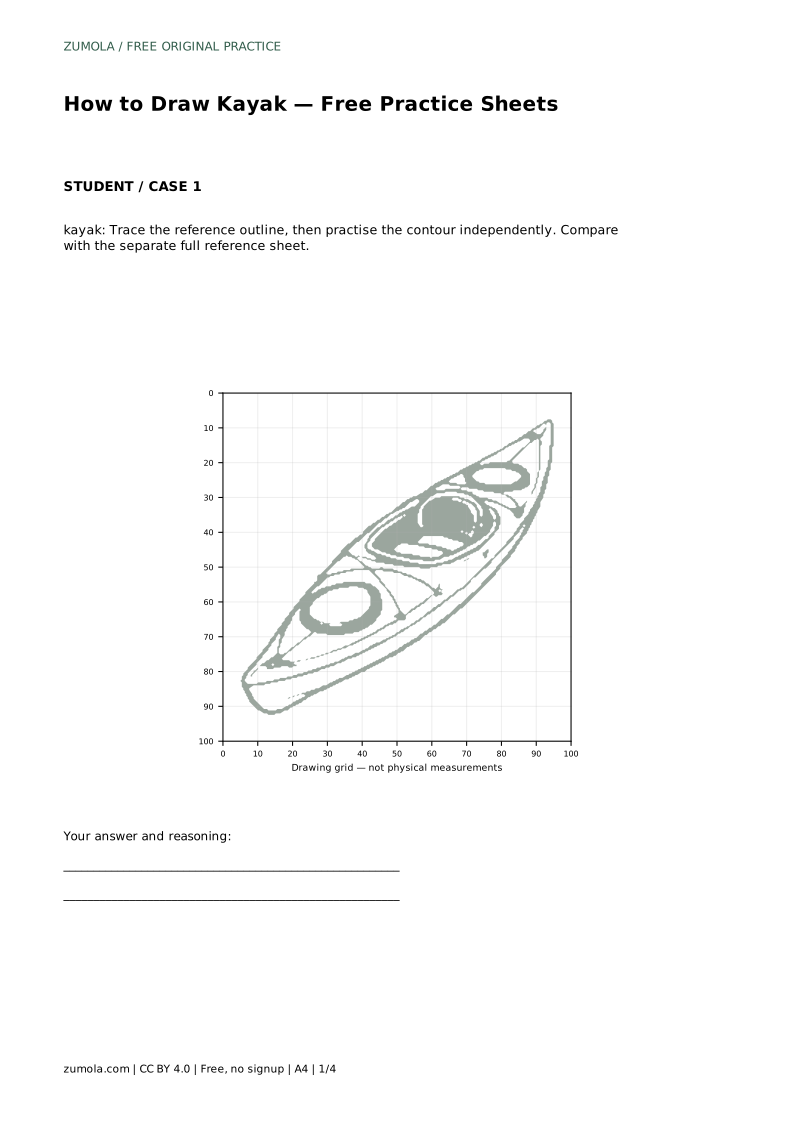
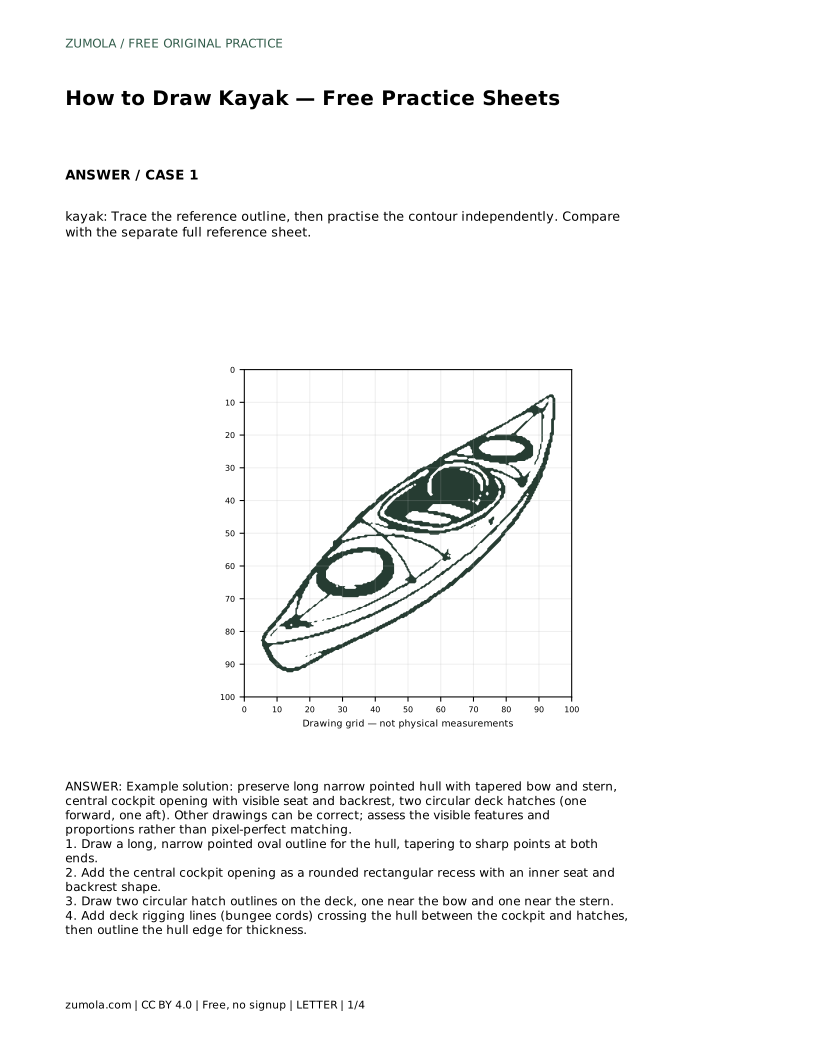
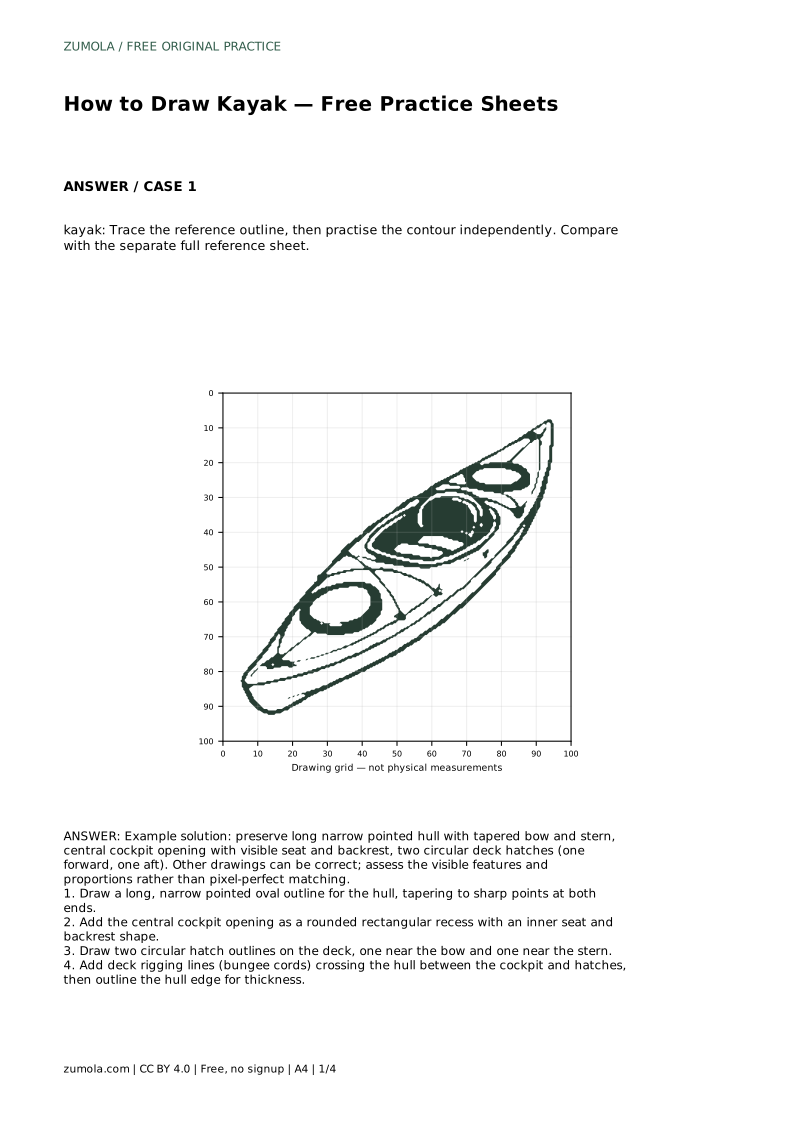
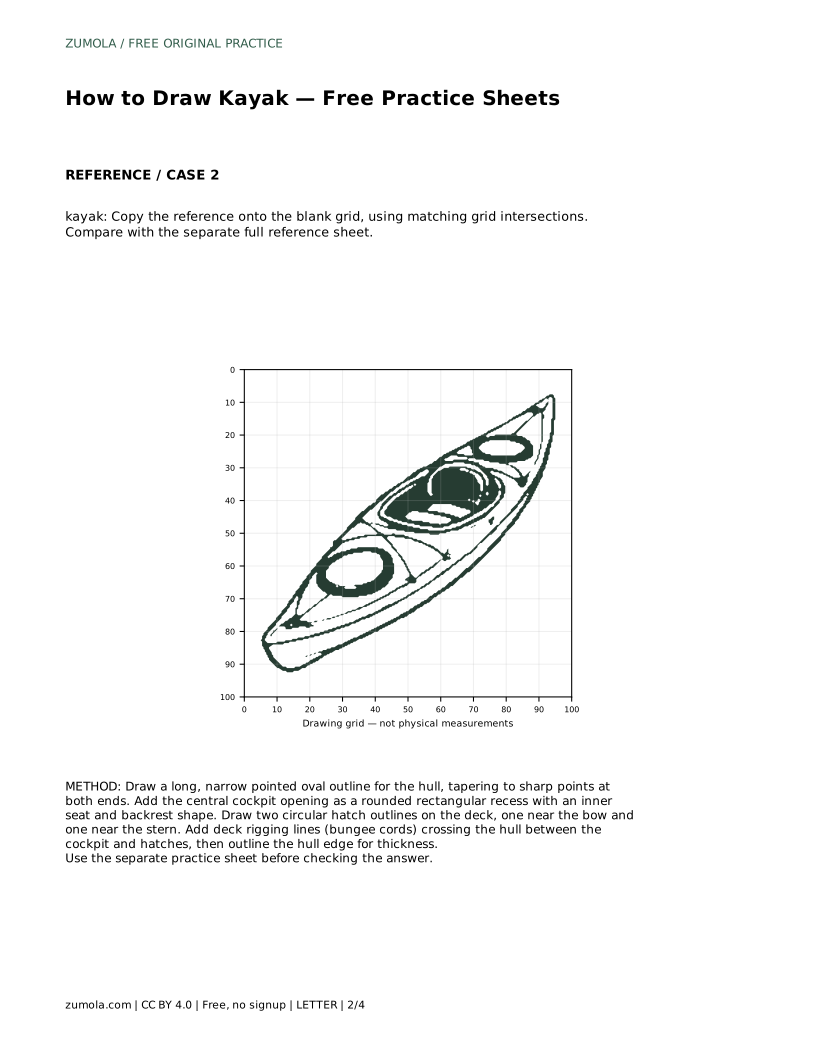
kayak: Trace the reference outline, then practise the contour independently. Compare with the separate full reference sheet.
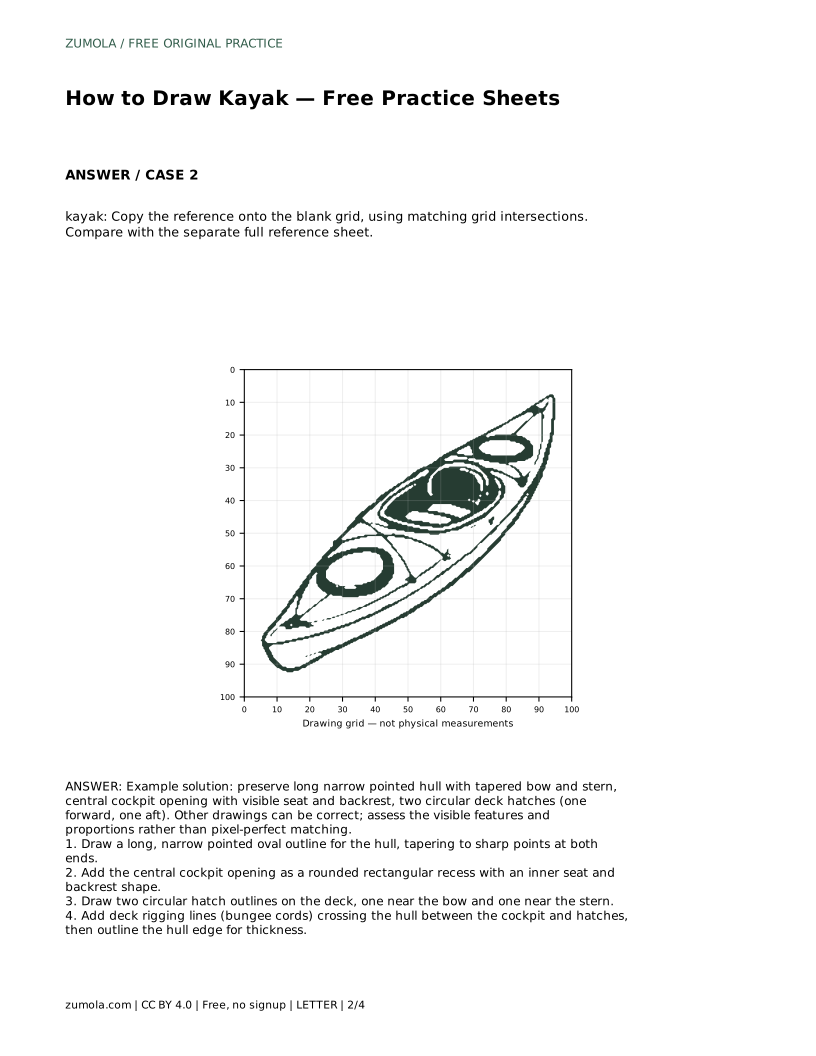
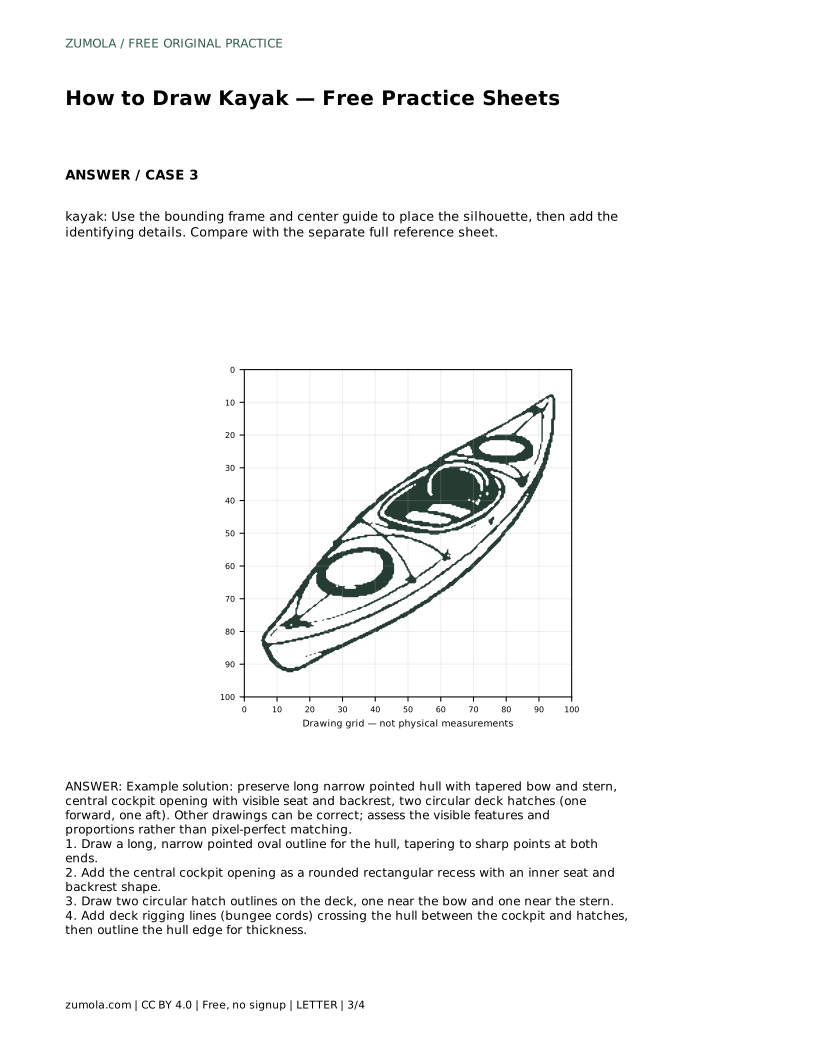
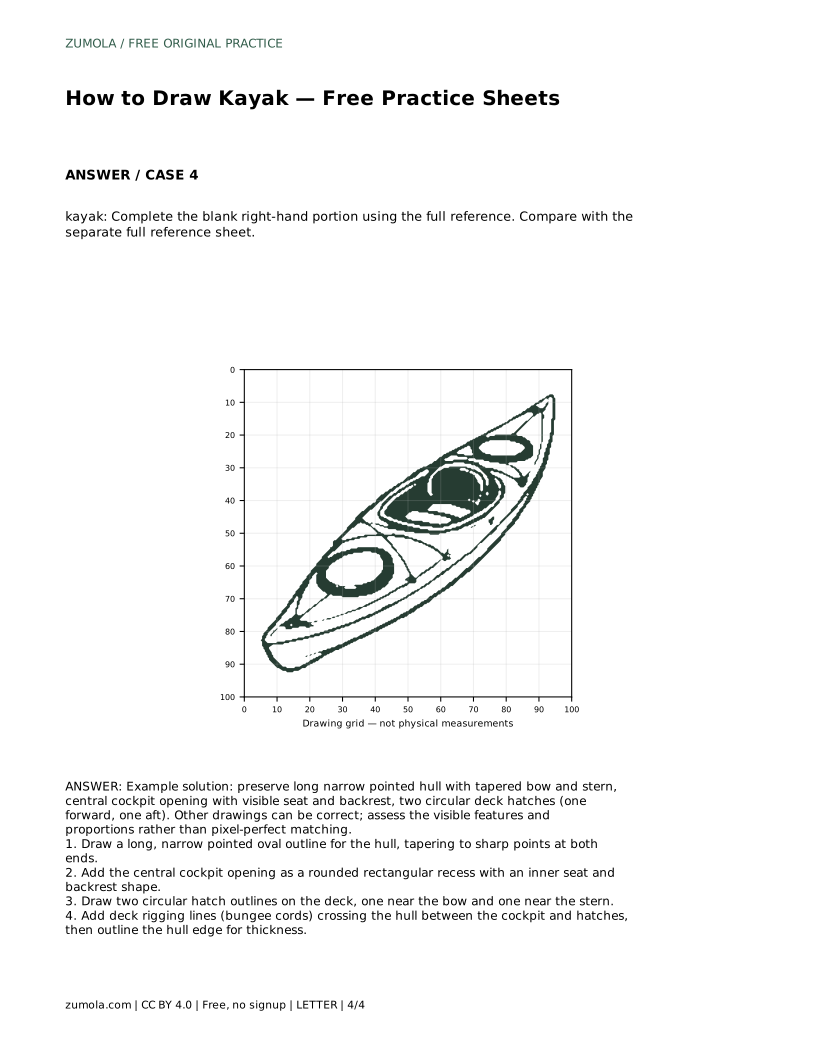
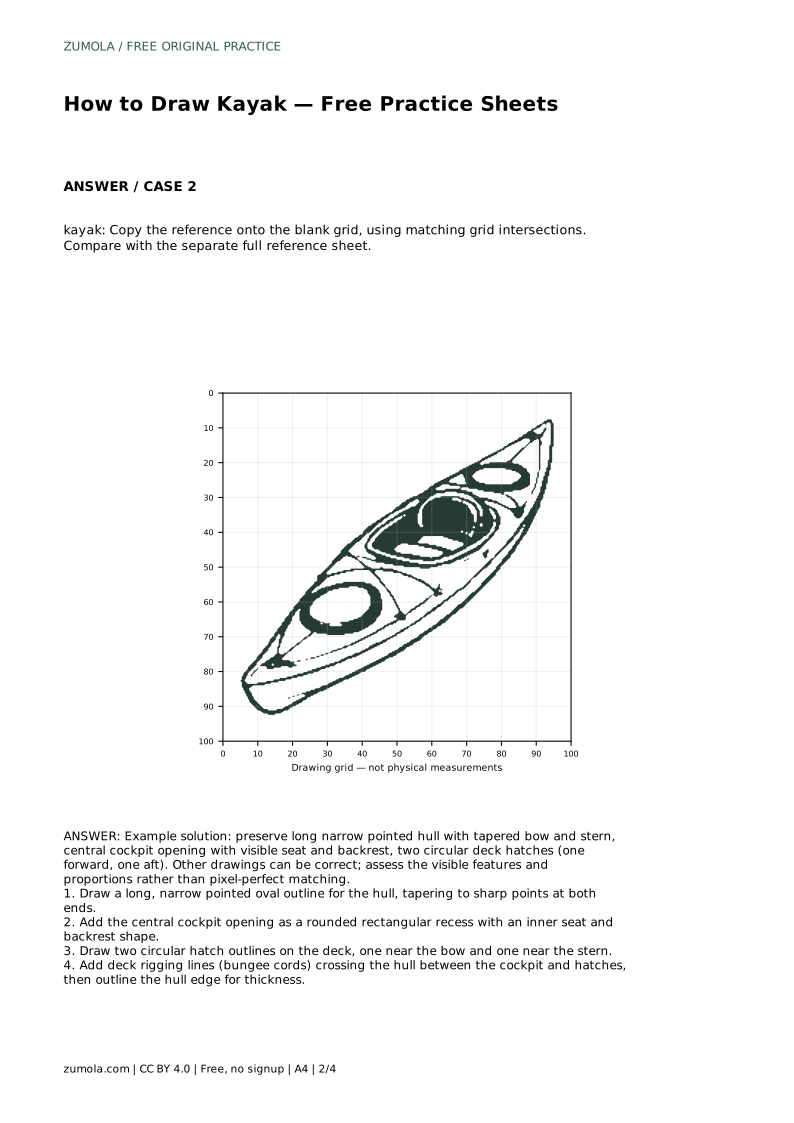
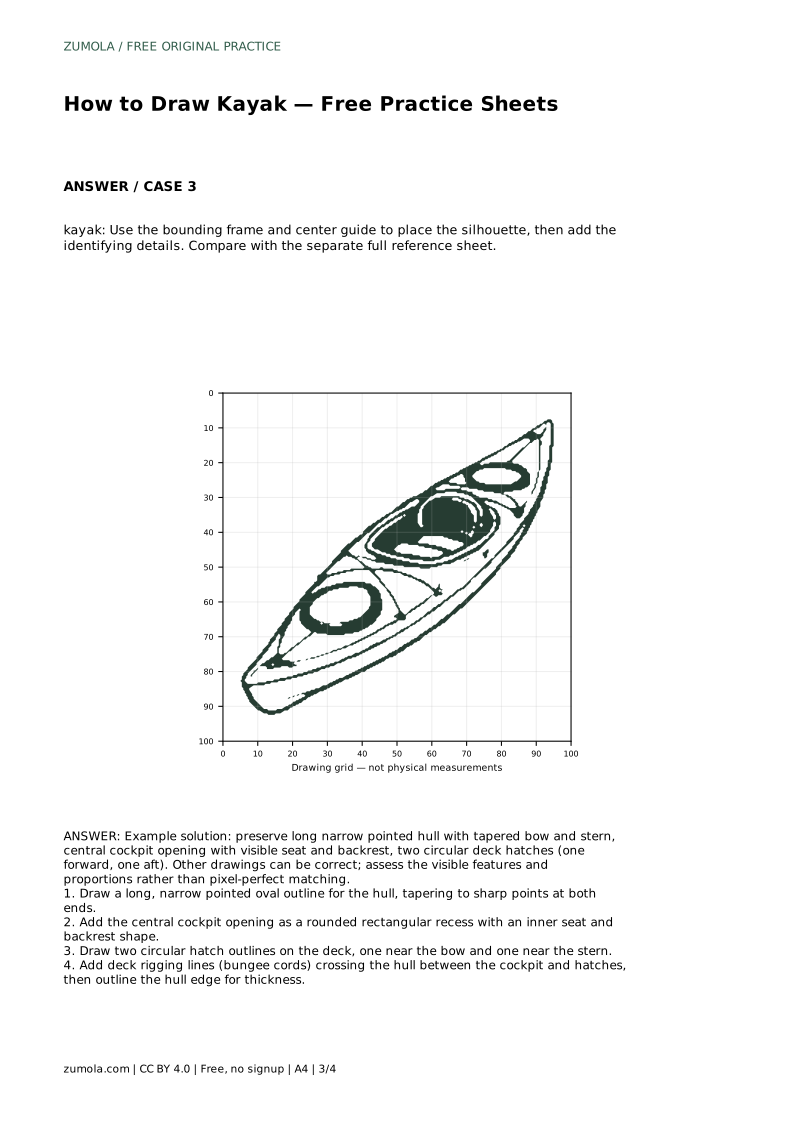
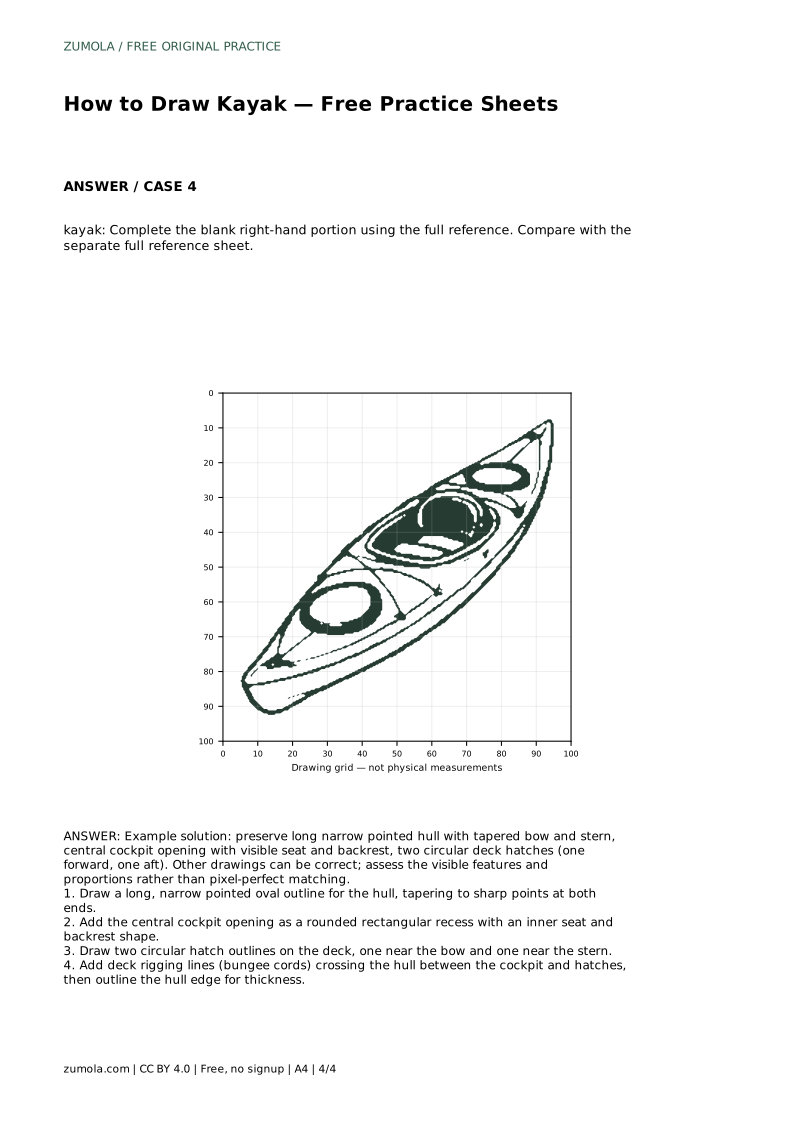
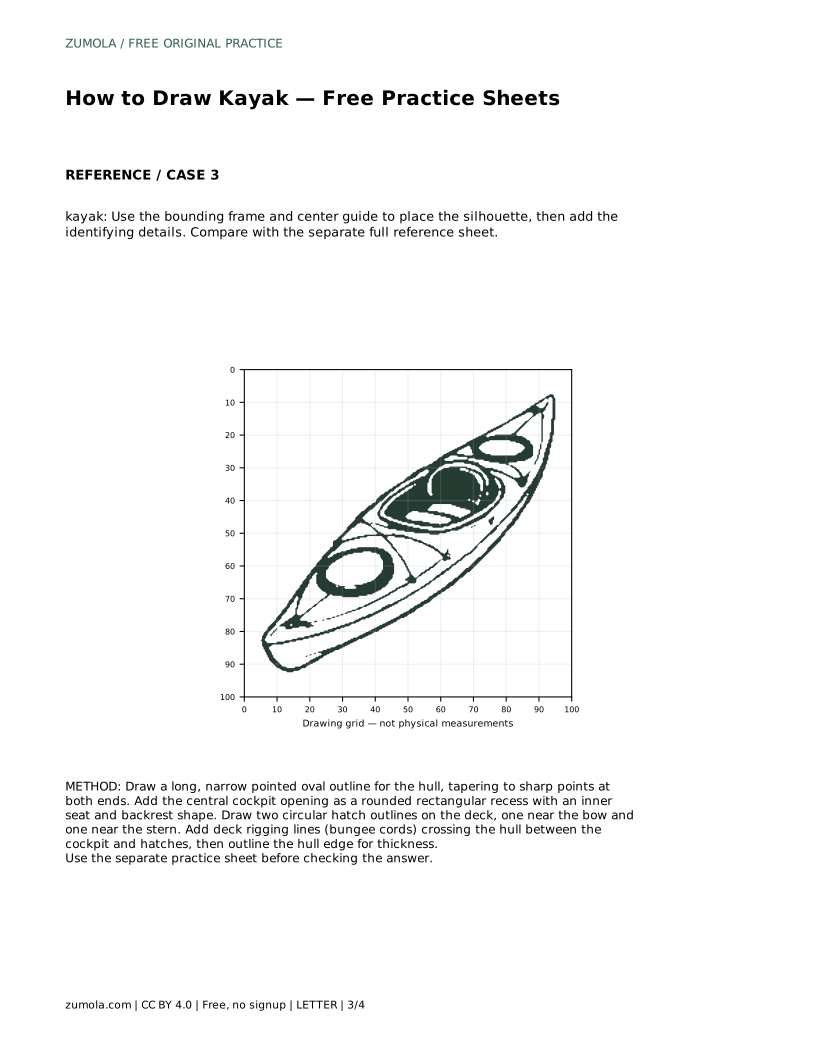
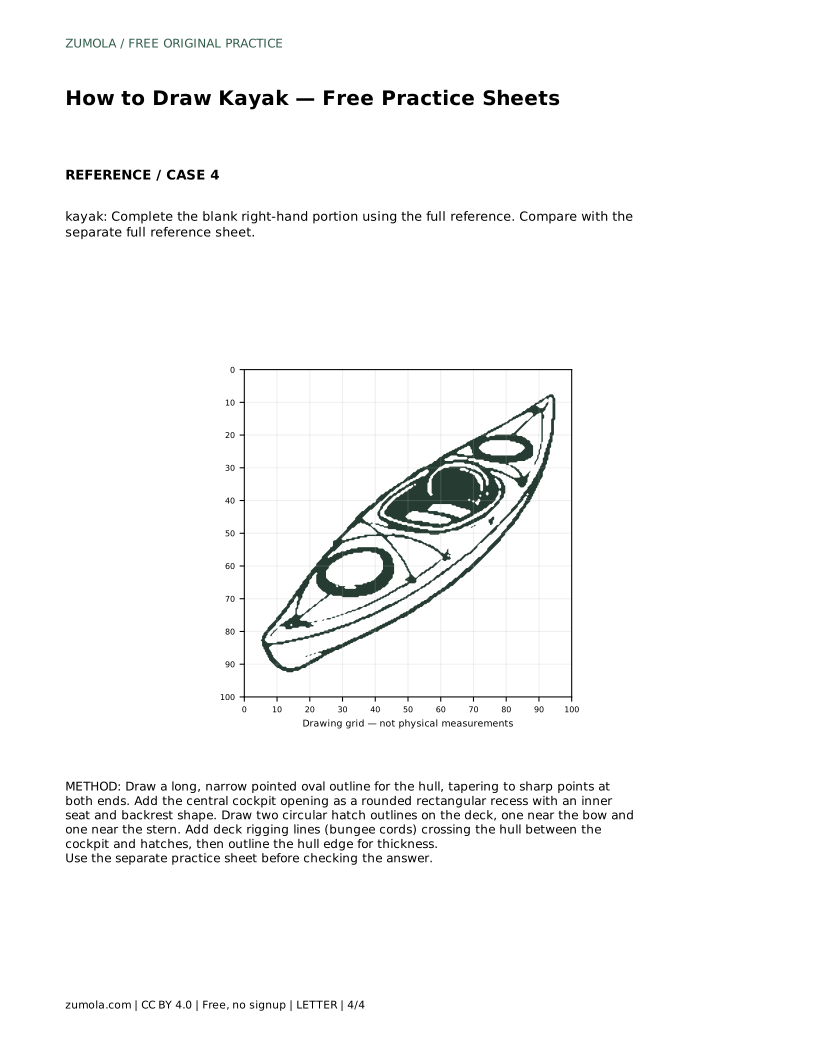
Example solution: preserve long narrow pointed hull with tapered bow and stern, central cockpit opening with visible seat and backrest, two circular deck hatches (one forward, one aft). Other drawings can be correct; assess the visible features and proportions rather than pixel-perfect matching. Draw a long, narrow pointed oval outline for the hull, tapering to sharp points at both ends. Add the central cockpit opening as a rounded rectangular recess with an inner seat and backrest shape. Draw two circular hatch outlines on the deck, one near the bow and one near the stern. Add deck rigging lines (bungee cords) crossing the hull between the cockpit and hatches, then outline the hull edge for thickness.
No. The drawing works with the bow pointing left or right, as long as the tapered ends, central cockpit and two hatches stay in sensible positions.
Two is the standard arrangement here: one forward of the cockpit and one aft. You can adjust their size, but keep them clearly separated from the cockpit.
That is fine. Several drawings can be correct. Judge the visible features and proportions, such as the pointed hull, cockpit with seat and backrest, two hatches and rigging, rather than pixel-perfect matching.
All drawing practice · Free coordinate paper
Original resources · CC BY 4.0 · Free for personal and classroom use with attribution.