Reference diagrams
LETTER · Download PDF
A4 · Download PDF
Free original resources
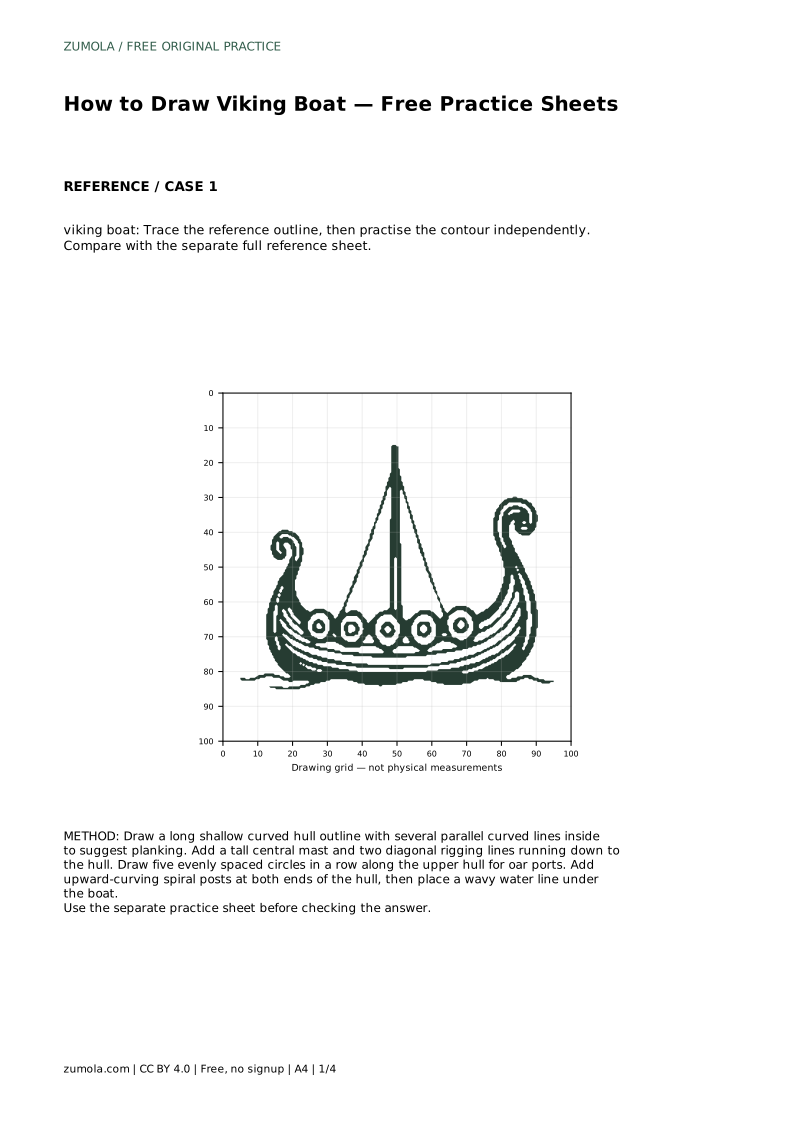
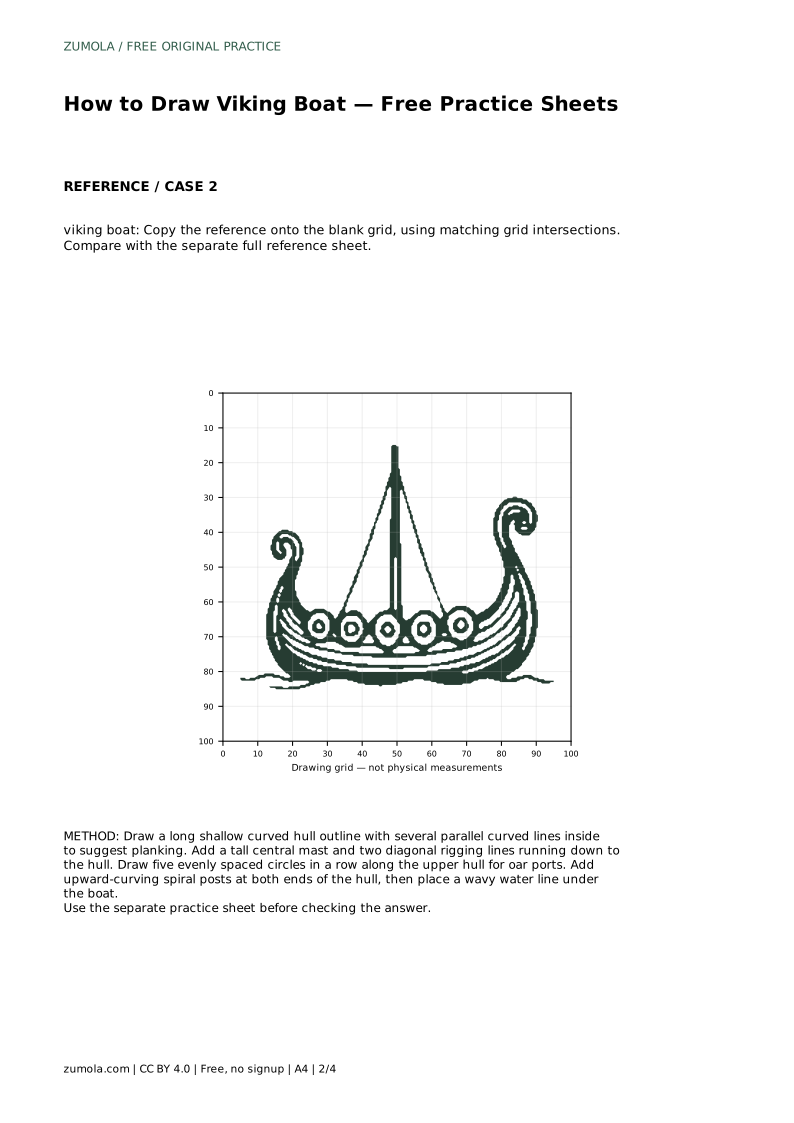
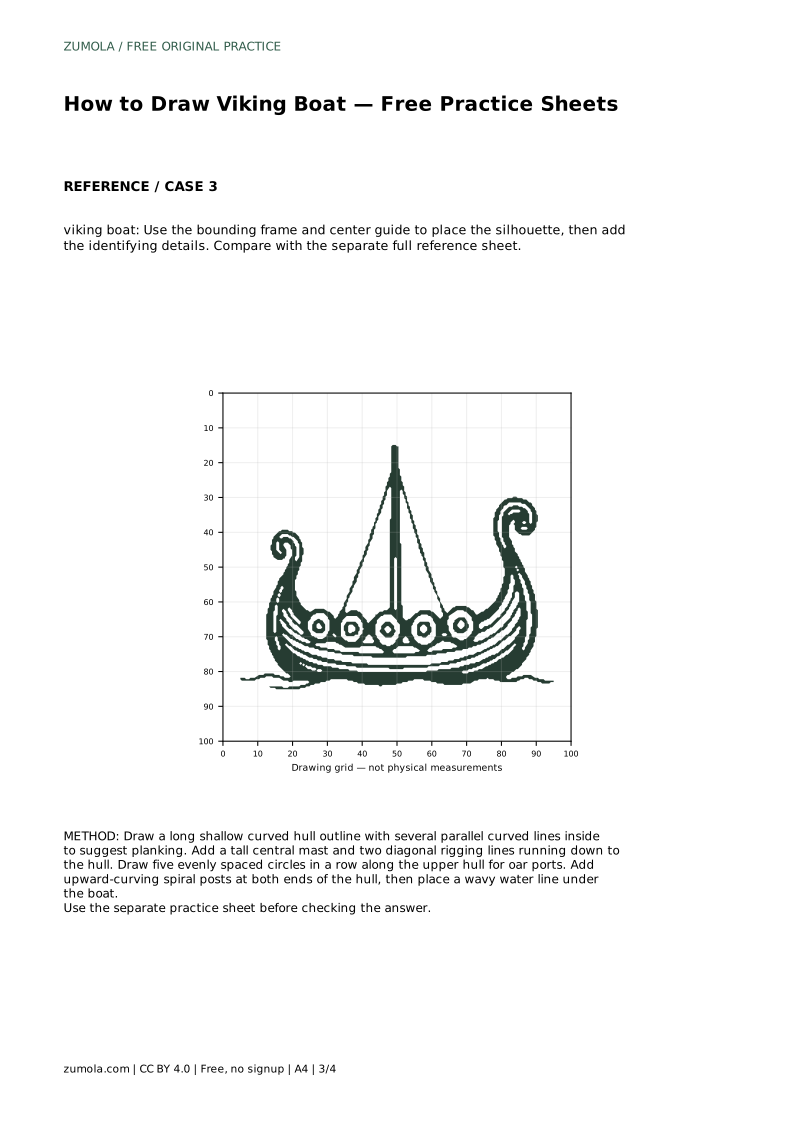
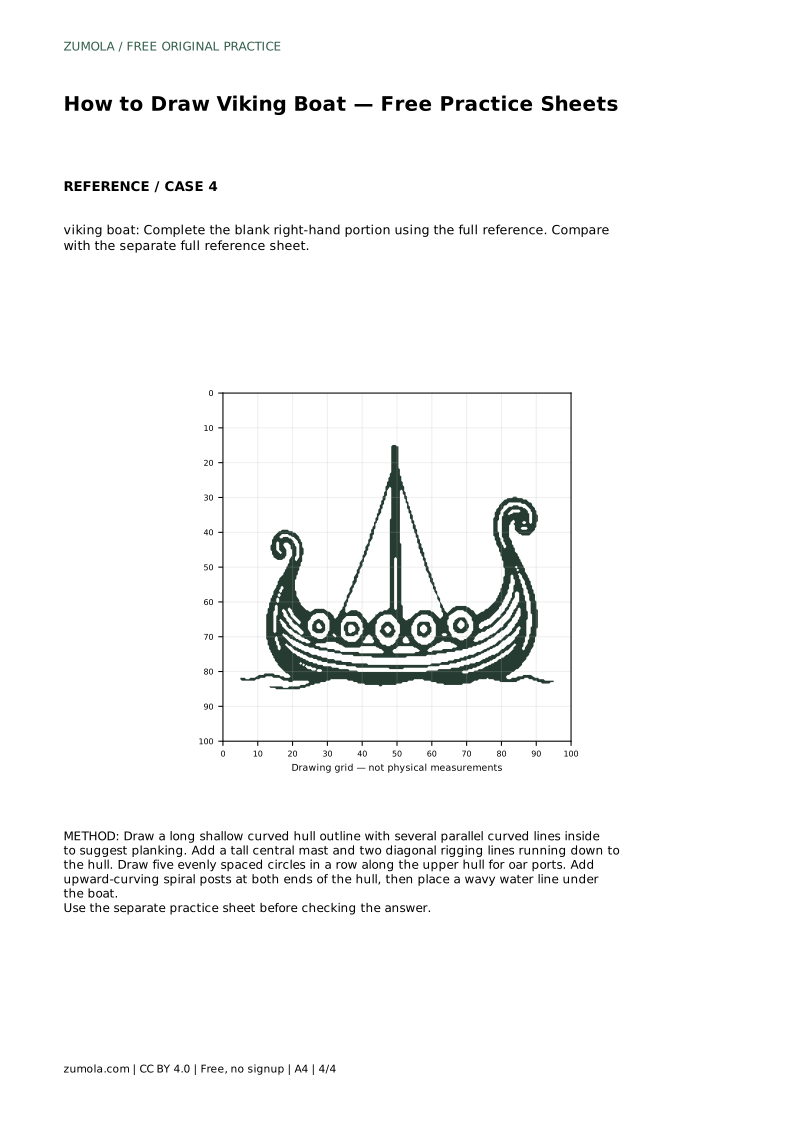
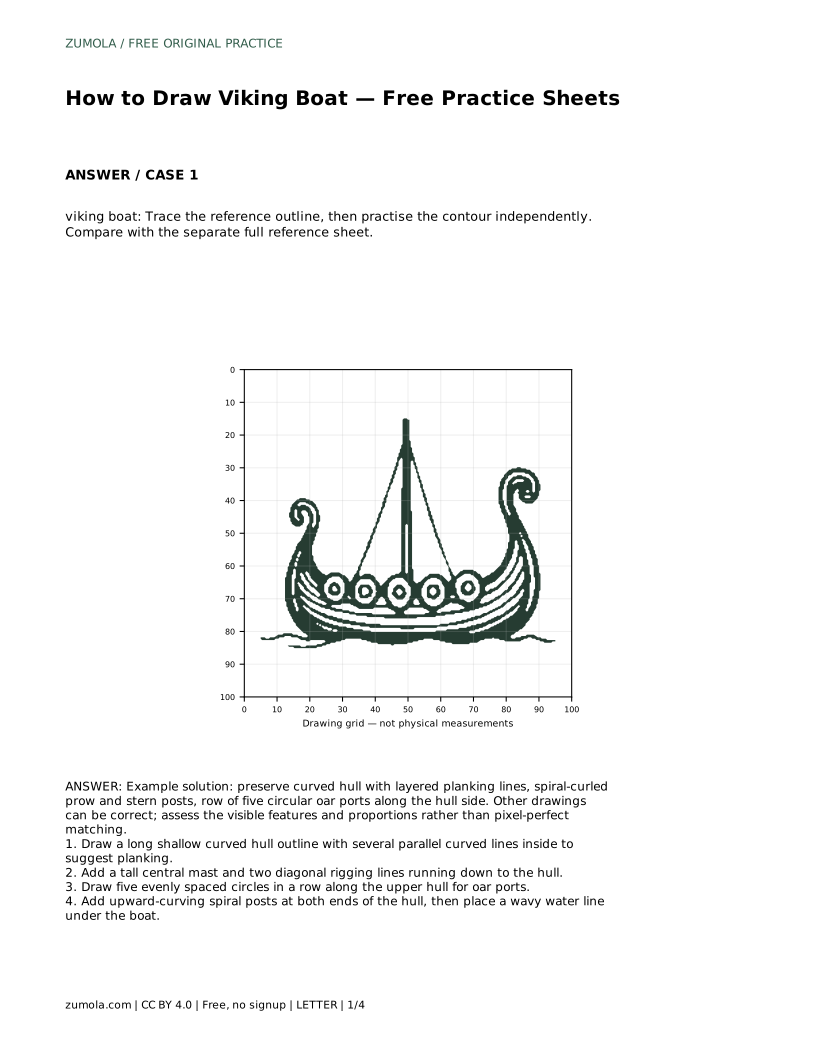
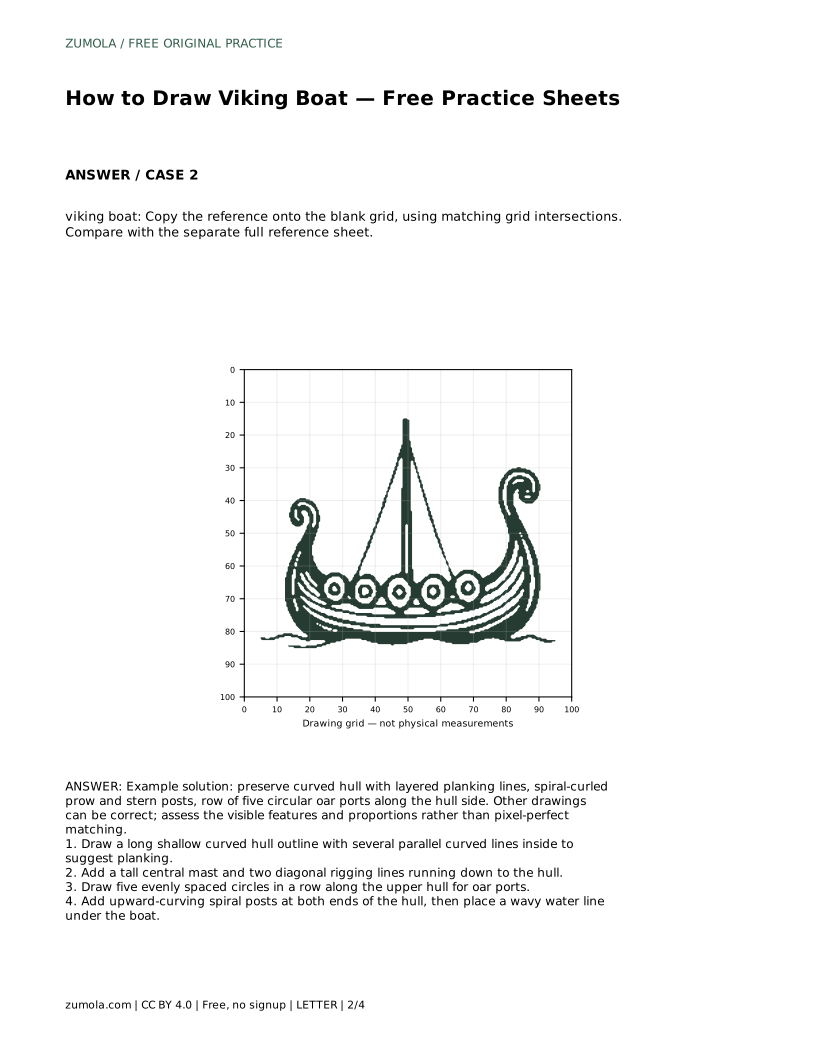
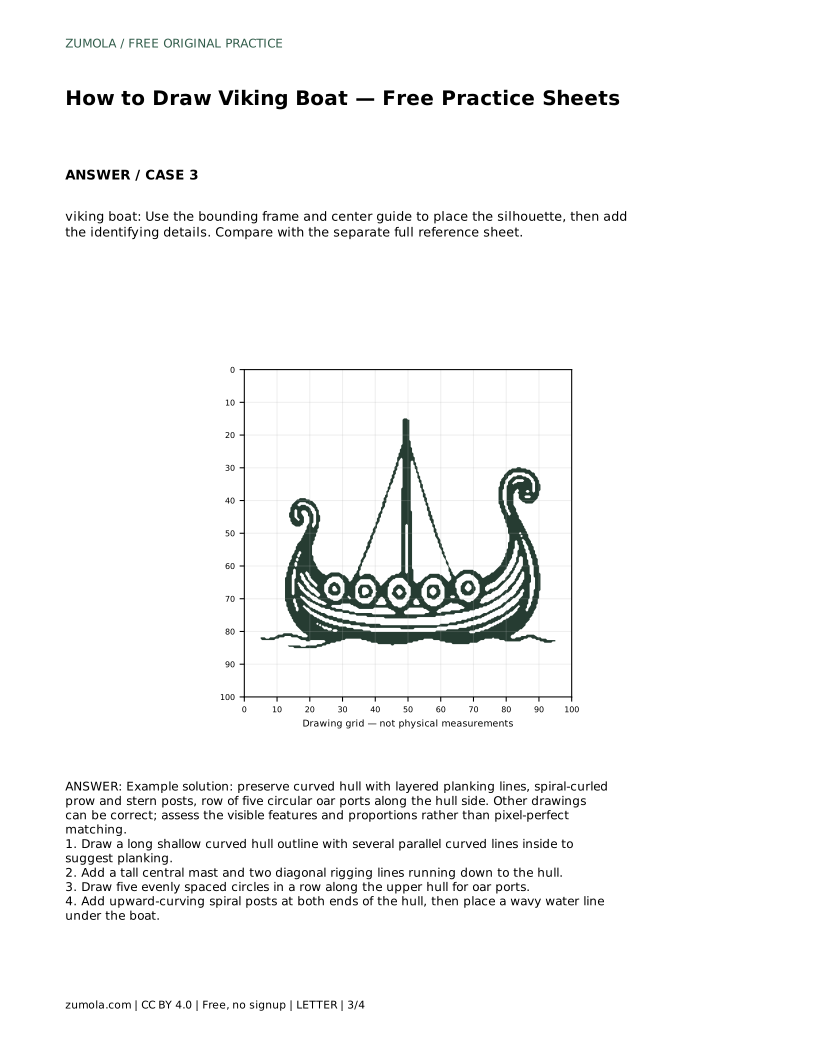
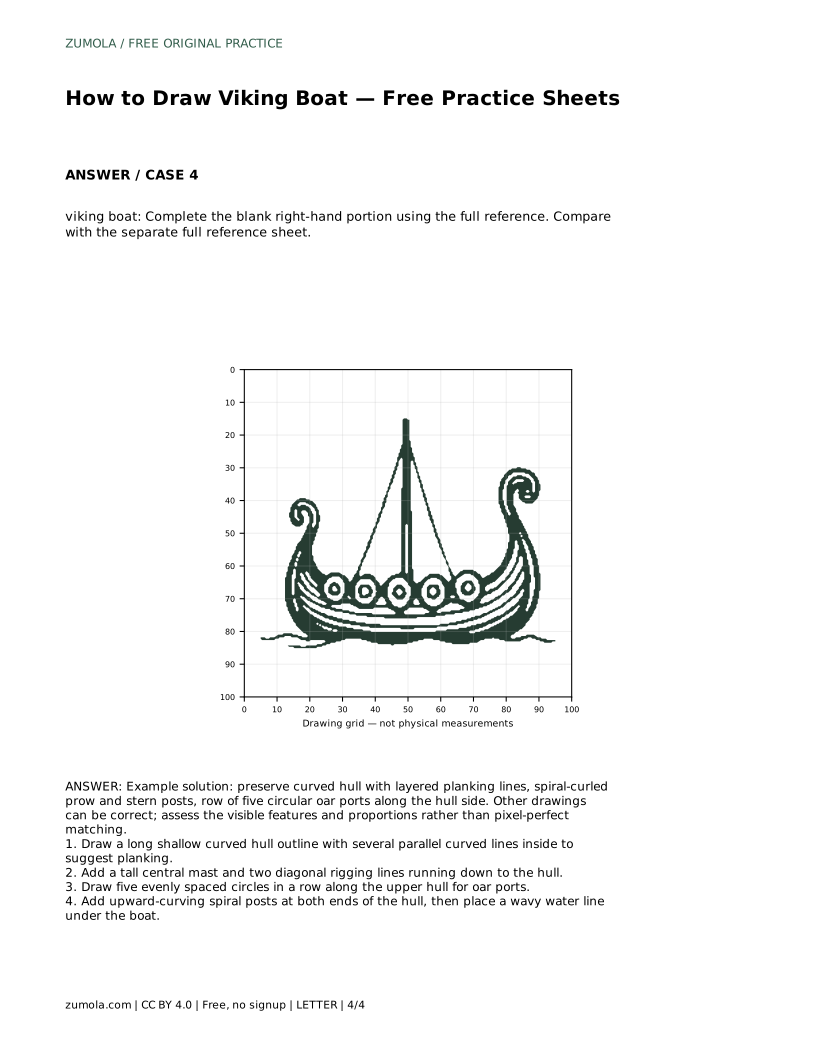
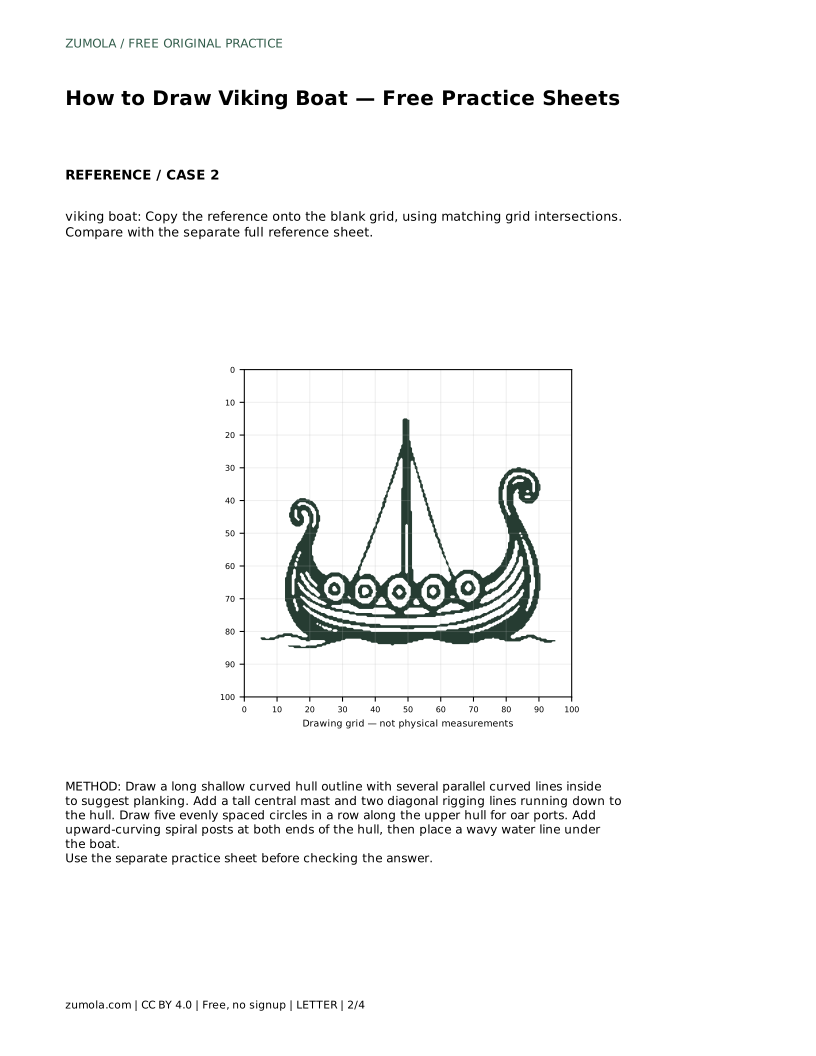
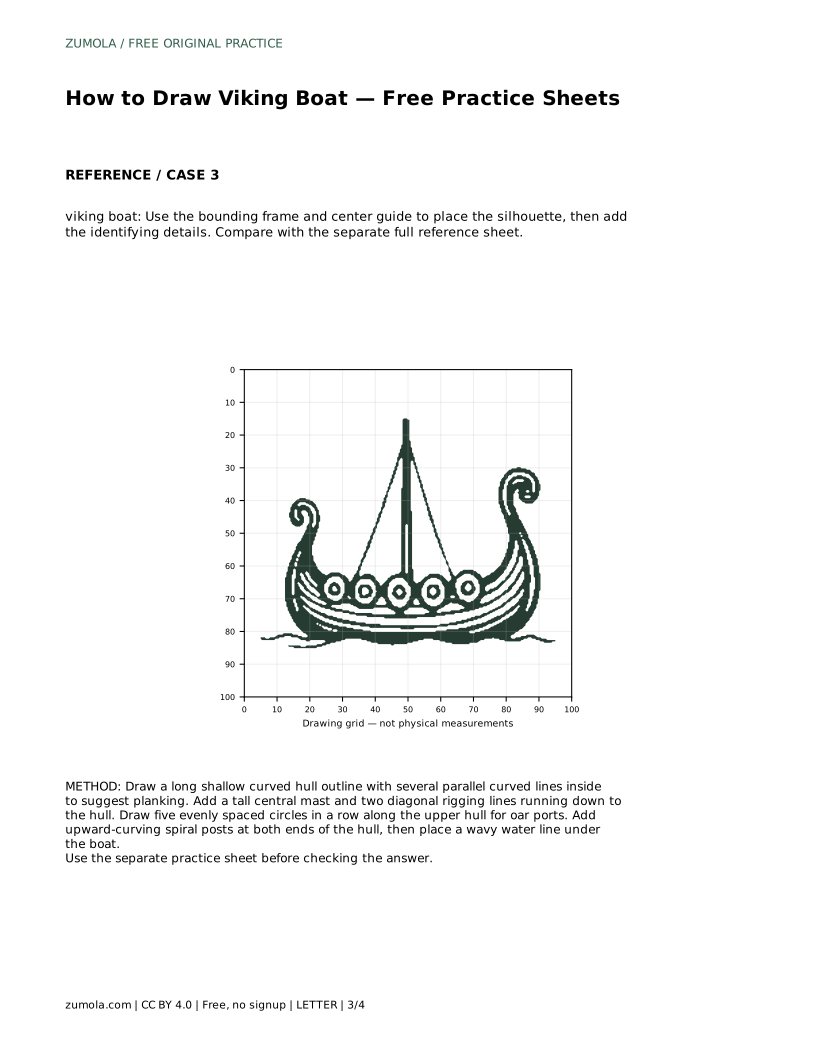
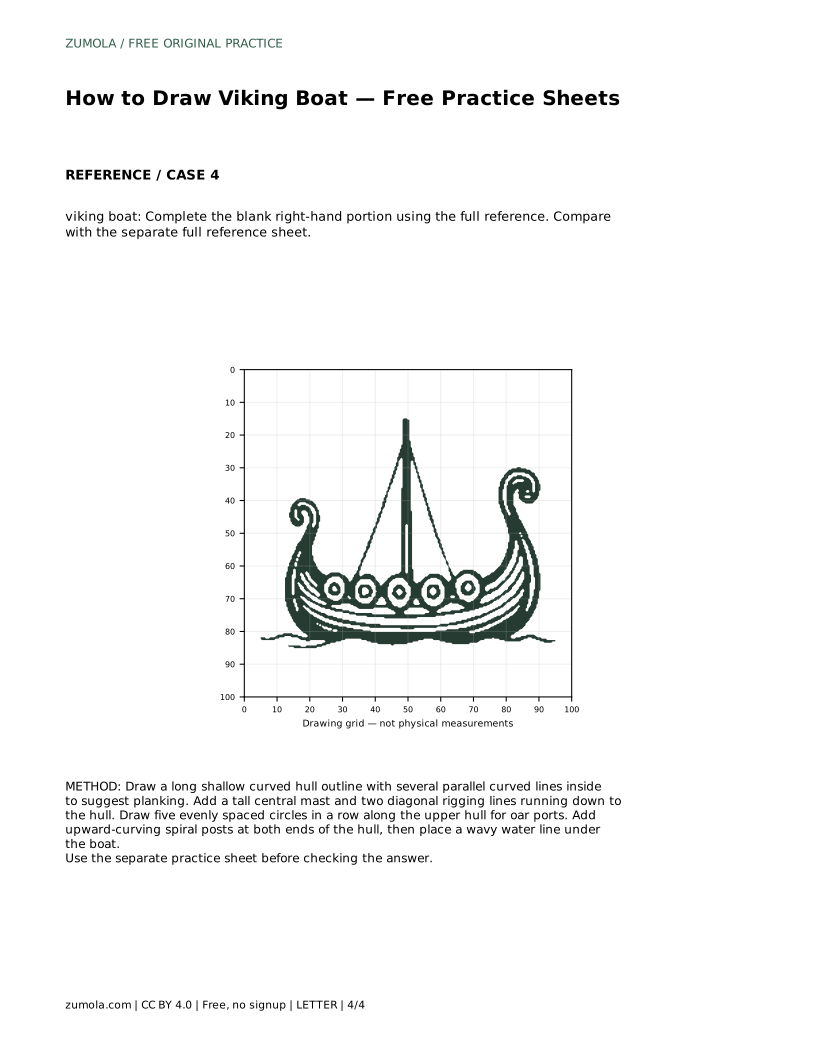
Learn to draw a Viking boat by building a shallow curved hull, planking lines, a central mast, rigging, oar ports, and spiral prow and stern posts.
Four original cases, with reference diagrams, practice sheets and worked answers. Everything is free; no signup required.
LETTER · Download PDF
A4 · Download PDF
LETTER · Download PDF
A4 · Download PDF
LETTER · Download PDF
A4 · Download PDF
Use A4 or US Letter to match your printer. Use the stated values and conditions to solve each exercise; diagrams are not physical measuring rulers.
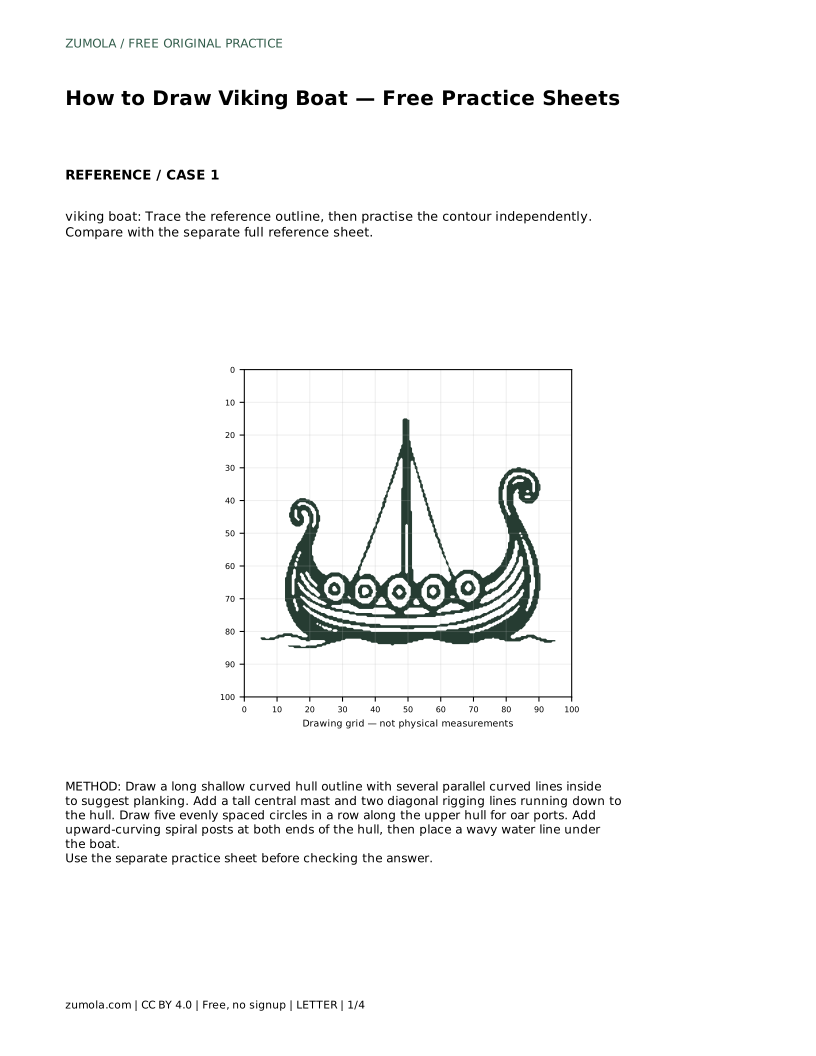
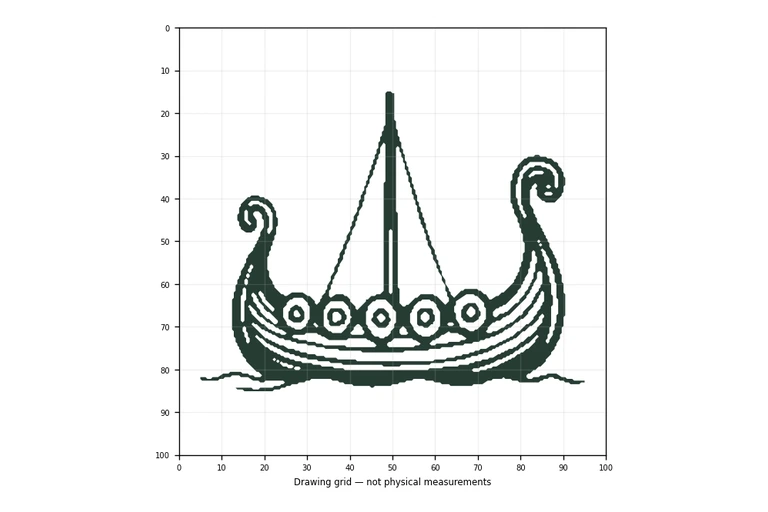
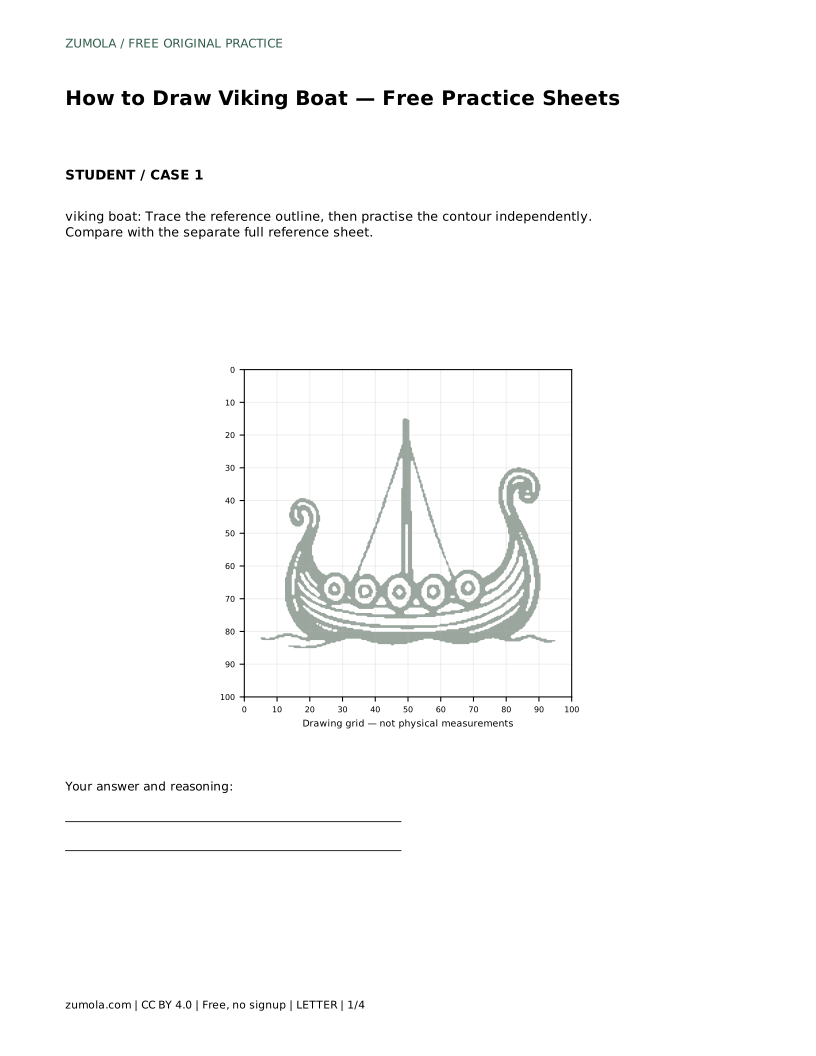
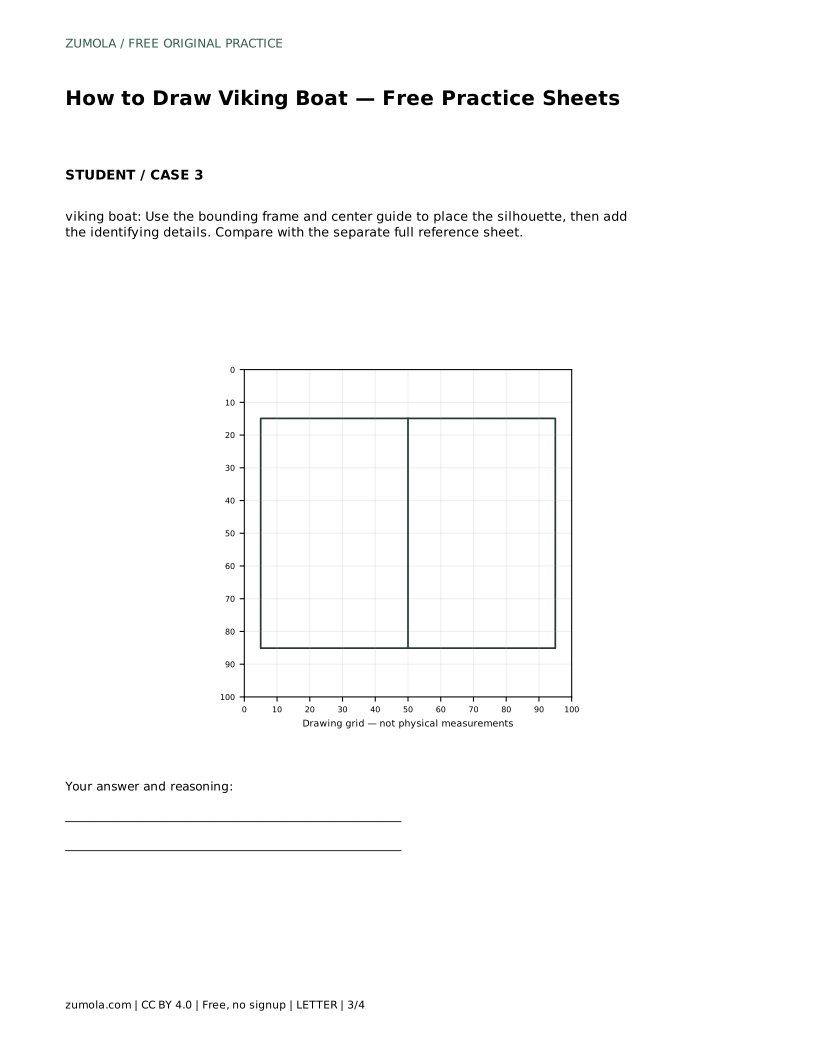
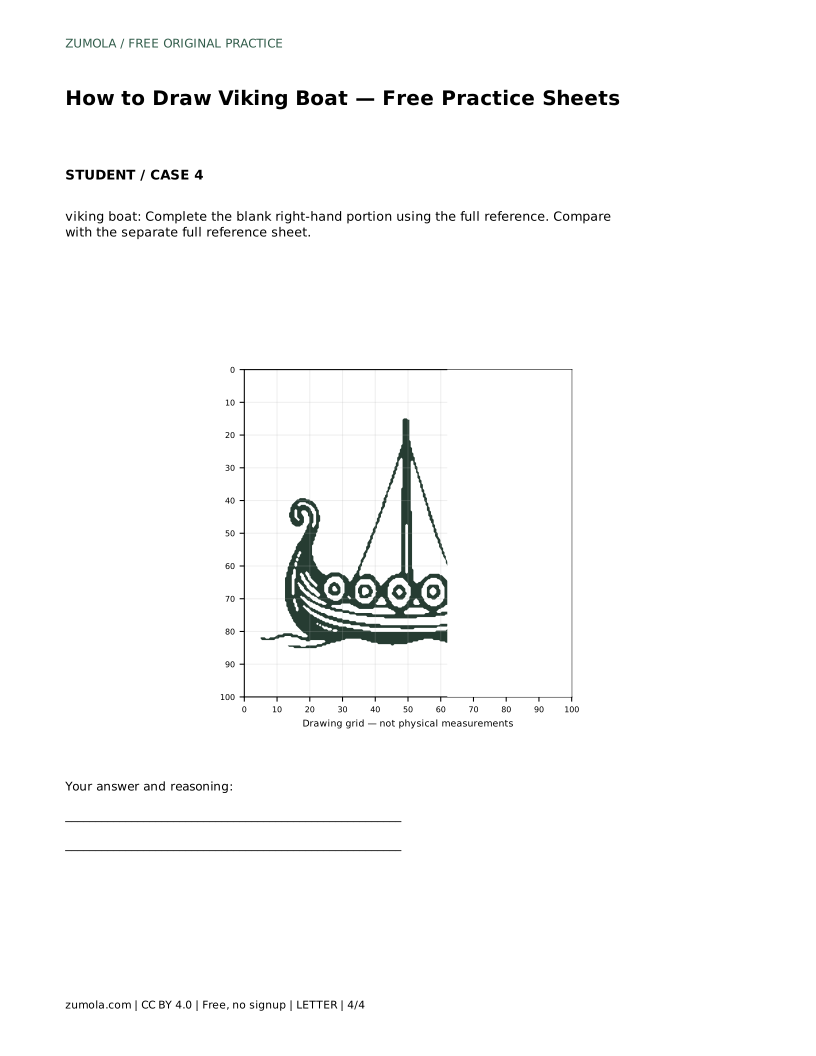
A Viking boat drawing is easiest to control when you build it in layers: the long shallow hull first, then the planking, mast, rigging, oar ports, and finally the curled posts at each end. The practice sheets let you trace, copy onto a grid, place the silhouette with a frame and center guide, or complete a partly blank drawing. Each version trains the same core skill: keeping the hull curve and the spacing of details consistent.
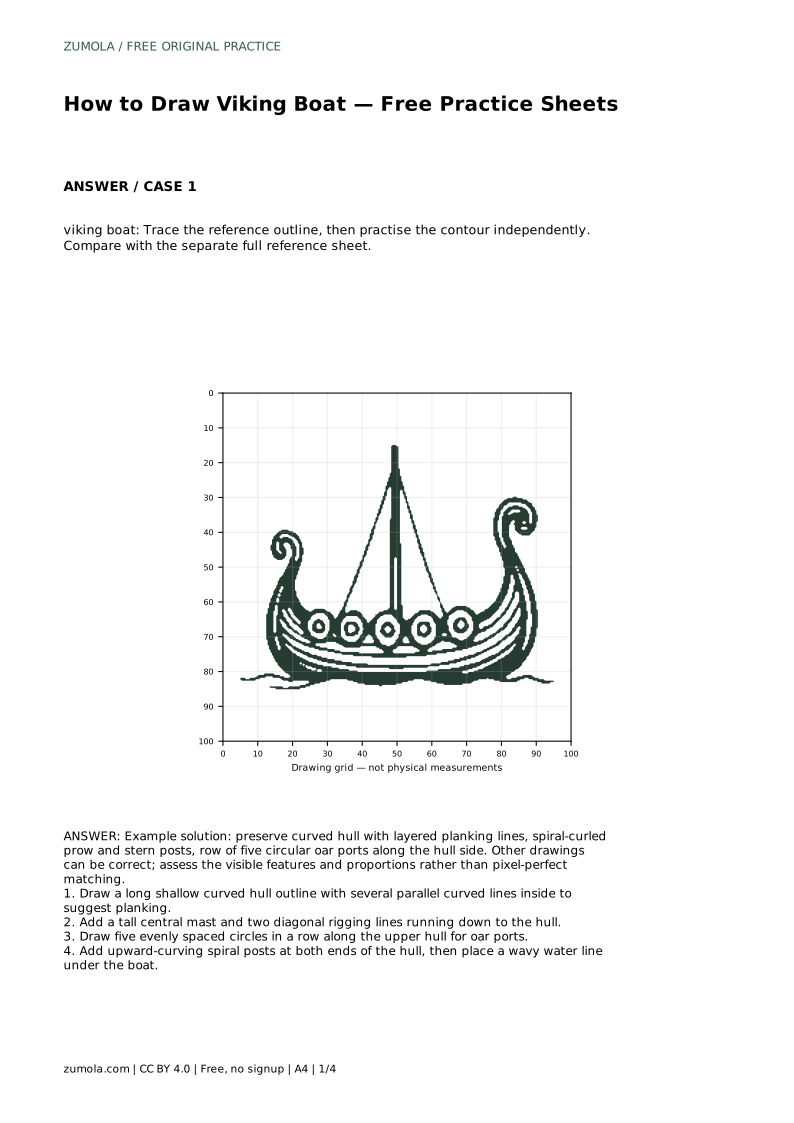
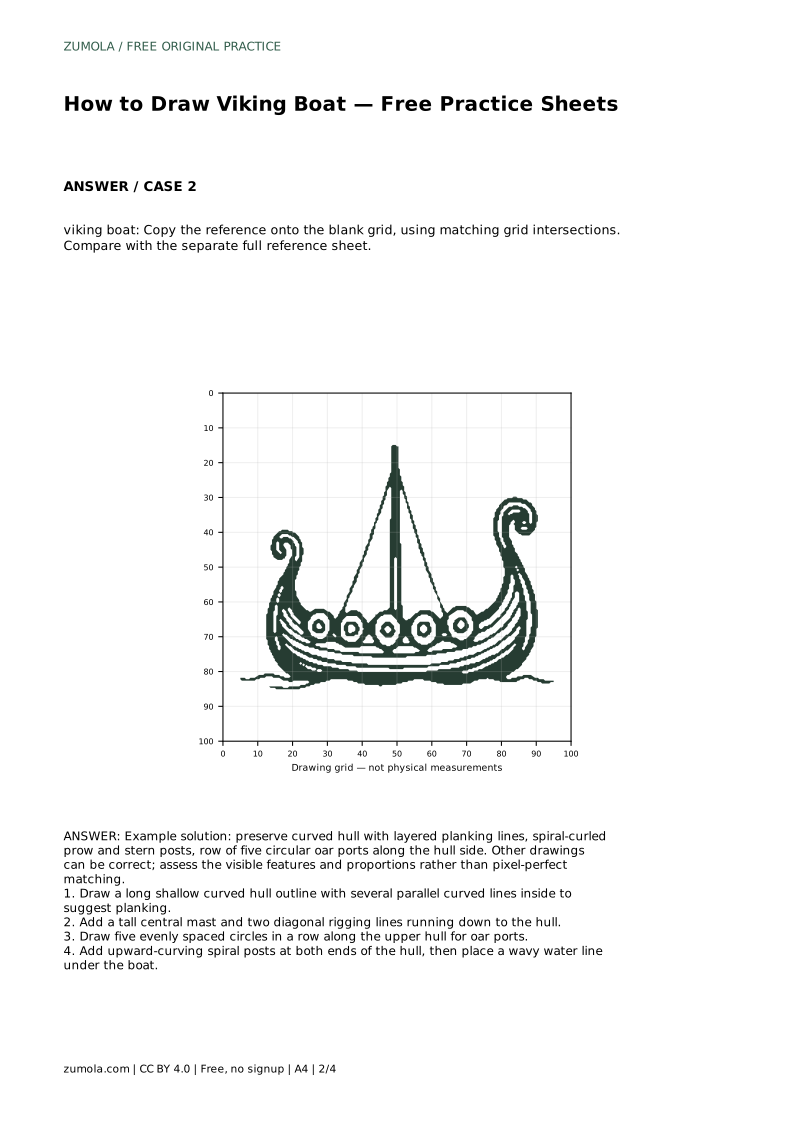
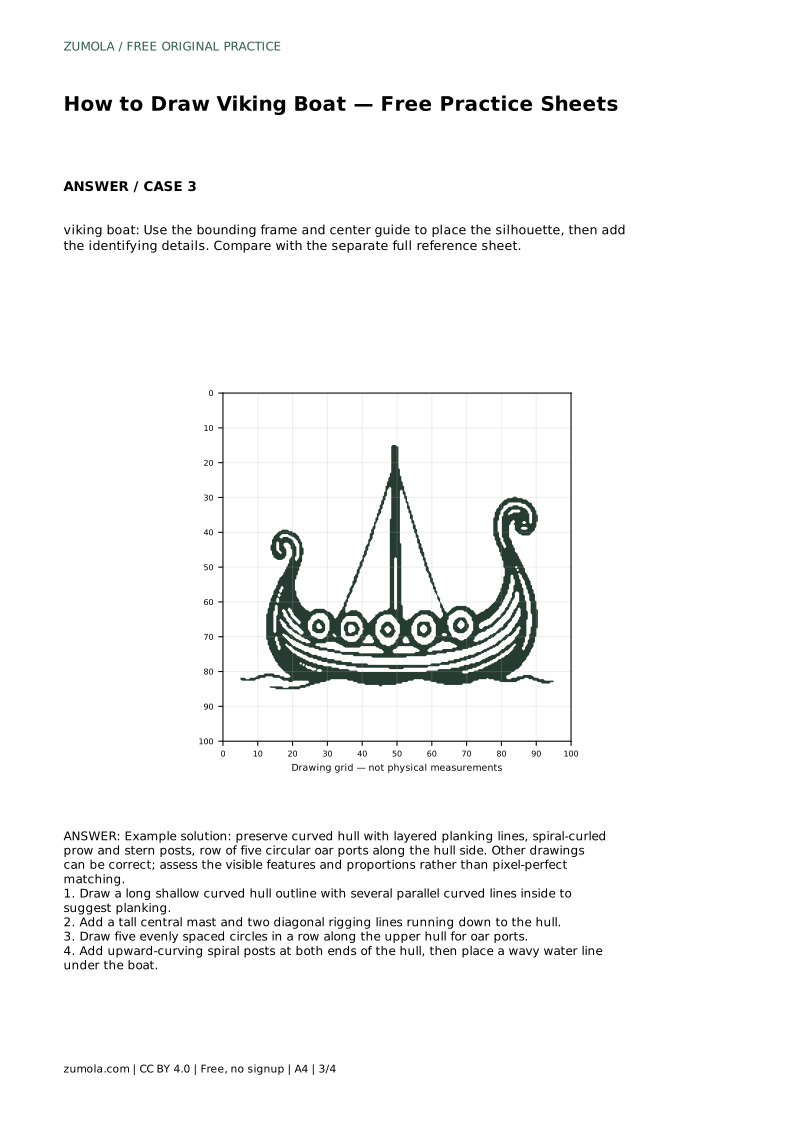
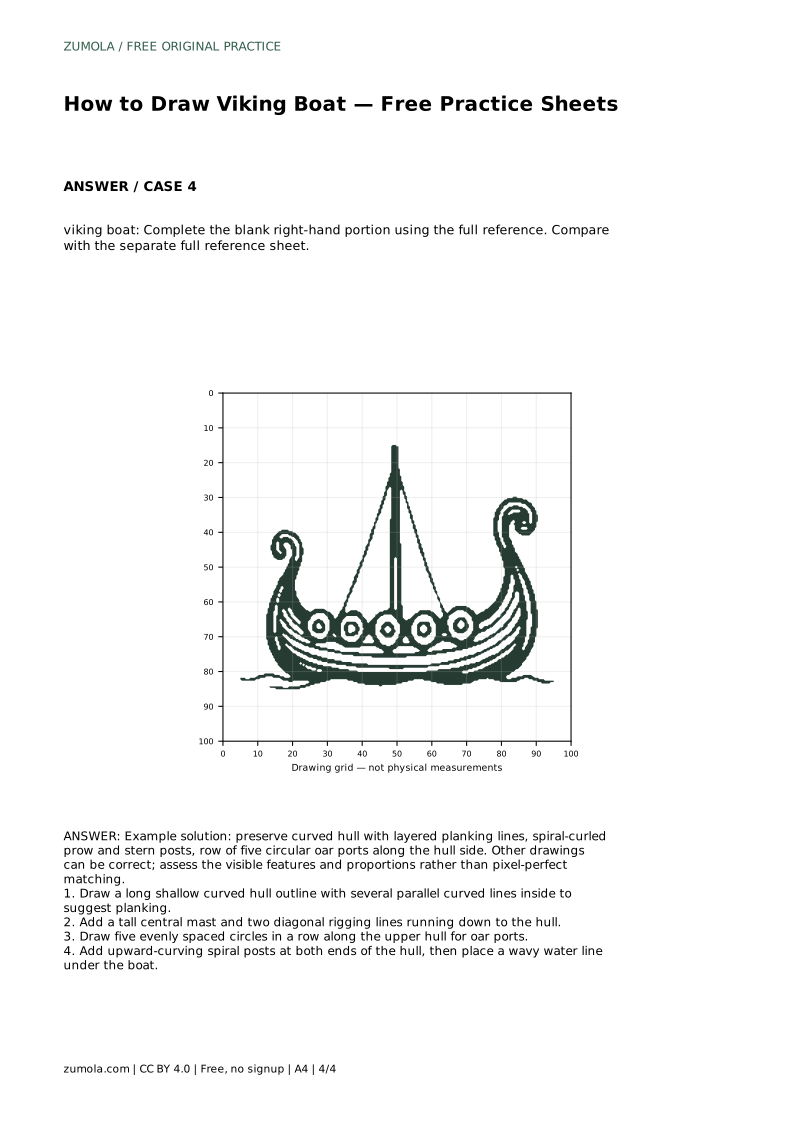
The hull is the anchor of the whole drawing. Draw a long, shallow curve for the bottom of the boat, then close the shape with a gentler curve along the top edge. Keep the boat wider than it is tall so it reads as a longship rather than a round bowl.
Inside the hull, add several parallel curved lines that follow the outer shape. These suggest planking. Keep the gaps between lines fairly even, and let each line bend with the hull rather than running straight across it.
Place a tall central mast rising from the middle of the hull. Two diagonal rigging lines can run from near the top of the mast down to the hull, one on each side, giving the boat a balanced look.
Along the upper part of the hull, draw a row of five evenly spaced circles for oar ports. Space them by eye before drawing: mark five light positions first, then draw the circles. Even spacing matters more than perfect roundness.
At both ends of the hull, add posts that curve upward and curl into a spiral. These curled ends are the feature that most clearly signals a Viking boat, so give them enough height to stand out above the hull.
Finish with a wavy water line beneath the boat. Keep the waves shallow so they support the drawing without competing with the hull. Compare your result with the separate full reference sheet and check the visible features and proportions rather than expecting a pixel-perfect match.
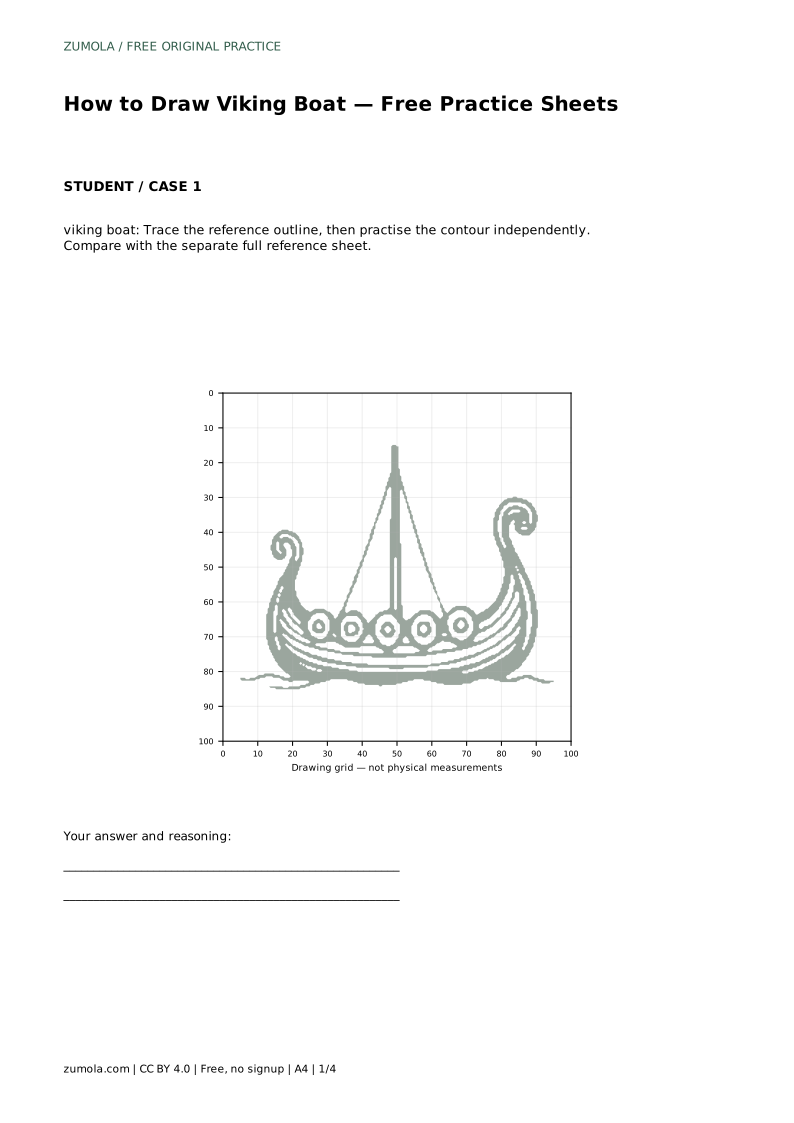
viking boat: Trace the reference outline, then practise the contour independently. Compare with the separate full reference sheet.
Example solution: preserve curved hull with layered planking lines, spiral-curled prow and stern posts, row of five circular oar ports along the hull side. Other drawings can be correct; assess the visible features and proportions rather than pixel-perfect matching. Draw a long shallow curved hull outline with several parallel curved lines inside to suggest planking. Add a tall central mast and two diagonal rigging lines running down to the hull. Draw five evenly spaced circles in a row along the upper hull for oar ports. Add upward-curving spiral posts at both ends of the hull, then place a wavy water line under the boat.
No. Even spacing and a consistent row matter more than perfect roundness. Five circles placed evenly along the upper hull will read correctly.
Two or three parallel curved lines are enough to suggest planking. Keep them following the hull curve with fairly even gaps.
That is acceptable. Other drawings can be correct. Assess whether the curved hull, planking lines, spiral posts, mast, rigging, and five oar ports are all present and reasonably proportioned.
All drawing practice · Free coordinate paper
Original resources · CC BY 4.0 · Free for personal and classroom use with attribution.